The Prettiest DIY Gift Wrapping Ideas Using Printable Art
There’s a particular kind of gift that gets remembered twice — once for what’s inside, and once for how it looked sitting under the tree or on the table before anyone touched the ribbon. Presentation isn’t shallow; it’s a form of care. It tells the person, I thought about this before you even opened it.
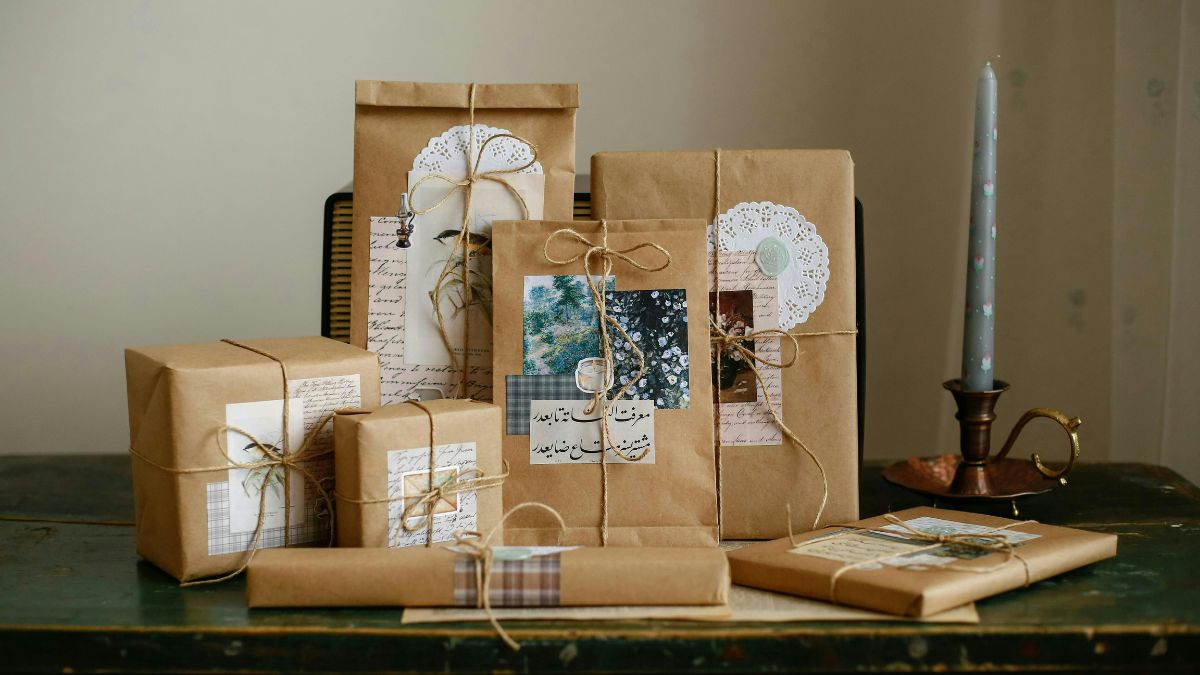
The good news is that elevated gift wrapping doesn’t require a trip to a boutique paper shop or a wrapping subscription box. A roll of plain kraft paper, a little ribbon, and a stack of printable art can outshine anything you’d find pre-wrapped at a store — and it costs a fraction of the price.
Here’s how to actually pull it off.
1. Start With a Neutral Base
The trick to making printed elements pop is keeping the paper underneath them simple. Plain kraft paper, solid white, or a soft neutral color gives your printed accents somewhere to shine instead of competing with a busy pattern. Save the pattern for the small stuff — that’s where printable art comes in.
2. Cut Individual Elements Into Statement Toppers
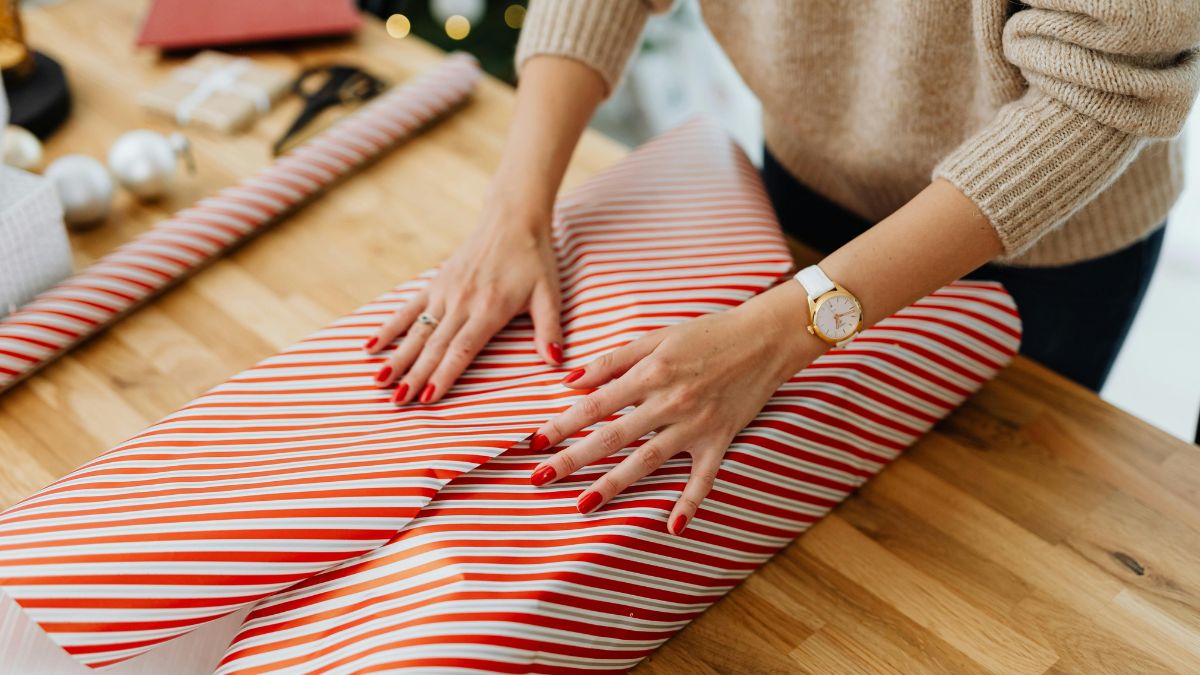
Instead of wrapping a gift and adding a bow, cut a single illustration from a printed sheet and use it as the entire topper — no bow needed. It reads as far more custom than a store-bought embellishment, and it costs pennies per gift.
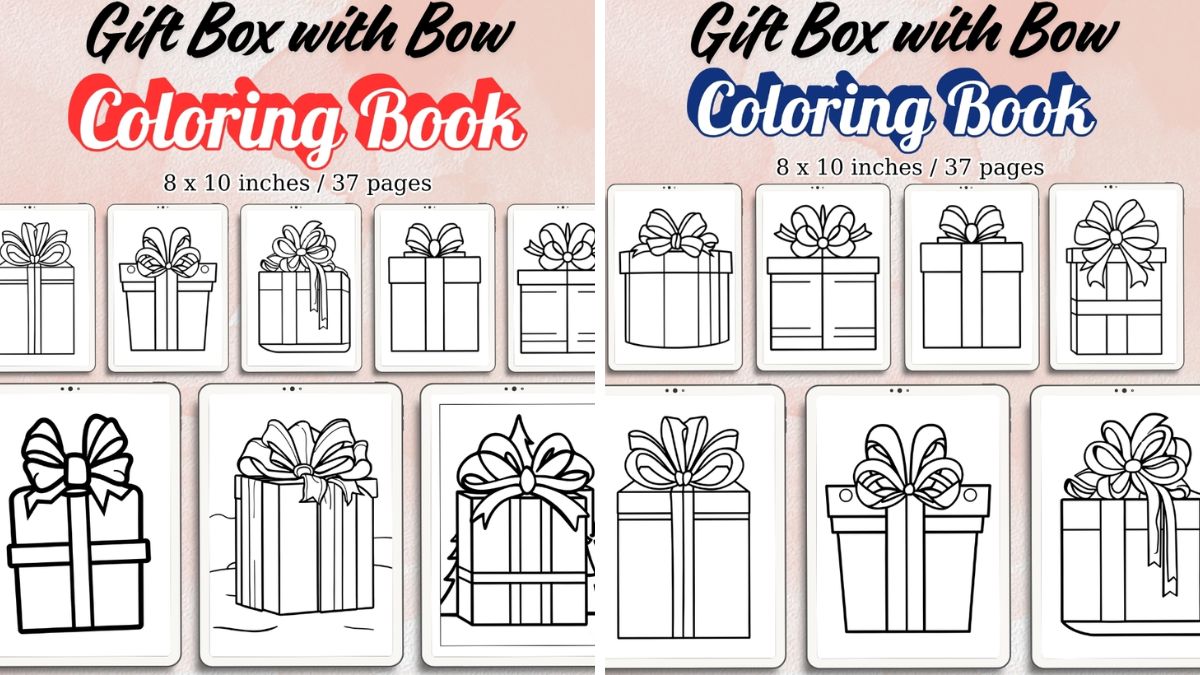
The Gift Box with Bow print is a playful, slightly meta choice for this — a printed gift box illustration sitting on top of an actual gift box. Cut it out, mount it on cardstock for a little rigidity, and tape or glue it to the top of your wrapped present.
3. Design Custom Tags for Every Gift
Store-bought tag packs are fine, but they’re identical to what half your neighborhood is also using. Printing your own tags means every gift can be a little different, and it makes even an inexpensive gift feel considered.
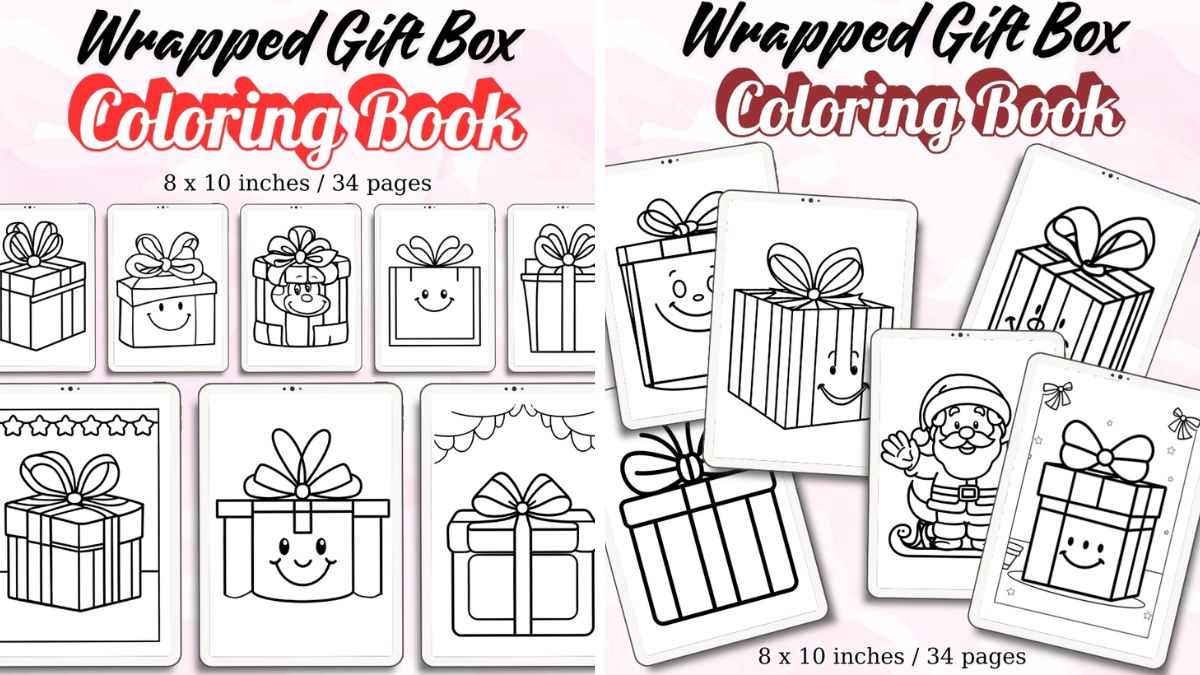
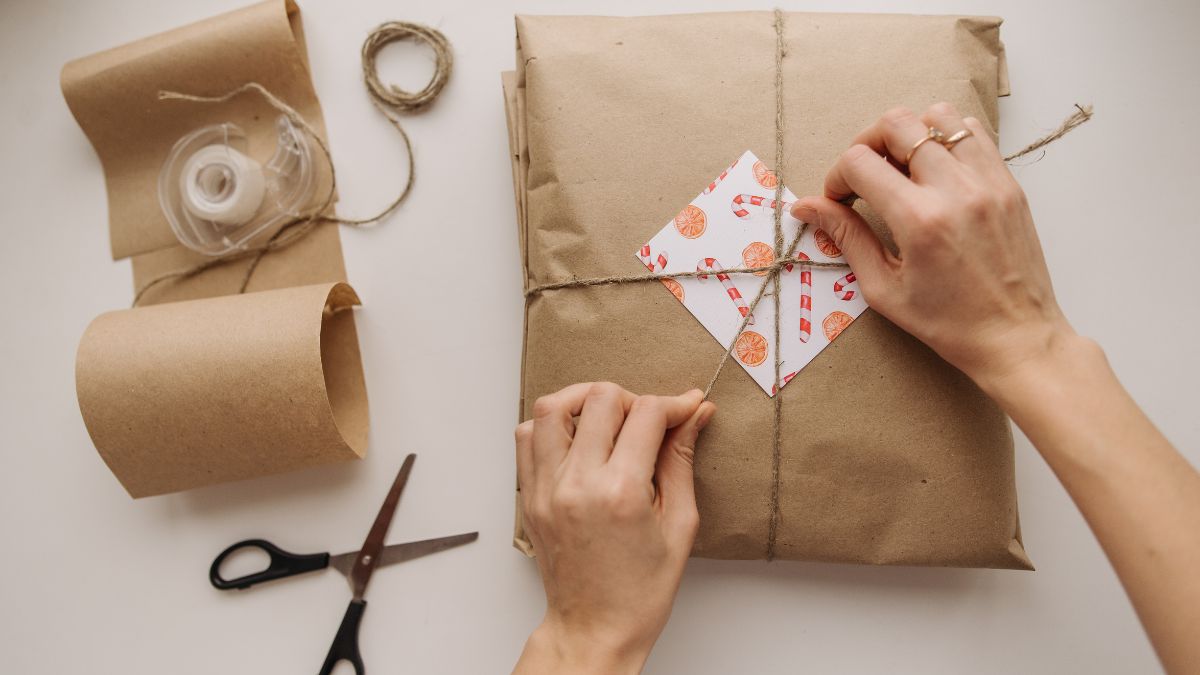
Cut small squares or rounded tags from the Wrapped Gift Box collection, punch a hole at the top corner, and thread through with baker’s twine. Write the recipient’s name directly on the tag for a personal touch that a printed store tag can’t match.
4. Layer a Floral Accent for a Softer Look
Not every gift needs a bold, graphic topper. For gifts that call for something a little more delicate — a gift for a grandparent, a hostess gift, anything with a soft or romantic feel — a floral cutout does the job beautifully.
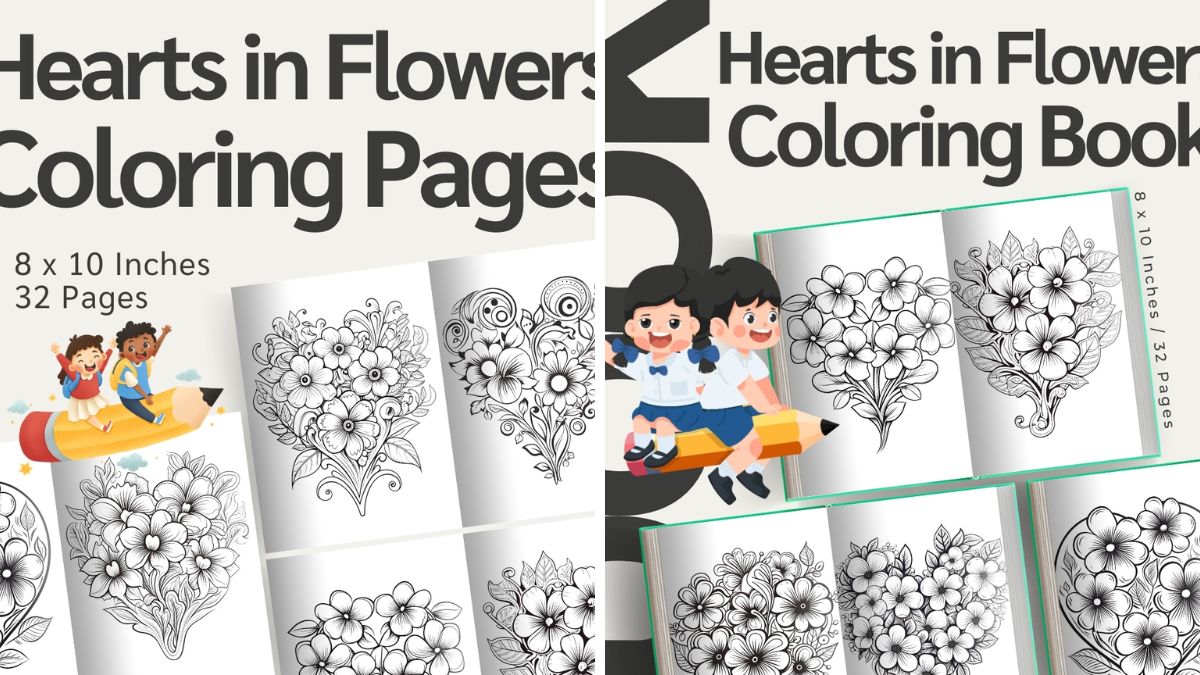
The Hearts in Flowers print works wonderfully here. Cut a single bloom or a small cluster, layer it slightly off-center on the top of the gift, and let the simplicity carry the whole look.
5. Coordinate (Don’t Match) Across Multiple Gifts
When you’re wrapping several gifts for the same person or event, resist the urge to make every single one identical. Instead, keep the base paper consistent and let the printed toppers vary slightly — different cutouts from the same collection, or complementary pieces from two different sets. The pile as a whole reads as coordinated and intentional, rather than mass-produced.
6. Create a Sunny, Warm Look for Spring and Summer Gifts
Not every gift-giving occasion is winter holidays. Birthdays, hostess gifts, and “just because” presents deserve their own wrapping identity, and a warm floral element instantly signals a different season than your typical December wrap job.
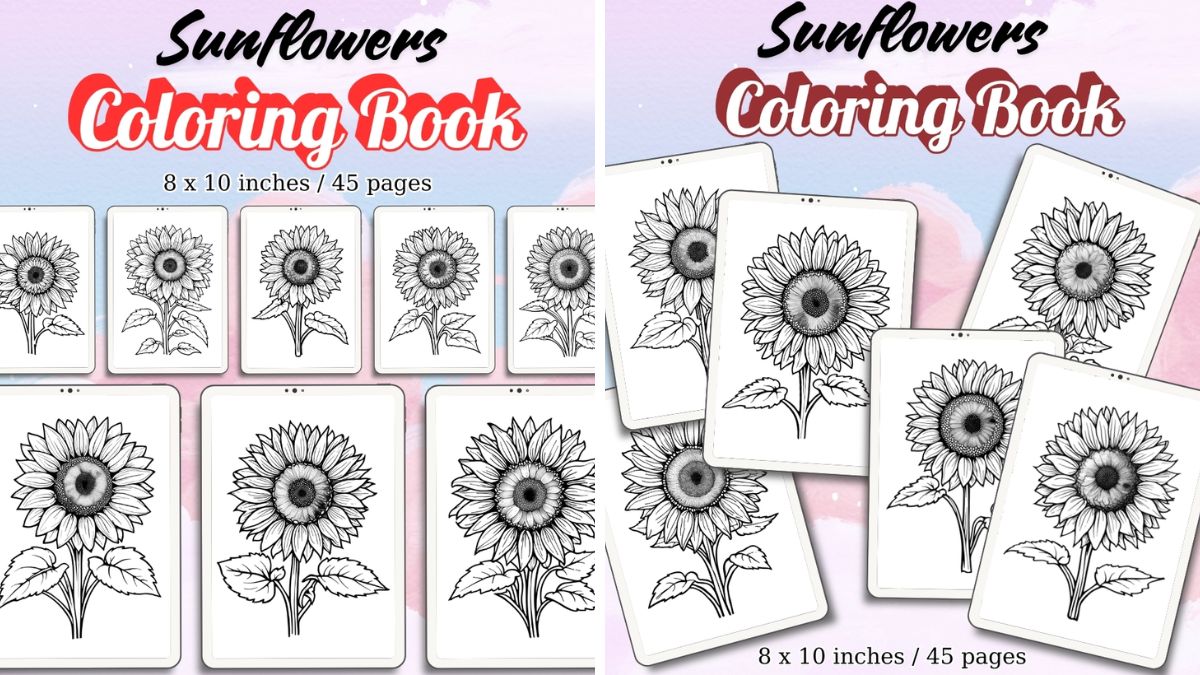
A single bloom cut from the Sunflowers print, mounted on a small kraft paper tag, gives a summer birthday gift a completely different feel from a Christmas present — bright, warm, and clearly intentional rather than recycled holiday paper.
7. Add a Handwritten Element for the Personal Touch
The printed piece does the visual work, but a short handwritten note on the tag or a small folded card tucked under the ribbon is what actually makes the gift feel personal. Don’t skip this step in favor of the prettier printed elements — the combination of both is what makes wrapping feel genuinely thoughtful rather than just aesthetically pleasing.
8. Batch-Prepare Your Toppers Ahead of Time
If you know you’ll be wrapping several gifts over a season — holiday gifts, a string of birthdays, a wedding season full of showers — print and cut a batch of toppers and tags in advance and store them in an envelope or small box. Future-you, wrapping a last-minute gift at 11pm, will be extremely grateful.
A Few Practical Tips
- Mount cutouts on cardstock before attaching them to a gift — it gives them enough rigidity to sit nicely on top of ribbon or paper instead of curling.
- Use double-sided tape, not glue, for anything going directly onto wrapping paper — it dries cleaner and holds better on textured surfaces.
- Keep a “wrapping kit” with your printed toppers, tags, ribbon, and tape all in one place so gift wrapping never becomes a scavenger hunt through the house.

The Takeaway
The nicest-looking gifts under any tree or on any table usually aren’t the most expensive ones — they’re the ones that clearly had a little extra care put into how they look before they’re even opened. A stack of printable art, some plain paper, and a bit of ribbon go a long way toward making every gift you give feel custom-made.
About the Author