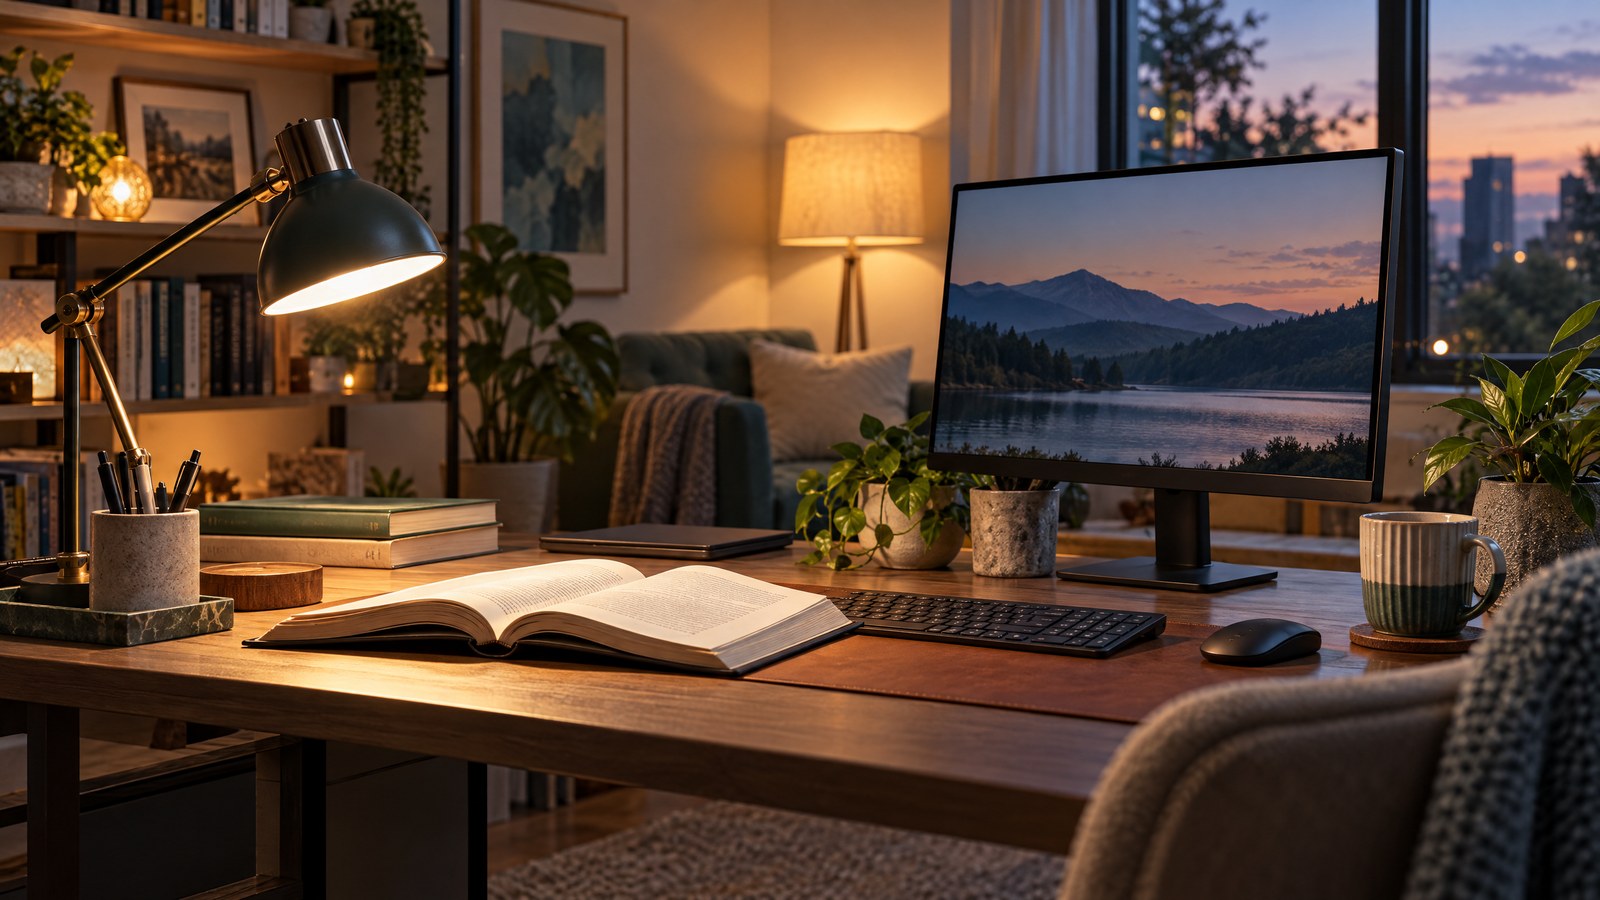
Desk Lighting Ideas: Layer Light for Reading, Screen Work, and Video Calls
Good desk lighting starts with understanding tasks, surfaces, and the way light travels. This guide focuses on practical, technical-but-accessible desk lighting ideas you can use whether you read paper documents, stare at reflective screens, or take frequent video calls. You’ll learn how to layer ambient and task light, reduce glare on monitors, plan for handedness and desk position, choose adjustability features that matter, and use camera-facing illumination without looking washed out.
Why layering? A single overhead light rarely serves reading, screen work, and video calls at once. Layered lighting — a combination of ambient, task, and camera light — makes each activity clearer and more comfortable without resorting to overly bright fixtures.
Start with an ambient base that complements task light
Start by setting a neutral ambient level so task lights don’t fight with overly dark or excessively bright room light. Ambient light can come from ceiling fixtures, floor lamps, or bright window daylight — just be mindful of direction and color temperature.
- Aim for a softly lit room rather than spotlighting the desk alone. Soft ambient light reduces contrast between the screen and the surroundings, making long sessions easier on the eyes and letting task lights read more naturally.
- Match color temperature loosely: if your task lamp is 4000K (cool-white), use ambient sources in the 3000–4000K range to avoid perceived color shifts between background and focused areas.
- Avoid placing the main ambient source directly behind you facing the camera when you’re on video; it will create a silhouette effect. Instead, position ambient lighting to the sides or use diffuse ceiling fixtures.
Task lighting placement: angle, distance, and shadow control
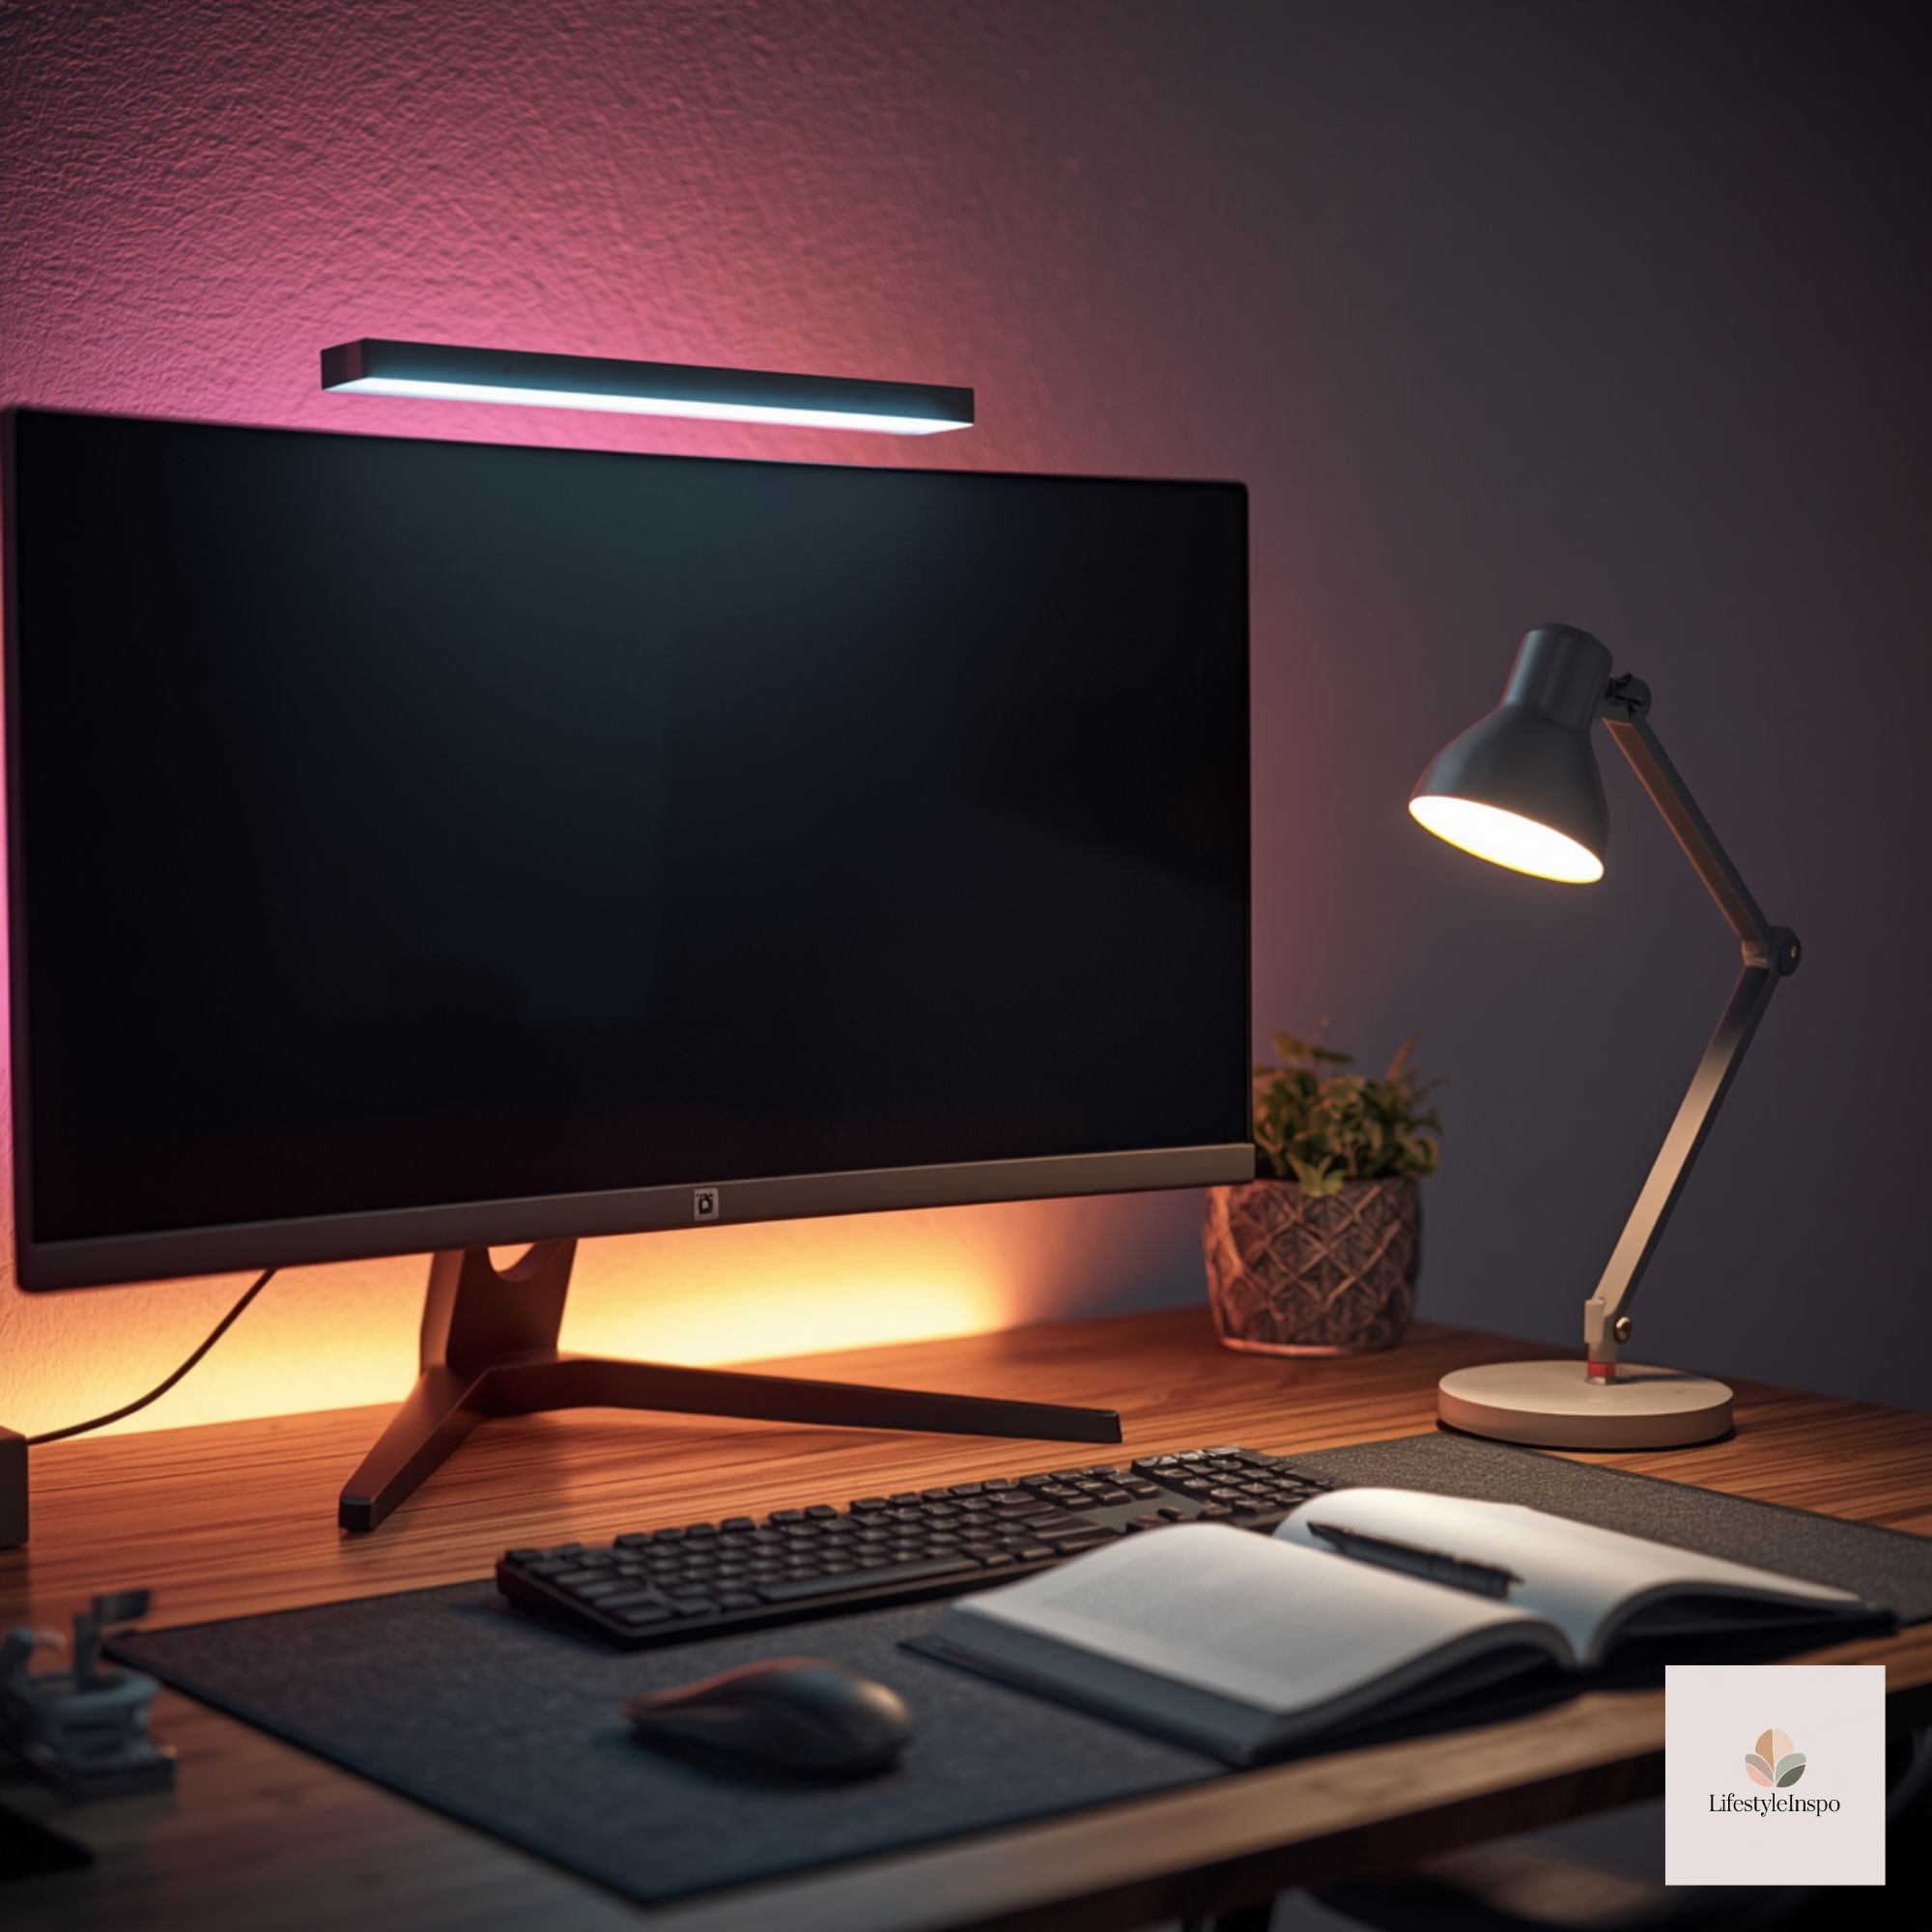
Task light is for reading, note-taking, and close-up work. Proper placement keeps pages and keyboard illuminated without creating screen glare.
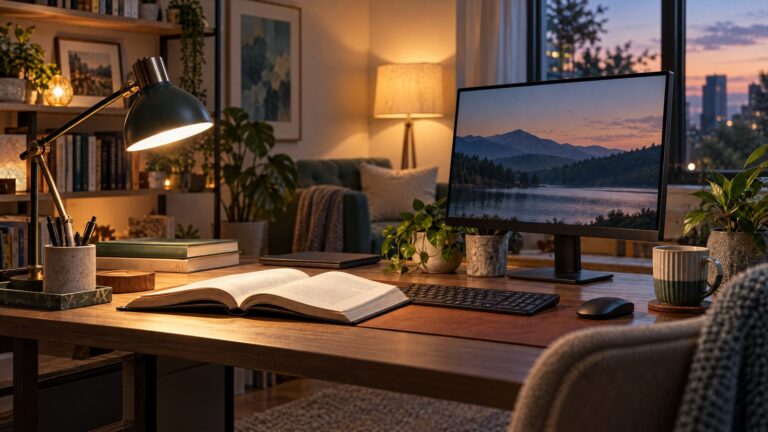
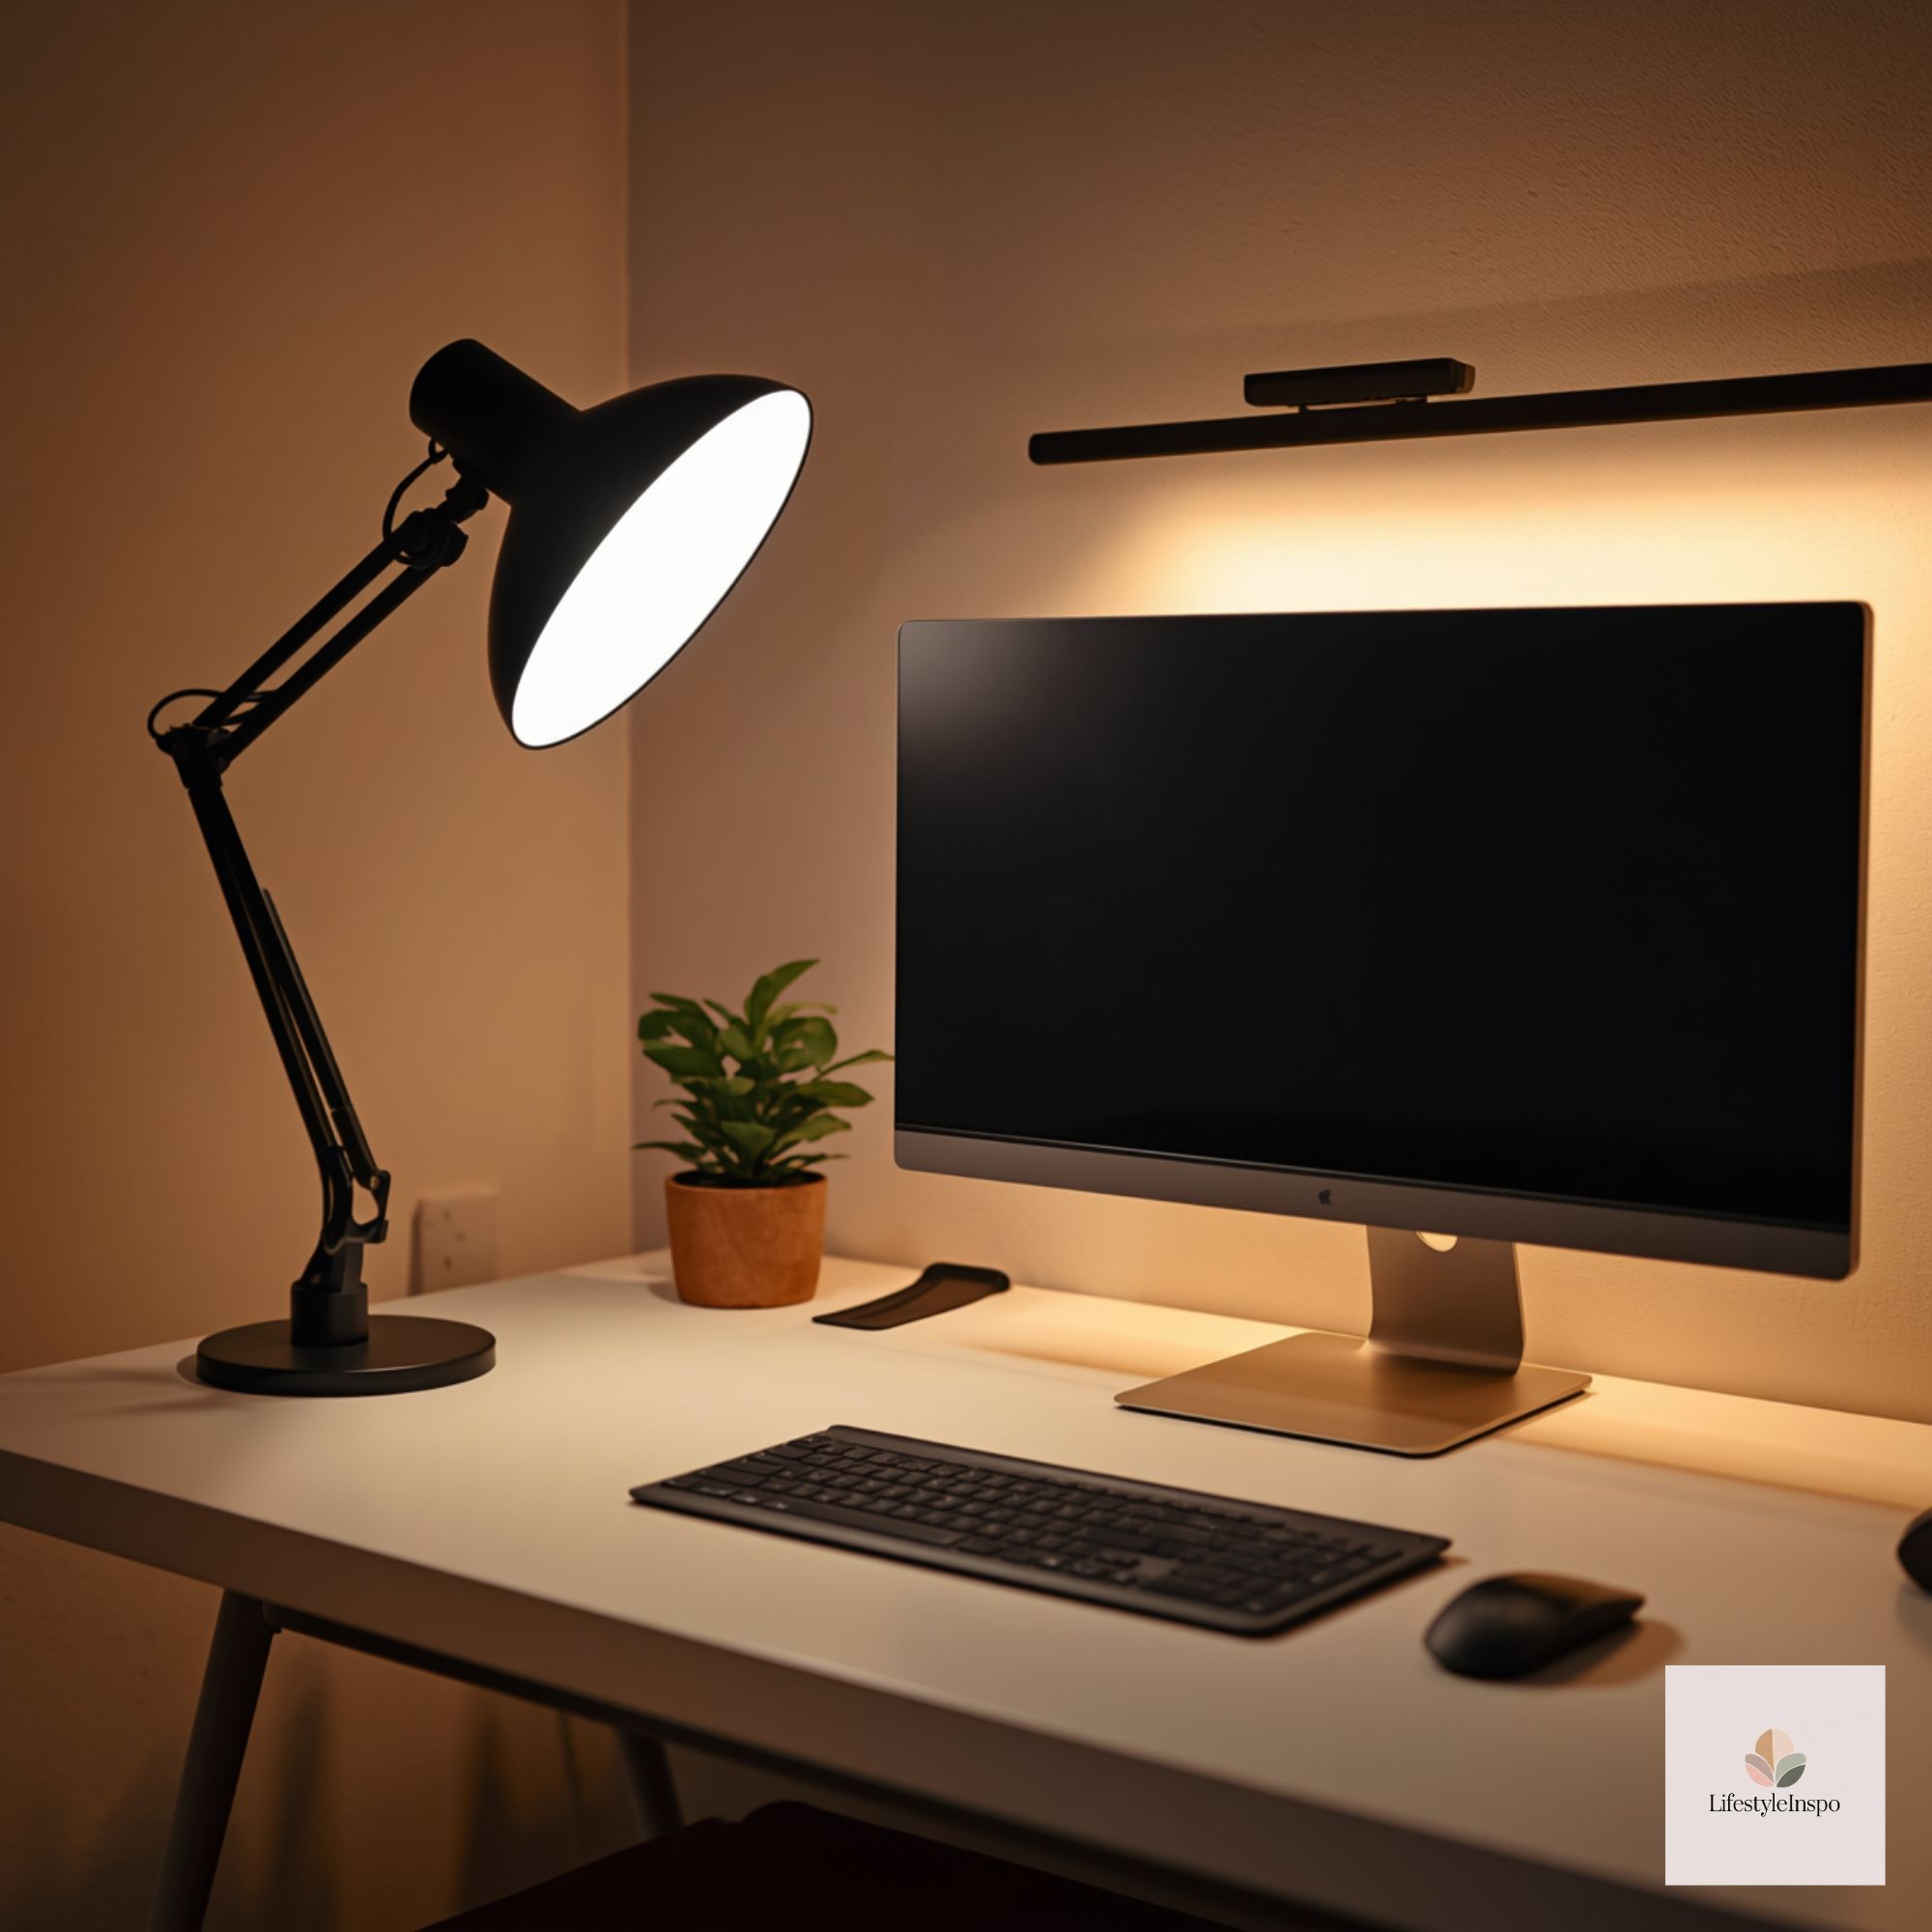
- Angle: Place an adjustable task lamp so light comes from above and slightly behind your dominant hand (left side for right-handed people, right side for left-handed people). This prevents your hand from casting a shadow on your work surface.
- Distance and intensity: Position the lamp 12–20 inches from the reading plane. Use a lamp with dimming steps or a continuous dimmer so you can tune intensity for paper vs. screen tasks.
- Beam control: Select shades or heads that focus light downward and reduce spill. A lamp with a conical shade or directional head gives precise illumination and minimizes stray light that might hit the monitor.
Glare and reflective screens: positioning to reduce reflections
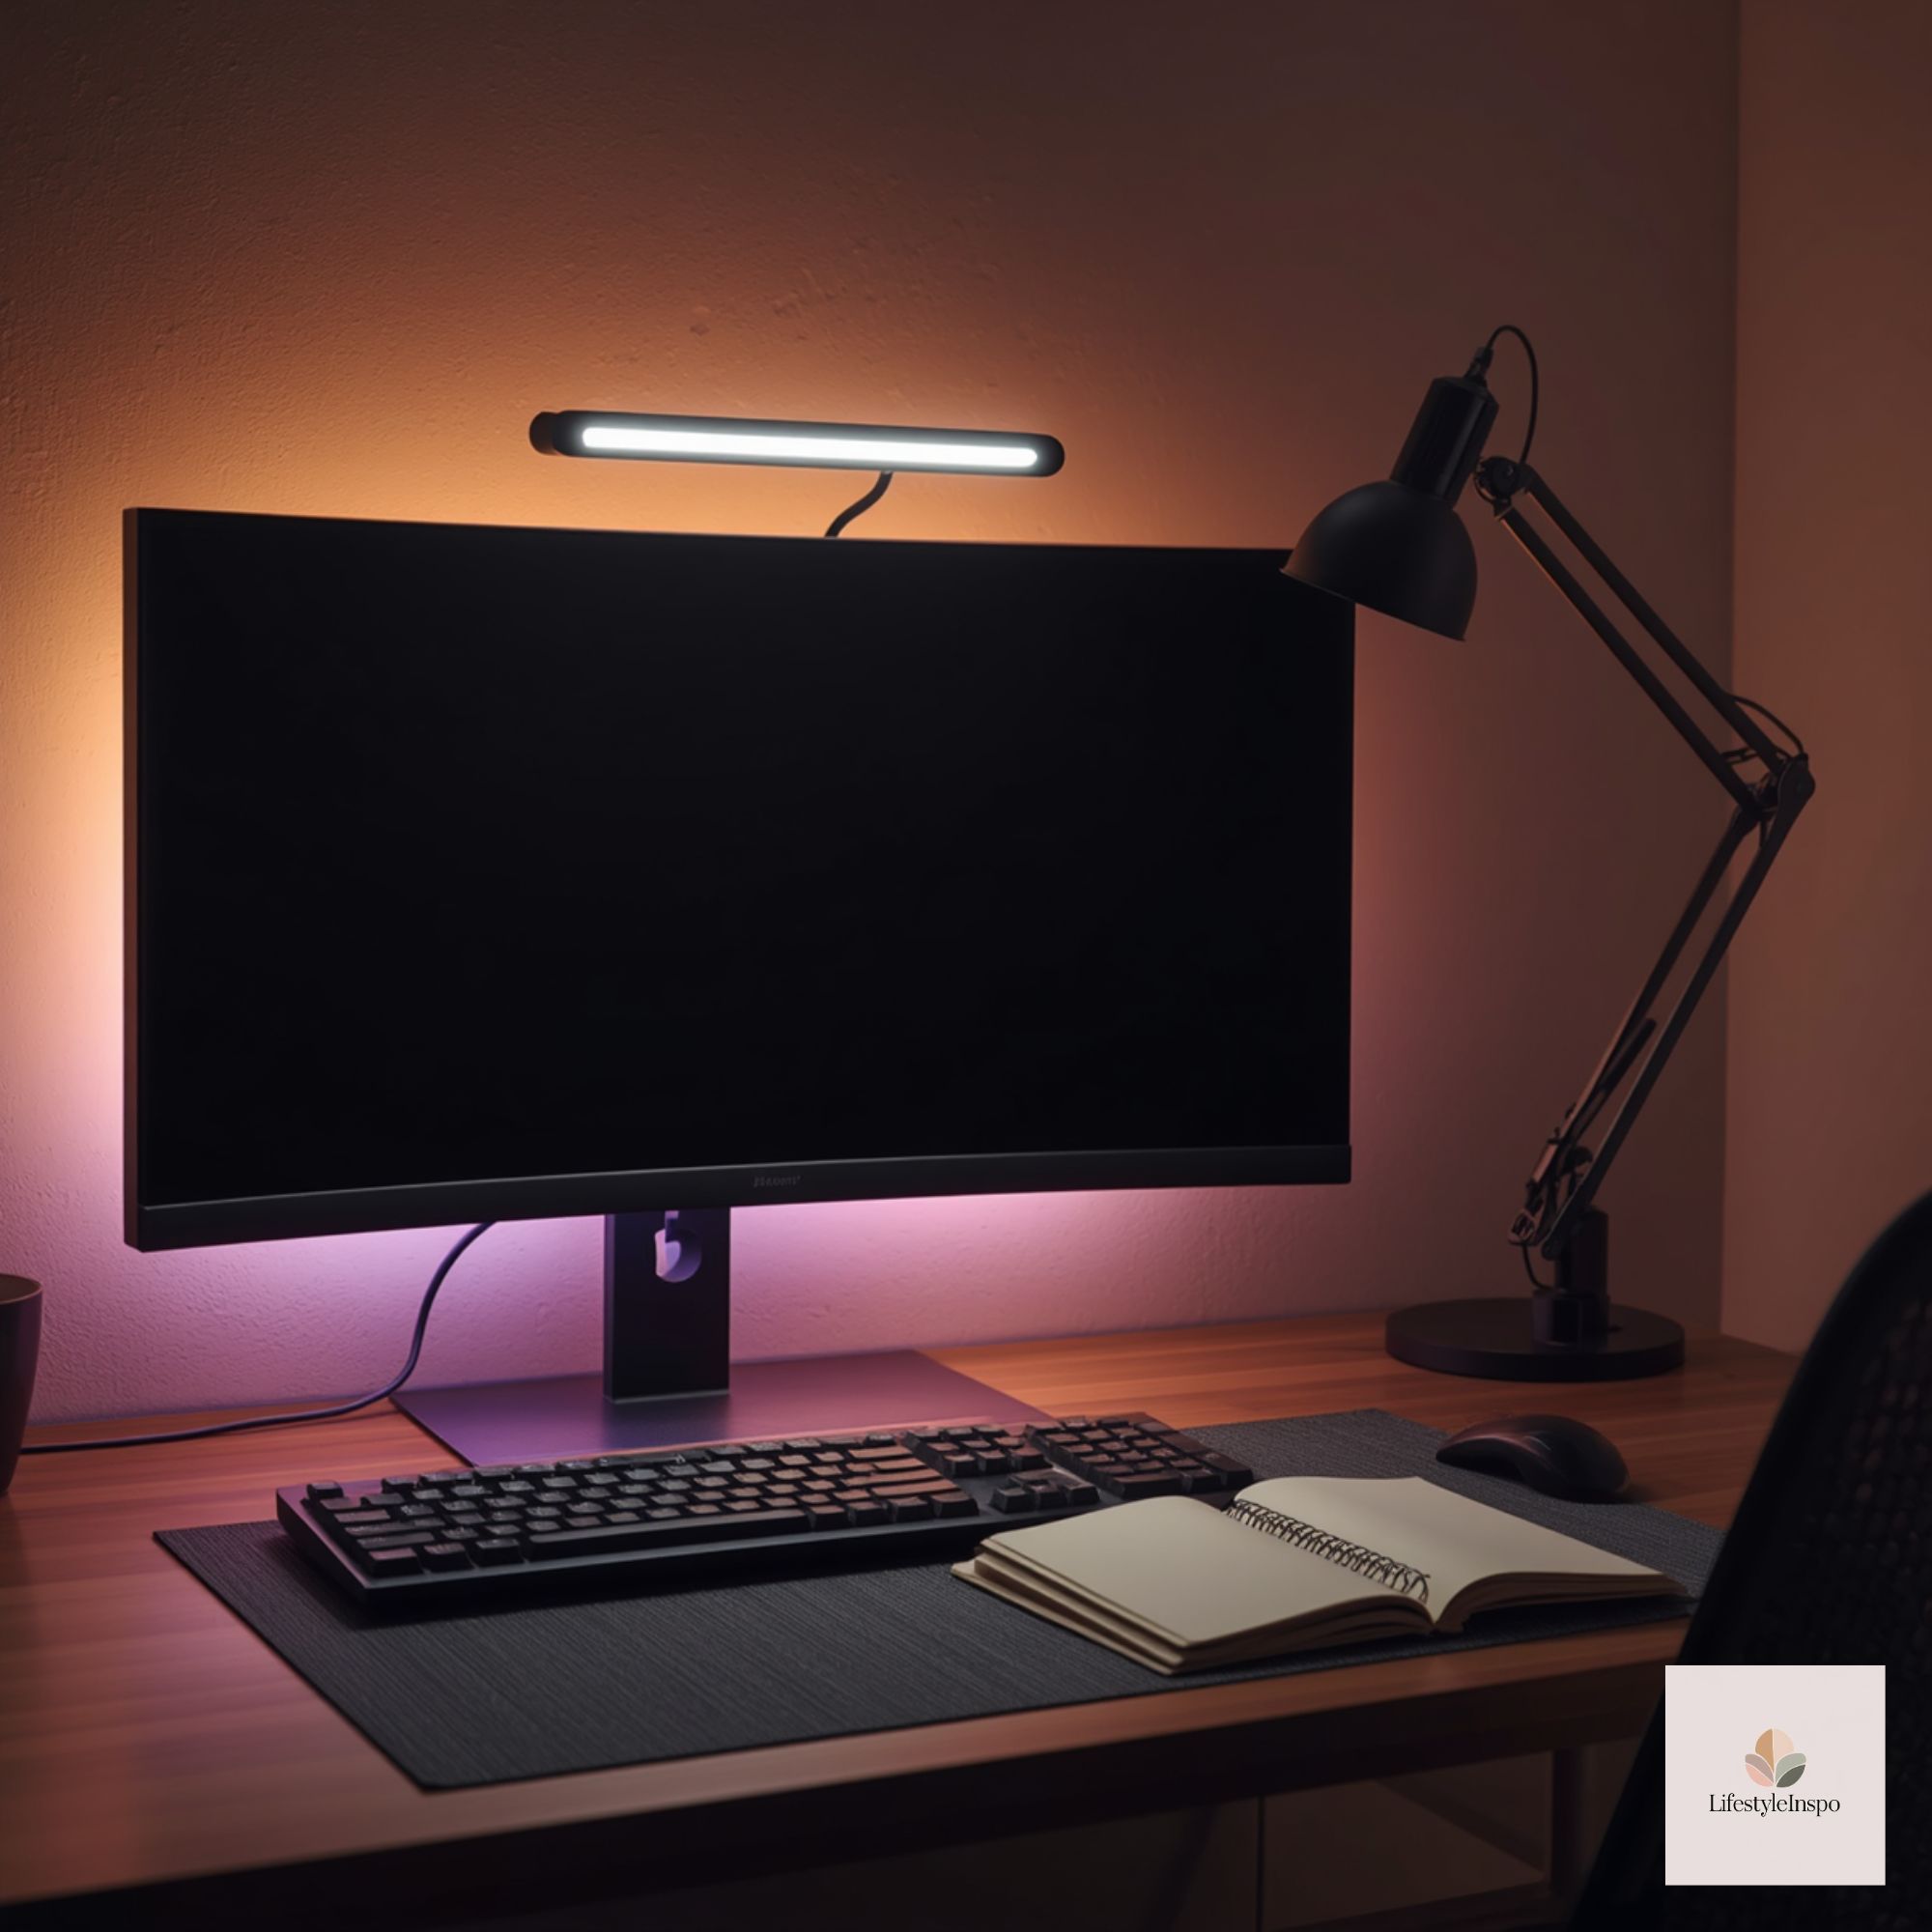
Screens cause unique challenges because they reflect bright sources. Reducing specular reflections and controlling contrast is key.
- Offset light sources from the monitor’s reflective plane. Avoid placing bright task lamps directly behind or directly above monitors where the screen can catch the light. Instead, angle them to illuminate the desk surface without forming a bright patch on the display.
- Use matte finishes for monitor hoods and desktop accessories to lower reflections. If you must use a bright lamp near the screen, angle it so light strikes at a shallow angle away from the viewer.
- Consider monitor height and tilt: tilt screens slightly backward so ceiling lights don’t reflect directly into your eyes. For ultra-reflective displays, position task light below the top edge of the monitor to keep specular highlights out of the field of view.
Handedness and desk position matter — adapt placement to how you work
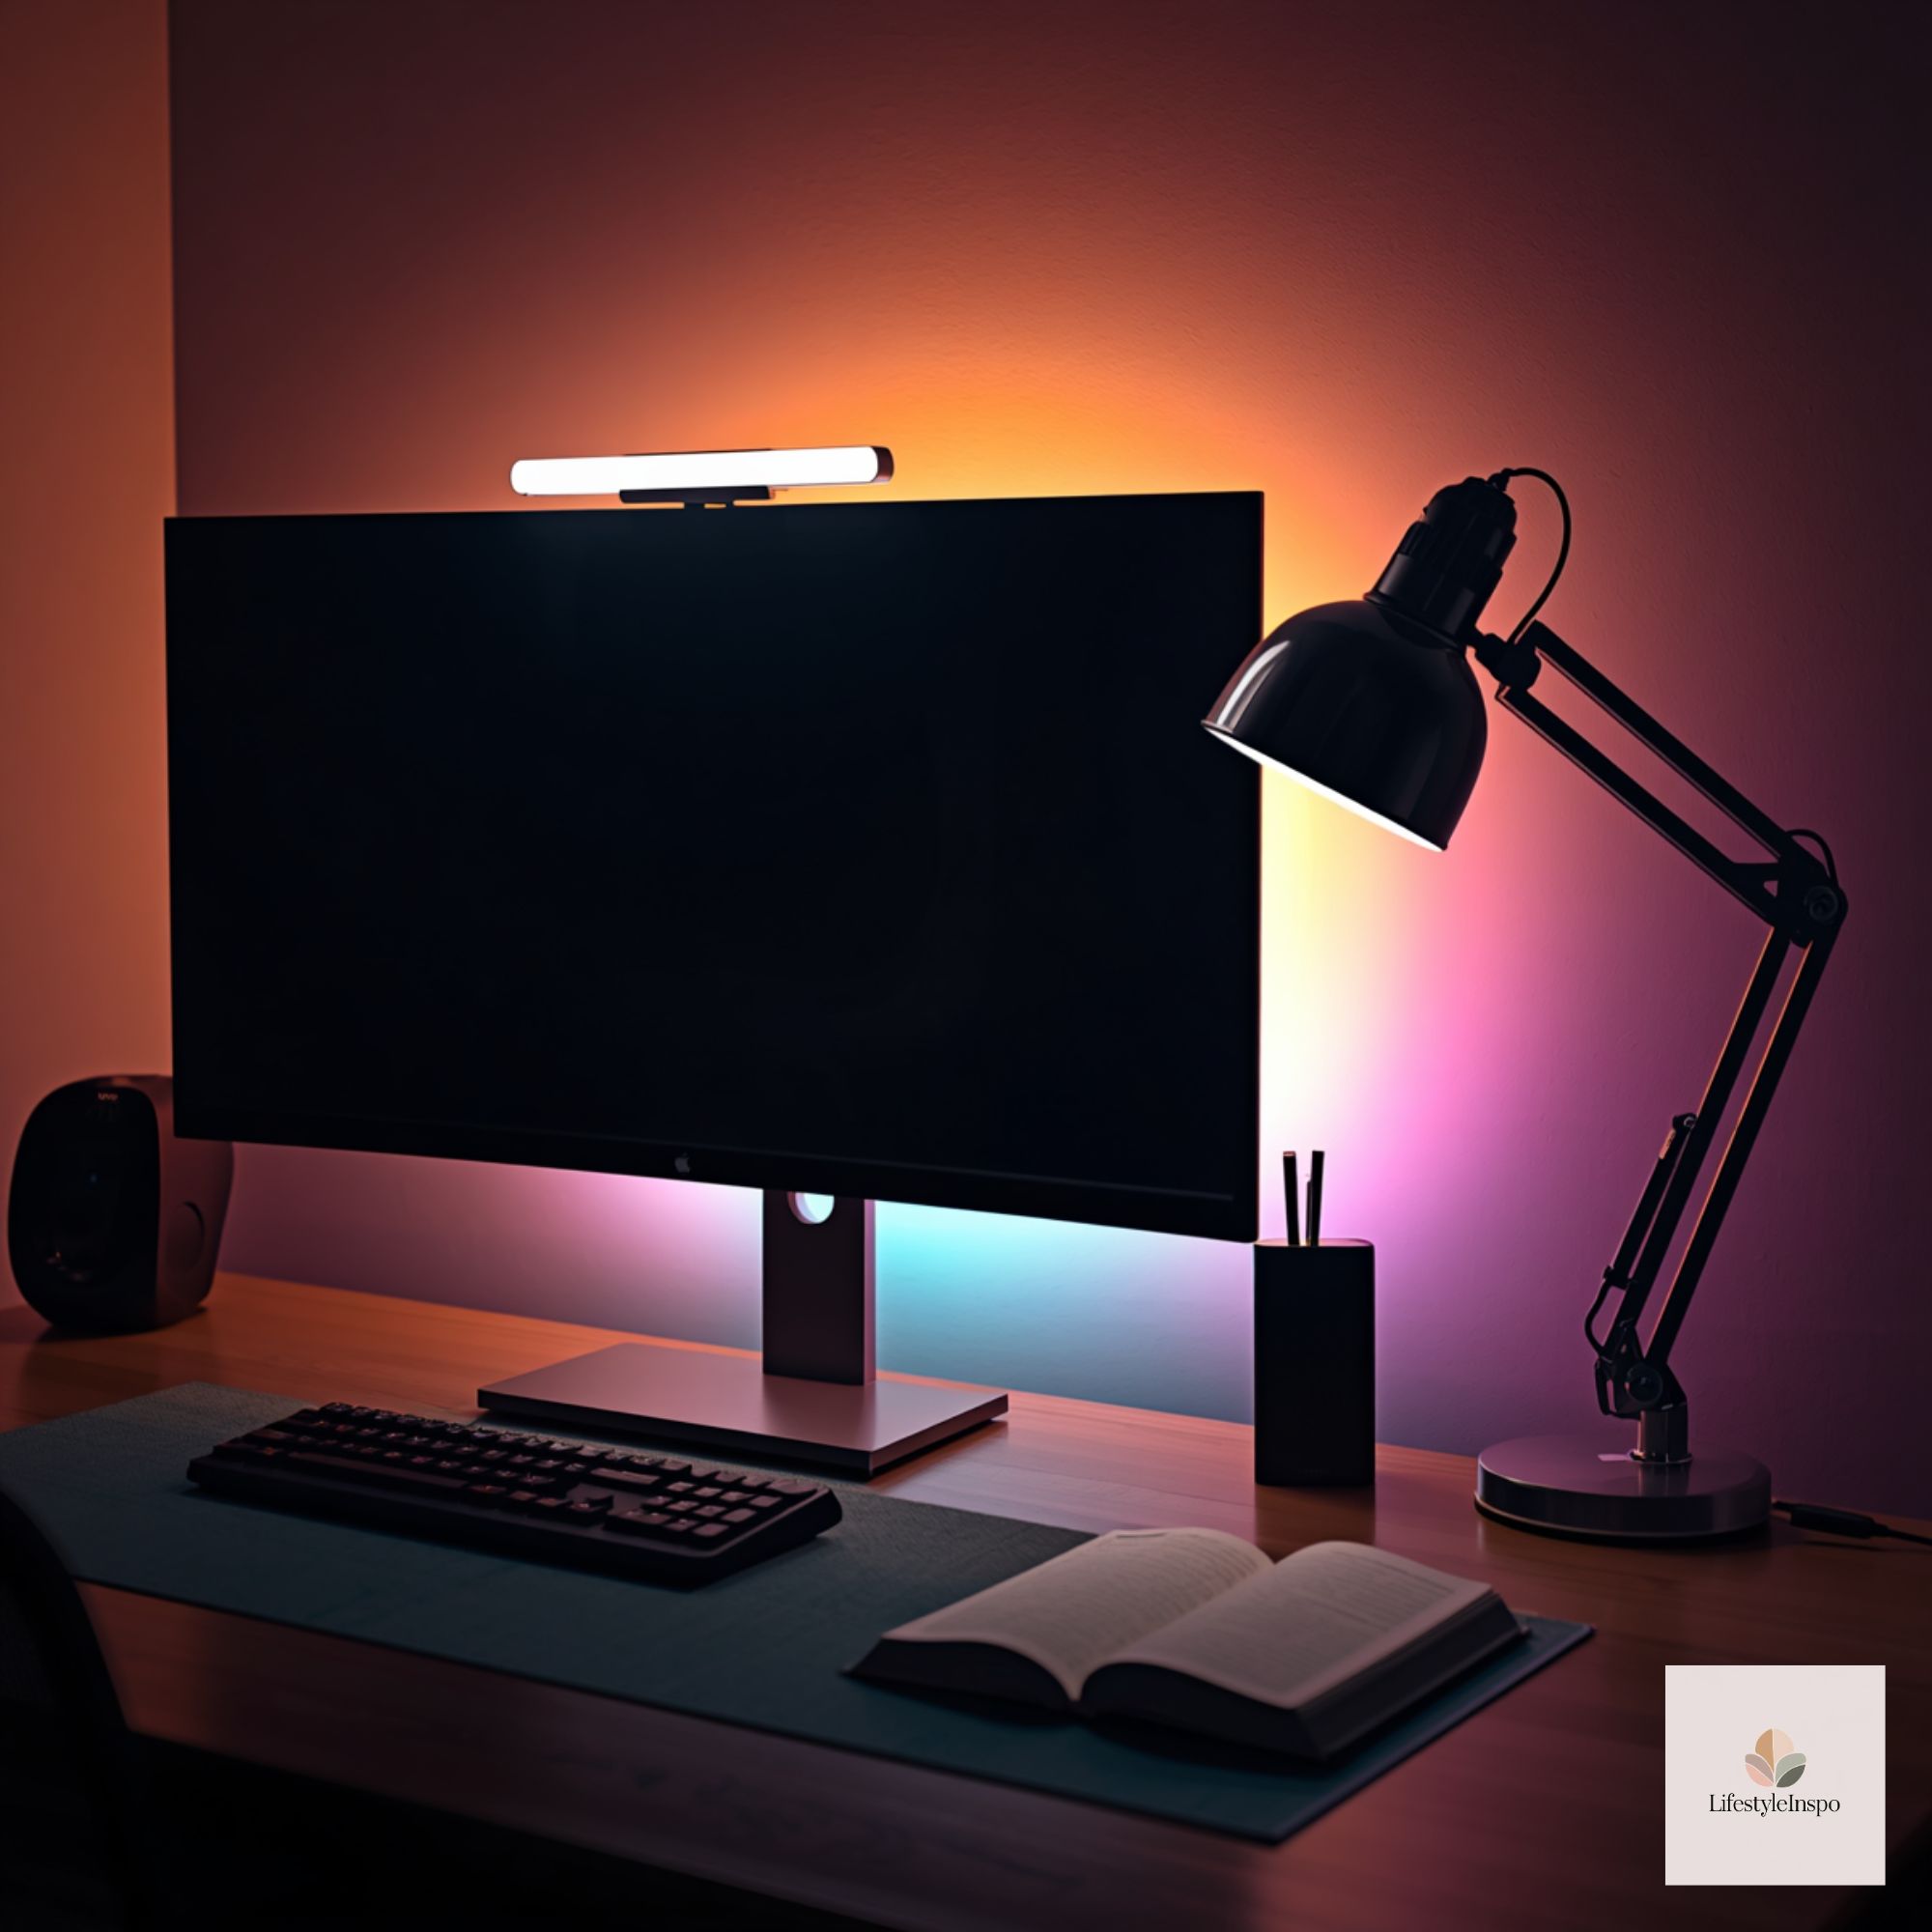
Your dominant hand and desk layout should dictate lamp location and reachability.
- Right-handed users: place the task lamp to the left and slightly behind to avoid casting hand shadows on writing. Left-handed users: mirror this setup.
- Shared workspaces: use dual adjustable lamps or a flexible arm lamp that can be quickly reoriented for alternate users. A lamp with quick-release clamps or a weighted base makes switching positions seamless.
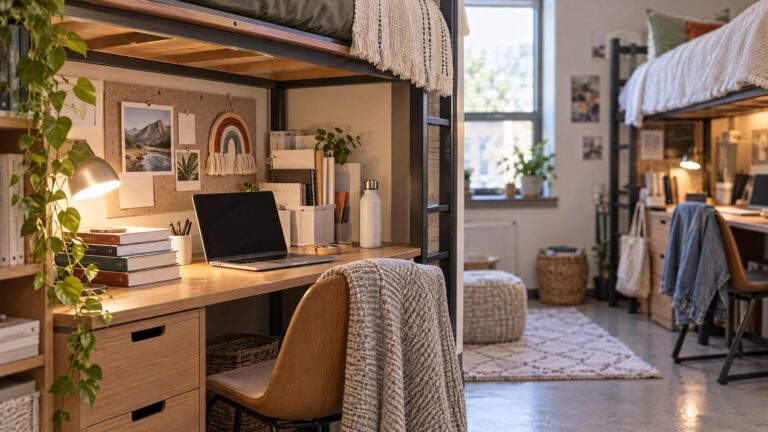
- Floating desks and corner desks: for L-shaped or corner desks, mount lights on articulating arms fixed to the wall or clamp to the desktop so you can aim light along the length of the work surface without moving furniture.
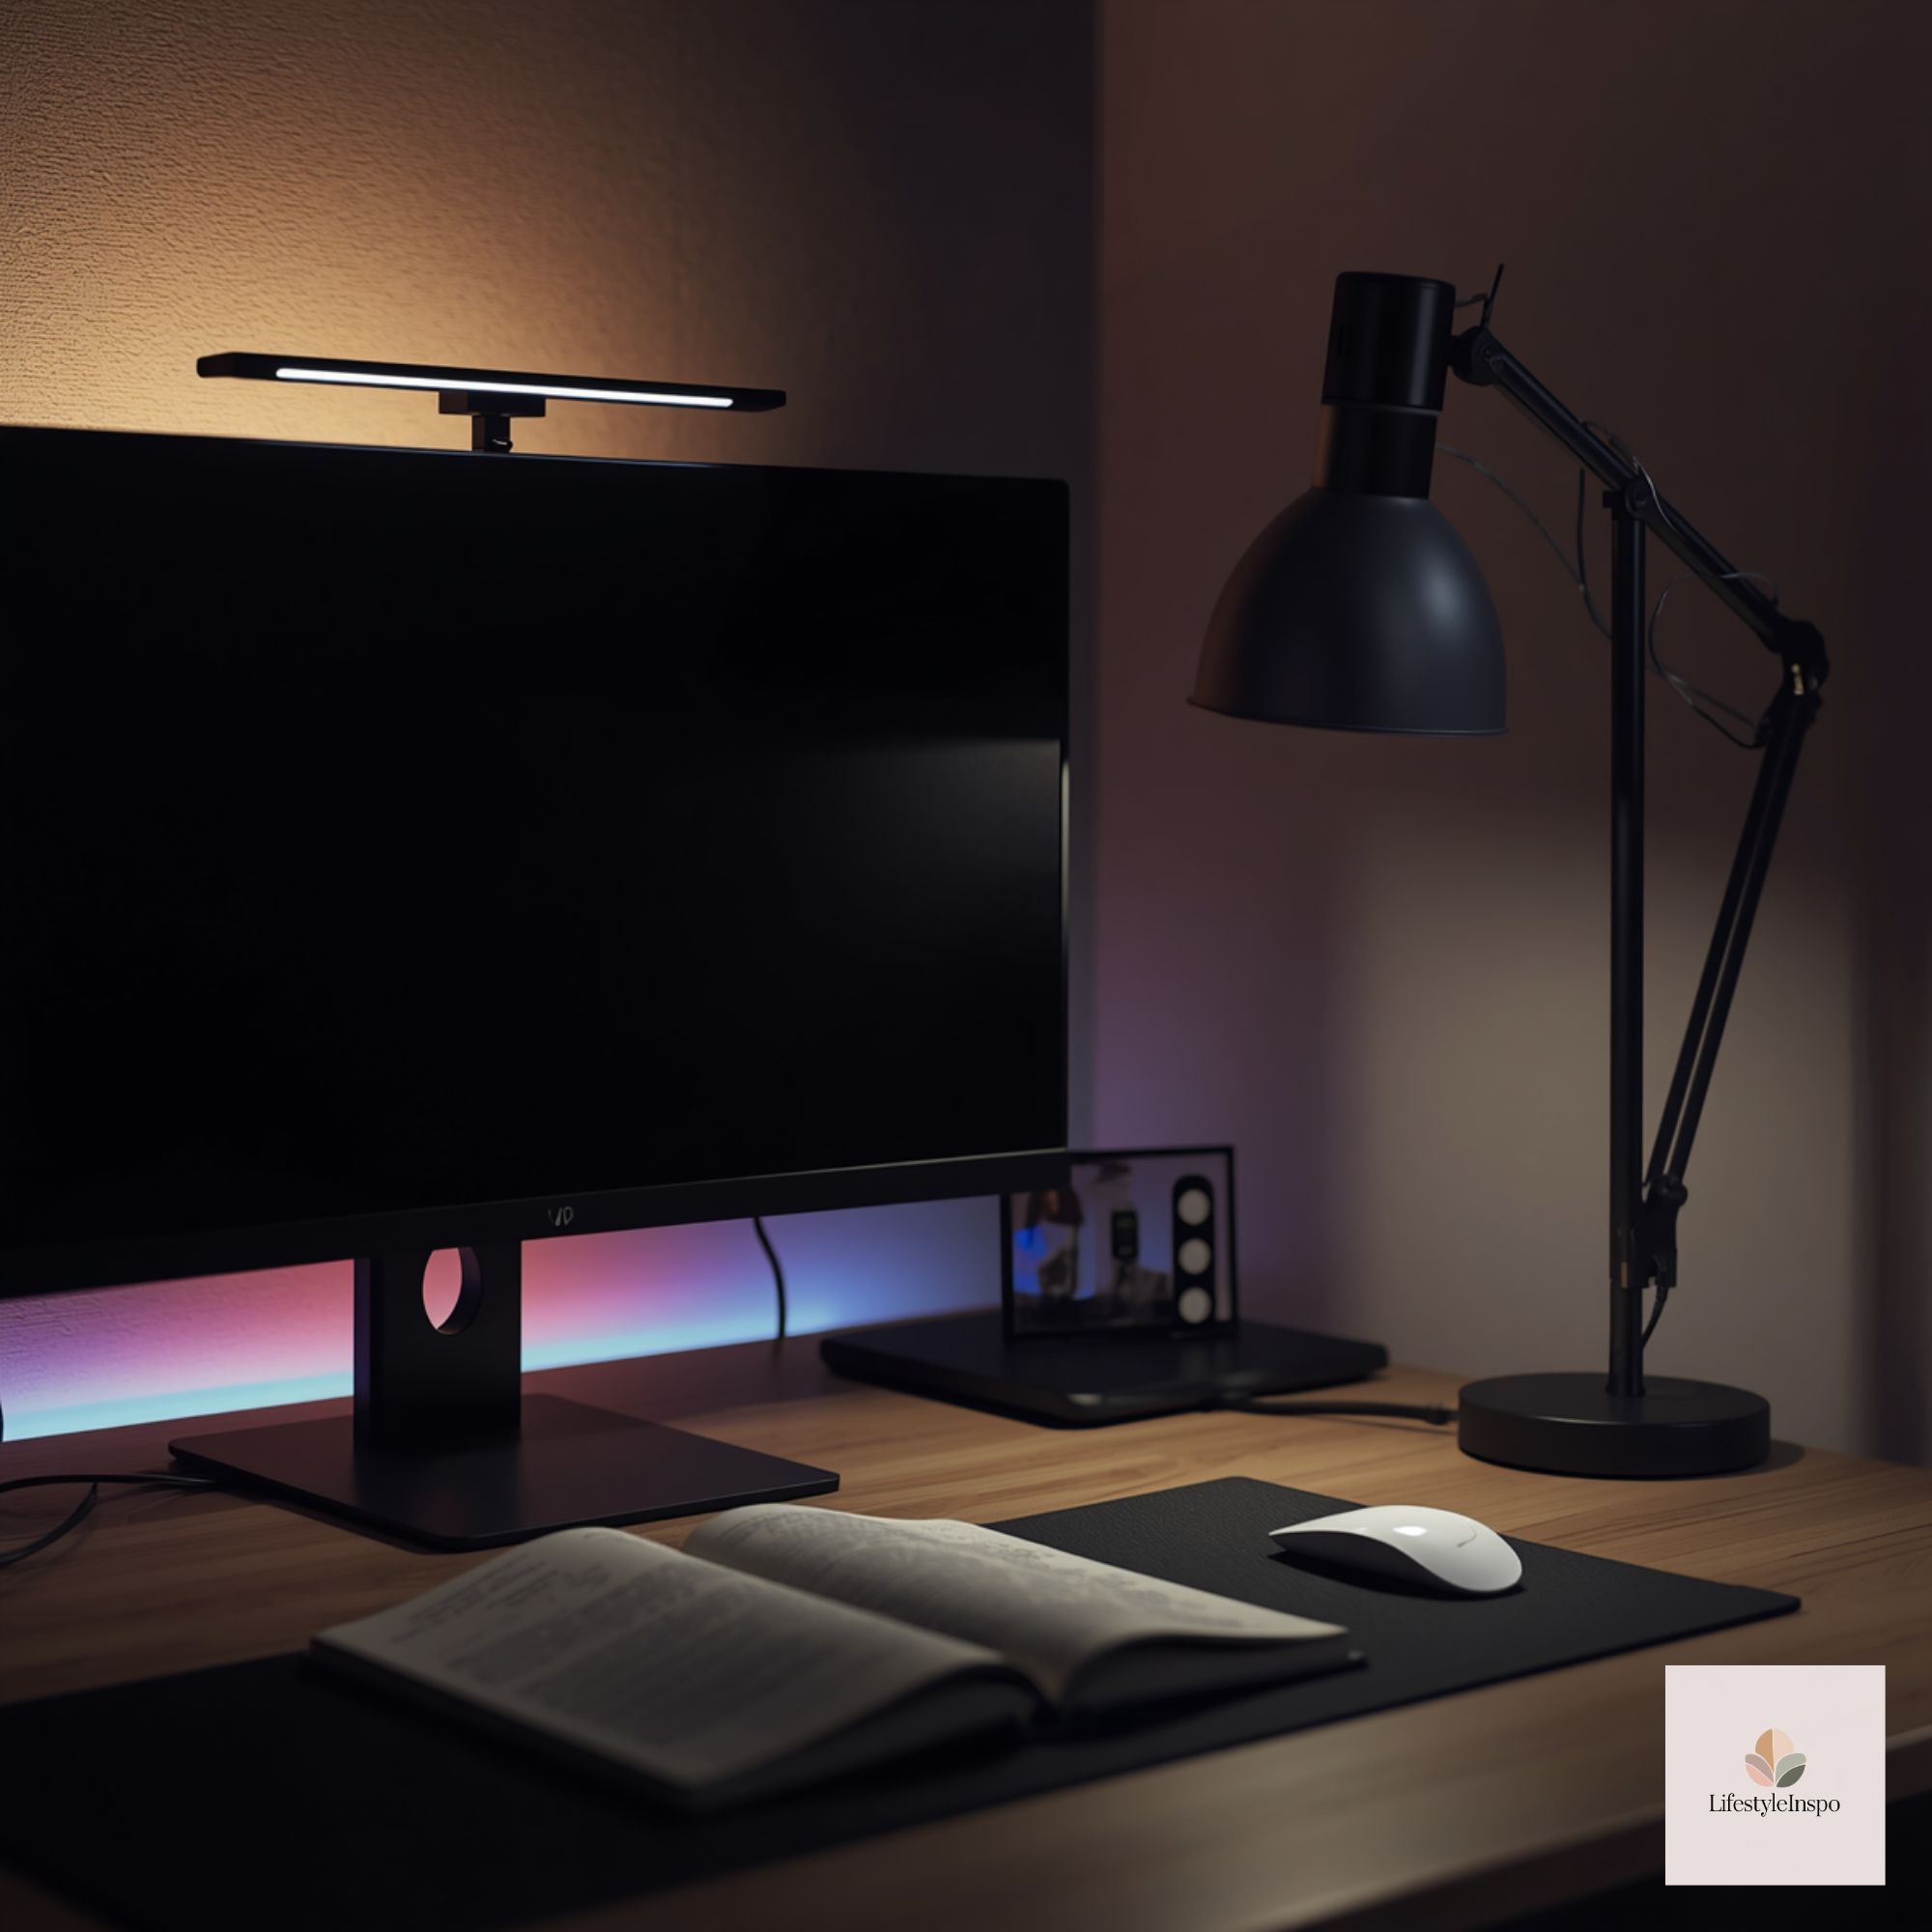
Adjustability: what to look for in lamps and fixtures
Adjustability is the most practical feature to prioritize because one lamp must serve multiple tasks.
- Multi-axis articulation: Look for lamps with at least two pivot points so you can change both height and angle quickly. This helps shift from broad paper illumination to a narrow focused beam for small detail work.
- Dimming and color control: Dimming is essential. Lamps with stepless dimming and multiple color temperature settings (2700K–5000K) let you tune ambiance for comfort and camera color matching.
- Beam width and spread: Lamps with interchangeable heads or adjustable reflectors allow you to swap between wide flood lighting and narrow spot lighting depending on the task.
- Mounting flexibility: clamp, weighted base, and wall- or shelf-mounted options let you adapt to desk depth and layout constraints.
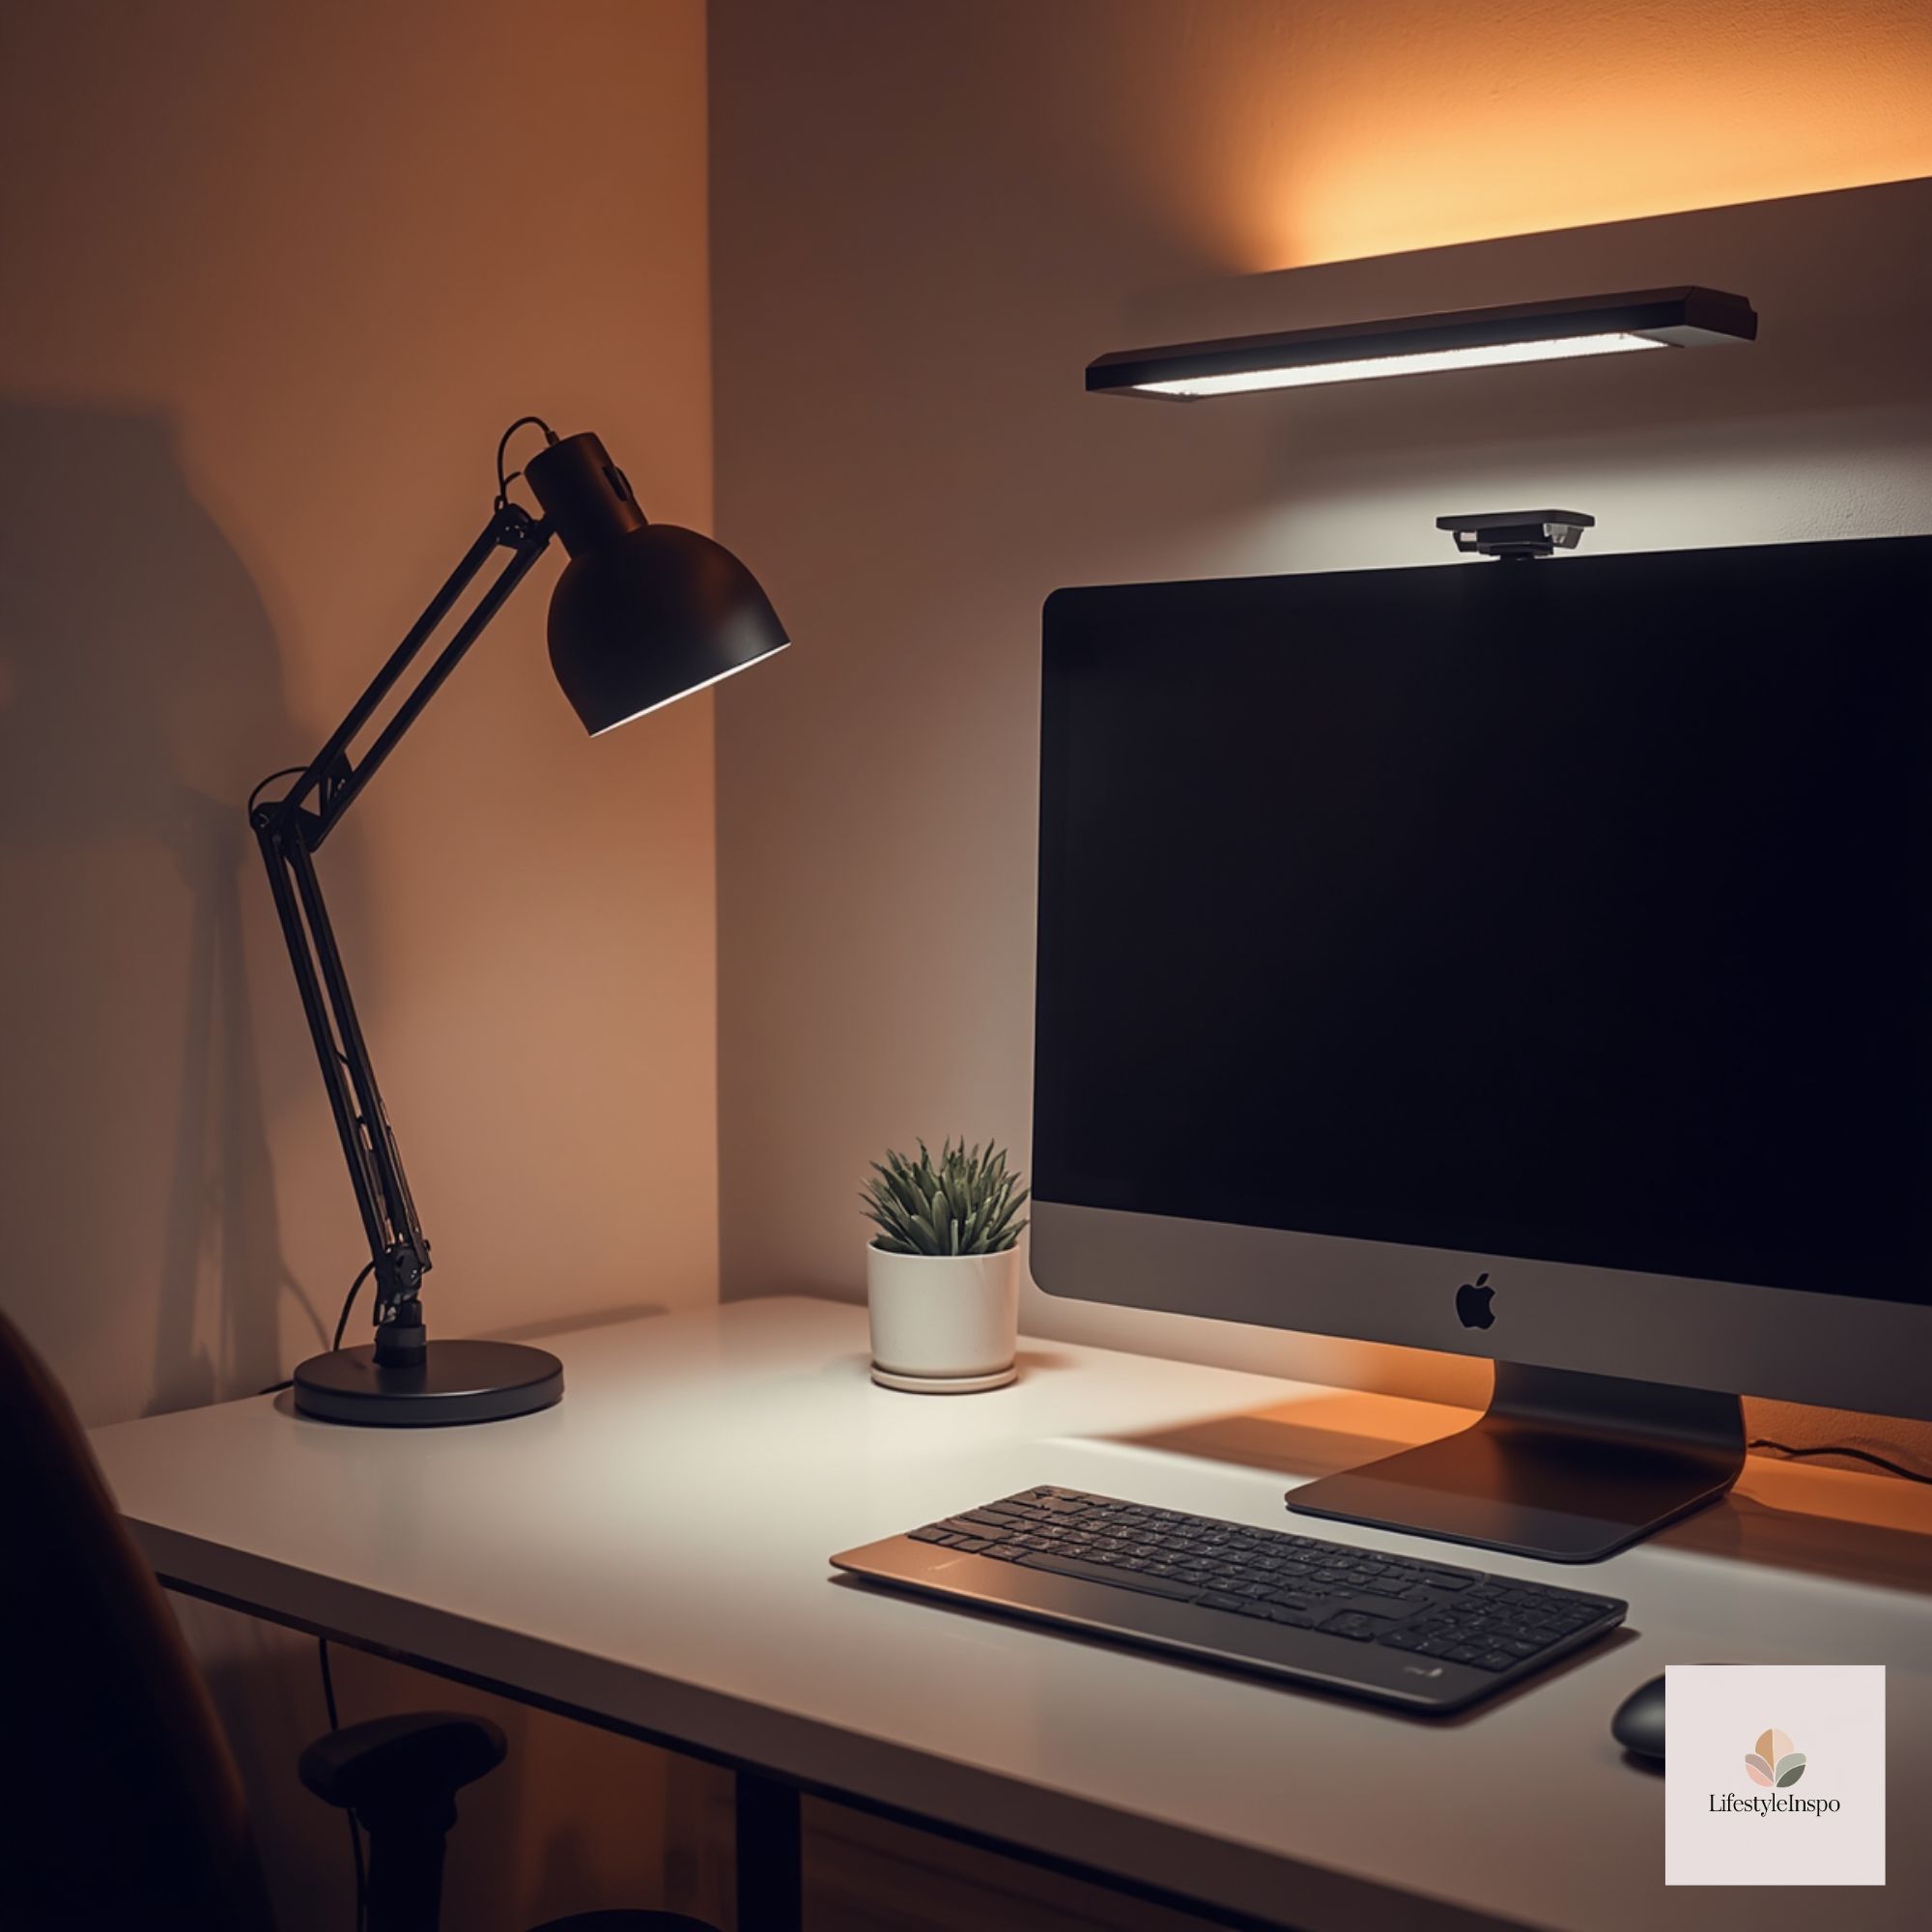
Video calls — lighting the face without washing out your background
Good video-call lighting flatters your face, communicates depth, and minimizes camera auto-exposure hunting.
- Camera-facing light: Use a soft, diffuse fill placed near the camera axis, slightly above eye level, to illuminate your face evenly. Avoid placing a high-powered bare bulb near the camera — diffusion is essential to avoid glare and hotspots.
- Avoid direct backlight: Strong light behind you (windows, bright wall sconces) will cause the camera to underexpose your face. If a backlight exists for ambient aesthetics, balance it with a brighter camera-facing fill.
- Color match to your camera: Most webcams prefer neutral white (around 4000K). If you have adjustable lights, set them to match room ambient to keep skin tone natural and avoid color shifts.
- Small, adjustable LED panels or ring lights work well when attached to a monitor or tripod. Aim for a softbox or diffuser when possible to prevent specular highlights on glasses.
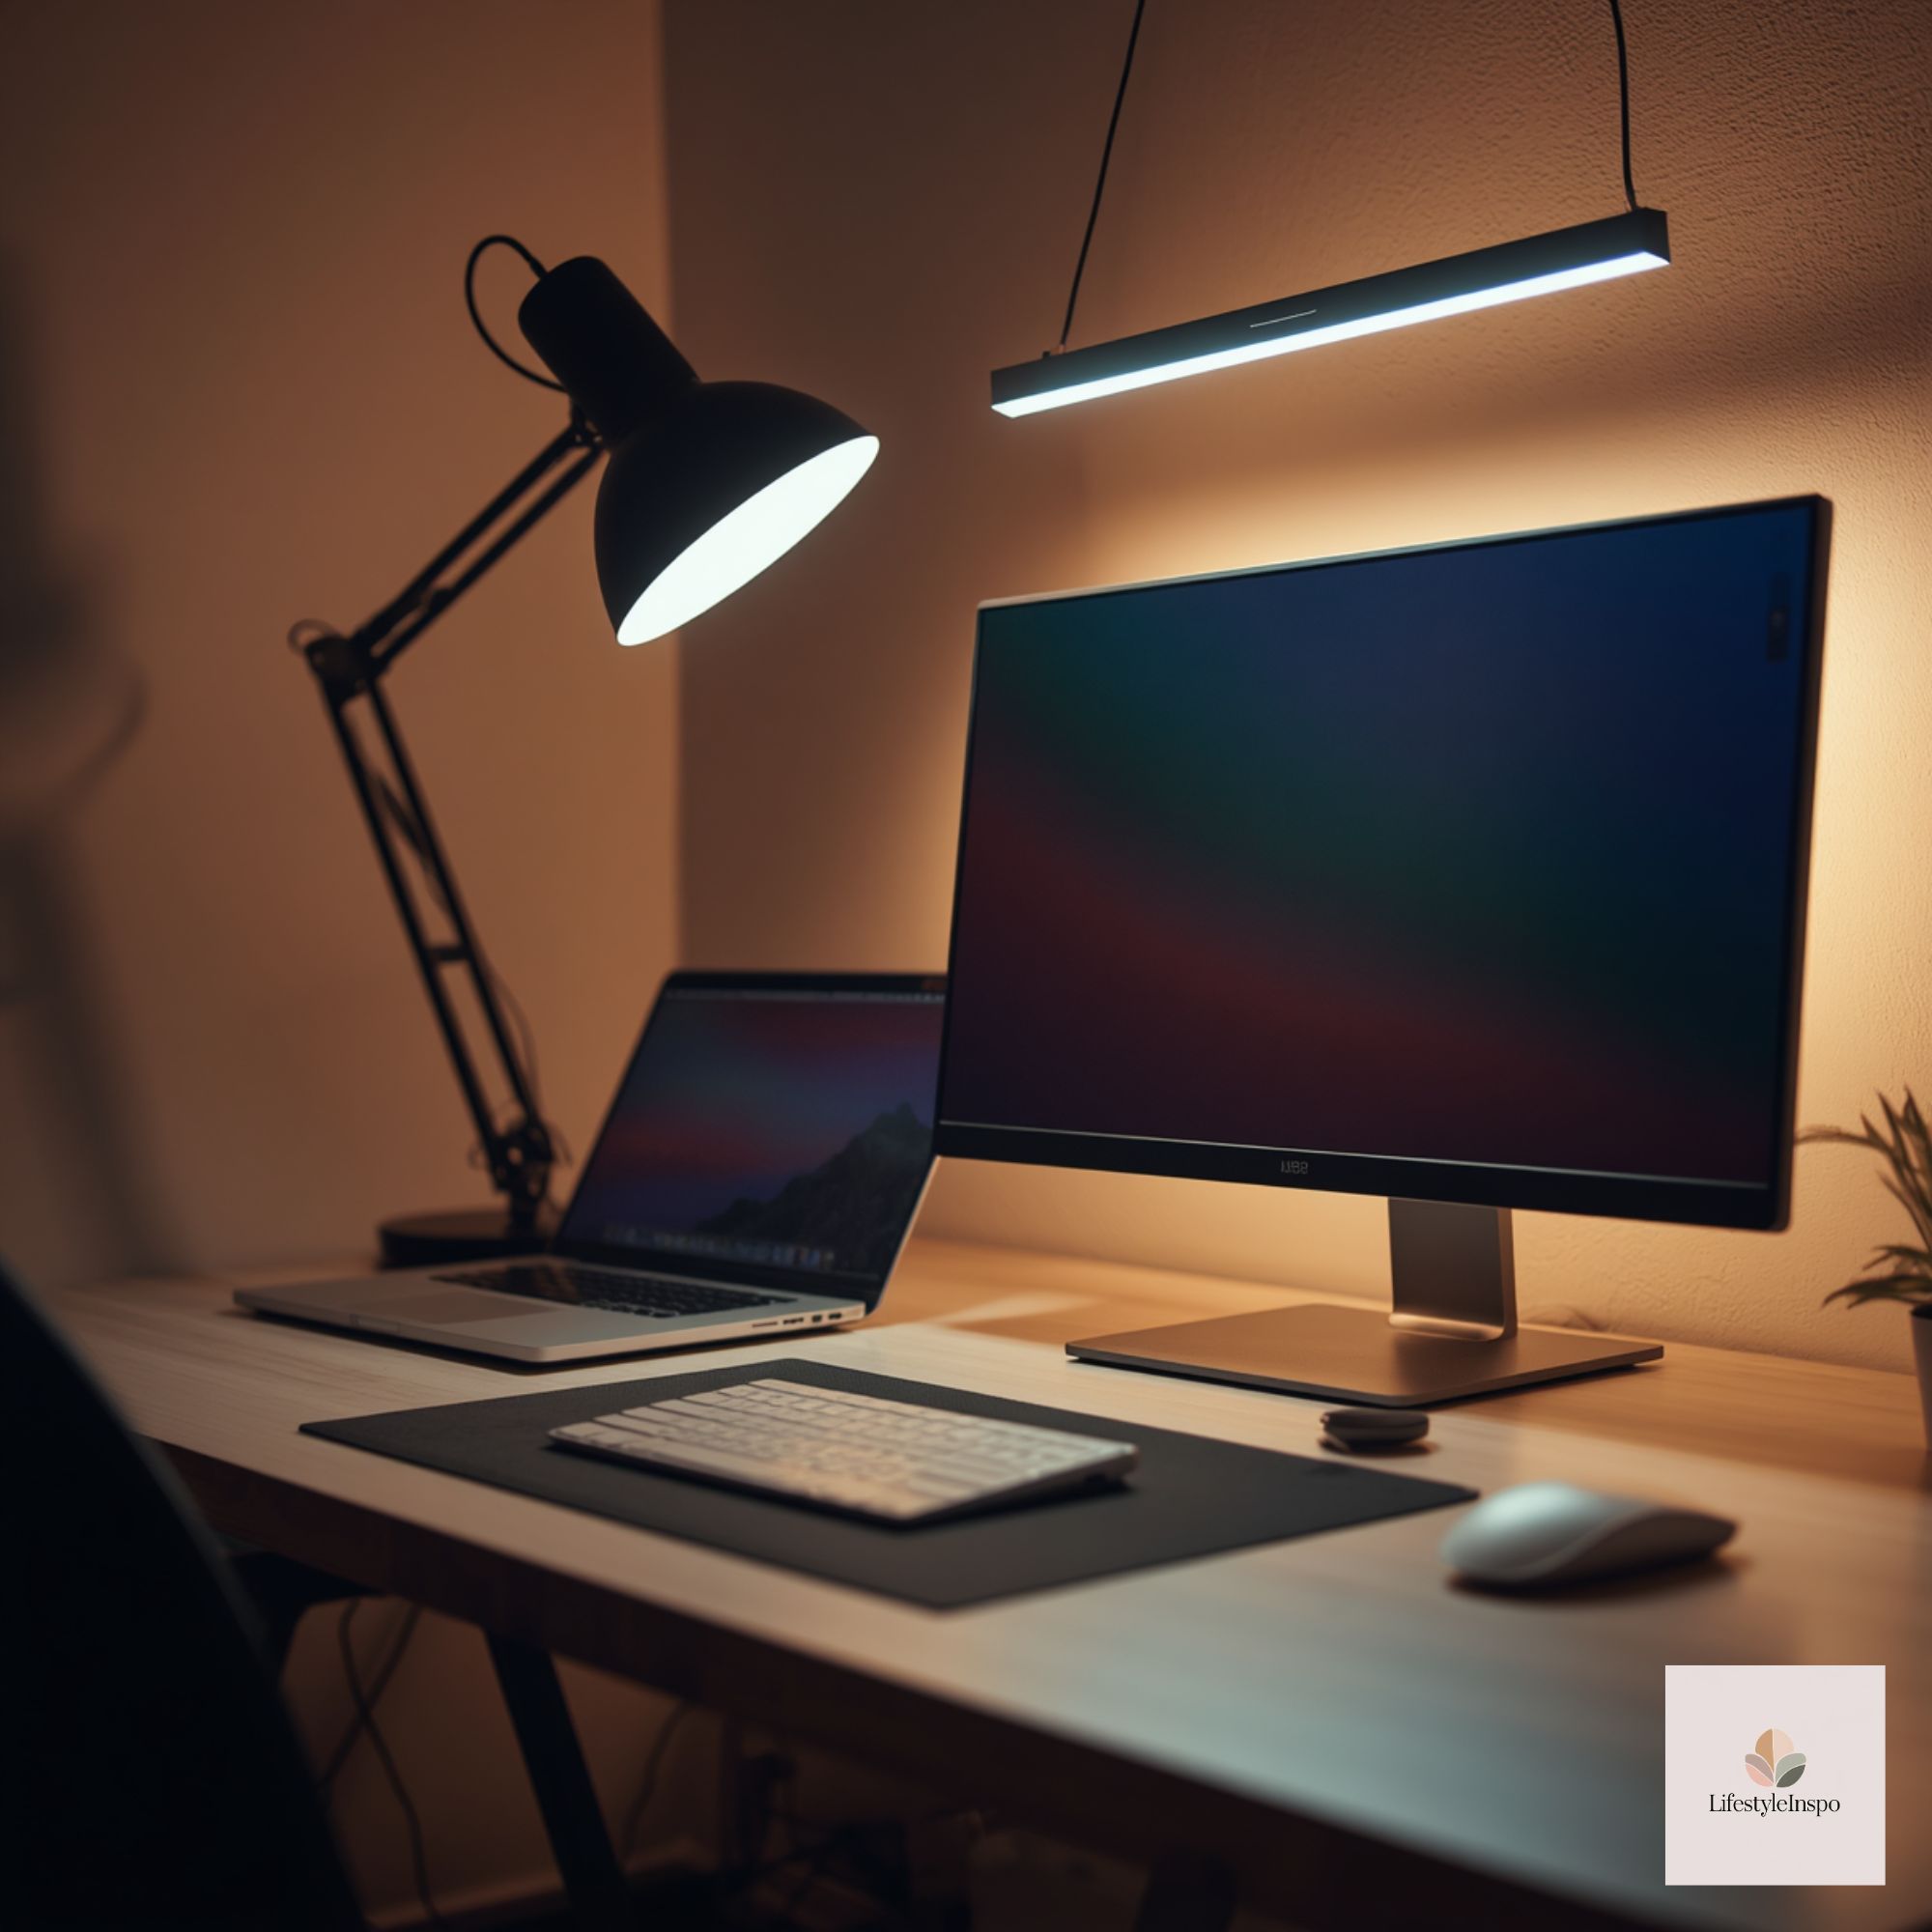
Layering examples for common setups
Here are practical layered-light setups, with precise placement tips tailored to real desk types.
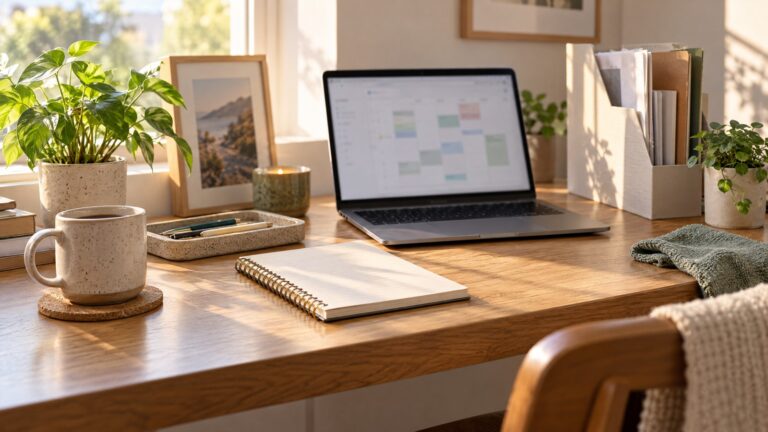
- Small desk in front of window (daylight-dominant): Use ambient daylight filtered through sheer curtains. Clamp task lamp on the side opposite your dominant hand, angled down 30 degrees onto the desktop. For video calls, add a small LED panel clipped to the monitor at eye level as fill; lower intensity than the window to avoid overexposure.
- Deep desk with dual monitors: Install a long, low-profile LED bar above the monitors that washes light down onto the desk surface without reflecting into the displays. Use individual swing-arm task lamps for each monitor user position to handle reading and paperwork.
- Corner workstation: Mount a wall or shelf lamp on an articulating arm on the inner corner so it can swing over either work plane. Keep the monitor placement centered in a neutral ambient field and use a camera-facing light that clips on the monitor center.
- Shared family desk: Use two smaller adjustable lamps rather than one central light. Each user can orient their lamp to their handedness, and dimming controls help reconcile brightness for different ages and tasks.
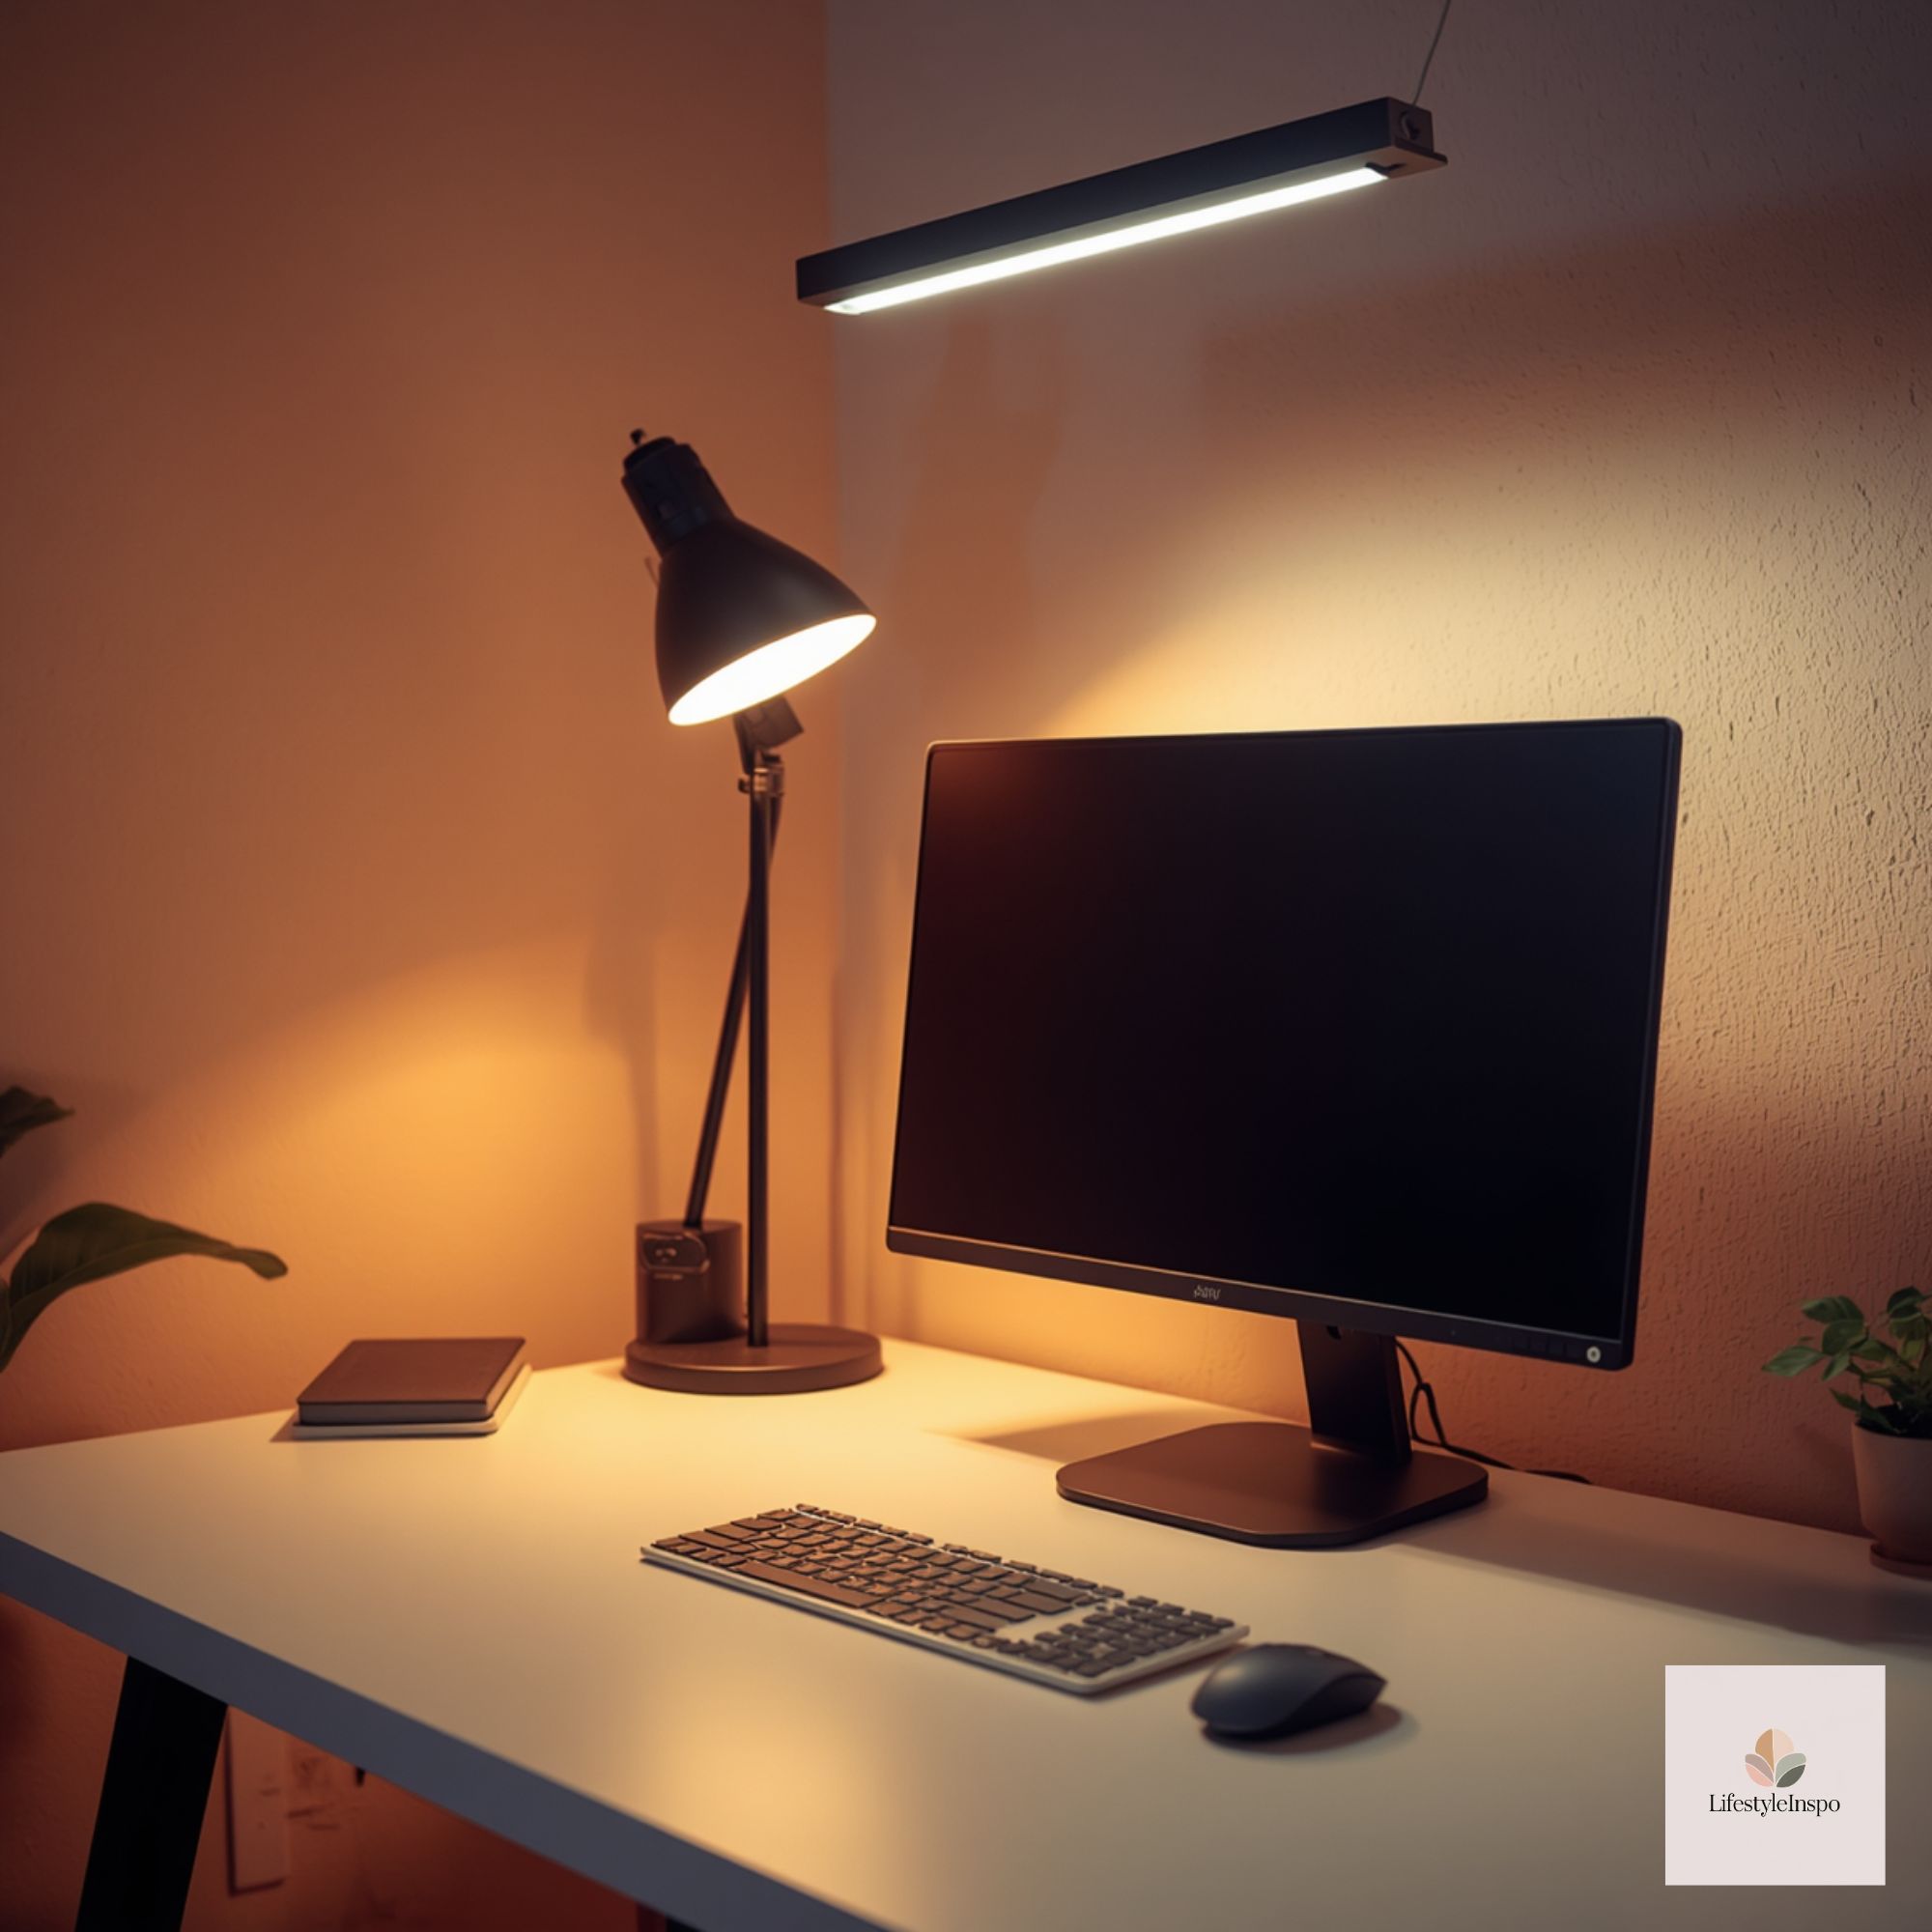
Styling and workflow-friendly choices without sacrificing function
Good lighting can be stylish and unobtrusive.
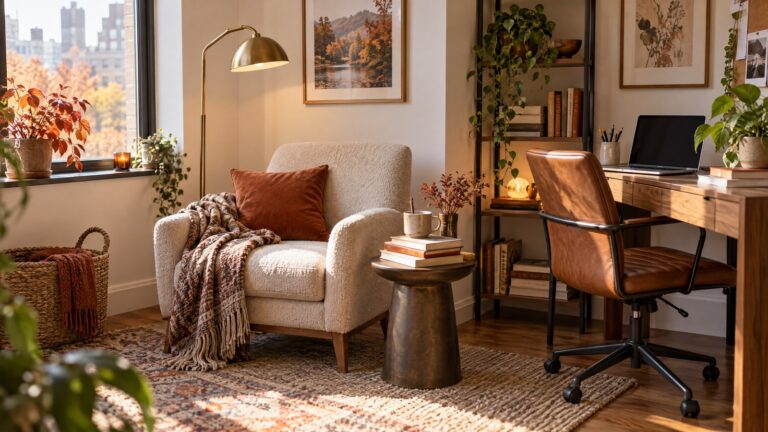
- Choose finishes and head shapes that match your aesthetic but prioritize directional control. Brass finishes or matte black both work well as long as the head is adjustable.
- Keep cables tidy with clips and under-desk channels; a clutter-free surface makes it easier to reposition lamps without tripping over wires.
- Use low-reflectance desk mats and matte accessories to absorb light rather than reflect it into screens.
Using digital assets as lighting inspiration and background accents
Digital clip-art and background textures can guide color choices and virtual backdrop accents. For example, a soft watercolor palette can help you choose desk paint or lamp finishes that flatter webcam skin tones and set a calm backdrop.

- Consider the Blue Green Watercolor Backgrounds | Digital Paper Clip Art for Teachers & Students as a starting point for choosing soft, muted tones that work on-screen. These are downloadable digital assets intended as visual inspiration; review the seller’s usage terms before reproducing or printing them.

- For slide decks or on-screen overlays in presentations, the Blue Clip Art Assets For Business Slides provides cohesive blues and graphic elements that can inform your lighting mood and color temperature choices. These are digital downloads and should be used according to the product’s licensing.
Remember: these digital files are inspiration and on-screen graphics — they are not physical decor. Always check the seller’s usage terms before printing or commercial reproduction.
Blue Green Watercolor Backgrounds | Digital Paper Clip Art for Teachers & Students (PNG)
Conclusion
Layering light is the practical route to meet the varied demands of reading, screen work, and video calls. Start with a balanced ambient base, add a directional task lamp placed opposite your dominant hand, control glare on reflective screens, and include a diffused camera-facing fill for video. Prioritize adjustable fixtures — multi-axis arms, stepless dimming, and color control — so a single lamp can serve many roles. With careful placement and a few technical choices, you can create a desk that lights tasks precisely, reduces distracting reflections, and helps video calls look intentional and natural.
About the Author