A Tiny Botanical Moment: Decorating a Window Ledge With DIY Flower Art
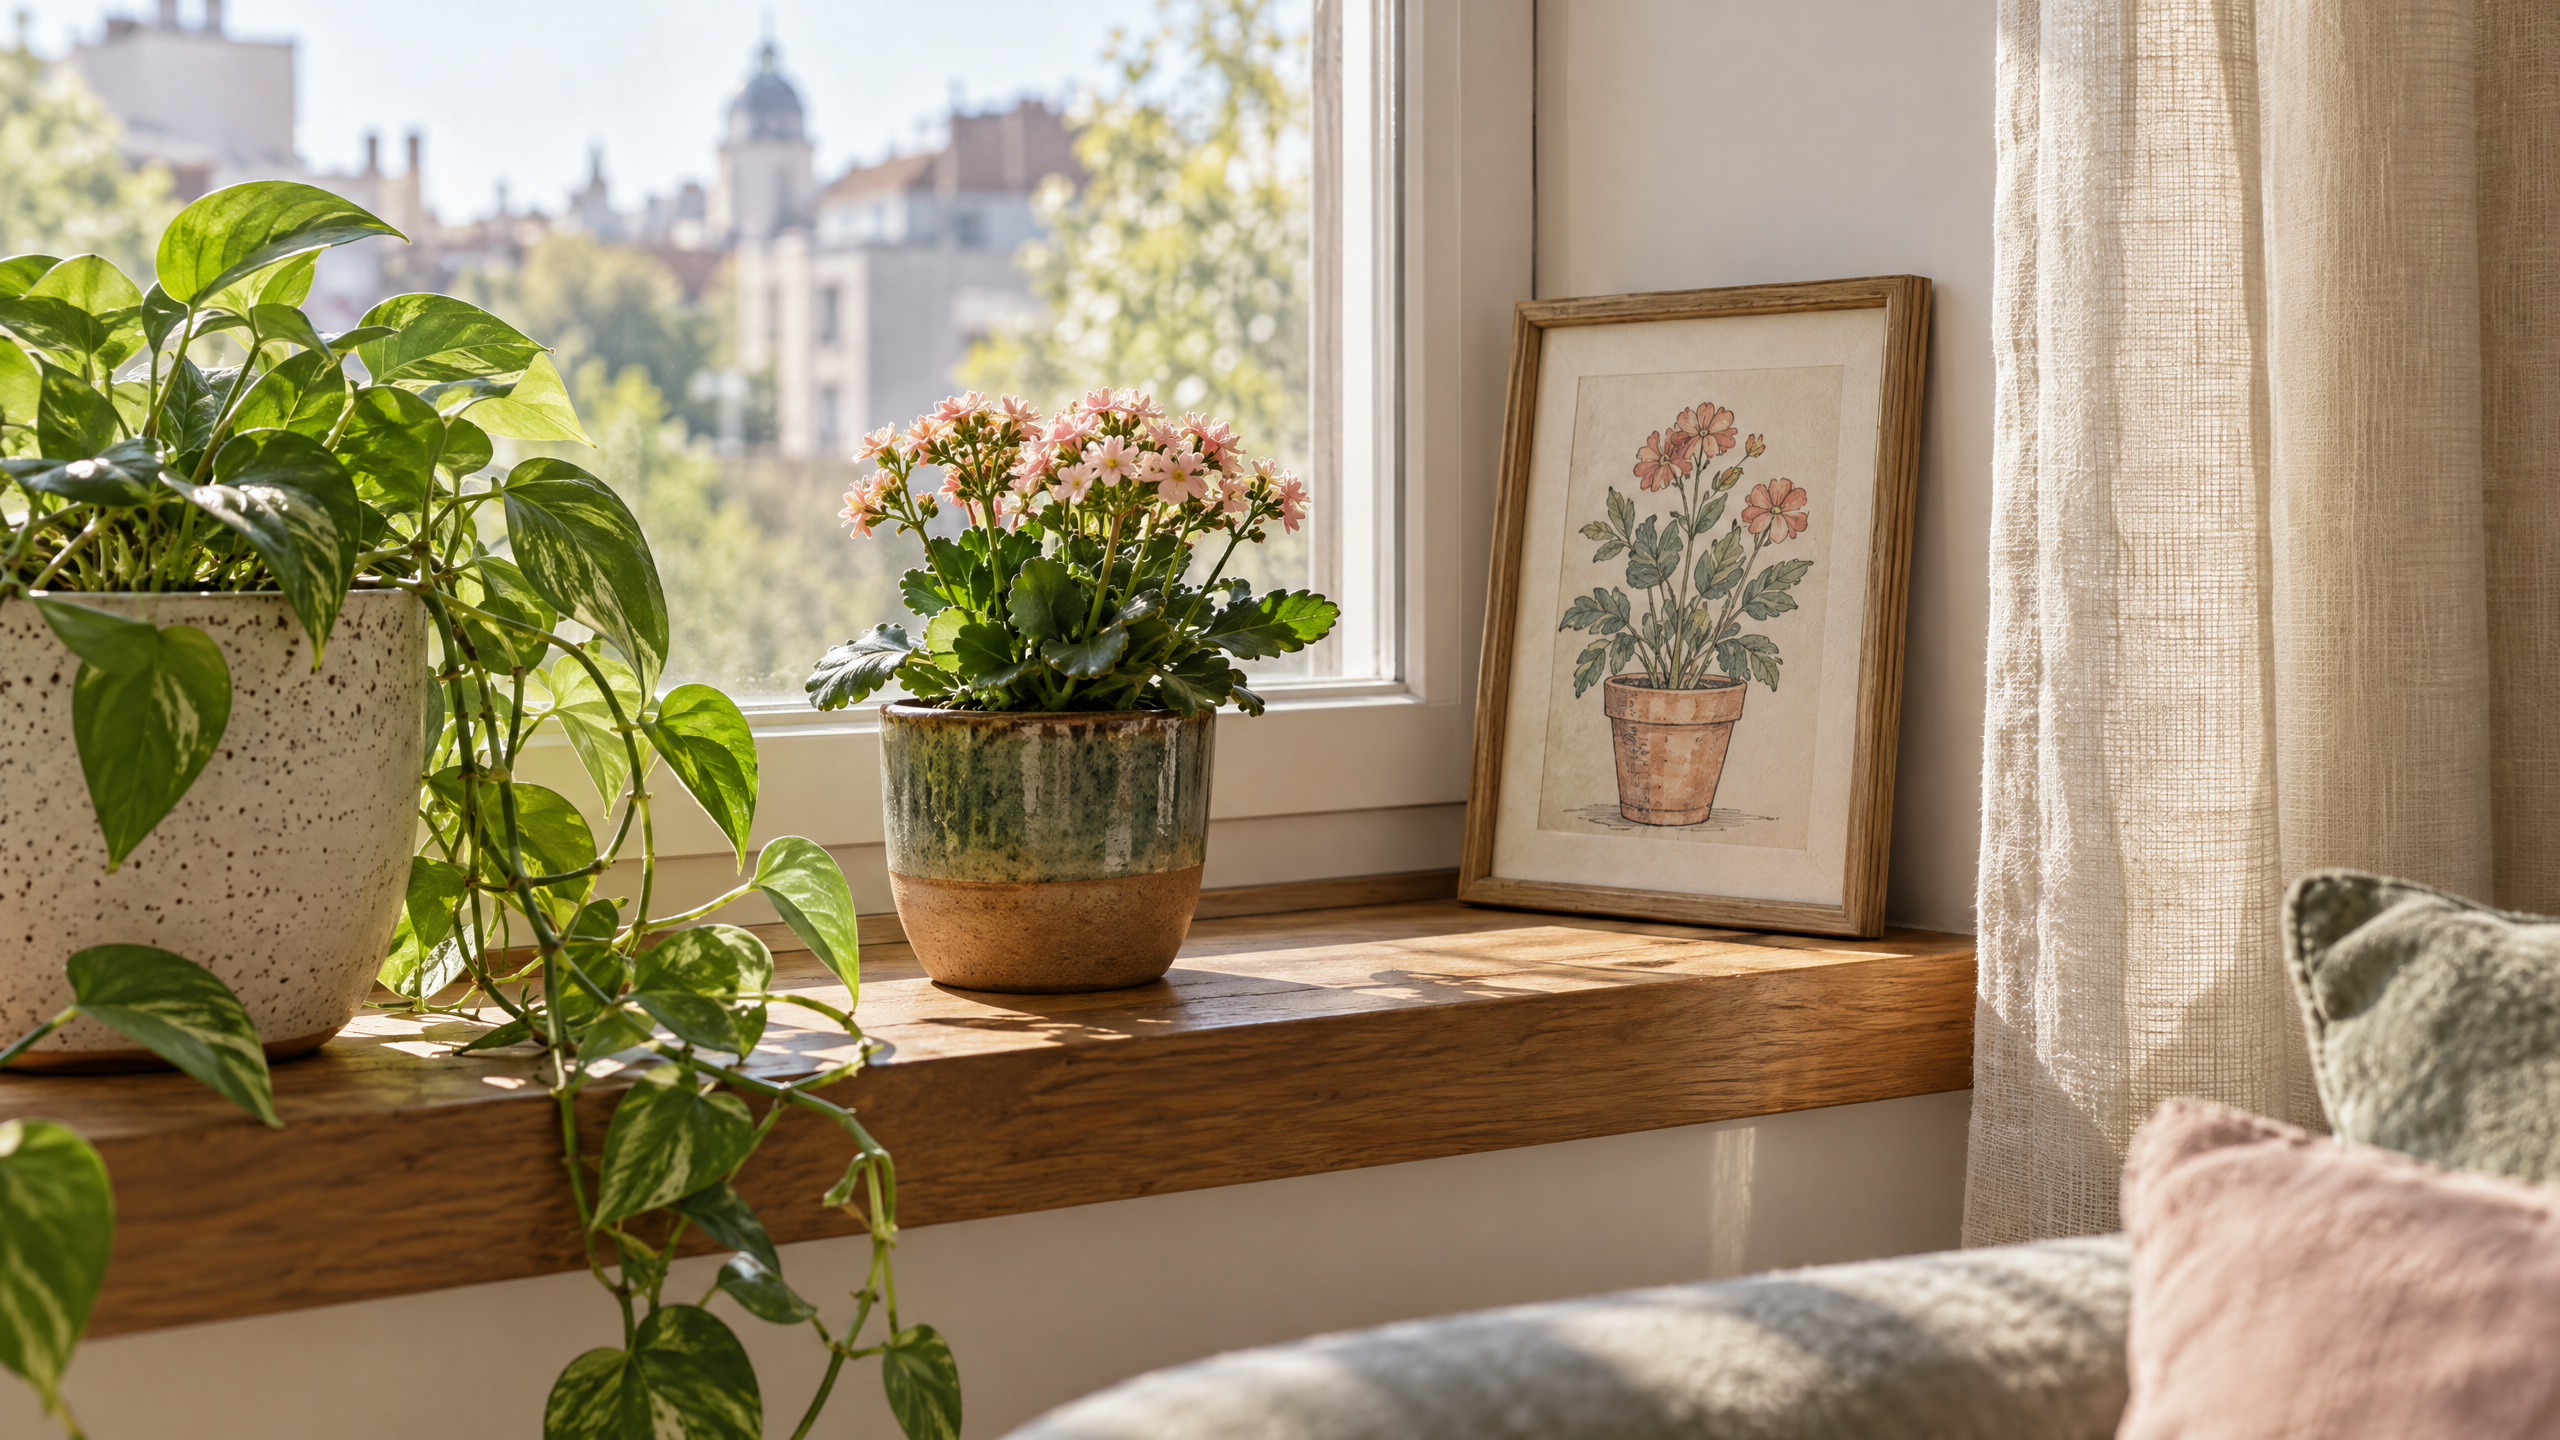
A sunny window ledge is a tiny, often overlooked stage in the home—the place where morning coffee meets the day’s first plant check and where small, joyful objects can quietly change the mood of a room. Decorating a window ledge doesn’t require a dramatic renovation or a collection of expensive pieces. With a little composition know-how, a mix of living and nonliving elements, and a personalized pop of DIY flower art, you can create a layered, camera-ready vignette that’s both renter-friendly and deeply personal.
This guide focuses on one compact scene: a narrow window sill vignette centered around a colored flower-pot page you personalize yourself. The project balances plants, light, frames, depth, and portability. I’ll walk you through planning, styling, and practical constraints so you can adapt the idea to any window width, budget, and aesthetic.
Why a small window ledge deserves attention
- It’s visible every day: The window sill is in constant view, so small updates pay off emotionally.
- It’s flexible: Change one object—a colored print, a new succulent—and the whole vignette shifts.
- It’s renter-friendly: No drilling, no painting, and most pieces are easy to move or store.
- It can be tiny work of art: A framed, hand-colored flower-pot page personalizes the space in a way mass-produced items cannot.
What you’ll need (basic kit)

- A printed Flower Pot Coloring Page to color and frame (consider this printable starting point: Flower Pot Coloring Pages)
- A small frame or mini easel that fits the print
- Two to four small plants (succulents, small vases with clippings, or a trailing ivy)
- One taller sculptural piece for vertical balance (a candle, ceramic bud vase, or a brass taper holder)
- Layering objects for depth (tiny stack of books, a low bowl, or a pebble dish)
- Non-marking rubber pads or museum putty for stability if you have pets or children
- Soft plant-friendly light (sheer curtain, adjustable desk lamp, or battery-powered fairy lights)
Flower Pot Coloring Pages / Sheets of Flower Pot {Coloring Book}
Choose the right coloring page and how to personalize it
The focal point of this vignette is a colored flower-pot page you create yourself. The charm lies in the handmade quality. You can choose anything from crisp, simple line-art to more detailed botanical outlines depending on your coloring skill and time.
- Why start with a printable: A printable flower-pot coloring page provides a consistent composition and scale you can color quickly and adapt. It’s a creative shortcut that lets the rest of your vignette lean into texture and living elements rather than trying to design a new image from scratch.
- How to pick a page: Look for an image with a strong pot shape and clear flowers—this will read well across a room. If you plan to add a frame, check that the proportions will fit standard frame sizes or be ready to mat it.
- Color approach: Keep it cohesive with the room’s palette. Choose two to three dominant colors (for example: terracotta + sage + butter yellow) and use neutrals for the background. Or go high-contrast with deep indigo and sunny orange for a modern pop.
- Materials to use: Colored pencils give controllable gradients and fine detail; markers provide saturated color but may need thicker paper to prevent bleed; watercolor pencils allow a painterly wash if the paper can handle water. Test on a copy first.
- Framing vs. leaning: Framing makes the piece feel finished. A mat gives breathing space. Alternatively, leave the paper unframed and place it in a clear acrylic display if you prefer a lighter, more casual look.
Step-by-step: Compose a winning small ledge vignette
Measure and map
Measure the width and depth of your sill. If it’s very narrow (less than 3 inches), stick to shallow, flat objects—small frames, clipped stems in a low tea light-sized glass, or a rolled booklet. Map your arrangement roughly on paper or with a phone photo so you can visualize balance before placing objects.
Establish a center or anchor
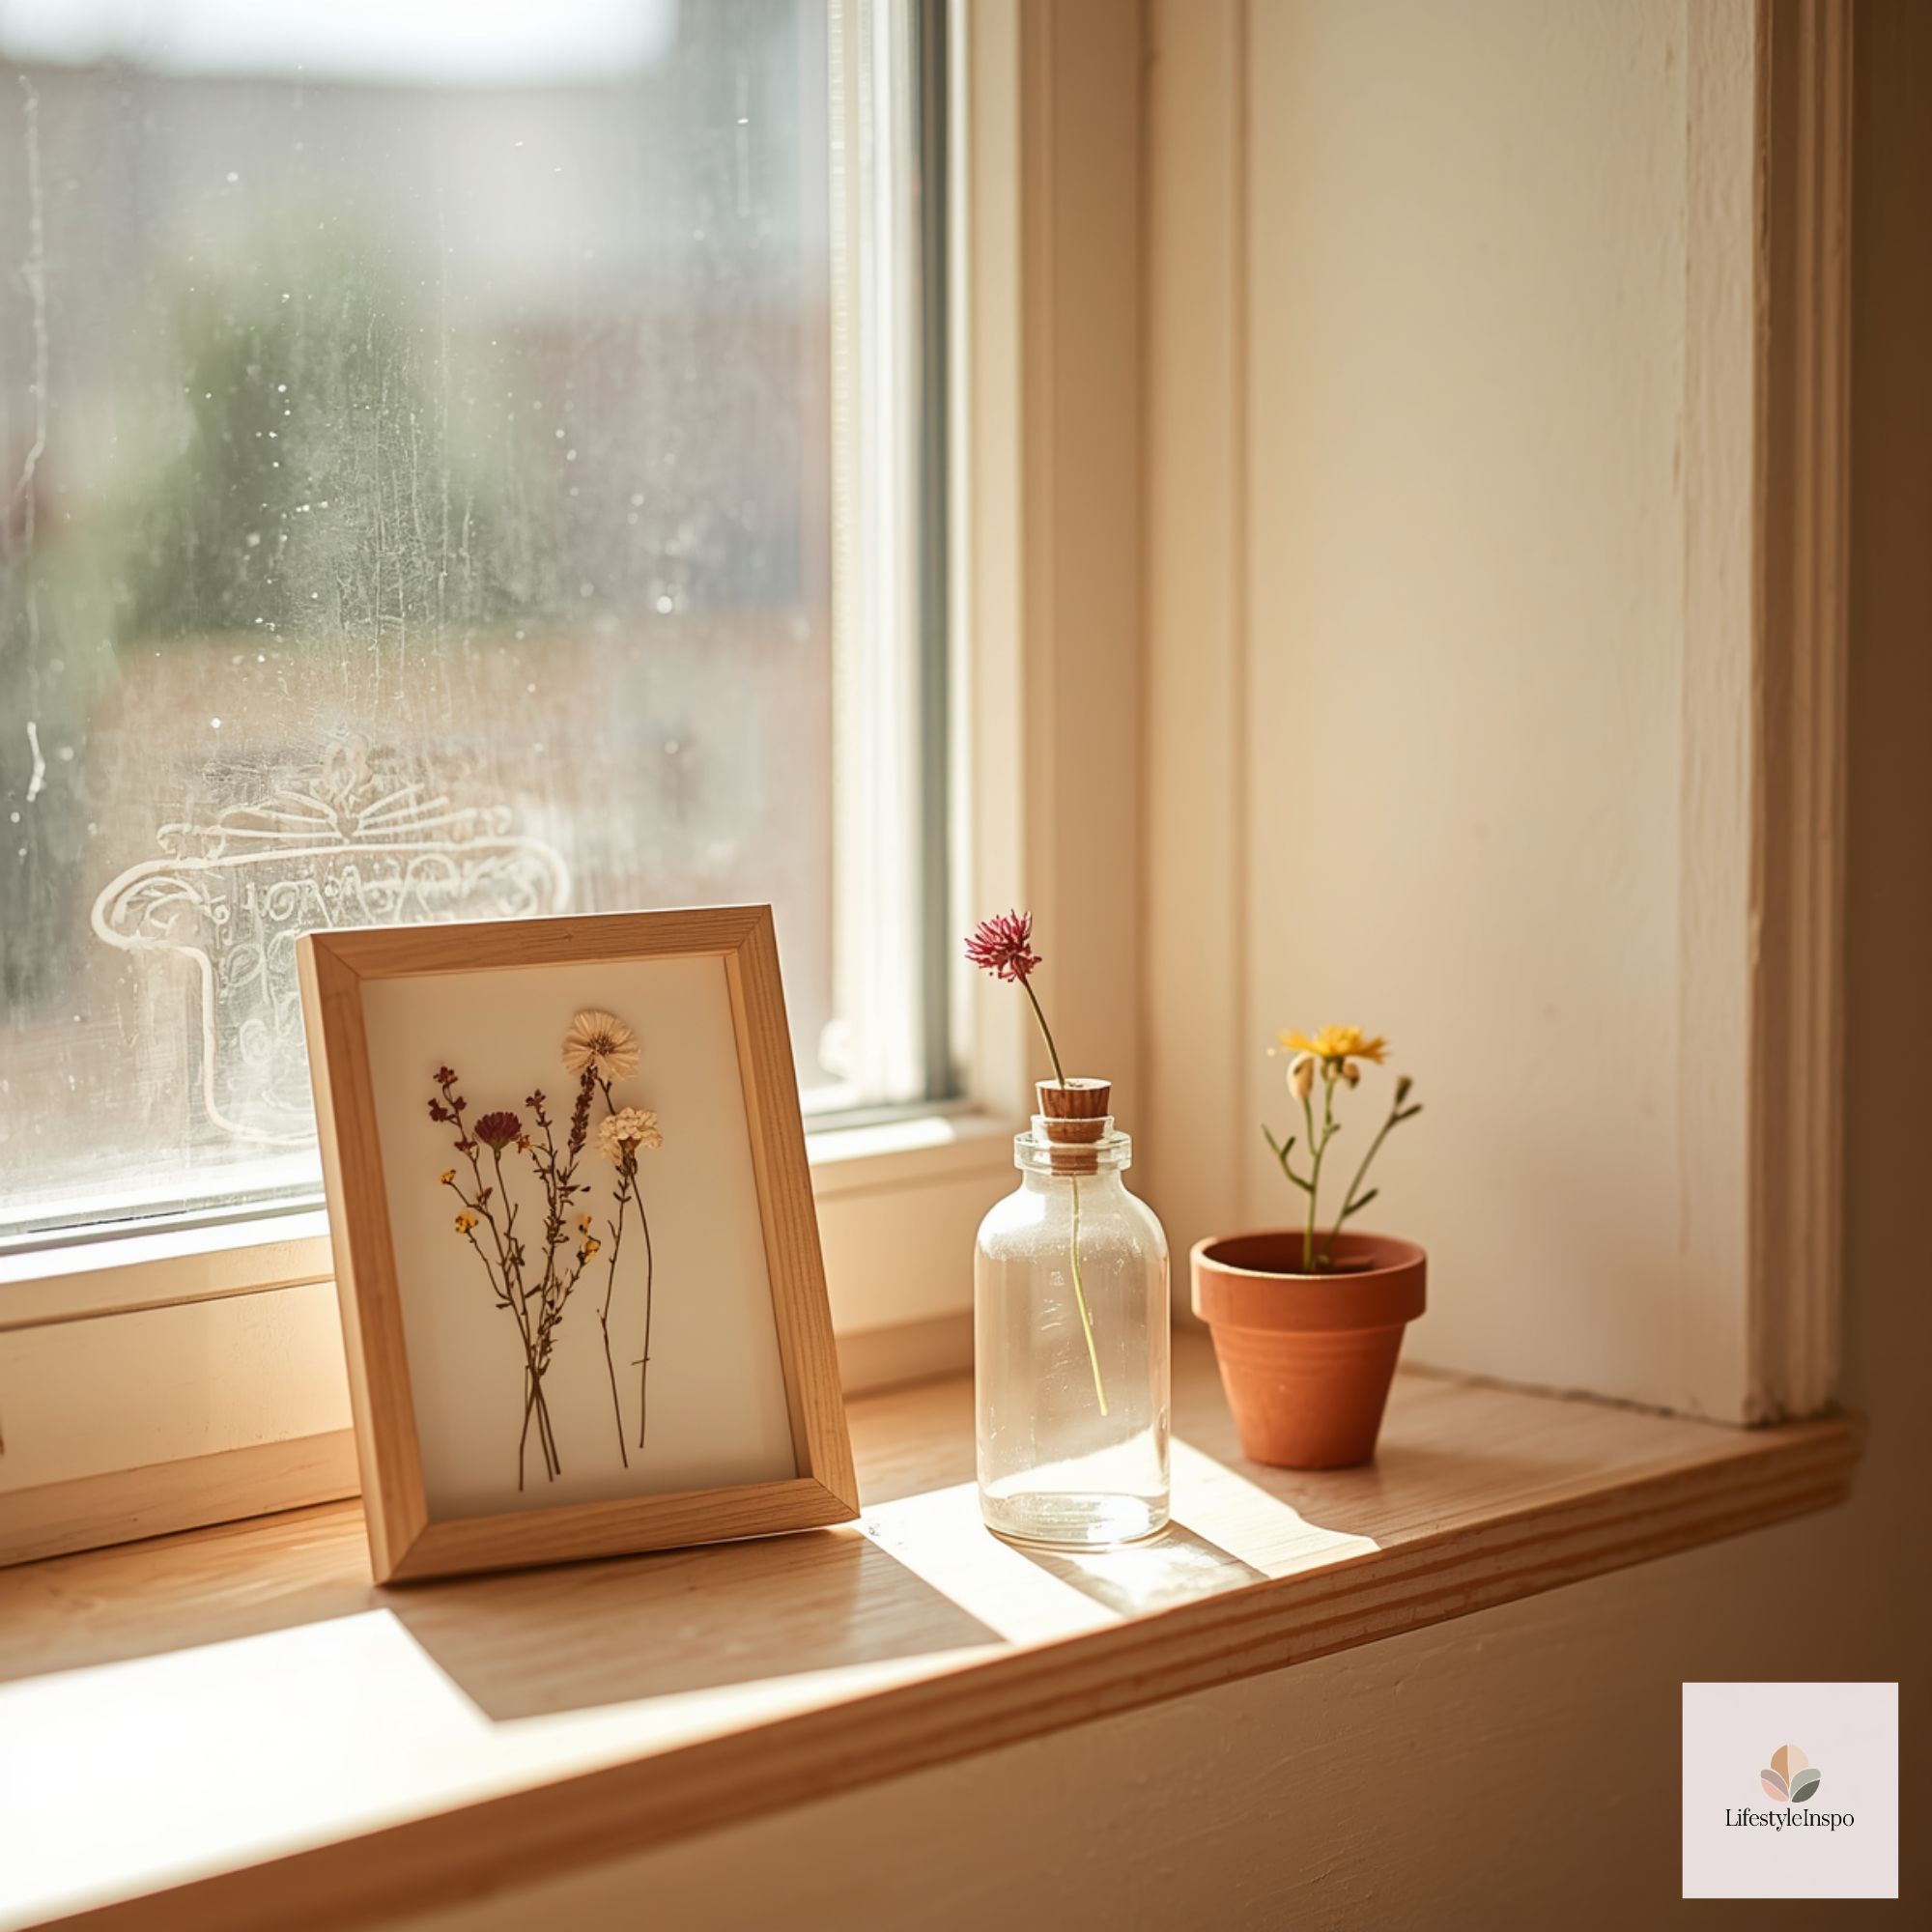
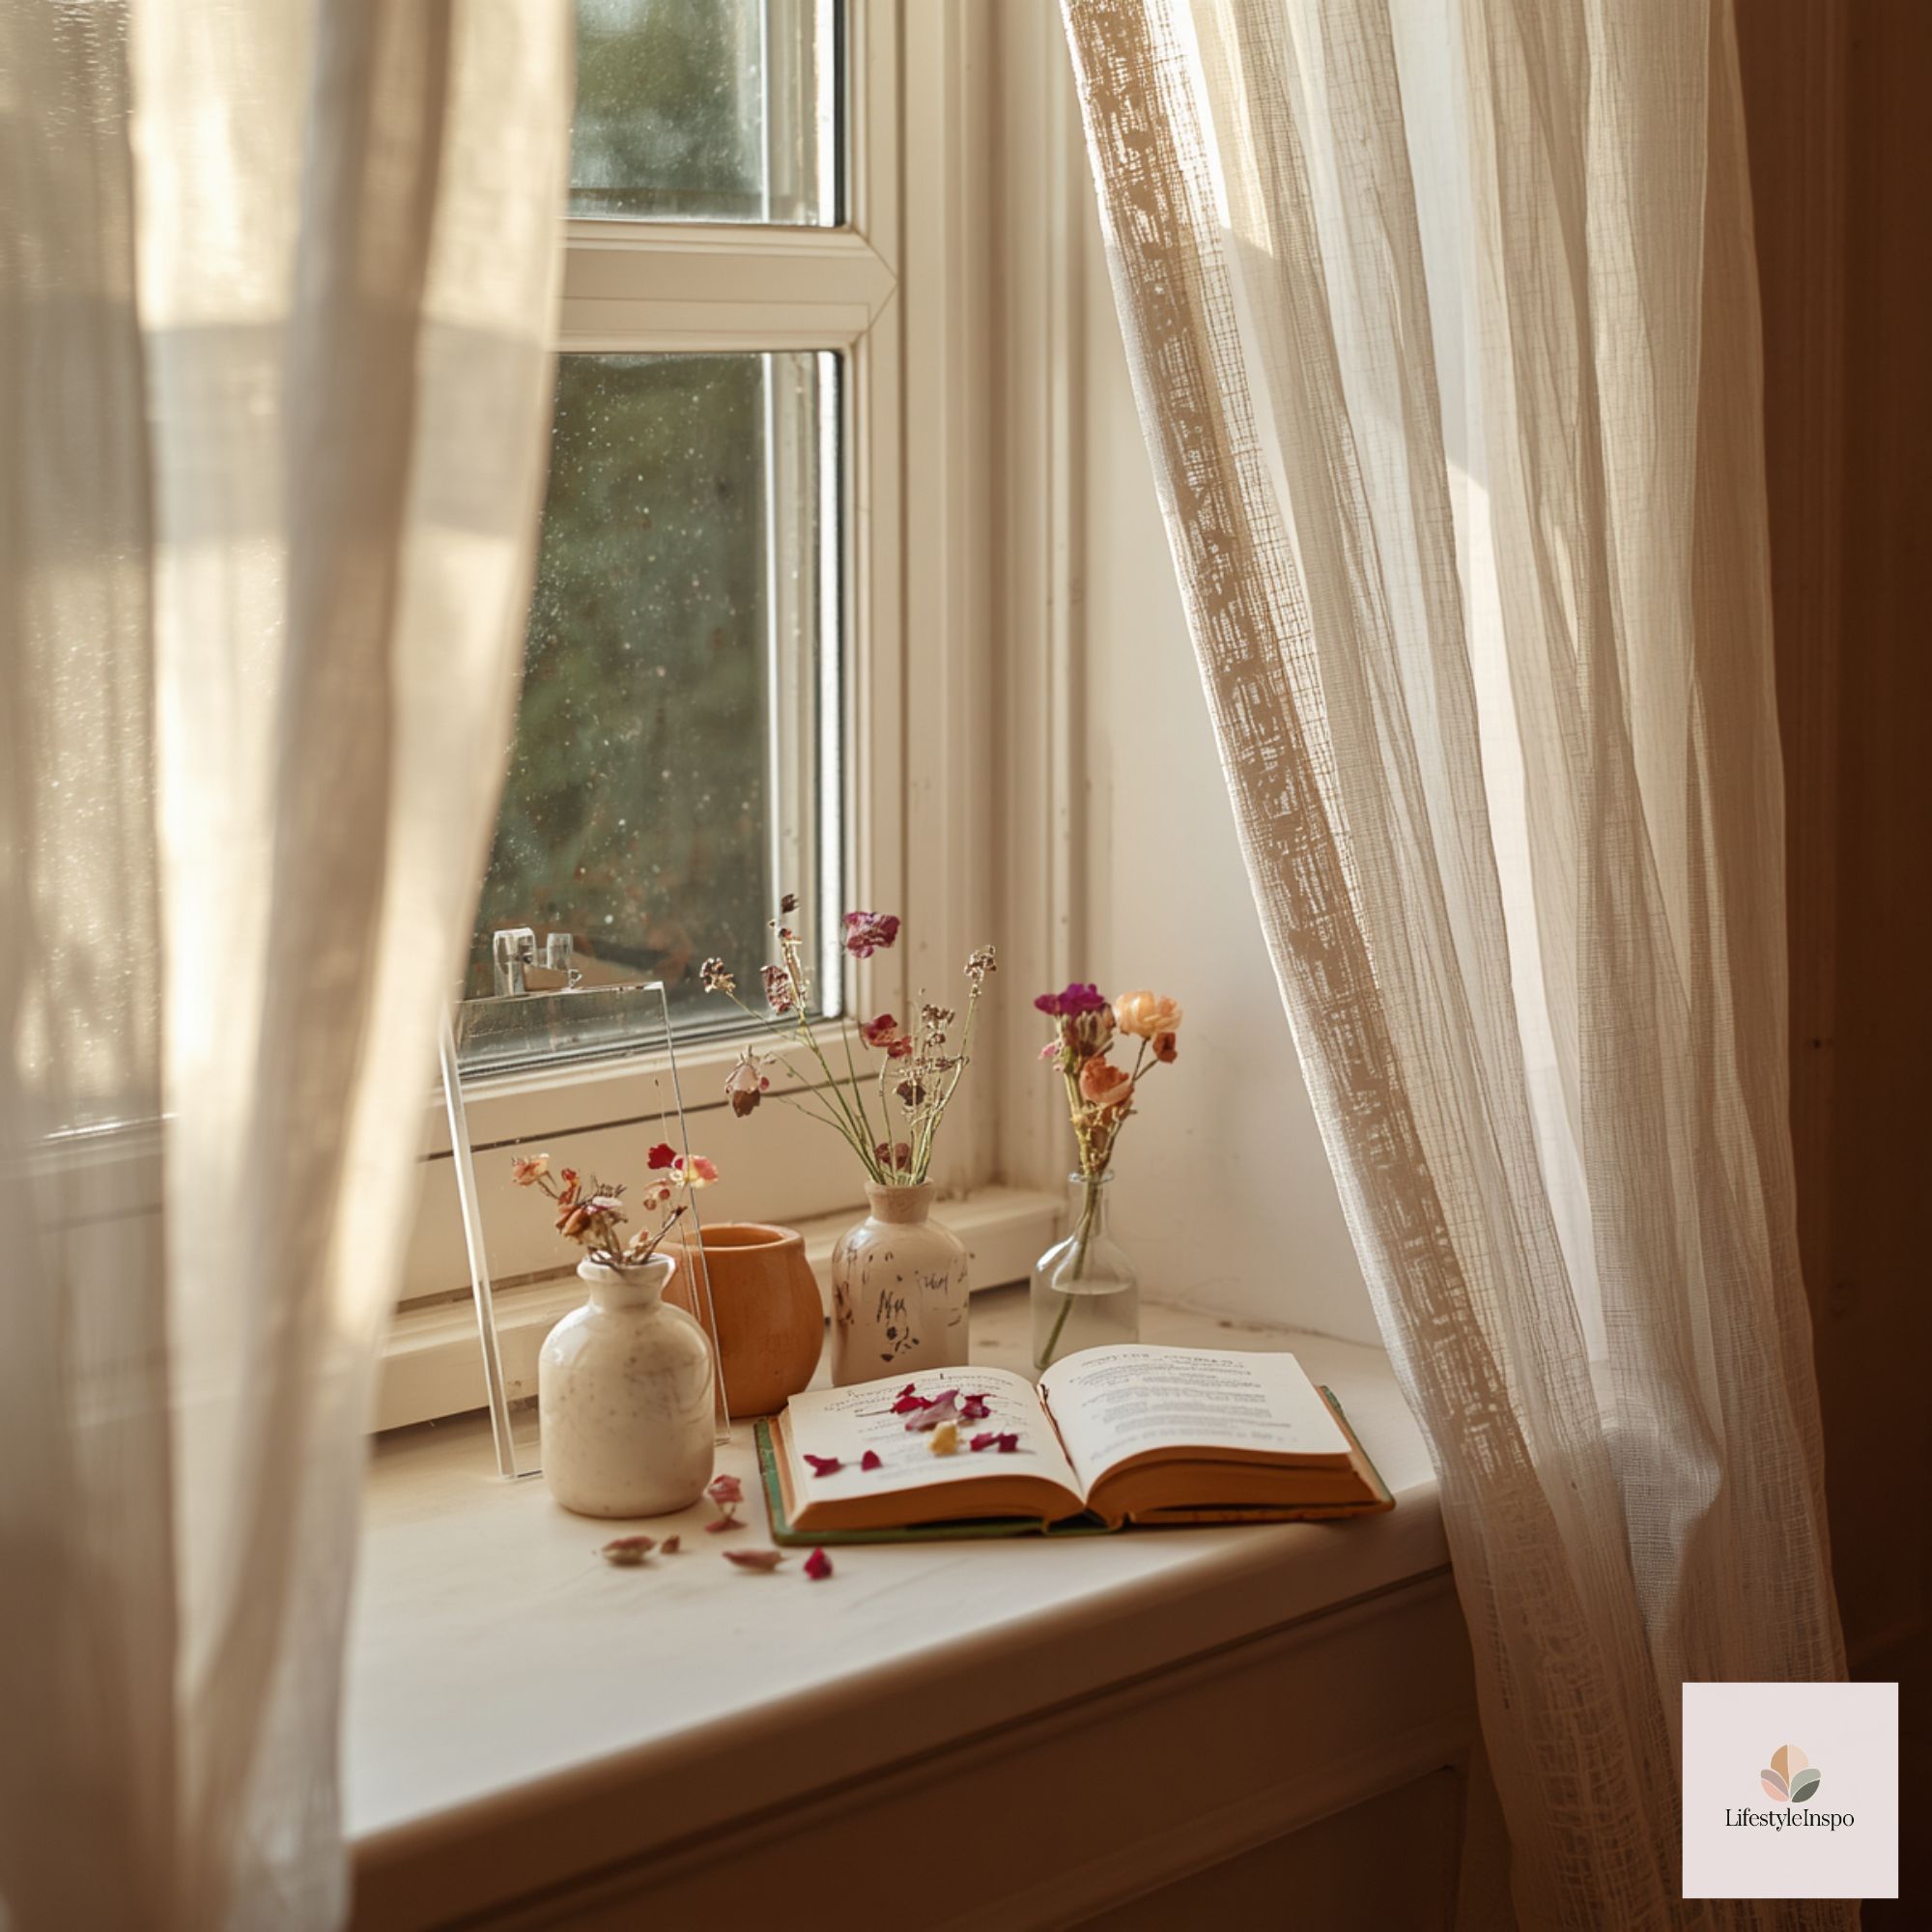
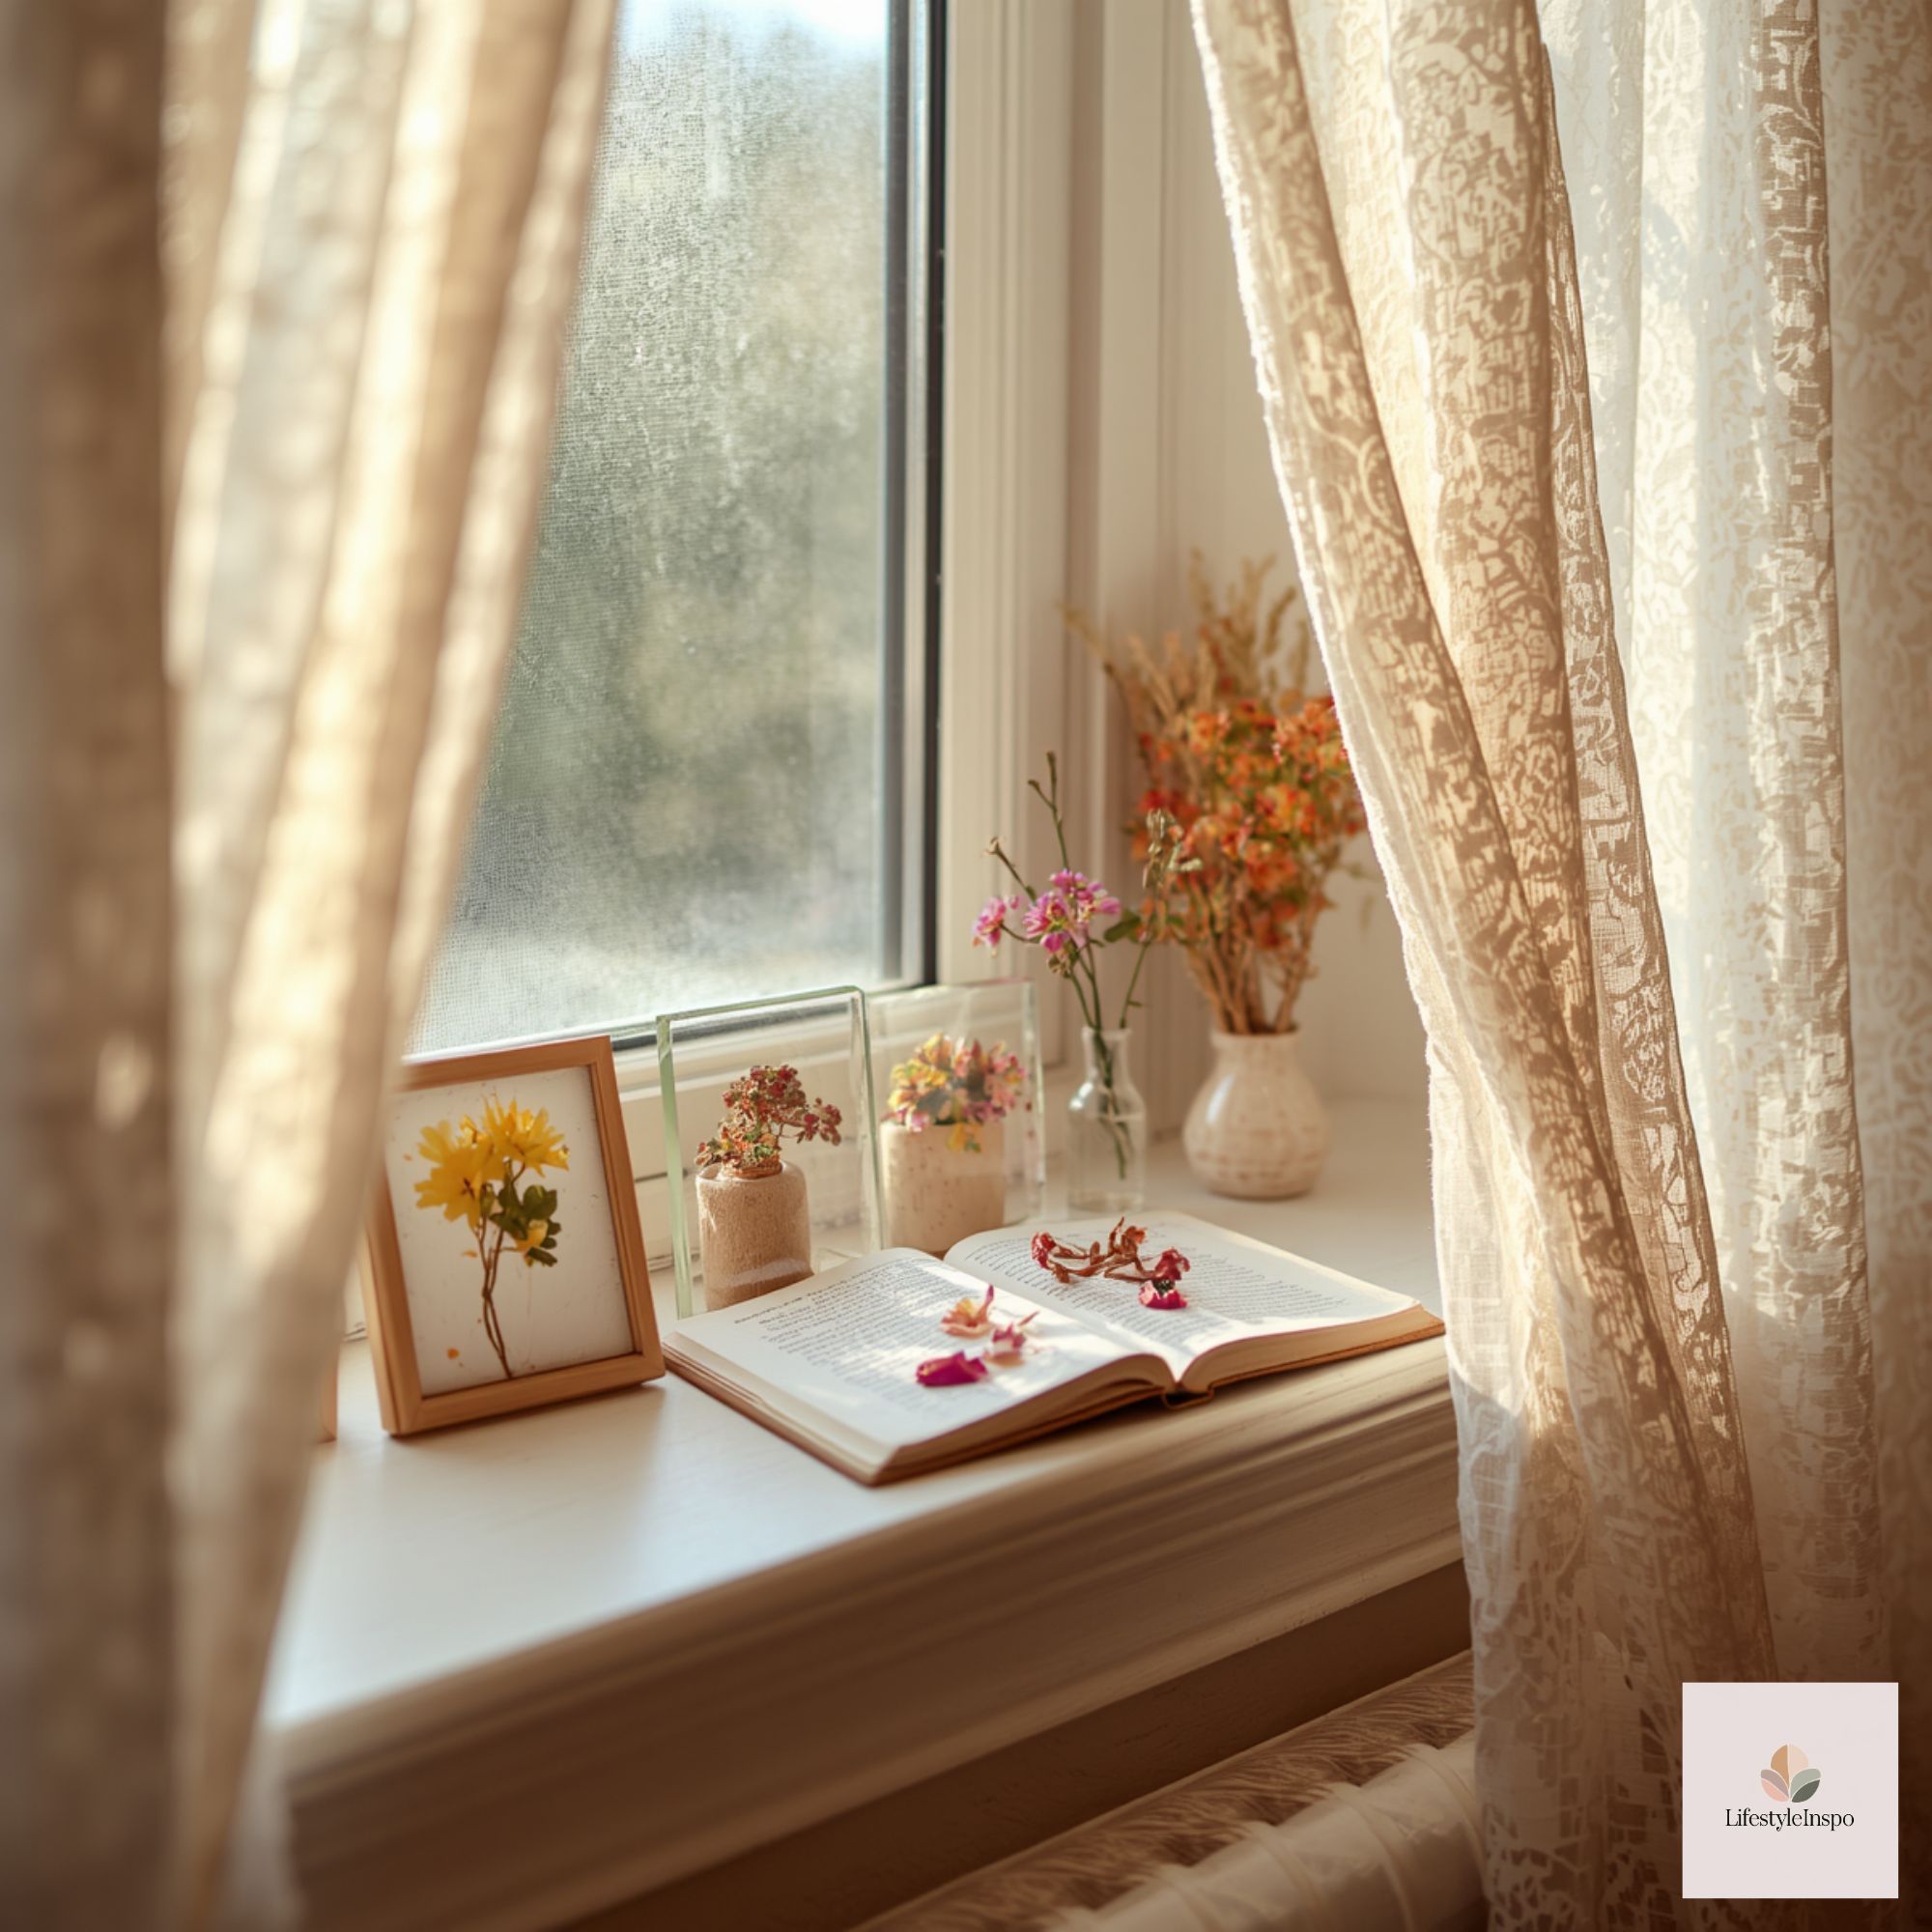
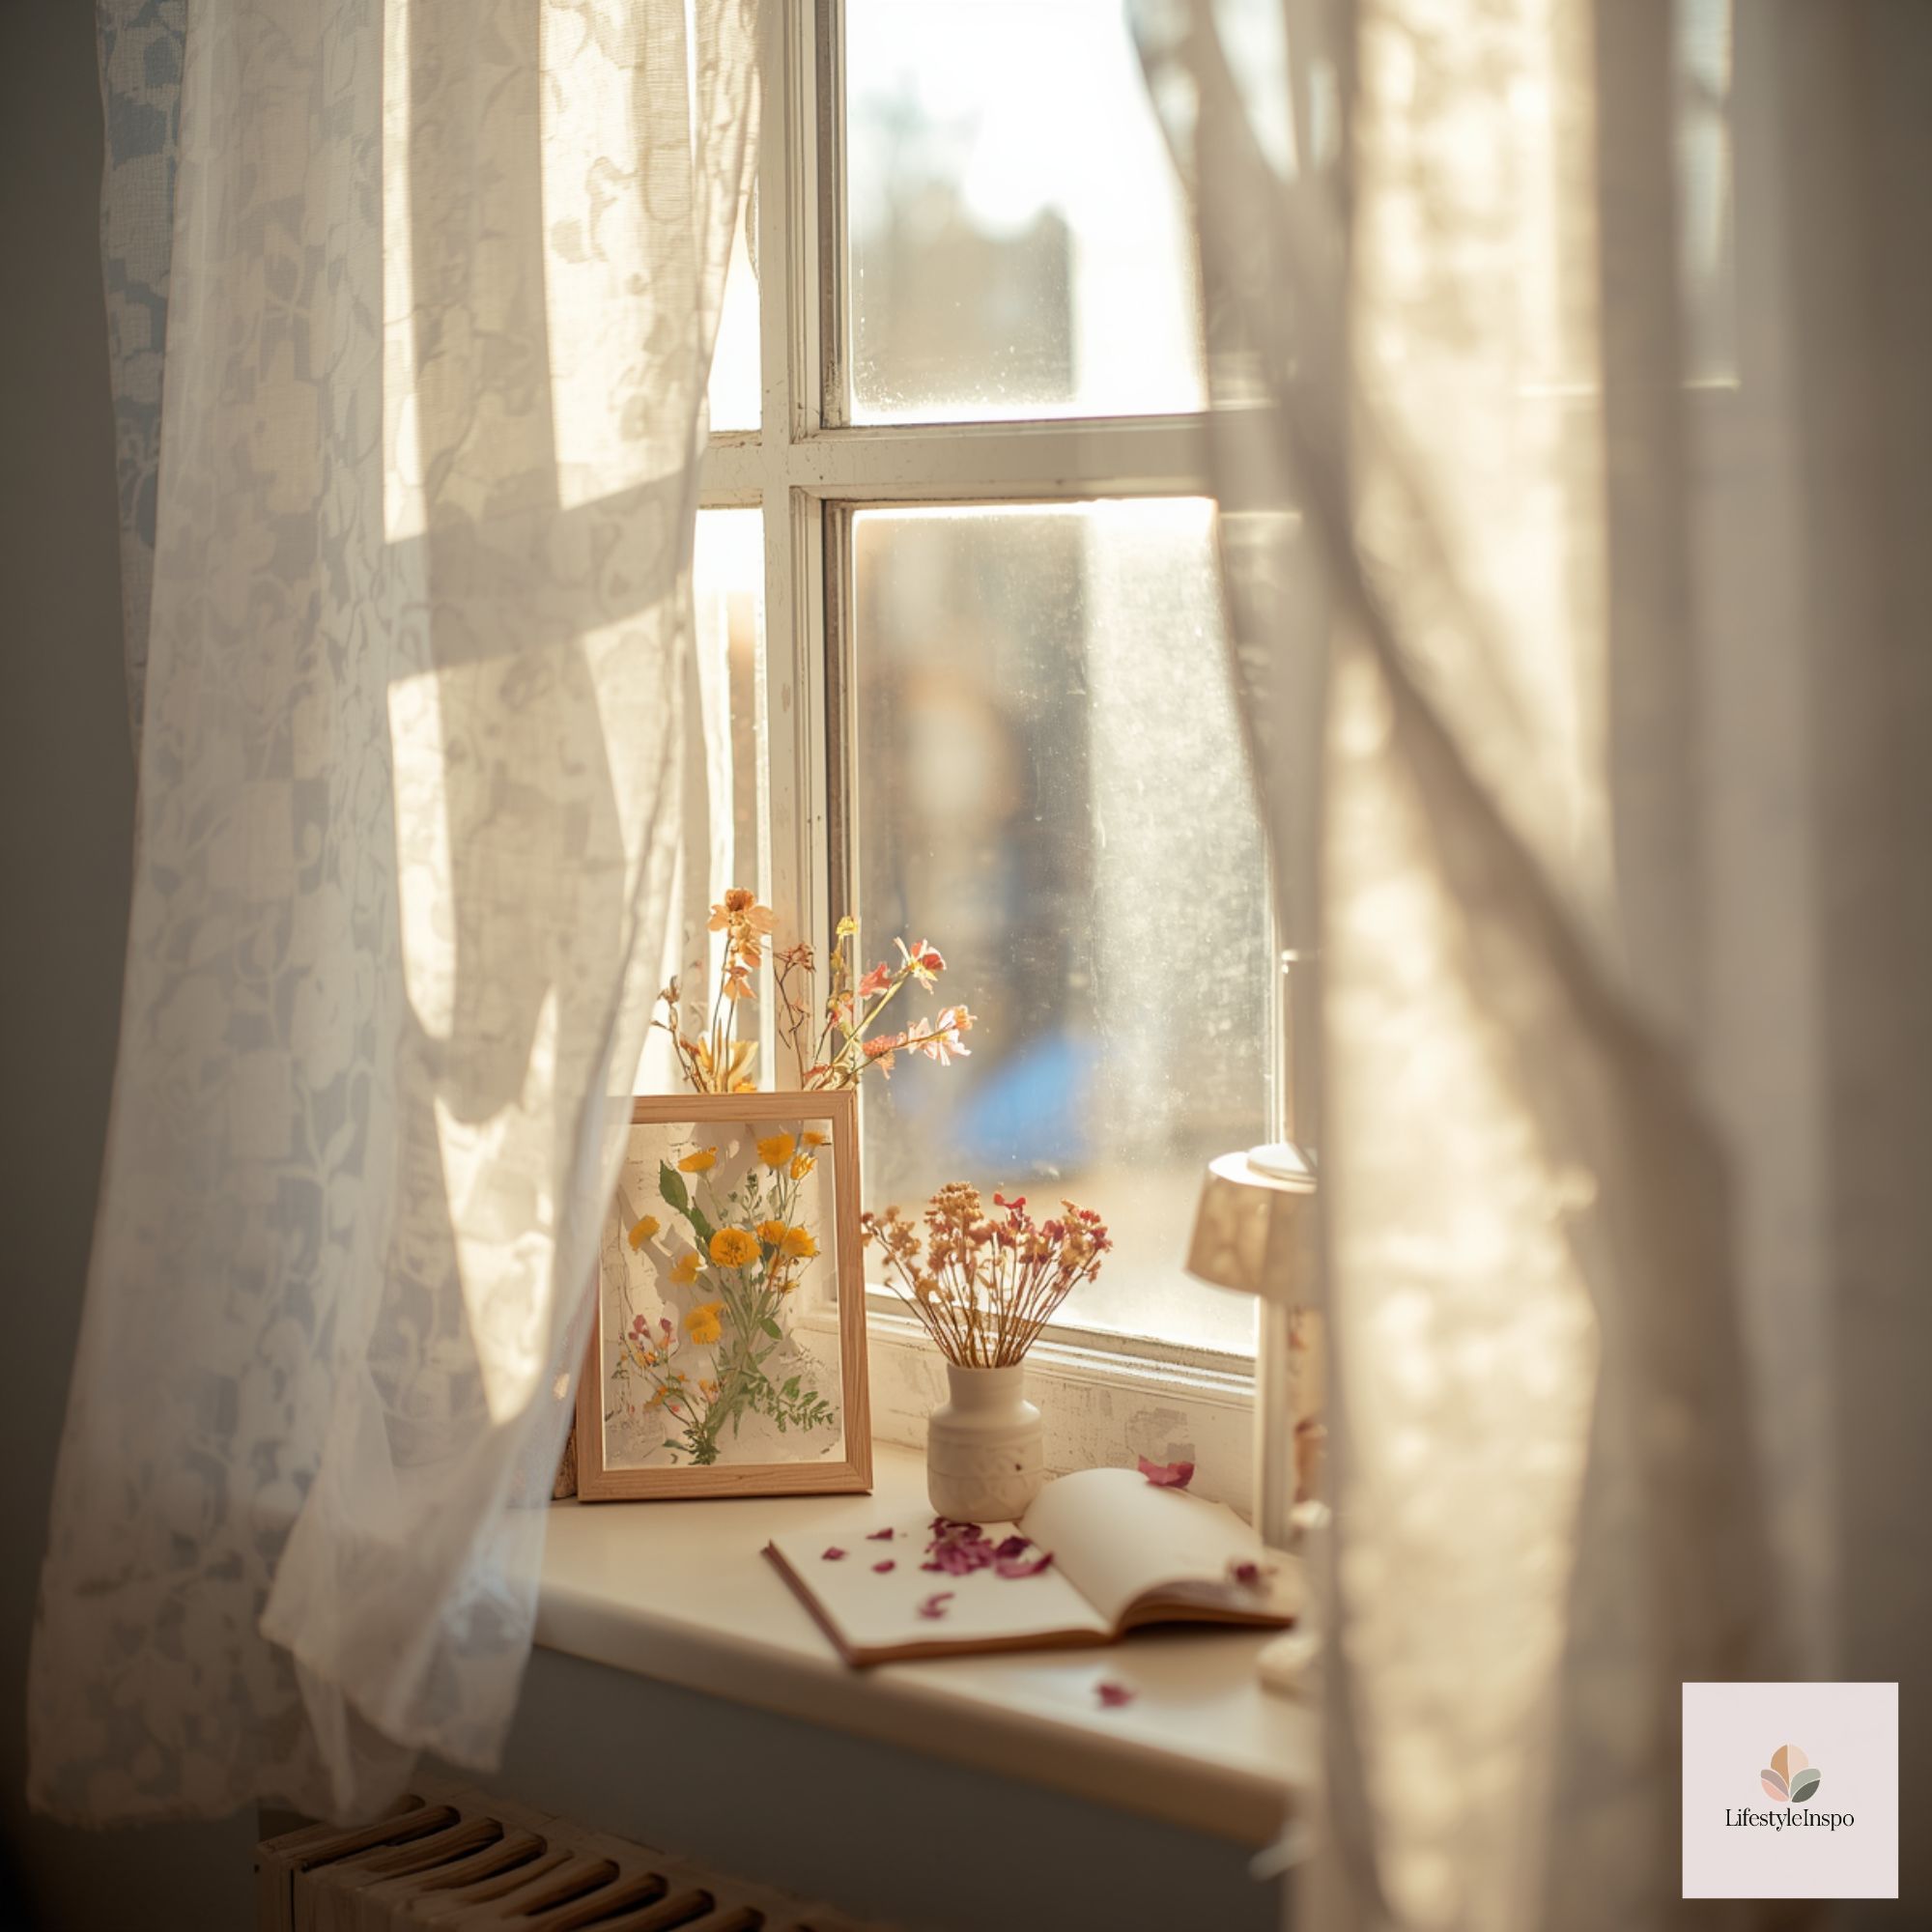
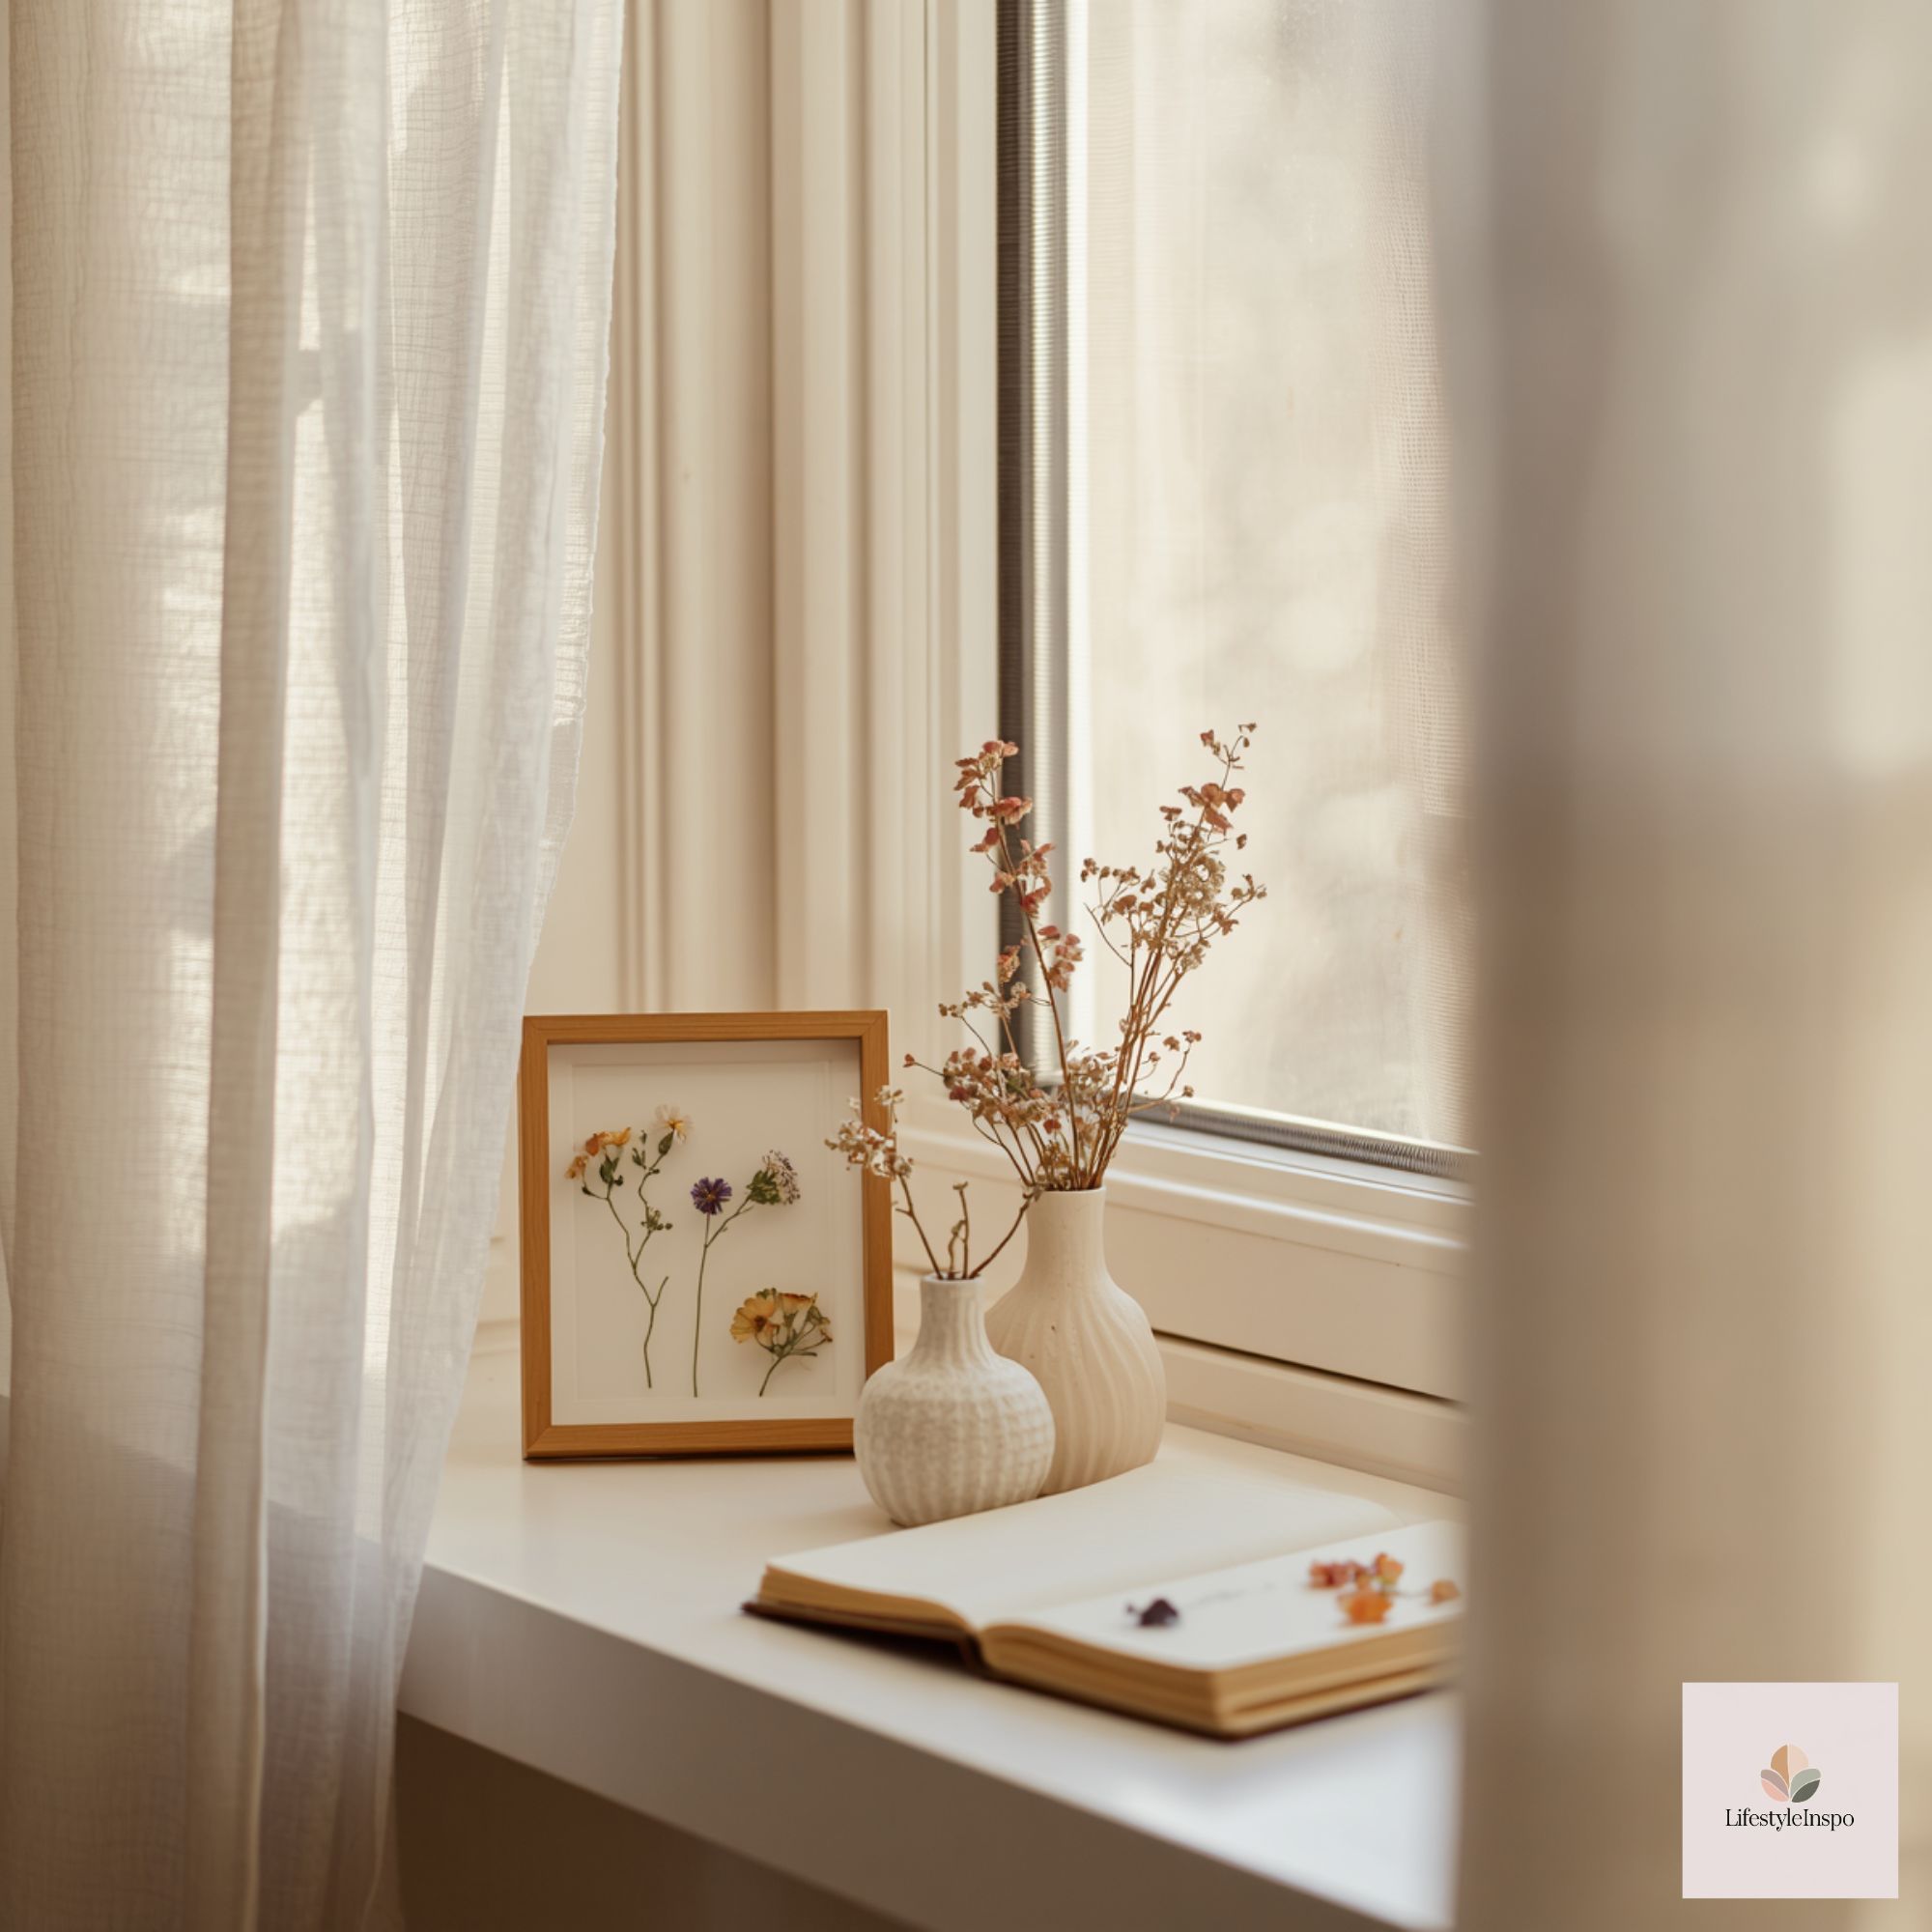
Start with your colored, framed flower-pot page as the anchor. If the sill is centered under the window, set the frame slightly off-center to create visual interest and leave room for taller plant elements on one side.
Add height and vertical interest
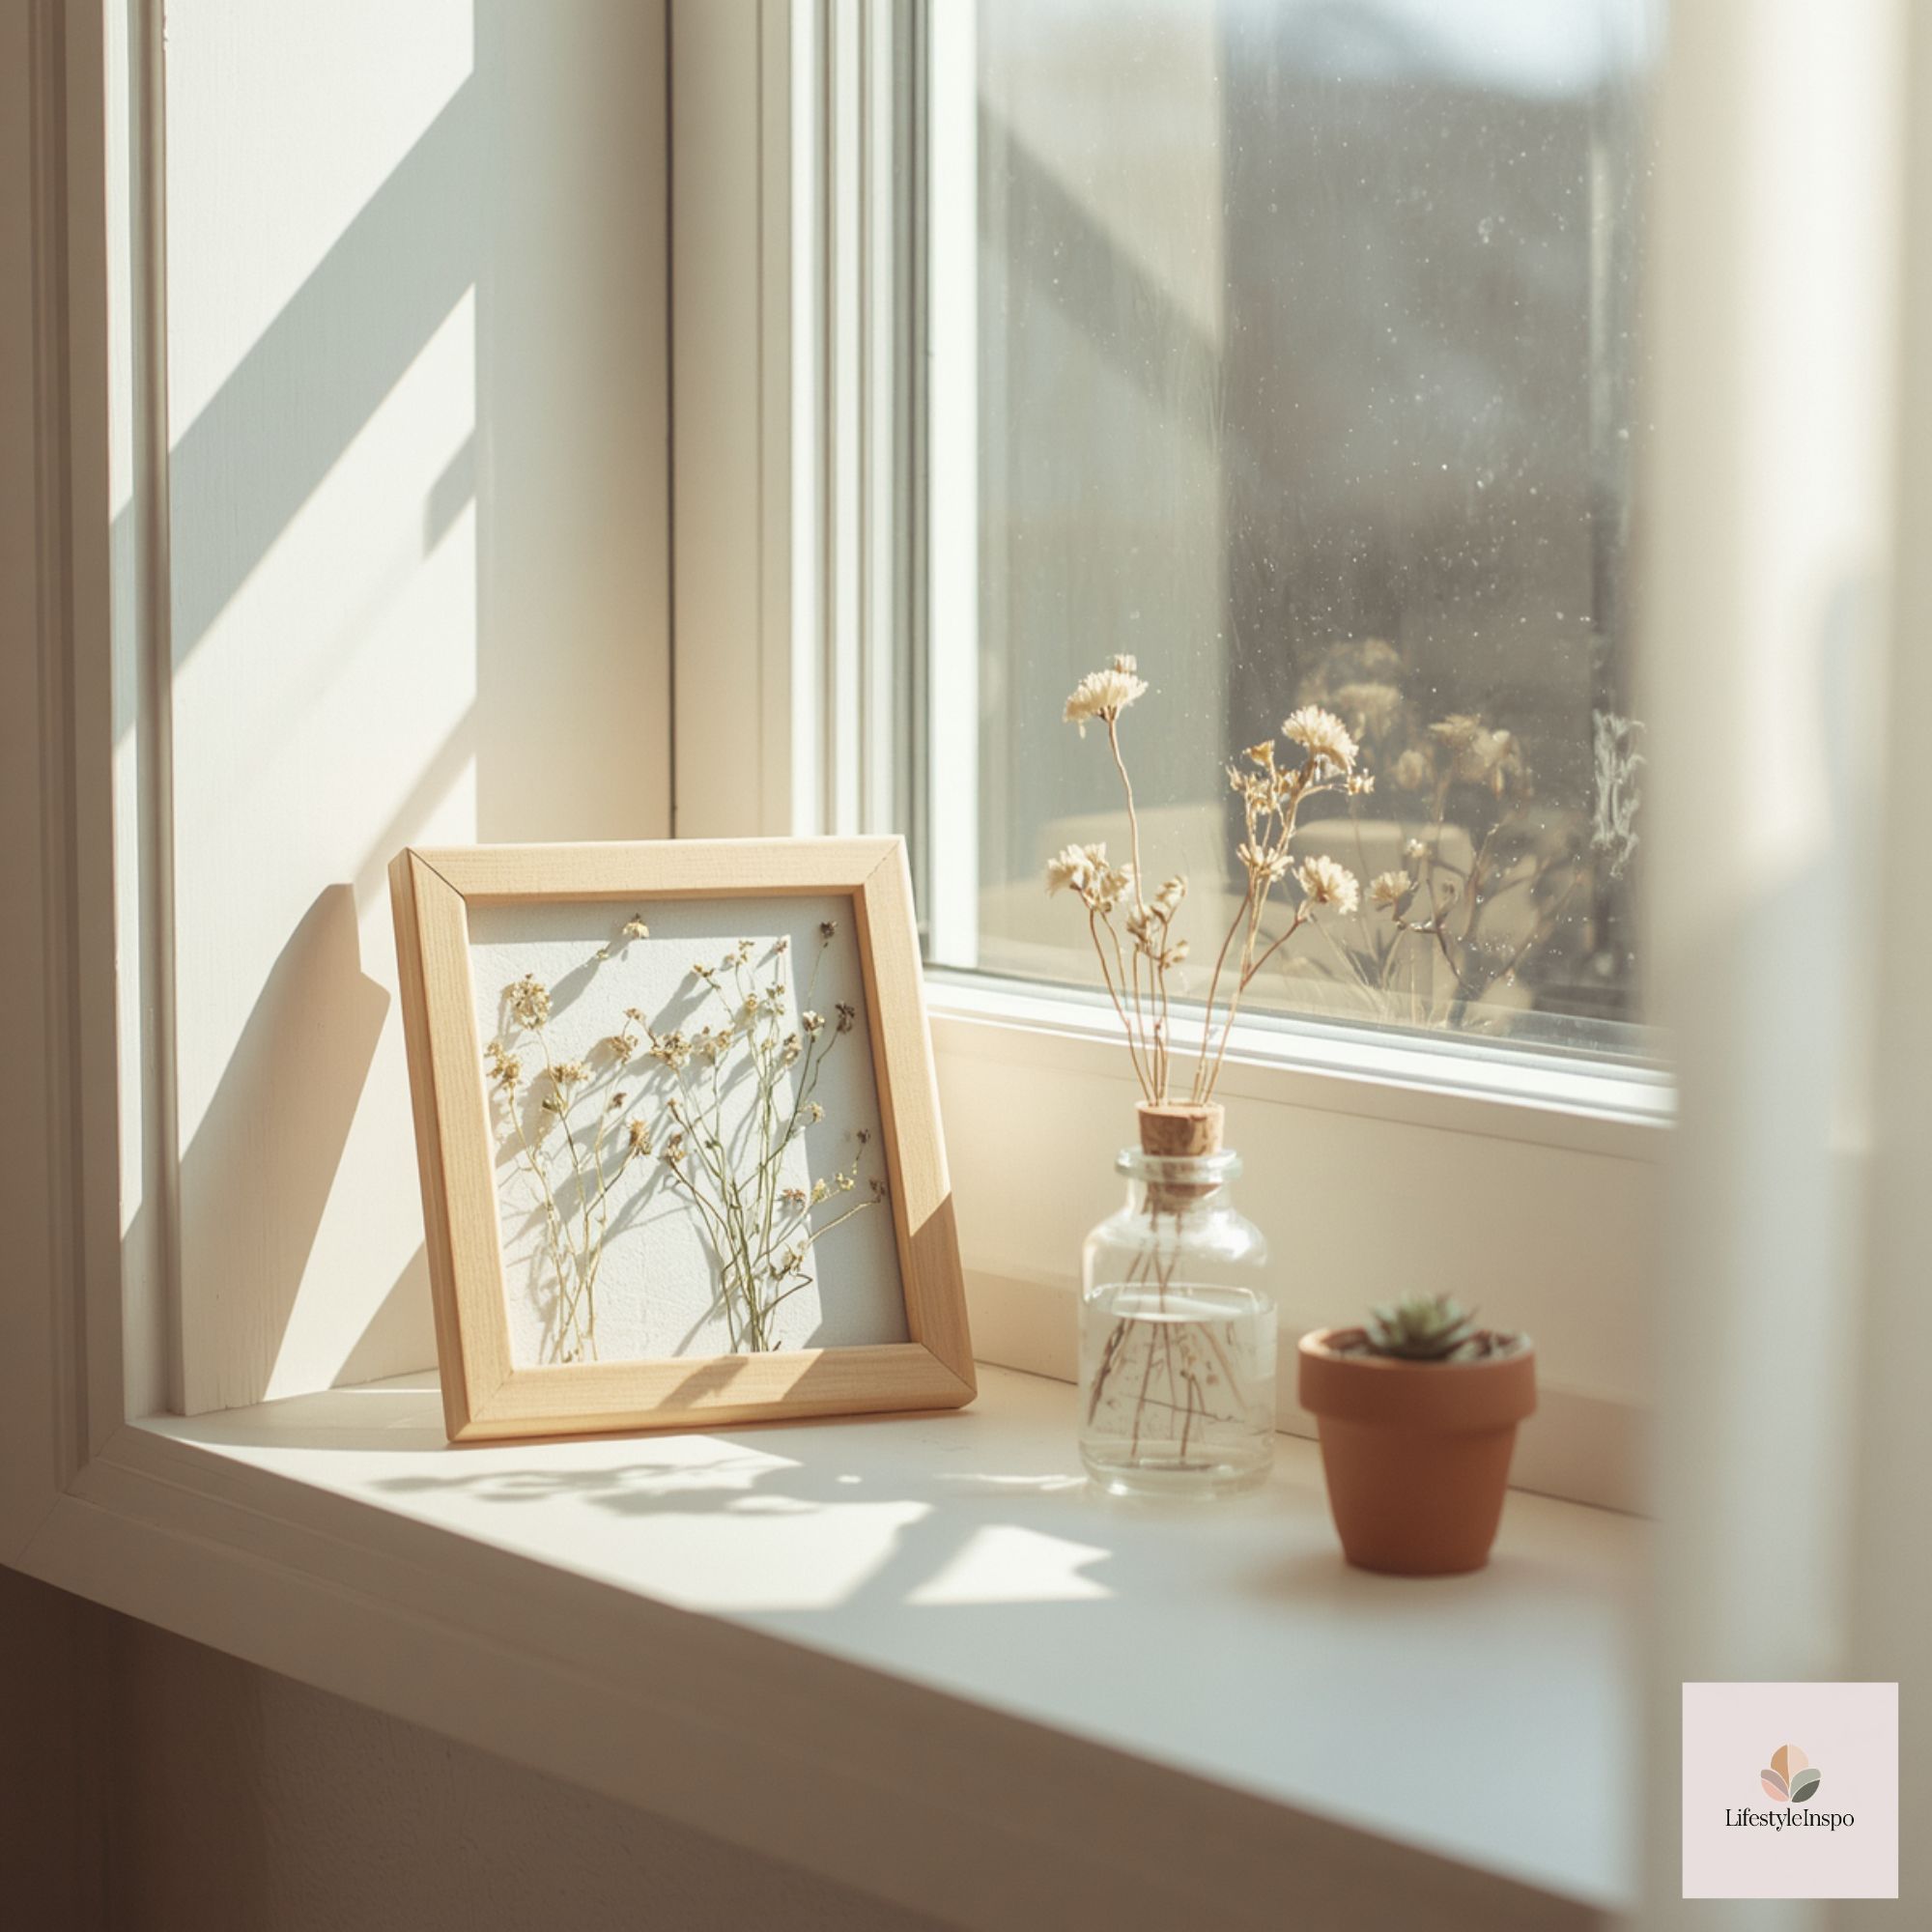
Choose one taller element to counterbalance the frame’s horizontal shape. This could be:
- A narrow ceramic bud vase with a single stem
- A tapered candle in an interesting holder
- A taller potted plant like a small fern or a string-of-pearls trailing down
Placing a taller item on the side opposite the frame creates a gentle diagonal that guides the eye across the sill.
Layer with mid- and low-level pieces
Add two mid-height plants or objects—small succulents, a tiny stack of vintage books, or a shallow dish. Use odd numbers for a natural composition (three objects often read better than two). These pieces build depth and make the vignette feel curated rather than staged.
Use scale and negative space
Leave small stretches of empty sill between clusters to allow each object room to breathe. The contrast between clustered and open space prevents visual clutter and gives the eye places to rest.
Finish with texture and a glint
Introduce one small element that catches light or adds contrast: a brass pinch bowl, a smooth pebble, or a string of battery-powered fairy lights tucked behind plants. This final detail gives the vignette life in the evenings and adds a subtle highlight during the day.
Practical mini-guides: Lighting, plants, and frame choices
Lighting: match the natural exposure
- South-facing windows: Choose plants that love bright, direct sun (succulents, small cacti). Keep paper art behind glass to prevent fading. Consider a UV-filtering film on the glass if the light is intense.
- East-facing windows: Morning light is flattering, so go for flowering houseplants or delicate foliage (African violets, peperomia). Your colored page will look vivid in the soft morning glow.
- West- or north-facing windows: Pick shade-tolerant plants (snake plant “baby,” pothos, small ferns) and opt for warm-toned colors in your art to compensate for cooler natural light.
Plants that work on narrow sills
- Small succulents: Low water needs and a variety of shapes make them ideal for small spaces.
- Air plants (Tillandsia): No soil needed; display on a shallow dish or metal stand.
- Miniature ivy clippings: Add a drape that softens hard edges.
- Potted herbs (basil, chives): Functional and fragrant, though they may need deeper pots for longer-term growth—ok for temporary staging.
Frame choices that read small, not cluttered
- Thin black or white frames: Modern and minimal, they let the colored page shine.
- Float frames: Add depth without overwhelming the sill.
- Small easel: If you don’t want to affix anything, a tiny tabletop easel holds a print and is easy to reposition.
Adaptations for renters
- No-drill solutions: Use removable Command strips for lightweight shelves or ledge extensions; place items on the sill rather than attaching them to the wall.
- Windows with deep sills: Consider a narrow tray to anchor objects and protect the lower sill finish.
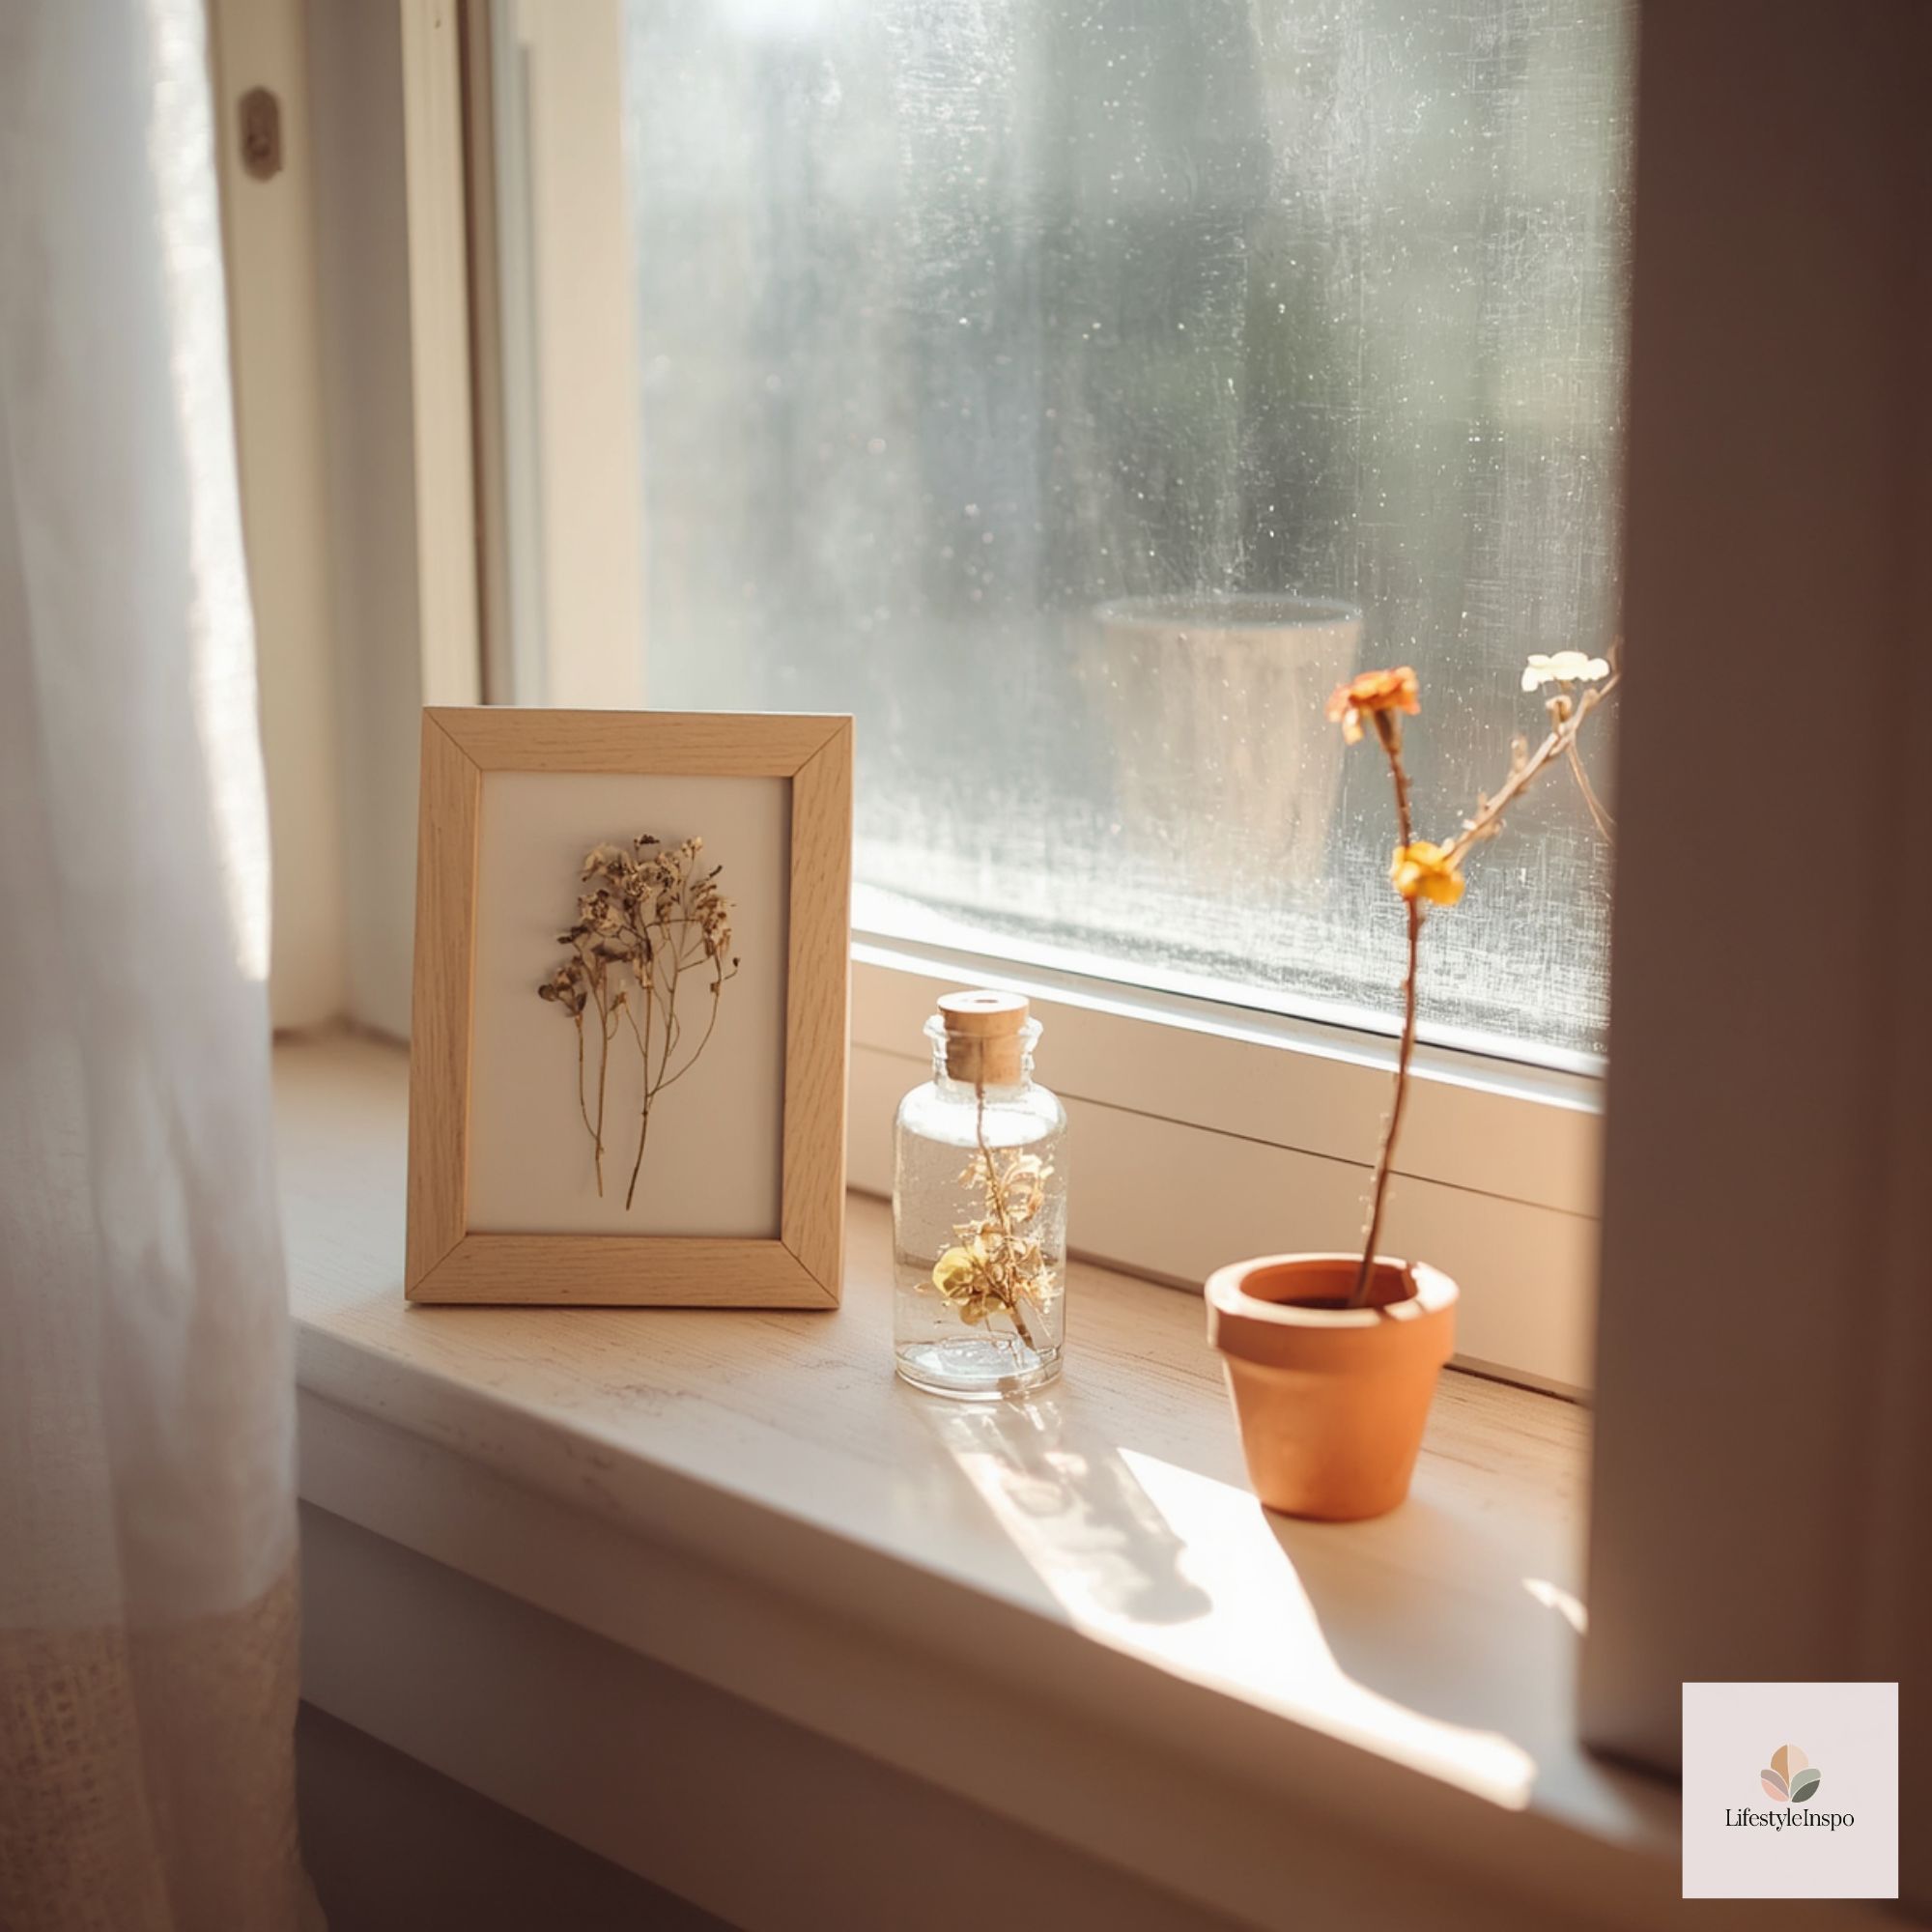
- Windows with shallow sills: Lean the frame against the window instead of trying to stand it upright. Secure tall pieces with museum putty.
- Temporary greenery: If your landlord restricts plants (rare but possible), use well-made faux stems mixed with real clippings to suggest life without ongoing care.
Care and durability tips
- Rotate plants periodically to prevent lopsided growth and unequal sun exposure.
- Dust frames and leaves every one to two weeks; the window area accumulates dust quickly.
- Water plants over a sink or use a tray to protect the sill finish. Felt pads under pots prevent scratching.
- If you love the colored page look and want seasonal swaps, print a few variations and rotate them like mini art exhibitions—spring pastels, summer brights, autumn ochres, winter greens.
Budget-conscious styling
- Thrift and repurpose: Small frames are often inexpensive at thrift stores or craft fairs. Old teacups make charming planters for tiny succulents.
- DIY stands: Turn a scrap of wood into a low riser with felt feet for an elevated base that looks polished but cost very little.
- Use clippings: Propagate from a friend’s plant or use a cutting from your houseplant collection to fill a tiny glass. It’s free and meaningful.
- Print multiple copies: If you plan to swap prints seasonally, print them in grayscale or on less expensive paper for practice before committing to a final paper stock for framing.
Styling variations by aesthetic
- Modern minimalist: Monochrome colored page (shades of gray and one accent color), thin black frame, one sculptural navy pot, and a small snake plant.
- Cottagecore: Watercolor-style color choices, a distressed white frame, a small enamel pitcher with wildflower clippings, and a mismatched teacup with a succulent.
- Scandinavian: Muted pastels on the page, a natural wood frame, a glass vase with a single stem, and a ceramic bowl with pale pebbles.
- Eclectic boho: Brightly colored page, layered brass and wood frames, trailing plants, and a macramé mini-hanger hanging beside the sill.
Troubleshooting common small-sill problems
- Problem: Prints slouch or curl in humidity.
Fix: Mount the print on a lightweight backing board or place a thin mat behind it before framing. A clear acrylic face keeps it flat and dust-free. - Problem: Plants crowd the sill and leaves touch the glass.
Fix: Choose narrower pots and rotate plants weekly. Use a taller central plant and keep others low to create a tiered look without touching the window. - Problem: The sill gets too much sun and colors fade.
Fix: Rotate the artwork out regularly, or use a UV-protective frame glazing. Keep heat-sensitive plants away from direct afternoon sun.
A quick weekend project plan (timed)
- Day 1 – 1 hour: Select and print a Flower Pot Coloring Page. Gather supplies: frame, mat, pencils/markers, a small pot or two, and a taller vase or candle.
- Day 1 – 1–2 hours: Color the page. Take breaks—layering color slowly gives the best result.
- Day 2 – 30–60 minutes: Style the sill. Clean the sill, place the anchor frame, and arrange plants and accents. Take photos and tweak spacing.
- Optional: Add fairy lights or swap prints for the season as a 10–20 minute update every few months.
Where to look for a starting coloring page
If you want a clean, printable starting point for a personalized flower-pot page, consider using a resource like Flower Pot Coloring Pages. It’s a quick way to begin the creative part of the vignette and ensures your final print will fit neatly into a frame or display. Check the seller’s listing for details and terms before purchasing.
Ending note
A small window ledge is a stage for tiny pleasures: a painted bloom, a new succulent leaf, the morning light catching a brass bowl. Decorating it with a personalized colored flower-pot page gives you a gentle, low-commitment way to imprint your taste on the room. With careful scale, a few living touches, and a commitment to keeping things light and changeable, your sill becomes a daily moment of beauty rather than a forgotten shelf.
Takeaway: Start small, think in layers, and let one lovingly made piece—like your colored flower-pot page—anchor a scene that’s simple to change and delightful to live with.
About the Author