How to Style a Christmas Garland (Mantel, Stairs & More)
A bare garland out of the box is a bit like a blank canvas: full of potential, but not yet a masterpiece. It’s thin in some spots, squished in others, and doesn’t quite look like the lush, overflowing swags you see in magazines.
The difference between the two? Styling. A few simple steps, like fluffing, layering, and adding the right accents, can turn a basic garland into the most beautiful thing in your home.
This guide on how to style a Christmas garland walks you through the whole process, from unboxing to the final flourish. You’ll learn how to make it look full, how to dress it up, and how to hang it on mantels, staircases, doorways, and shelves.
Step 1: Choose a Garland That Works for Your Space
A great display starts with a great garland. Before you buy, think about where it will go and what you want it to do.
Length
Measure the space you want to decorate. For a mantel, add about 50 percent to the length for swags and drops. For a staircase, measure the railing and add extra for curves and wrapping. It’s always better to have a bit too much than too little.
Fullness
Look for garlands with dense branches and a variety of textures. A fuller garland looks more luxurious and needs fewer additions.
Lighting
A pre-lit Christmas garland saves time, since the lights are already woven in and evenly spaced. It’s an easy way to get a glowing, professional look without a lot of extra work.
→ Shop it: Christmas garland pre-lit for mantel
Check the listing for the garland’s length, power source, and how the lights are connected, so it works with your outlets and layout.
Step 2: Fluff, Fluff, Fluff
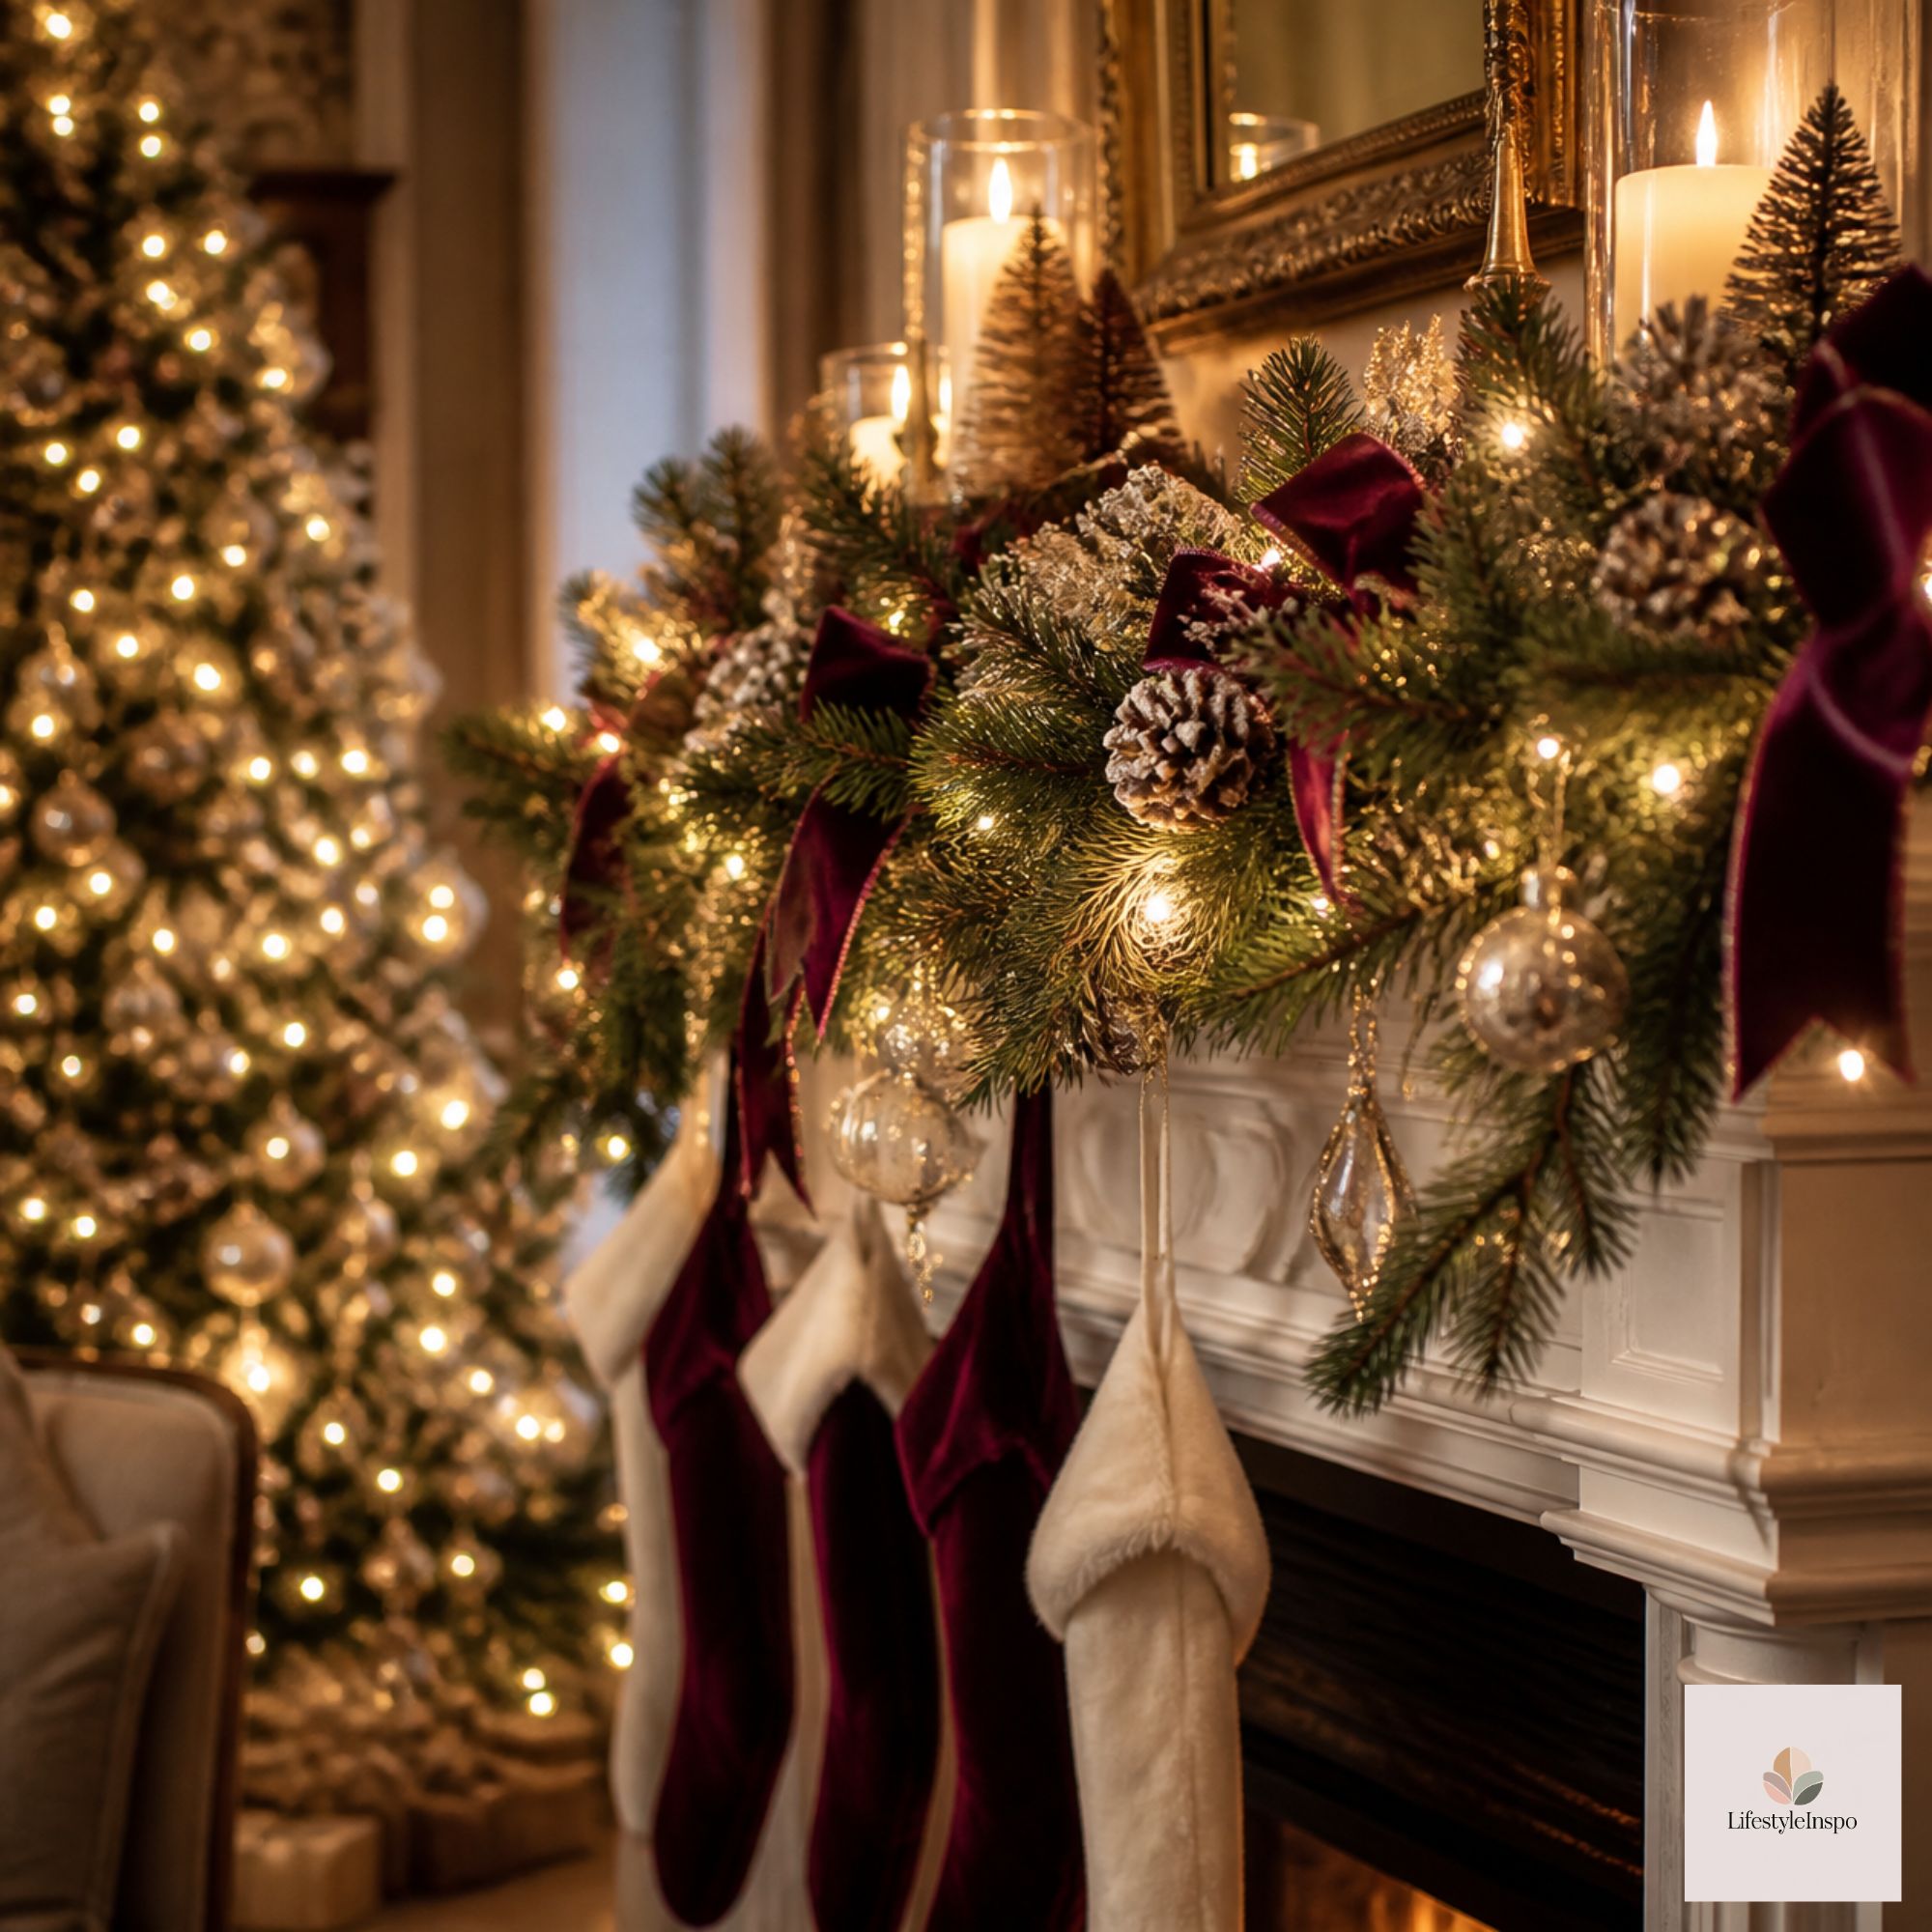
This is the step most people rush, and it’s the one that matters most. A garland straight from the box is flat and compressed. Fluffing brings it to life.
How to fluff a garland:
- Lay it flat on the floor or a large table.
- Start at one end, and work your way along.
- Separate each branch, pulling it outward and upward.
- Bend the tips in different directions to create a natural look.
- Fill the gaps by moving branches from fuller areas.
- Step back and check for evenness.
Give yourself at least 15 to 20 minutes. It might feel tedious, but this single step can make a garland look twice as full.
Step 3: Hang It With Soft Swags
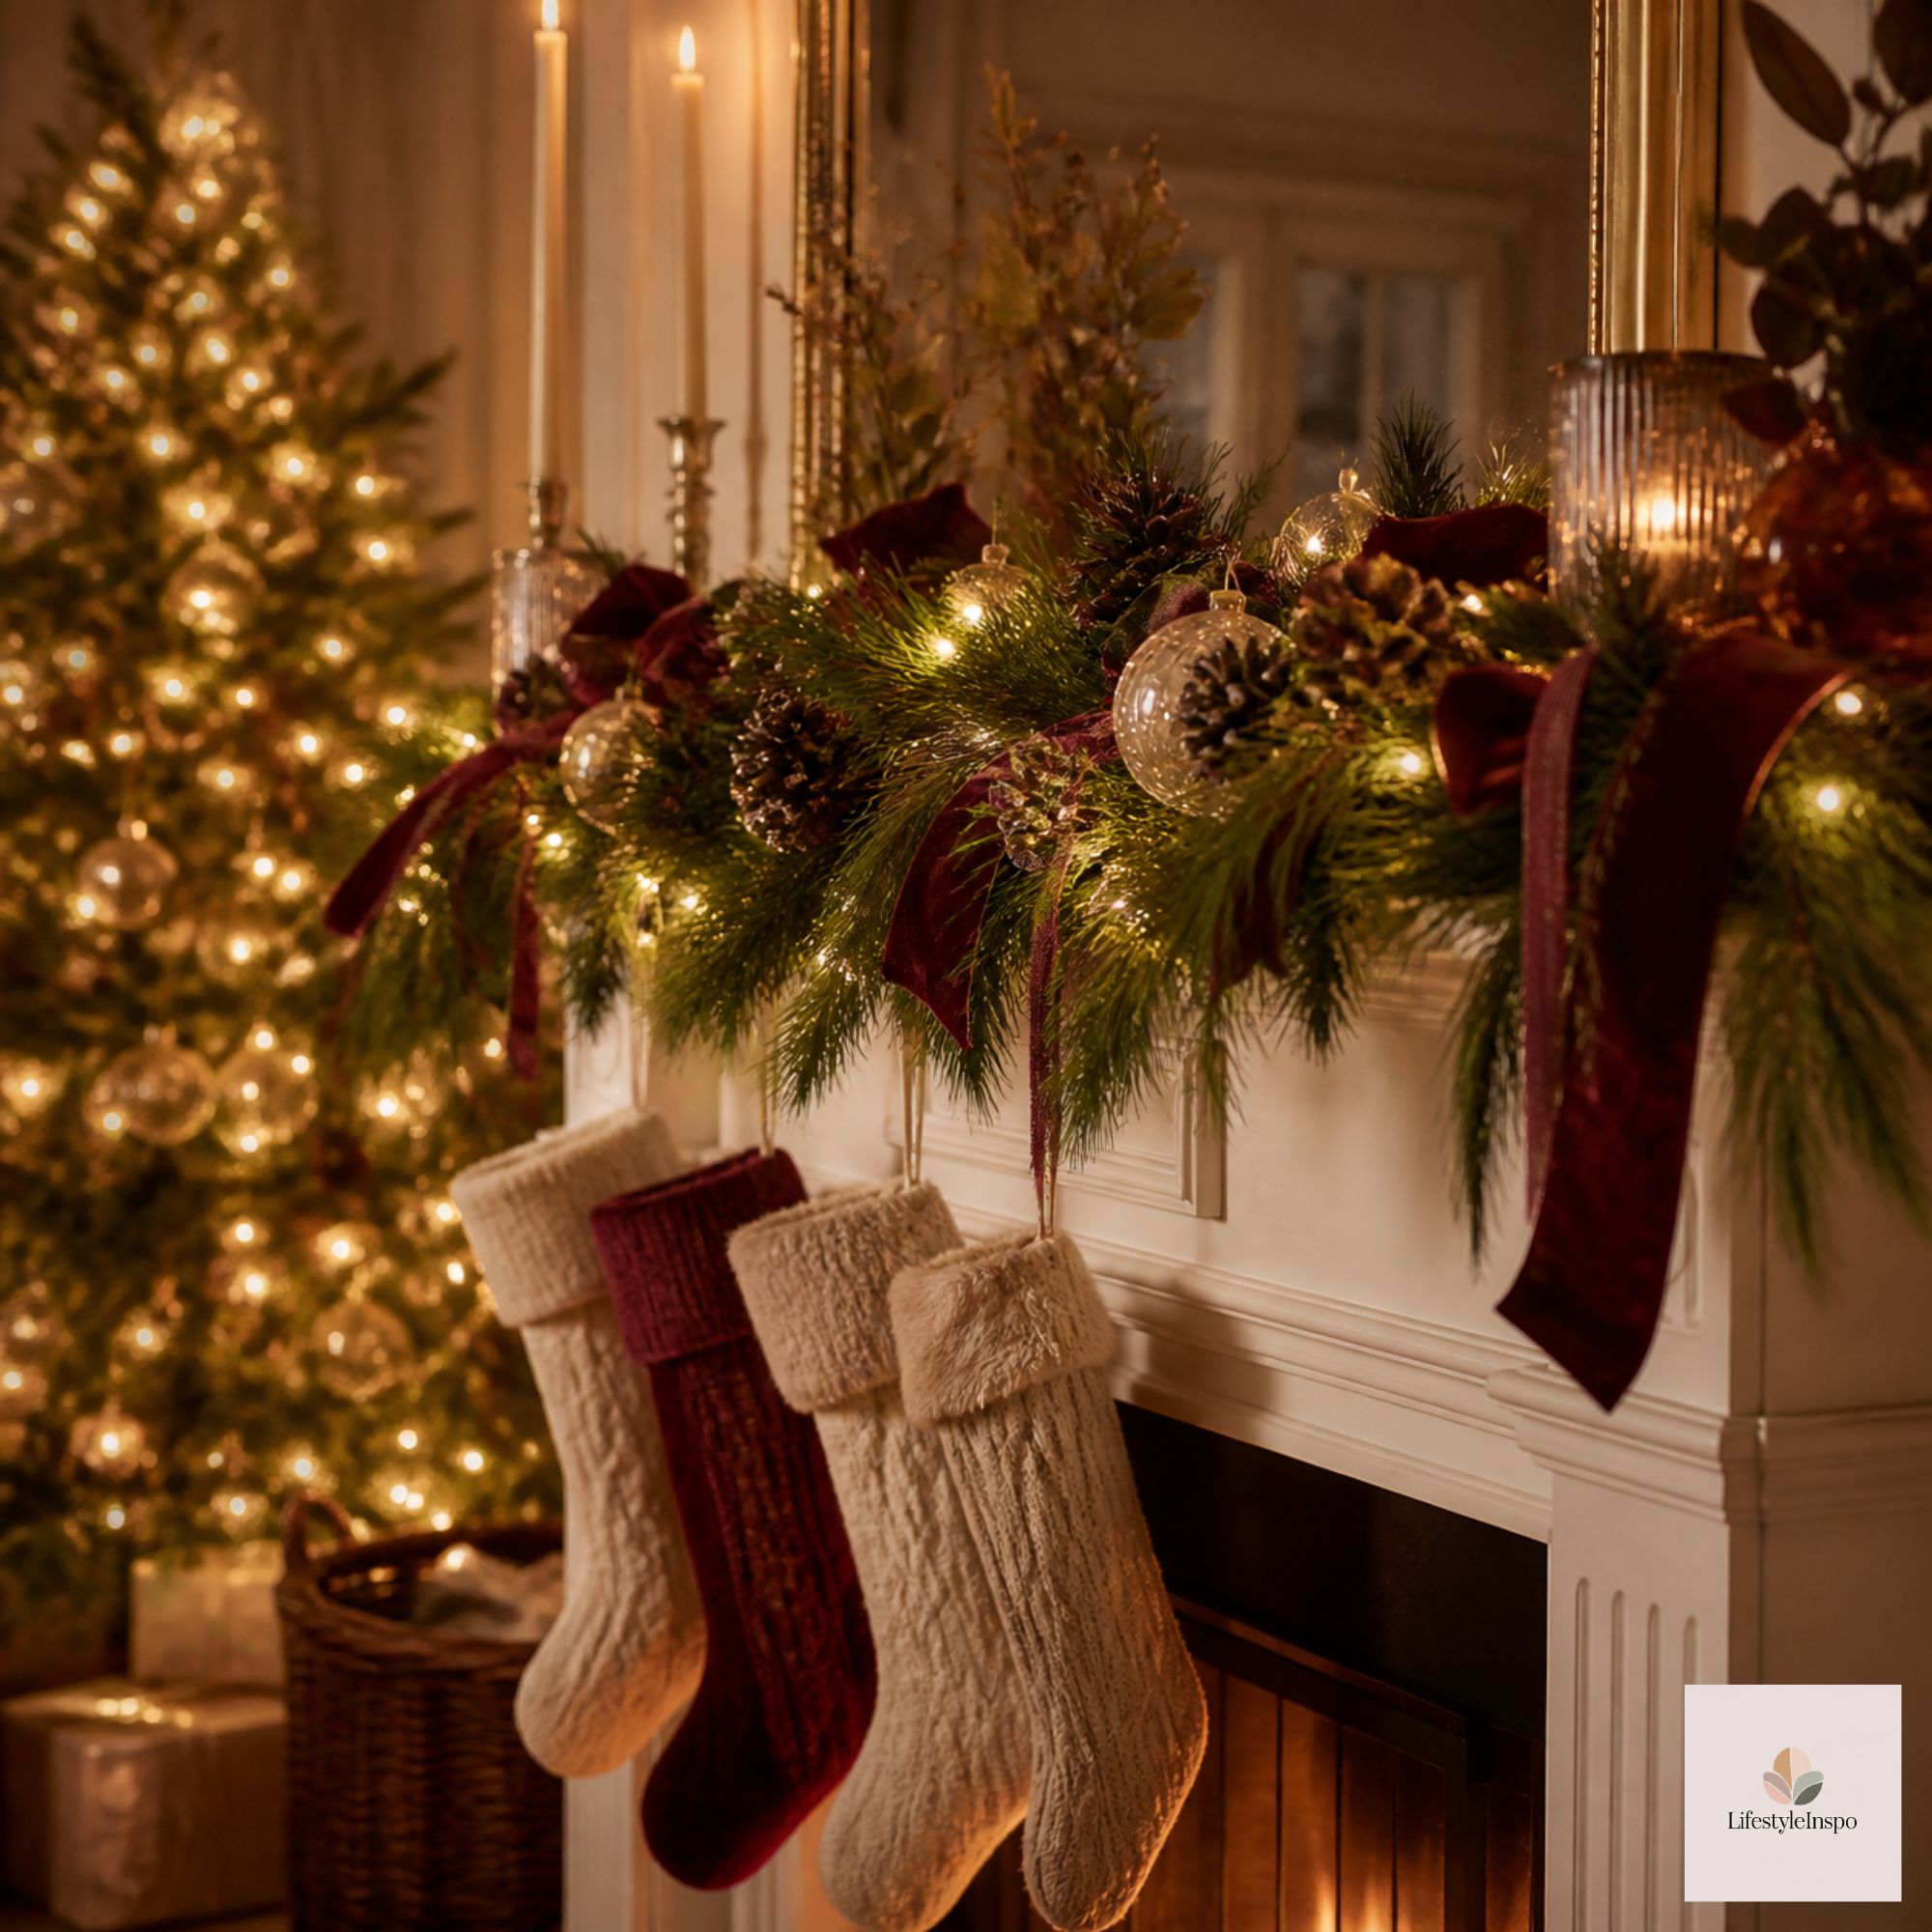
Whether you’re draping it across a mantel or wrapping it around a banister, the goal is a relaxed, natural look. Avoid pulling it too tight.
On a Mantel
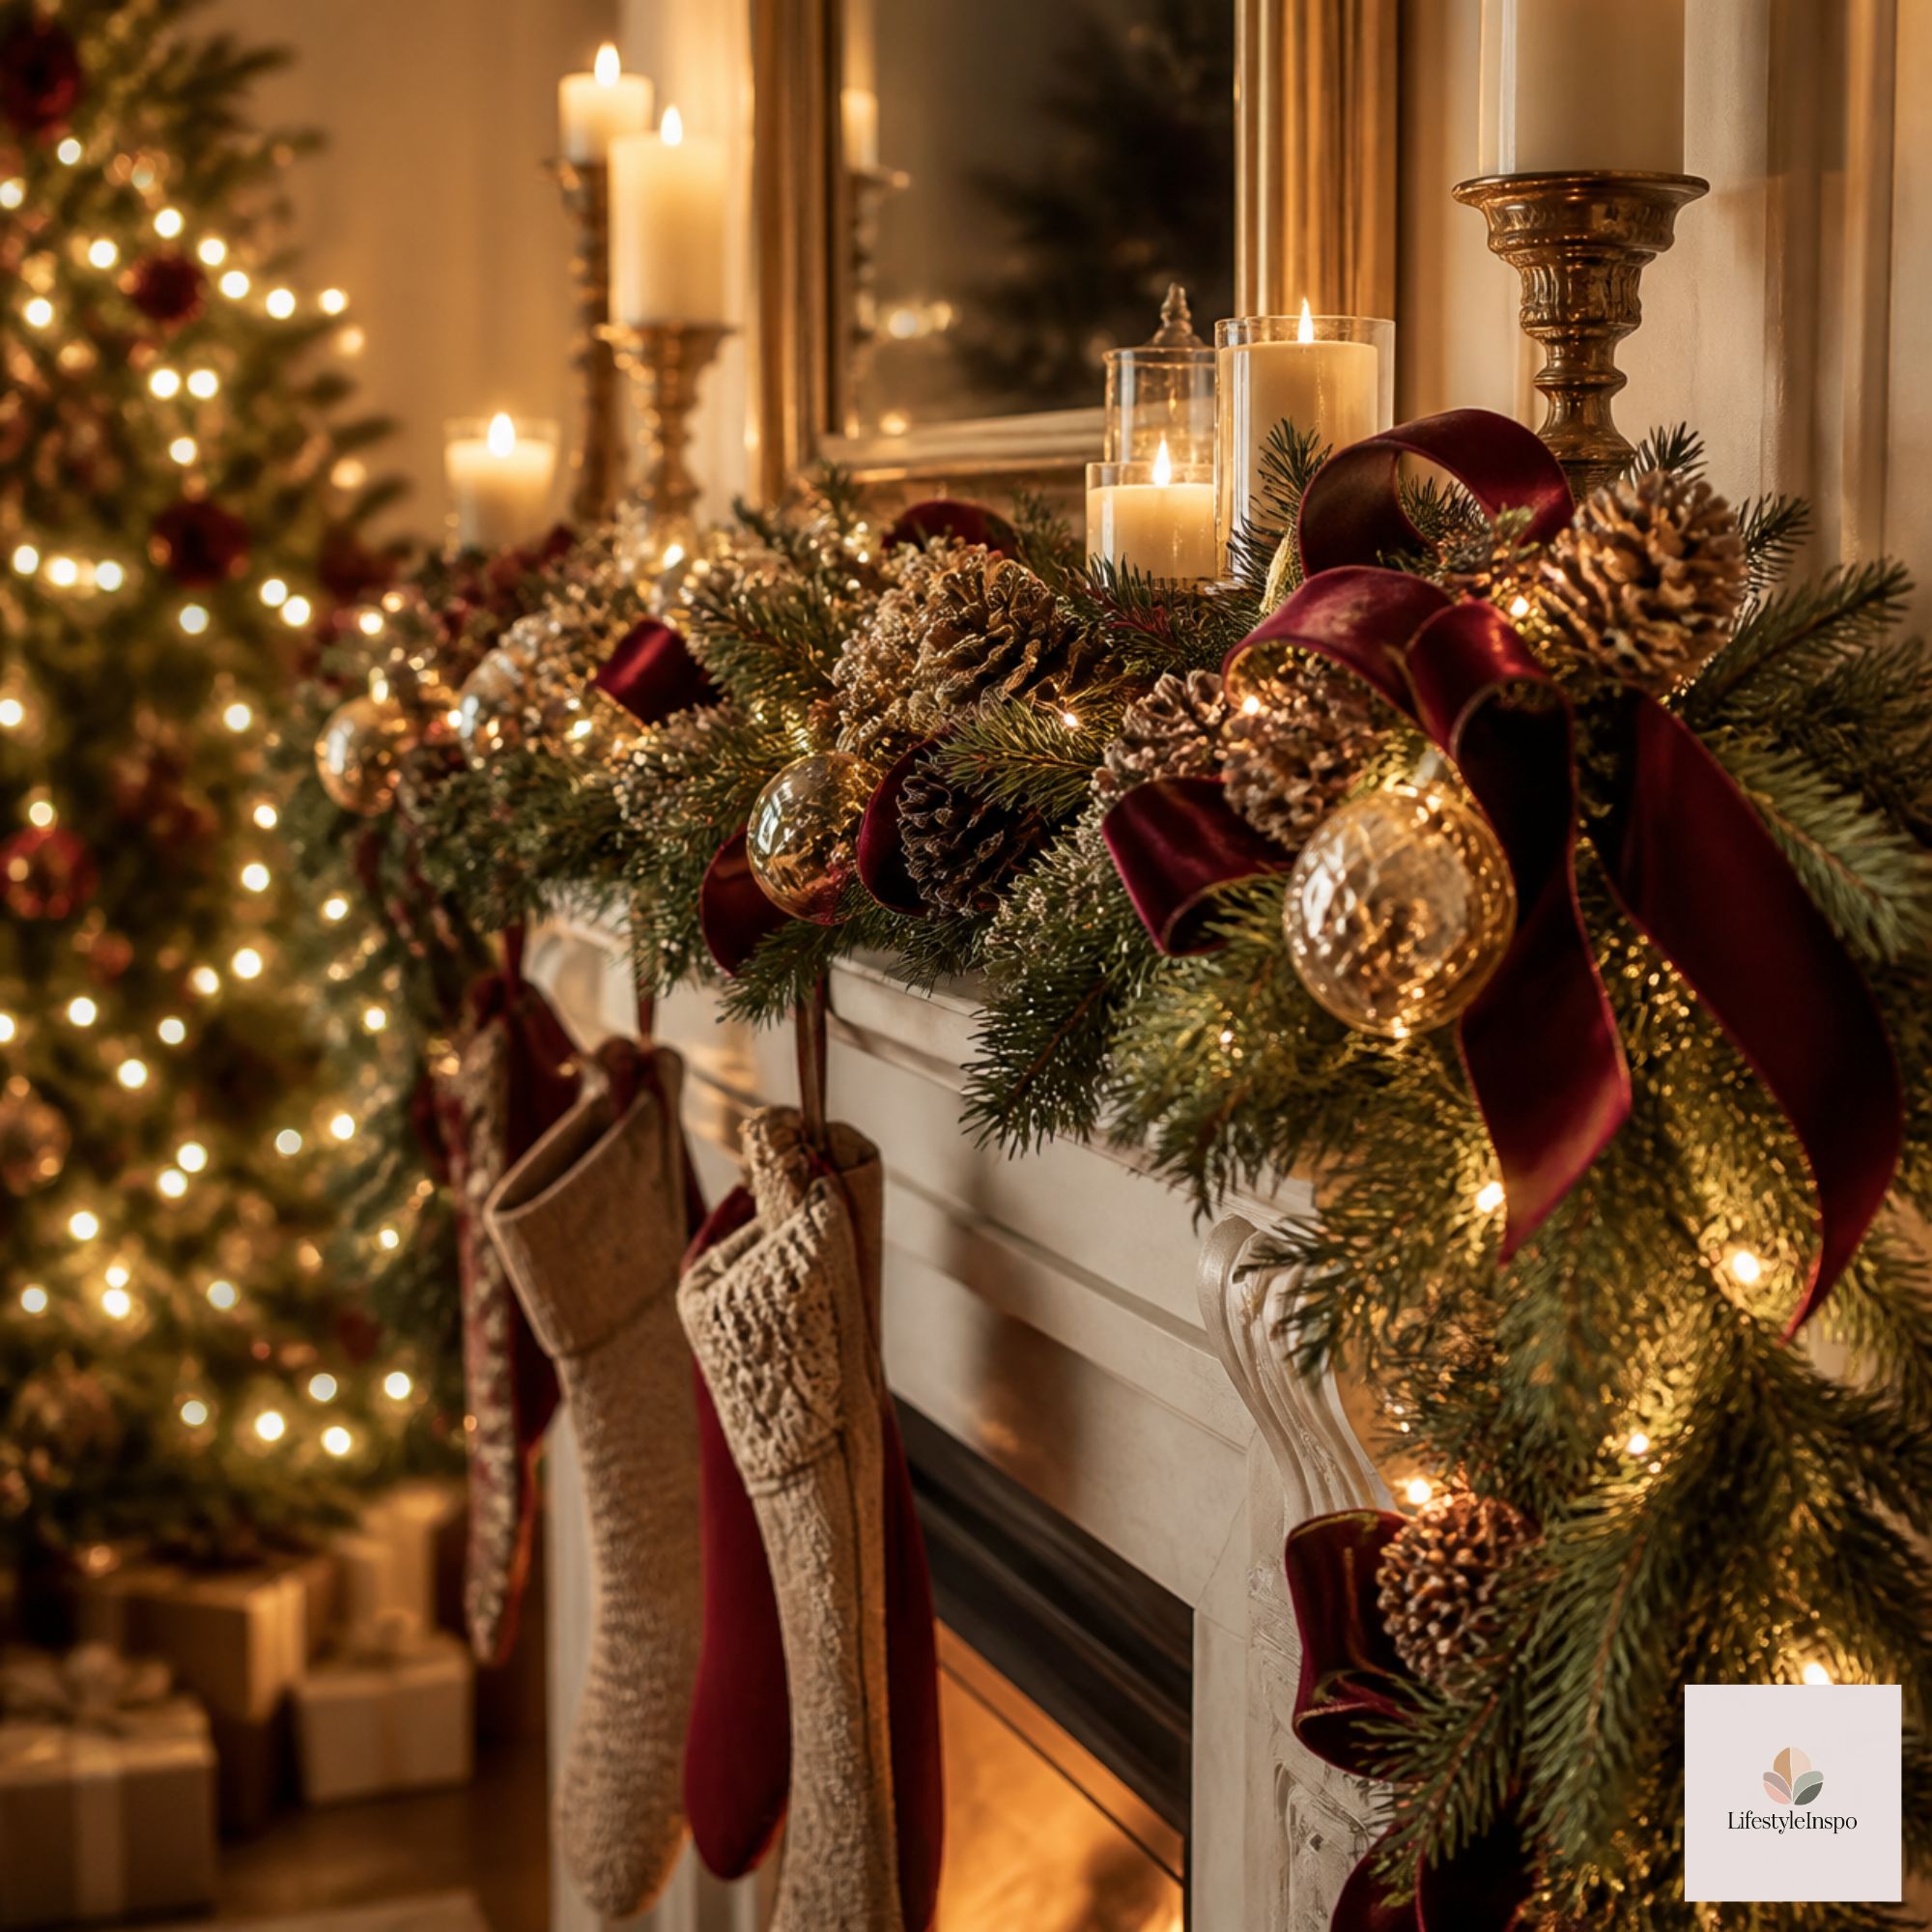
Hang the garland across the front or the top. Let it drape in gentle swags, with the lowest point of each swag hanging 6 to 10 inches below the mantel. Secure it with removable hooks or floral wire.
On a Staircase
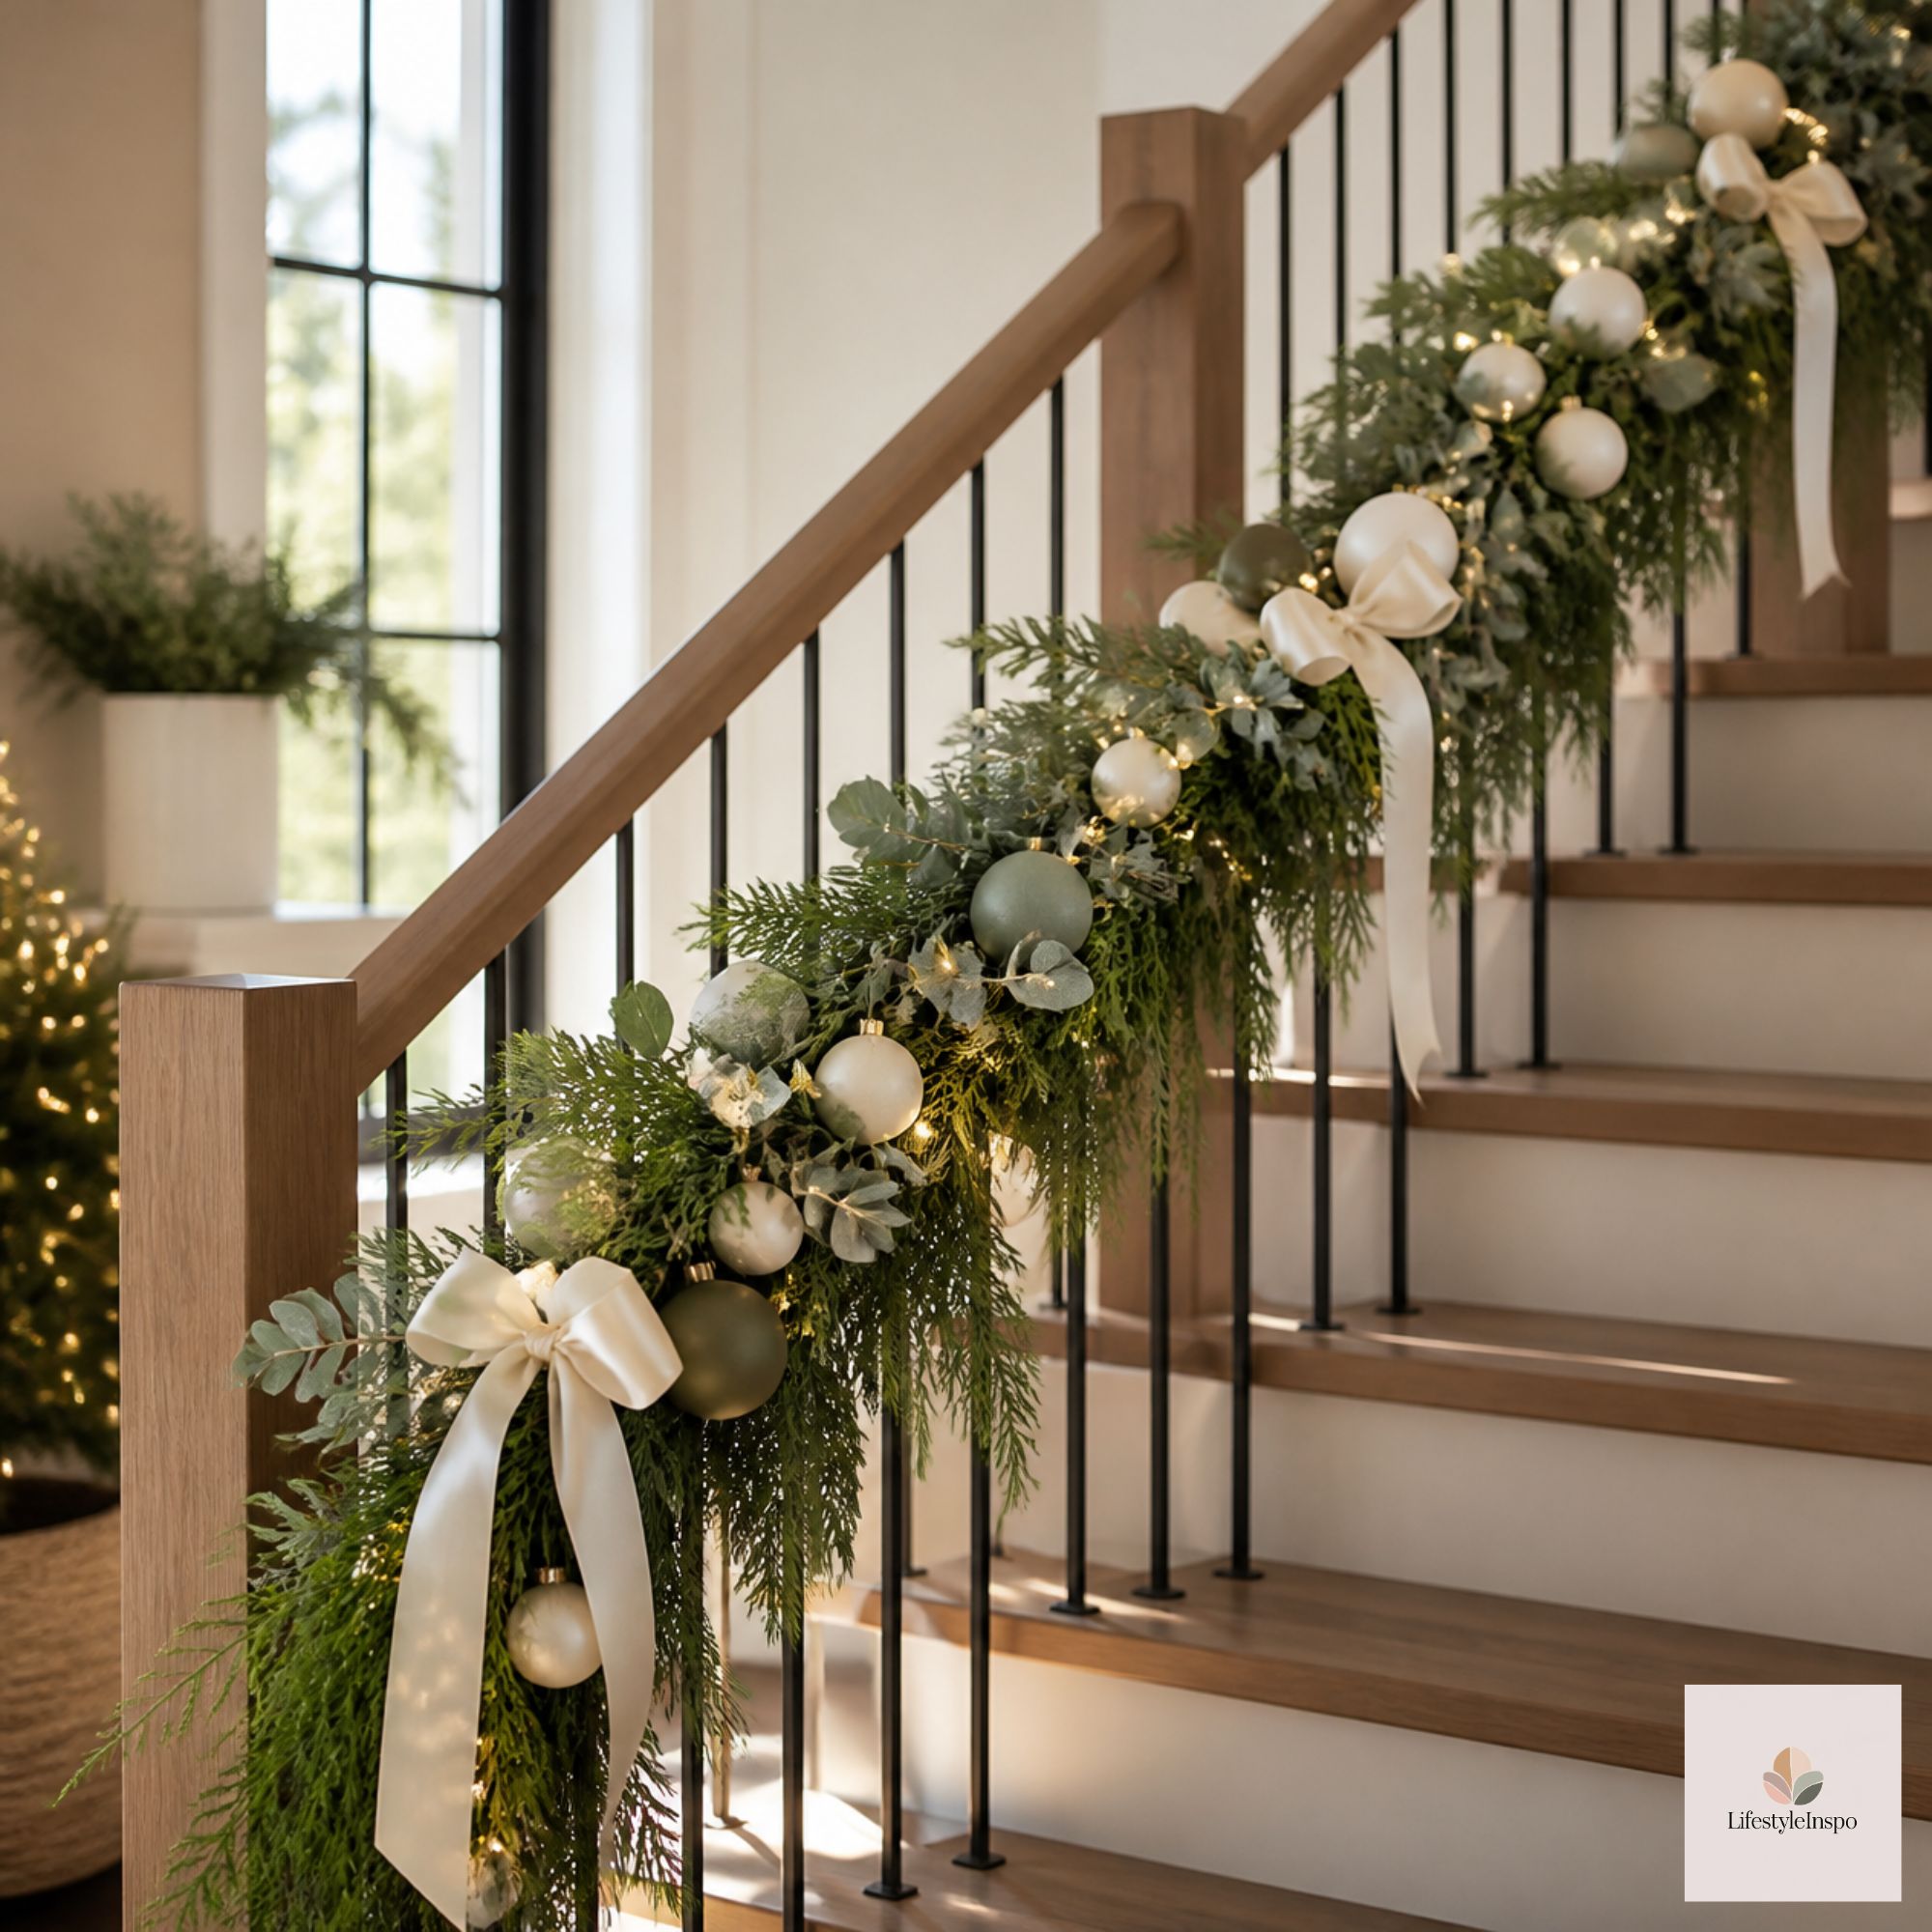
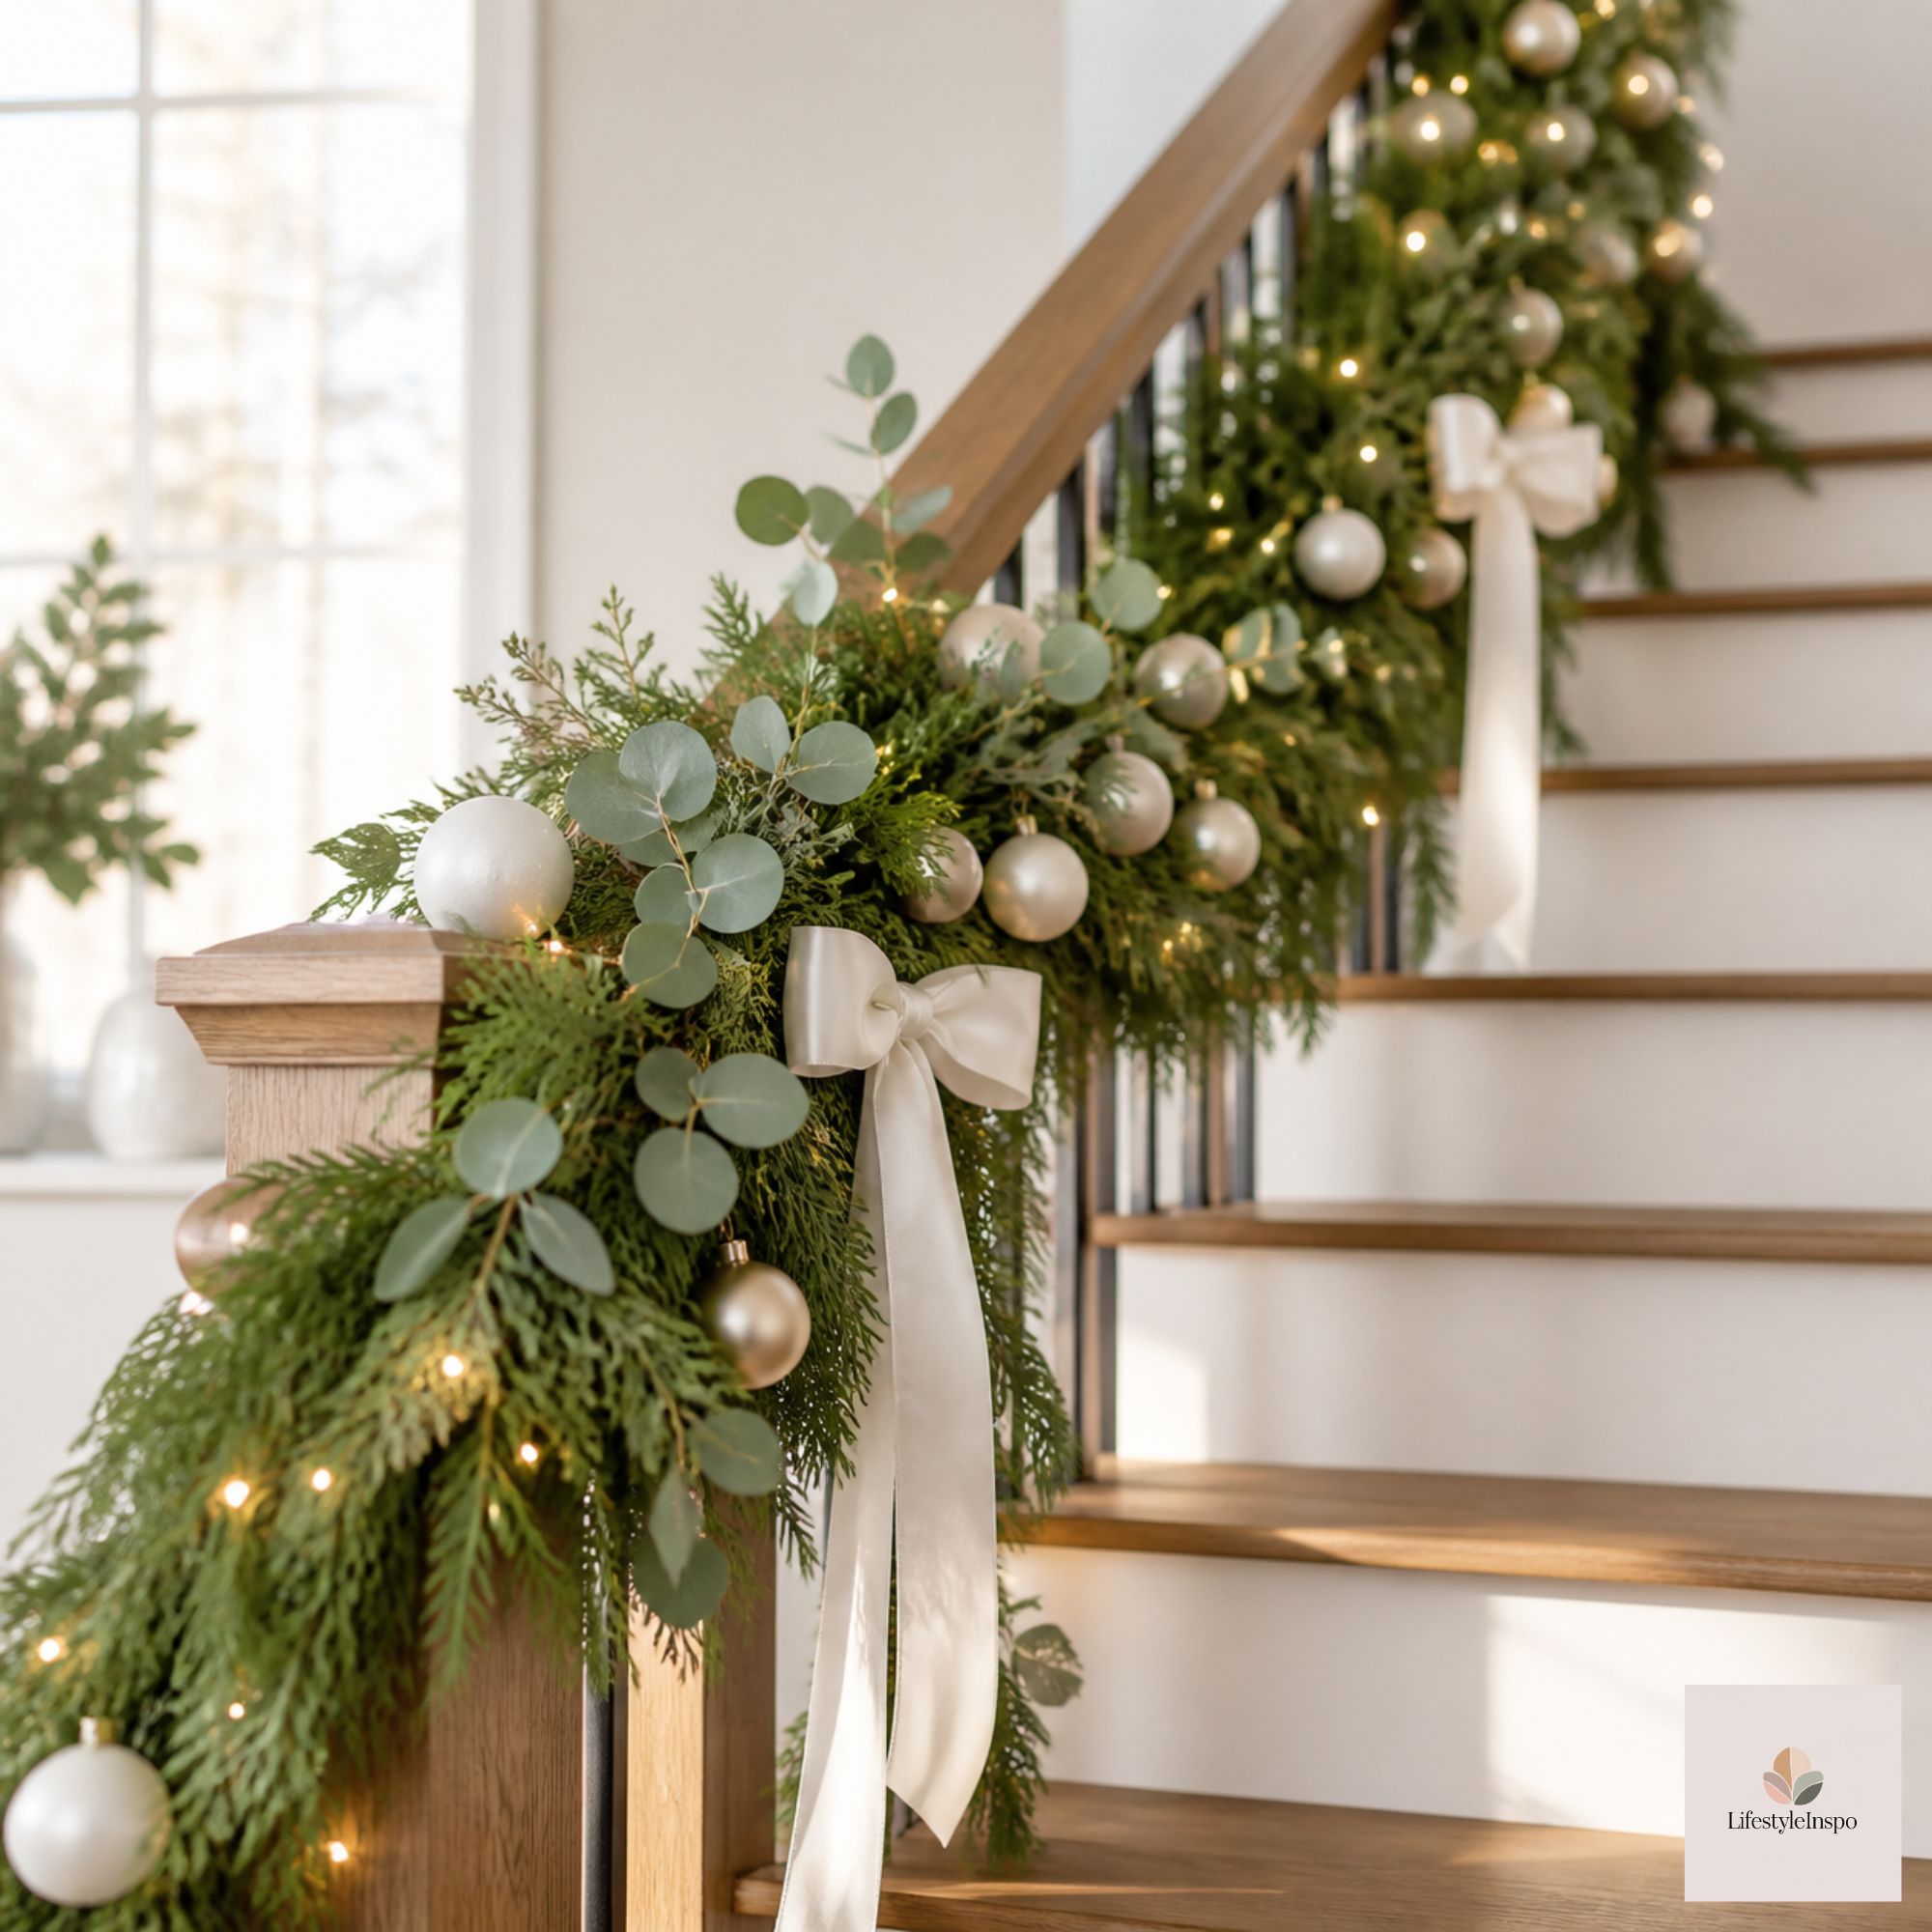
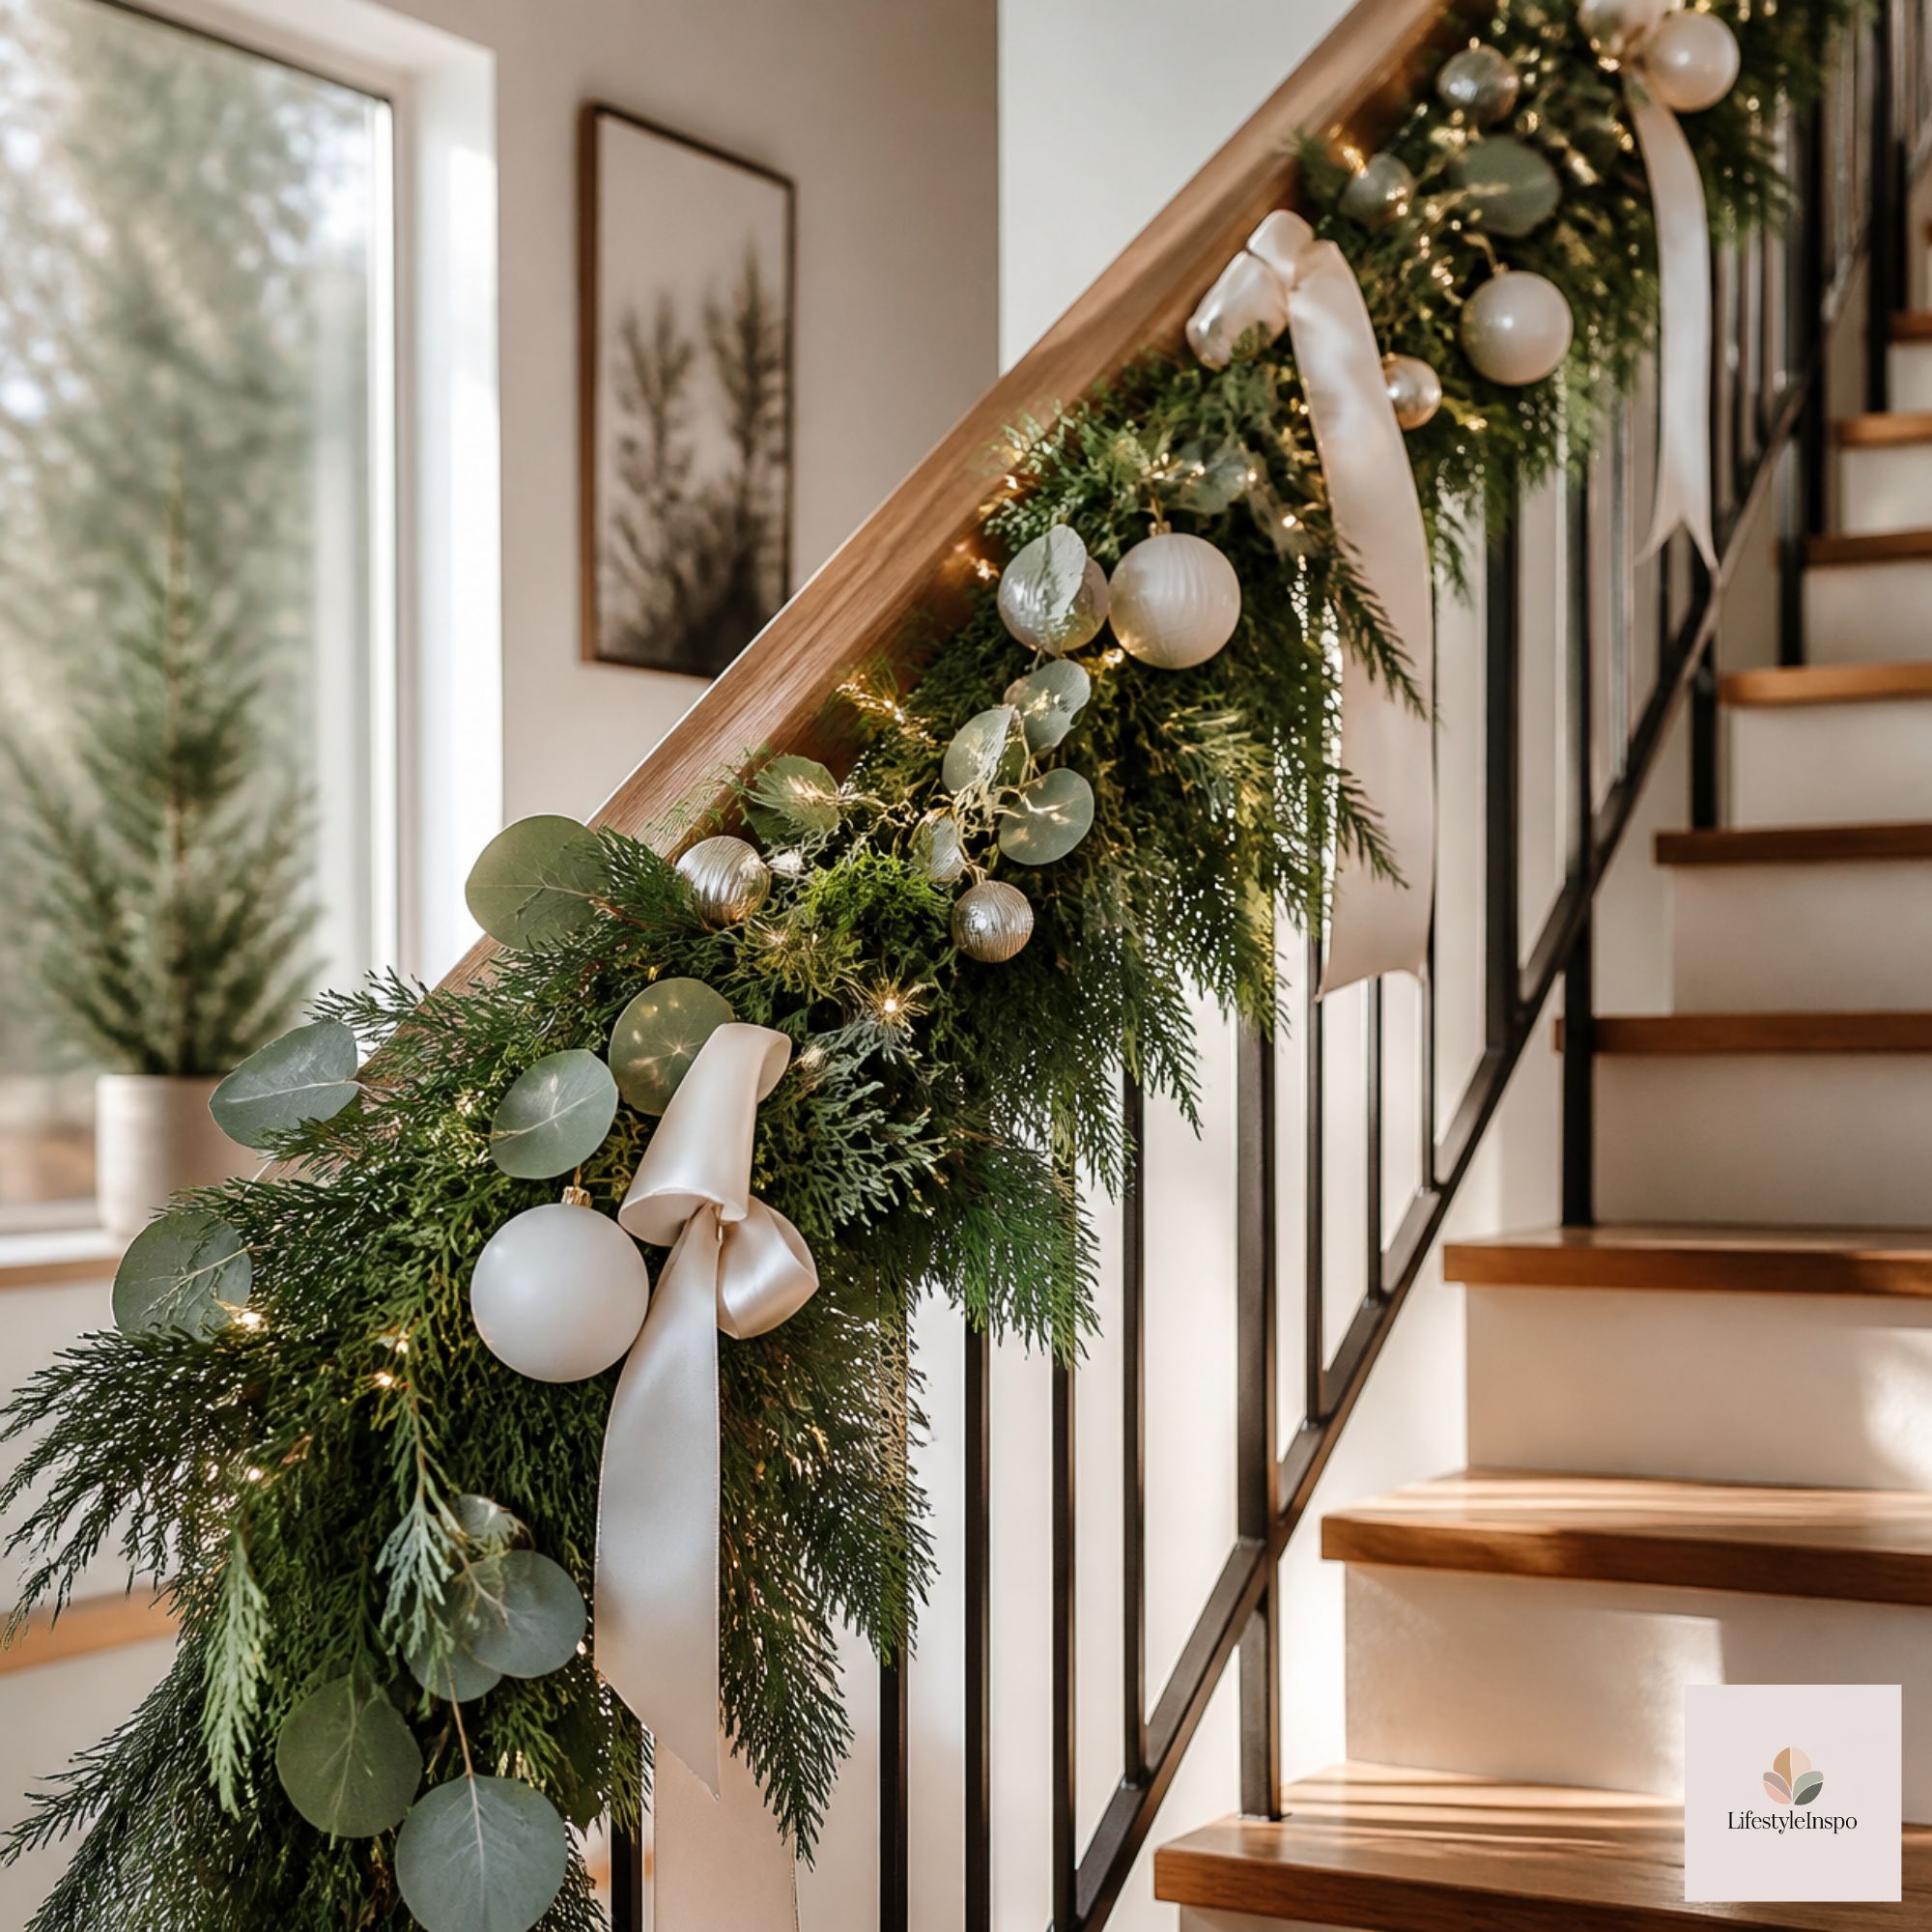
Wrap or drape the garland along the railing, securing it every foot or two with zip ties or wire. For a fuller look, use two garlands and twist them together.
Around a Doorway
Frame the door by attaching the garland along the top and down the sides. Use adhesive hooks at the corners, and let it hang naturally.
On a Shelf or Console
Lay the garland along the top of a bookshelf or sideboard, and let the ends hang down on the sides.
Step 4: Weave In Ribbon
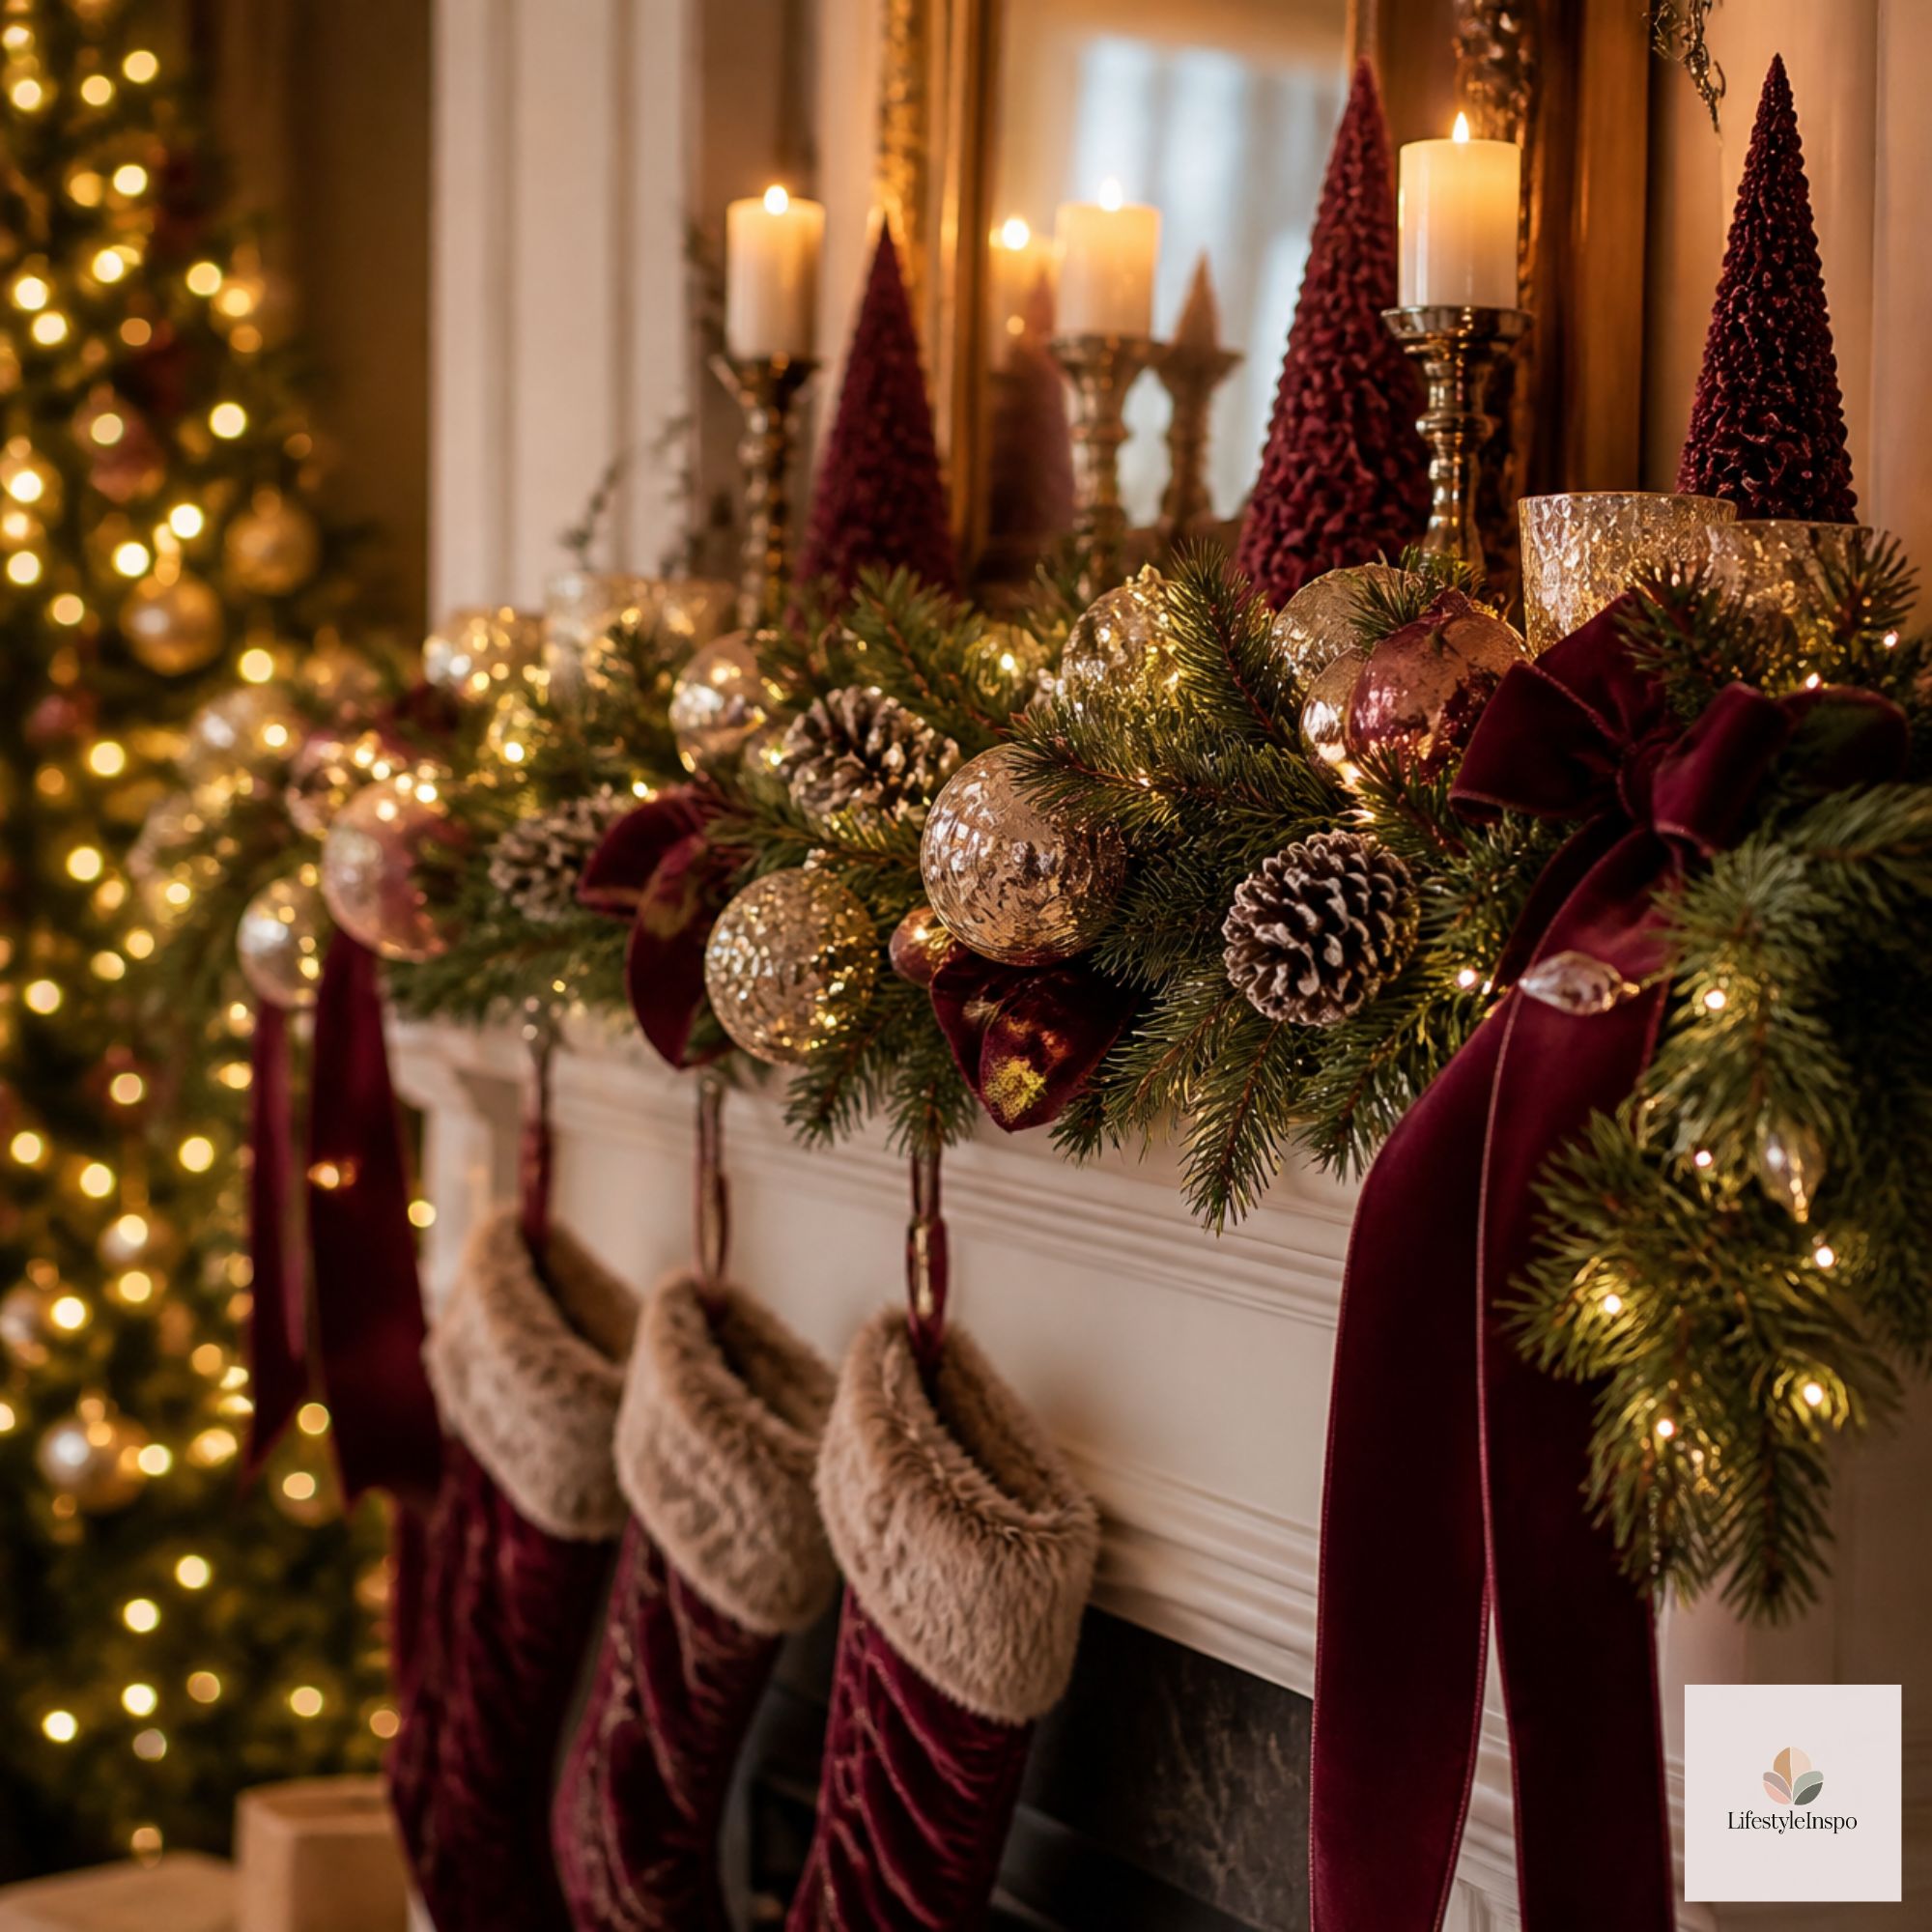
Ribbon adds color, texture, and movement. It also hides wires and makes the garland look custom.
Burlap Christmas ribbon is a classic choice, with a soft, natural texture that works well with greenery. Weave it through the garland in loose loops, tucking it in and out of the branches as you go.
→ Shop it: Burlap Christmas tree ribbon
Ribbon styling options:
- The weave: Thread the ribbon in and out of the branches in a continuous flowing line.
- The bows: Tie bows at regular intervals along the garland.
- The cascade: Let long tails of ribbon hang down at the ends.
- The twist: Twirl the ribbon around the garland like a candy cane.
Choose one method and repeat it for a cohesive look.
Step 5: Add Ornaments and Accents
Ornaments bring shine, color, and a sense of connection to your tree. Tucking a few into the garland creates a lovely echo.
A set of shatterproof Christmas ornaments is a great choice for garlands, since they’re lightweight and won’t break if they get bumped. Attach them with floral wire, and place them in clusters for visual impact.
→ Shop it: Shatterproof Christmas ball ornaments set
Other accent ideas:
- Pinecones, either natural or frosted
- Berry stems, for a pop of red
- Dried orange slices, for a rustic look
- Small bells, for a vintage touch
- Faux snow or glitter picks, for sparkle
A good rule is to add accents in odd numbers and spread them evenly, leaving some areas plain so the eye has somewhere to rest.

Step 6: Layer in Extra Lights
Even a pre-lit garland benefits from a little extra glow. Adding a strand of warm white fairy lights creates more depth and sparkle.
→ Shop it: Warm white fairy string lights
How to add them:
- Start at one end and tuck the beginning of the strand deep into the greenery.
- Weave the lights in and out of the branches, moving along the length.
- Keep the spacing even.
- Hide the wire as much as possible.
- Tuck the plug out of sight.
Be sure to check the instructions on both the garland and the fairy lights, and don’t connect more strands than they allow.
Garland Styles to Try
Looking for inspiration? Here are three looks to try.
Classic and Traditional
Deep green garland, red ribbon, gold ornaments, and warm white lights. Timeless and always festive.
Rustic and Natural
Burlap ribbon, pinecones, dried oranges, and a few red berries. Warm, earthy, and cozy.
Modern and Minimal
A simple garland with a single color of ribbon and a few well-placed ornaments. Clean and calm.
Where to Use Garland (Beyond the Mantel)
Garland is wonderfully versatile. Here are some places you might not have thought of.
- On a banister or staircase
- Over a window or doorway
- Along a bookshelf
- Down the center of a dining table
- Across a headboard
- Around a mirror
- On a porch railing or fence (if rated for outdoor use)
- Draped over a kitchen island or cabinets
Each spot gives you a chance to bring a little greenery into a room that might not otherwise feel festive.
Common Garland Mistakes to Avoid
- Skipping the fluffing. It’s the key to a full look.
- Hanging it too tight. Soft swags look more natural.
- Using too many accents. Edit for balance.
- Ignoring the cord. Hide it behind furniture or along the wall.
- Forgetting the ends. Tuck them in or finish them with a bow.
- Overloading with weight. Make sure your hooks can hold heavy ornaments.
How to Store a Garland for Next Year
A little care now makes setup easier next year.
- Remove ornaments and ribbon, and store them separately.
- Fold the garland gently or coil it in loose loops.
- Place it in a large bag or box, and label it.
- Store in a cool, dry place, away from heat and moisture.
Avoid crushing it under heavy items, since compressed branches take longer to fluff.
How to Style a Christmas Garland FAQ
How do I make my garland look fuller?
Fluff each branch thoroughly, layer ribbon and ornaments, and consider twisting two garlands together for extra volume.
How do I attach garland to a mantel without damage?
Use removable adhesive hooks or clips, or drape it over the top and let gravity hold it. Avoid nails if you rent.
How much garland do I need for a staircase?
Measure the length of the railing and add about 30 to 50 percent for swags or wrapping. A typical staircase needs around 15 to 20 feet.
Can I use garland outdoors?
Only if the product is rated for outdoor use. Check the packaging or listing, and use weather-rated lights and cords.
Final Thoughts
A garland is one of the most flexible, forgiving decorations you can own. With a little fluffing, a ribbon or two, and some well-placed accents, it can transform a mantel, a staircase, or a doorway into something magical.
Take your time, step back often, and trust your eye. Save this guide for decorating day, or share it with a friend who’s about to wrestle her first garland.
About the Author