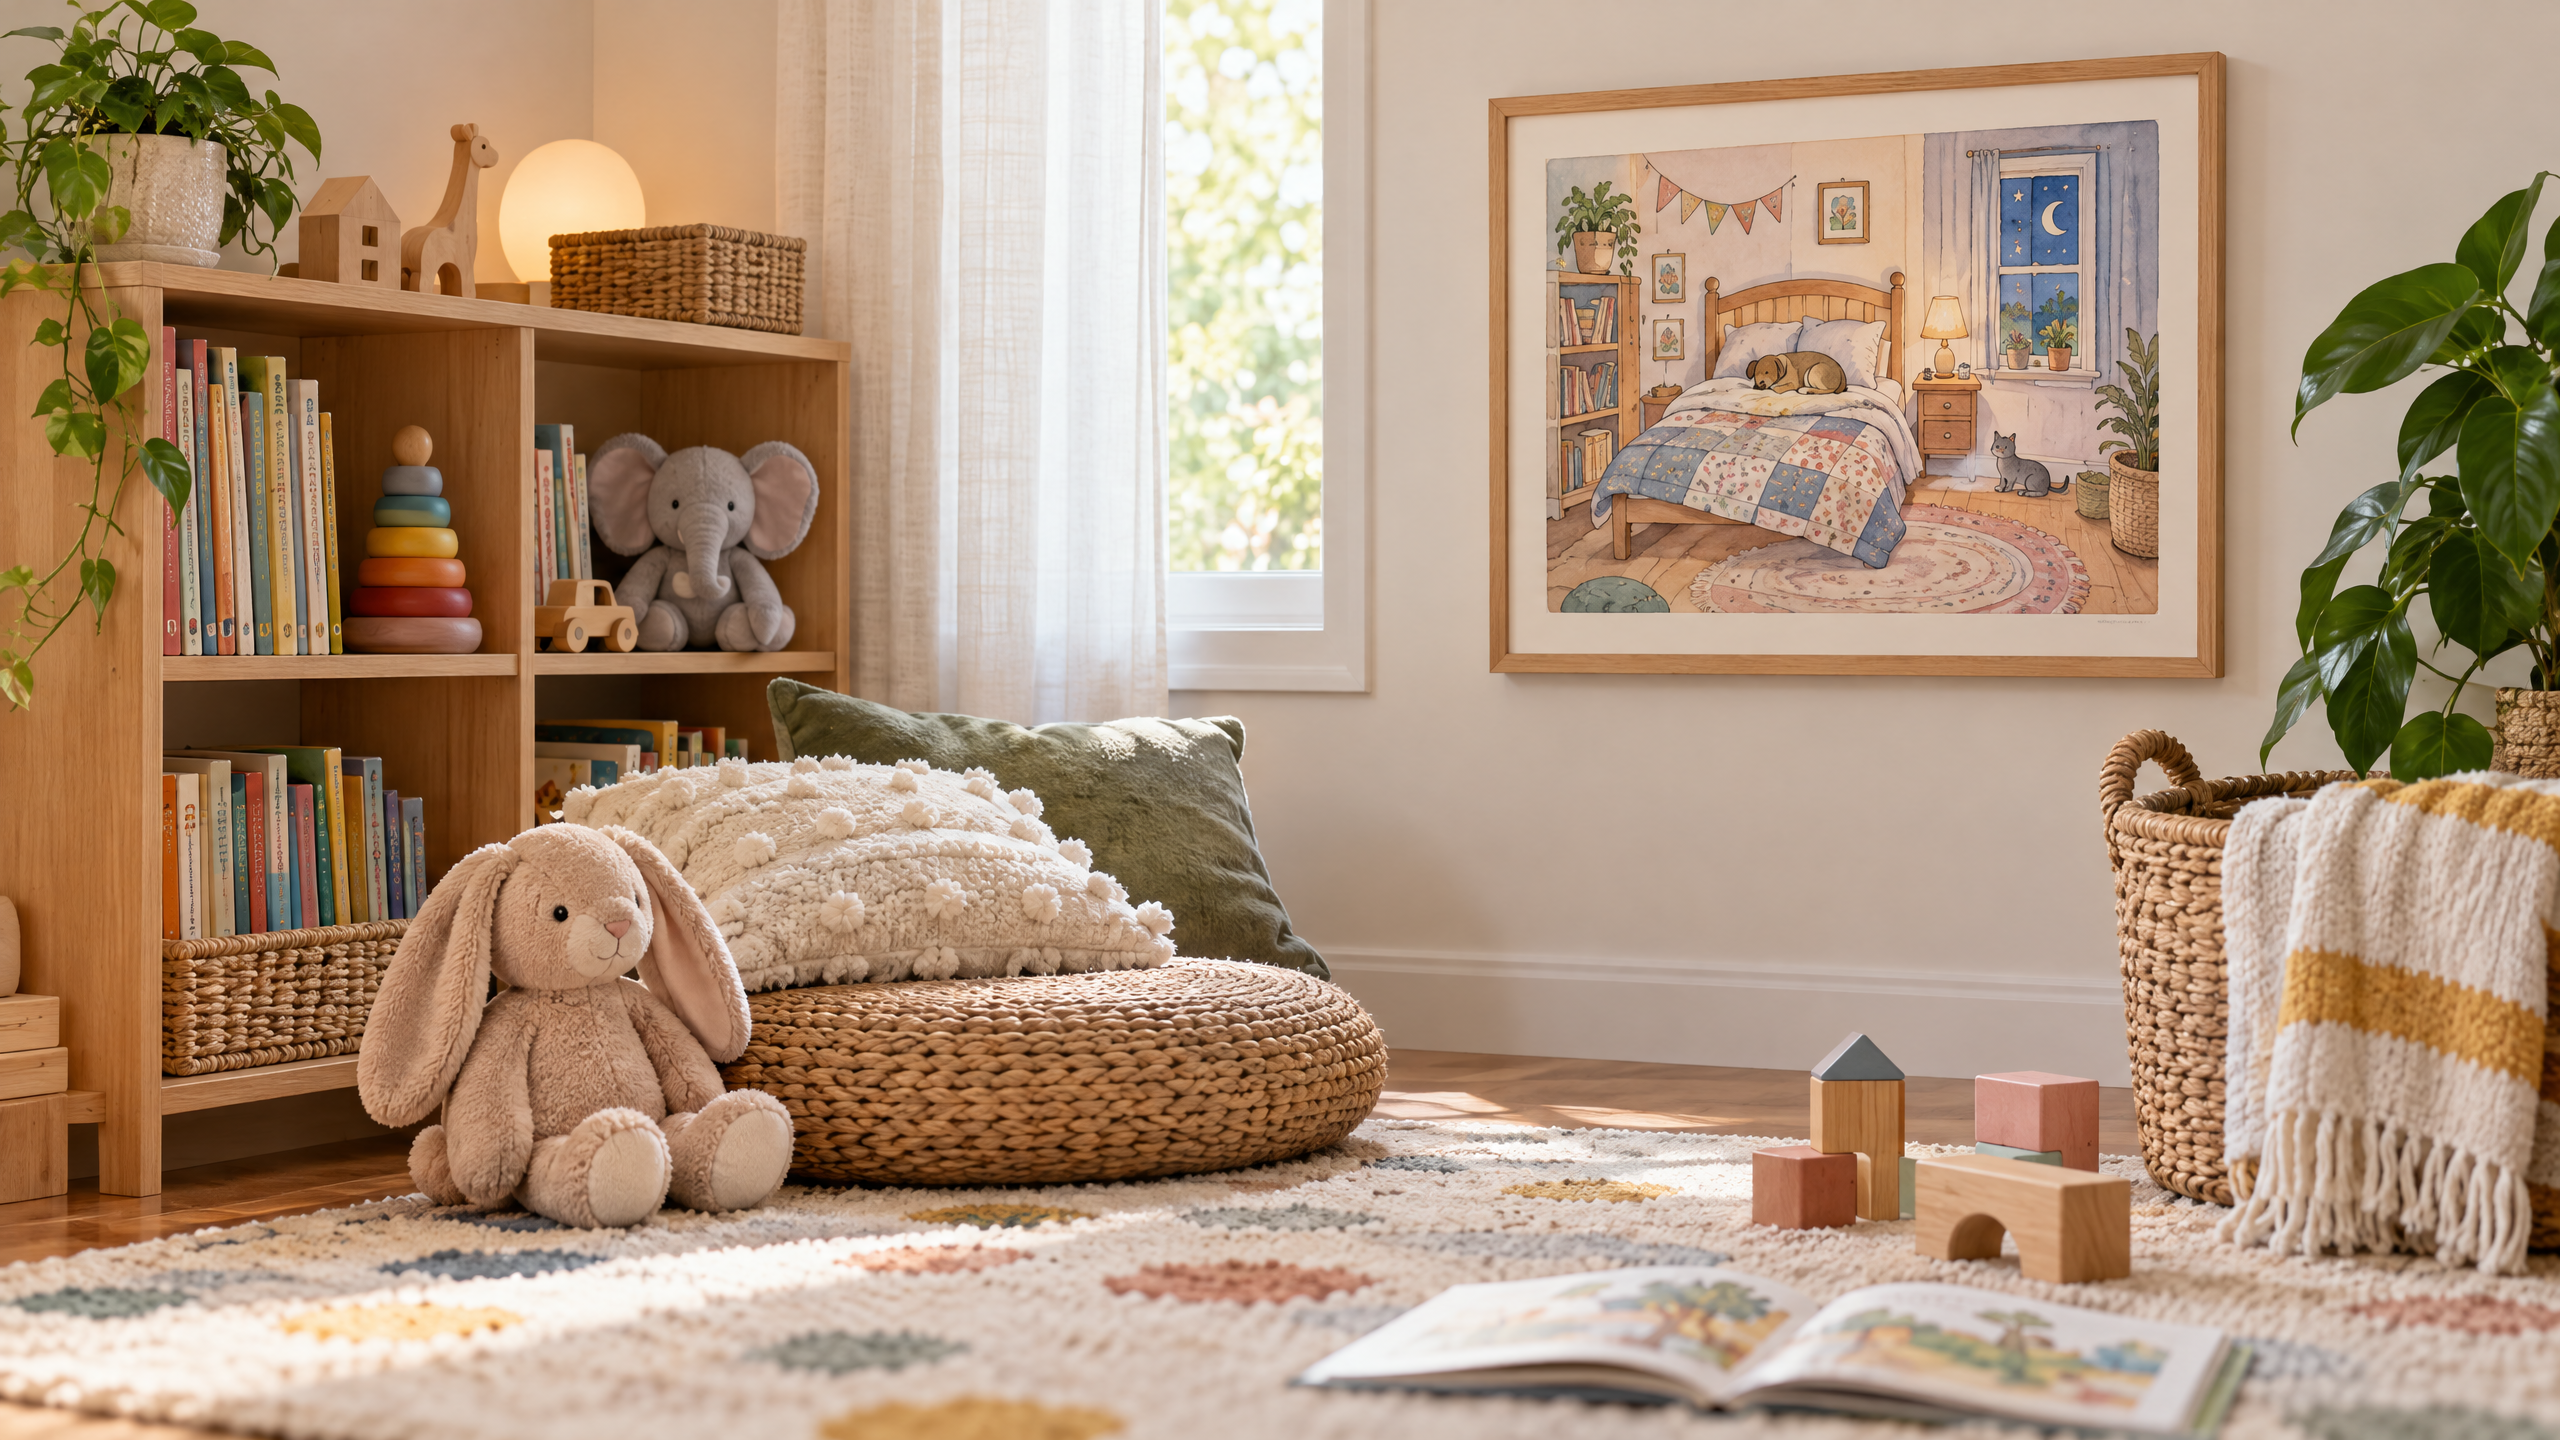
A Storybook Corner at Home: Displaying Bedroom Scene Art With Intention
Creating a corner in your home that reads like a page from a children’s book—soft light, a few well-chosen images, and room to imagine—doesn’t require a full nursery redesign. With a handful of bedroom-scene coloring pages as your starting point, you can design a family-friendly reading and play alcove that feels intentional, calm, and low on visual clutter. Below are step-by-step, adaptable strategies to help you turn printable line art into displayable artwork, integrate it into a kid-appropriate environment, and encourage play without turning the corner into a chaotic catch-all.
Why bedroom scene coloring pages make a smart foundation
- Scene art invites storytelling. Unlike single-object prints, bedroom-scene pages suggest characters, furniture, and narrative beats that naturally inspire play and reading aloud.
- They’re easy to customize. Children (and adults) can color them to match the corner’s palette or to create a seasonal rotation.
- Low-tech, high-engagement. Coloring, then displaying, keeps the focus on tactile creativity and quiet play rather than screens.

If you want to start with a set of themed line drawings that are specifically bedroom scenes, check out these Bedroom Scene Coloring Pages. Use them as an accessible, editable foundation for your storybook corner—then follow the steps below to display and use them intentionally.
Bedroom Scene Coloring Pages / Sheets of Bedroom Scene {Coloring Book}
Design principles for a clutter-light story corner
Before you pick frames and cushions, establish rules that will keep the space feeling calm.
Limit the palette to three anchoring colors.
Choose one neutral (ivory, warm gray, sand), one soft color for big elements (sage, dusty pink, muted blue), and one accent (mustard, teal, rust) for small pops. When coloring the pages, your child can use these same hues. Limiting color reduces visual noise and creates cohesion between artworks, furniture, and textiles.
Practice “less, but meaningful.”
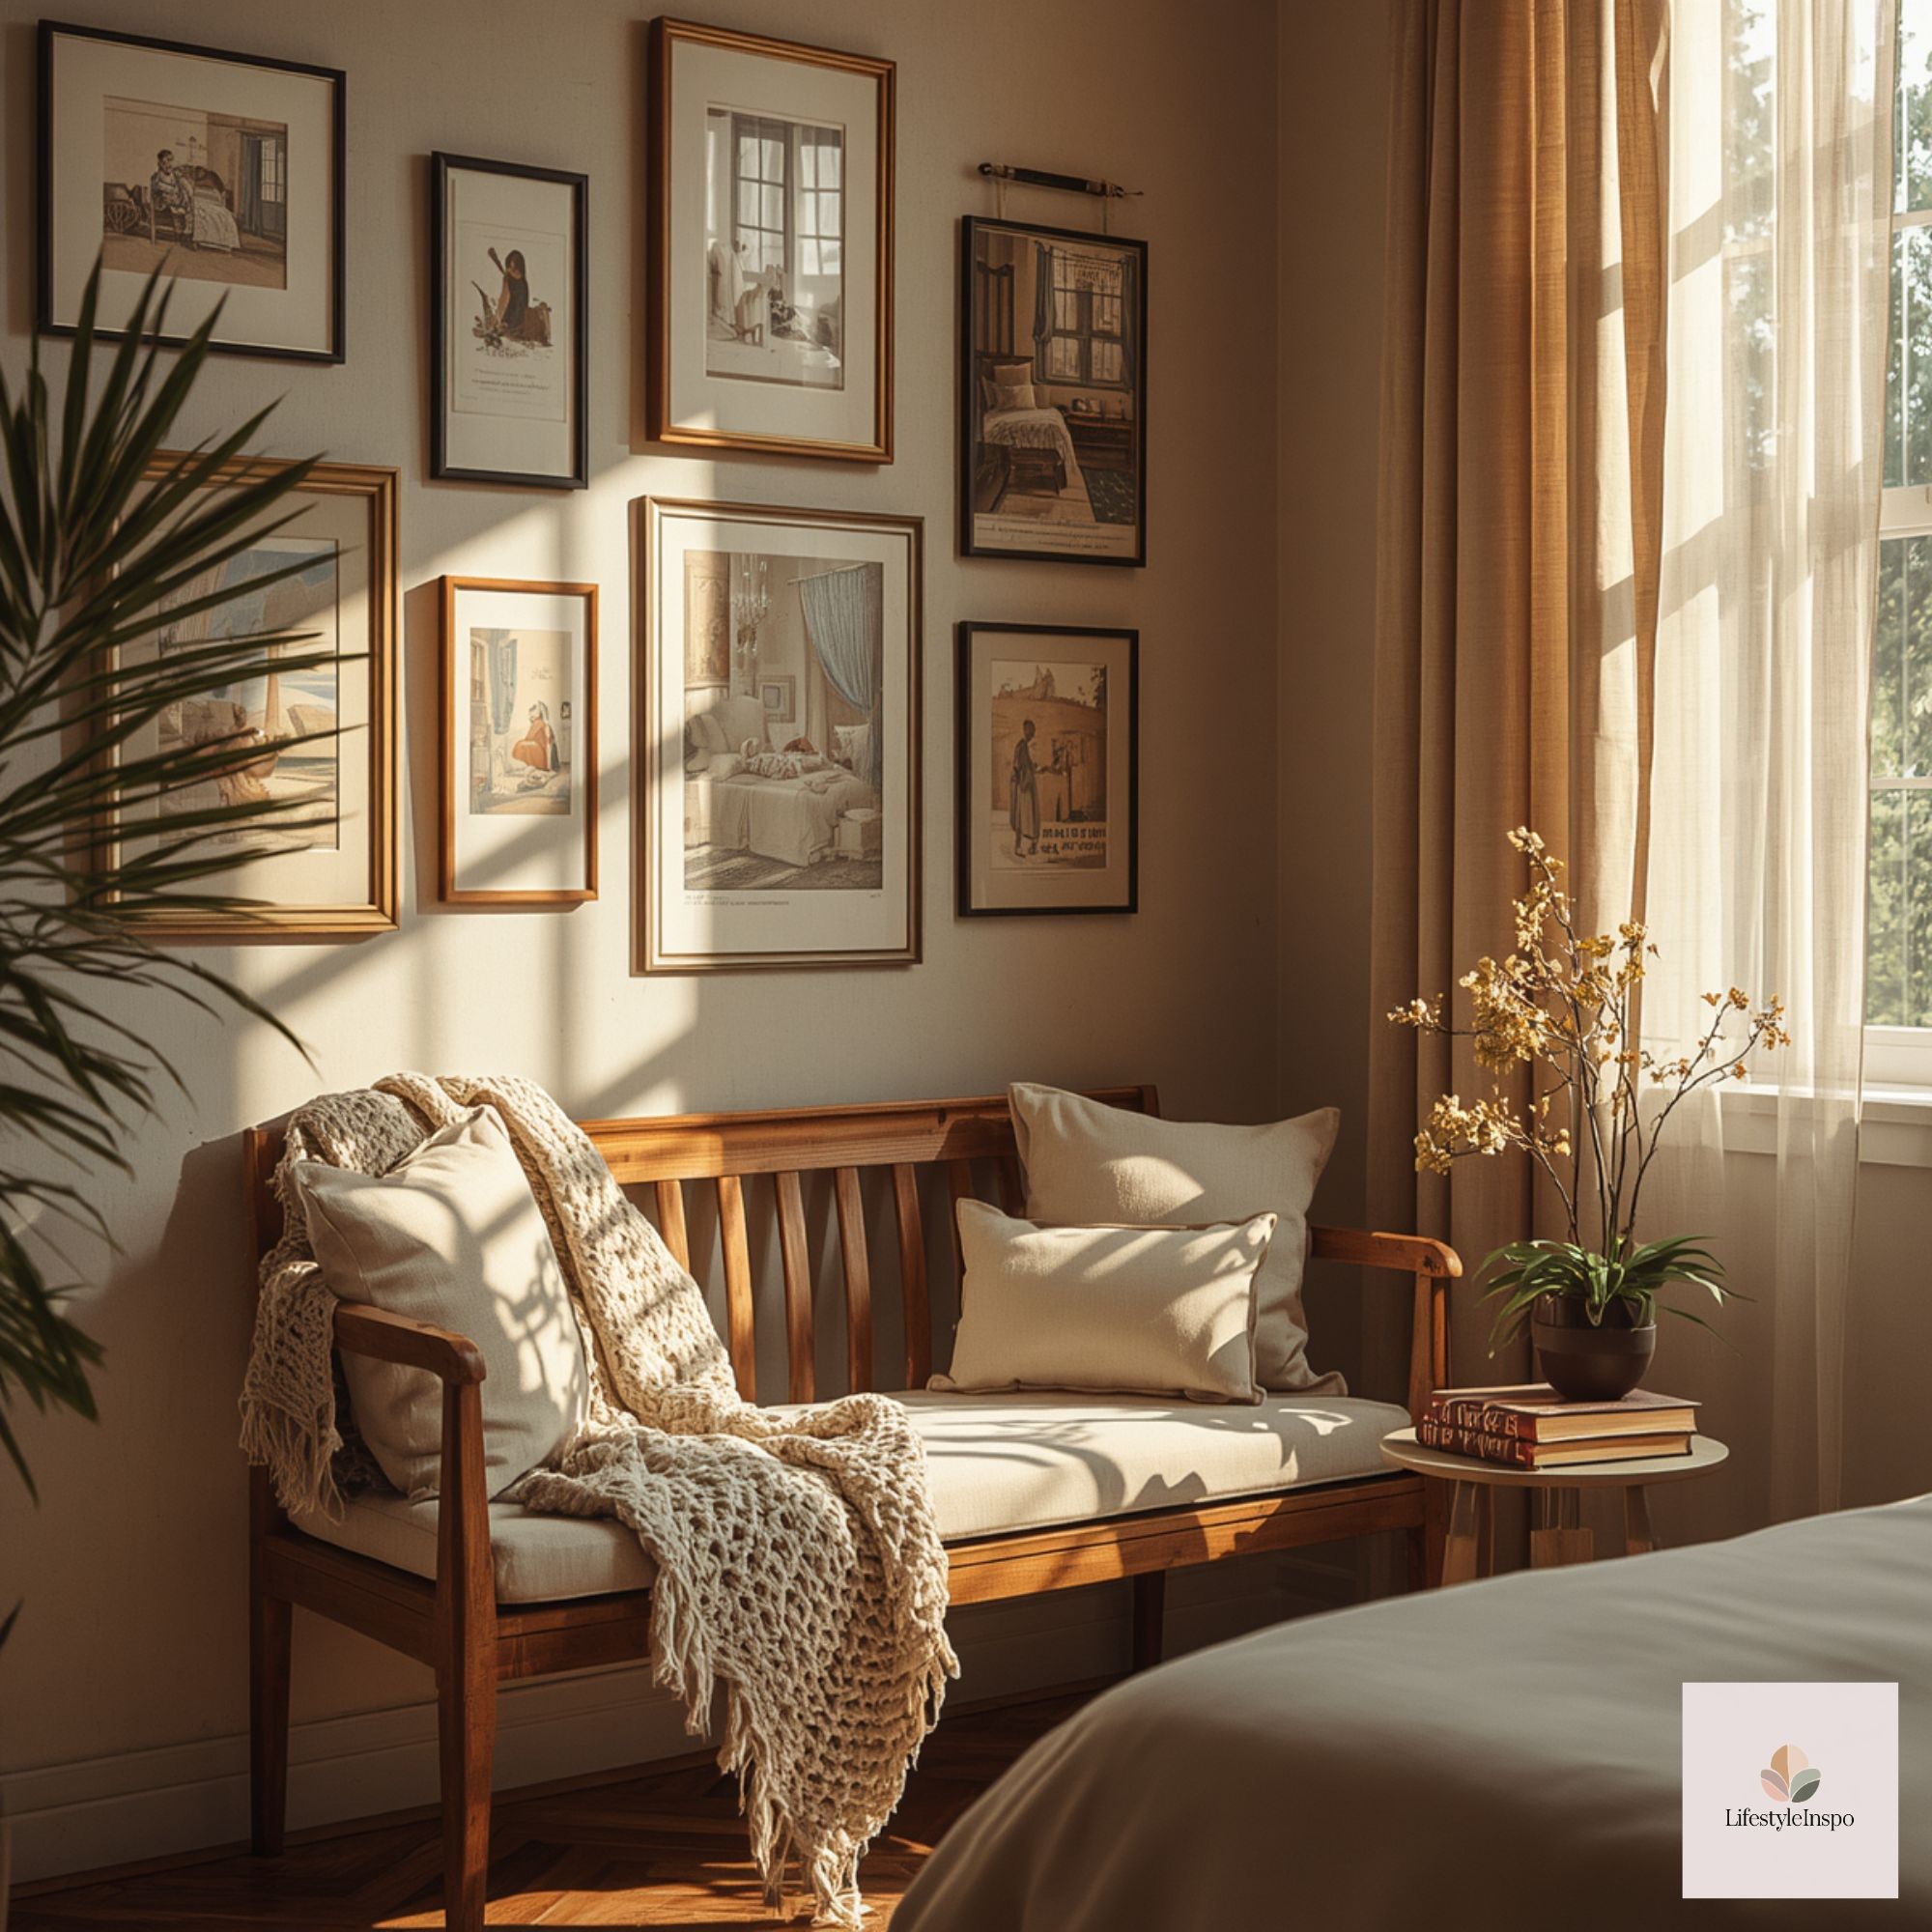
Instead of covering the wall with dozens of drawings, select a small number—three to five—of finished pieces to display at once. Rotate them seasonally or as new favorites emerge. This restrained approach treats children’s artwork with the same consideration as adult art, which subtly communicates value and respect for the creator.
Define function before decoration.
Decide what the corner is primarily for: reading aloud with a caregiver, solo quiet play, or imaginative role-play. That primary function will dictate furniture scale, storage choices, and the safest display height.
Practical mini-guide: Layouts for different spaces
Small corner (narrow wall, under 4 feet wide)
- Seating: Floor cushion or a low-profile child-size armchair. Anchor the space with a textured rug under 3×5 feet.
- Wall display: One medium framed scene (A3 or 11×14) hung at 36–44″ from the floor so it’s accessible. Add one smaller frame beside or below for a companion page.
- Storage: A narrow basket for books and one flat tray for crayons and finished pages. Keep the tray removable so it’s cleared before cozy reading.
Medium nook (alcove or under-window)
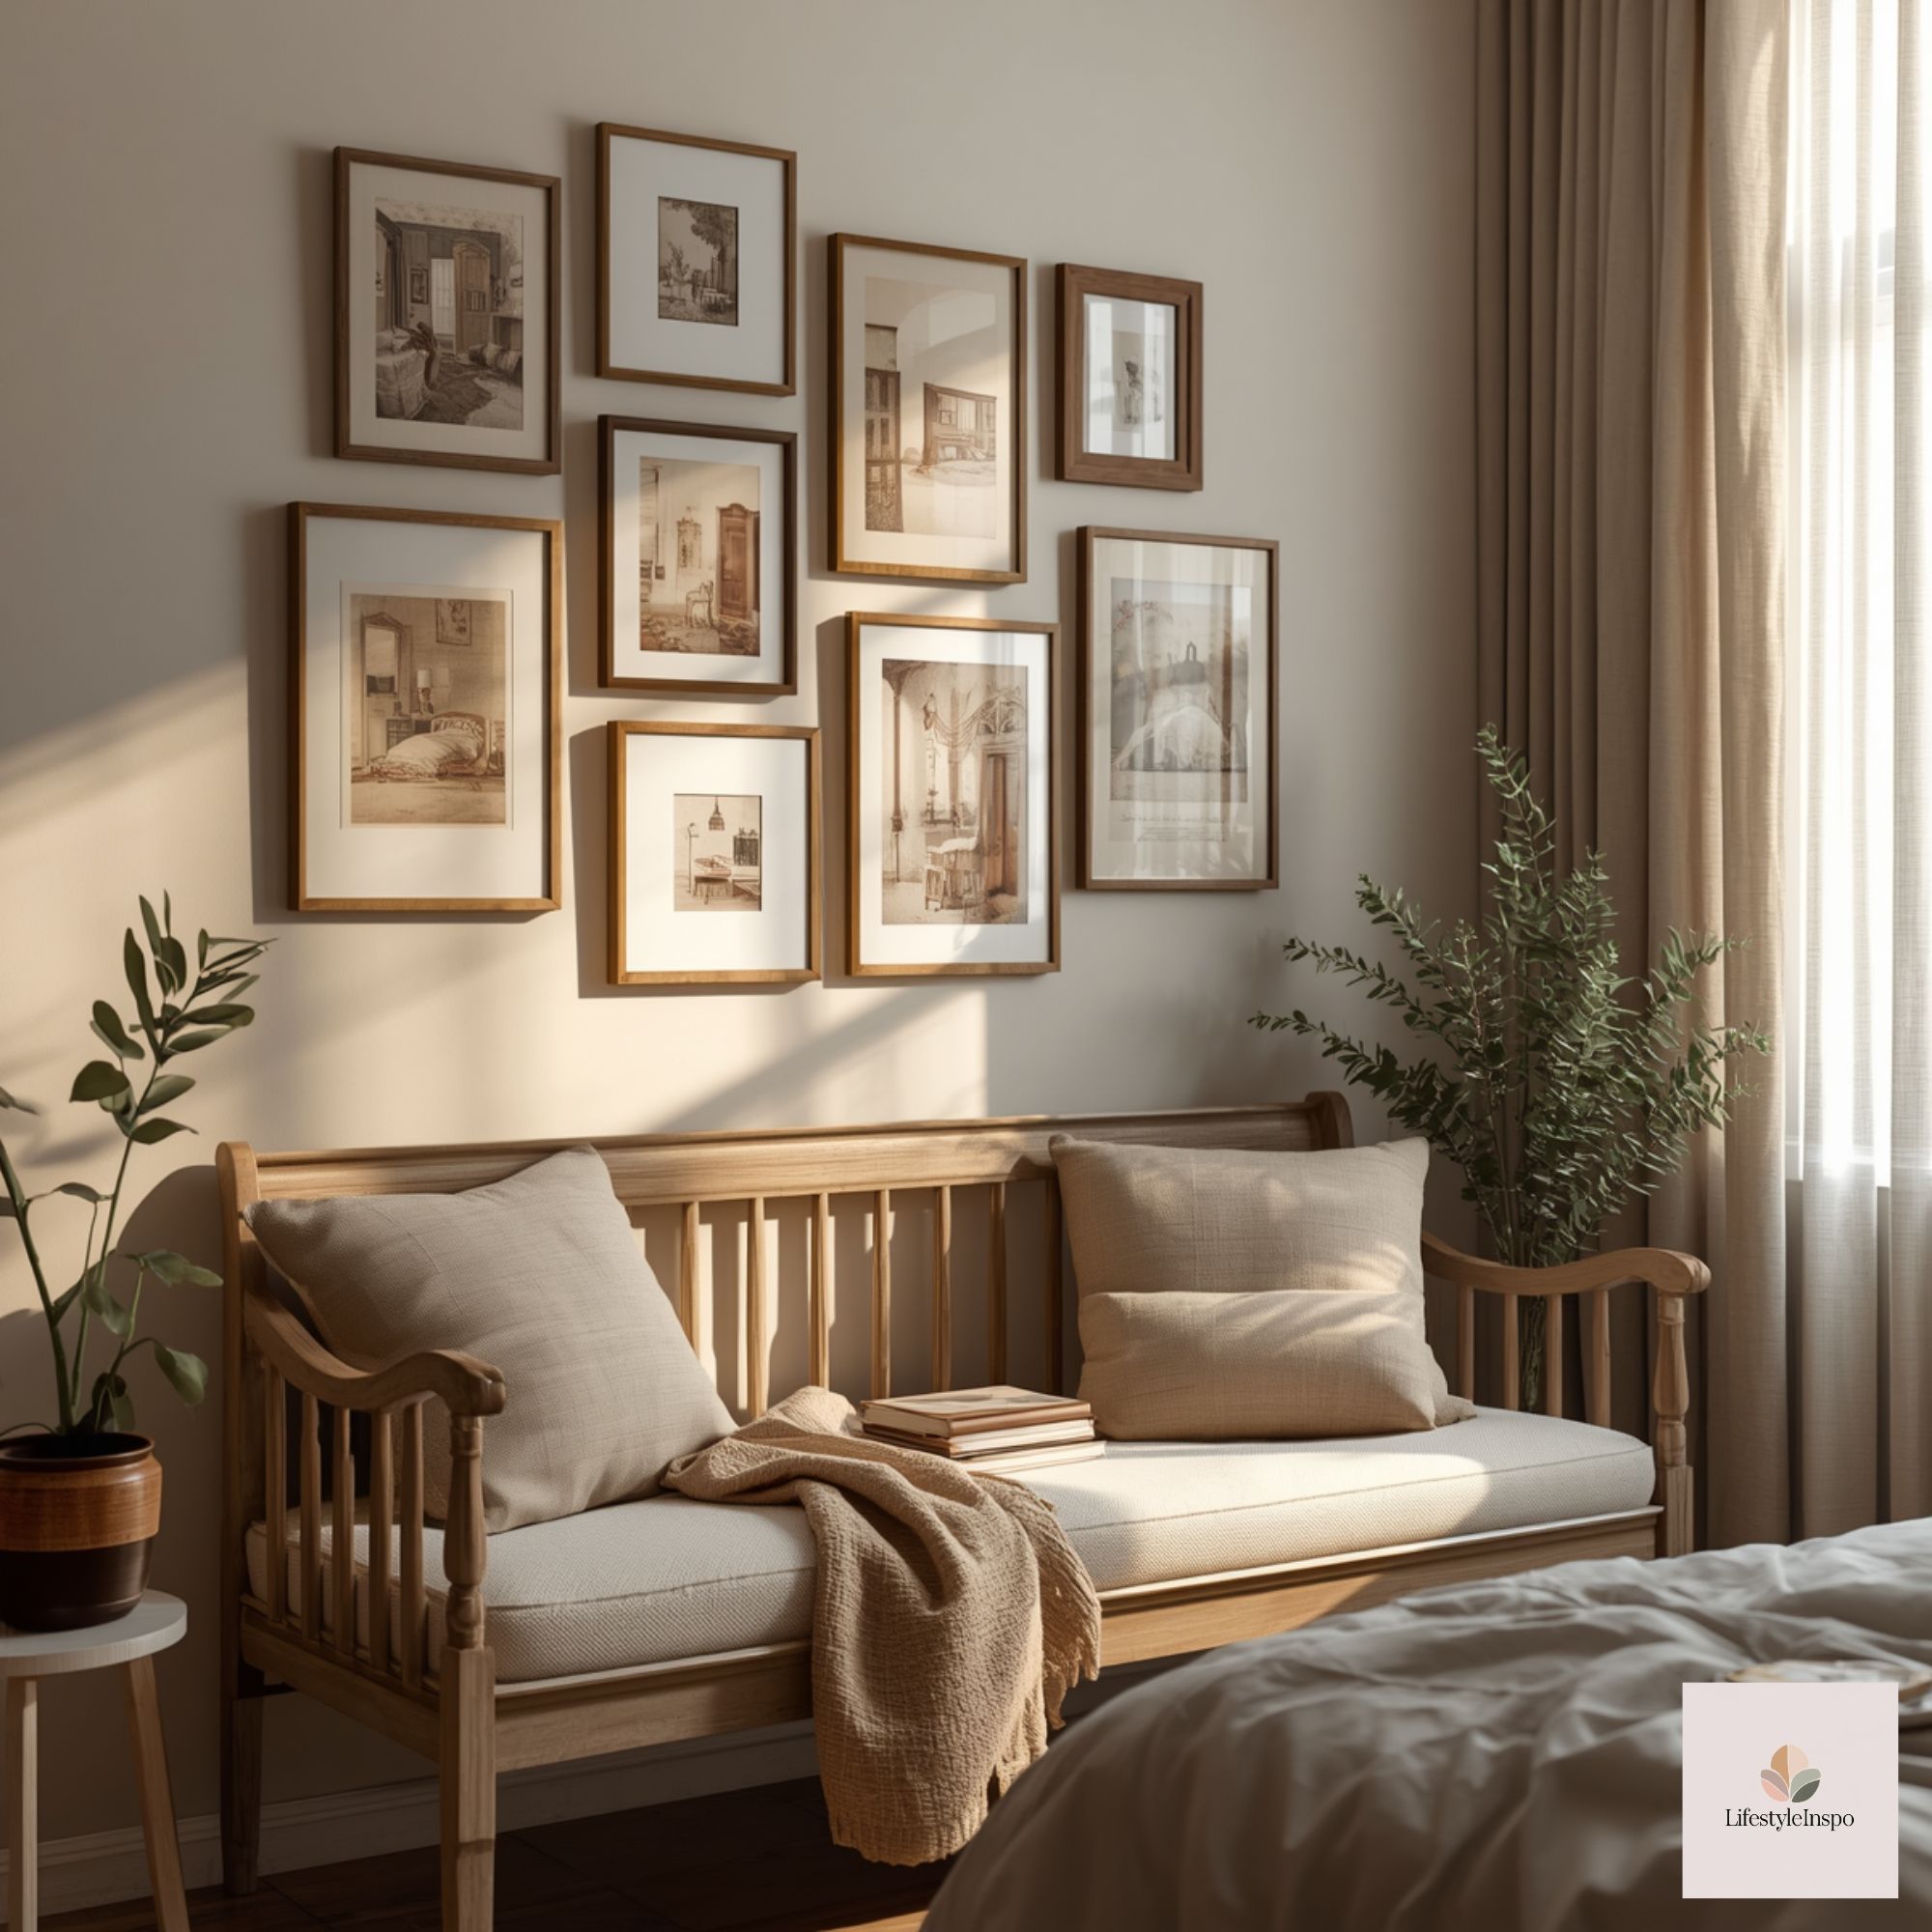
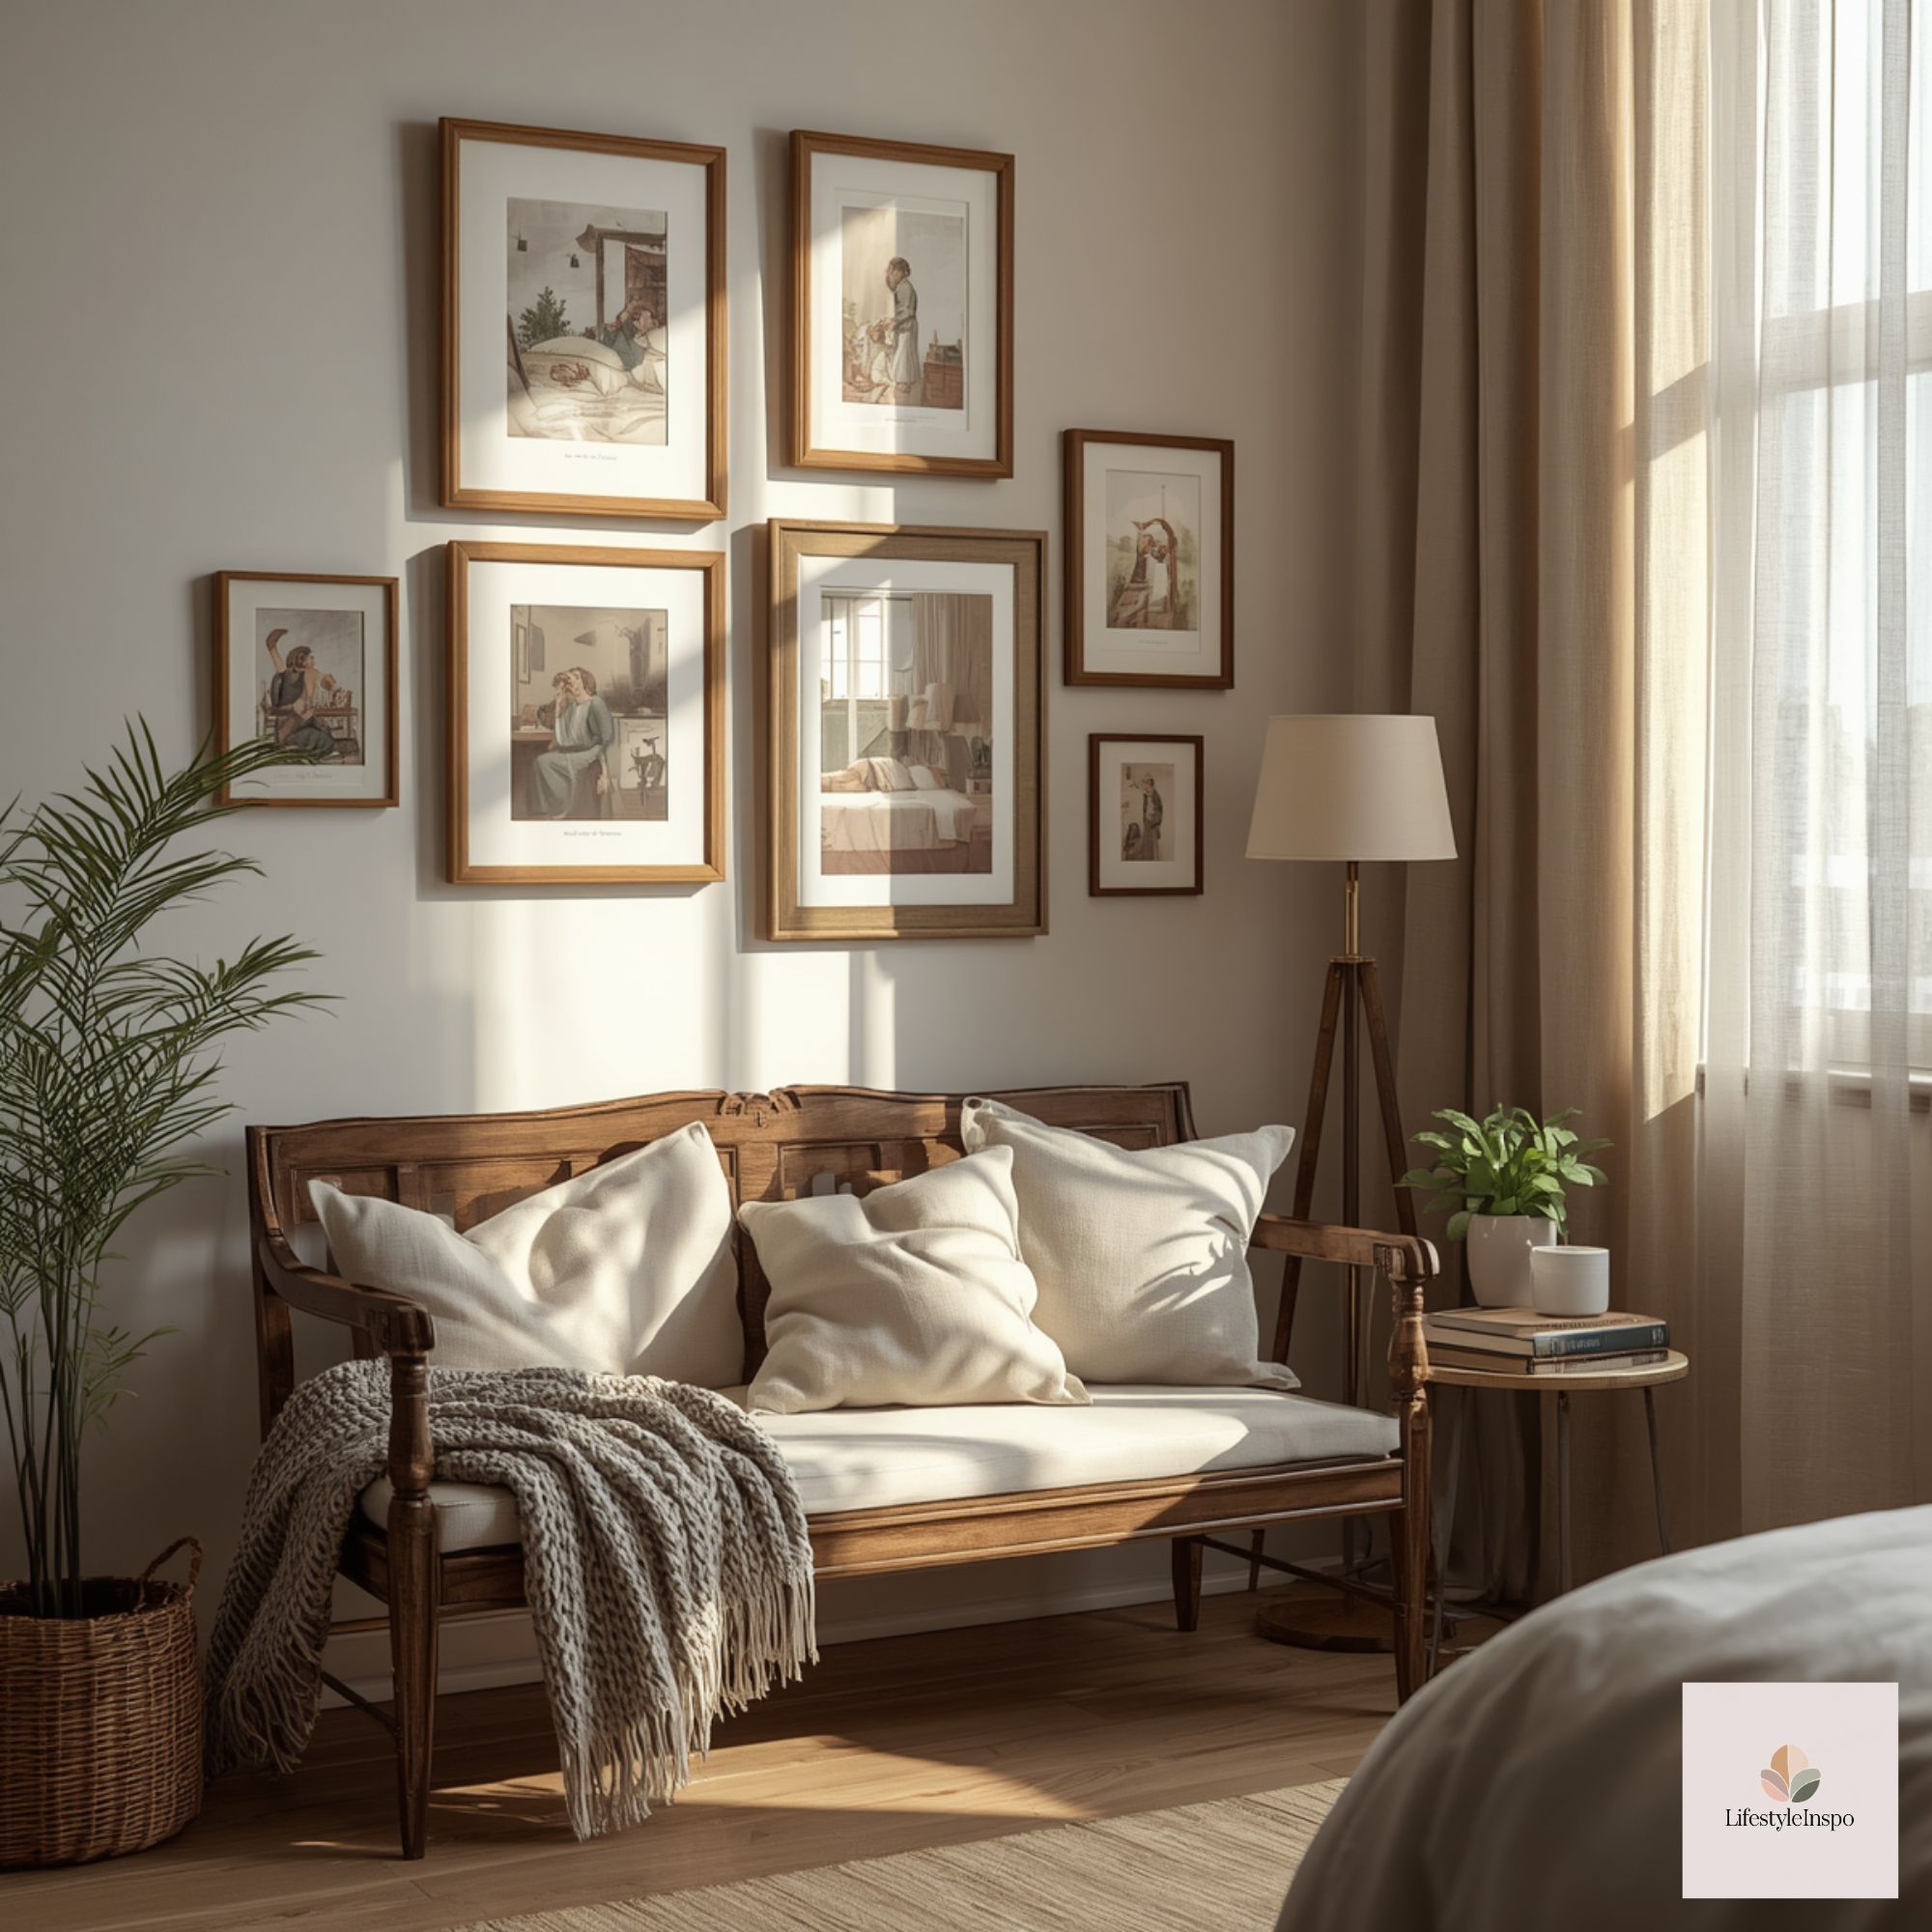
- Seating: Small bench with closed storage or a built-in window seat. Add a lumbar pillow for adult comfort during read-aloud time.
- Wall display: A trio of aligned frames (two smaller flanking one larger) creates a visual tableau, like illustrated book spreads. Hang at eye level for seated adults—around 48″.
- Storage: Two lidded baskets or a small cubby unit for toys and books. Use a lightweight folding side table for snack-free reading.
Large corner (spare bedroom, playroom)
- Seating: Low sofa or child-sized chaise plus a floor pouf. Include an ottoman that doubles as toy storage.
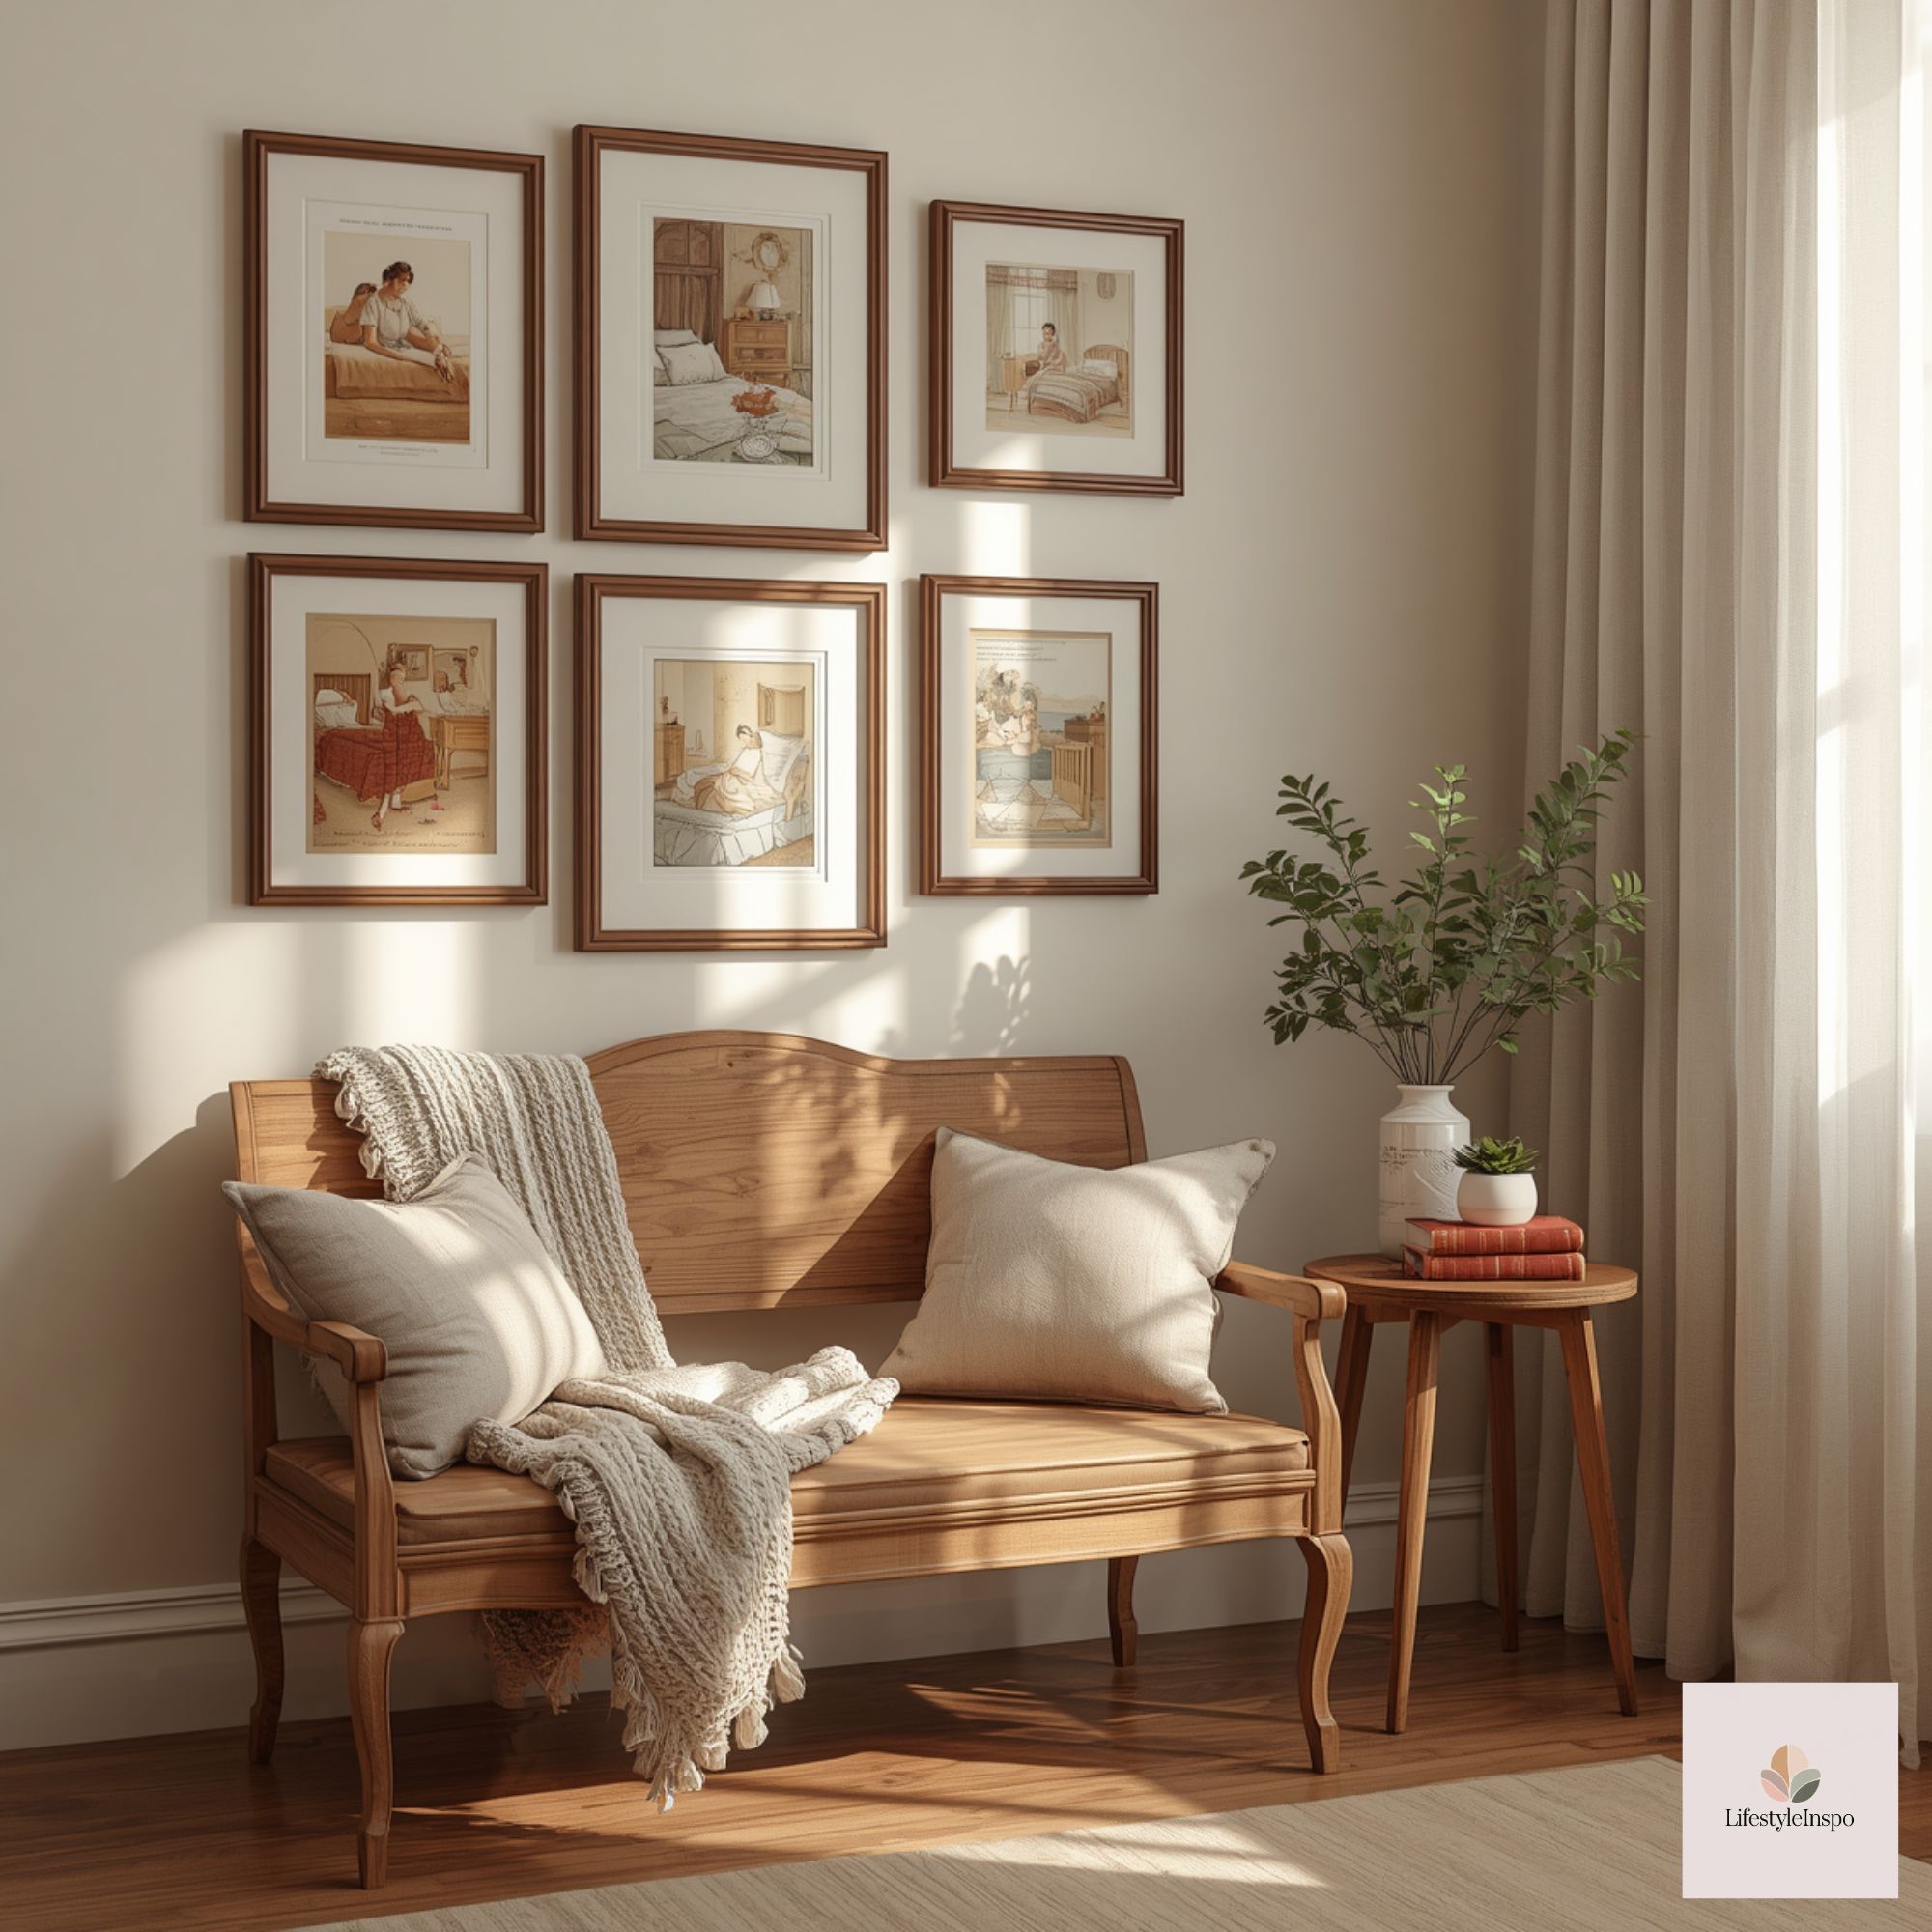
- Wall display: A curated gallery wall of four to six scenes in matching frames. Use a horizontal layout that mimics a picture-book spread.
- Storage: Closed cabinet for a minimal look; visible bins only for favorite props used in imaginative play.
Selecting and preparing coloring pages as display art
Treat the coloring pages as a starting point, not a finished product. A few simple finishing steps professionalize the look and make them durable.
Paper and backing
- Use a heavyweight paper when printing or reinforcing. If you’re printing at home, choose the thickest compatible option. If you’re unsure, mount the page on cardstock or foam board with archival double-sided tape to give it weight and prevent sagging.
- To prevent creases, keep pages flat between heavy books for 24 hours before framing.
Coloring approaches
- Encourage children to use colored pencils, fine-tip markers, or watercolor pencils with a light wash—techniques that keep the lines crisp and the surface flat.
- For a polished look, limit large blocks of intense color. Instead, use shading and pattern in clothing or bedding within the scene, and keep backgrounds softer.
- Consider having one adult or older child ink or fill broad background areas to maintain visual consistency across the set.
Matting and framing
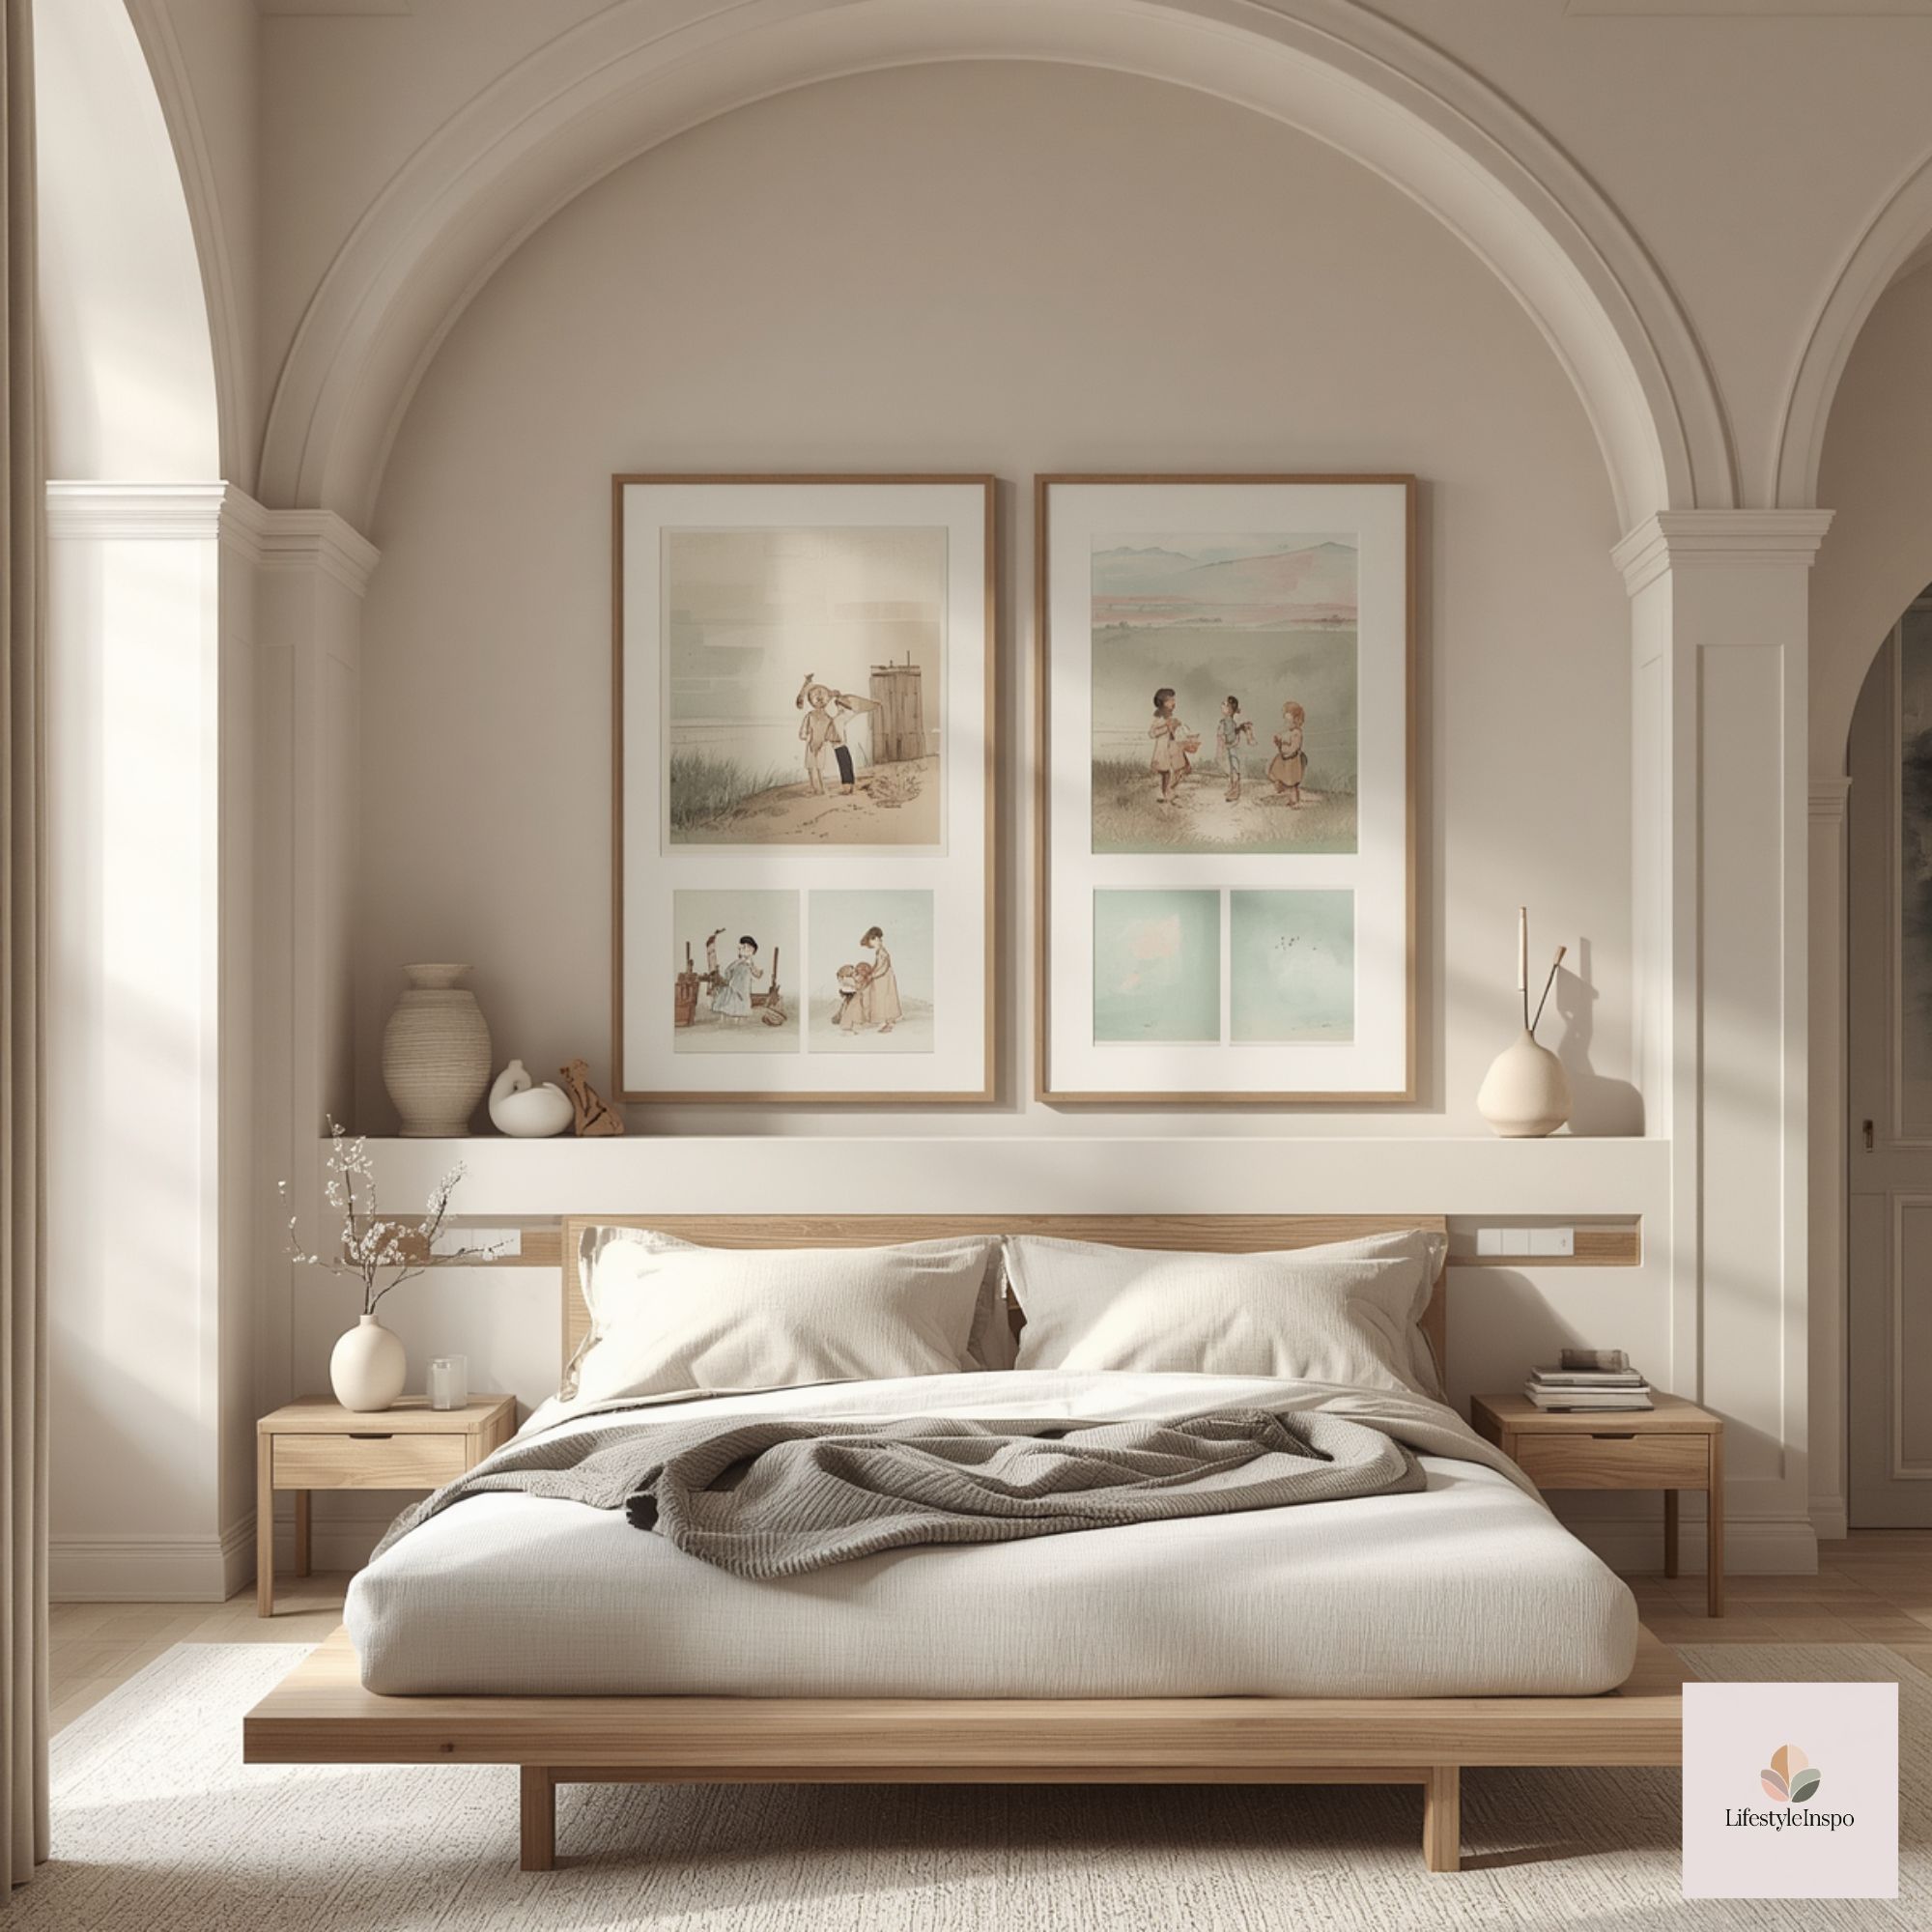
- Matting elevates simple line art. A white or soft cream mat sized to create a 2–3 inch border makes the pages read like prints.
- Choose frames with a thin profile and a consistent finish—black, natural wood, or white—for a gallery feel. For kid spaces, select shatterproof acrylic glazing rather than standard glass.
- Use removable framing methods (clips or magnetic frames) for easy rotation. This makes swapping new pages or freshly colored versions straightforward.

Kid-appropriate positioning and safety
- Hang frames no lower than 36″ from the floor to avoid little hands constantly reaching or bumps during play. For younger children, you can place an additional display on a low ledge but ensure frames are secured with museum putty.
- Anchor furniture to the wall where necessary. A child leaning on unstable storage can create accidents.
- Avoid small, decorative items within reach that could be choking hazards. Choose oversized, soft props like plush story characters or felt play pillows.
Featuring interactive display options
A static frame is beautiful, but small interactive touches keep the corner alive.
Rotating storyboard rail
- Install a slim picture rail or wire with clips at a height where children can swap pages with supervision. Limit the number of clipped pieces so the rail stays uncluttered.
- Make “exhibition day” a weekly ritual: the child curates which scenes go on the rail. That ritual teaches selection and editing.
Story pockets
- Use fabric or cork pockets on a narrow wall to hold unframed finished pages. Children can slide new art in and out. Label pockets with days or themes—“Bedtime,” “Morning,” “Rainy Day”—to prompt narrative play.
Frame-within-frame
- For a layered look, mount a smaller colored scene inside a larger blank mat with space for sticky notes. Kids can add tiny speech bubbles or labels to bring the scene to life without altering the original page.
Integrating props and textiles for imaginative play
Match props to the scenes to make the corner function like a live storybook set.
Textiles
- Use bedding-like fabrics (mini quilts, a folded coverlet) to suggest the “bedroom” in the scene. A small bedroll or doll bed echoes the artwork and invites role play.
- Keep textiles natural fiber and washable. Neutral bases with one patterned throw echo the controlled palette rule.
Figures and puppets
- Soft dolls or hand puppets dressed in tones complementary to the artwork encourage reenactment of scenes.
- Keep a single bin of themed props: a pretend nightlight, a felt book, a toy mug. Less is more; having fewer, intentional props makes storytelling clearer and less overwhelming.
Lighting for reading and mood
- Layer lighting: a soft overhead (warm LED), a floor or table lamp with a dimmer for evening reading, and a small clip-on book light for focused reading.
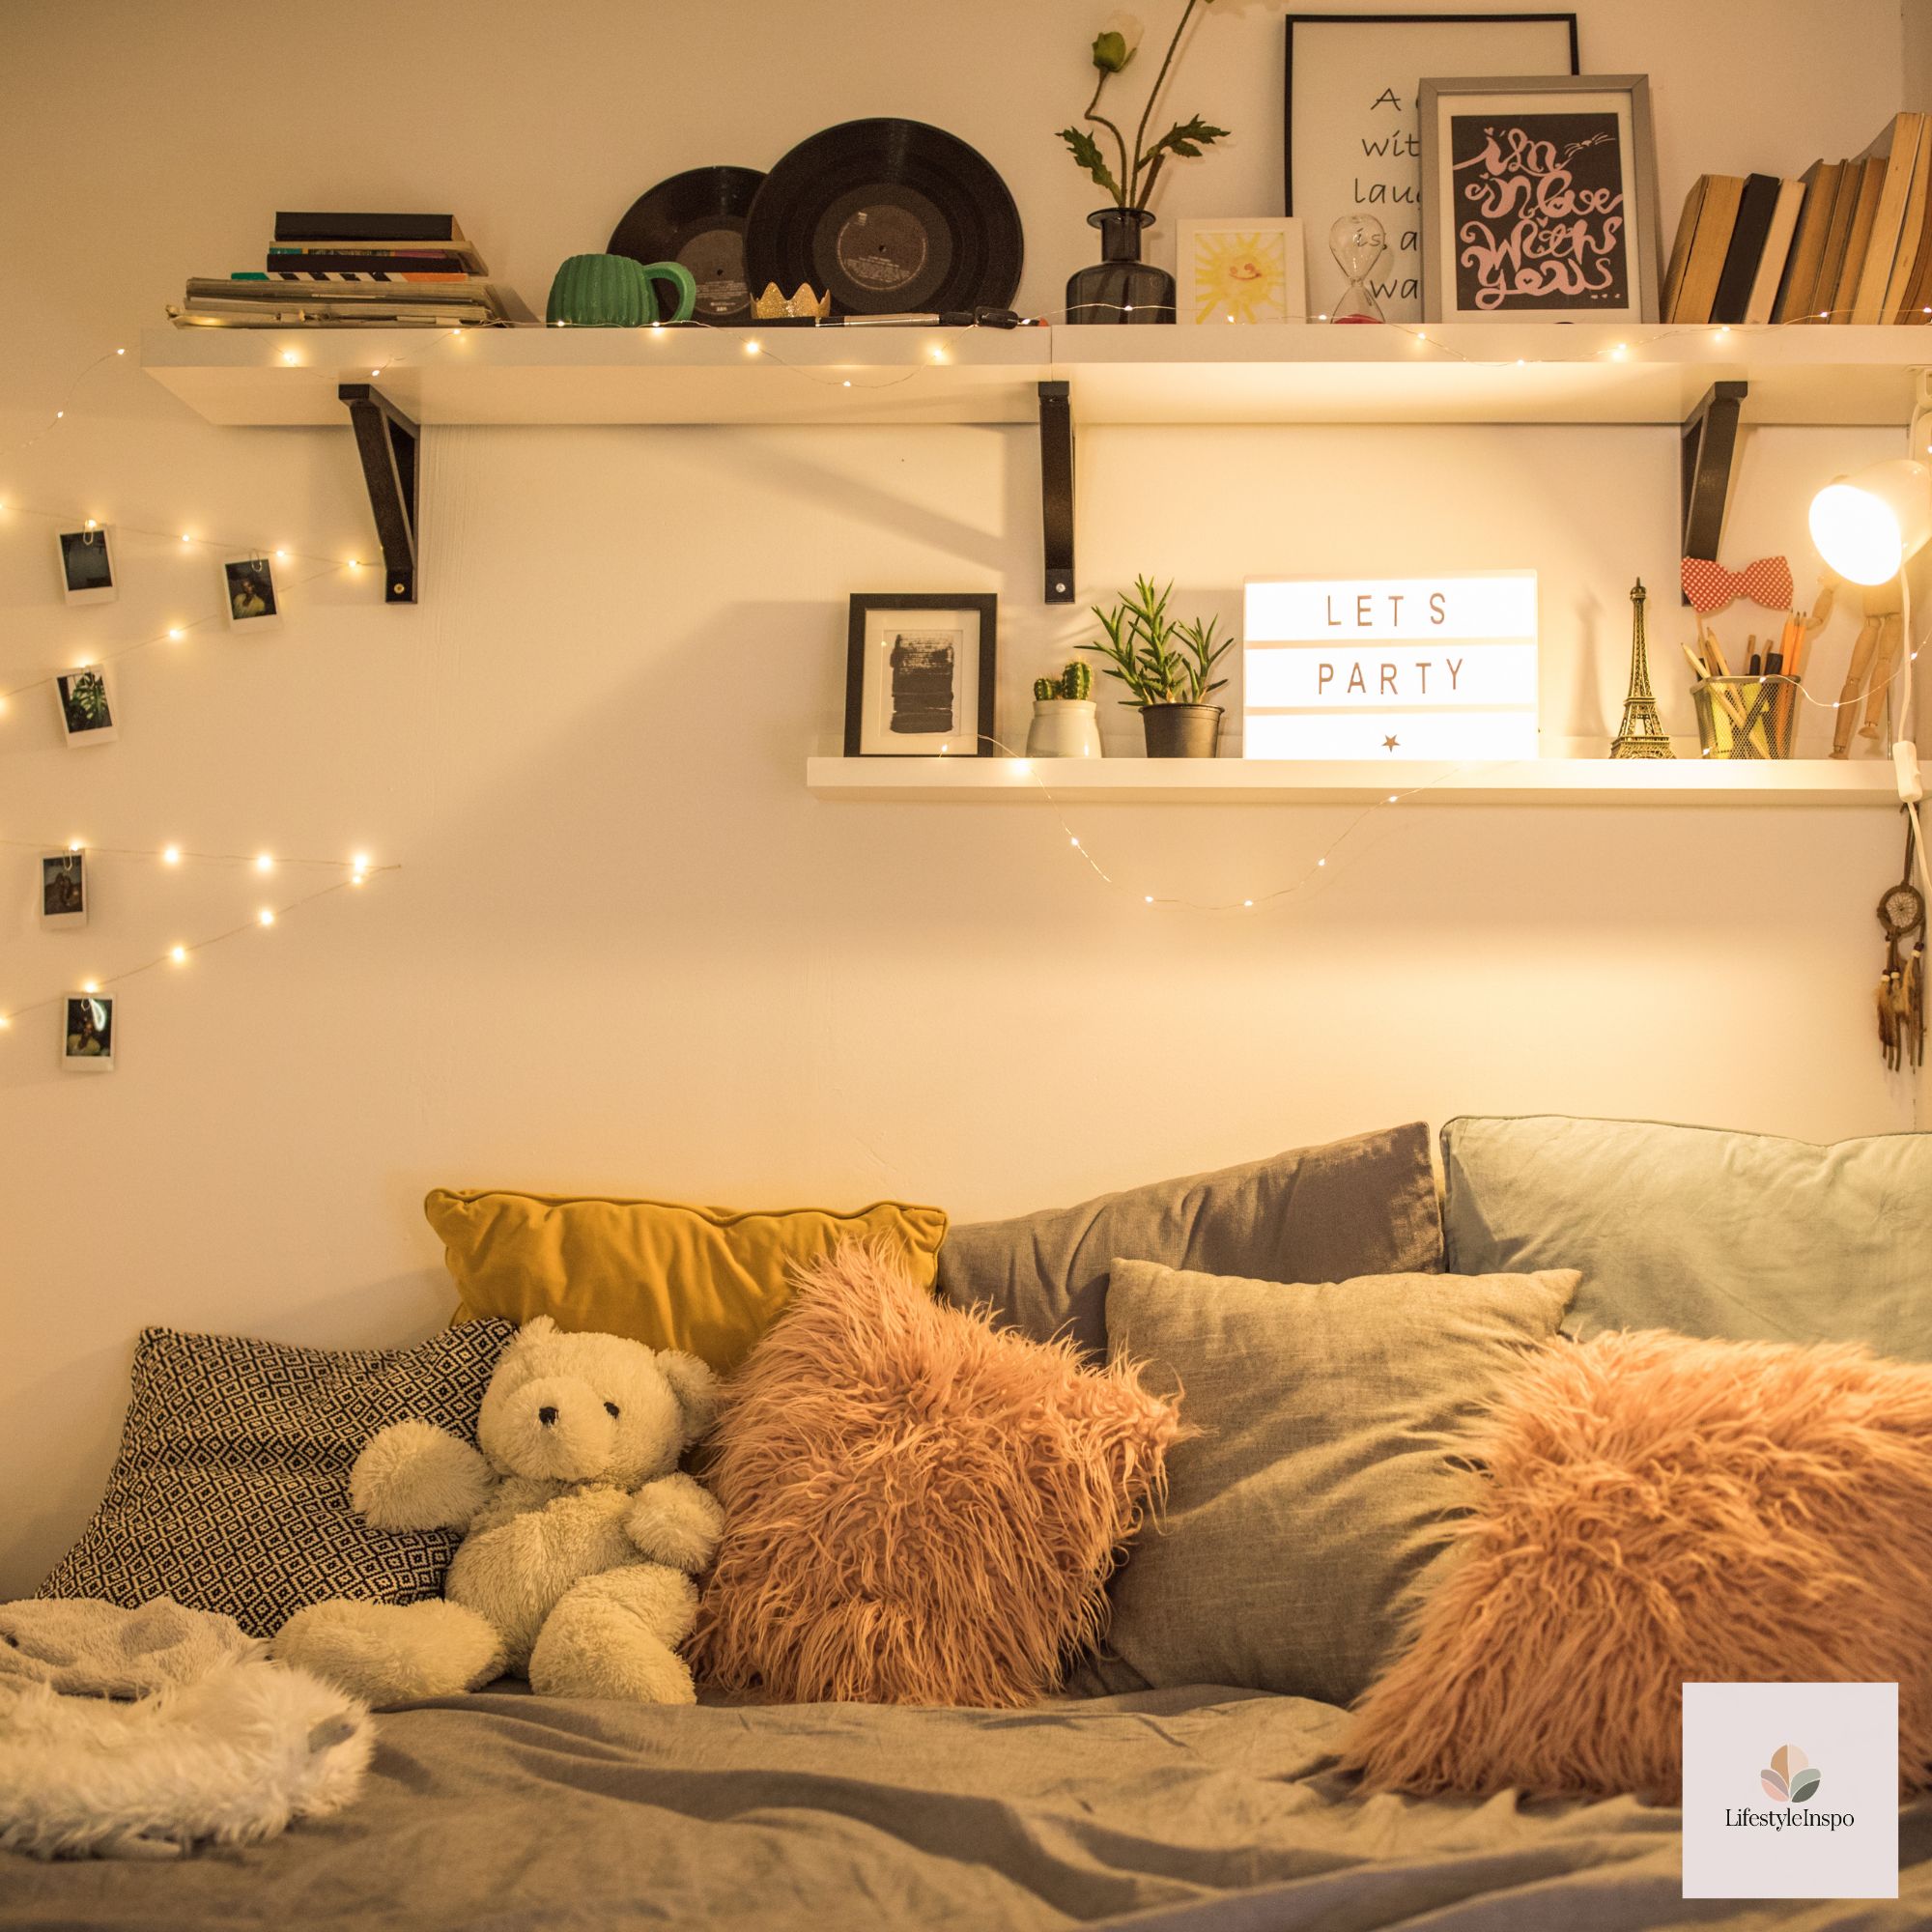
- Avoid bright, flickering lights or overly decorative string lights in the immediate play area; choose soft-glow lamps that cast even light over framed art so colors read true.
Encouraging storytelling rituals
The best storybook corners earn daily use when paired with simple, repeatable rituals.
Story start basket
- Keep a basket of three to five favorite books and two matched props. Rotating these weekly keeps selection fresh and manageable for parents.
“Color & Tell” ritual
- Once a child colors a new page, spend 10 minutes together looking closely and telling a story about who lives in the pictured room. Record the story in a small notebook kept in the corner for later rereading.

Quiet signal
- Use a small, tactile object—like a felt star—to signal quiet time. When the star is placed on the cushion, play is soft and voices are whisper-y. This teaches spatial boundaries and sound levels without big rules.
Maintenance and rotation system
A practical plan keeps the corner feeling tidy over time.
Weekly tidy (5–10 minutes)
- Replace any completed coloring pages on the rail with a freshly selected piece. Refill the crayon tray and return props to their bin.
Monthly edit
- Take down older pieces. Photograph them before storing or gifting them to family. This keeps the active display focused without losing the archive.
Seasonal refresh
- Rotate the accent color in props and small textiles each season (a mustard cushion for fall, a soft blue for spring). Update one or two scenes to reflect seasonal activities—nap time in winter, sunlit play in summer.
Budget and rental-friendly options
- DIY frames: Spray paint inexpensive thrift-store frames in one color for matched looks.
- Removable hooks: Use renter-friendly picture hanging strips for frames and hooks for lightweight shelves.
- Temporary rails: A command-cord wire with clips can substitute for a permanent picture rail and is simple to remove when moving.
When to involve a professional
If you plan to create a long-term, built-in reading nook or invest in a custom bench with storage, consult a carpenter or a local furniture maker for safety anchoring and durable materials. For anything beyond personal, non-commercial display of coloring pages, check the seller’s listing and terms for appropriate use.
A final, simple project to start tonight
Pick one finished page from your Bedroom Scene Coloring Pages, mount it on cardstock and frame it in a low-cost thin frame. Place it on a small shelf at seating height, add one favorite book and a soft light, and invite your child to color one complementary-piece next week. The result: a calm, story-ready corner that honors both your child’s creativity and your home’s visual serenity.
Takeaway
A thoughtfully curated storybook corner—built from bedroom-scene coloring pages, limited colors, sensible framing, and selective props—creates a space where imagination, reading, and calm coexist. Small choices—one rug, three frames, a dedicated basket—make the difference between a task-filled toy zone and a corner that truly feels like opening a book.
About the Author