How to Set a Christmas Dinner Tablescape (Step by Step)
The Christmas dinner table is the closest thing most of us have to a stage. Everyone gathers around it, the food is the headliner, and the lighting, the linens, and the little details are the supporting cast that make the evening feel like an event.
But setting it can feel like a lot. Where do the forks go? How tall should the candles be? How do you make it look styled without spending the whole day on it?
This guide to a Christmas dinner tablescape breaks it into simple steps. Follow them in order and you’ll have a table that looks thoughtful, feels warm, and leaves you plenty of time to actually enjoy the meal.
Before You Begin: Plan the Basics
A little planning makes the styling go faster. Before you set a single plate, decide on three things.
- Your palette. Pick two or three colors to guide your choices.
- Your guest count. Measure the space each person needs. About 24 inches per place is a comfortable guideline.
- Your table size. A big table can handle a larger centerpiece, while a small table needs a lighter touch.
Set aside 30 minutes the day before to do a trial run. Lay out the runner, plates, and candles so you can adjust without the pressure of guests arriving.
Step 1: Lay the Foundation With a Runner
The runner anchors your tablescape and adds color, texture, and pattern. It’s the first thing you place after the tablecloth (if you use one).
A plaid Christmas table runner is a warm, classic choice that works with both casual and elegant settings. Center it down the table and smooth out any wrinkles. If your table is wood, you can skip a tablecloth and let the runner and the natural grain do the work.
→ Shop it: Christmas table runner plaid
Pro tip: If you choose a bold pattern like plaid, keep the plates simple. White or cream dishware lets the runner shine without competing.
Step 2: Set the Place Settings
Now for the practical part. A classic setting follows a simple pattern, so here’s a refresher.
The basic dinner setting:
- Dinner plate in the center
- Salad plate or bowl on top, if you’re serving a starter
- Fork(s) on the left of the plate
- Knife on the right, blade facing the plate
- Spoon to the right of the knife
- Water glass above the knife
- Wine glass to the right of the water glass
- Napkin on the plate or to the left of the forks
Don’t stress about being a stickler for etiquette. The goal is for guests to feel comfortable, and what matters most is that the setting is clean, balanced, and easy to use.
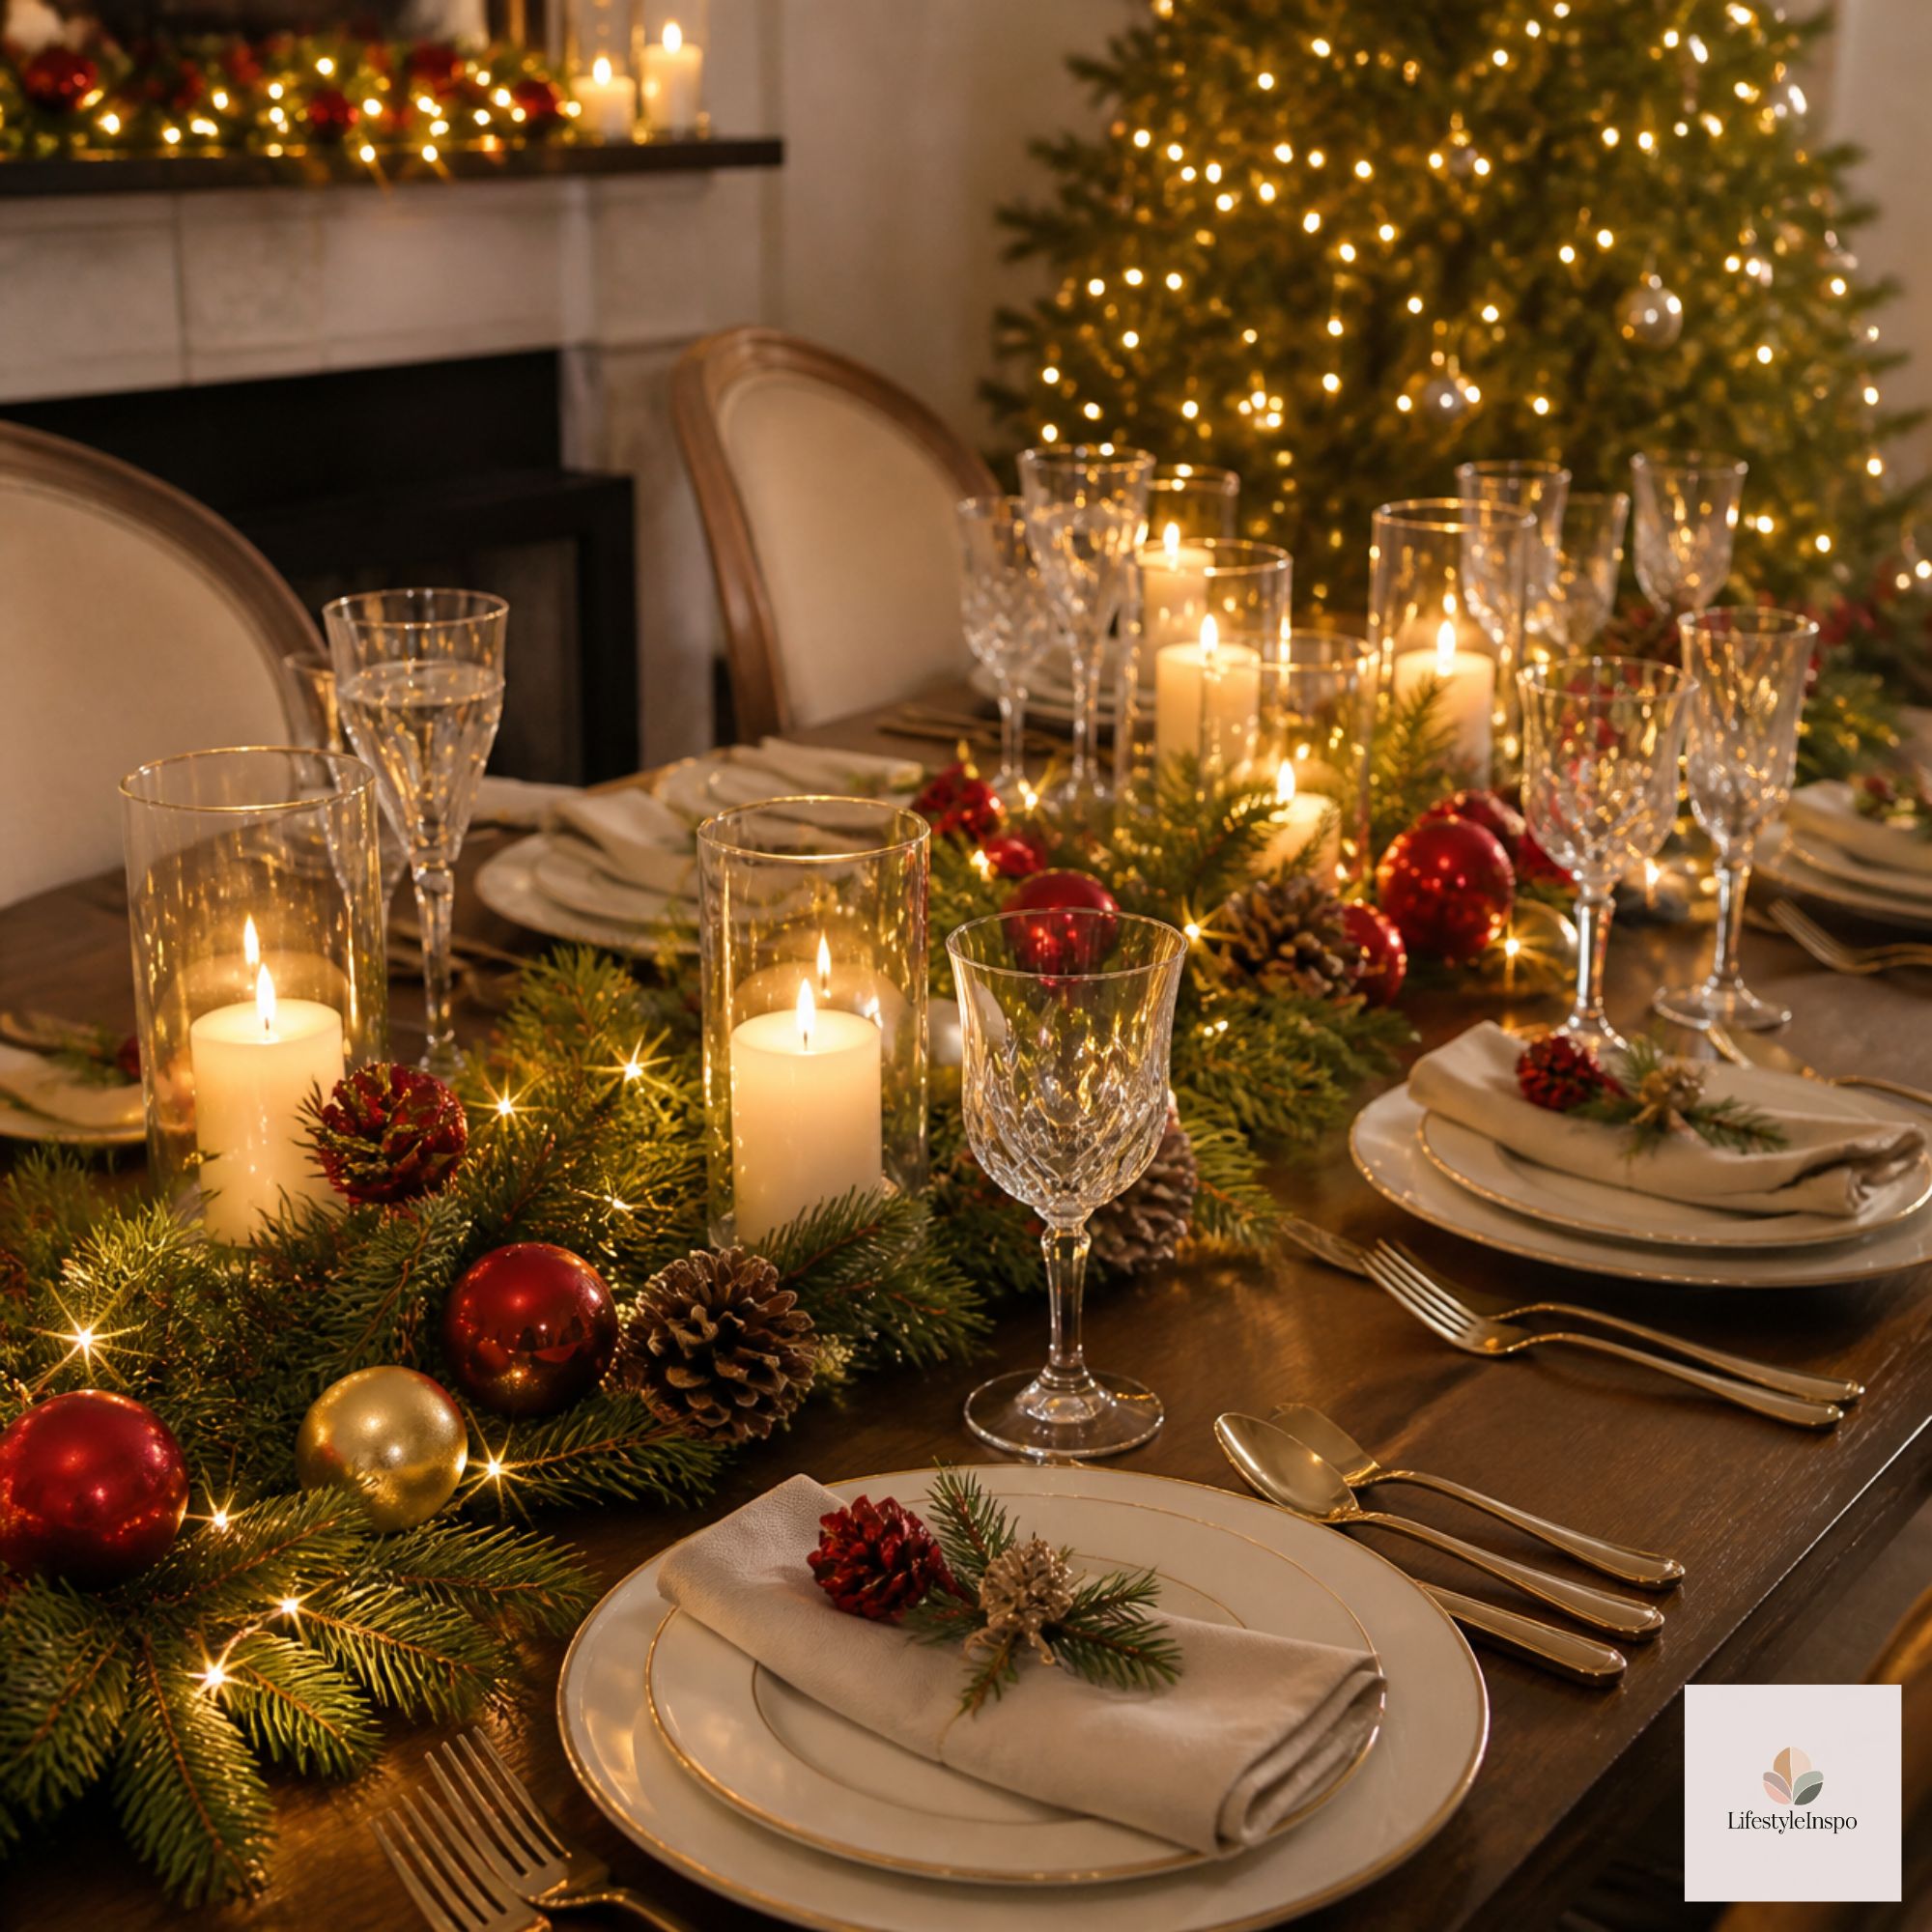
Step 3: Dress the Napkins
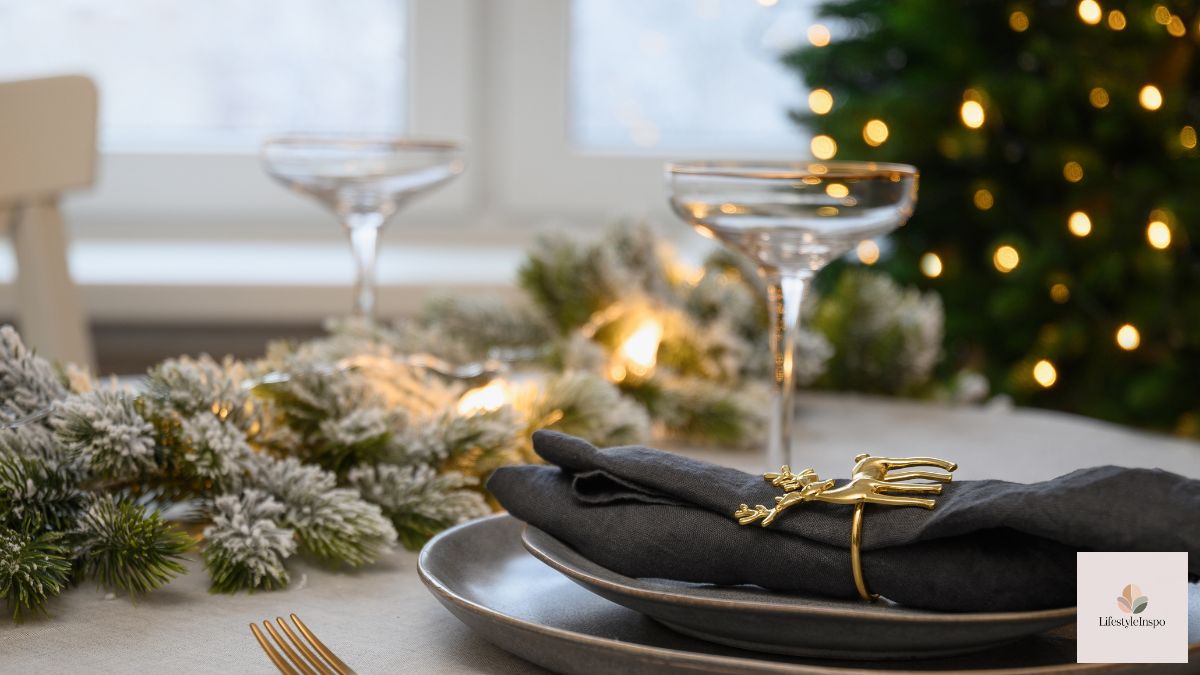
Napkins are a tiny detail with a big payoff. A simple styling turns a plain napkin into a little gift at each seat.
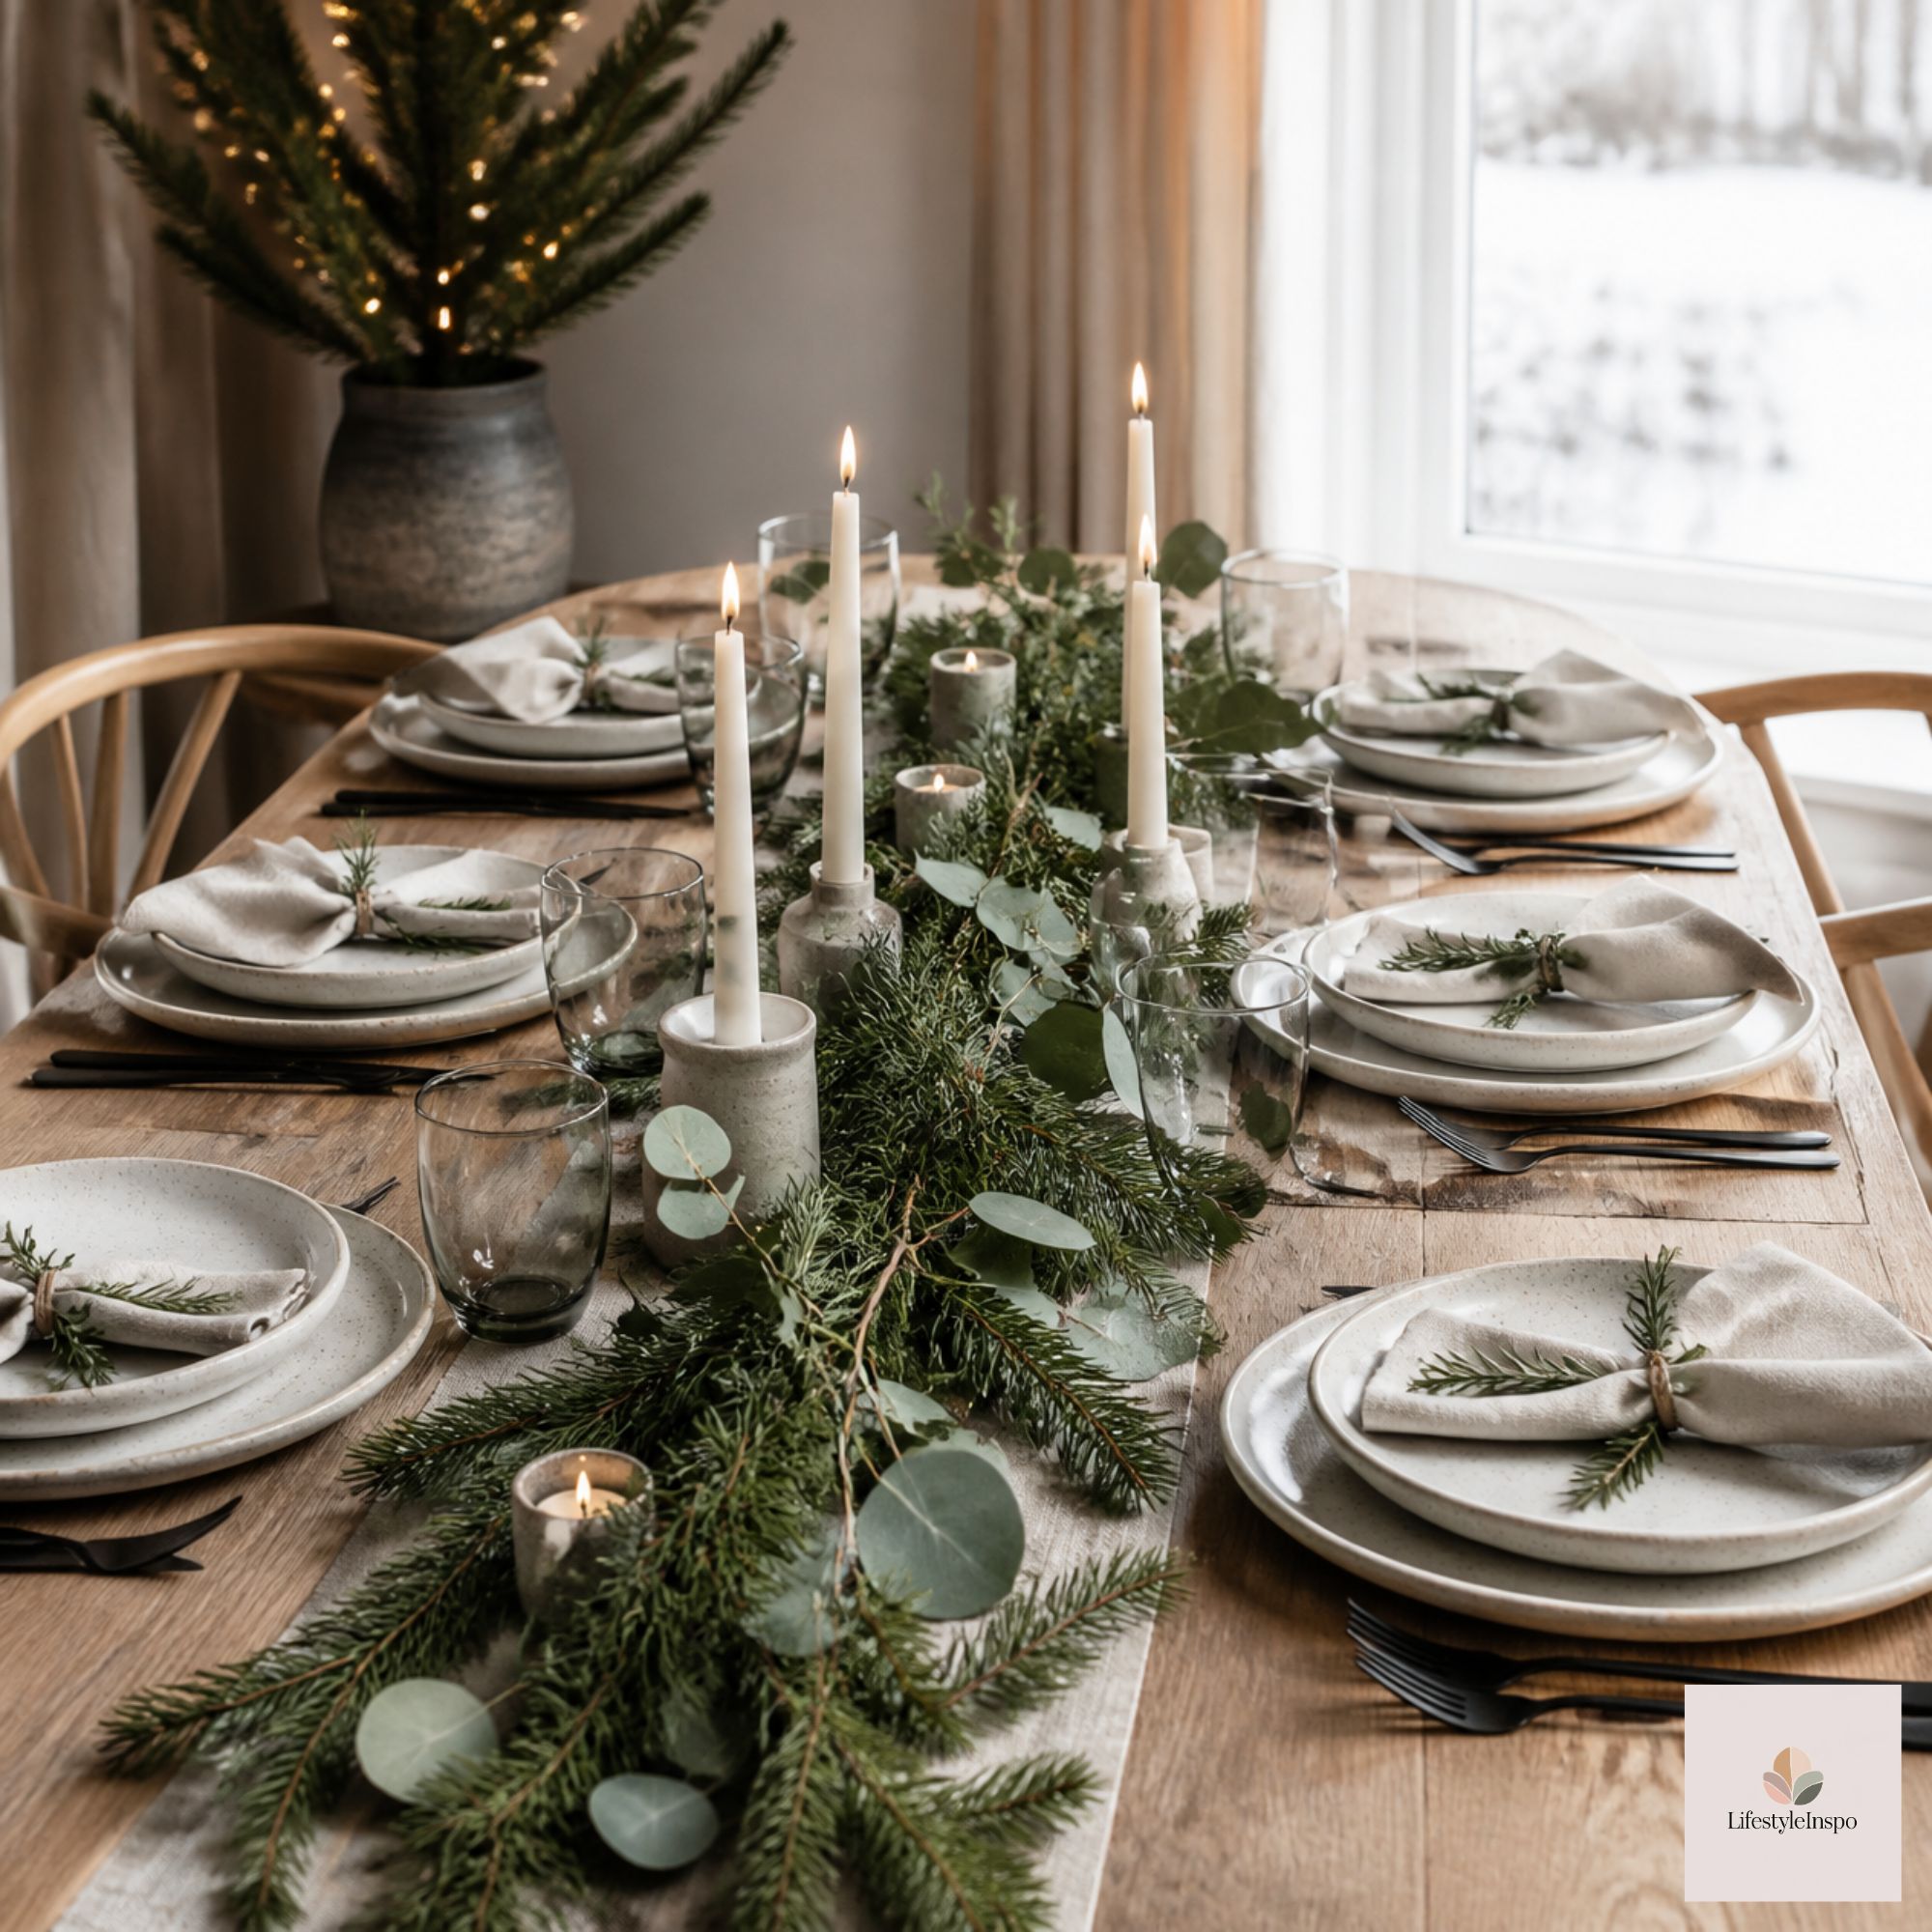
A length of burlap Christmas ribbon tied around a folded napkin looks rustic and polished at the same time. Tuck a sprig of greenery or a cinnamon stick under the bow for a fragrant, handmade touch.
→ Shop it: Burlap Christmas tree ribbon
Napkin ideas:
- The classic fold: Fold into a rectangle, place on the plate, and add a sprig on top
- The ribbon wrap: Fold, wrap with ribbon, and tie a neat bow
- The pocket fold: Fold into a pocket and tuck in the cutlery
Choose one style and repeat it at every seat. Consistency is what makes a table look elevated.
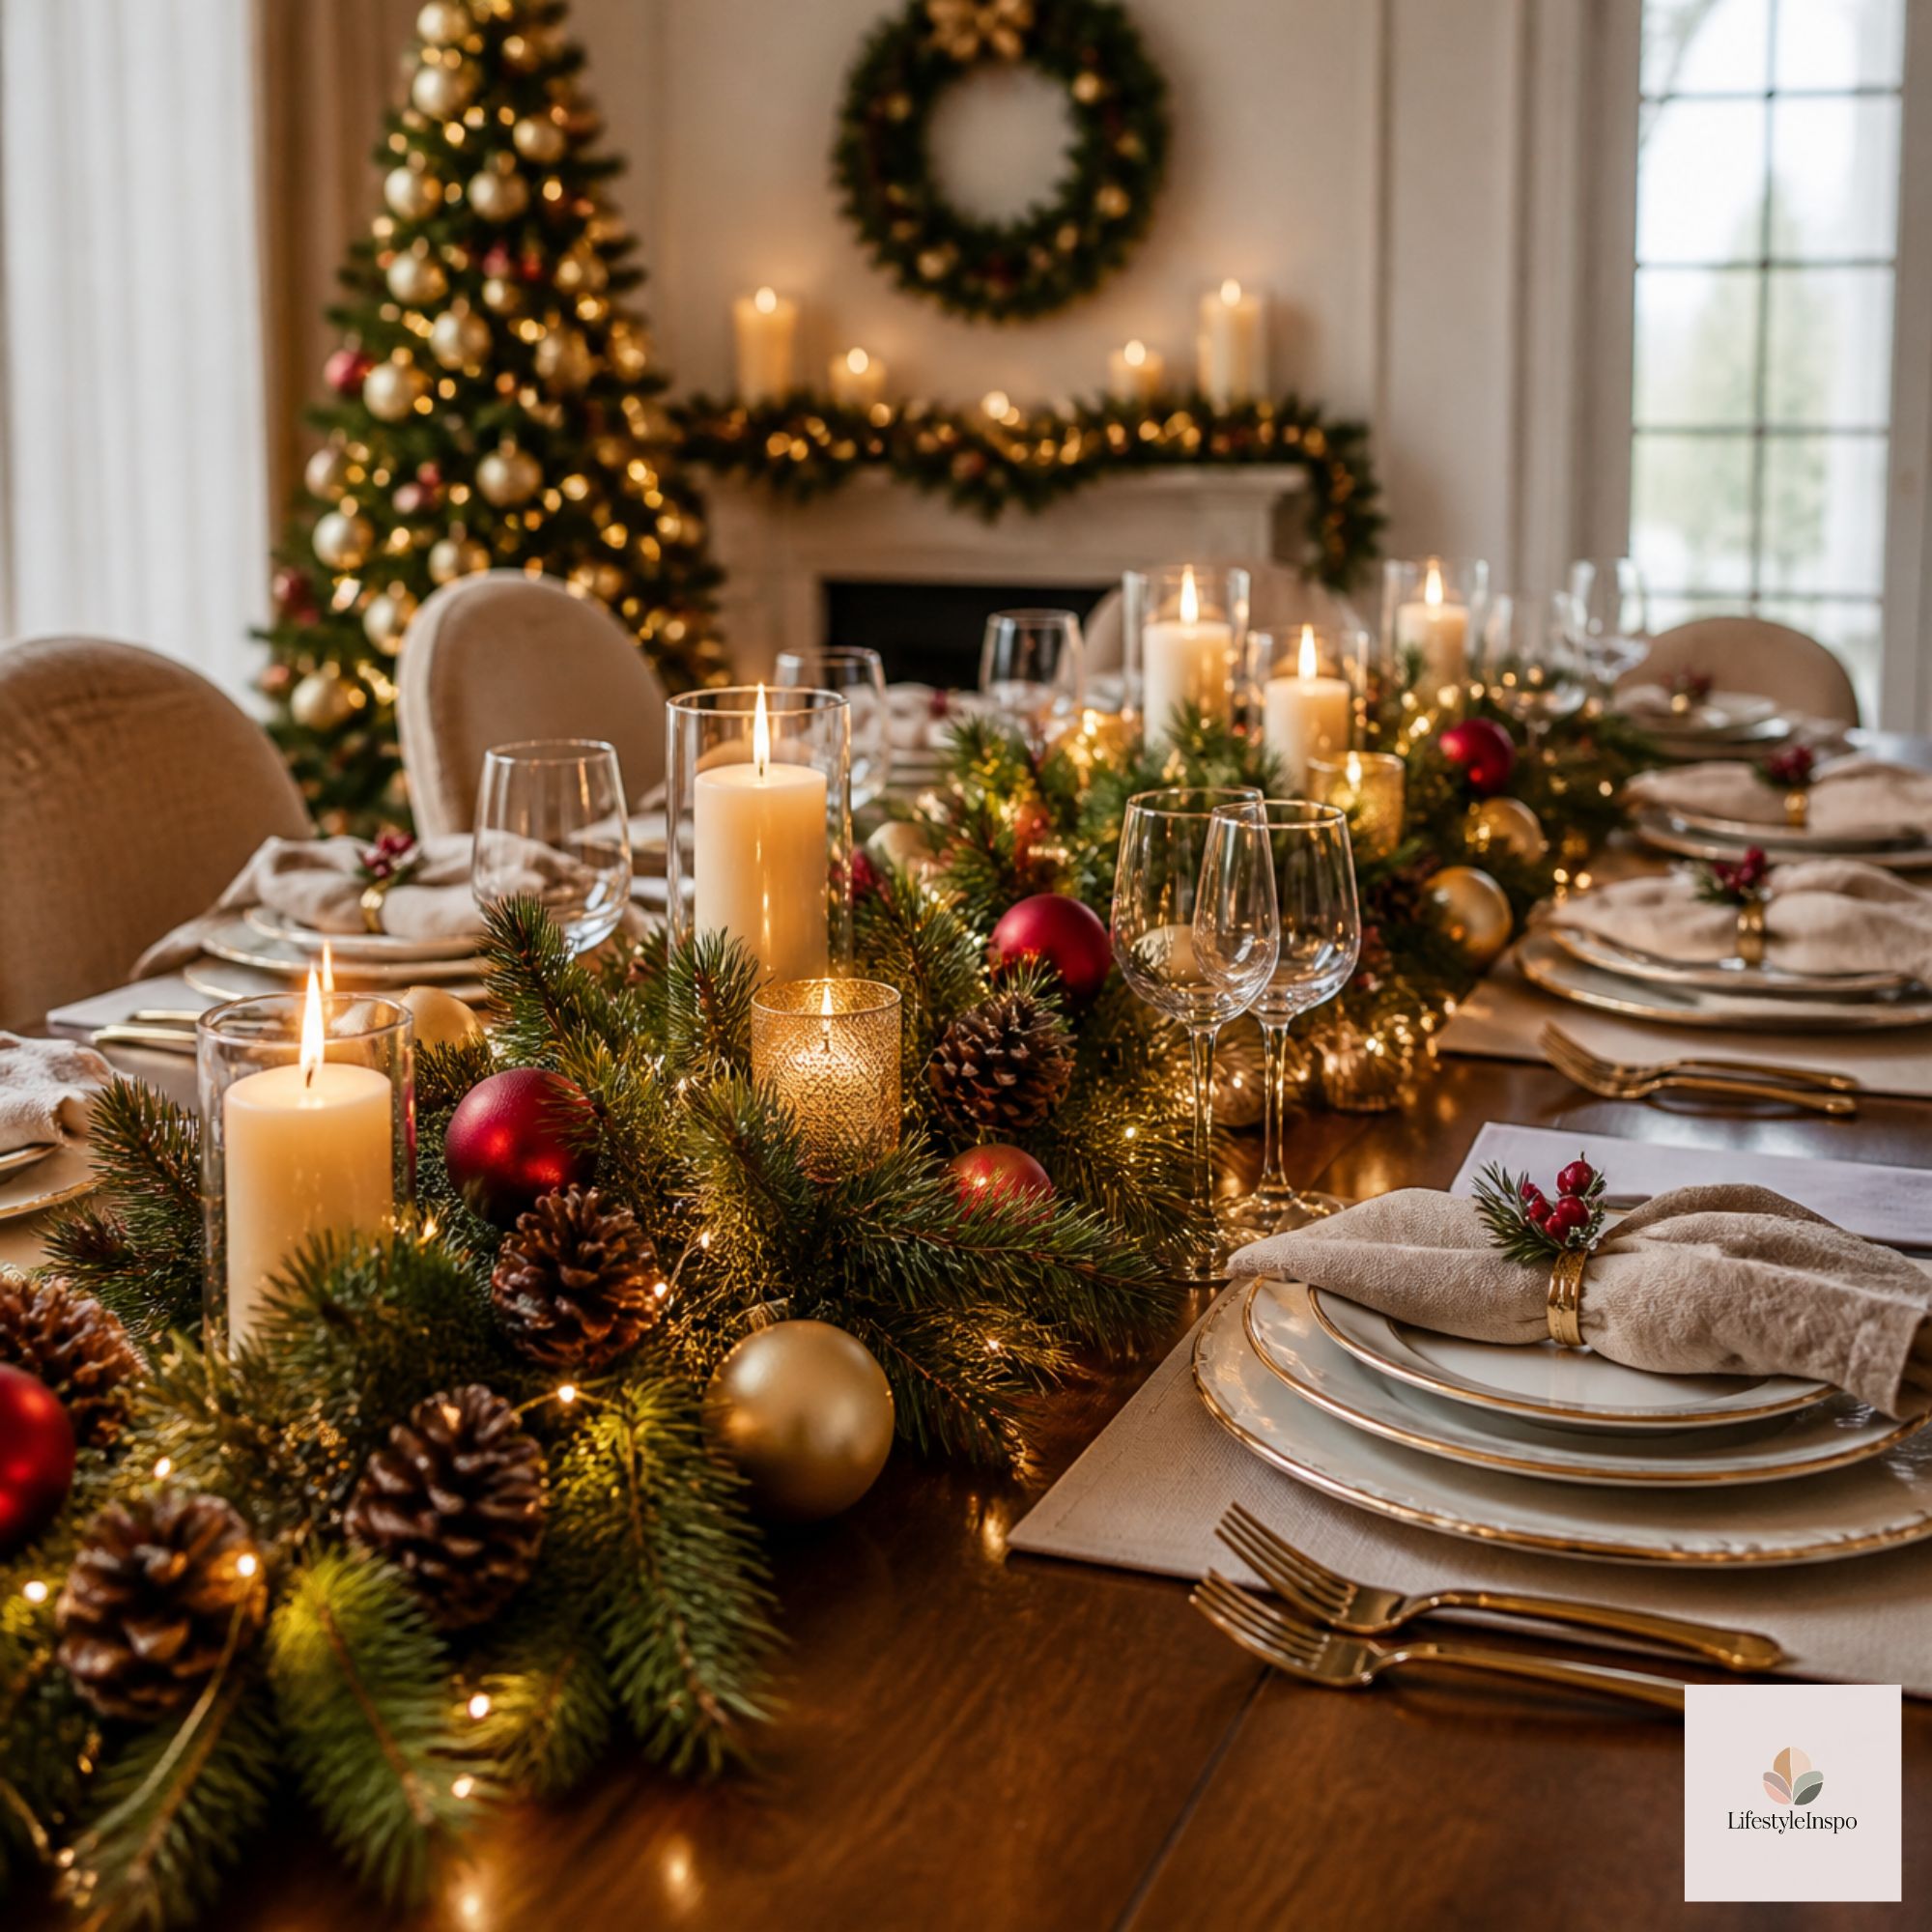
Step 4: Add a Place Card or Small Ornament
Personalizing each seat makes guests feel welcomed. It’s also practical, since it takes the guesswork out of seating.
A small shatterproof Christmas ornament makes a charming name-card holder and a gift guests can take home. Write each name on a tag, loop it on the ornament, and set it above each plate. It’s a simple way to add a personal, festive touch.
→ Shop it: Shatterproof Christmas ball ornaments set
If you don’t want to use ornaments, kraft tags or folded cards work just as well. Choose a style that fits your palette.
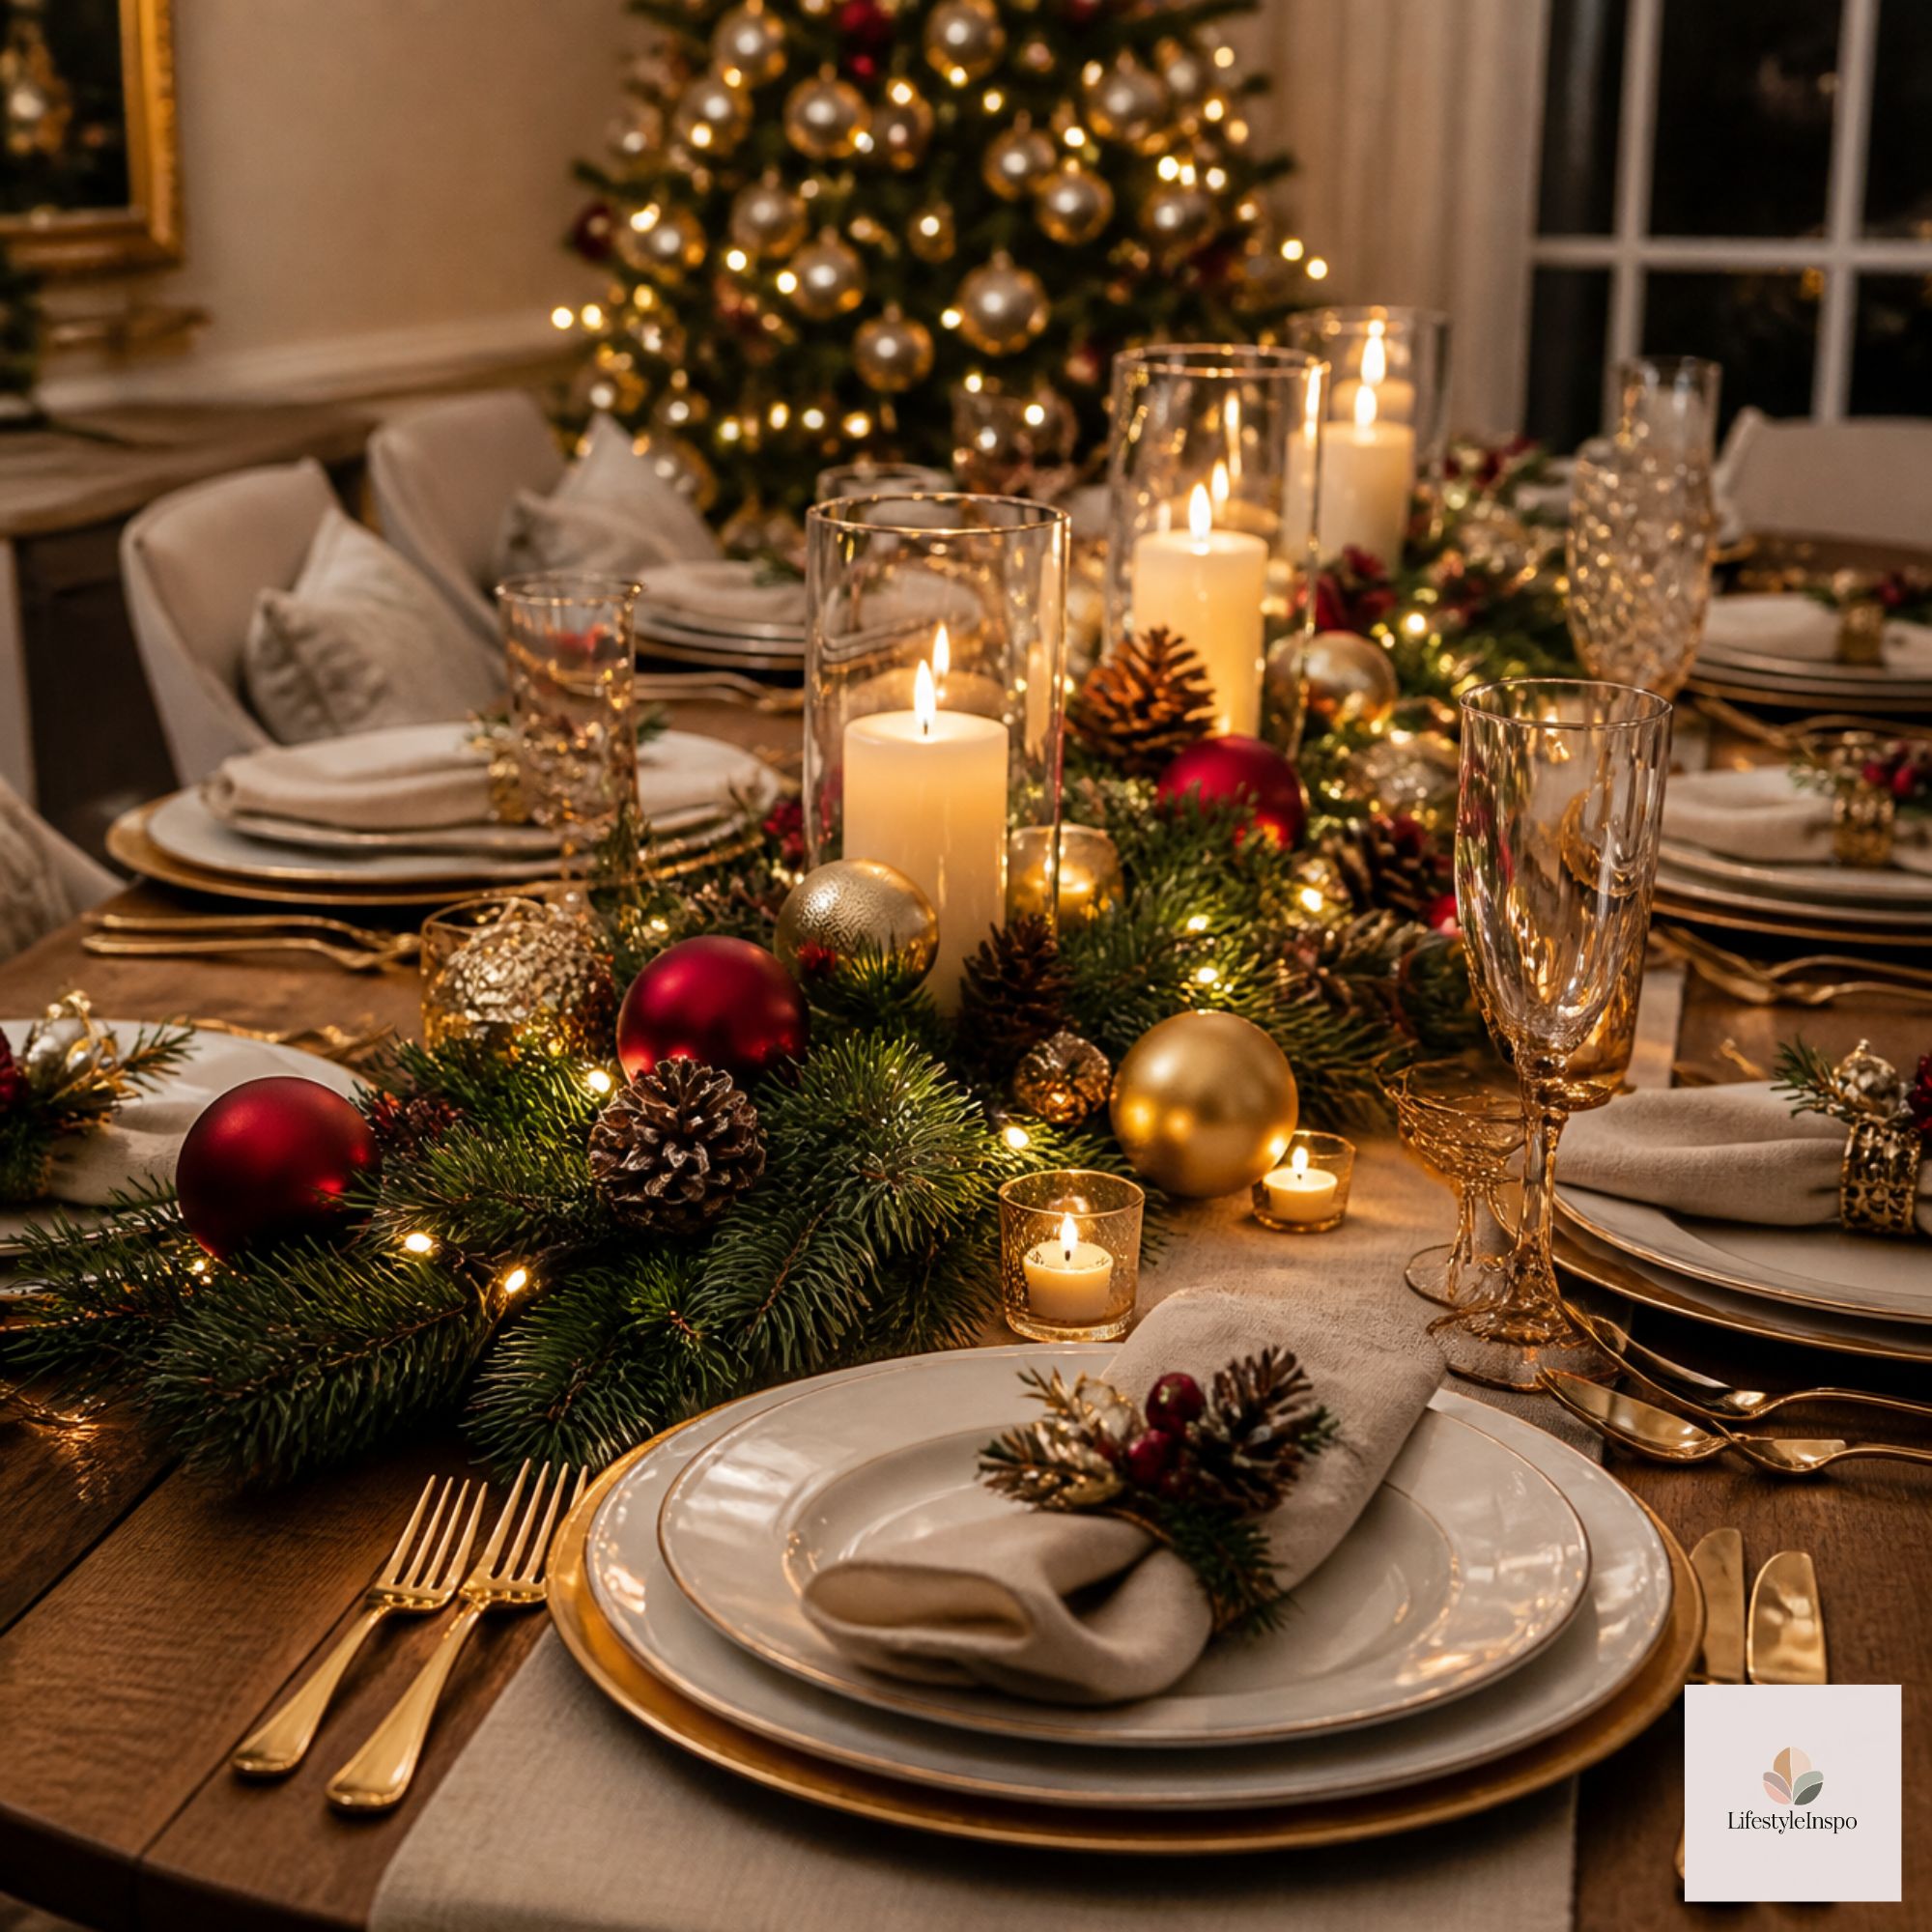
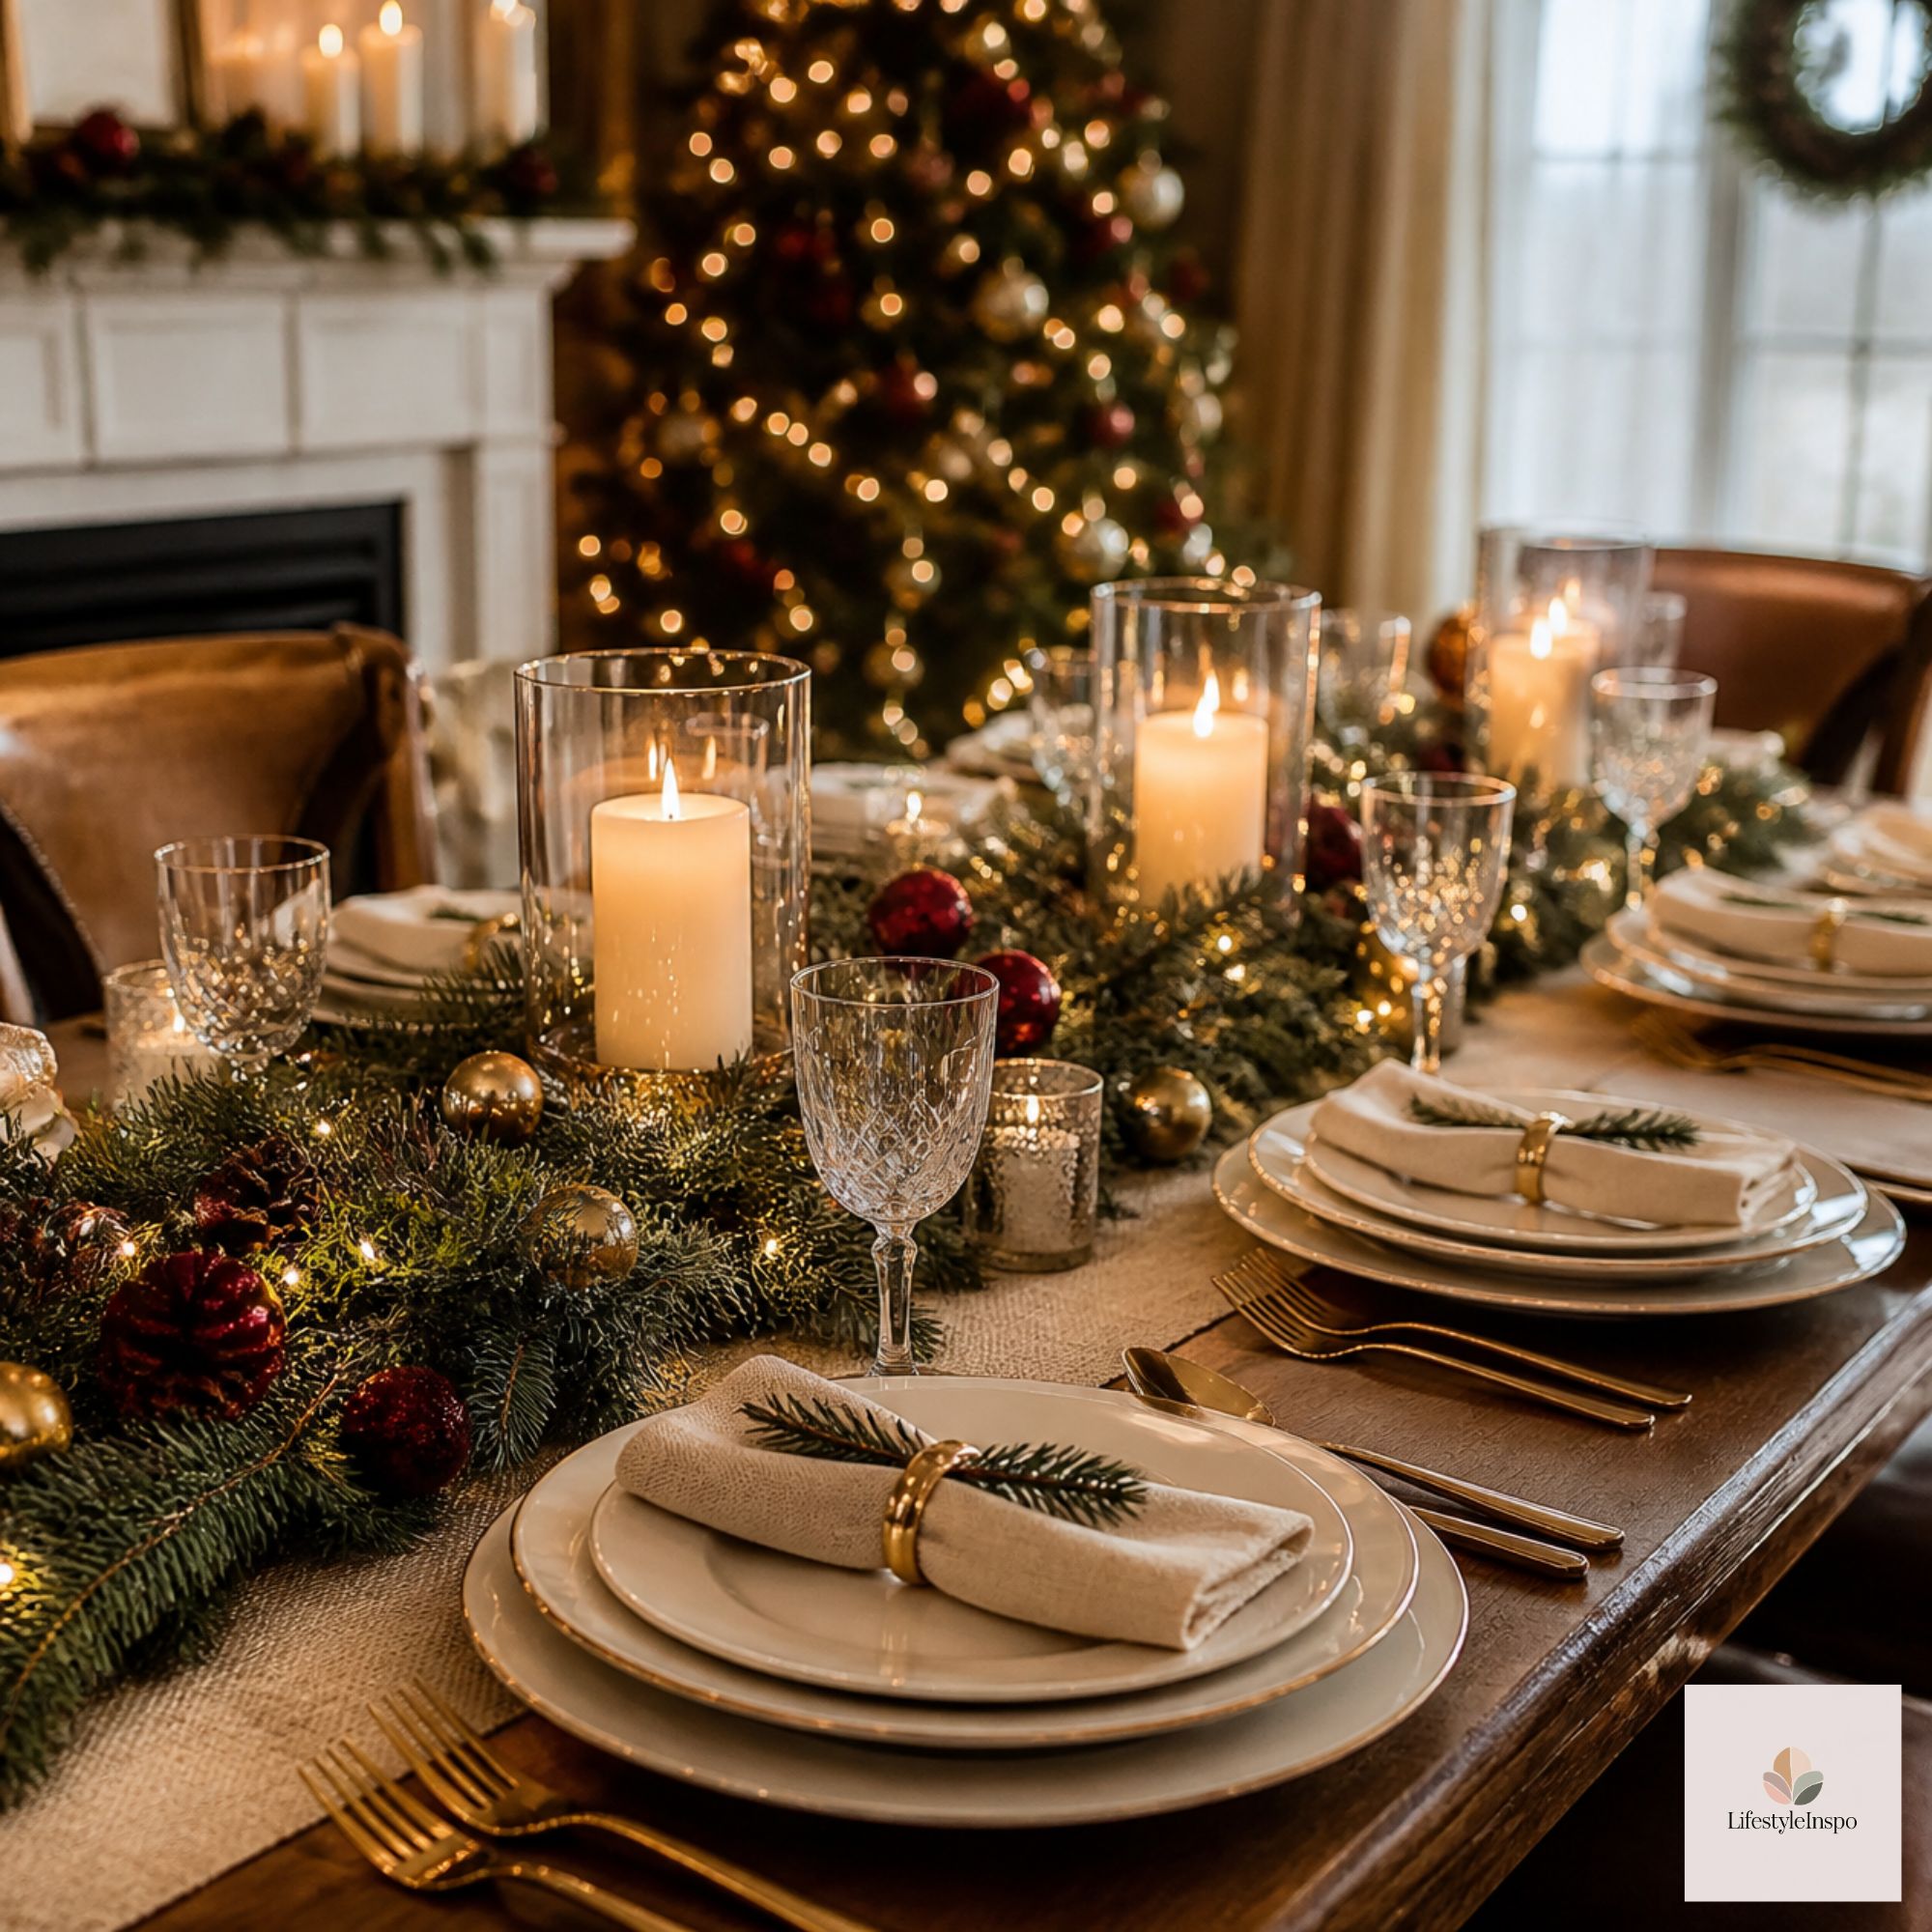
Step 5: Build the Centerpiece
The centerpiece is the showstopper, but it has to behave. At a dinner table, it needs to be low enough that guests can see each other and compact enough to leave space for serving dishes.
A simple, reliable formula:
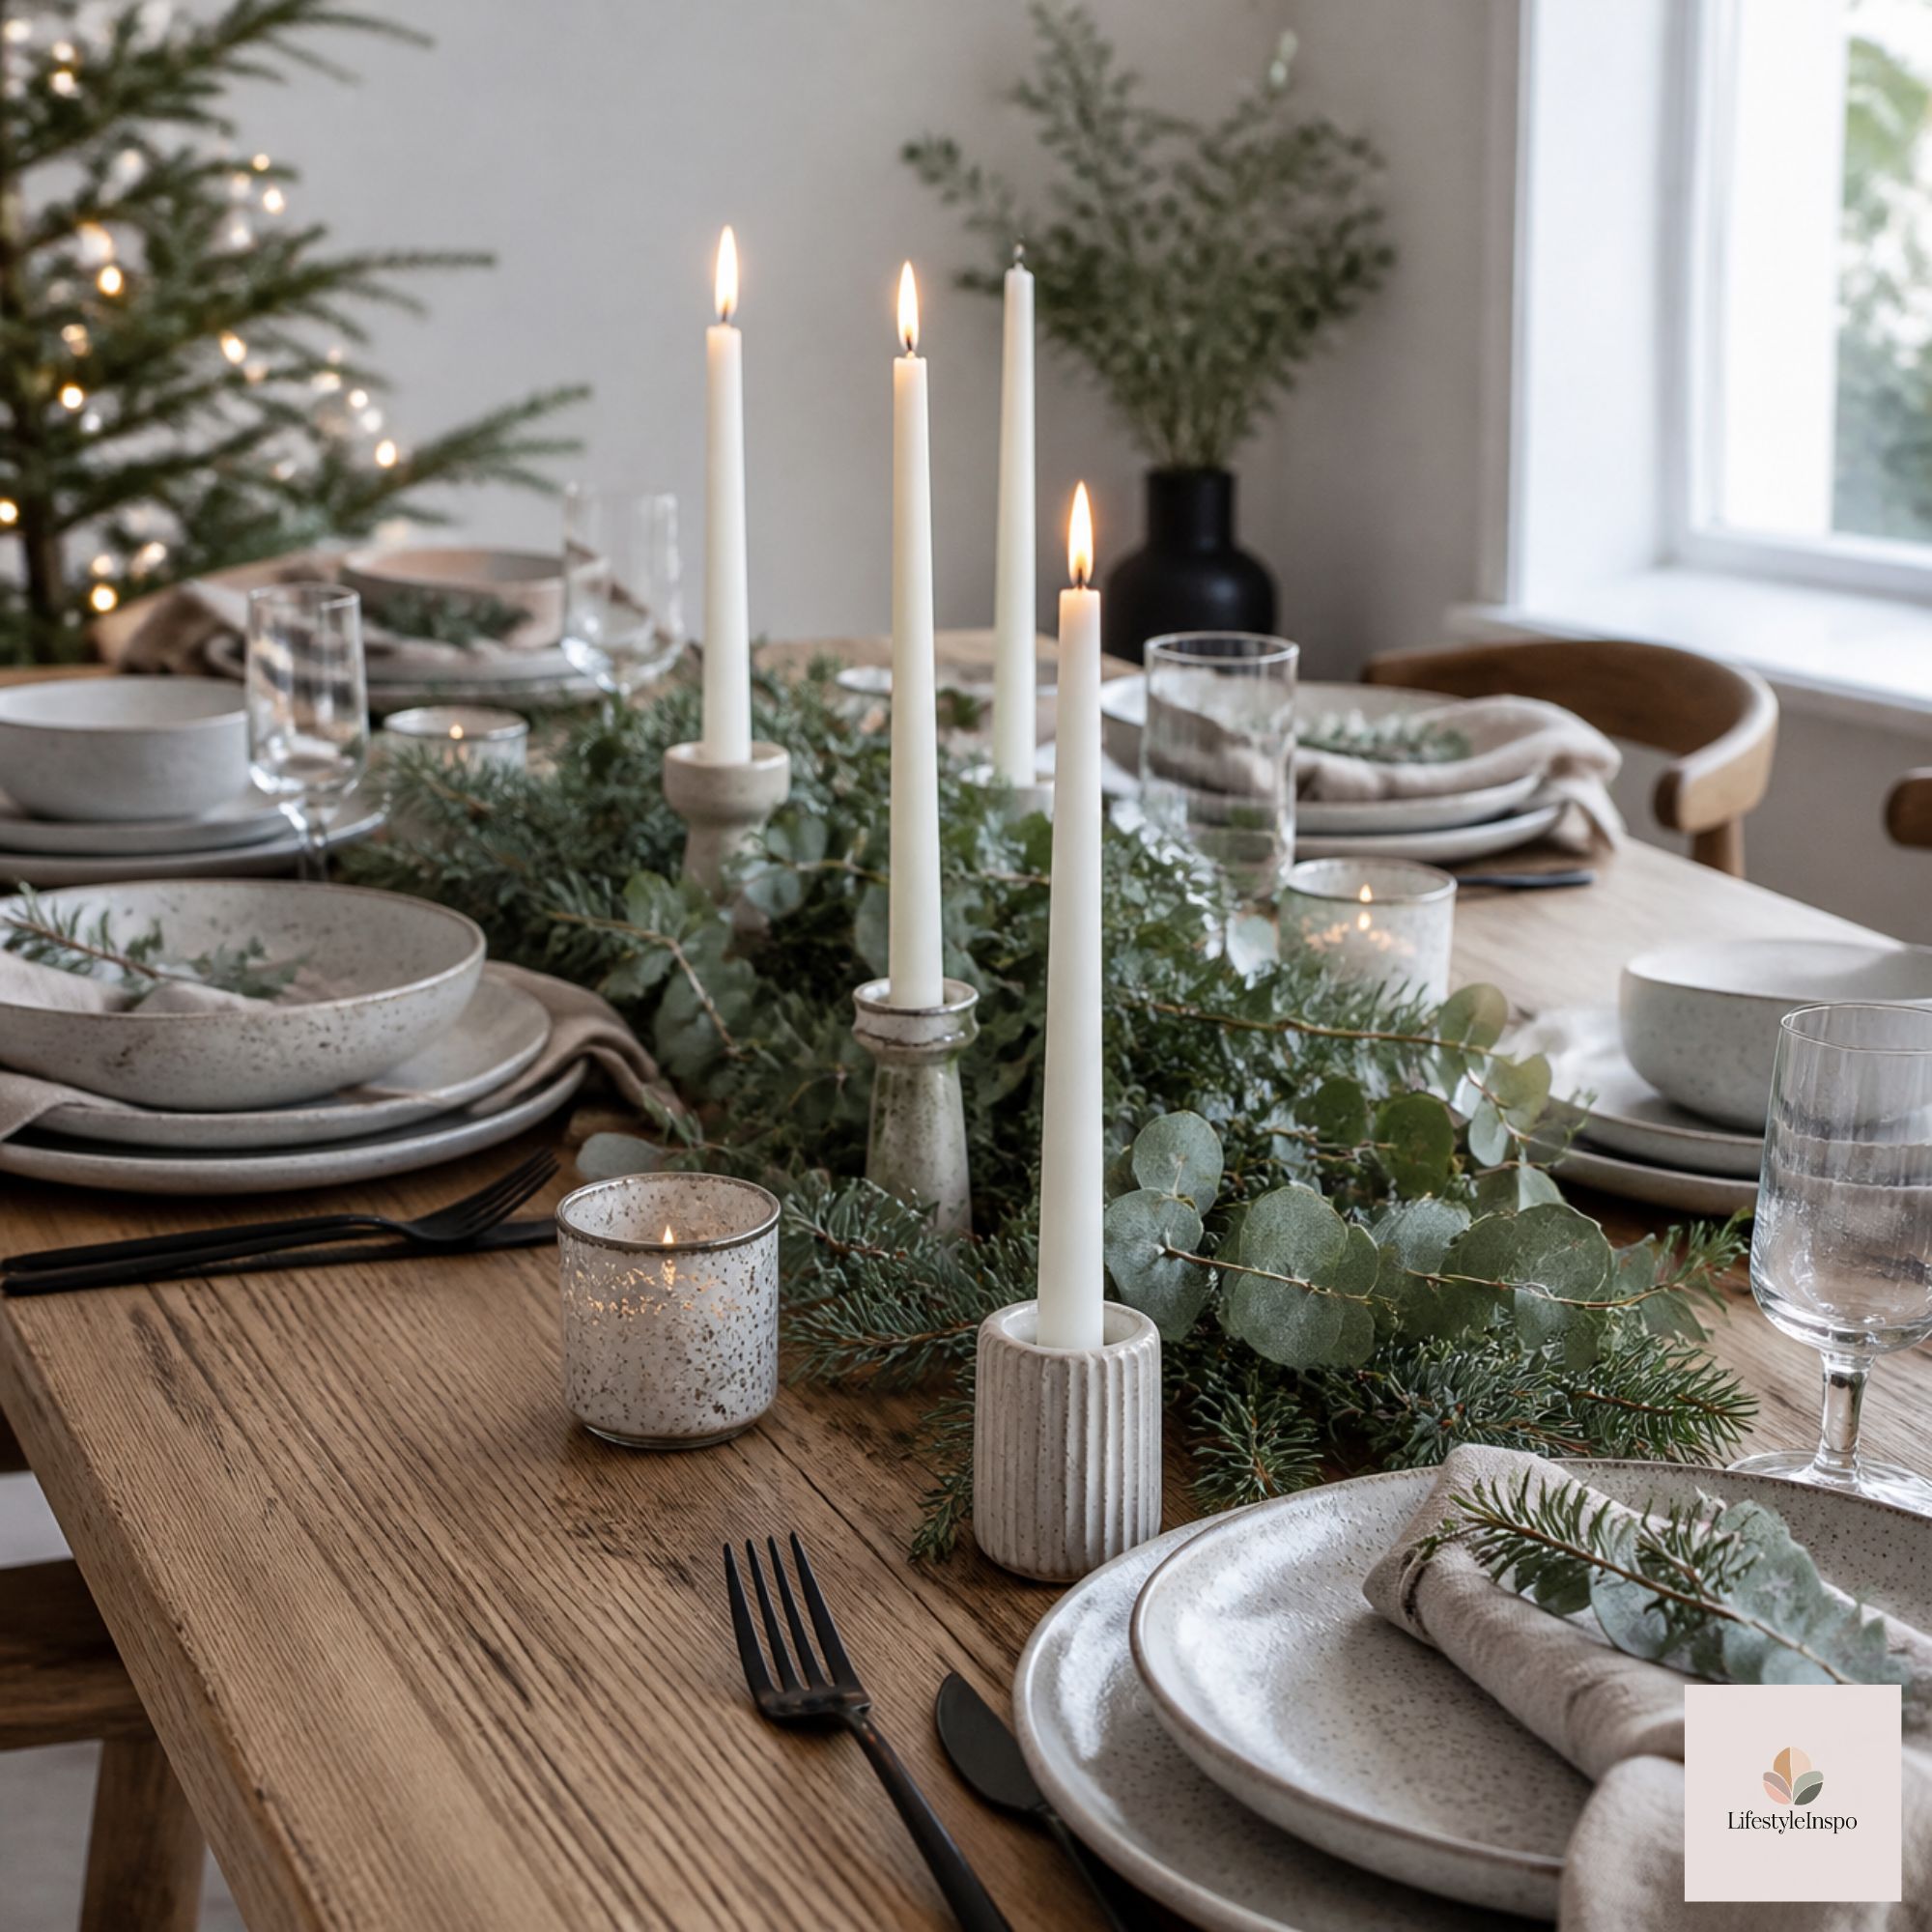
- Lay a bed of greenery along the center of the runner.
- Add candles of varying heights in the middle.
- Tuck in ornaments, berries, or pinecones for texture.
- Leave gaps for serving dishes, so the table stays functional.
Keep the total height under about 12 inches. If you want height, choose slim, tall candlesticks rather than a bulky arrangement.
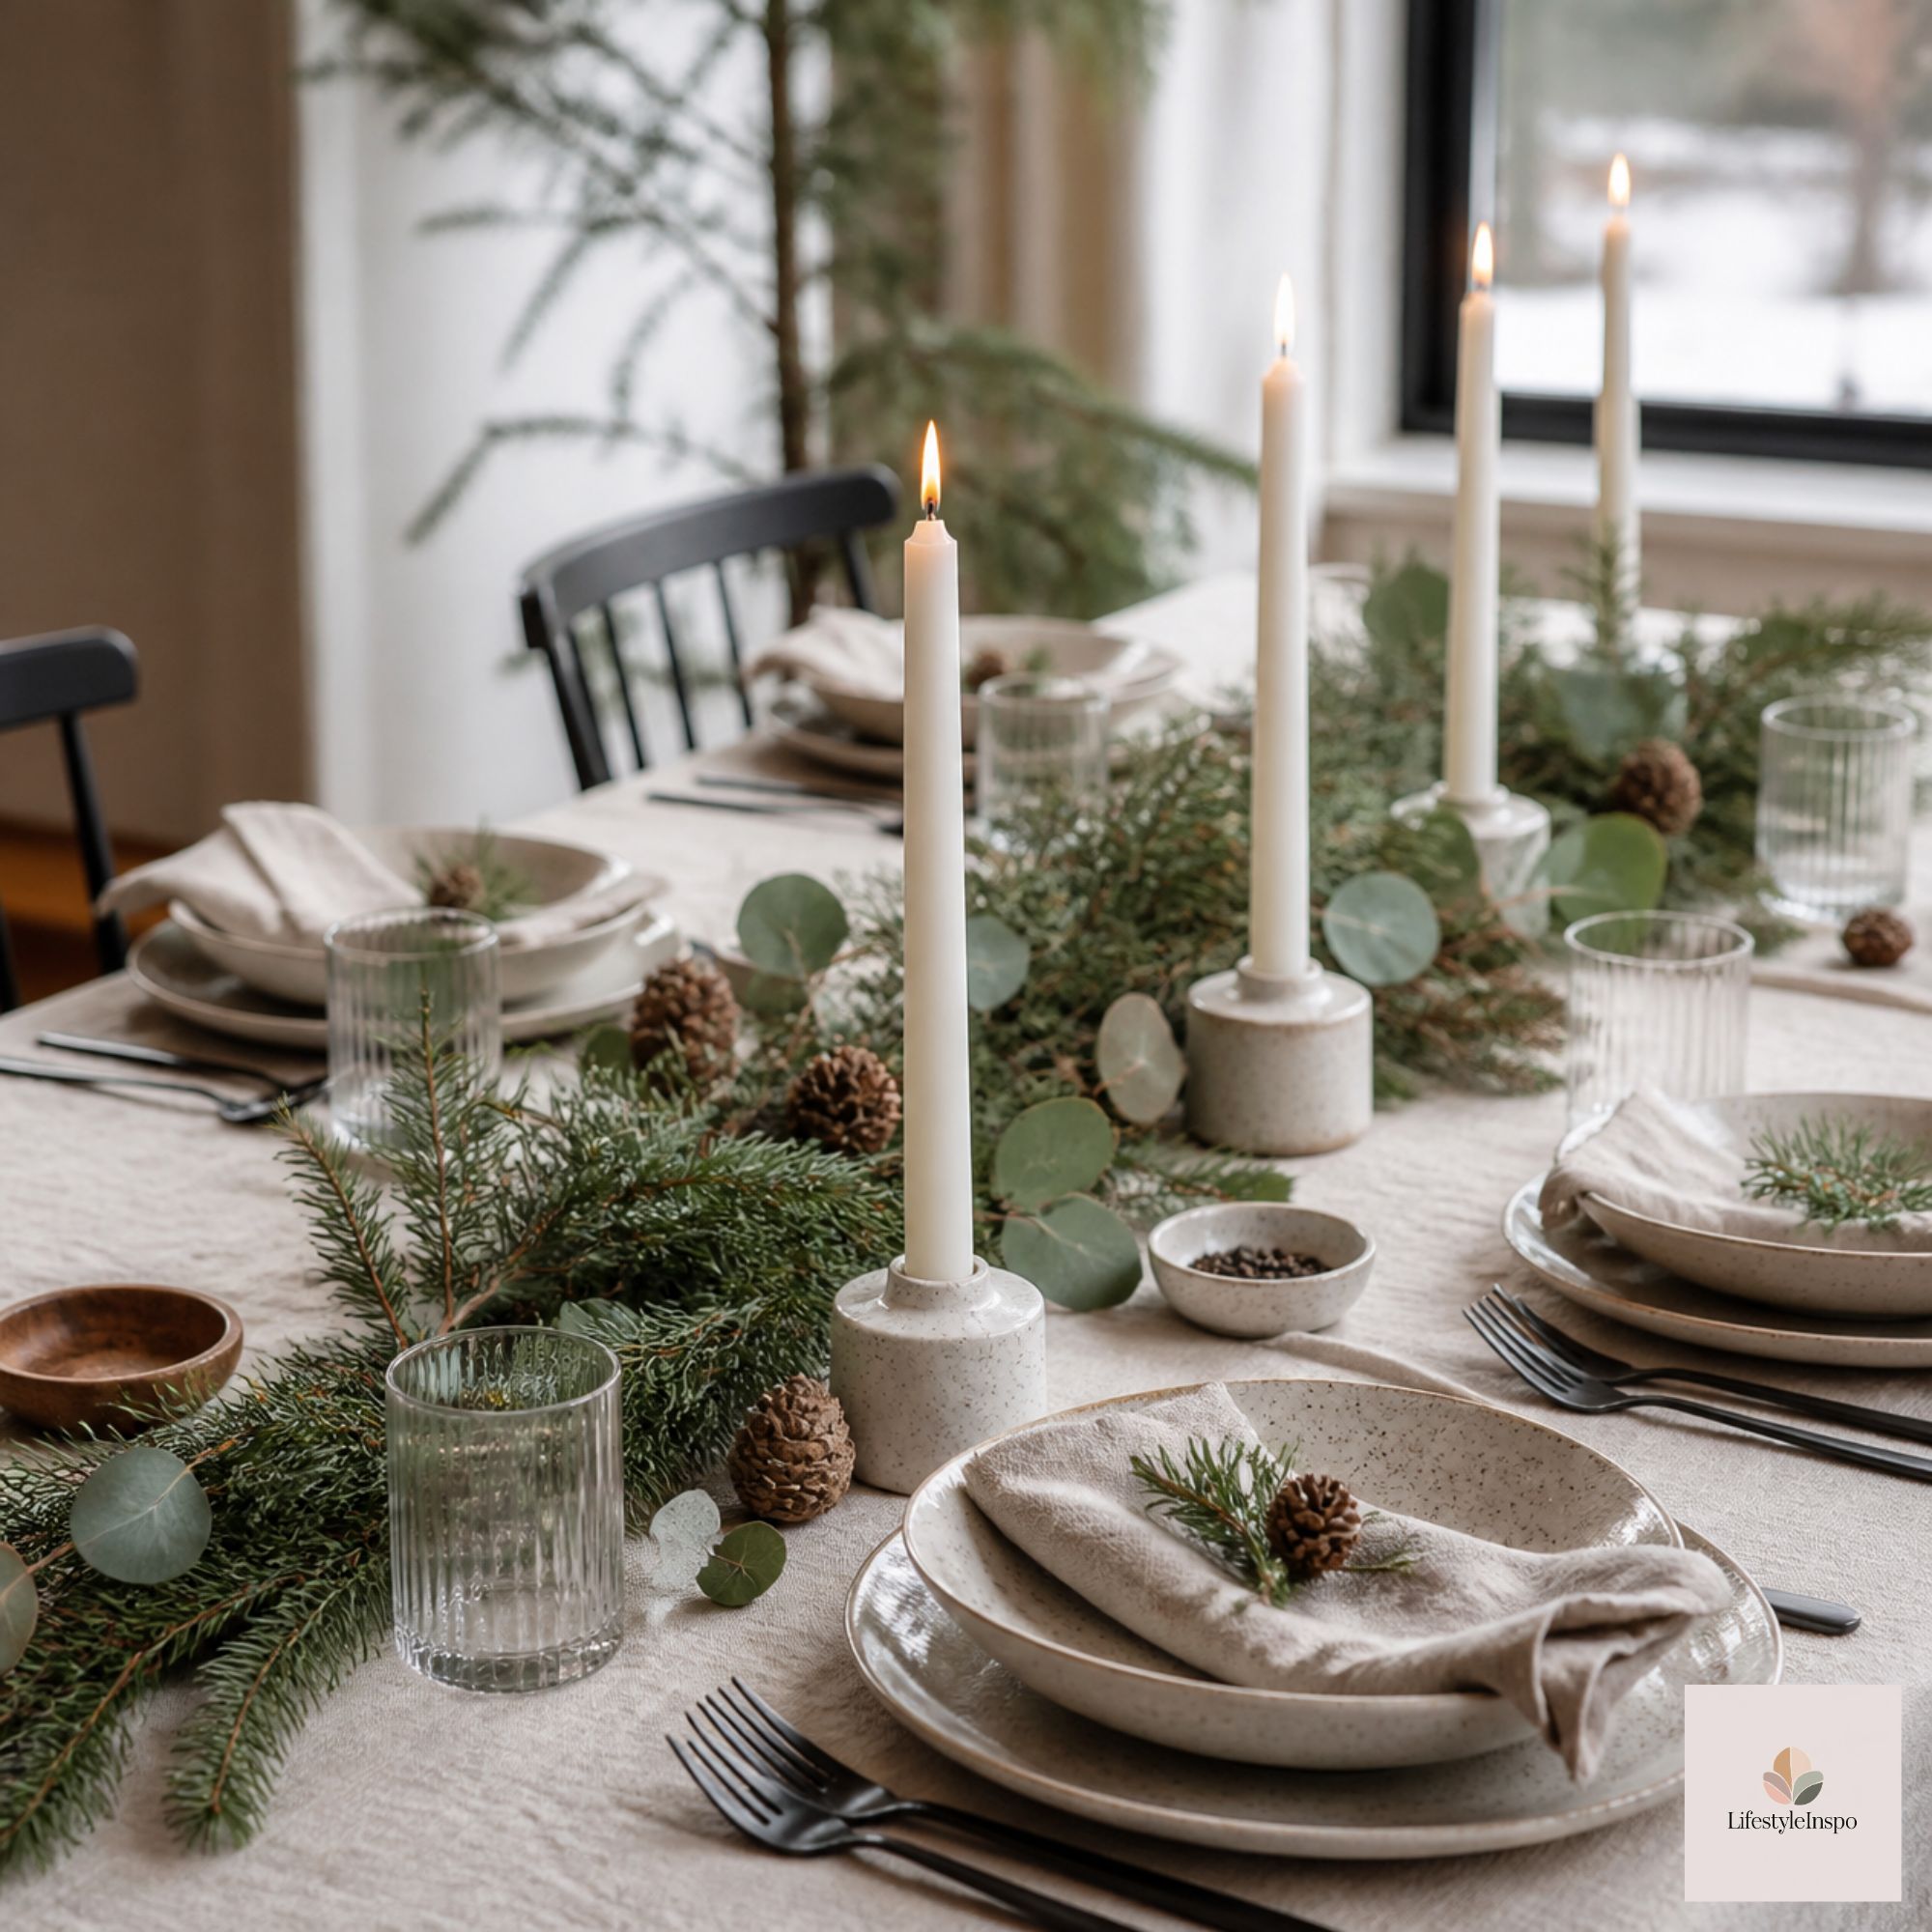
Step 6: Set the Mood With Candlelight
Candlelight is what takes a table from nice to magical. It softens everything, flatters your guests, and turns dinner into an experience.
Flameless LED candles are a stress-free option for a dinner party. They won’t drip on your runner, flicker out in a draft, or set a stray napkin ablaze, and you can place them right in the greenery without worry.
→ Shop it: Flameless LED candles
Use a mix of sizes, and group them in threes or fives. If you want to add real candles to the room, put them away from the table, on a sideboard or mantel.
Step 7: Do a Final Walkthrough
Before guests arrive, take a few minutes for a final check. Walk around the table and look at it from a seated position.
Ask yourself:
- Can everyone see each other? Lower anything that blocks sightlines.
- Is there room for dishes? Remove an item if the table feels crowded.
- Is the lighting soft? Dim the overhead lights and turn on lamps.
- Does it smell good? A subtle scent in the room adds warmth, but avoid strong smells at the table.
- Is everything secure? Check that candles are stable and napkins aren’t hanging too close to the flame.
A Hosting Timeline That Keeps You Calm
A gorgeous table is only half the story. The other half is you arriving at dinner relaxed. Here’s a simple timeline to keep the day smooth:
- Two days before: Wash and iron linens, polish glasses, and choose your serving dishes.
- The day before: Set the table fully, except for candles and anything perishable. Cover it with a clean sheet.
- Morning of: Remove the cover, add greenery, and place the candles.
- One hour before: Dim the lights, start your playlist, and turn on the candles.
- Thirty minutes before: Light a scented candle in another room and take a quiet moment for yourself.
When the table is already done, the last hour becomes about enjoying the evening, not racing around. And that’s what guests remember: not whether the forks were perfectly aligned, but how welcome they felt.
Tablescape Themes to Try
Looking for inspiration? Here are three easy directions.
Classic Christmas
Red, green, and gold, with plaid accents and plenty of candlelight. It’s warm, familiar, and always a hit.
Rustic Cozy
Burlap, wood, greenery, and natural textures. Layer in pinecones and dried fruit for a cabin-like feel.
Elegant Winter
White, silver, and soft blue, with glass and metallic touches. It feels crisp, polished, and a little glamorous.
Christmas Dinner Tablescape Mistakes to Avoid
- Over-decorating. Too many items leave no room for food.
- Ignoring comfort. Make sure there’s space for elbows and plates.
- Mismatched styles. Stick to a theme for a cohesive look.
- Forgetting the back-up plan. Keep spare napkins, candles, and serving spoons on hand.
- Waiting until the last minute. Set the table the day before if you can.
Christmas Dinner Tablescape FAQ
How far in advance can I set the Christmas table?
You can set it a day or two ahead. Cover it with a clean sheet to keep dust off, and add the candles and food-safe items right before dinner.
How do I set a table for a large group?
Use a long runner, repeat the same centerpiece elements along its length, and keep each place setting simple. Consistency matters more than detail.
What should I put on a Christmas table besides food?
Greenery, candles, small ornaments, and seasonal accents. Keep everything low, and leave room for serving dishes.
How do I make a Christmas table look elegant?
Choose a restrained palette, use plenty of candlelight, and avoid clutter. Neat, consistent details look more elegant than lots of decoration.
Final Thoughts
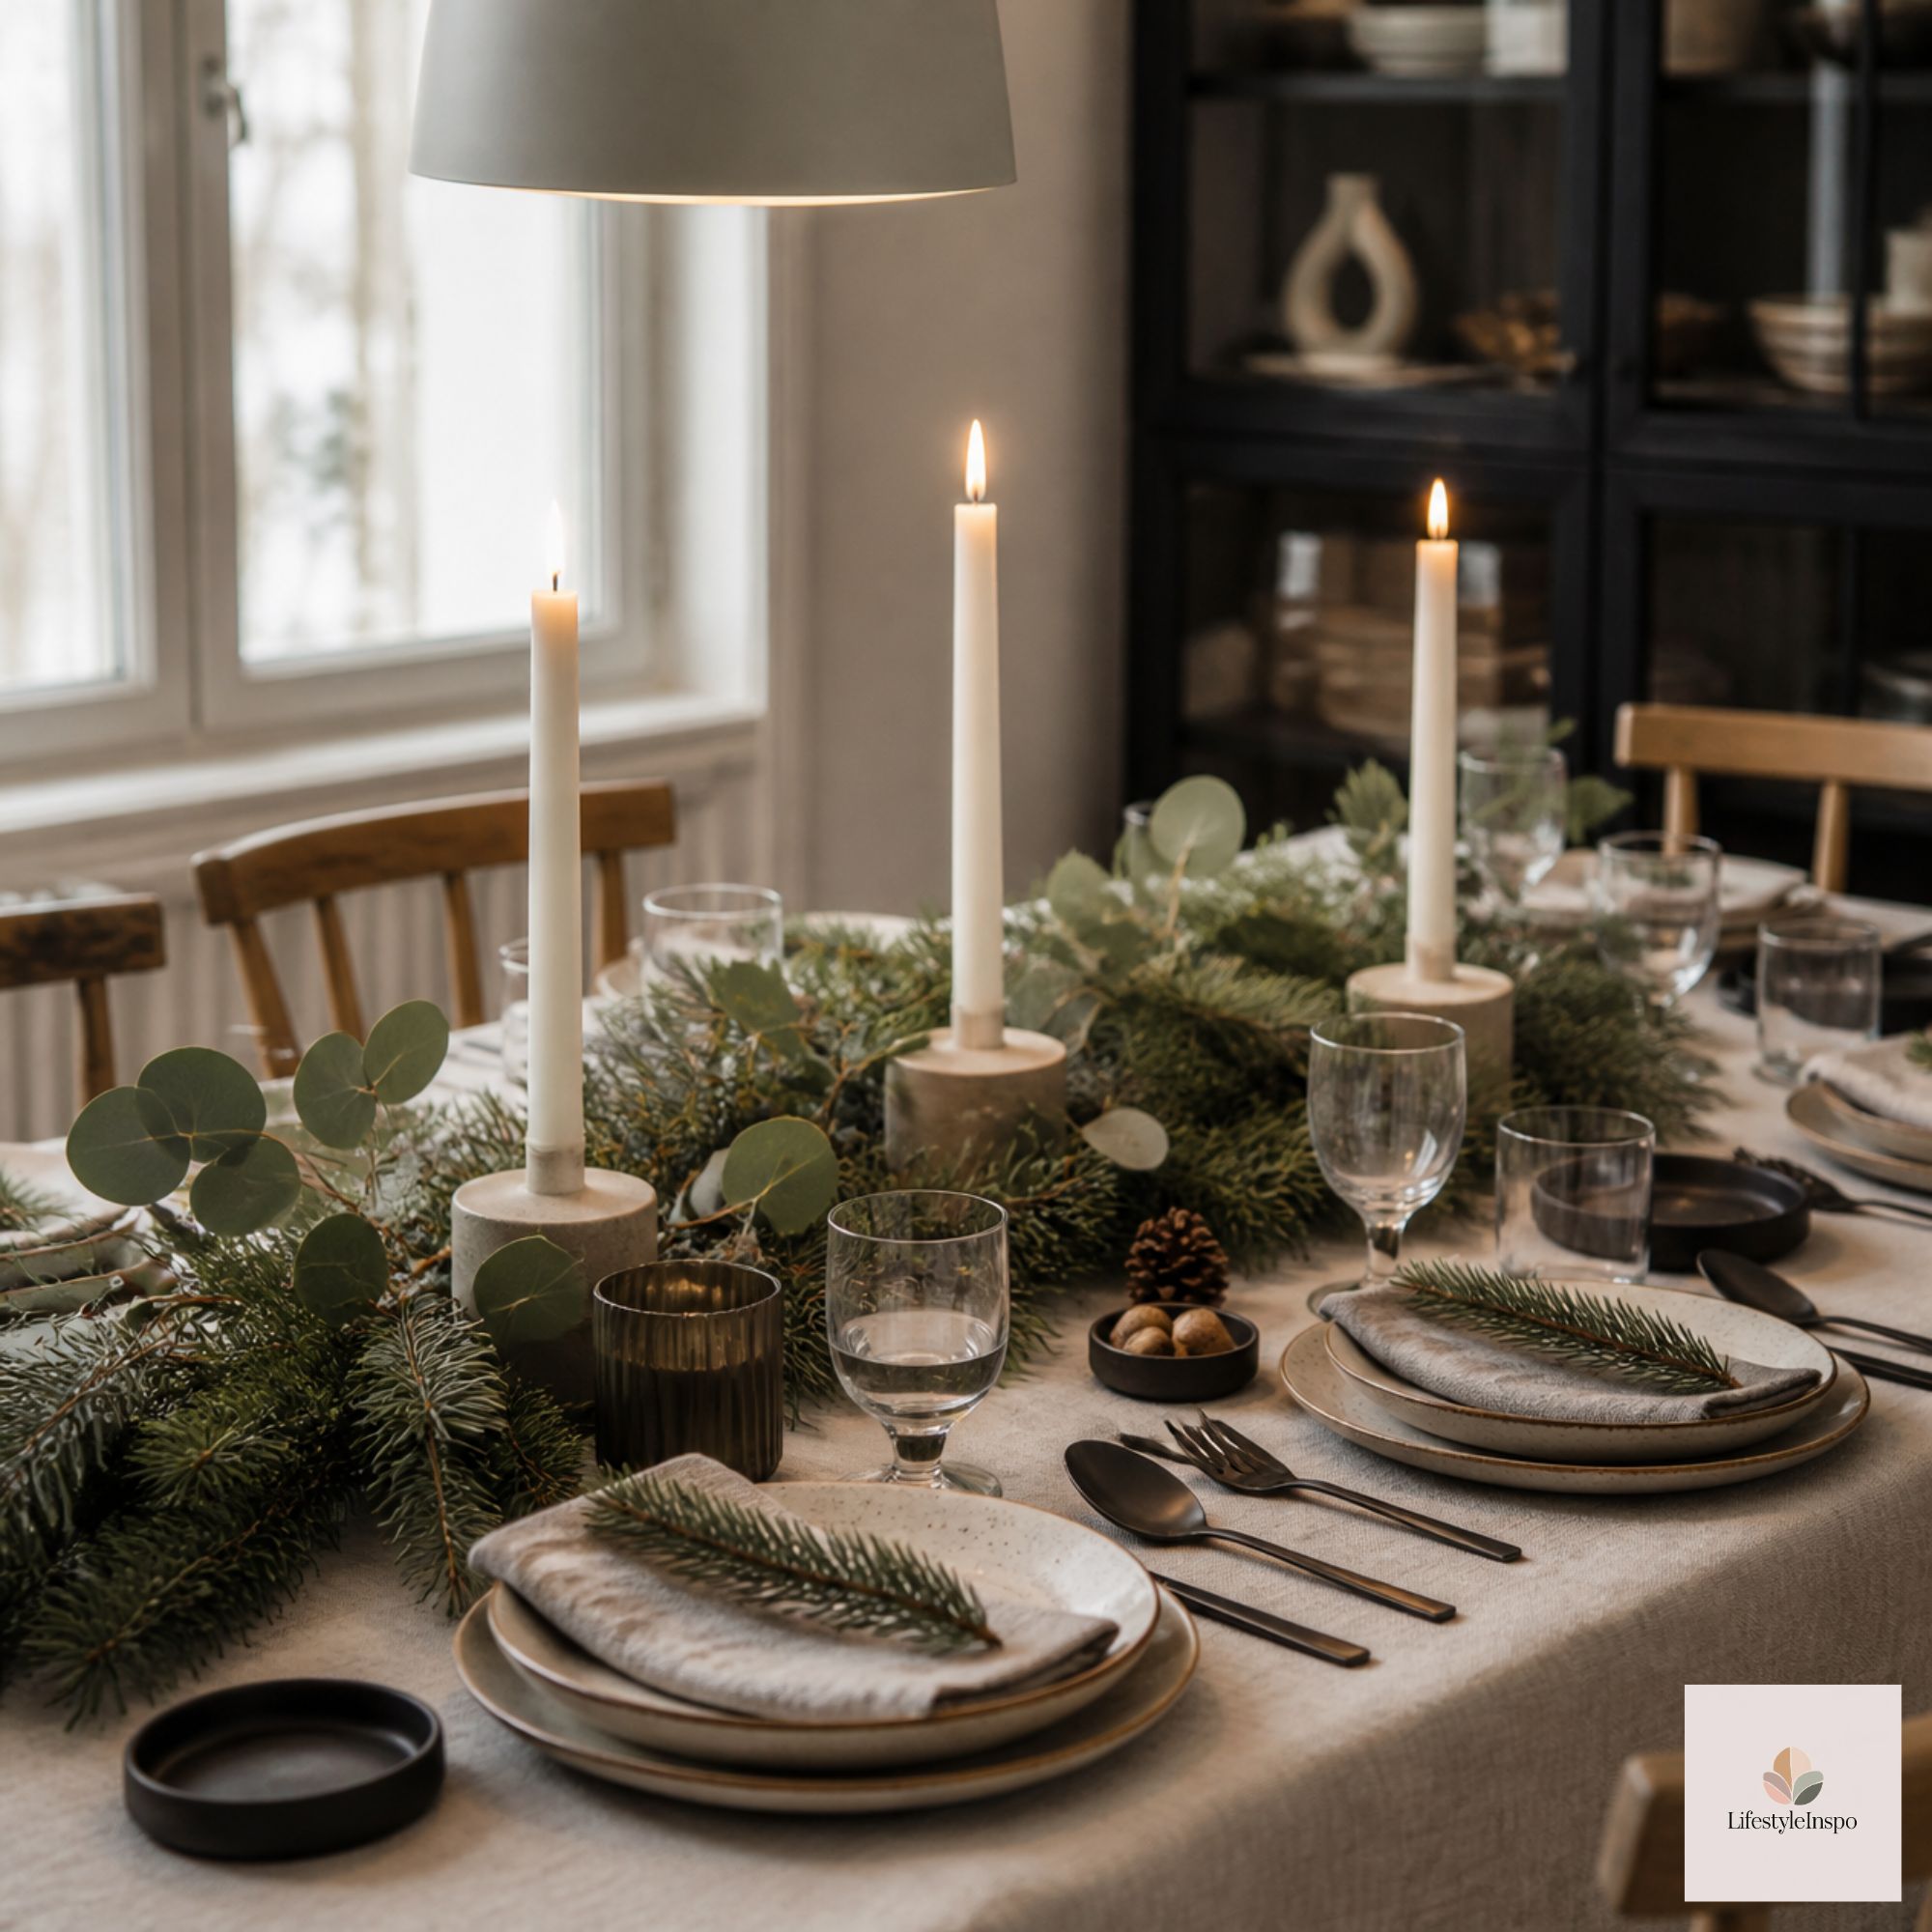
A beautiful Christmas dinner table is built from small, simple decisions: a runner that sets the tone, candles that soften the room, and details that say “we’re glad you’re here.”
Take your time, trust the steps, and then put your phone away and enjoy the evening. Pin this guide for the big day, or send it to the friend who’s hosting for the first time.
About the Author