A Calm Coastal Detail for a Guest Bath: DIY Turtle Art That Feels Collected
A single, gently hued piece of art can be the difference between a guest bathroom that feels like a hotel and one that feels like a thoughtful pause. If you want a coastal, relaxed look without overhauling grout or buying a full matching set, consider a handmade turtle print. It reads calm, collected, and slightly nautical — perfect for small spaces — and is an especially smart choice when you want to keep decorating minimal and intentional.
This guide zeroes in on one practical, polished approach: using a printable turtle coloring page as a creative starting point, coloring and treating it for longevity in a steamy space, and placing and framing it so it looks like a found object rather than a mass-produced piece. Read on for positioning, moisture-aware framing, coloring and paper tips, and styling variations that suit renters and homeowners alike.
Why one piece, not a gallery wall?
- Guest bathrooms are usually small. One well-placed artwork can create balance where a group might overcrowd.
- A single, framed print keeps cleaning simple and reduces the number of things that need to withstand humidity.
- Thoughtfully executed, one object reads as collected and intentional — as if you brought it back from a seaside weekend rather than bought a suite.
Where to start: choosing your turtle print
If you like the idea of starting with a printable outline that you can personalize, look for a detailed turtle coloring page that feels organic and slightly textured rather than purely cartoonish. A good printable can be the scaffolding for a layered, handmade piece. One option to view is Turtle Coloring Pages — a sheeted set that provides an accessible starting point. Check the seller’s listing for details and terms before purchasing:

Plan to treat the printable as an art base you’ll enhance — not as a finished, frame-ready work right out of the printer.
Materials you’ll need (practical, flexible options)
- Printable turtle coloring page (see link above)
- Paper choice: heavyweight paper (recommended: 160–300 gsm), watercolor paper if using washes
- Coloring media: colored pencils, watercolor pencils, light watercolor washes, or graphite and ink for a monochrome look
- Masking tape or artist’s tape
- Clear matte spray fixative and/or archival spray (test on a spare print)
- Mounting board or foam core (acid-free if possible)
- Frame with spacer or depth (to avoid art touching glass)
- Glass or acrylic glazing (acrylic is lighter and shatter-resistant)
- Small level or paper templates to test placement
- Optional: matboard for a more finished look
Many of these materials are available at art supply stores or major craft retailers; adapt to your budget by choosing fewer archival products if you plan to change the art seasonally.
Coloring with moisture in mind
Guest bathrooms see steam and occasional splashes. That doesn’t mean you must forgo any color; it just means picking media that will survive and look good behind glass or acrylic.
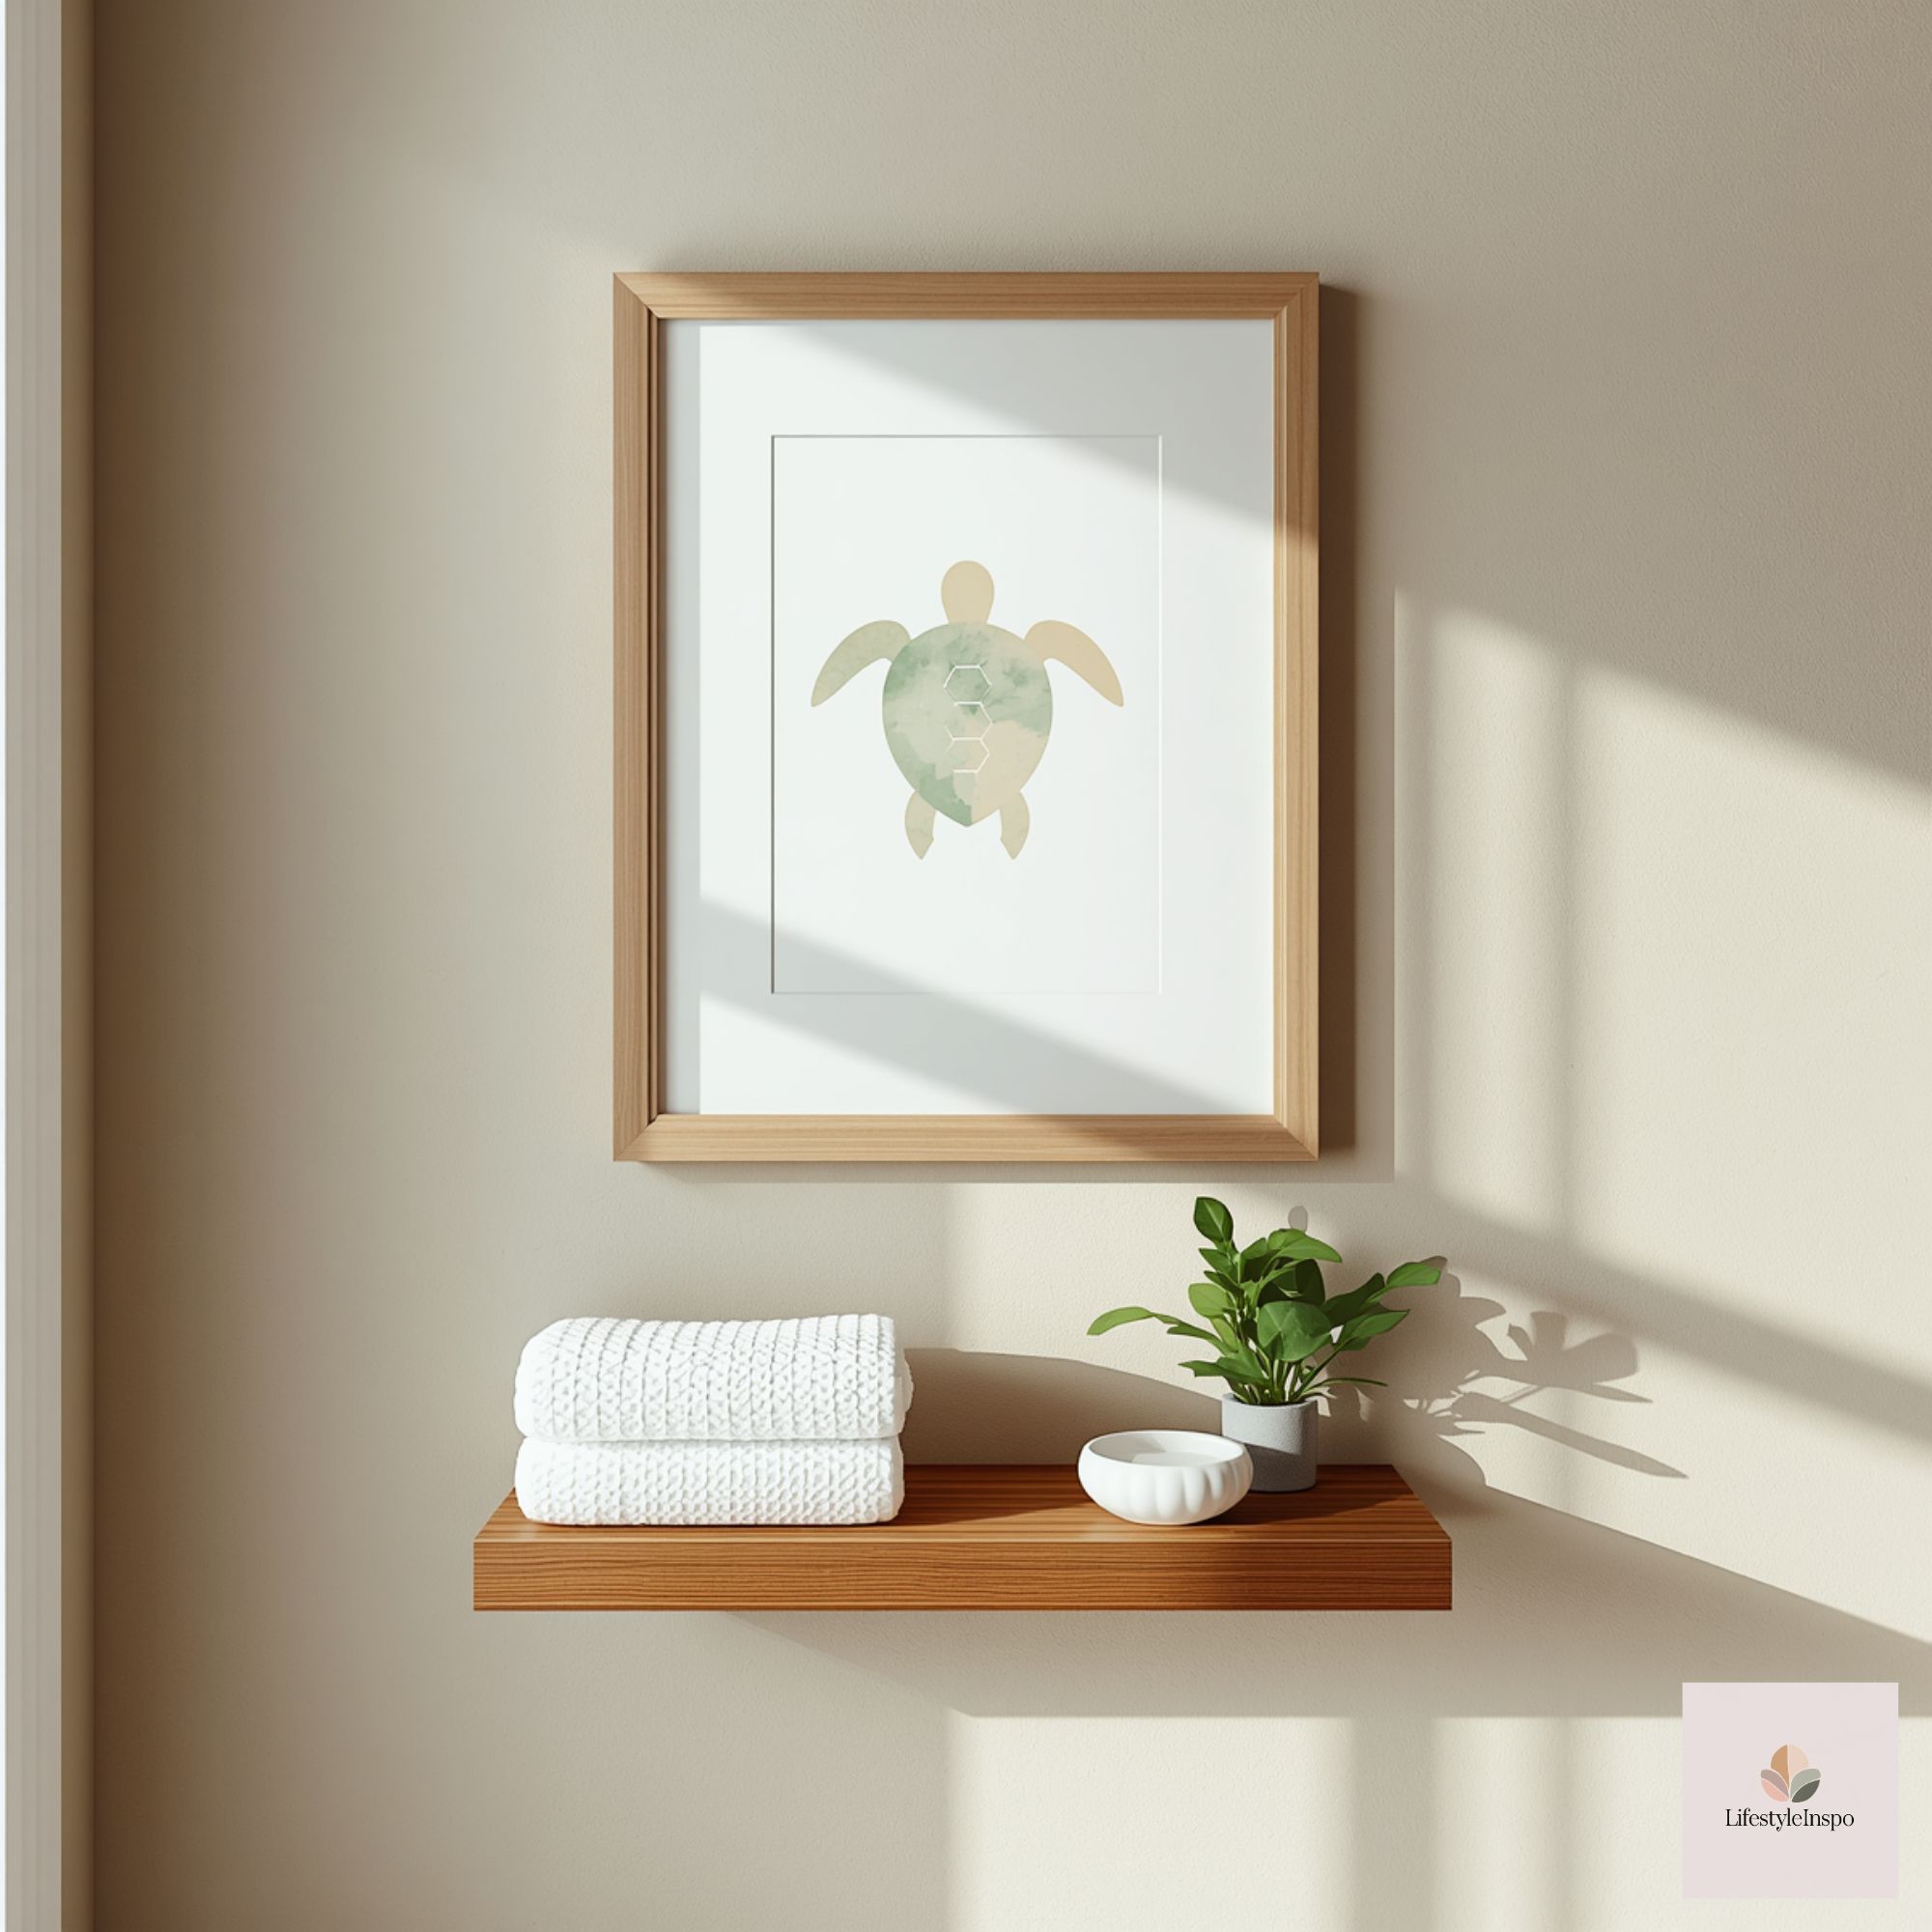
- Colored pencils: A safe, forgiving choice. Use layers for depth; apply a light burnish (firm, even pressure) to seal the pigment into the paper. Pencils respond well on heavyweight paper and allow subtlety — perfect for a calm coastal palette.
- Watercolor pencils or light watercolors: These give an airy, beachy wash but require extra drying time and protection. If you watercolor, use watercolor paper and let the piece dry completely. Apply a fixative before framing to reduce pigment migration.
- Soft graphite plus ink: For a collected, almost scientific look, keep the turtle in grayscale. Ink the outline with a fine liner and shade with graphite or charcoal, then fix with spray. This is a timeless approach that reads sophisticated and resists visual competition in a small bath.
- Mixed media: Combine faint watercolor washes with colored pencil detailing for depth. The watercolor provides atmosphere; colored pencils add texture and edges.
A few practical coloring tips
- Test color blends on a scrap of the same paper before working on the final piece.
- Keep palettes muted for a coastal feel: soft sea-glass greens, pail grays, dove blues, and warm sandy beiges. Avoid neon or hyper-saturated hues that can feel busy in a small room.
- Create a faint background wash rather than a full-bleed color to keep the print from reading flat.
- Reserve a small highlight area (white of the paper, or a touch of white gel pen) to give the turtle life and dimension.
Preparing the piece for a humid environment
Once your art is complete and fully dry:
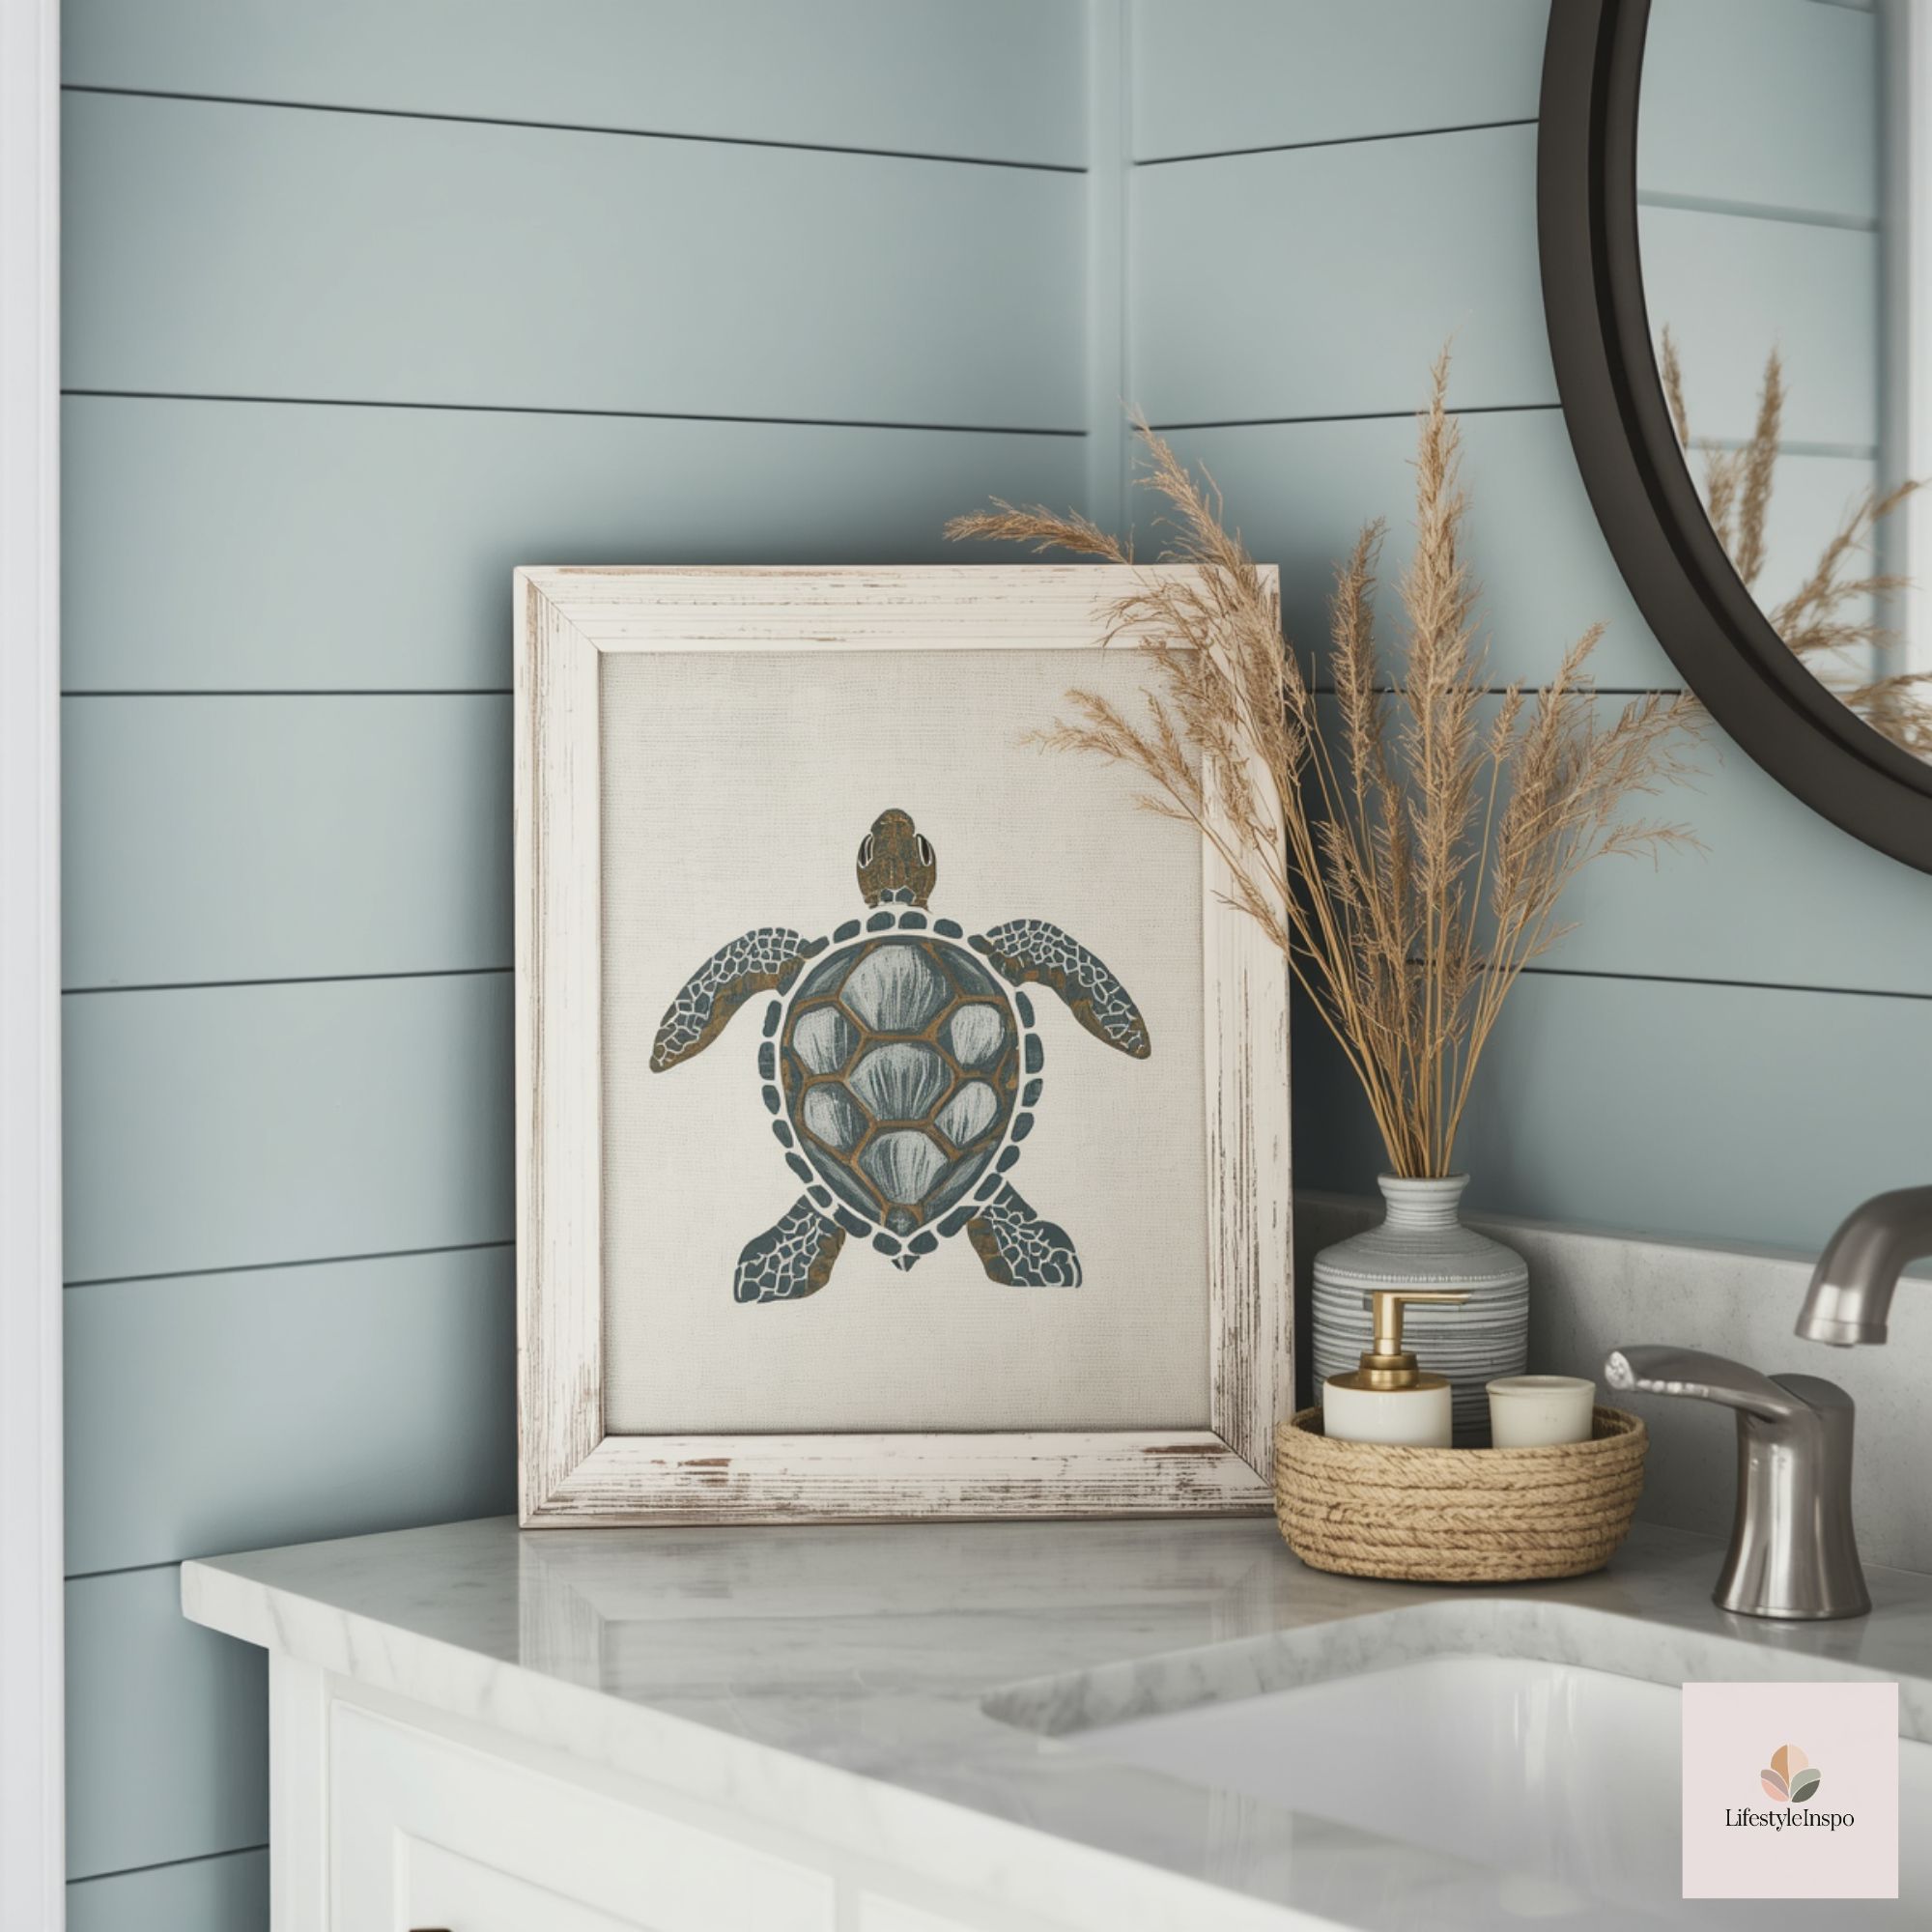
- Use a clear matte fixative to help set colored pencil pigment and reduce smudging. Apply multiple thin coats outdoors or in a ventilated area, following product directions and testing first.
- For water-based work, a dedicated archival spray can add a protective layer. Always test on a spare.
- Mount the print on acid-free foam core or backing to prevent buckling in humidity. Use archival double-sided tape or photo corners to secure the paper without adhesives touching the image surface.
- Allow the assembled piece to rest for 24 hours before framing to ensure any sprays have cured.
Framing smart: avoid trapped moisture and show a collected aesthetic
The frame is as important as the art for longevity and style. In a guest bathroom, choose a framing approach that protects the art while keeping a relaxed, collected look.
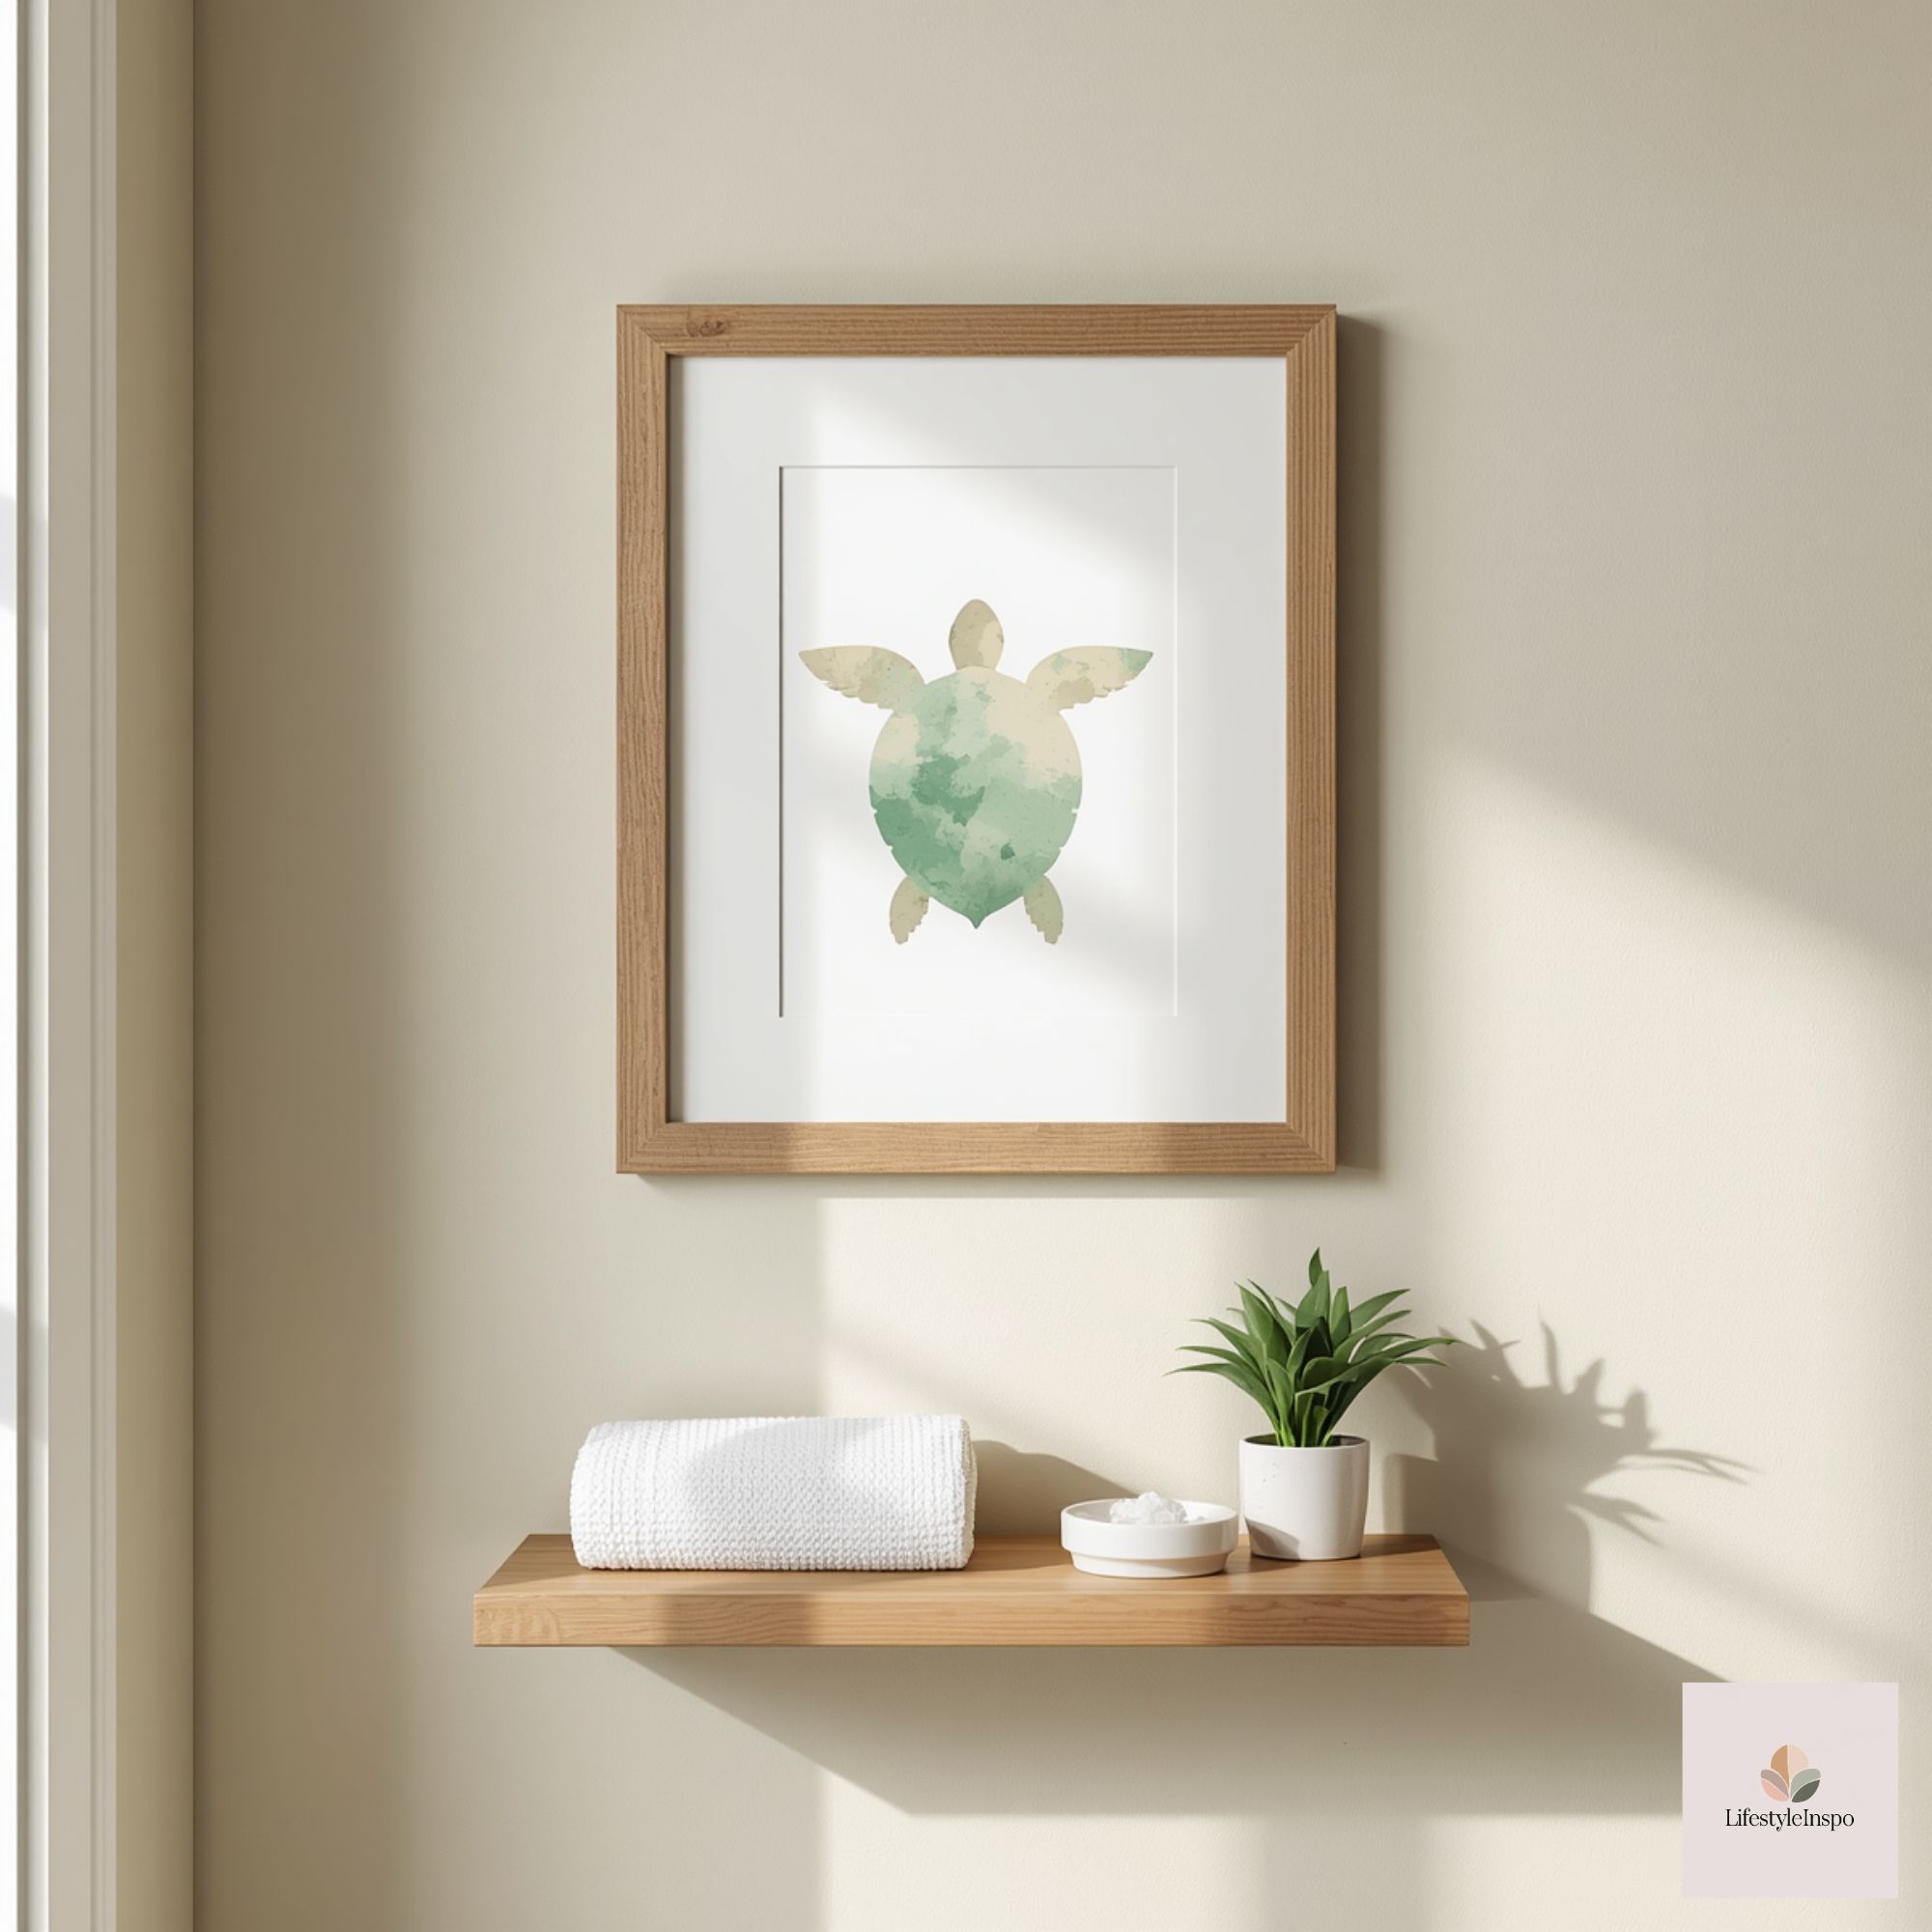
- Use a spacer or mat: The goal is to prevent the artwork from touching the glazing. A 1/8–1/4 inch gap created by a spacer or deep frame gives airflow and prevents condensation from sticking the paper to glass.
- Prefer acrylic glazing: Acrylic is lightweight and less likely to break. Some acrylic products have UV filters which help protect pigments.
- Frame material: Reclaimed wood, a simple white or pale-wood frame, or thin black profile frames all work. For a coastal vibe, go light and matte rather than glossy or ornate.
- Seal the back: Use framers tape or a dust cover on the back to reduce dust and humidity ingress. If you aren’t using archival materials, you can still add a layer of brown kraft paper to the back to modestly buffer moisture.
- Consider glass treatments: Anti-fog or moisture-resistant glazing exists, but these can be more costly. The spacer and sealed back usually offer an effective, budget-friendly solution.
Where to position the print in a guest bathroom
Placement is the key to making a single print read like a collected treasure, not an afterthought.
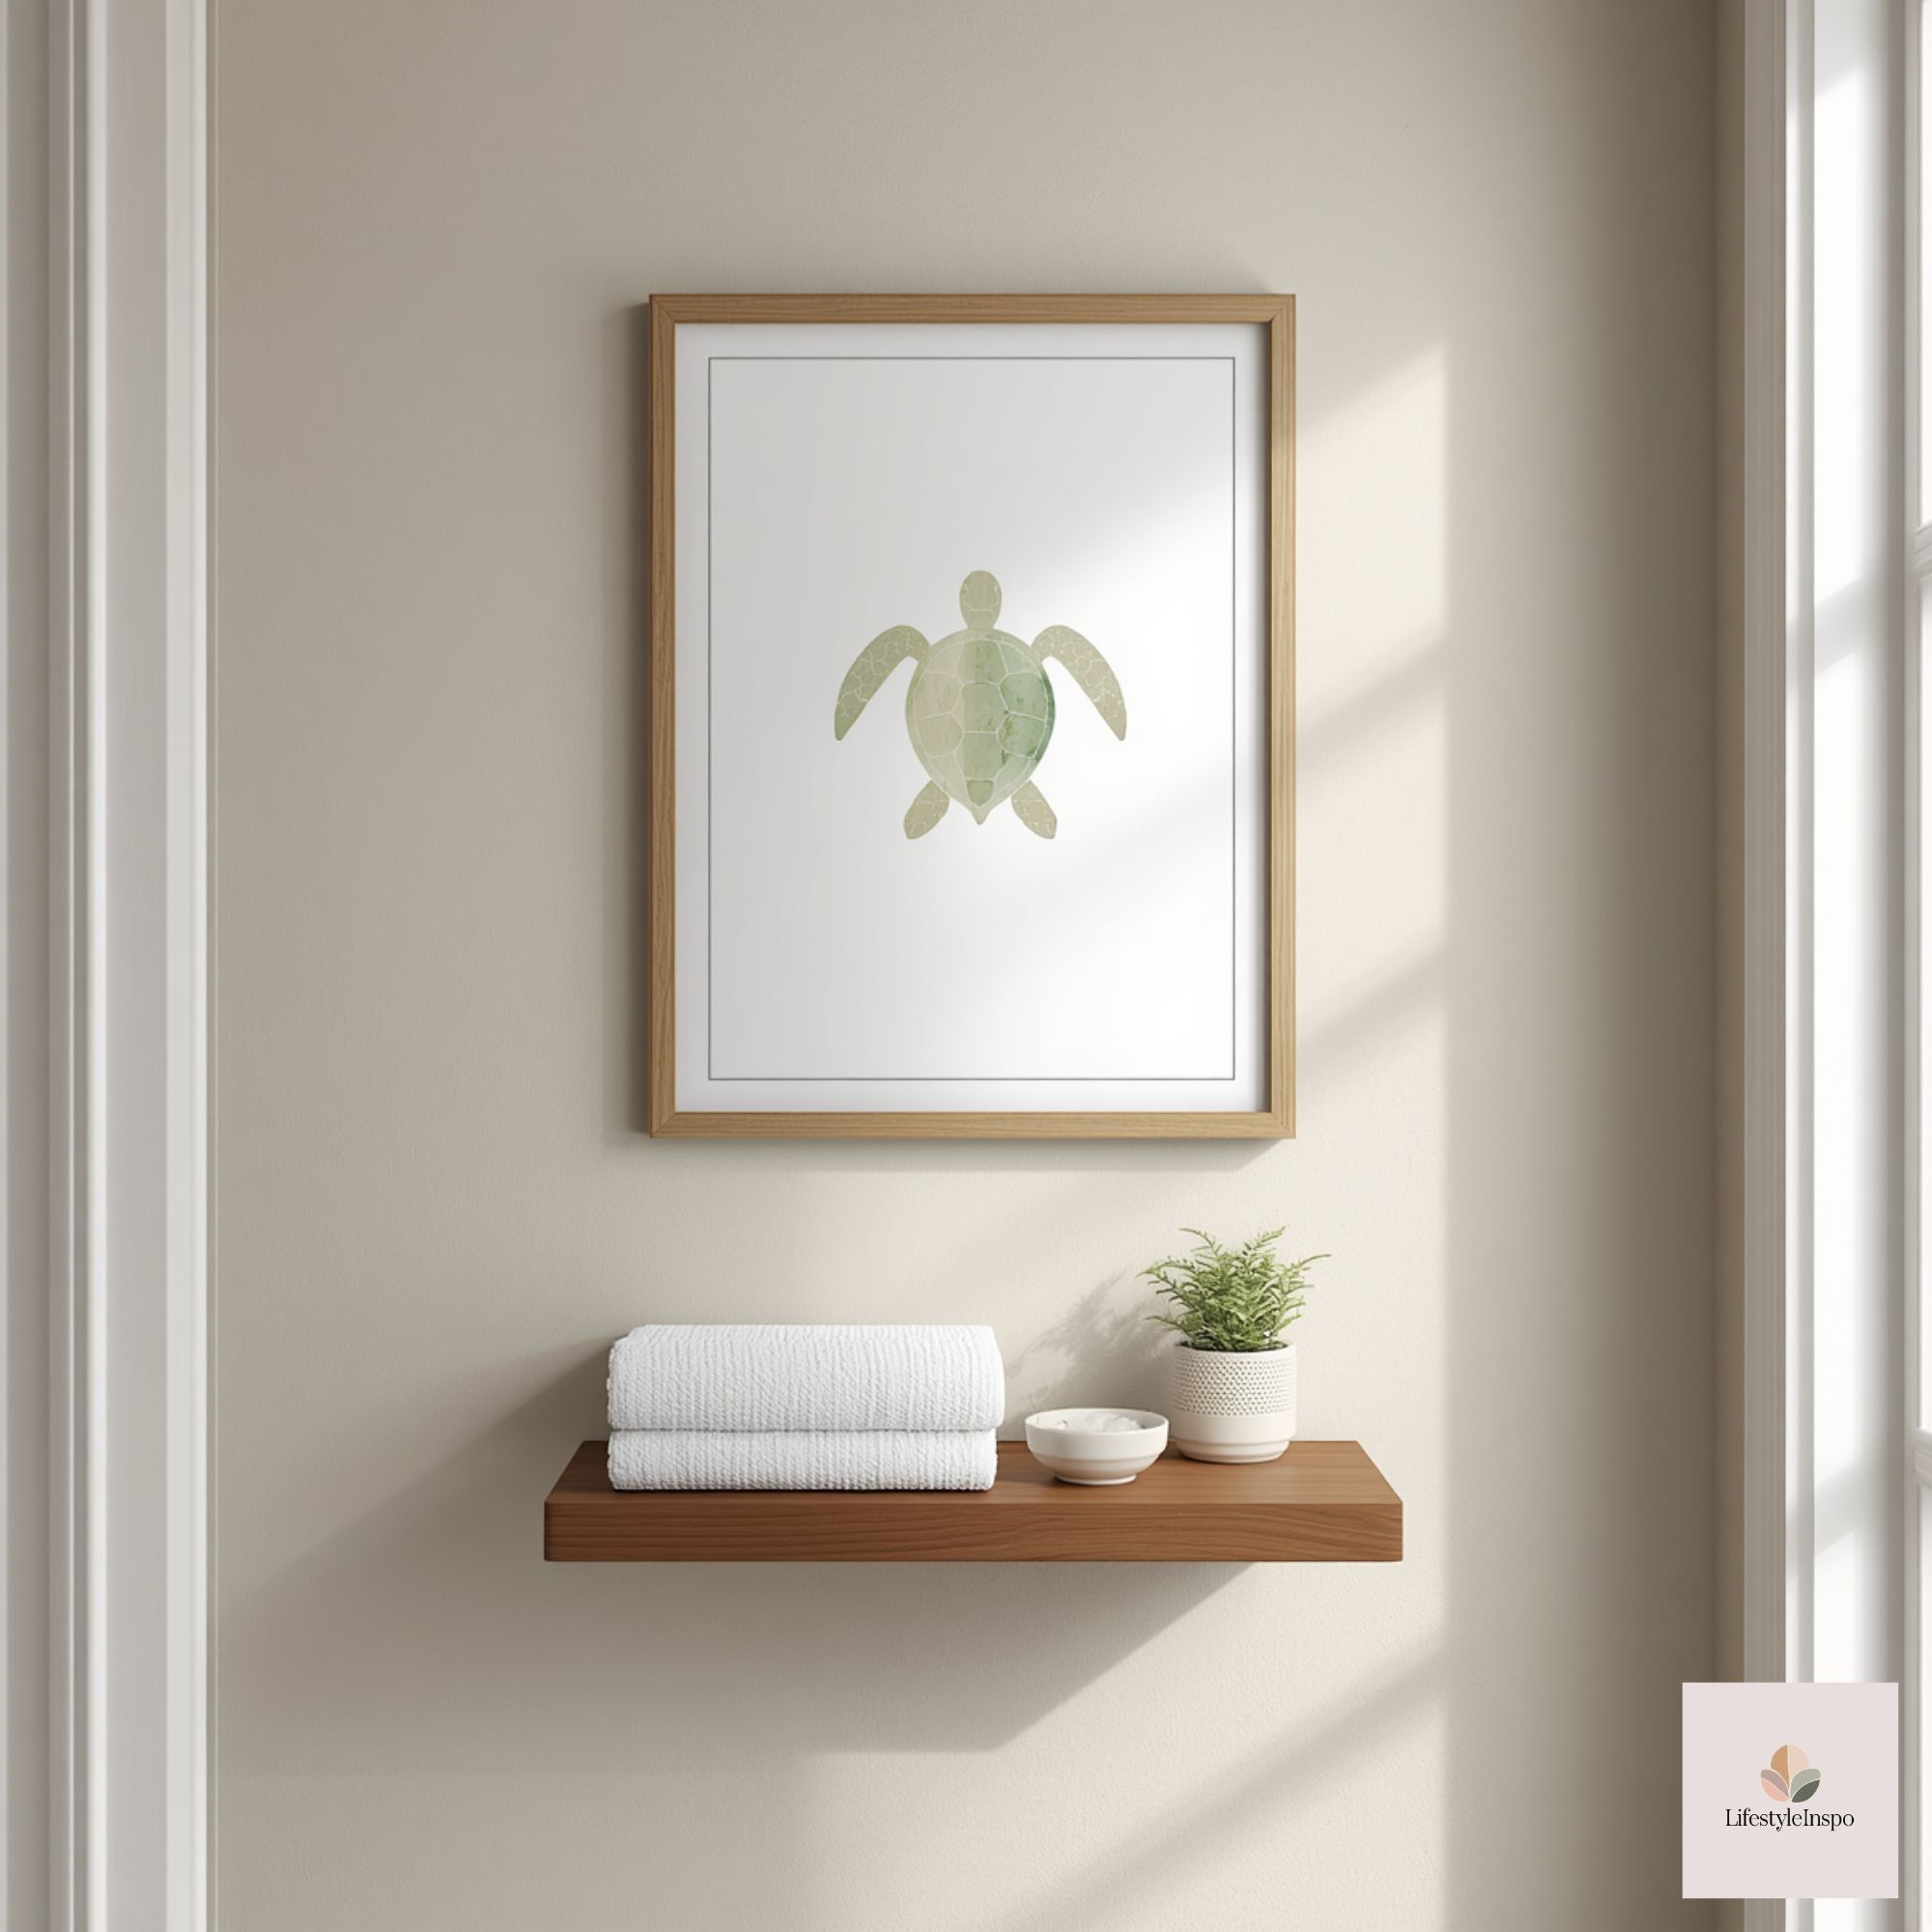
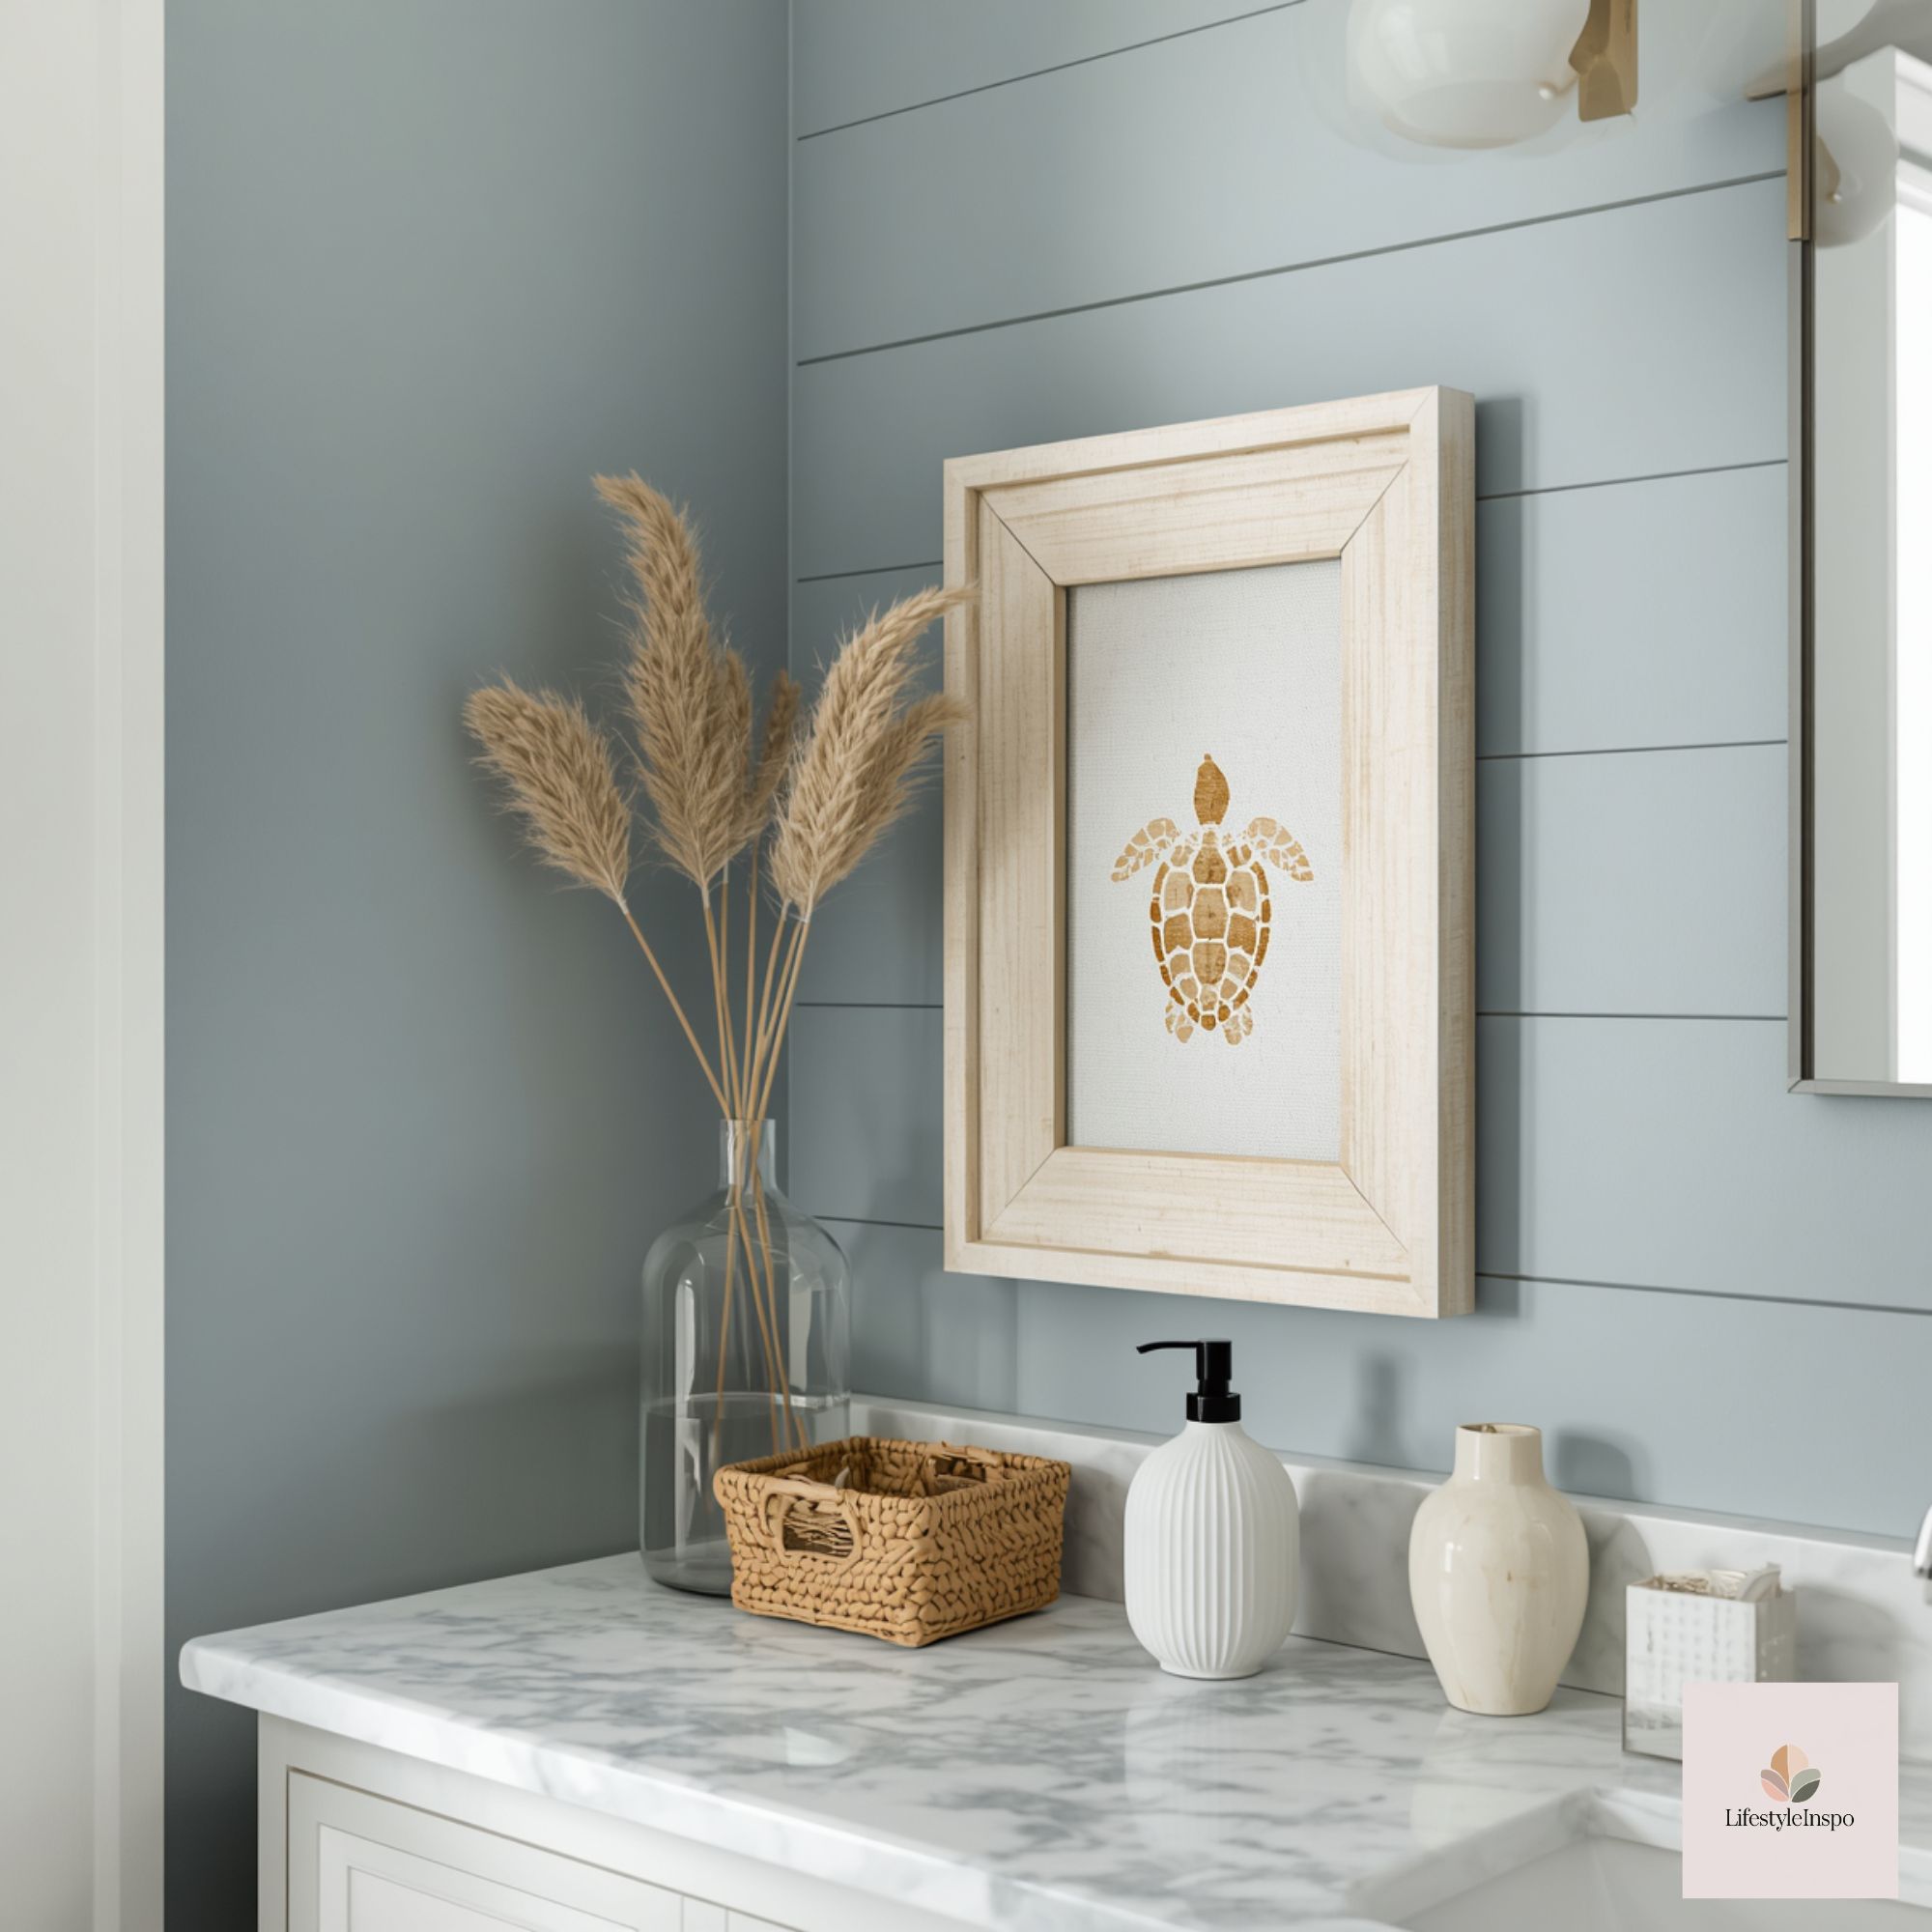
- Near the sink: Place the turtle print to one side of the mirror, at eye level when seated or standing at the sink (about 57–60 inches from the floor to the center of the art). This invites a quiet glance and avoids direct water spray.
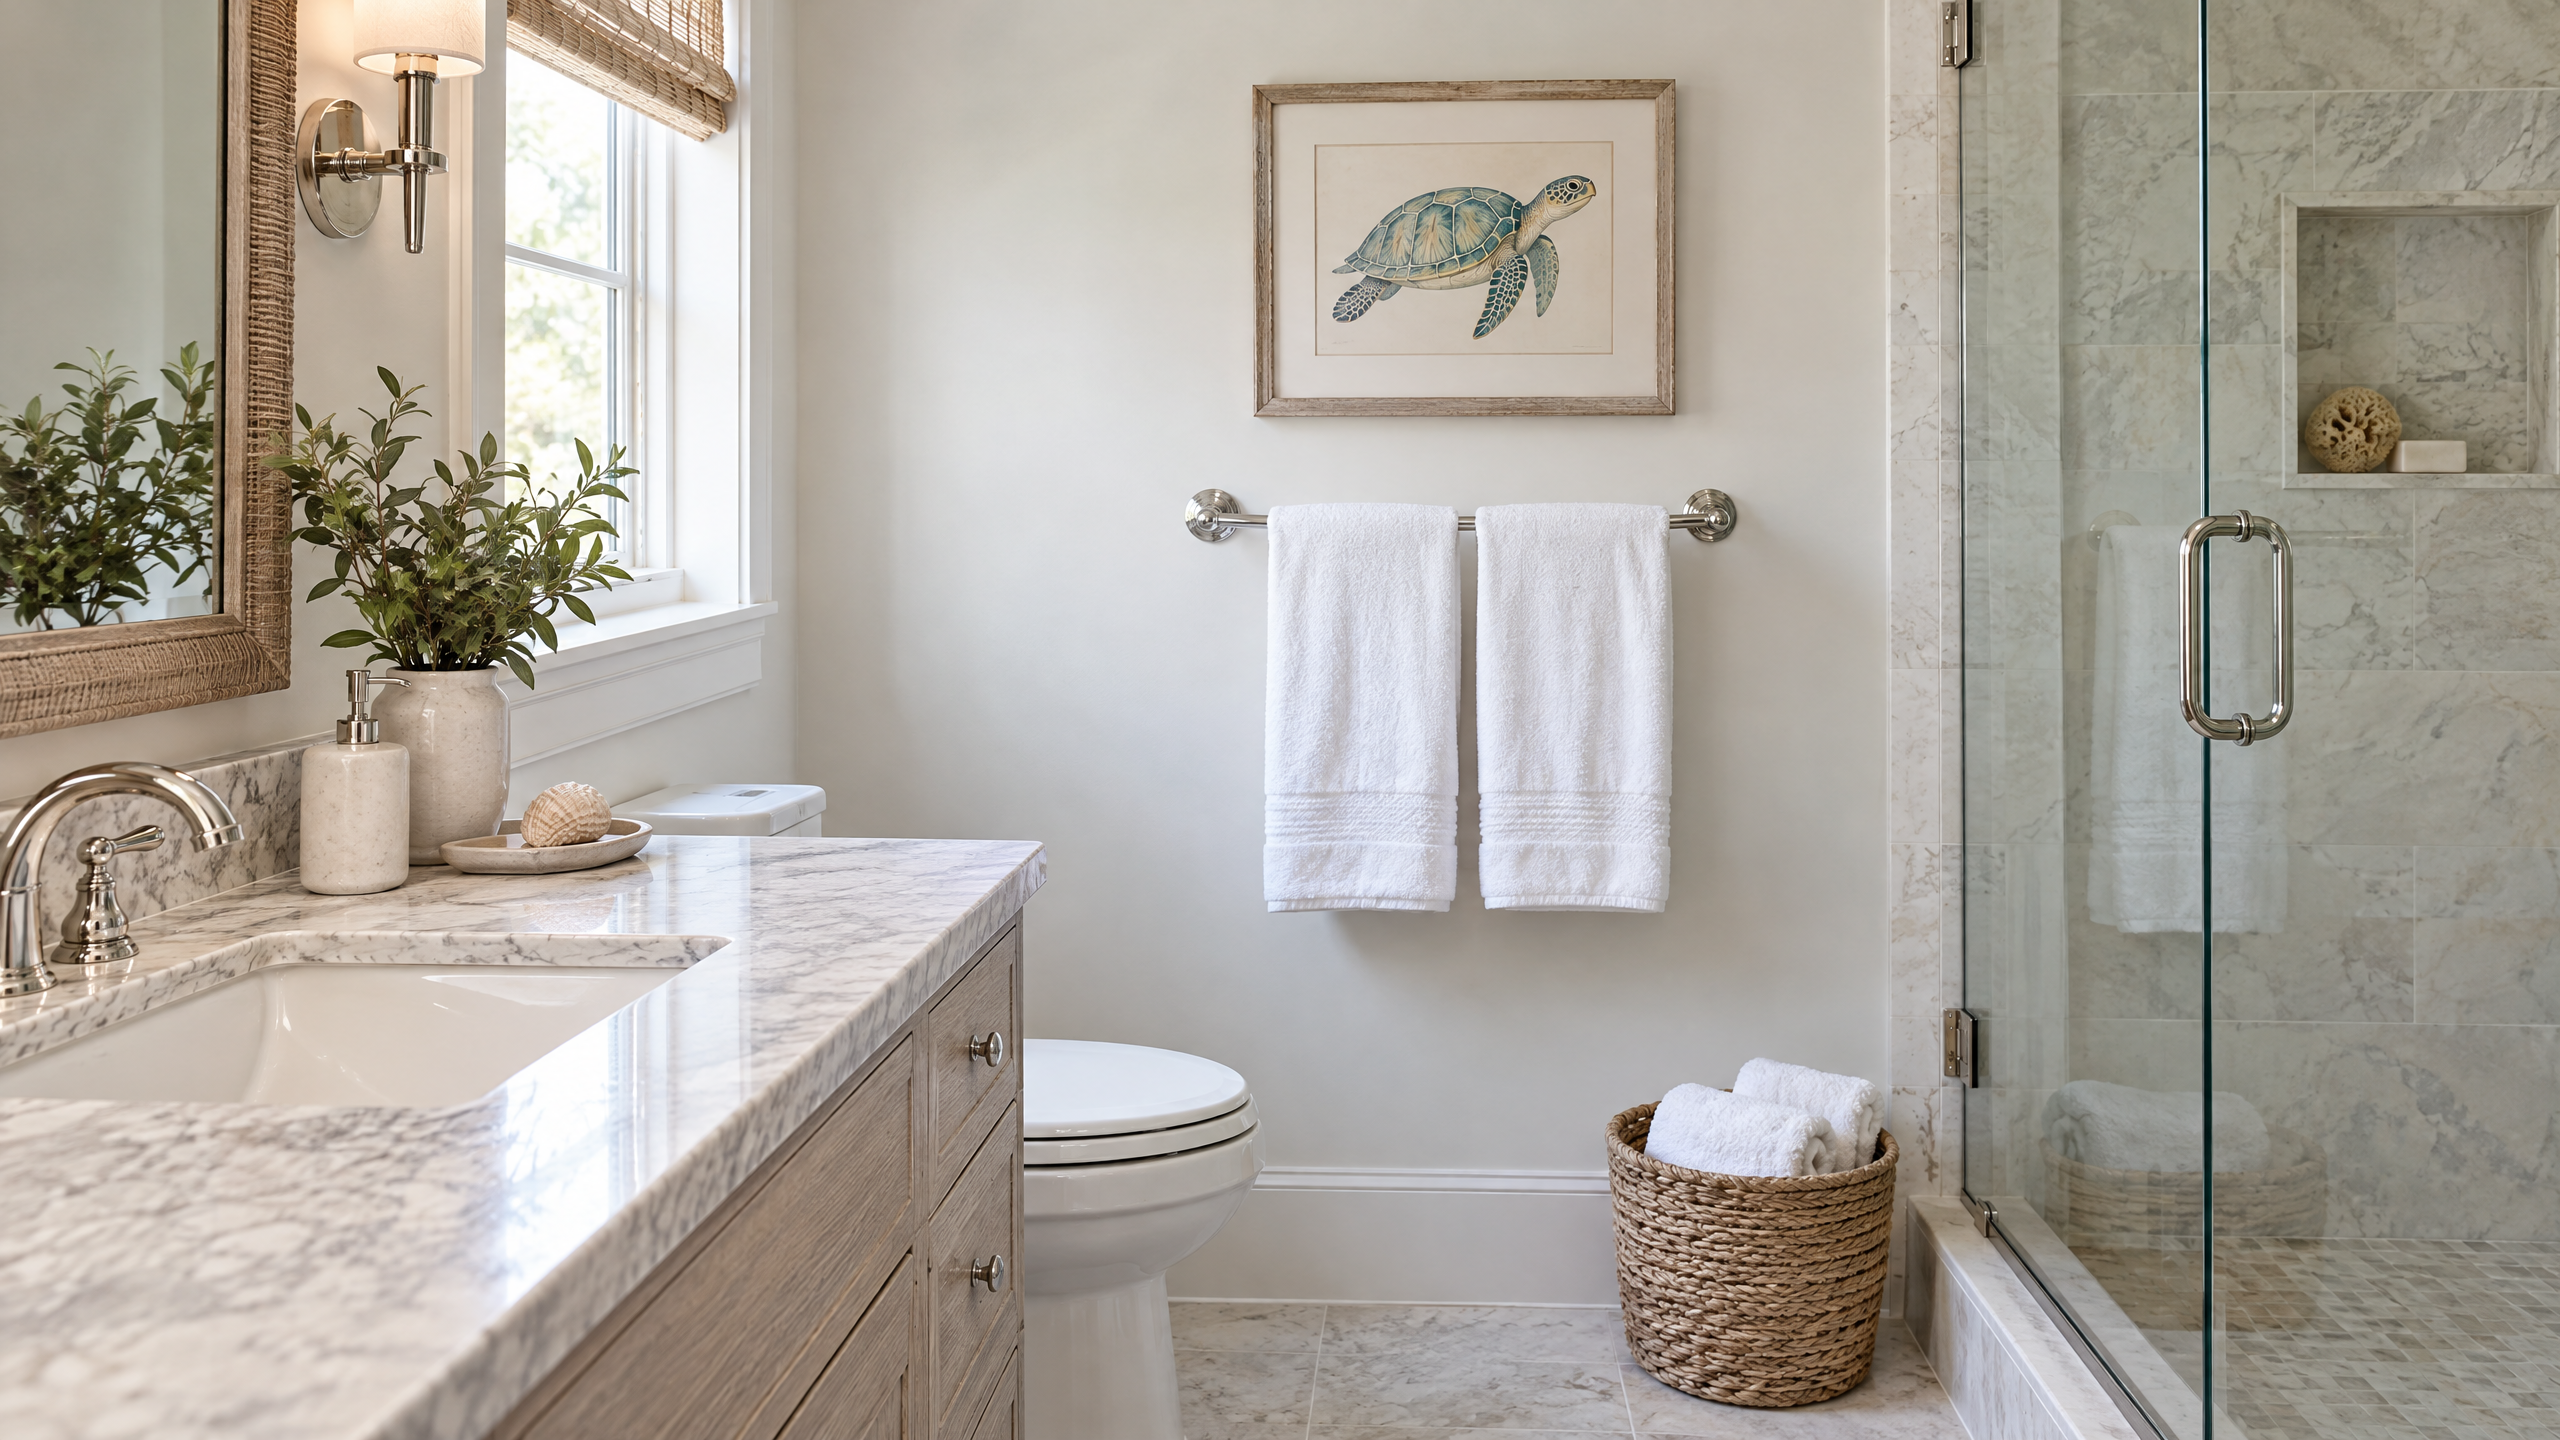
- Above a towel rack: A small print above folded towels adds charm and keeps the art away from shower spray. Ensure the towels don’t rub the frame when pulled.
- On an unused wall behind the door: If your bathroom door swings inward and covers the art entirely when open, position the piece to be revealed when the door is closed for a little discovery moment.
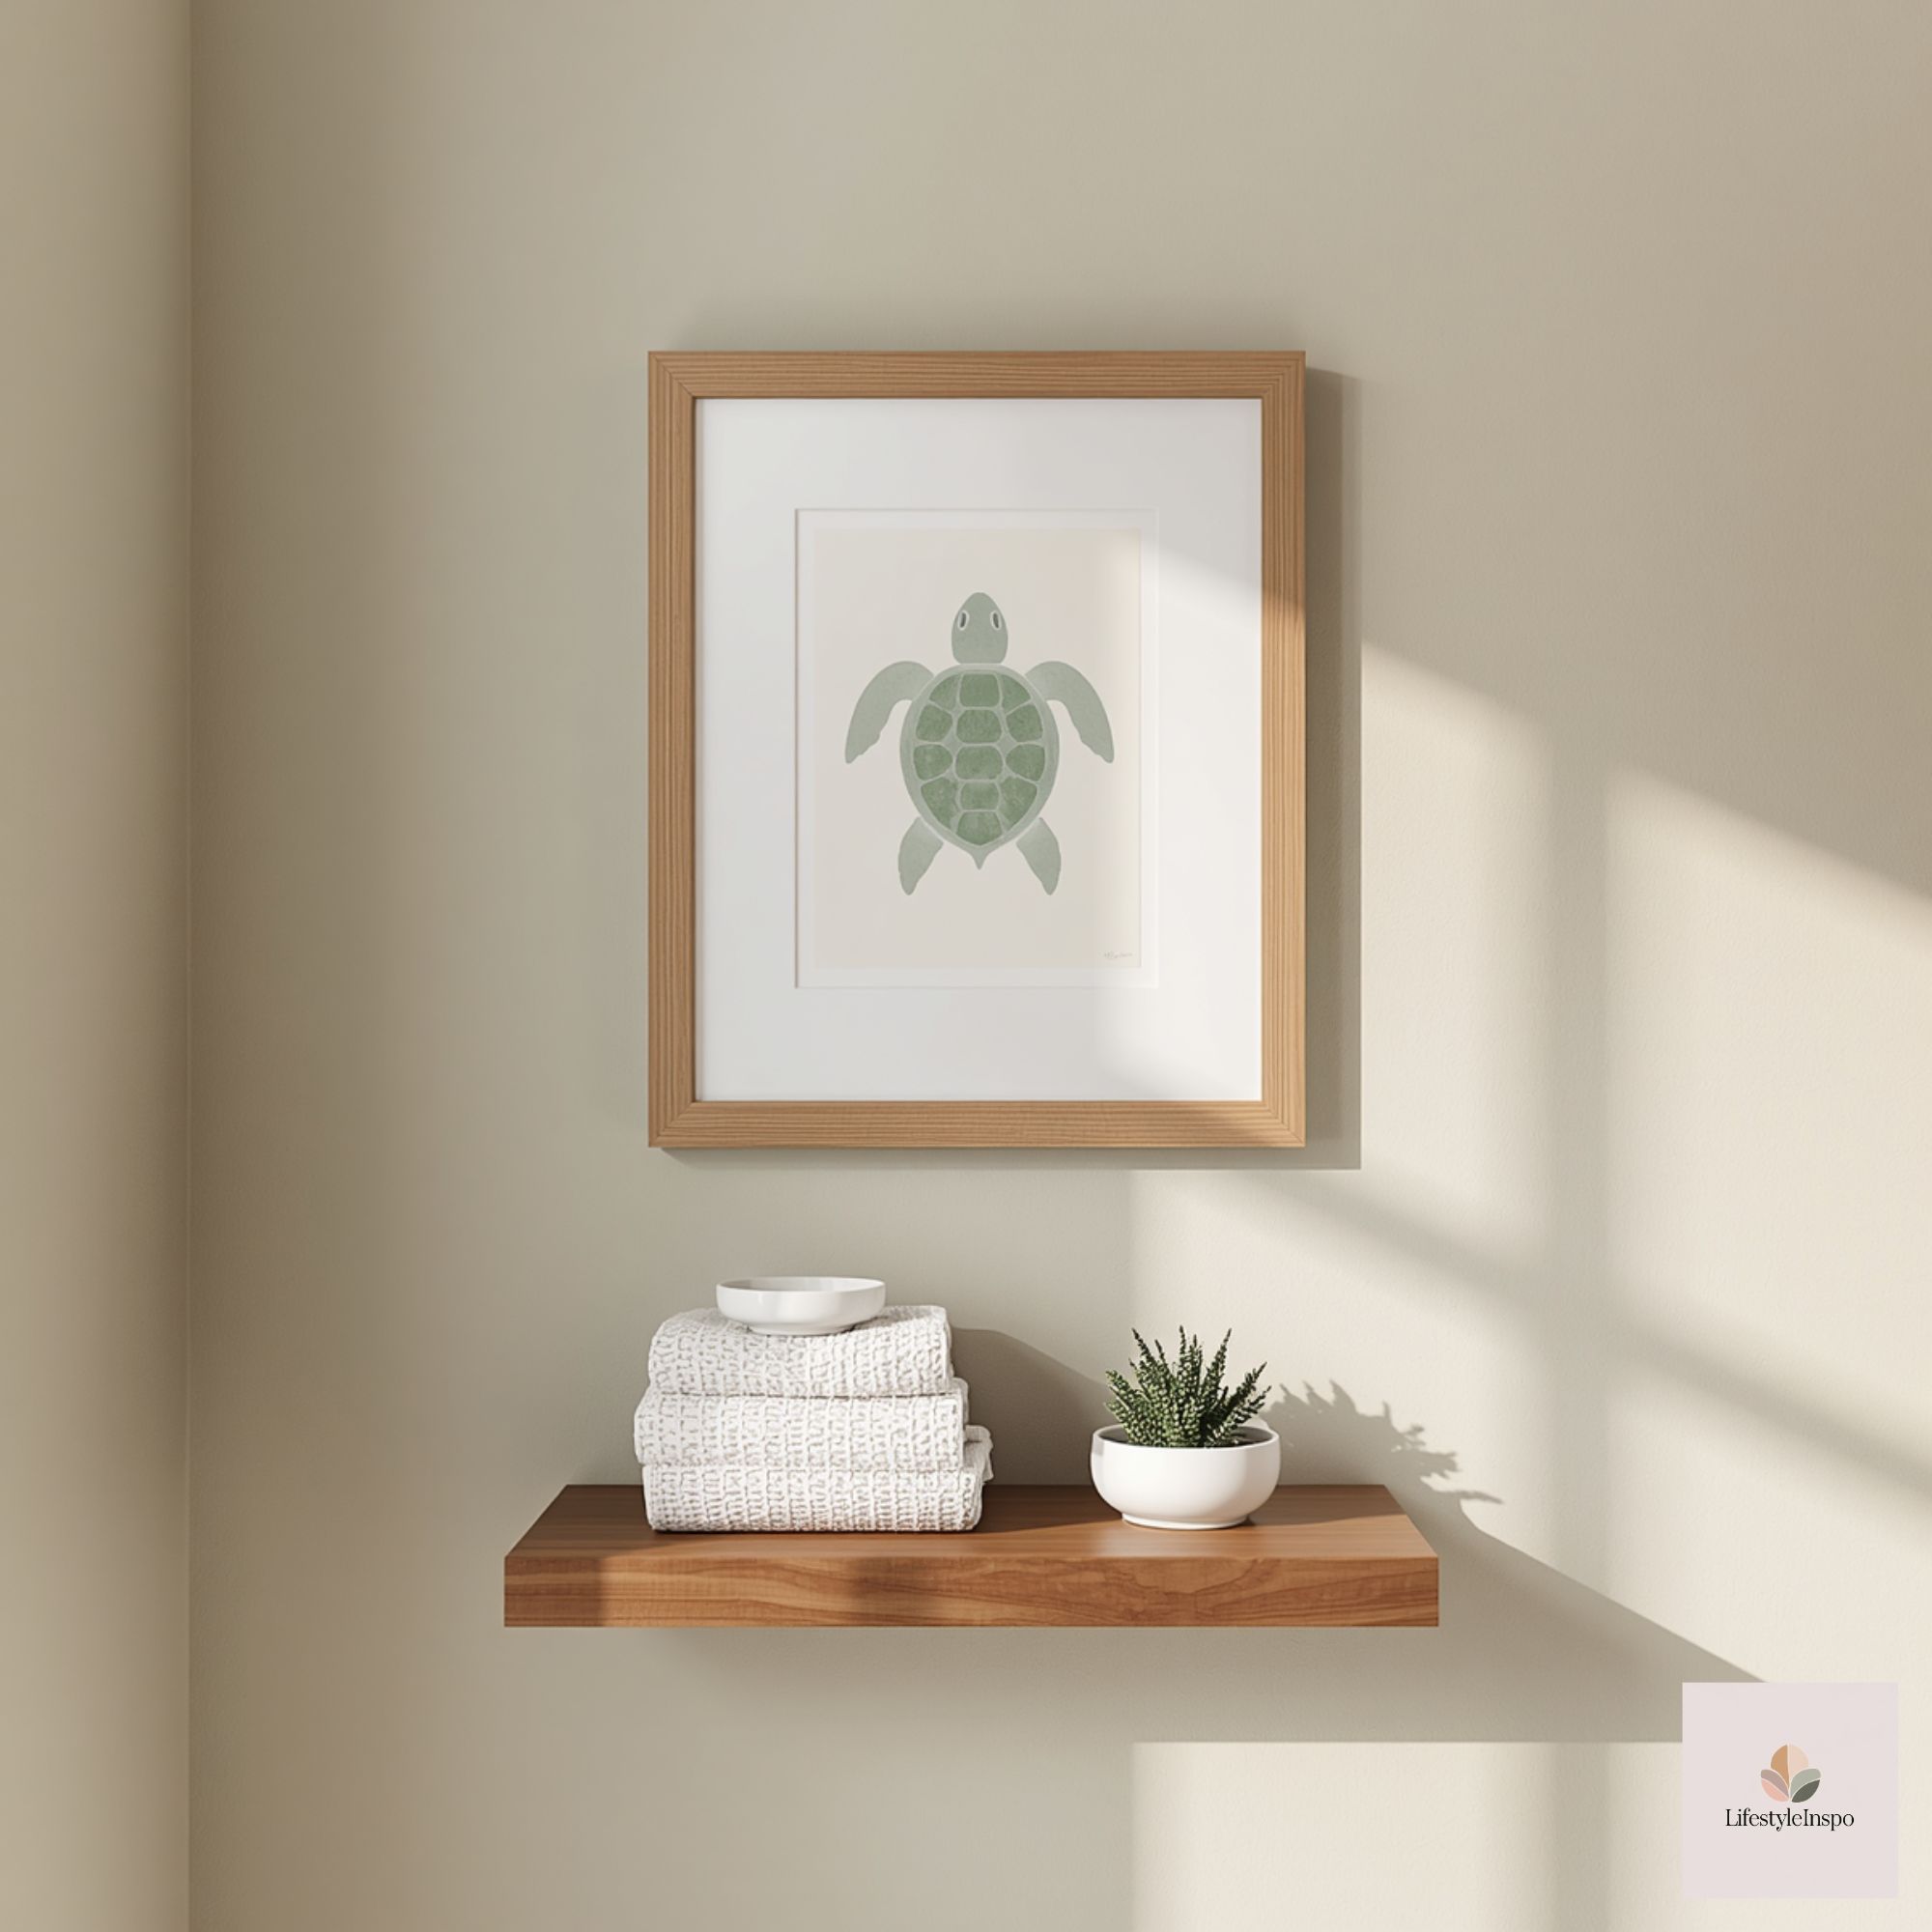
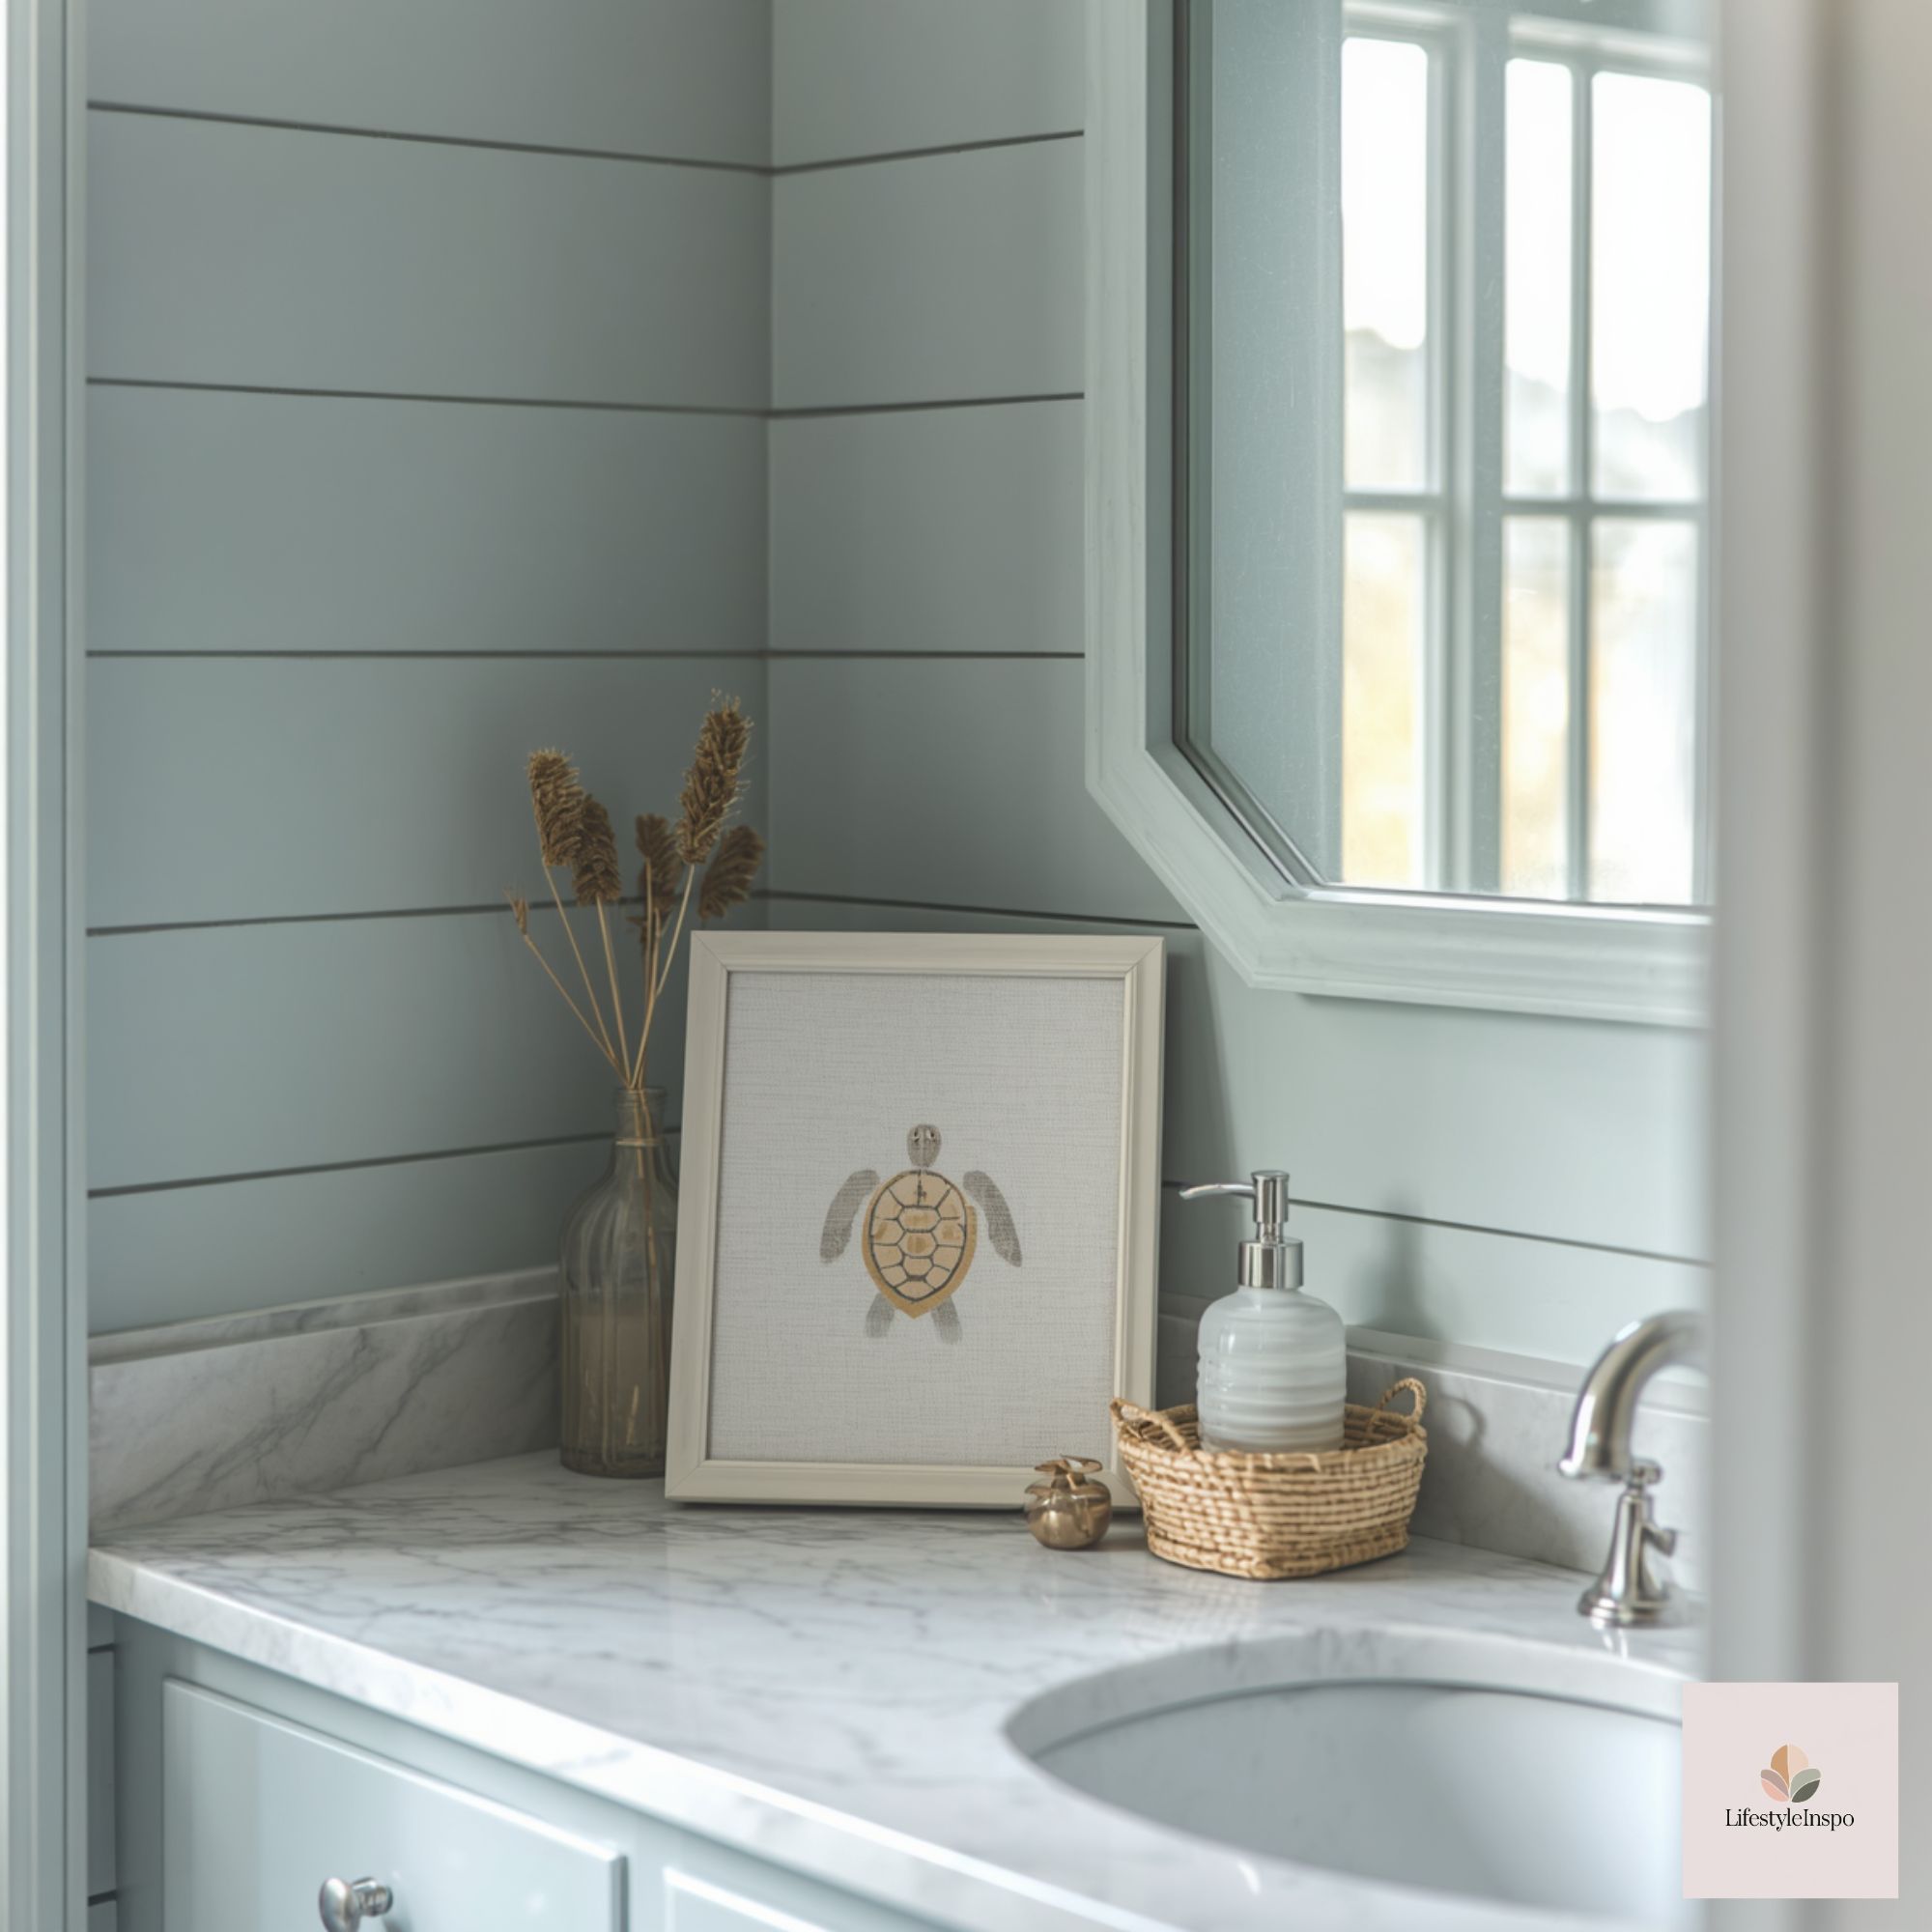
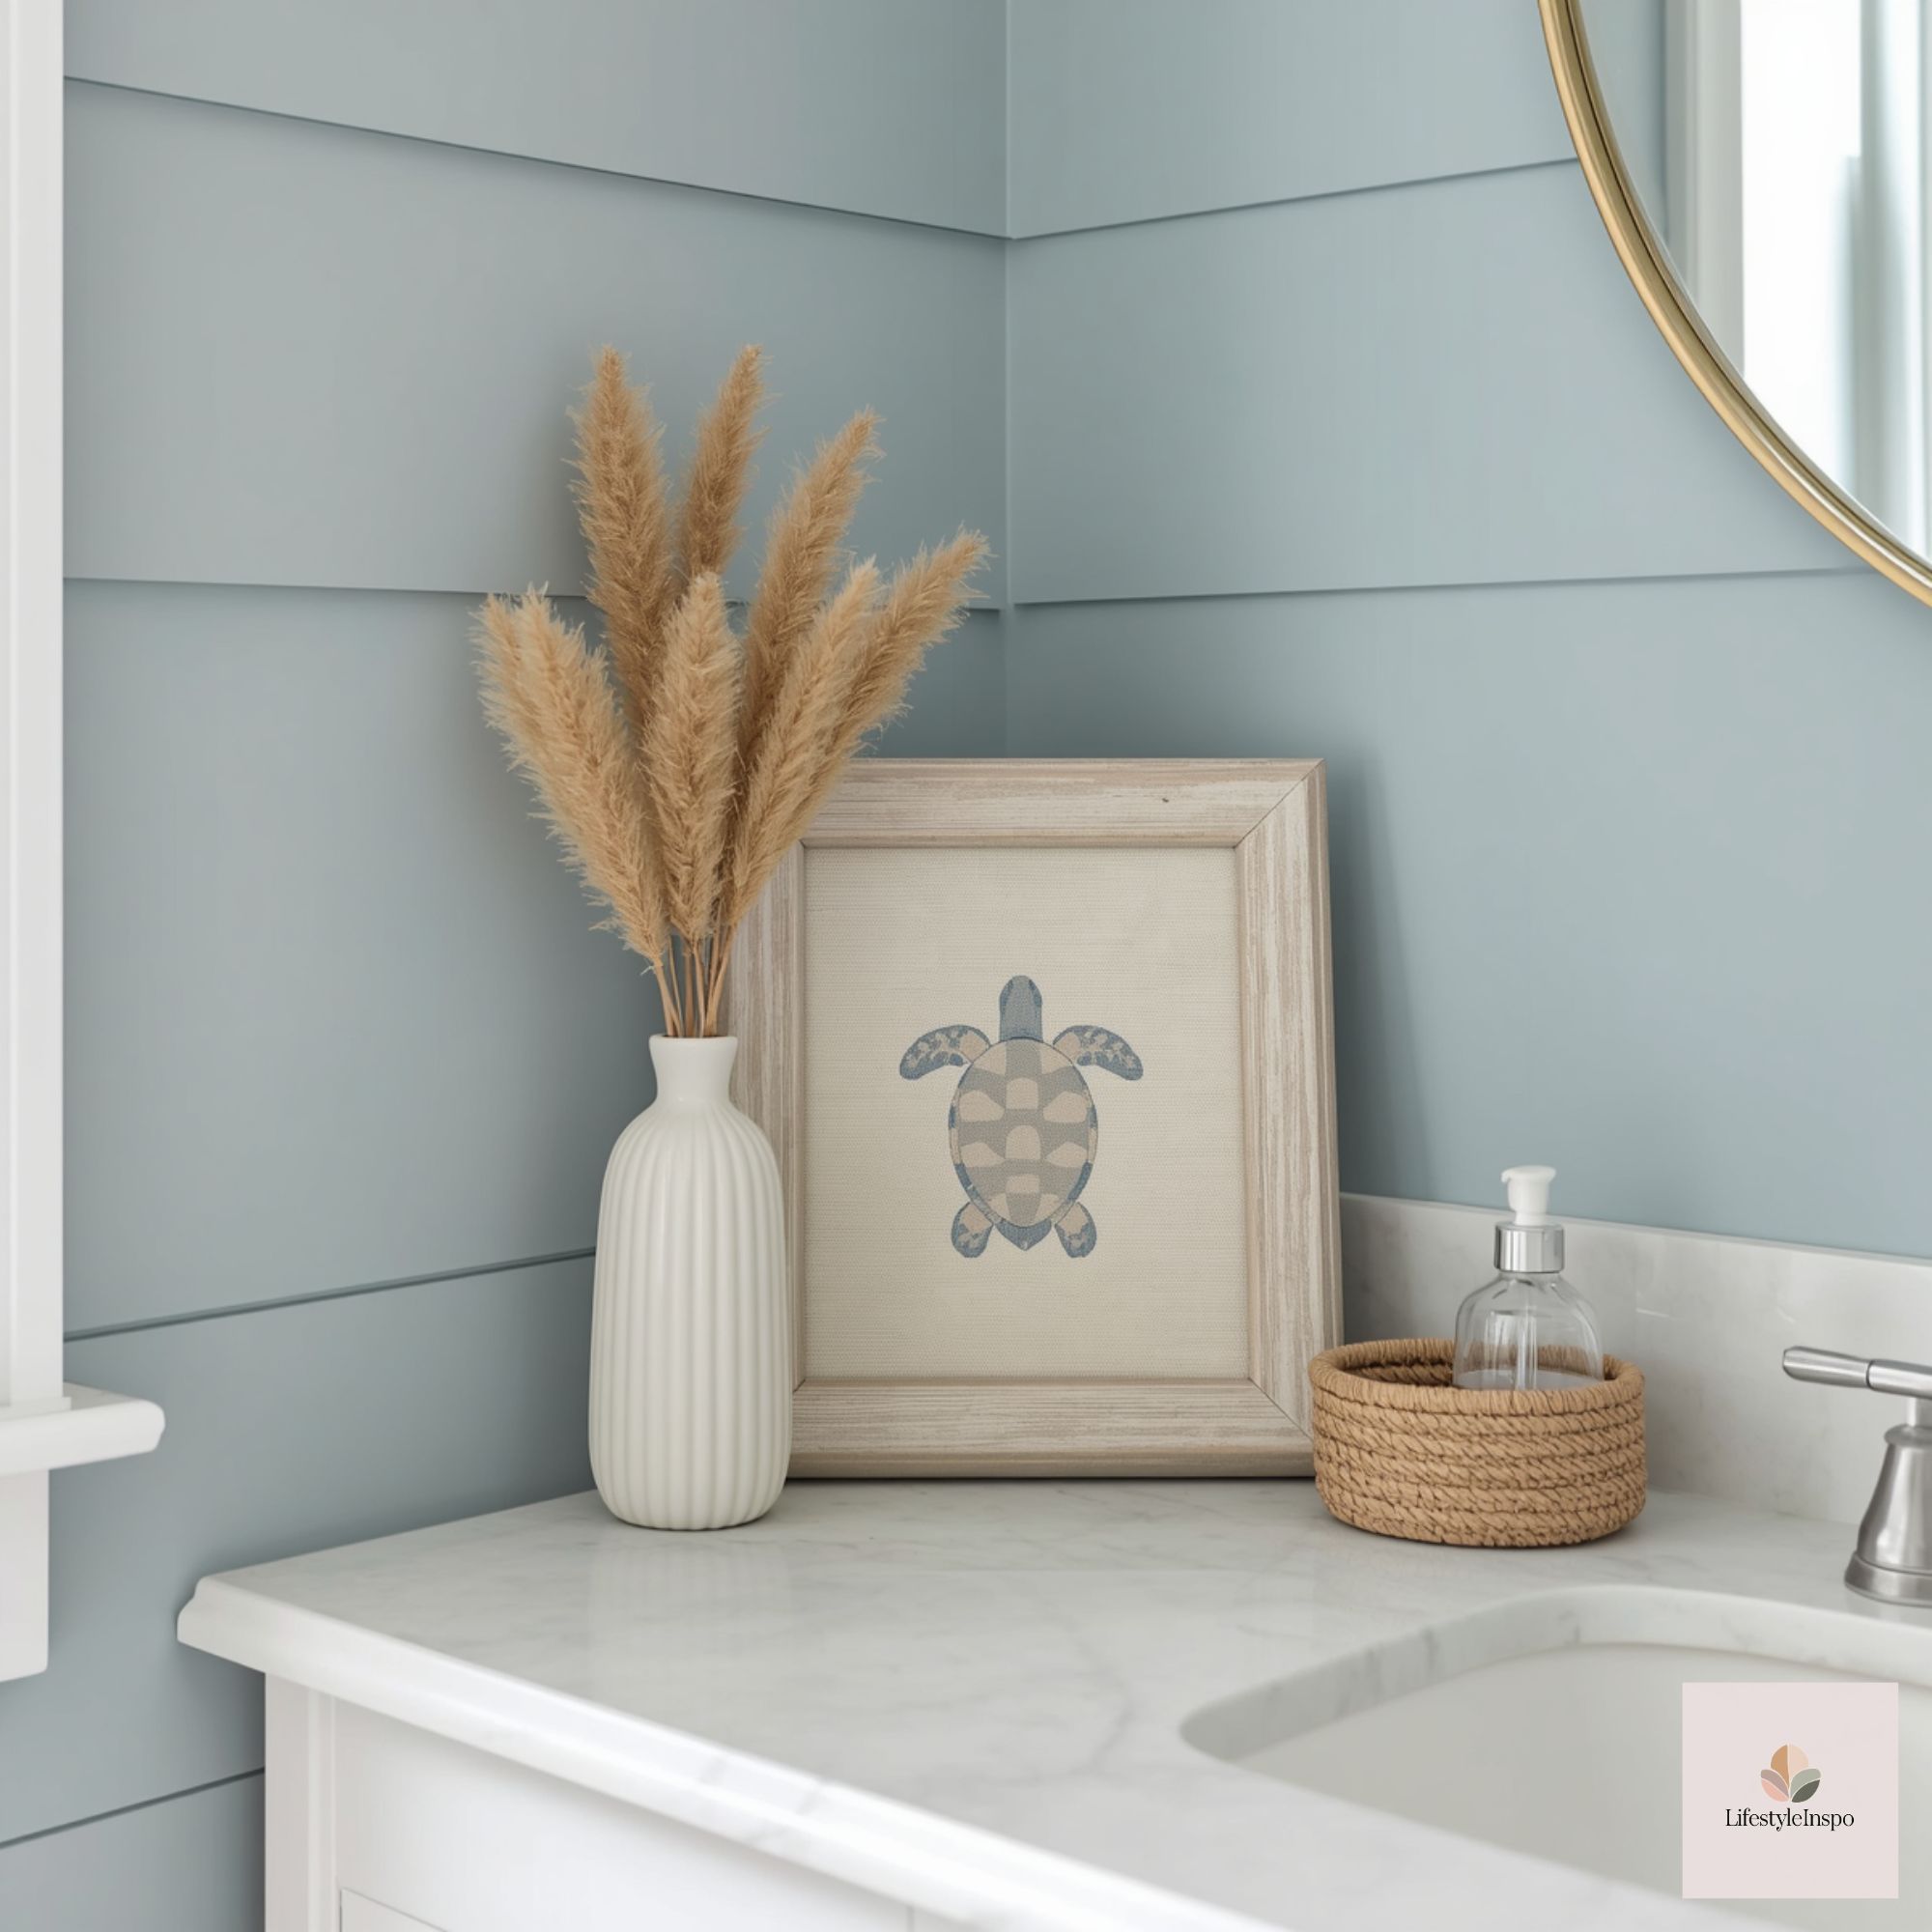
- Leaning on a shelf: If you have a floating shelf or a built-in ledge, an unframed or lightly framed print leaning against the wall feels collected and easily removable for occasional airing.
- Avoid over-the-tub or direct-shower walls: Even with framing, prolonged exposure to mist and heat can accelerate pigment fading and frame damage. Pick a spot that receives steam only sporadically.
Styling around the art
To make the turtle print feel curated rather than matchy-matchy:
- Keep the immediate vignette minimal: One small plant, a seashell, or a hand-thrown ceramic soap dish complements without competing.
- Add texture: A linen hand towel in a muted color echoes the coastal palette and reinforces the collected feel.
- Layer height: If the art is near a shelf, vary object heights so the eye moves naturally between print and objects.
- Use complementary metals: Brushed brass or aged nickel hardware pairs well with sandy tones and soft greens in the art.
- Keep scents subtle: A small reed diffuser or a bar of soap with a mild scent potentiates the mood without competing with the visuals.
Options for renters and budget-conscious decorators
- Non-permanent hanging: Use removable hooks or nails that won’t damage walls. Picture hanging strips can work if the frame isn’t too heavy, but check weight limits.
- Unframed lean: Simply mat and lean the piece on a shelf or ledge. This keeps everything portable and damage-free.
- DIY matboard: If a full professional mat is out of budget, buy pre-cut matboard or cut your own from a larger sheet; it elevates even a simple print.
- Swap seasonally: Keep the frame and swap the printable inside with other seasonal or travel-themed prints to refresh the bathroom without new frames.
Quick troubleshooting and maintenance
- If you notice condensation on the inside of the glazing, remove the art, allow it to air dry, and check the back sealing. Replace any foam or tape that looks warped.
- Dust frames weekly with a soft cloth; avoid spraying cleaners directly onto glazing.
- If the colors appear dull after time, consider moving the piece to a less humid location; guest bathrooms can be swapped with hallway nooks seasonally.
Mini projects to personalize the turtle print
- Add hand-lettered text: Write a small phrase or the turtle’s name in pencil and ink to make it feel like a found specimen in a naturalist’s journal.
- Subtle hand-stitched accents: Use a needle and subtle cotton thread to add texture to the turtle’s shell on thick paper. Keep stitches short and sparse to maintain a delicate look.
- Mixed-media border: Create a narrow collage border with found ephemera — bits of map, dried pressed grasses, or pale-gray tissue — glued to a mat before framing. Keep it very restrained so the turtle remains the focal point.
A note on sourcing and permissions
Printable turtle pages are a starting point: treat them as templates for your own creative work. Check the seller’s listing and terms for usage rights and any restrictions before reproducing or sharing modified copies publicly.
Final takeaway
A single, handmade turtle print can elevate a guest bathroom from purely functional to quietly considered. With mindful coloring, moisture-aware finishing, and strategic placement and framing, this one small piece reads like a collected memento — calm, coastal, and perfectly attuned to the low-key luxury many guests appreciate. Keep the arrangement small, breathable, and easy to update, and you’ll have a guest bathroom detail that feels personal without being fussy.
About the Author