Pumpkin Carving Tips + the Best Roasted Pumpkin Seeds Recipe
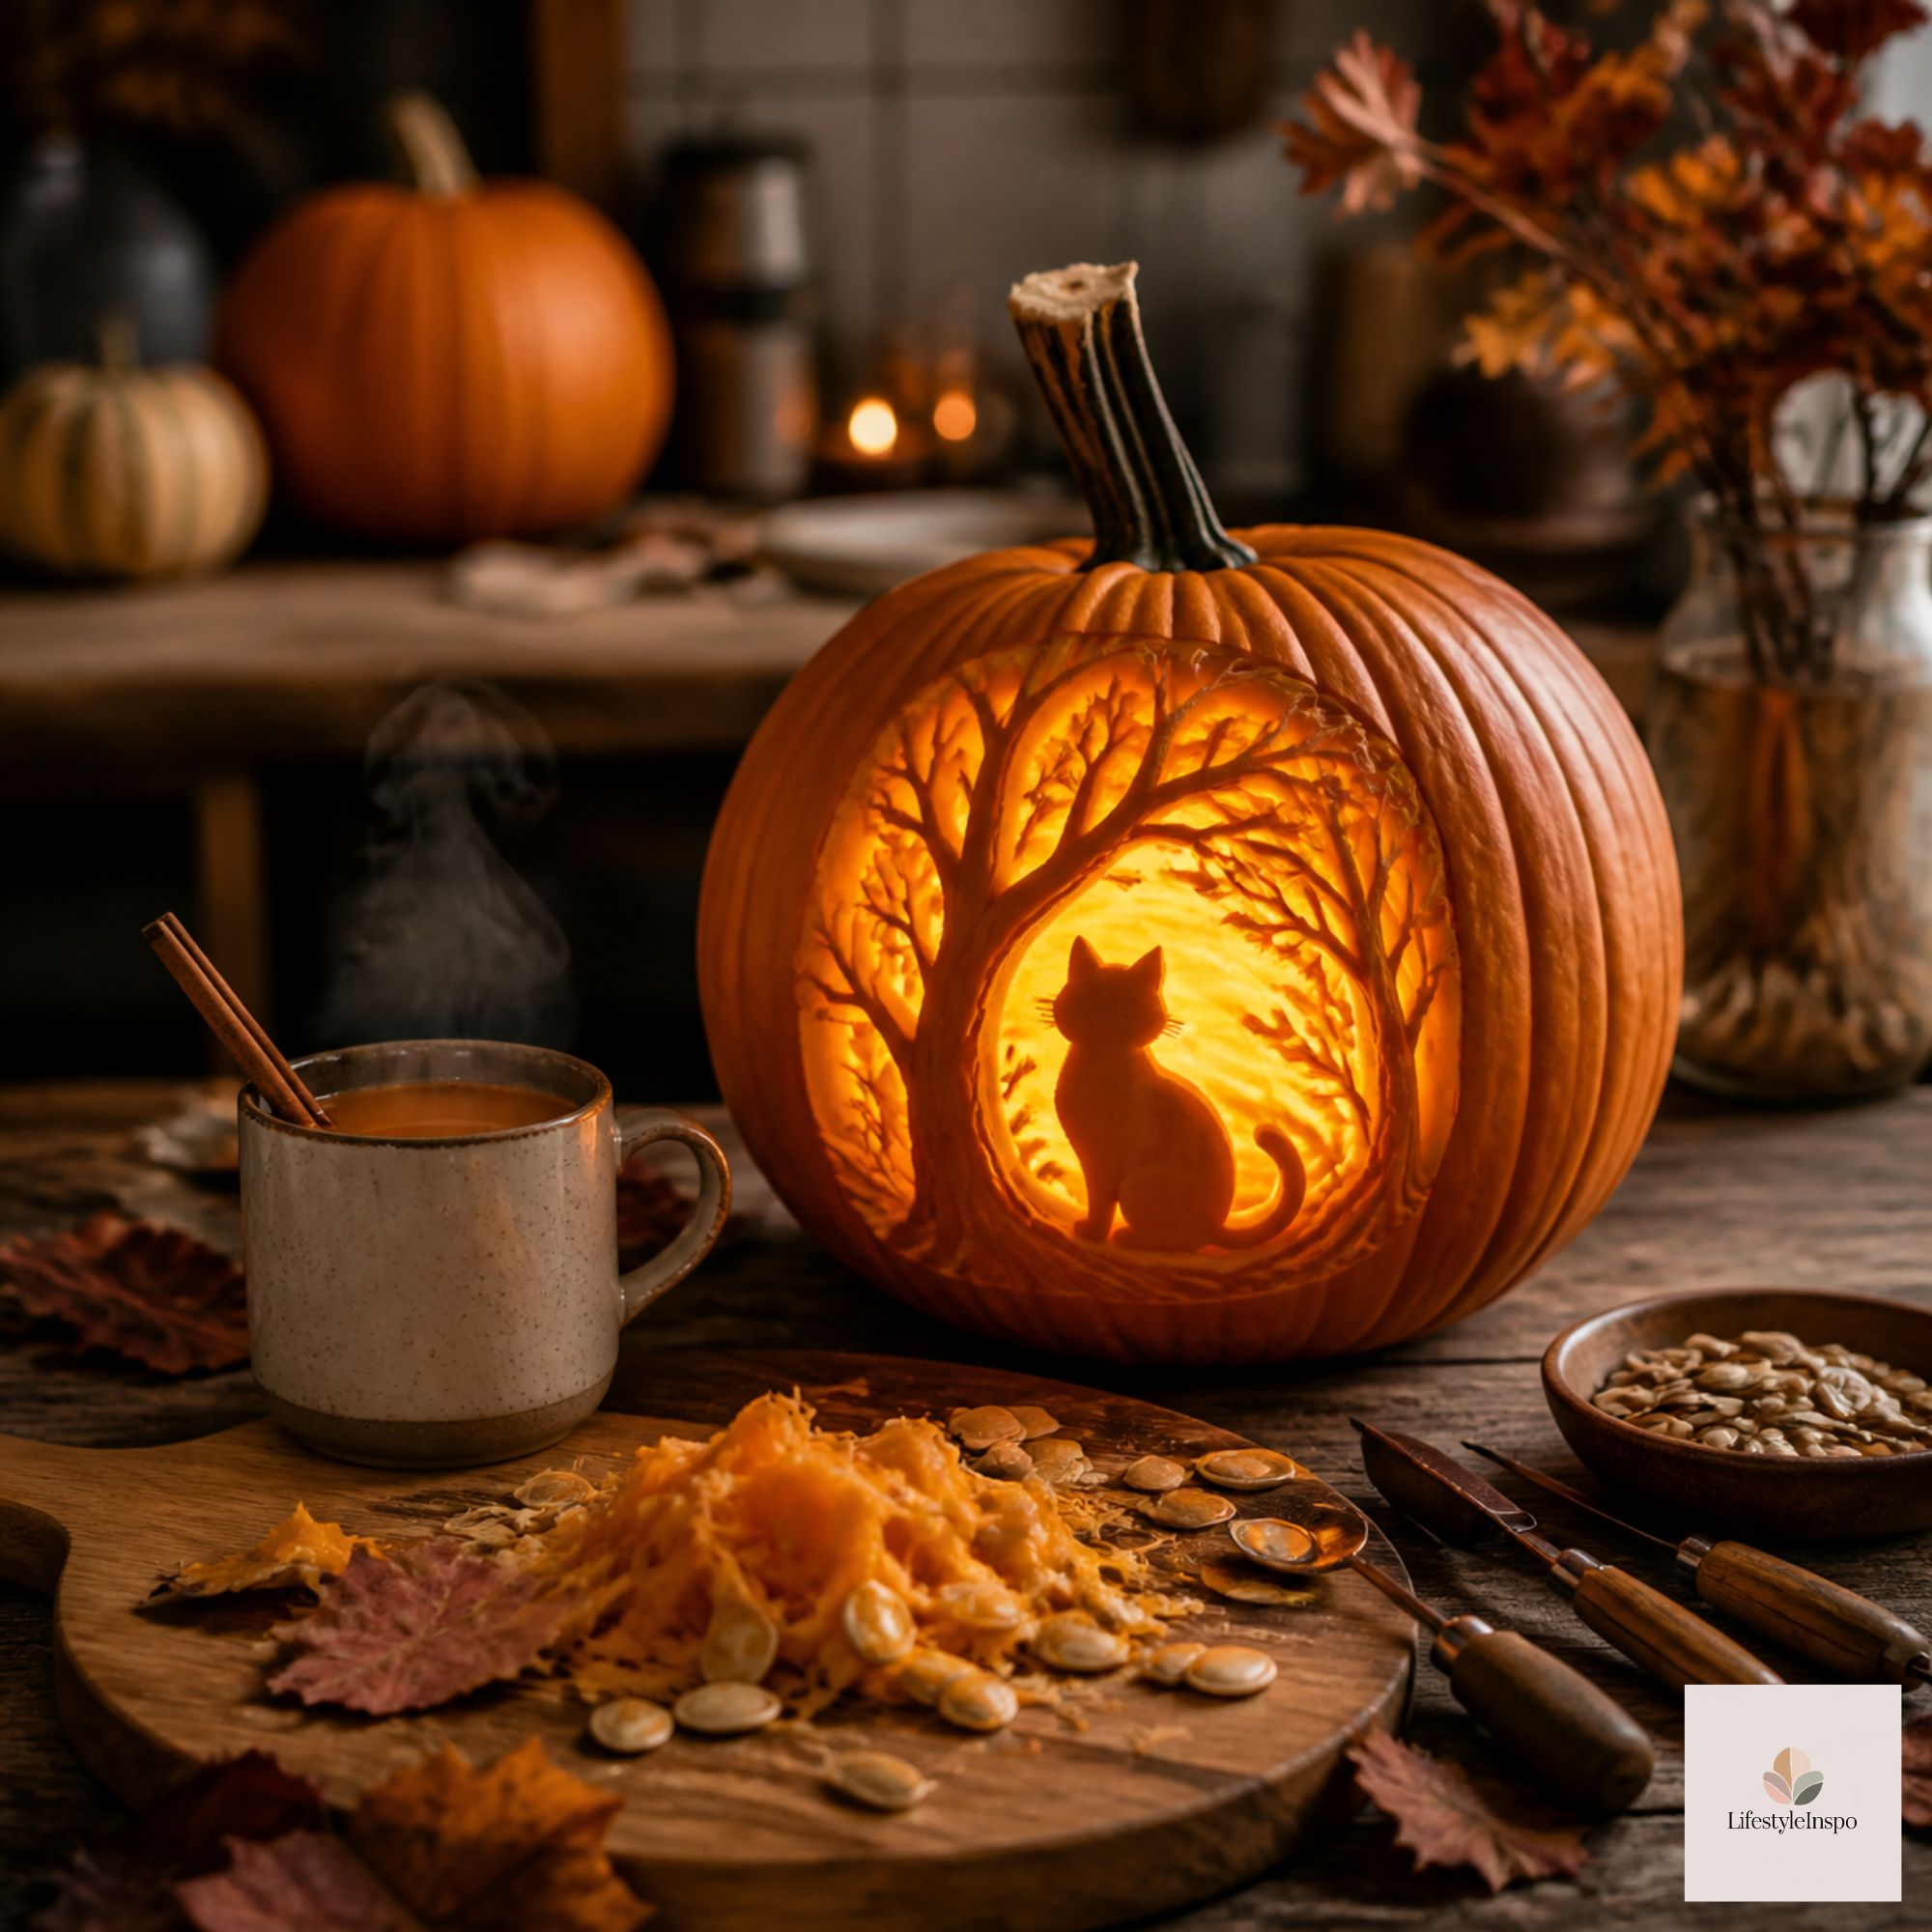
There’s a reason pumpkin carving is a Halloween tradition that never gets old. It’s equal parts art project, sensory experience (hello, pumpkin guts), and excuse to put on a movie and call it a night in.
But here’s the part most people skip: the seeds. Those slippery little things in the middle of your pumpkin are a crunchy, salty, snackable bonus, and they’re ridiculously easy to make. So this year, let’s carve the pumpkin and eat it too.
In this post, I’ll walk you through how to carve a pumpkin without the frustration, how to make it last longer, and four flavors of roasted pumpkin seeds that’ll have you saving every single seed from now on.
Why Your Tools Matter More Than You Think
If you’ve ever tried to carve a pumpkin with a kitchen knife, you know the struggle: a slipping blade, a cracked pumpkin, and a very sore hand. A proper pumpkin carving kit changes everything.
Most kits include:
- A small serrated saw for cutting clean lines without wrestling the pumpkin
- A scoop for cleaning out the inside quickly
- Poking tools and stencils so you can transfer a design with no drawing skills
- Smaller detail tools for etching and shading
The serrated saws are designed to be safer than kitchen knives because they’re short and handle the thick pumpkin wall with a gentle sawing motion instead of force. Whether you’re carving with kids (with supervision) or going for a more complicated design, the right tools save time and stress.
How to Carve a Pumpkin: Step by Step
What You’ll Need
- 1 large carving pumpkin
- Pumpkin carving kit
- A large bowl for the seeds
- Newspaper or a plastic tablecloth for your work surface
- Marker or dry-erase pen
- Tea light or a flameless LED candle
Step 1: Choose the Right Pumpkin
Look for a pumpkin with a flat bottom so it sits upright, a sturdy green stem, and no soft spots or bruises. Lift it up, and if it feels heavy for its size, it’s usually fresh. Avoid carrying it by the stem, which can snap off.
Step 2: Cut the Lid
Using your small saw, cut a circle around the stem at a slight angle, tilted inward. This keeps the lid from falling inside. Alternatively, cut a hole in the bottom of the pumpkin instead. The pumpkin then sits right over a candle and the lid never goes missing.
Step 3: Scoop It Out
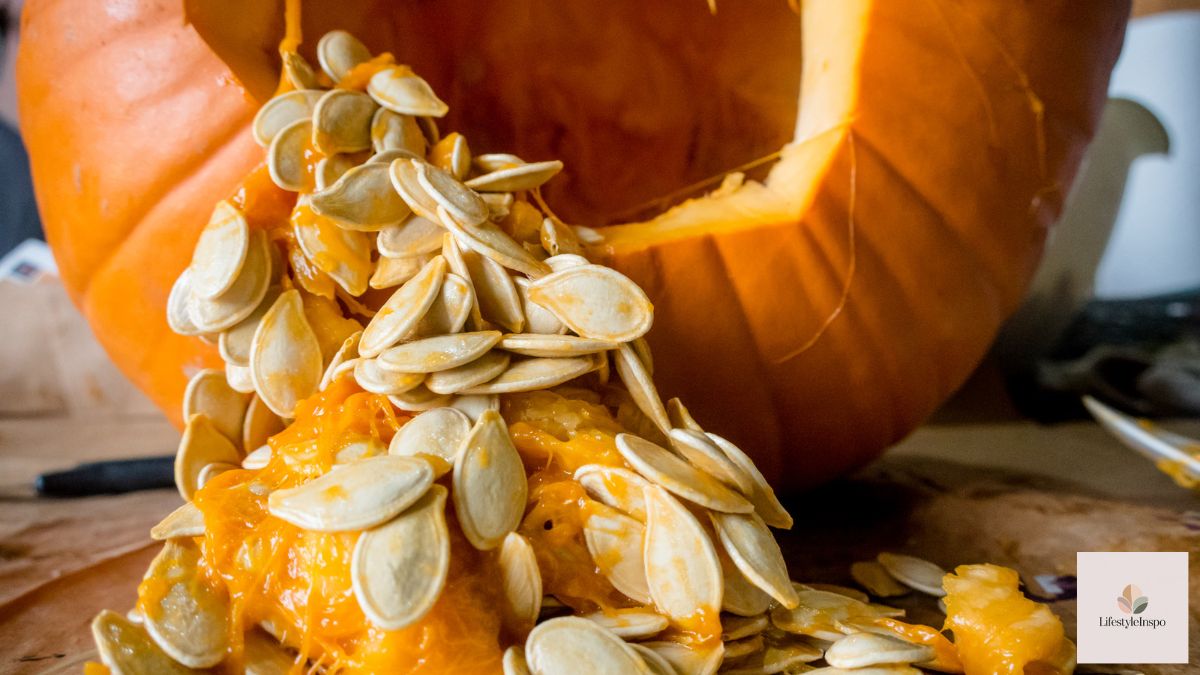
Use the scoop to scrape out the seeds and stringy pulp, dropping everything into your big bowl. Scrape the inside wall until it’s about 1 inch thick, especially in the area you’ll be carving. Thinner walls are easier to cut.
Step 4: Transfer Your Design
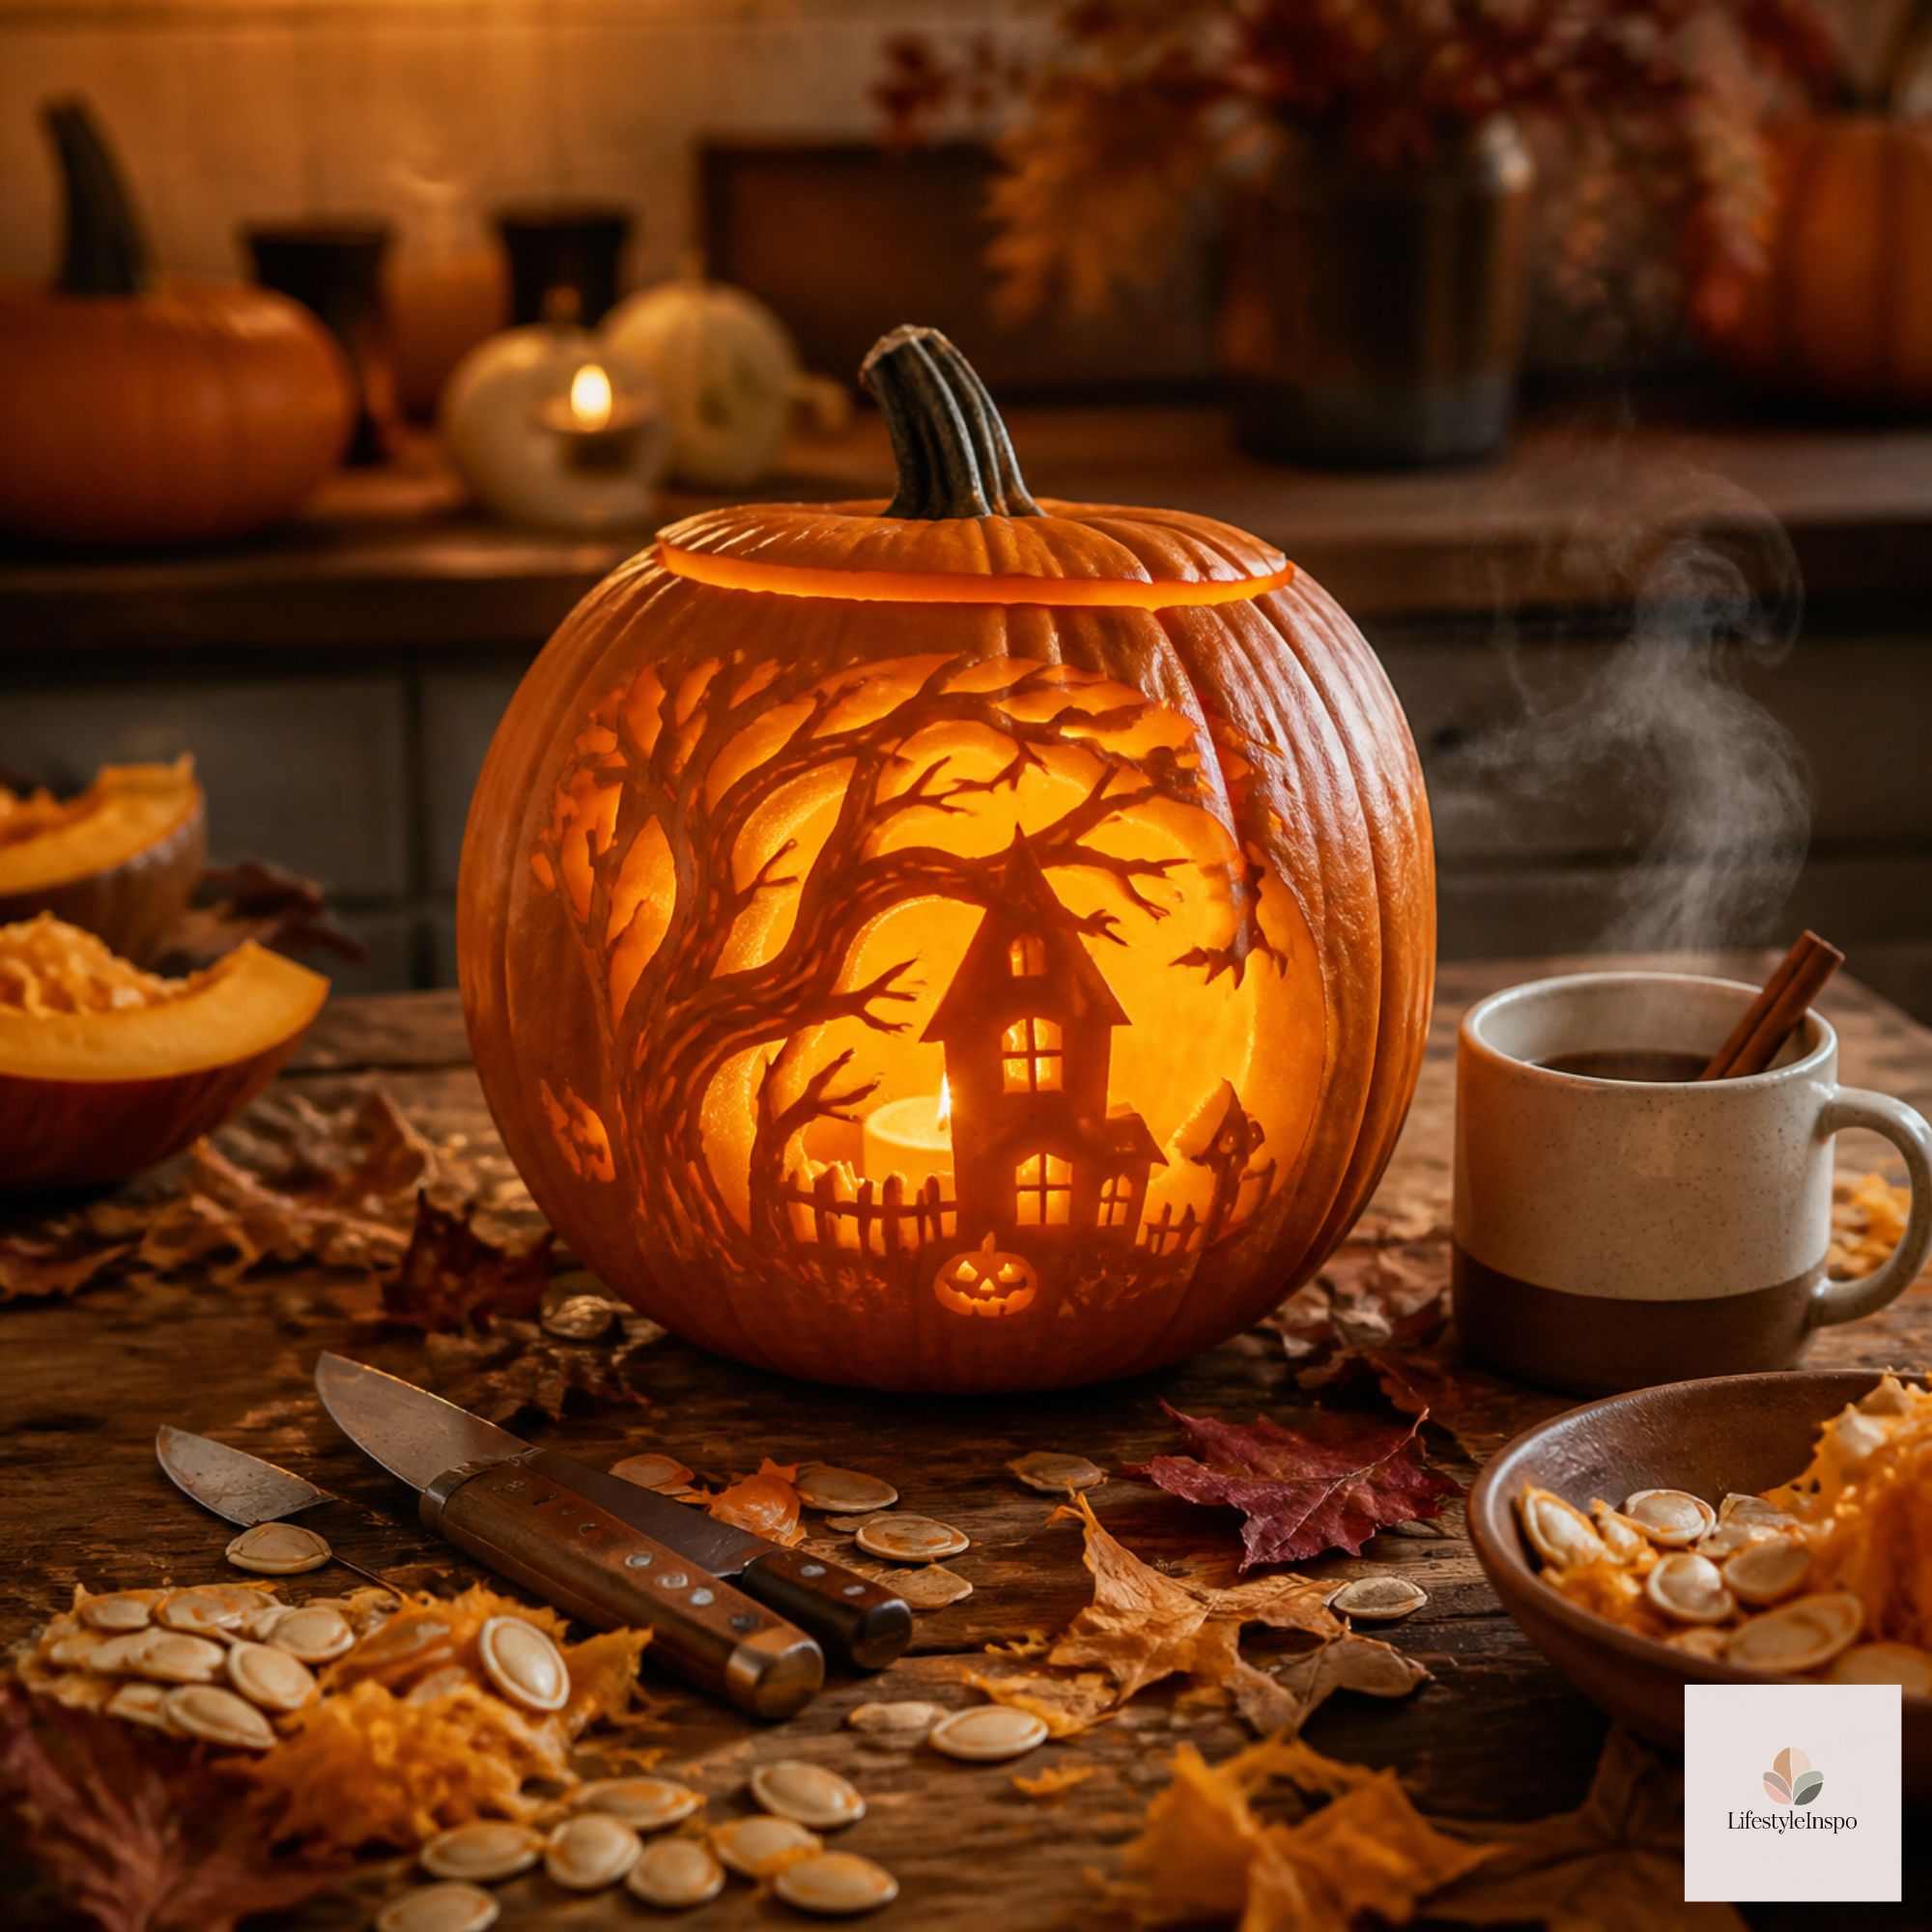
Tape a stencil to the pumpkin and use the poking tool to punch tiny holes along the lines. Remove the stencil and you’ll see a dotted outline. If you’re going freehand, sketch your design with a marker first. It’s much easier to erase a marker than to fix a cut.
Step 5: Carve
Start with the smallest details and work to the larger ones. Hold the saw like a pencil and use short, steady strokes. Let the tool do the work and avoid pushing hard. Push cut-out pieces out gently from the inside.
Step 6: Add Light
Drop in a tea light or LED candle, put the lid back on, and turn off the lights. This is the best part.
Easy Carving Design Ideas
You don’t need to be an artist. These ideas are beginner-friendly:
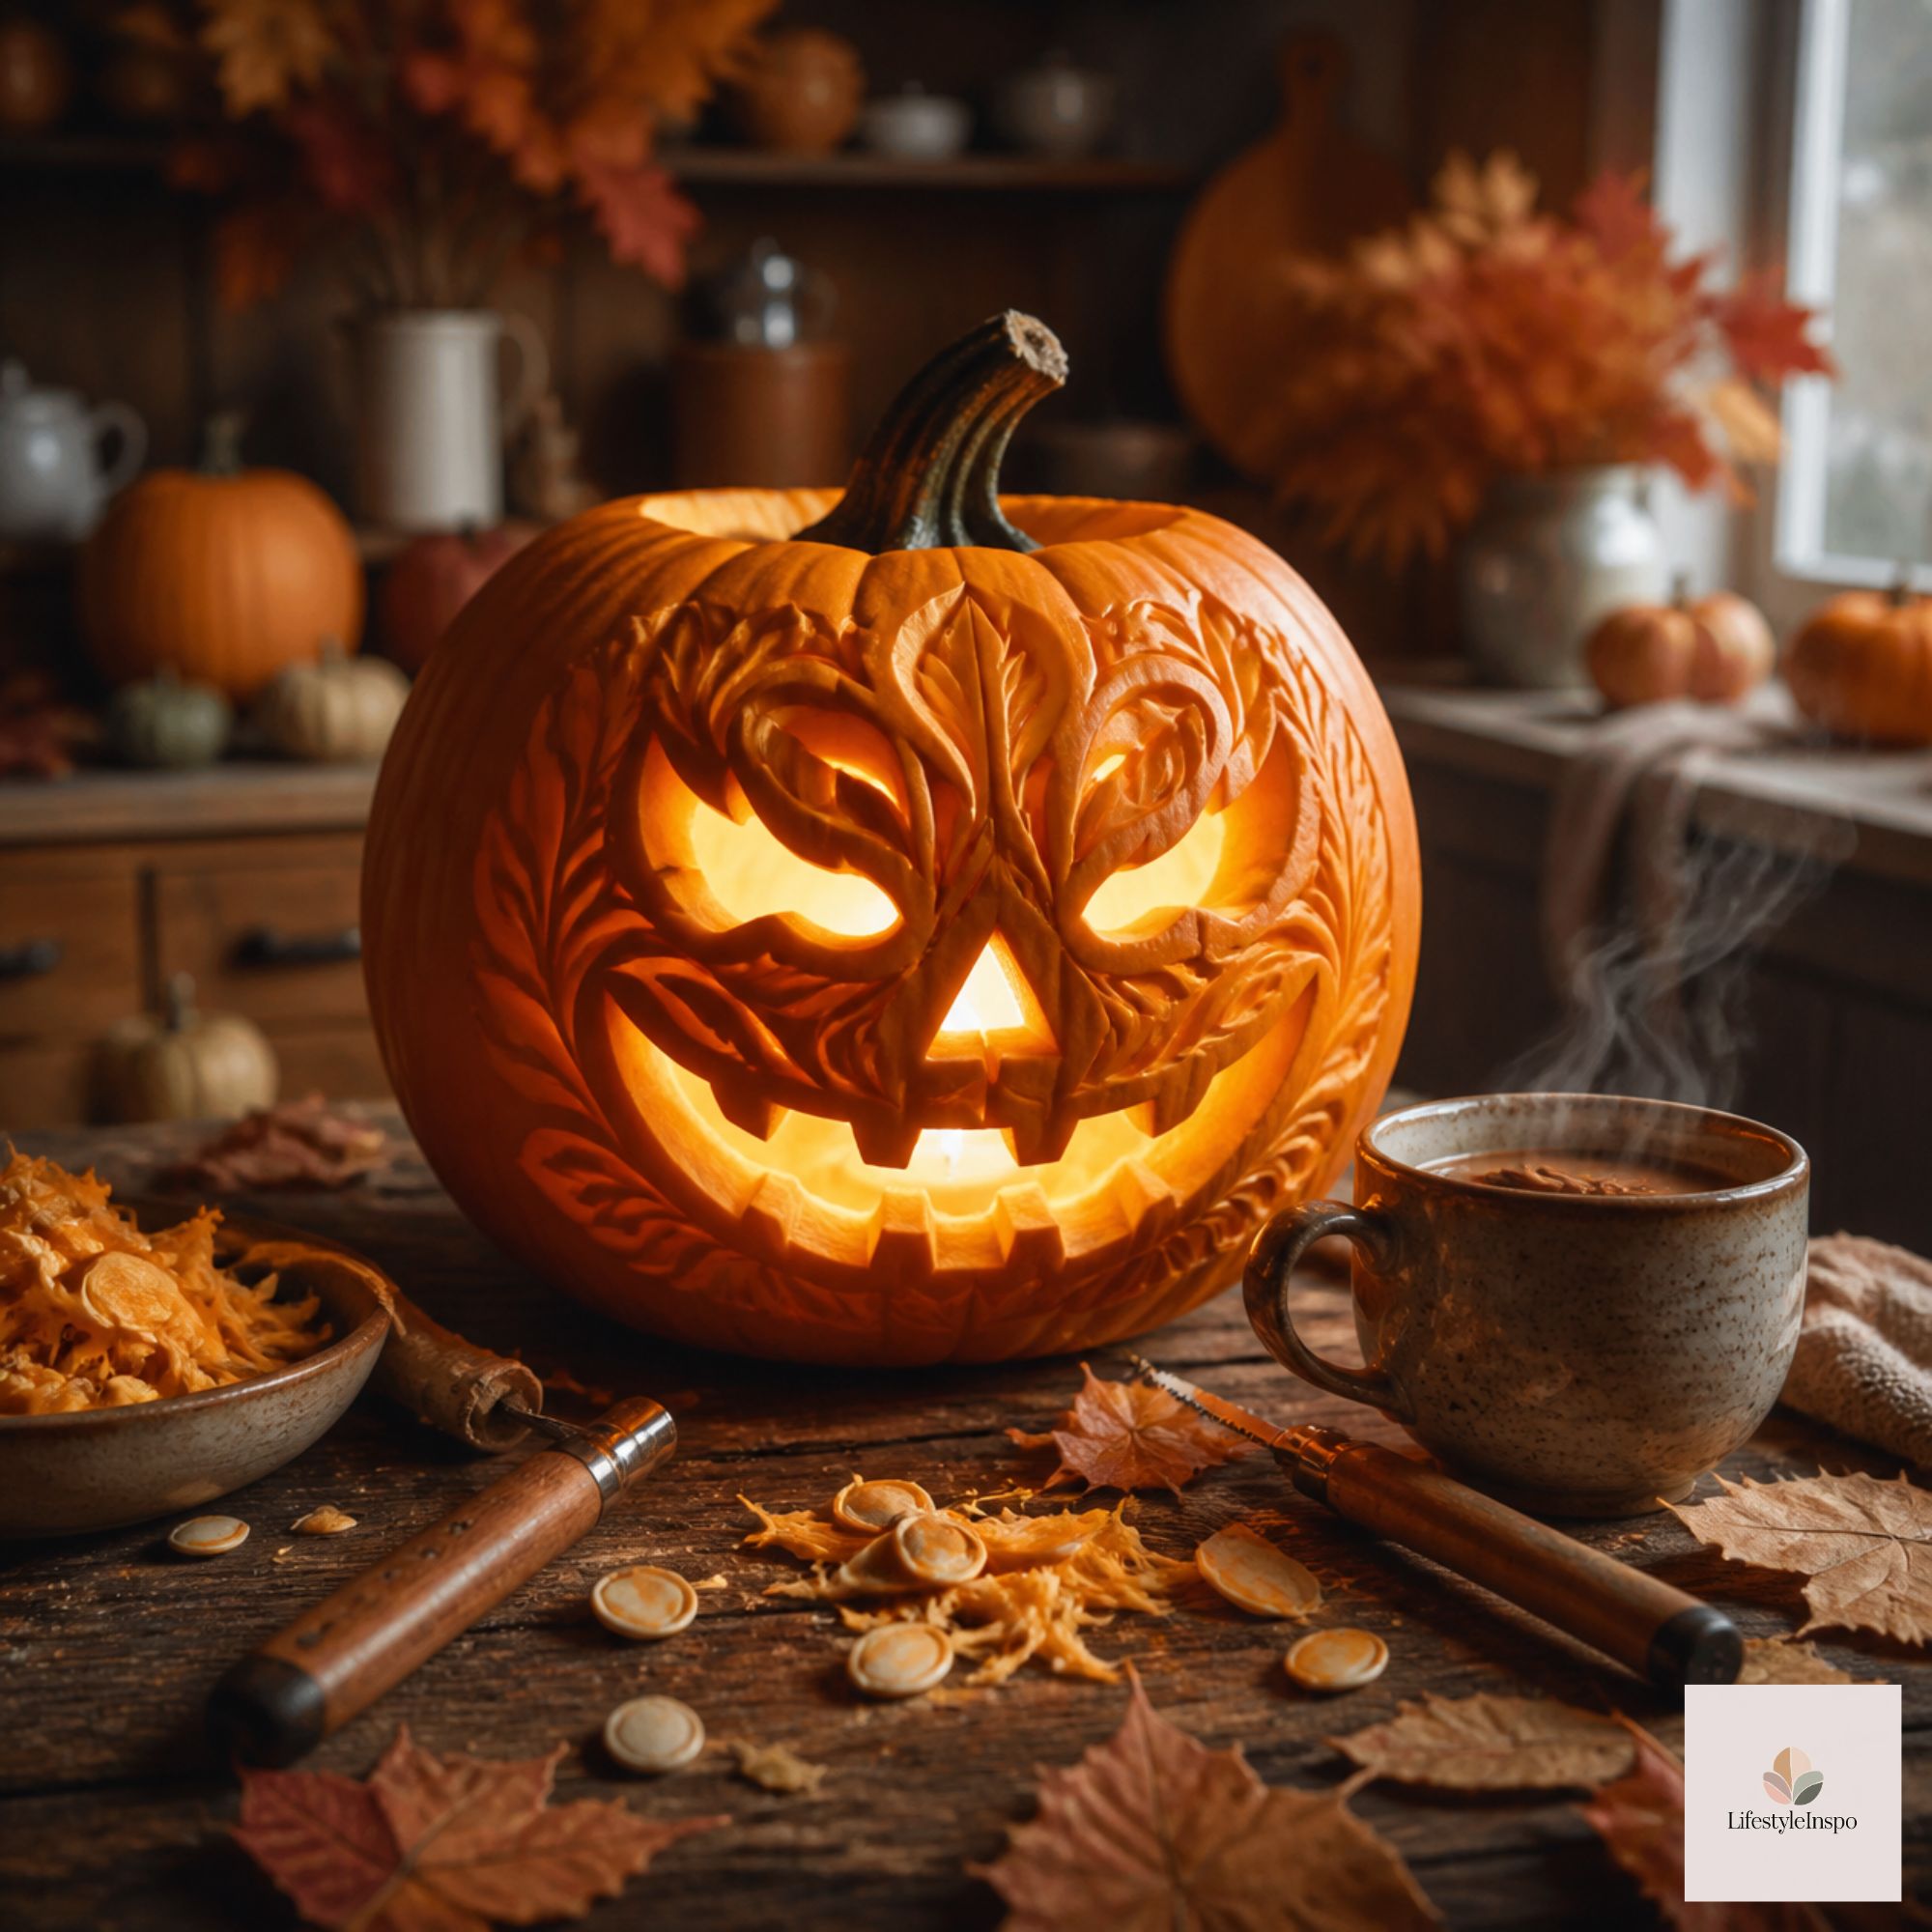
- Classic jack-o’-lantern. Triangle eyes, triangle nose, jagged smile. Never fails.
- Polka dot pumpkin. Use a drill or a poking tool to make holes in a pattern. No cutting required.
- Cute ghost. Two round eyes and an “o” mouth, carved as a simple silhouette.
- Moon and stars. Carve a crescent moon and scatter small stars for a dreamy night-sky effect.
- Monogram pumpkin. Carve a big letter for your family name and put it by the front door.

How to Make Your Carved Pumpkin Last Longer
Nothing is sadder than a collapsed jack-o’-lantern by October 30. A few tricks help:
- Carve close to Halloween. A carved pumpkin lasts roughly 3-5 days in warm weather.
- Rub petroleum jelly on the cut edges. It seals in moisture and slows shriveling.
- Soak it. After carving, submerge the pumpkin in cold water with a splash of bleach (about 1 teaspoon per gallon) for an hour, then dry thoroughly. This slows mold. Keep it away from kids and pets.
- Use LED candles. Real flames cook the inside and speed up rotting.
- Keep it cool. Out of direct sun and, if possible, in a shaded spot.
Don’t Throw Out the Seeds! Roasted Pumpkin Seeds
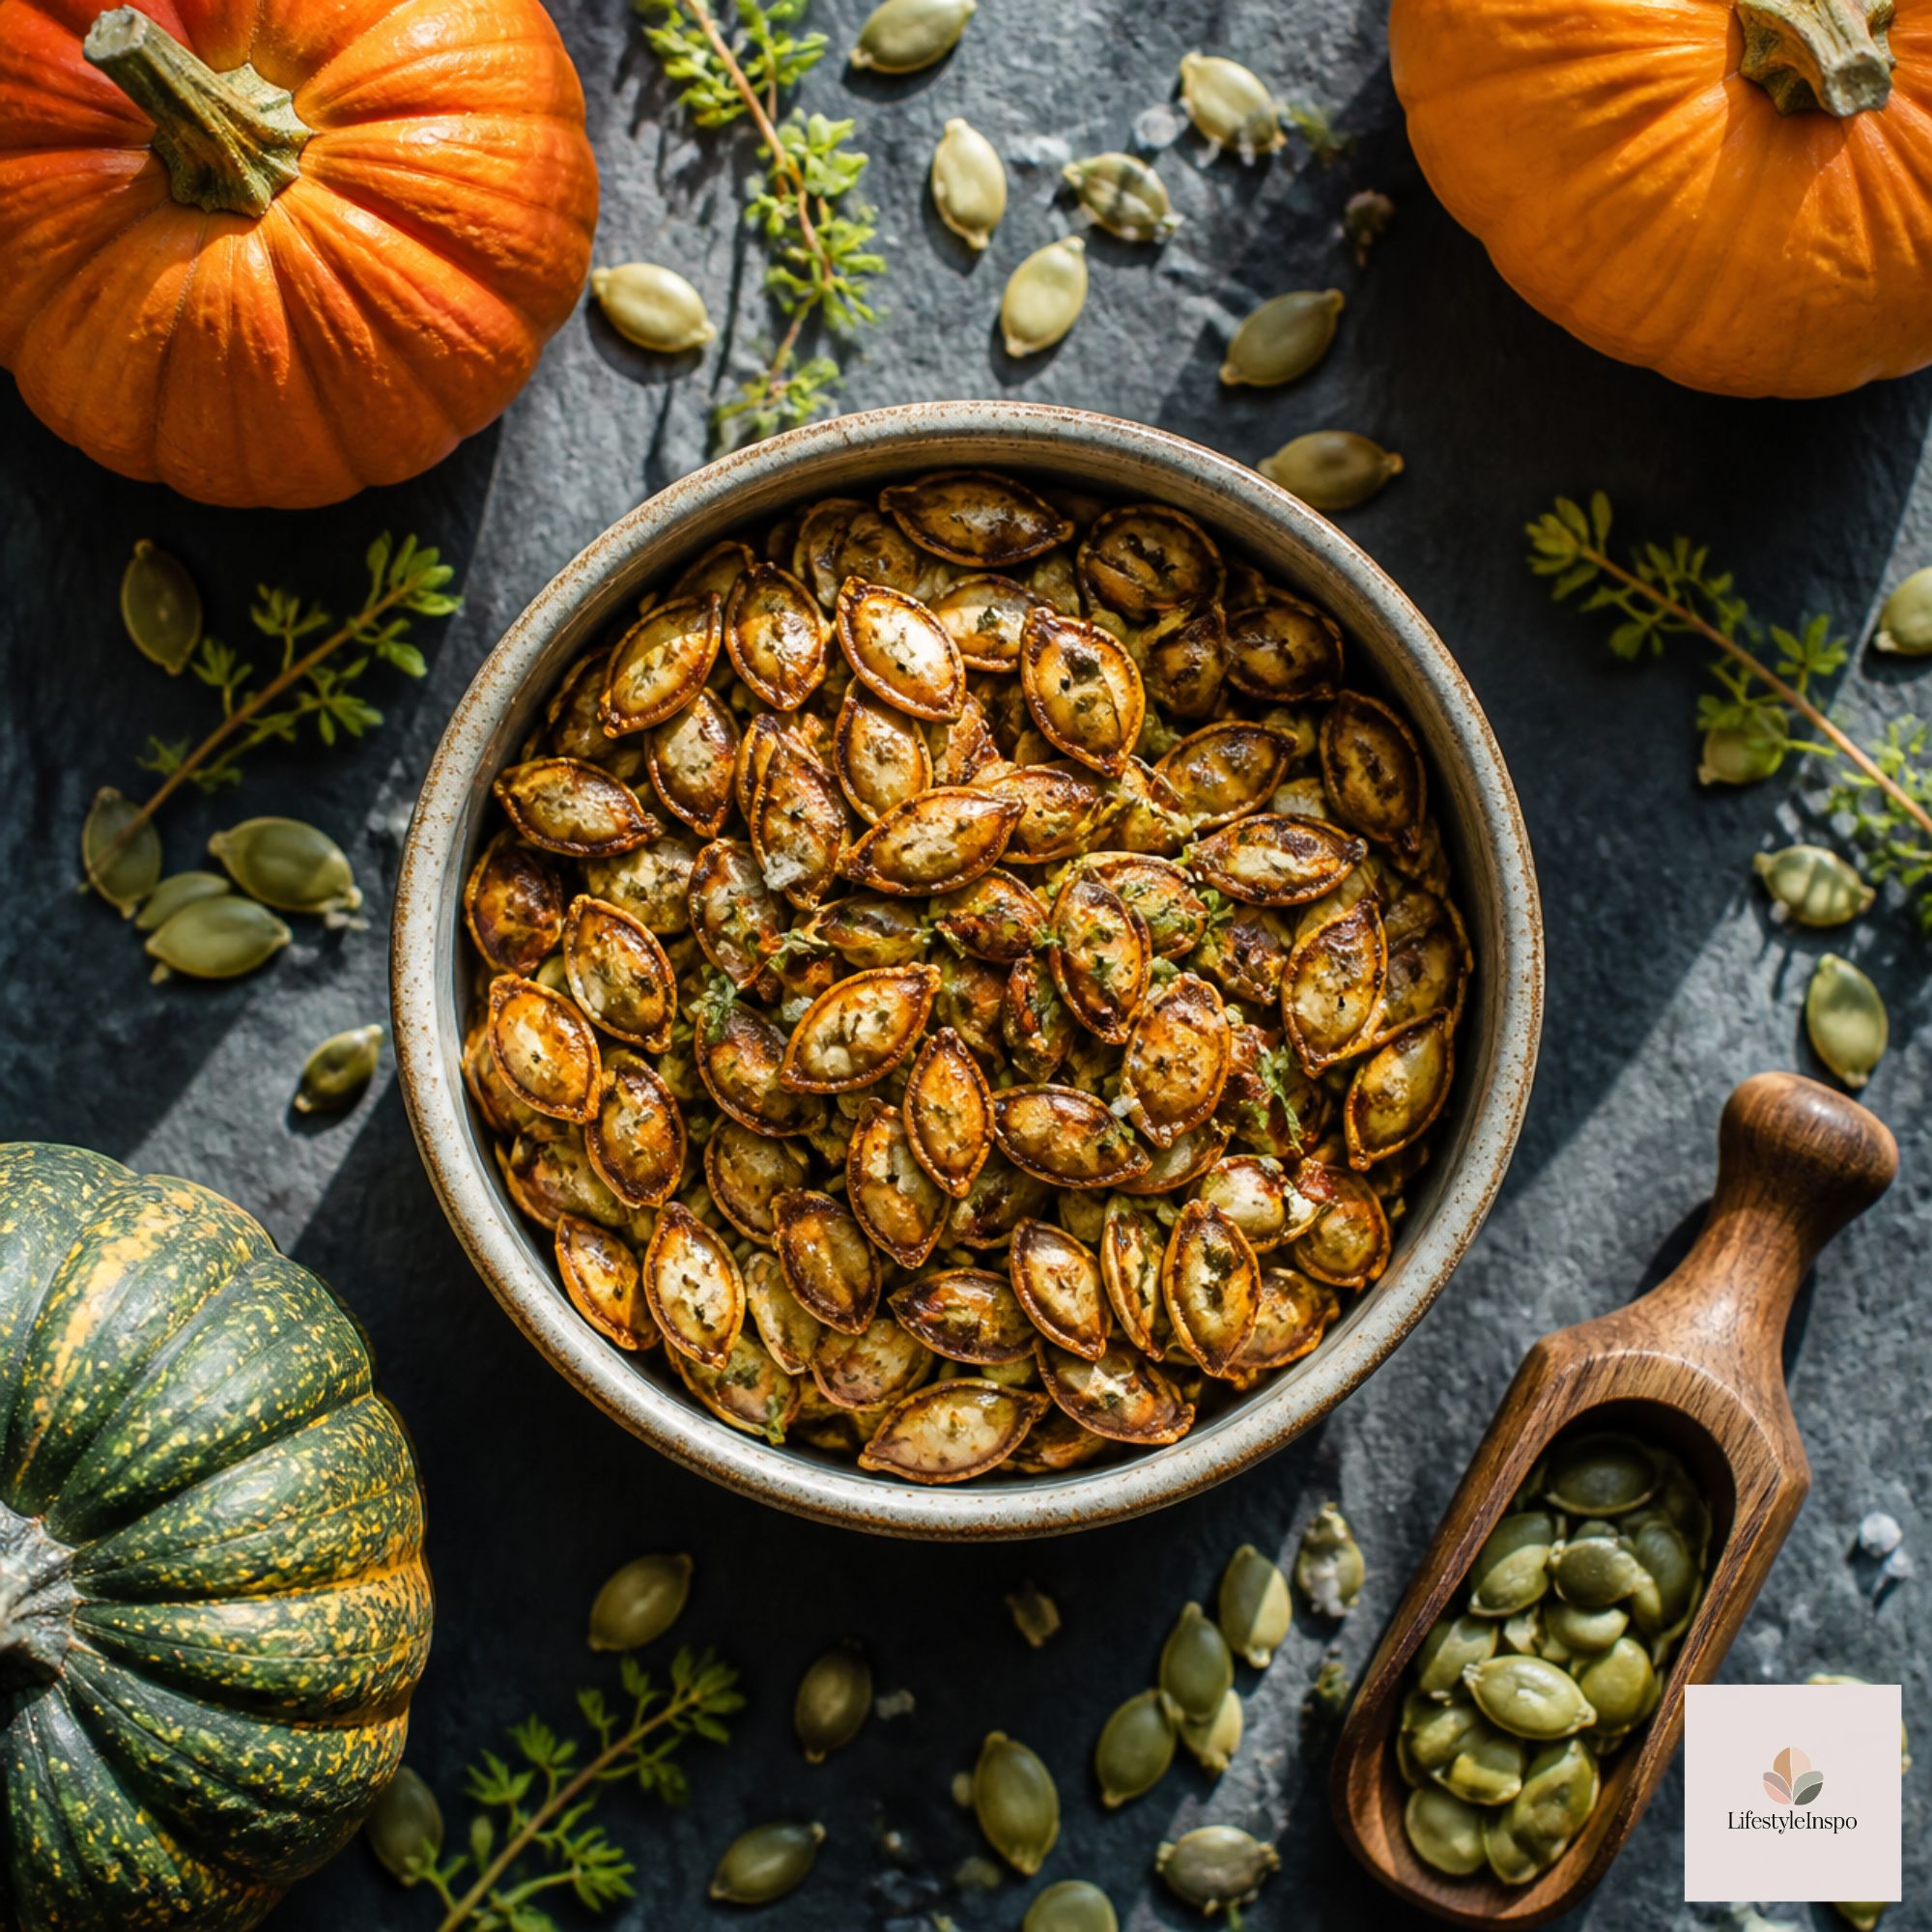
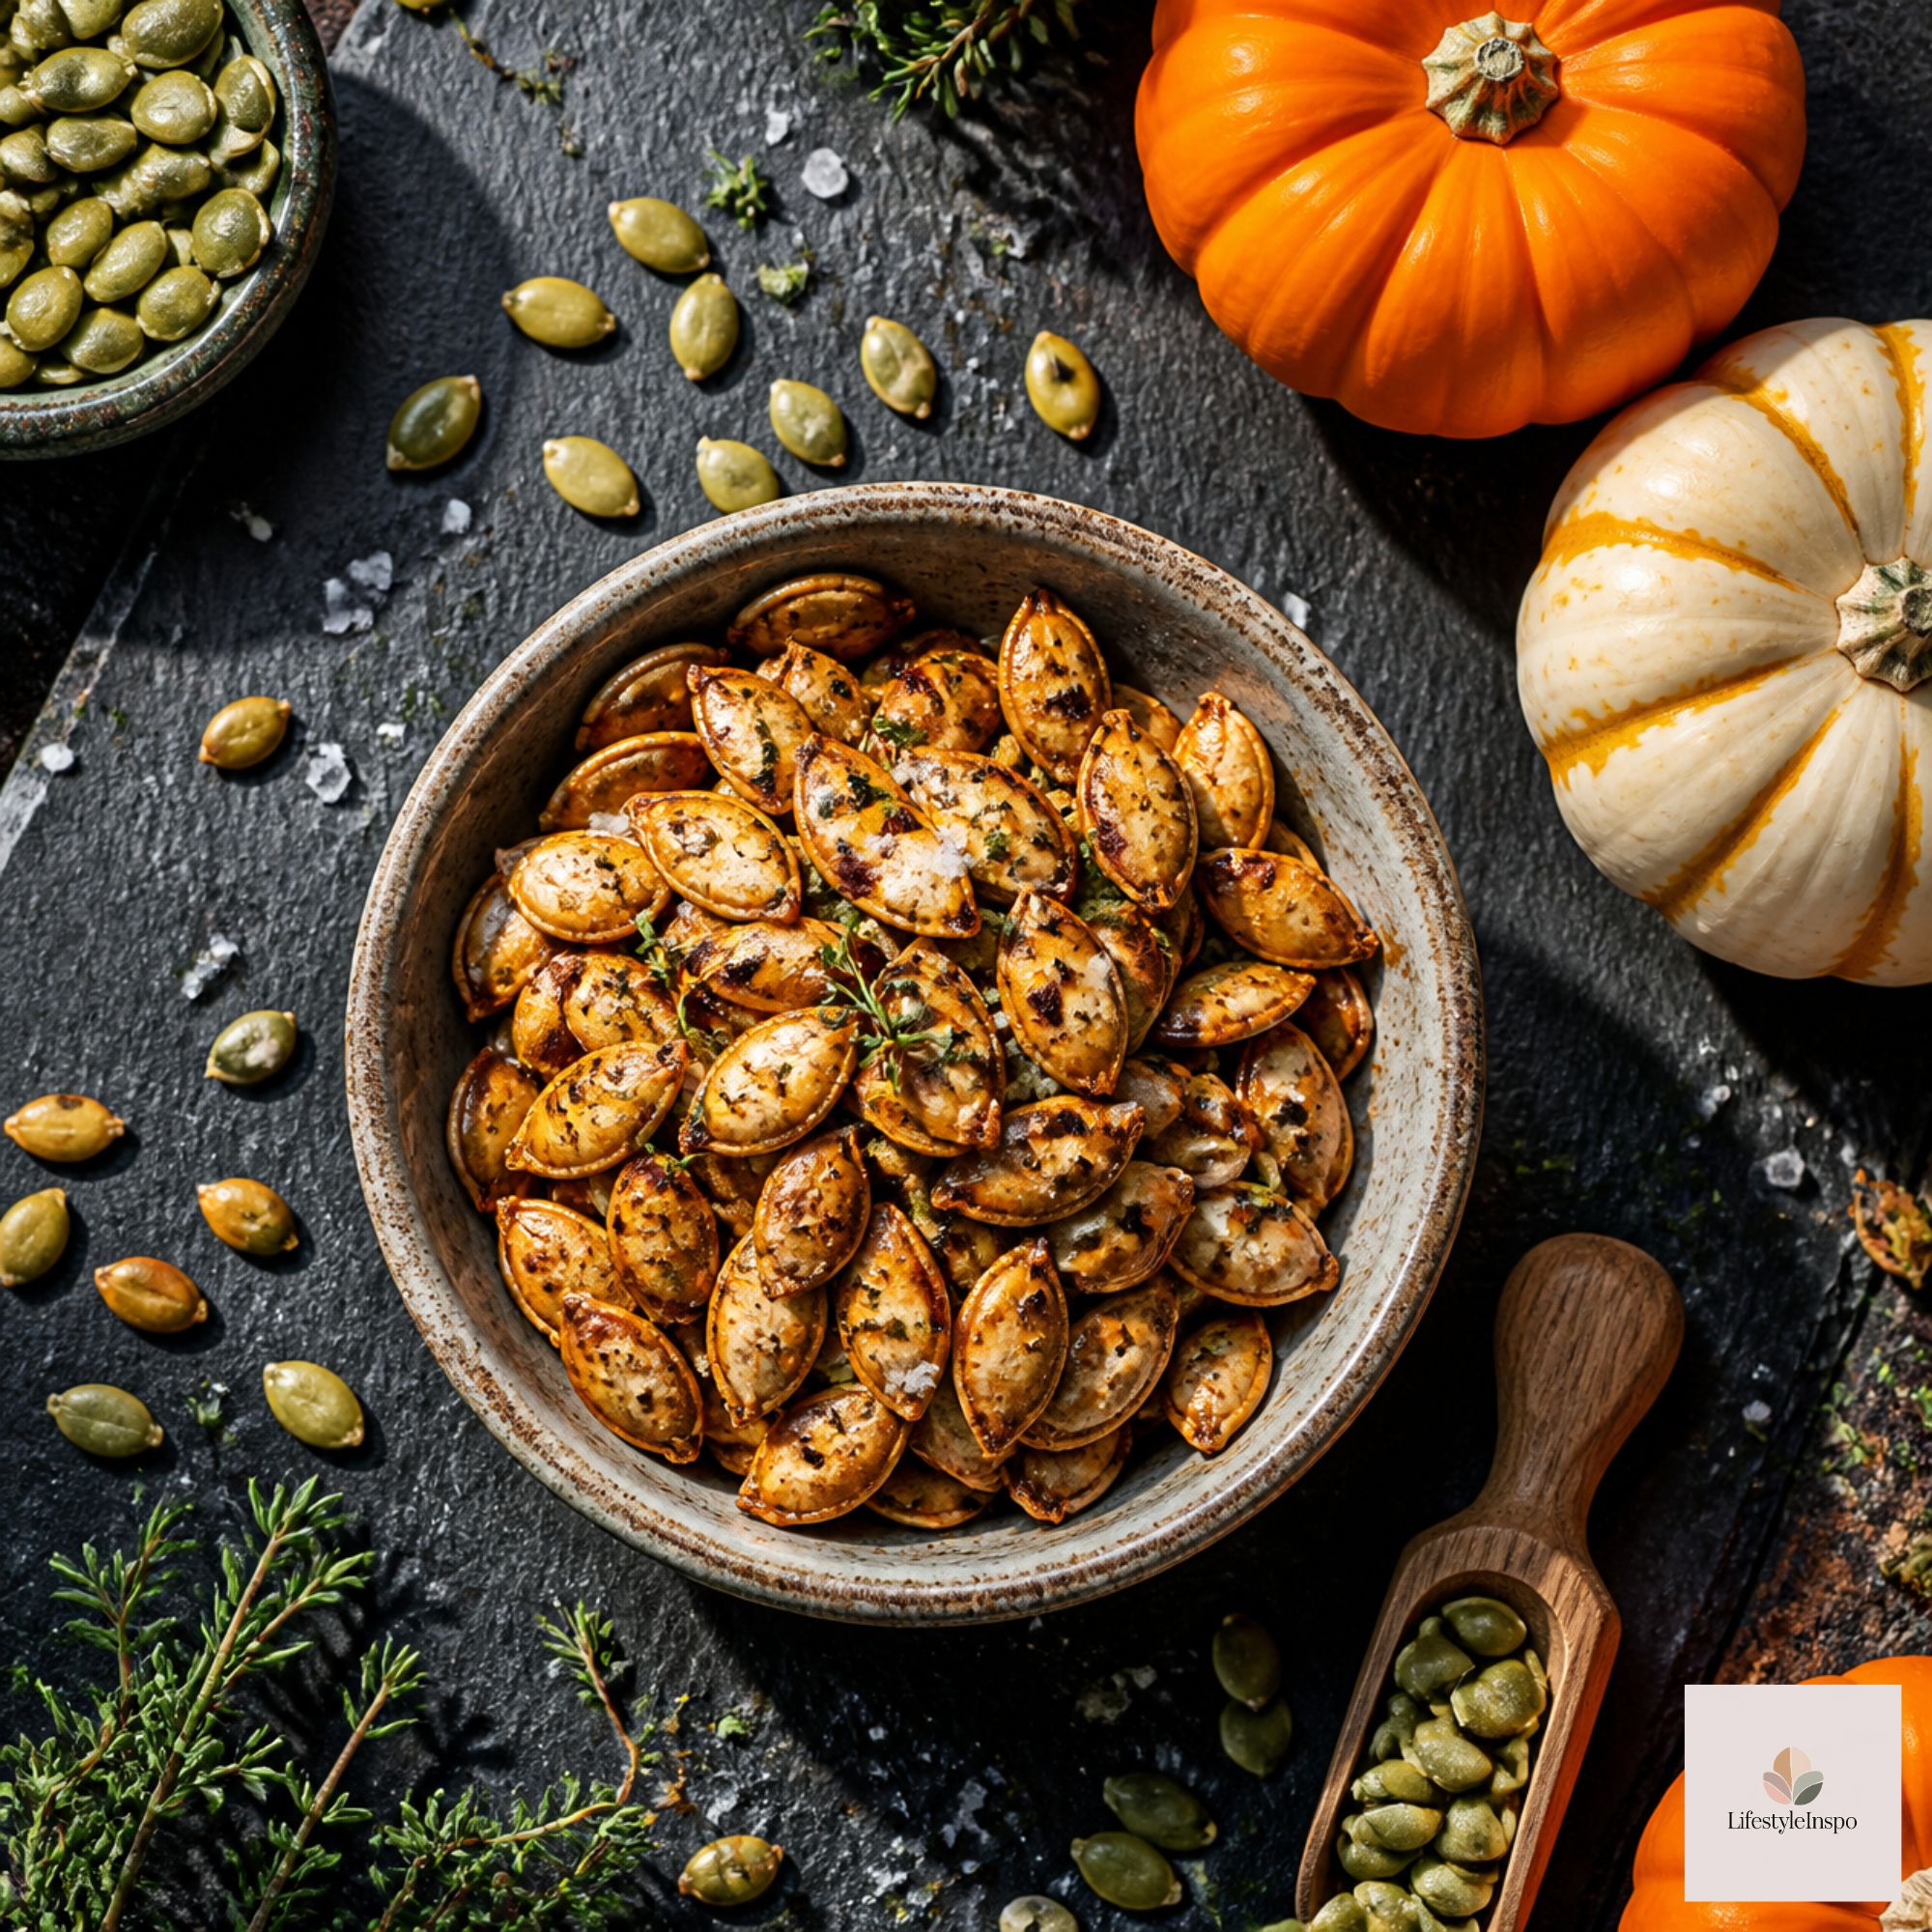
Now for my favorite part. Roasted pumpkin seeds (also called pepitas) are crispy, nutty, and full of fiber and healthy fats. One pumpkin gives you about 1 to 1½ cups of seeds, enough for a great snack.
Yield: About 1 cup Prep time: 15 minutes Bake time: 25-30 minutes
Ingredients
- 1 to 1½ cups raw pumpkin seeds from a carved pumpkin
- 1 tablespoon olive oil or melted butter
- ½ teaspoon salt
- Seasoning of your choice (see variations below)
Instructions
- Separate the seeds. Place the pulp and seeds in a large bowl of water. The seeds will float, and you can skim them off and discard the stringy bits.
- Rinse and dry. Rinse the seeds in a colander, then spread them on a clean kitchen towel and pat dry. Let them sit for 30 minutes if you have time. Dry seeds get much crispier.
- Preheat the oven to 325°F.
- Season. Toss the seeds in a bowl with the oil, salt, and your chosen seasoning until evenly coated.
- Roast. Spread in a single layer on a parchment-lined baking sheet. Bake for 25-30 minutes, stirring every 10 minutes, until golden and crisp.
- Cool. Let them cool on the pan. They’ll continue to crisp as they cool.
Tip: Don’t overcrowd the pan. Seeds steam instead of roast if they’re piled up.
4 Roasted Pumpkin Seed Flavors
Once you have the base method, the flavor options are endless. Here are four of my favorites. Each uses 1 cup of seeds.
1. Classic Salted
Just oil and ½ teaspoon salt. Simple, crunchy, perfect.
2. Cinnamon Sugar
Toss with 1 tablespoon melted butter instead of oil, then add 1 tablespoon sugar and ½ teaspoon cinnamon after roasting. Toss while still warm so the coating sticks. It tastes like fall in a bowl.
3. Spicy Chili Lime
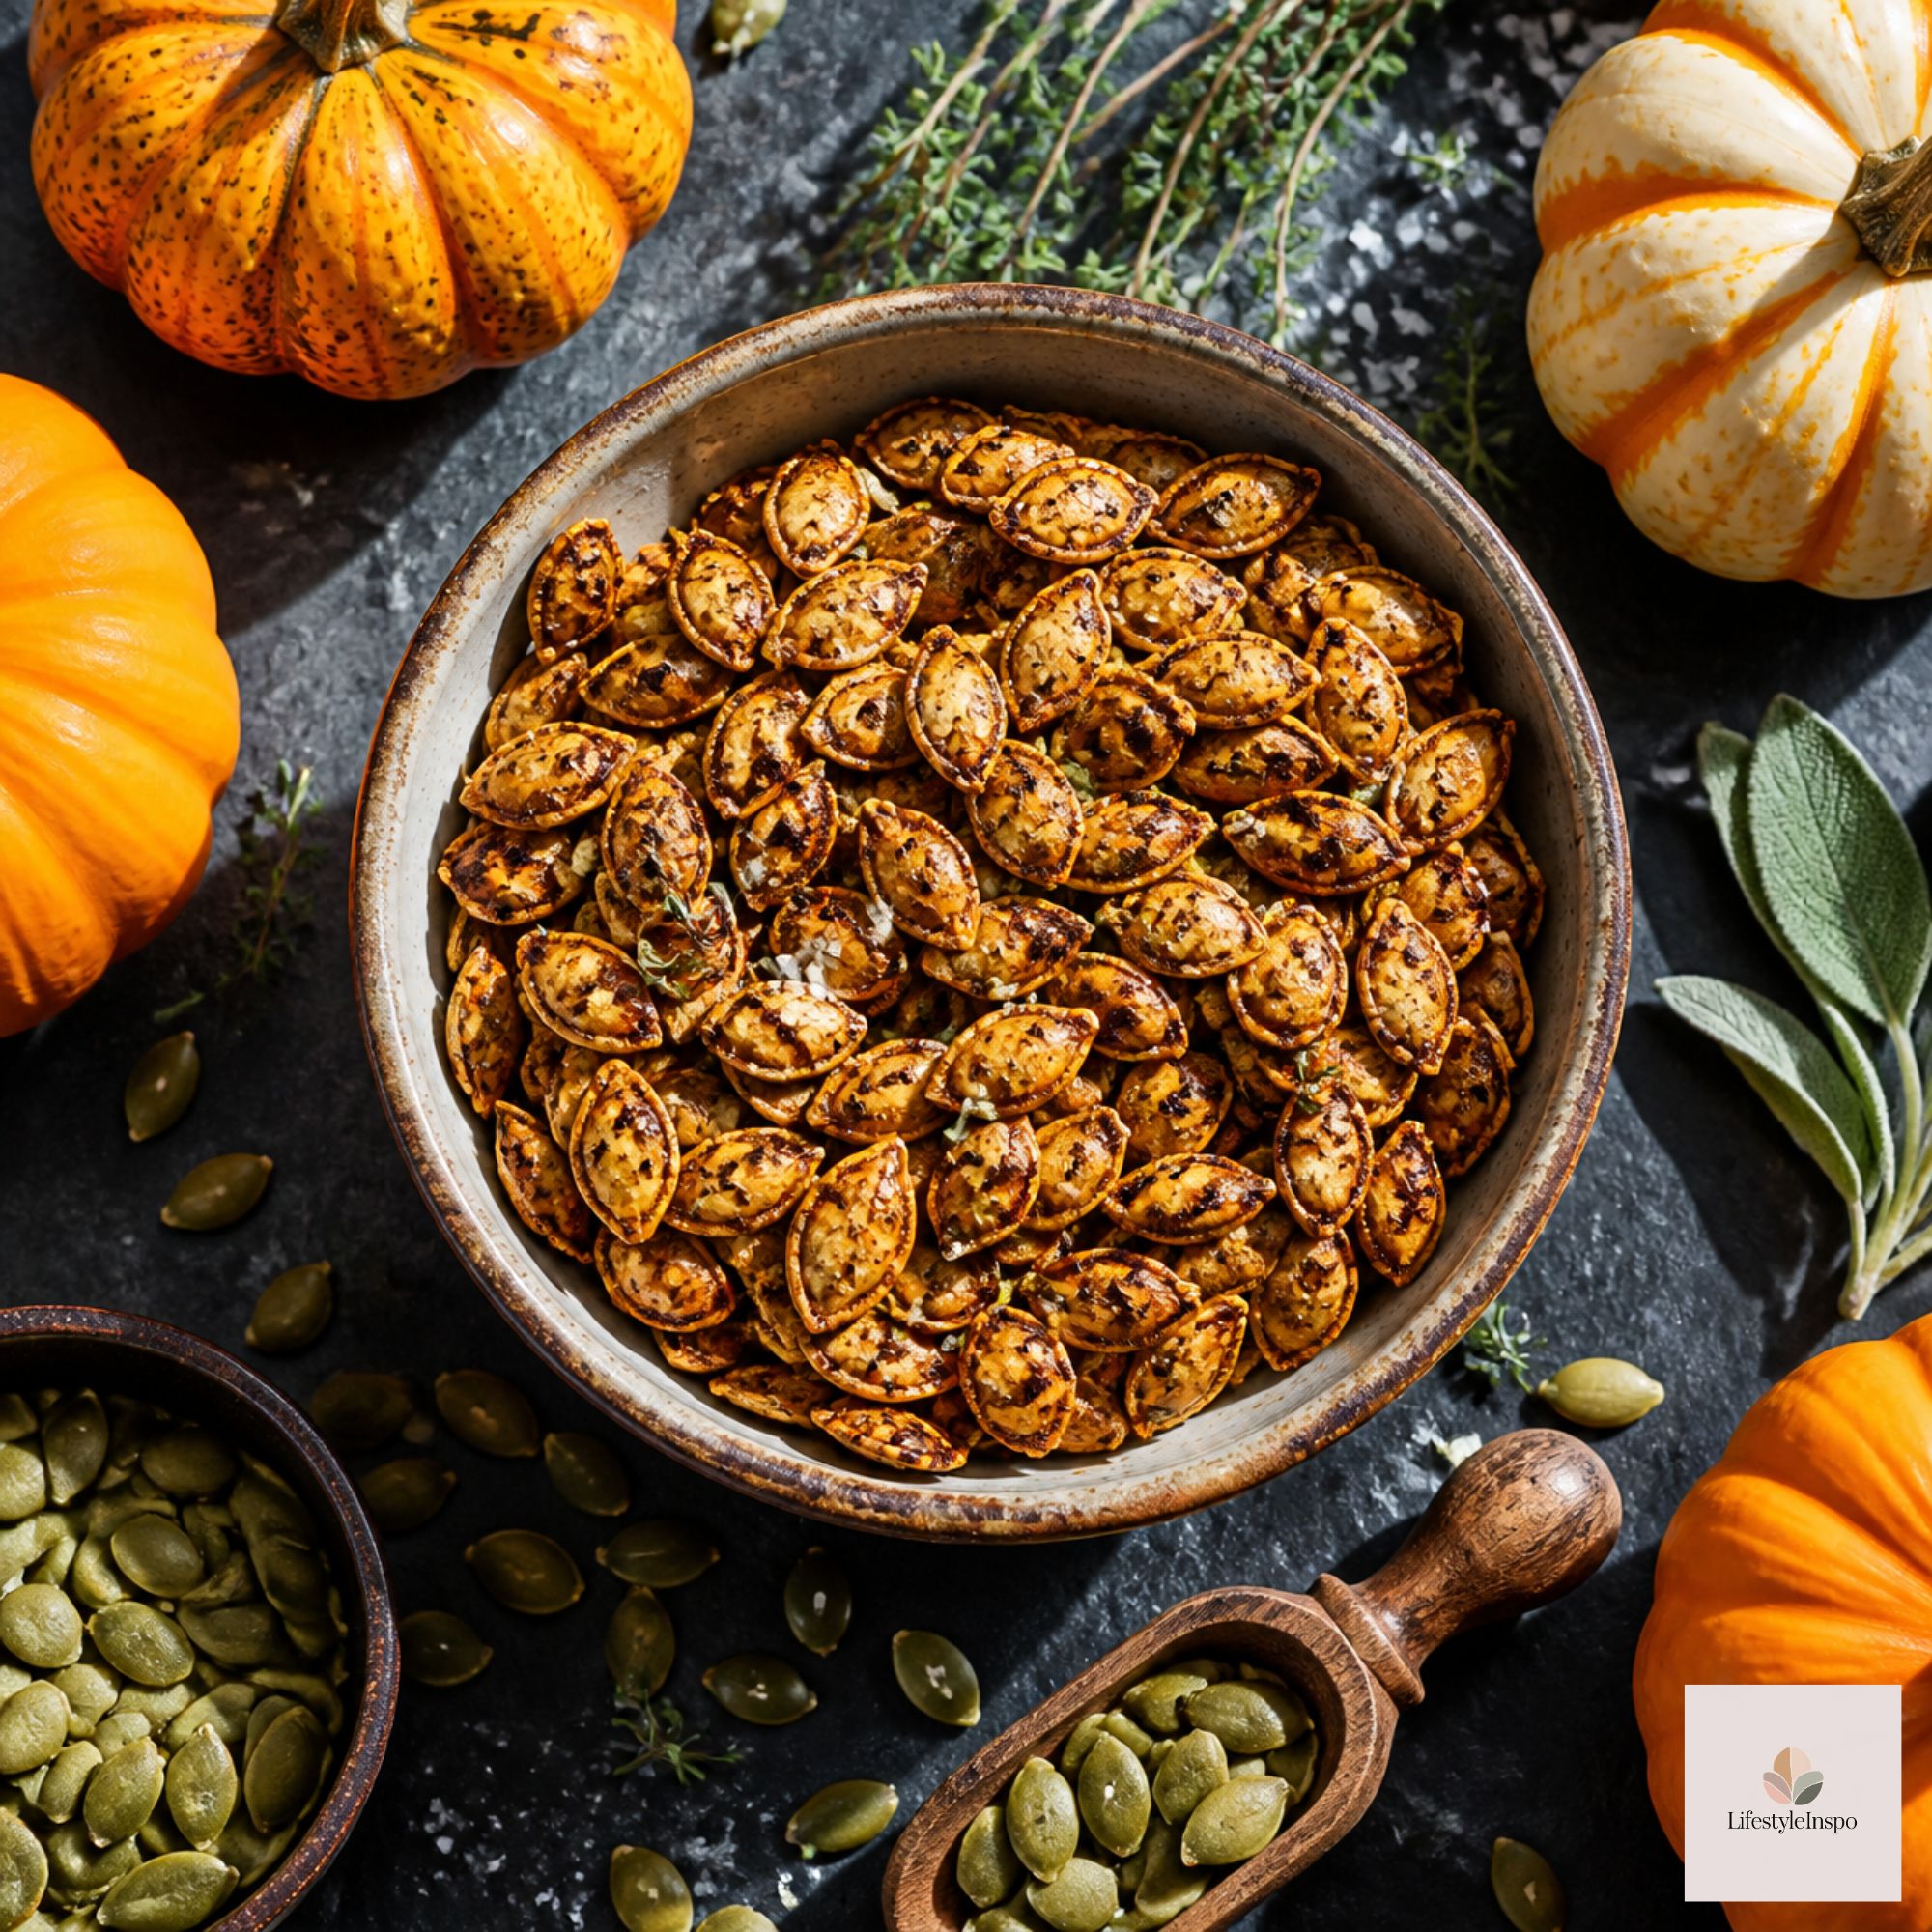
Add ½ teaspoon chili powder, ¼ teaspoon garlic powder, and a pinch of cayenne before roasting. Finish with lime zest as soon as they come out of the oven.
4. Garlic Parmesan
Add ½ teaspoon garlic powder and 2 tablespoons grated Parmesan in the last 5 minutes of roasting. It’s savory, cheesy, and addictive.
How to Use Roasted Pumpkin Seeds
Beyond snacking straight from the bowl, try them as:
- A salad topper for crunch
- A soup garnish on butternut squash or tomato soup
- A yogurt or oatmeal topping with a drizzle of honey
- Part of a snack mix with popcorn, pretzels, and candy corn
- A charcuterie board filler alongside nuts and dried fruit
Make It a Pumpkin Carving Night
Carving pumpkins is even better with company. Here’s how to turn it into a little event:
- Spread newspaper over the table and give everyone their own carving tools.
- Put out a snack spread with the roasted seeds, popcorn, and cider.
- Set the table with a Halloween tablecloth and Halloween party tableware for easy cleanup.
- Keep a Halloween candy bowl as a centerpiece for sweet cravings.
- Display everyone’s finished pumpkins on the porch for a group photo.
For pumpkin-carving with kids, let them draw designs with markers and handle the scooping, while adults handle the cutting.
Frequently Asked Questions
Can you eat the seeds from a carved pumpkin? Yes, as long as the pumpkin hasn’t been sitting around rotting. Pull the seeds right after carving for the best results.
Do I need to boil the seeds first? It’s optional. Boiling in salted water for 10 minutes can add flavor throughout and a slightly softer interior, but roasting without boiling gives a crunchier result.
How long do roasted pumpkin seeds last? Stored in an airtight container at room temperature, they stay good for about 1 week. Refrigerate to keep them up to 3 weeks.
What’s the best pumpkin for carving? Look for “carving” or “Howden” pumpkins. They have thin walls, which are easier to cut, though for the tastiest flesh you’d want a sugar or pie pumpkin.
Final Thoughts
Pumpkin carving is one of those cozy fall traditions that costs very little and makes a lot of memories. Grab a good carving kit, put on your favorite playlist, and don’t forget to save those seeds. They might just become the best part of the night.
About the Author