How to Build a Haunted Gingerbread House (Kit or From Scratch)
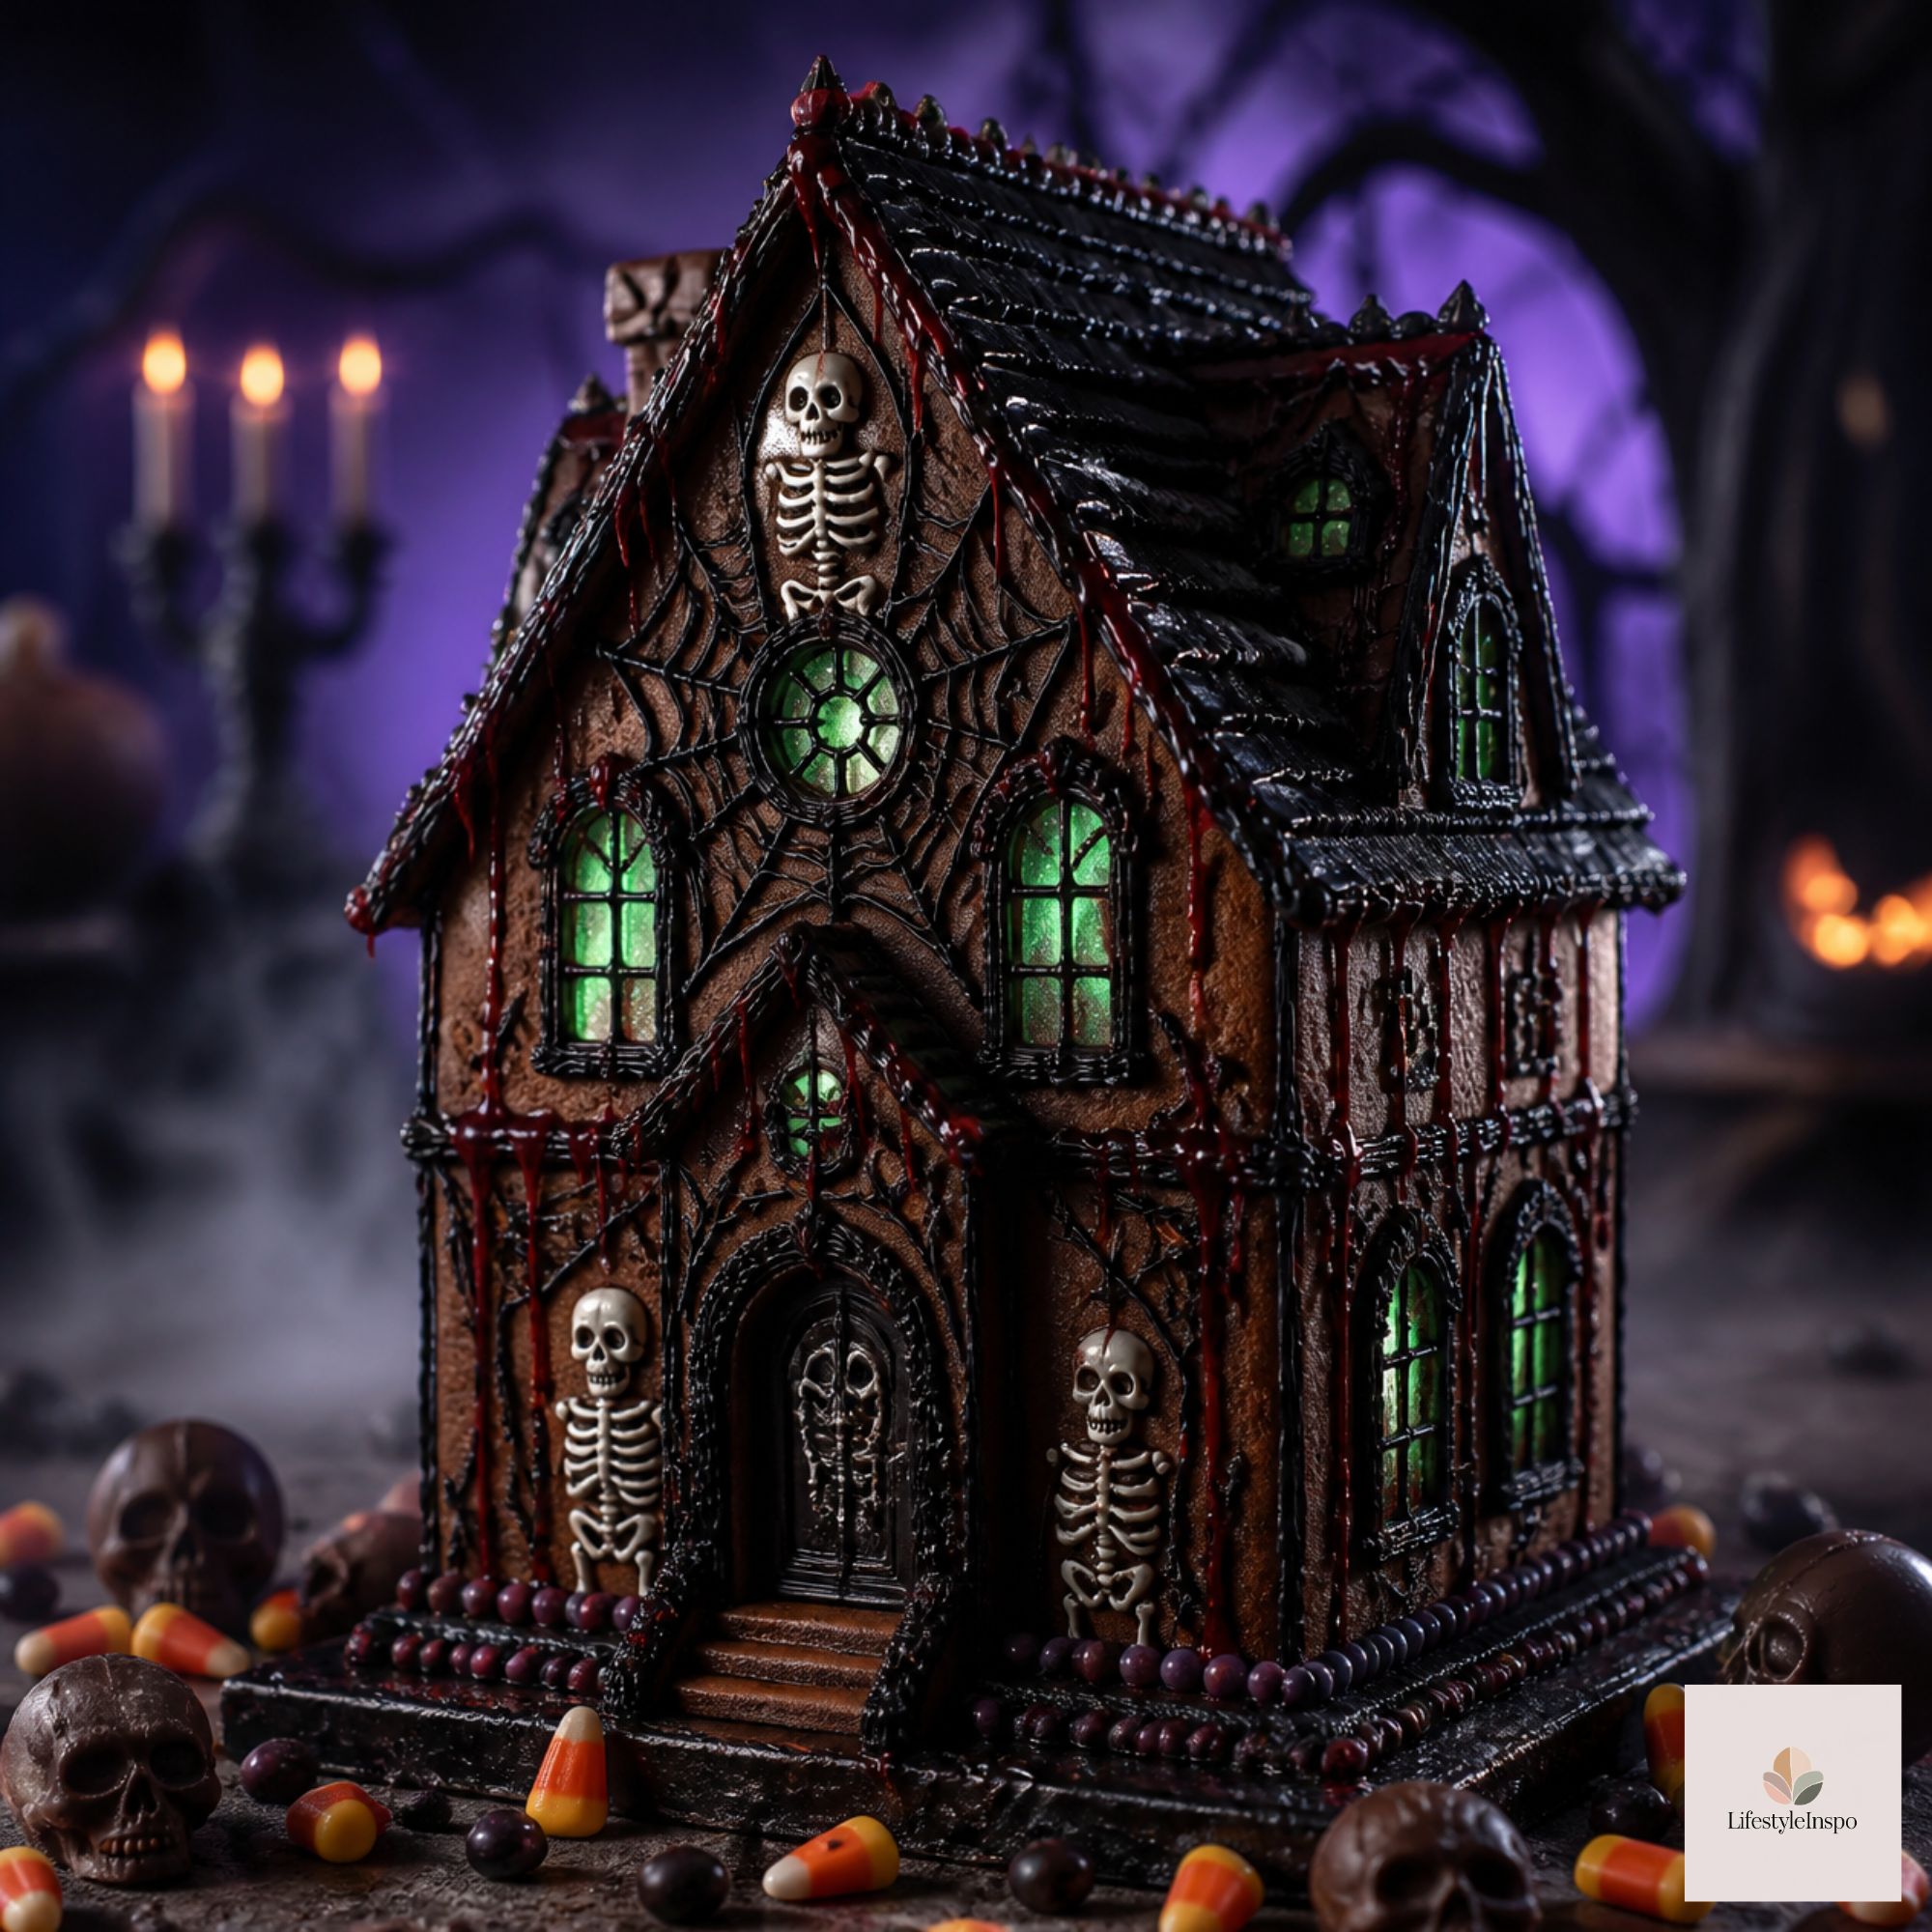
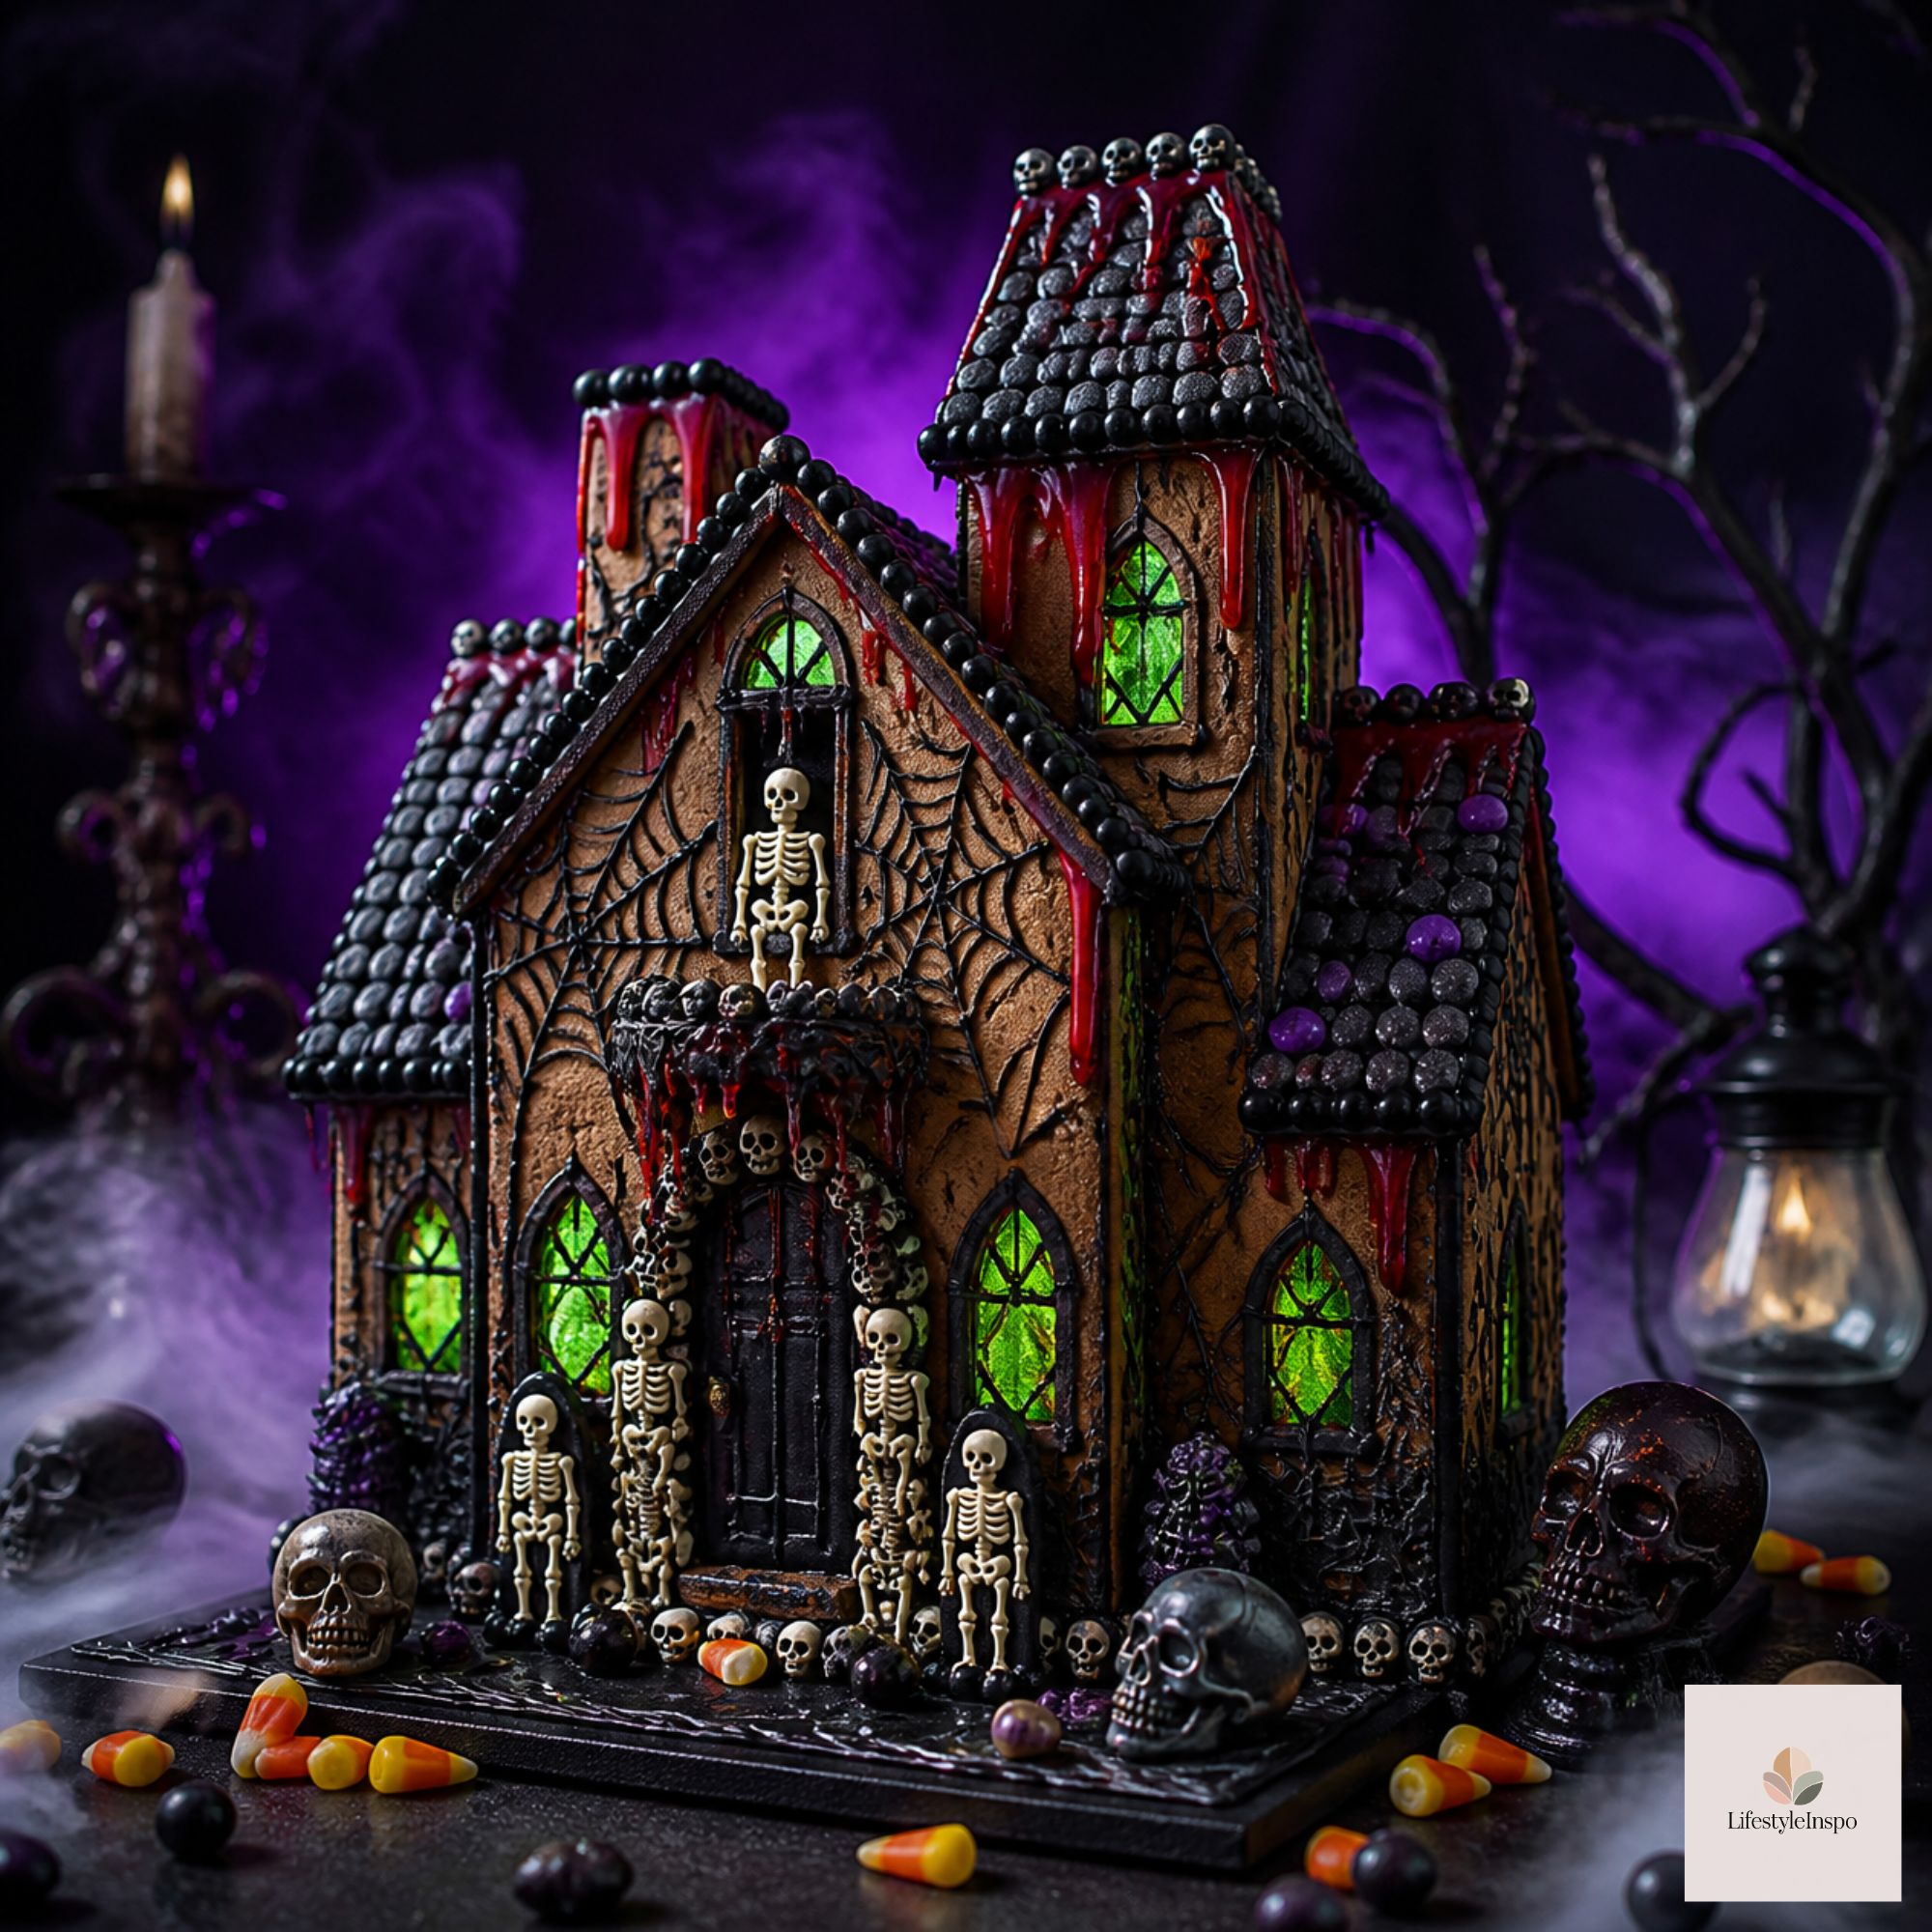
Gingerbread houses aren’t just for December. Swap the candy canes for candy corn, the snowy roof for cobwebs, and suddenly you have a haunted mansion that looks right at home on your Halloween dessert table.
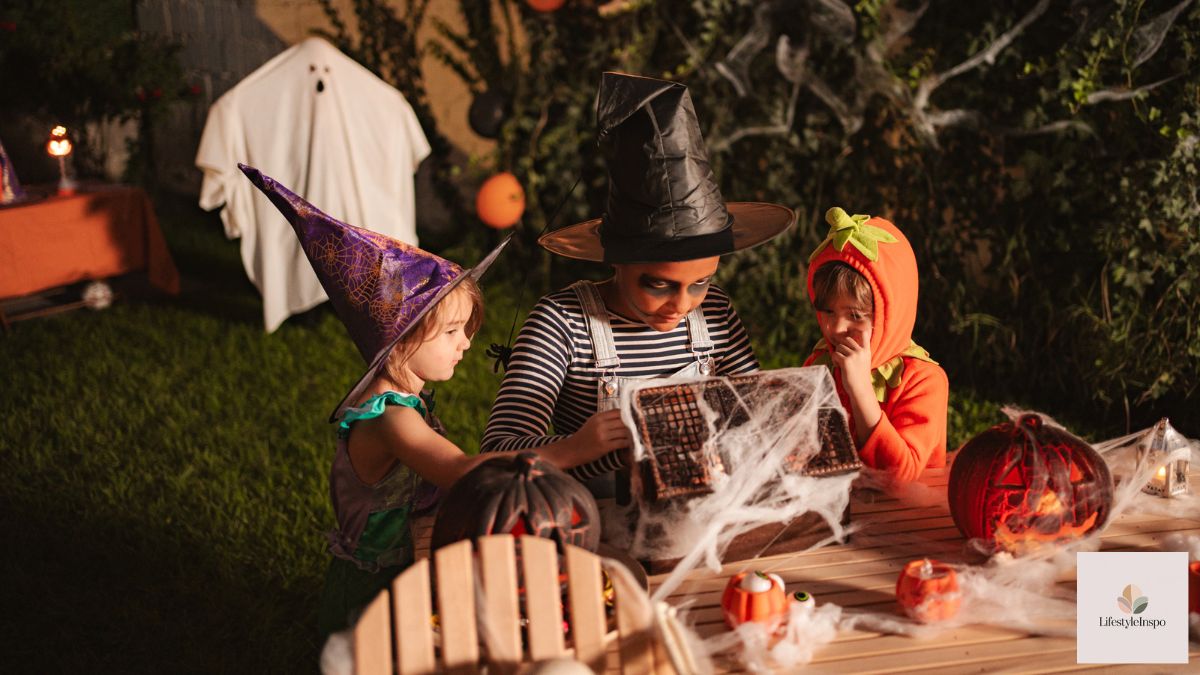
A haunted gingerbread house is one of the most fun Halloween activities you can do with friends, kids, or even solo with a cozy playlist. It’s creative, a little competitive if you want it to be, and completely edible. (Whether you want to eat the house is a personal choice.)
Below, I’ll show you how to build one using a kit, how to make your own gingerbread and “glue” icing from scratch, and a collection of spooky decorating ideas that go way beyond the basic.
Kit vs. From Scratch: Which Should You Choose?
Use a kit if: you want it fast, you’re building with kids, or you’ve never made a gingerbread house. A haunted gingerbread house kit typically includes pre-baked pieces, icing, and candy decorations, so you can skip the baking and go right to the fun part.
Go from scratch if: you want full control over flavor and design, you enjoy baking projects, or you want a bigger, more custom house.
You can also combine the two: buy a kit for the structure and upgrade it with your own extra candy, sprinkles, and icing tricks.
Building a Kit Haunted House: Step by Step
- Read the instructions first. Every kit is slightly different. Check that all the pieces are intact before you start.
- Prepare the icing. Most kits come with an icing packet to snip or mix. Transfer it to a piping bag if it’s not one already, or use a set of Halloween piping bags for neater lines.
- Make your base. Use a sturdy board or tray covered in parchment or foil. This is your “ground,” and it protects your table.
- Pipe the foundation. Run a thick line of icing along the bottom edge of the first wall and along its two side edges, then stand it up on the base.
- Add the remaining walls. Repeat with each wall, holding each in place for about a minute until the icing starts to set. Use canned goods as supports if needed.
- Let the walls set. Wait at least 30 minutes to an hour before adding the roof. This is the step people rush, and rushing is how roofs collapse.
- Attach the roof. Pipe icing along the top edges of the walls, place each roof piece gently, and hold until secure.
- Decorate. Now the fun begins.
Gingerbread From Scratch
If you want to bake your own, this sturdy recipe is designed for building, not eating. It stays firm and holds its shape. (It still tastes good, just a bit denser than gingerbread cookies.)
Yield: 1 medium house Prep time: 30 minutes, plus chilling Bake time: 12-15 minutes
Ingredients
- 5 cups all-purpose flour
- 1 tablespoon ground ginger
- 2 teaspoons cinnamon
- ½ teaspoon ground cloves
- 1 teaspoon baking soda
- ½ teaspoon salt
- ¾ cup unsalted butter, softened
- ¾ cup packed brown sugar
- ¾ cup molasses
- 1 large egg
- 1 teaspoon vanilla extract
Instructions
- Whisk the flour, spices, baking soda, and salt together in a large bowl.
- In another bowl, beat the butter and sugar until fluffy. Add the molasses, egg, and vanilla.
- Gradually mix in the dry ingredients until a stiff dough forms.
- Divide the dough into two discs, wrap, and chill for at least 2 hours.
- Preheat the oven to 350°F. Roll the dough to ¼-inch thickness on parchment paper.
- Cut out your house pieces using a paper template: two side walls, a front, a back, and two roof panels. Cut out windows and doors before baking if you like.
- Slide the parchment onto a baking sheet and bake for 12-15 minutes, until the edges are firm.
- Cool the pieces completely on a wire rack before building. Warm pieces bend and break.
Tip: Bake the pieces a day ahead so they dry out slightly and become even sturdier.
Royal Icing “Glue”
This icing hardens like cement, which is exactly what you want for construction.
Ingredients
- 4 cups powdered sugar
- 3 tablespoons meringue powder
- 5-6 tablespoons warm water
Instructions
- Beat everything on low until combined, then on high for 4-5 minutes until very stiff.
- The consistency should resemble thick toothpaste. If it’s too thin, add more powdered sugar.
- Keep it covered with a damp towel while you work so it doesn’t dry out.
For colored accents like purple cobwebs or green slime, tint small portions with food coloring gel.
10 Spooky Decorating Ideas
Now, let’s make it haunted.
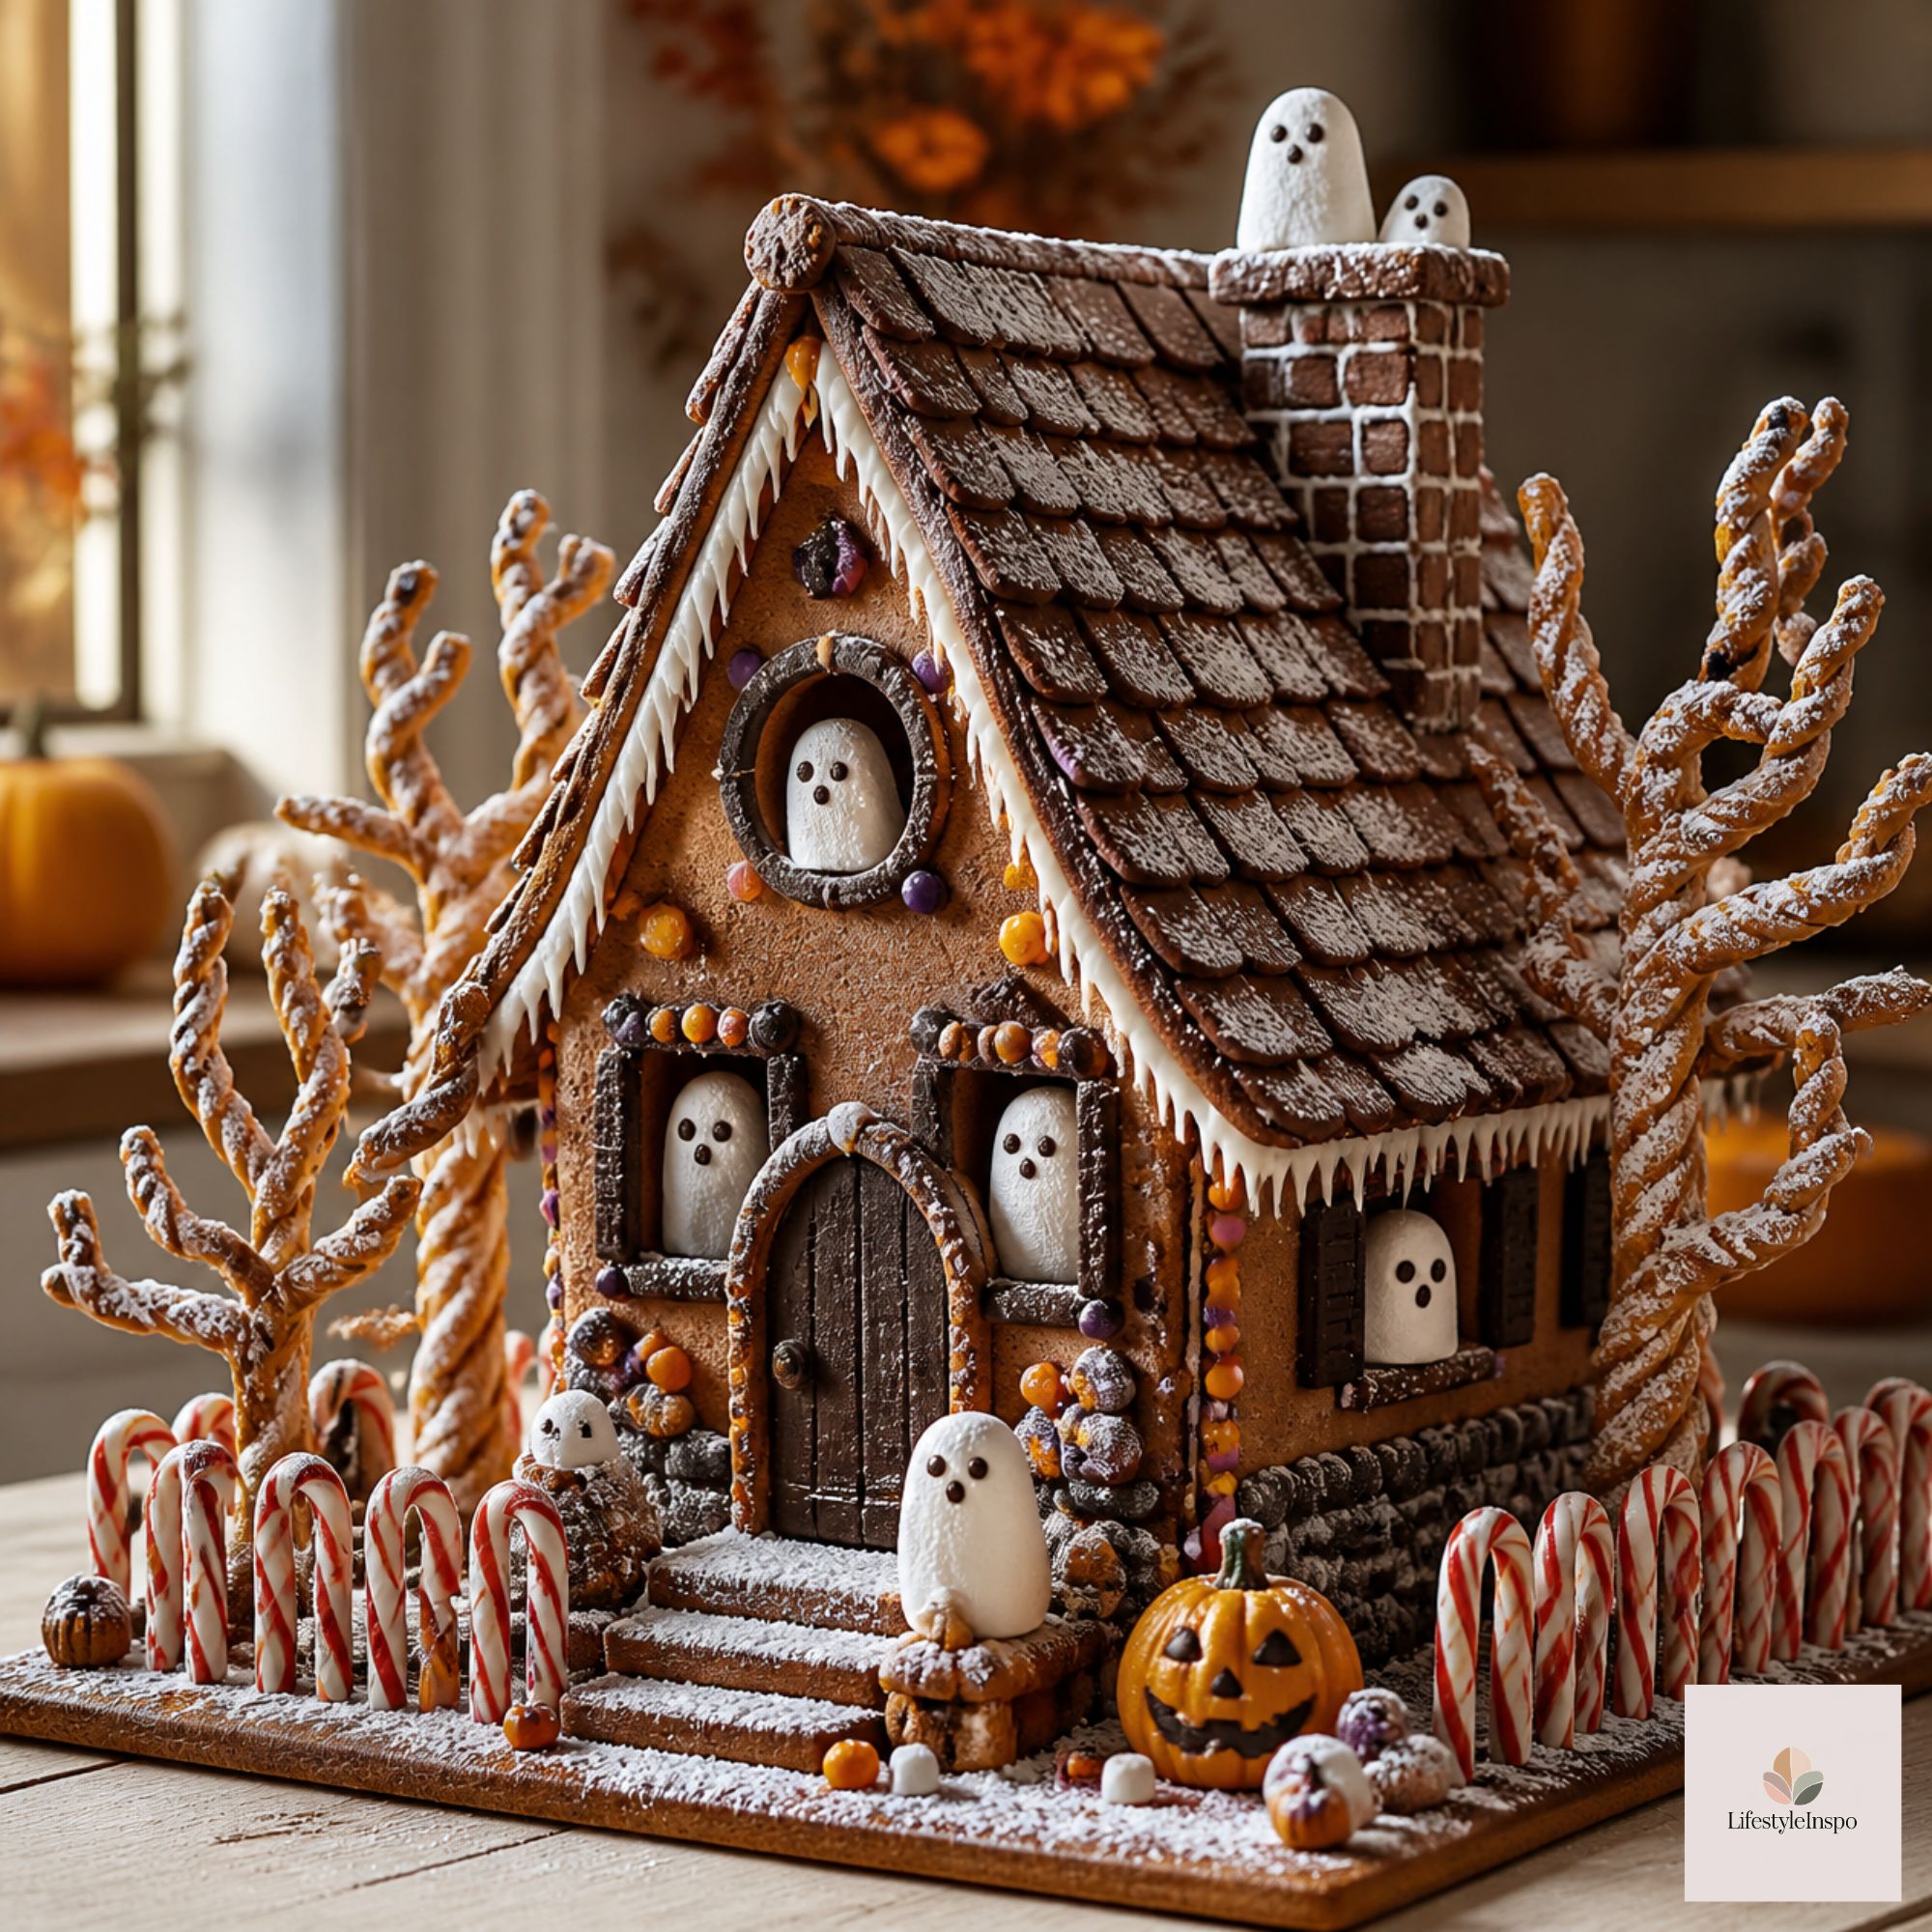
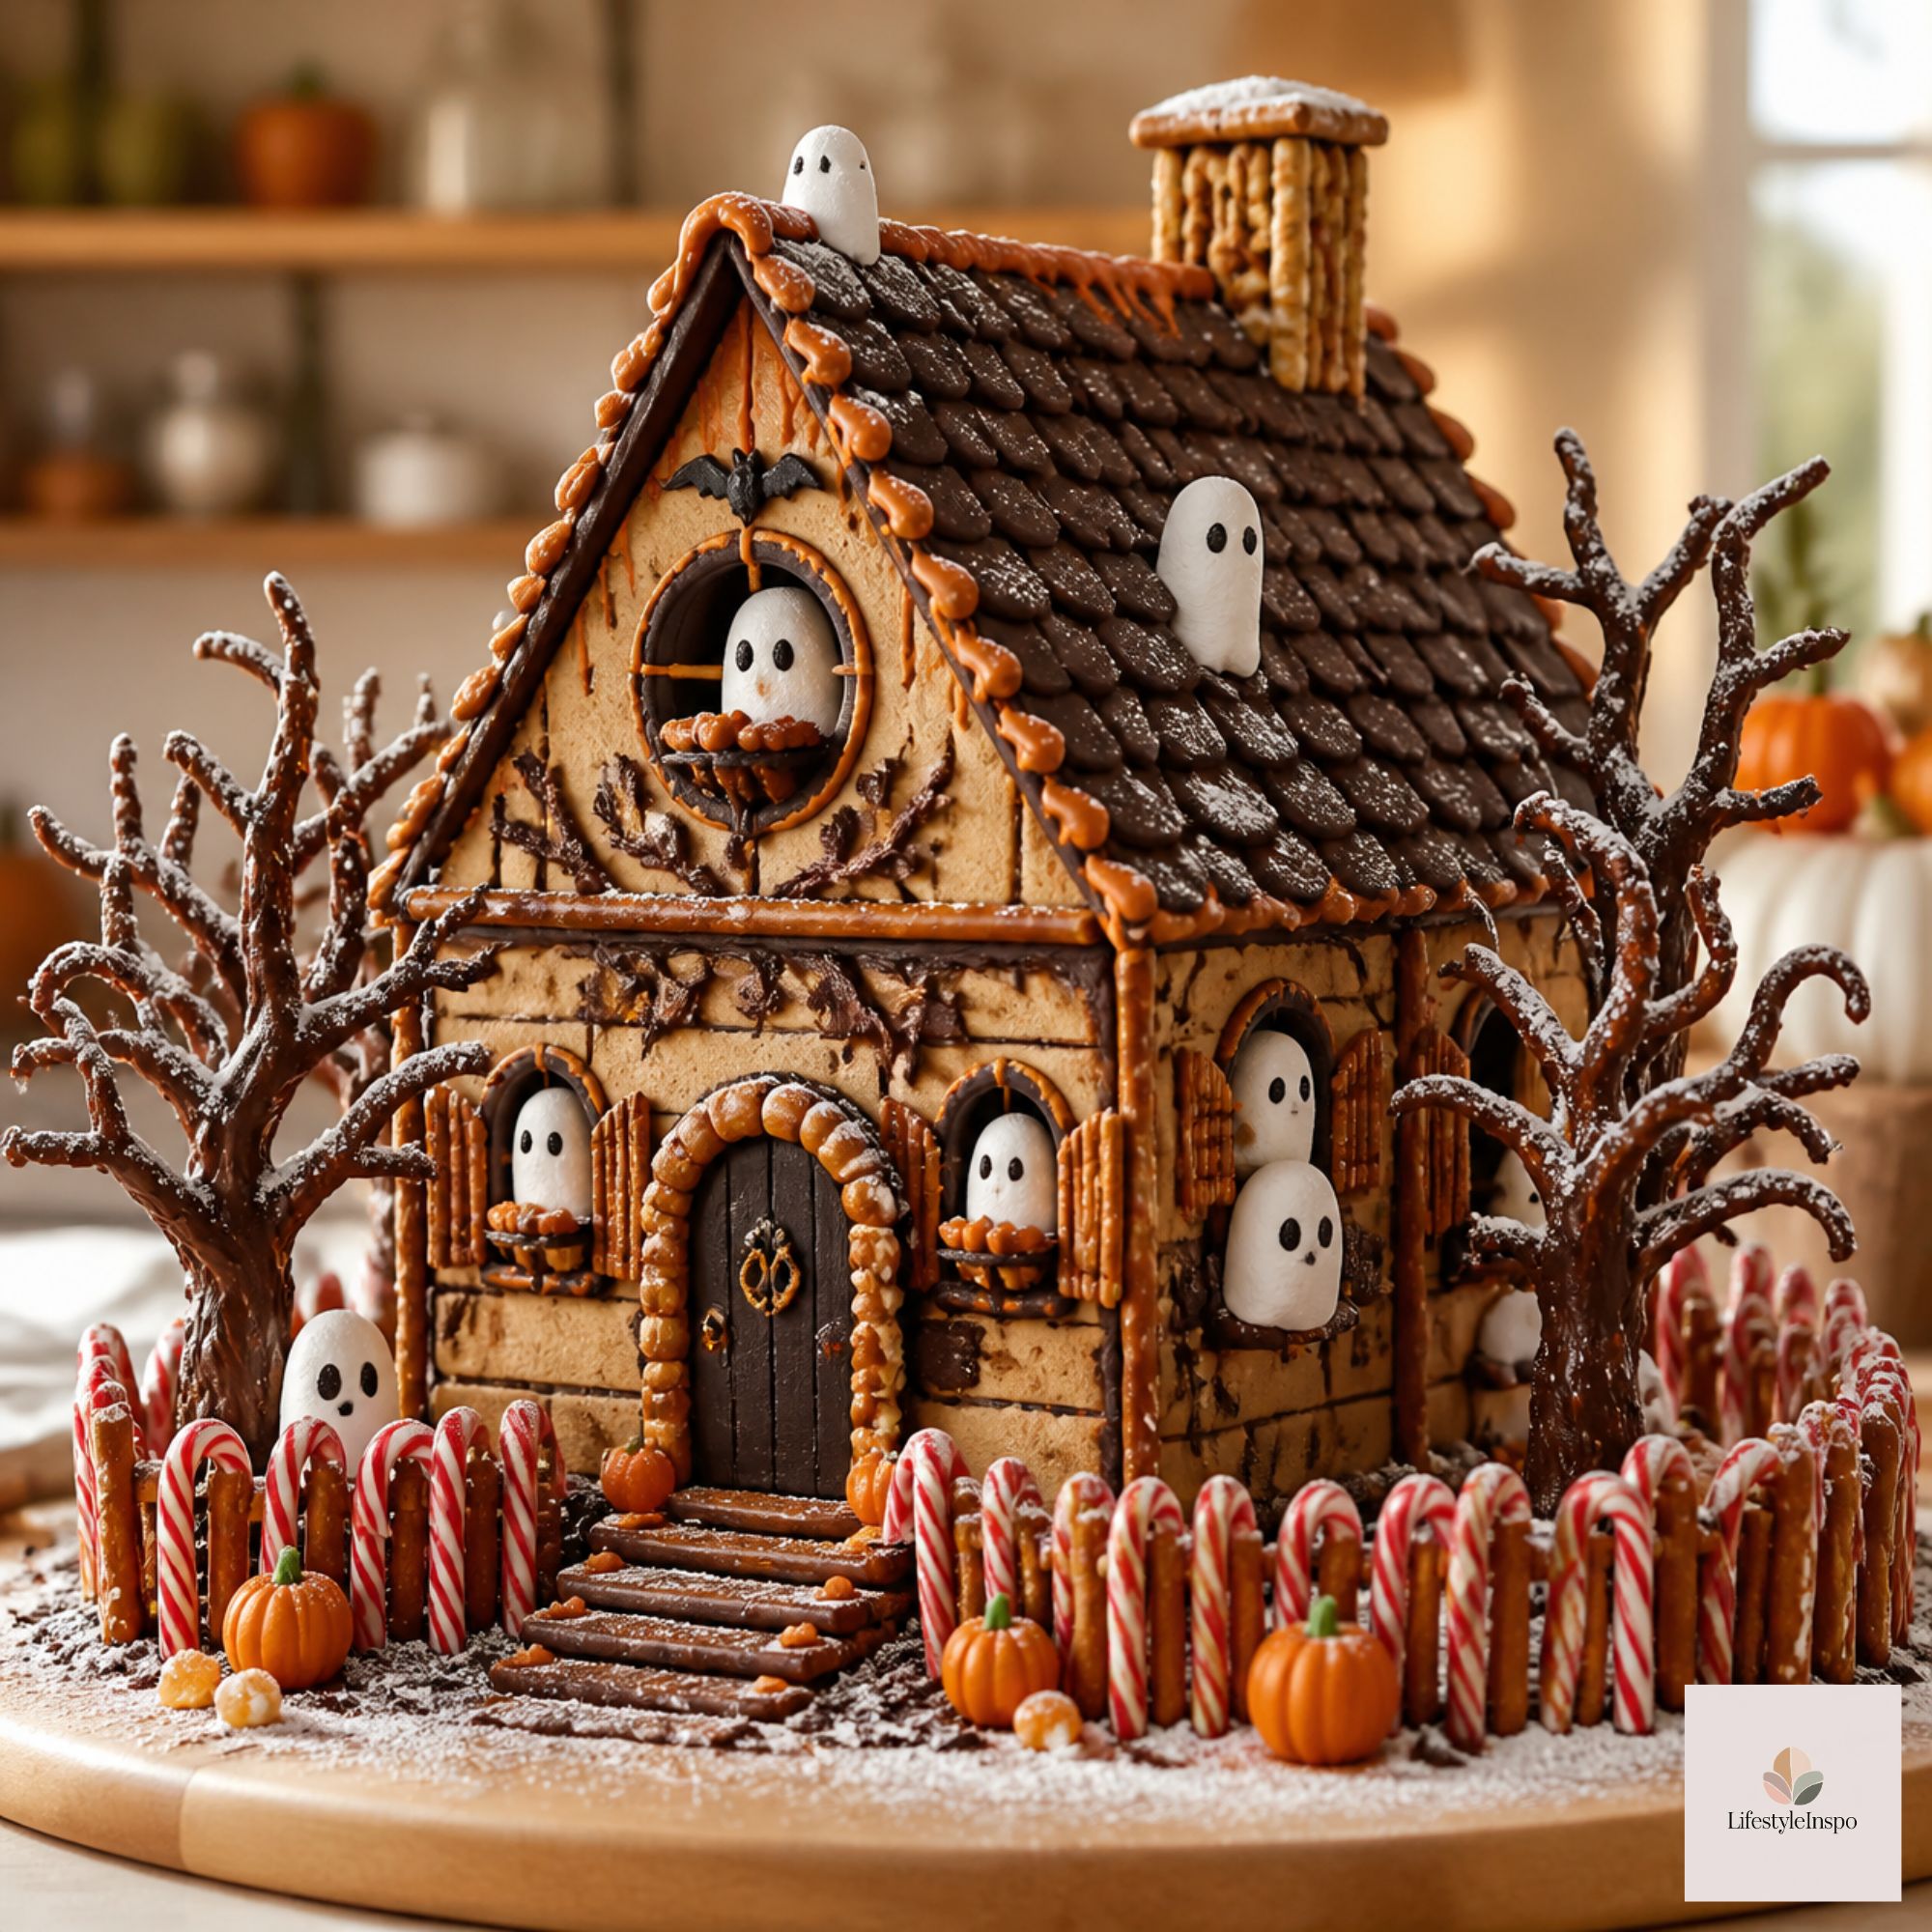
- Candy corn shingles. Press candy corn into the roof icing in overlapping rows.
- Spiderweb windows. Pipe a web in white icing across a window opening and add a tiny licorice spider.
- Graveyard. Use cookie “tombstones” in the yard, decorated with “RIP” in black icing and crushed chocolate cookies for dirt.
- Slimy roof. Drizzle green icing down the sides so it drips like ooze.
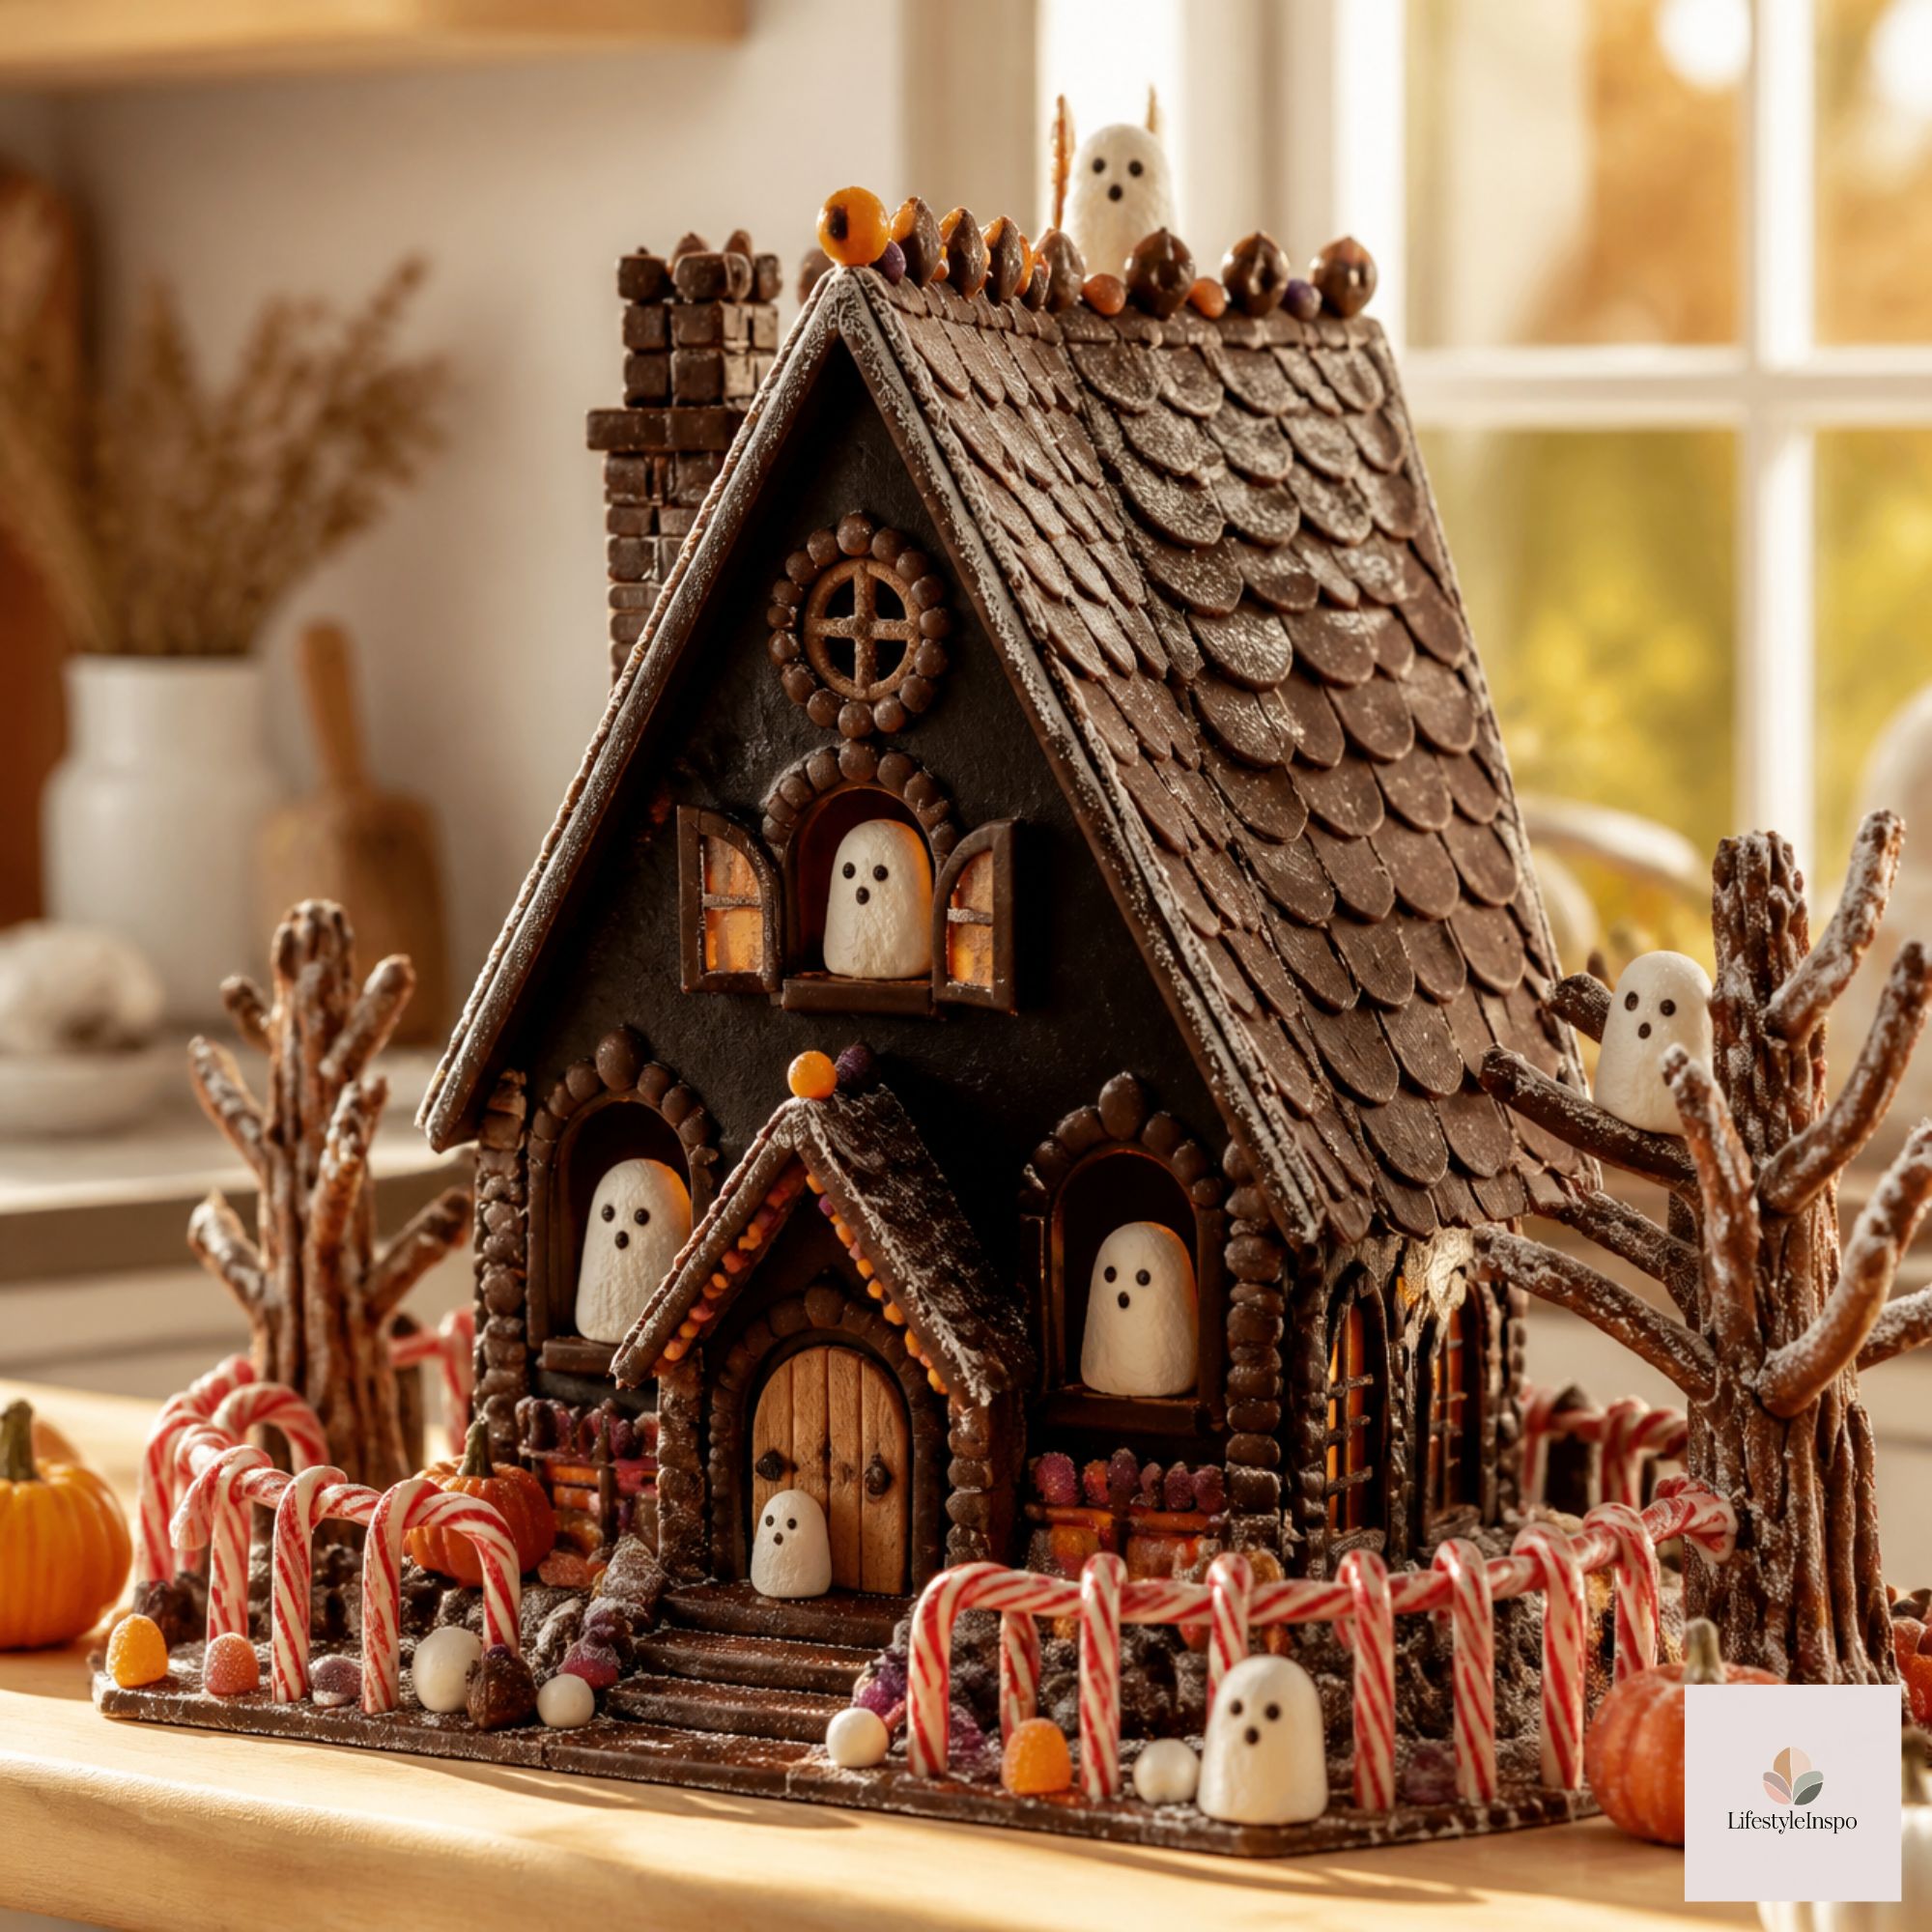
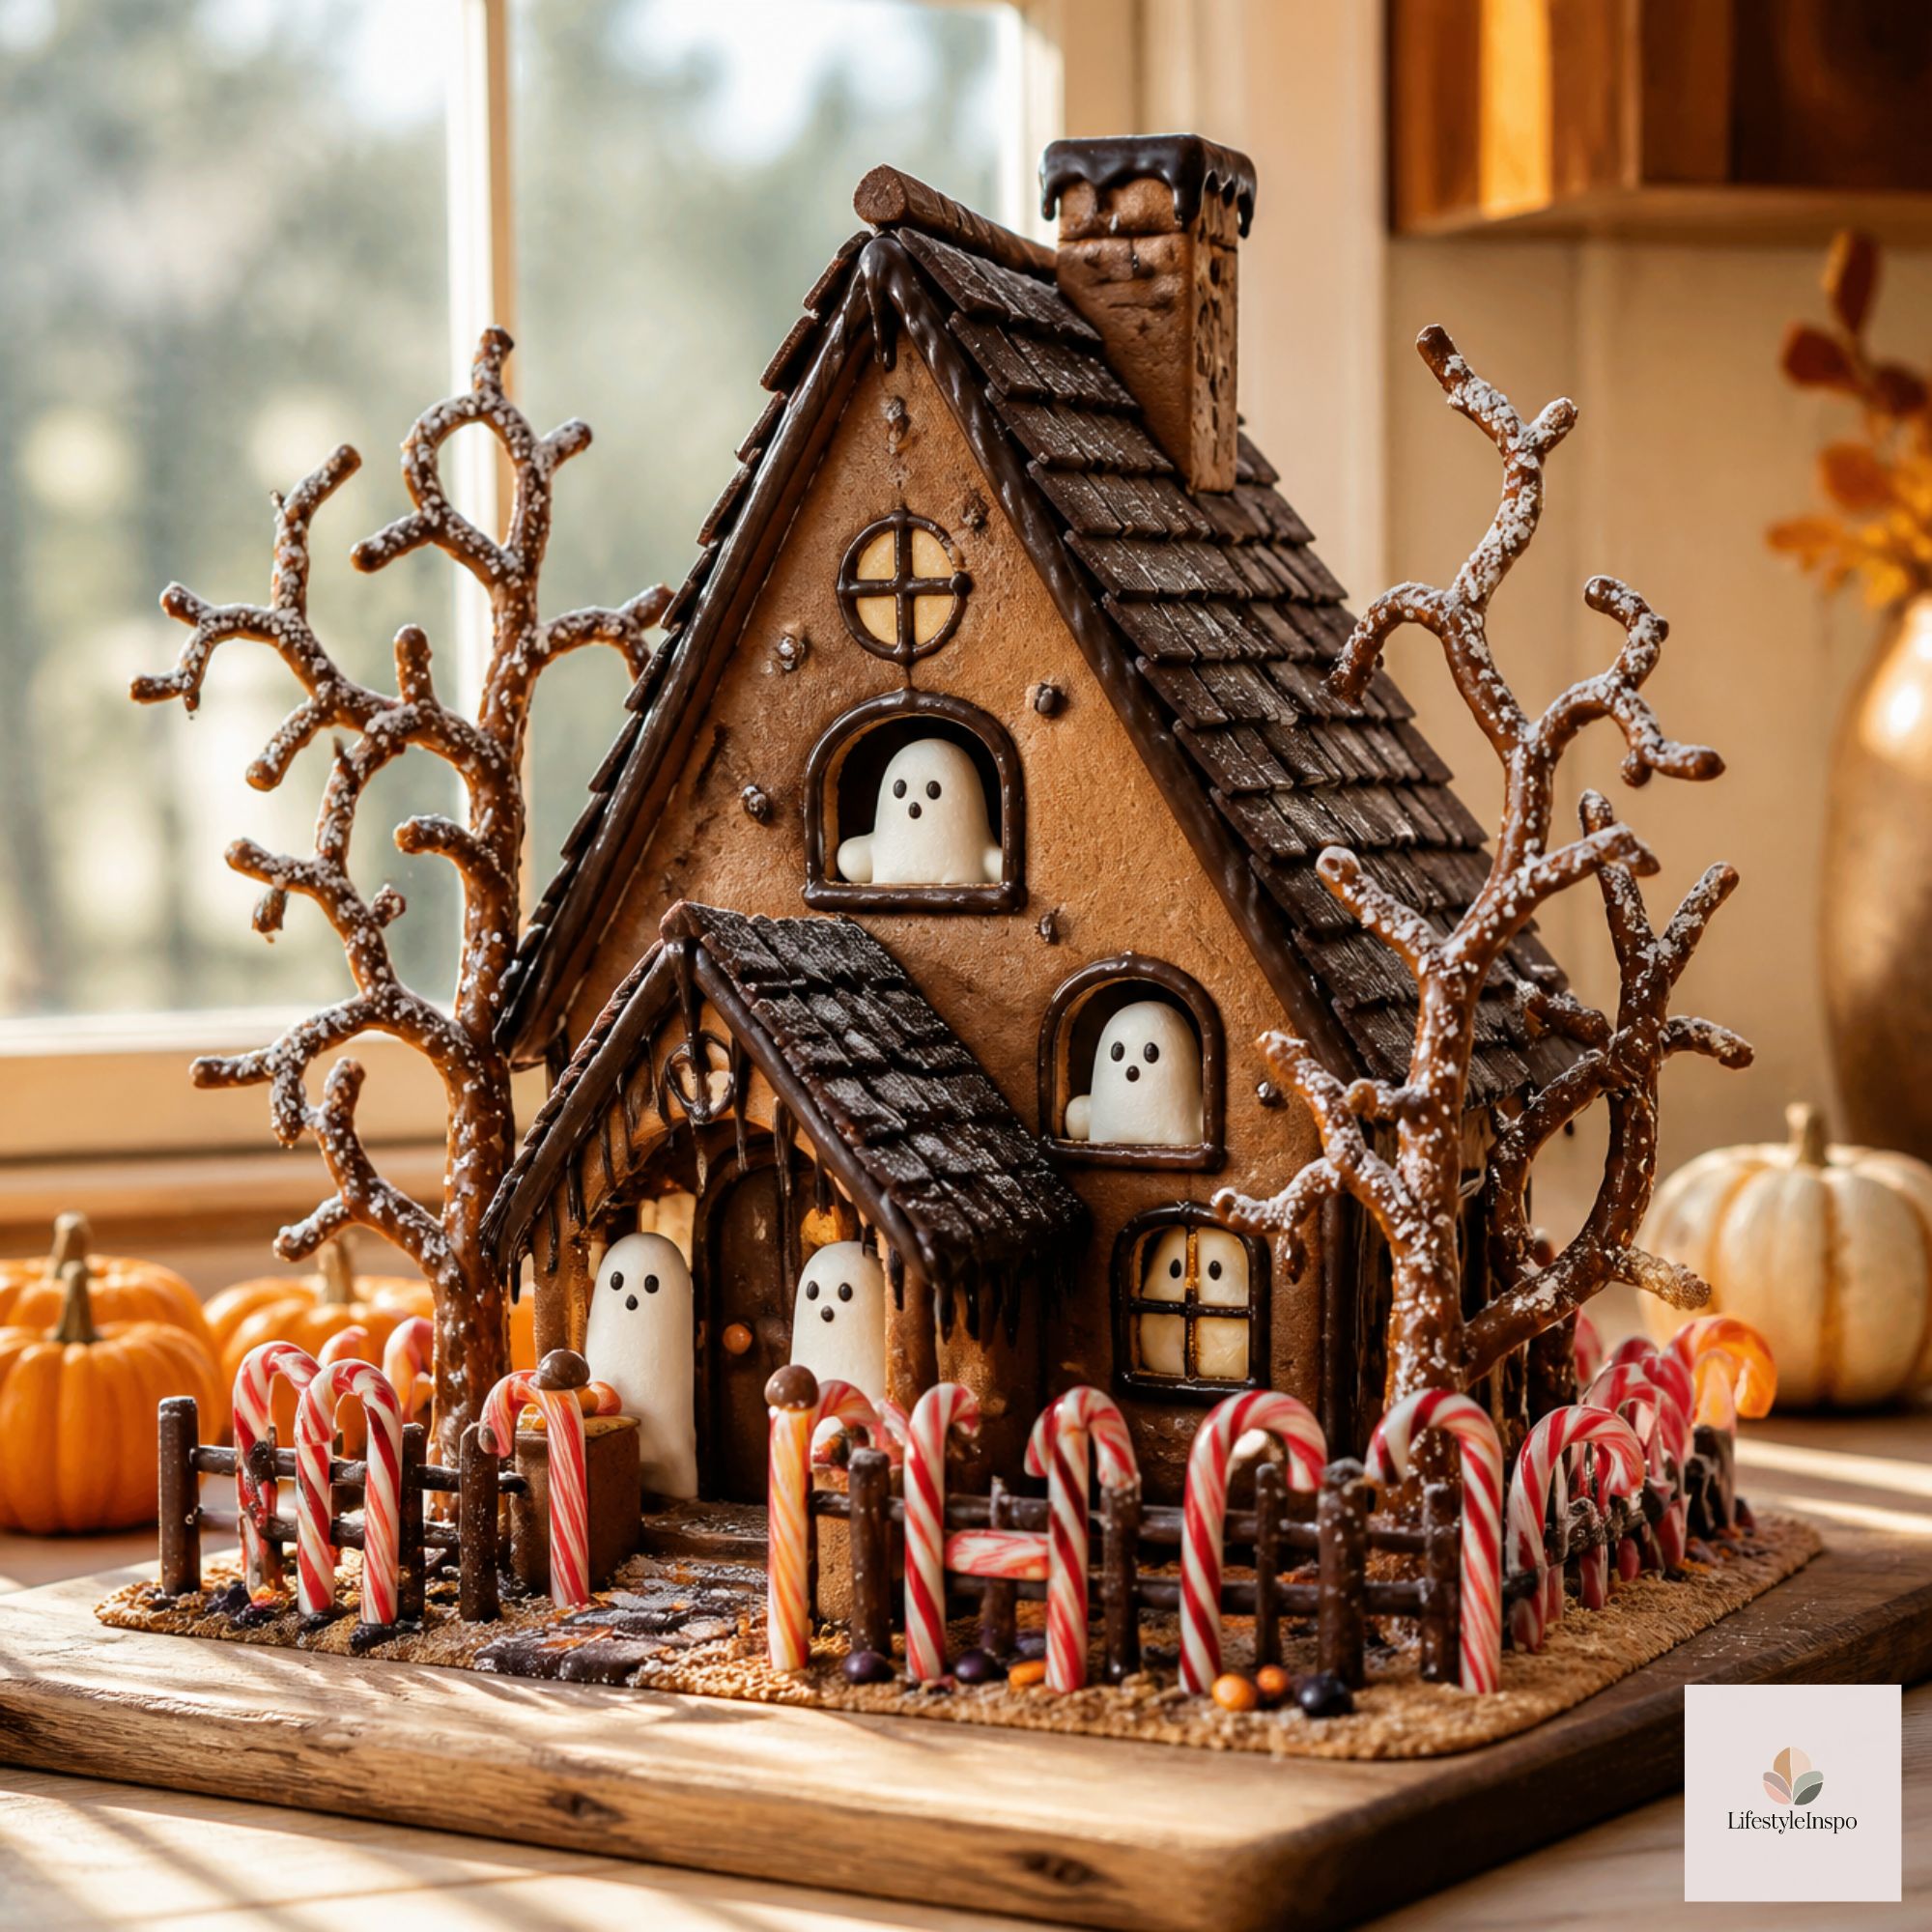
- Pretzel fence. Stand pretzel sticks around the base for a crooked haunted fence.
- Ghost marshmallows. Dip large marshmallows in white candy melts and add eyes with a dot of black icing.
- Licorice vines. Drape black licorice lace up the walls and around the door.
- Cotton candy cobwebs. Pull apart a bit of cotton candy and drape it over the roof for that abandoned-house look.
- Glowing windows. Use melted orange hard candy (or crushed candies) in window cutouts for a stained-glass effect.
- Sprinkle snow. Use Halloween sprinkles as “fallen leaves” around the house for an autumn touch.
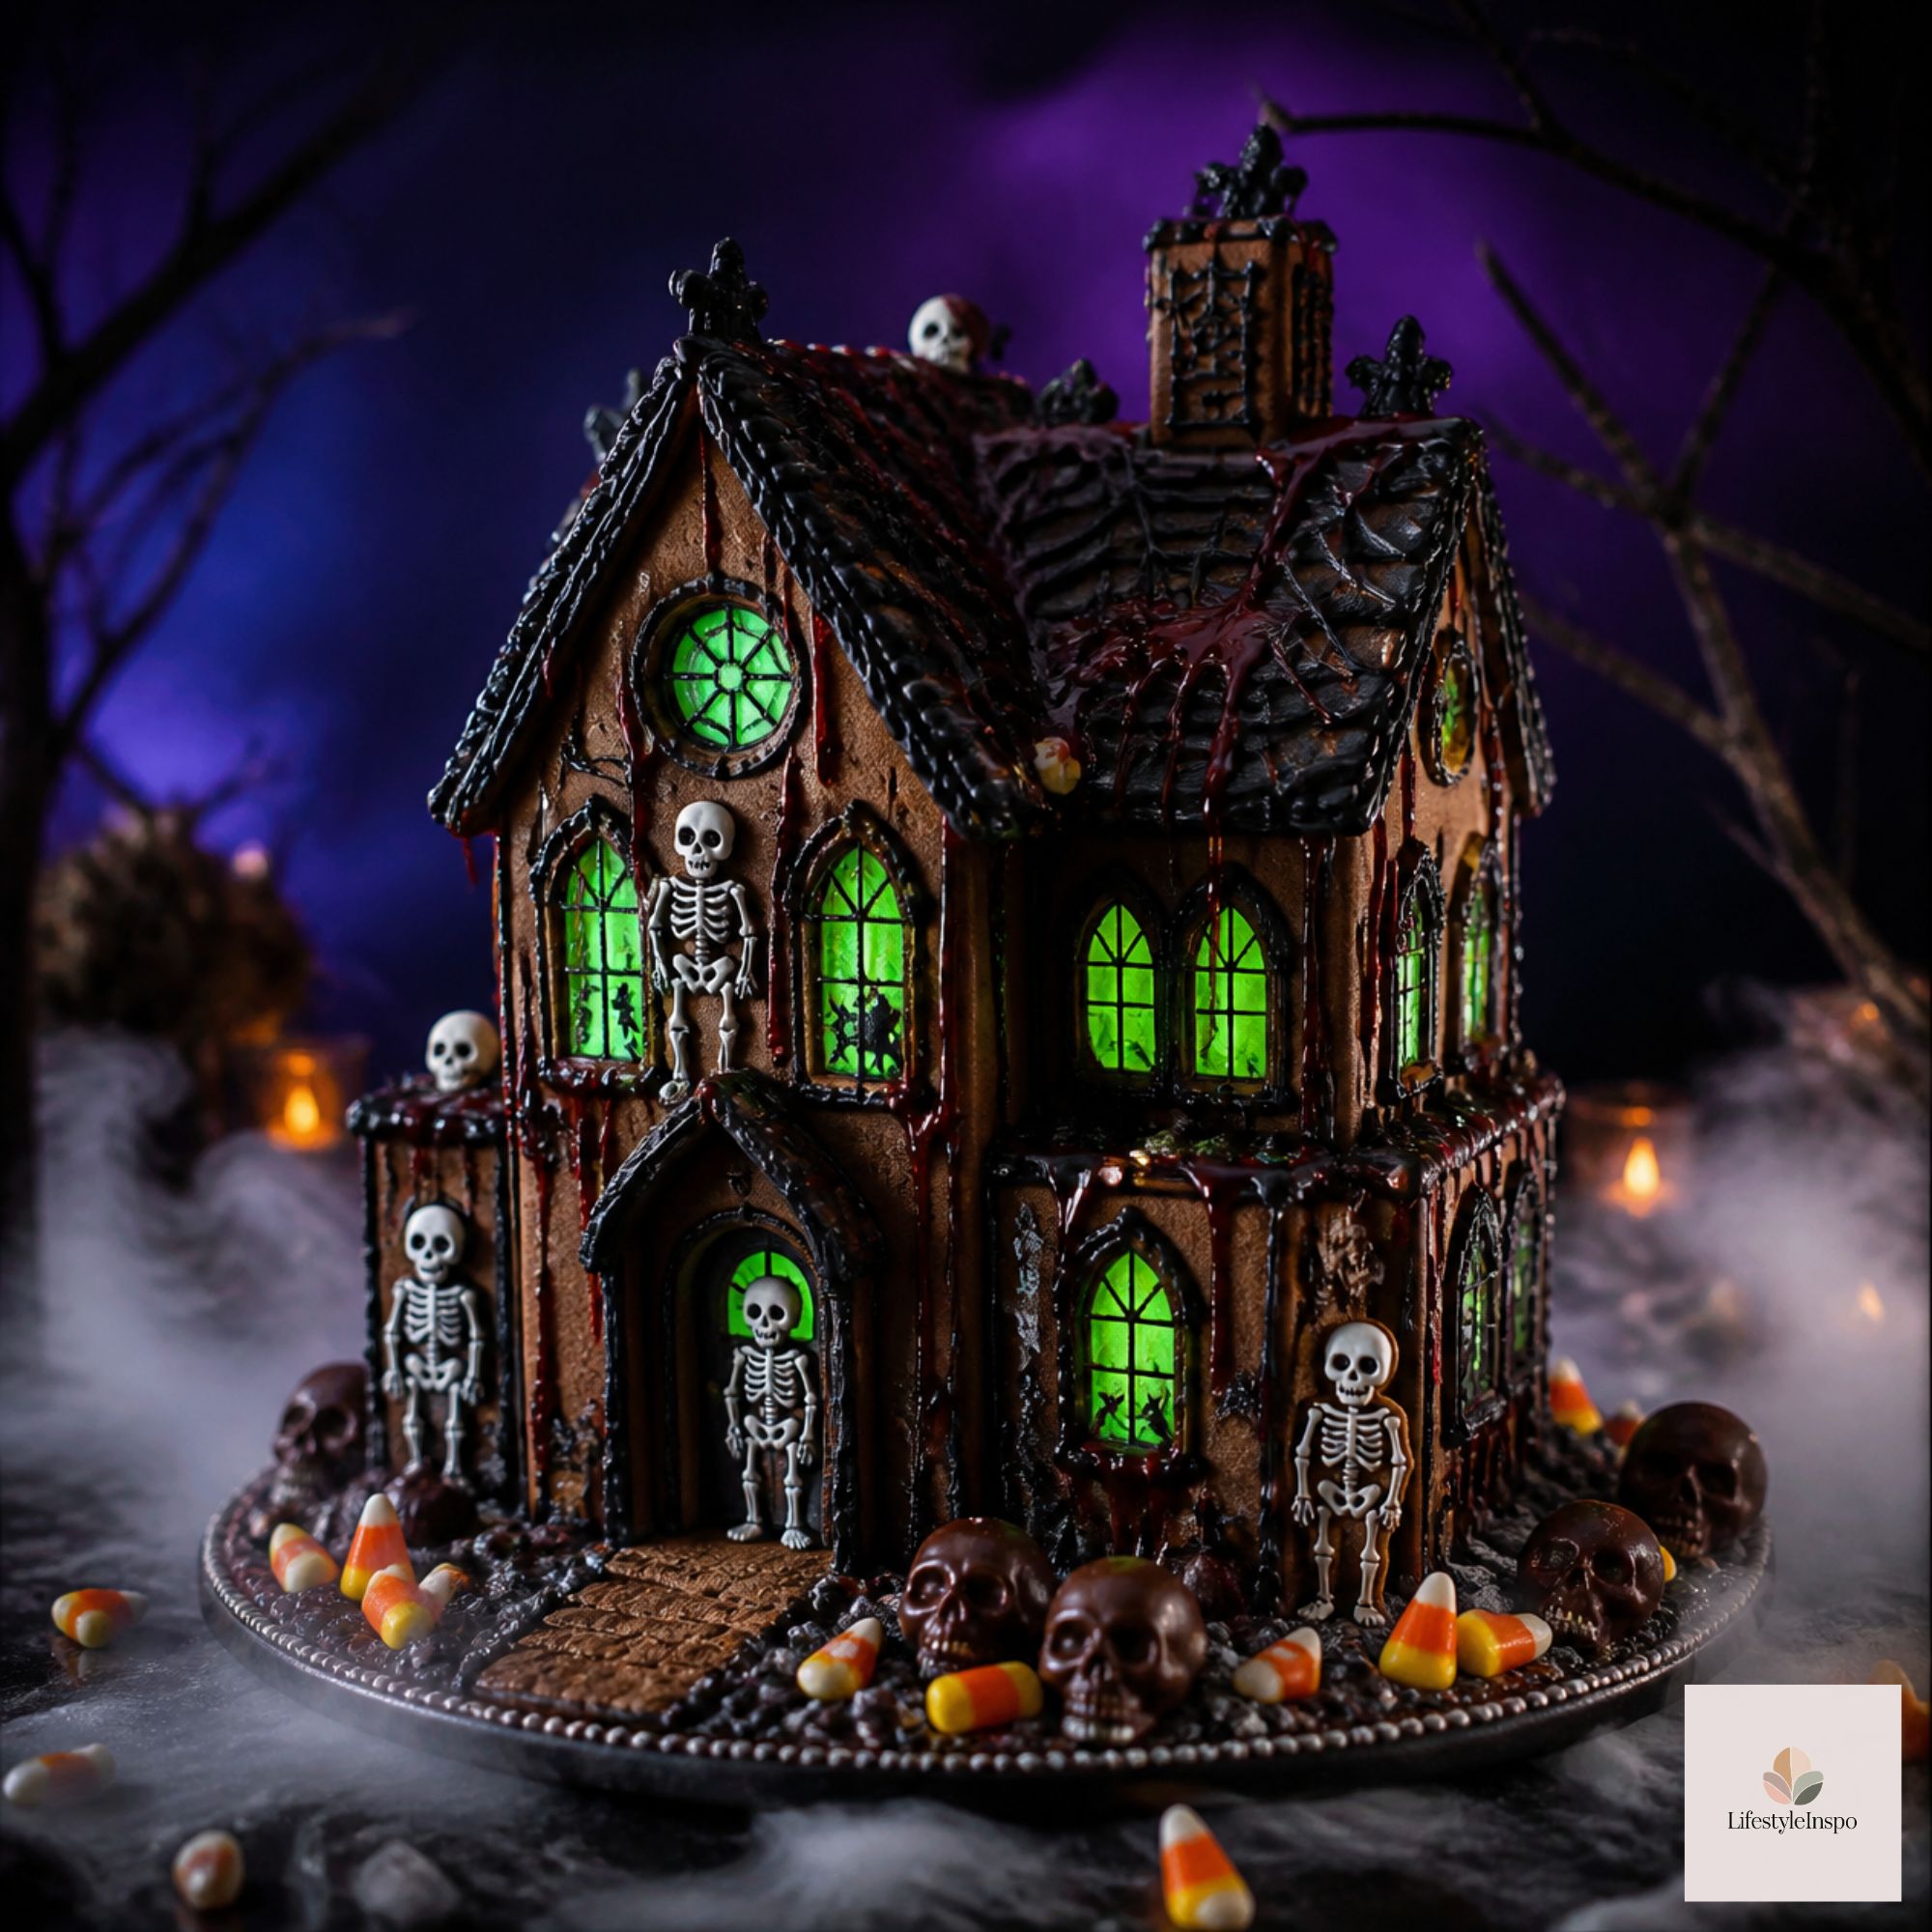
For a more polished look, add a few molded chocolates made with a Halloween chocolate mold as accents, like tiny skulls or bats on the roof.
Tips for a Sturdy House
- Let each stage dry. Patience is key. Walls need to set before roofs go on.
- Use more icing than you think. It’s a glue, so be generous at the joints.
- Support the walls. Use cans or small jars to prop up the walls while they dry.
- Build in a dry space. Humidity weakens icing and softens gingerbread.
- Keep decorations light. Heavy candies on the roof can cause sliding. Use icing thickly for those.
- Have a backup plan. If a piece breaks, glue it with icing and pretend it’s a haunted, crumbling house. It’s on theme.
Host a Haunted Gingerbread House Party
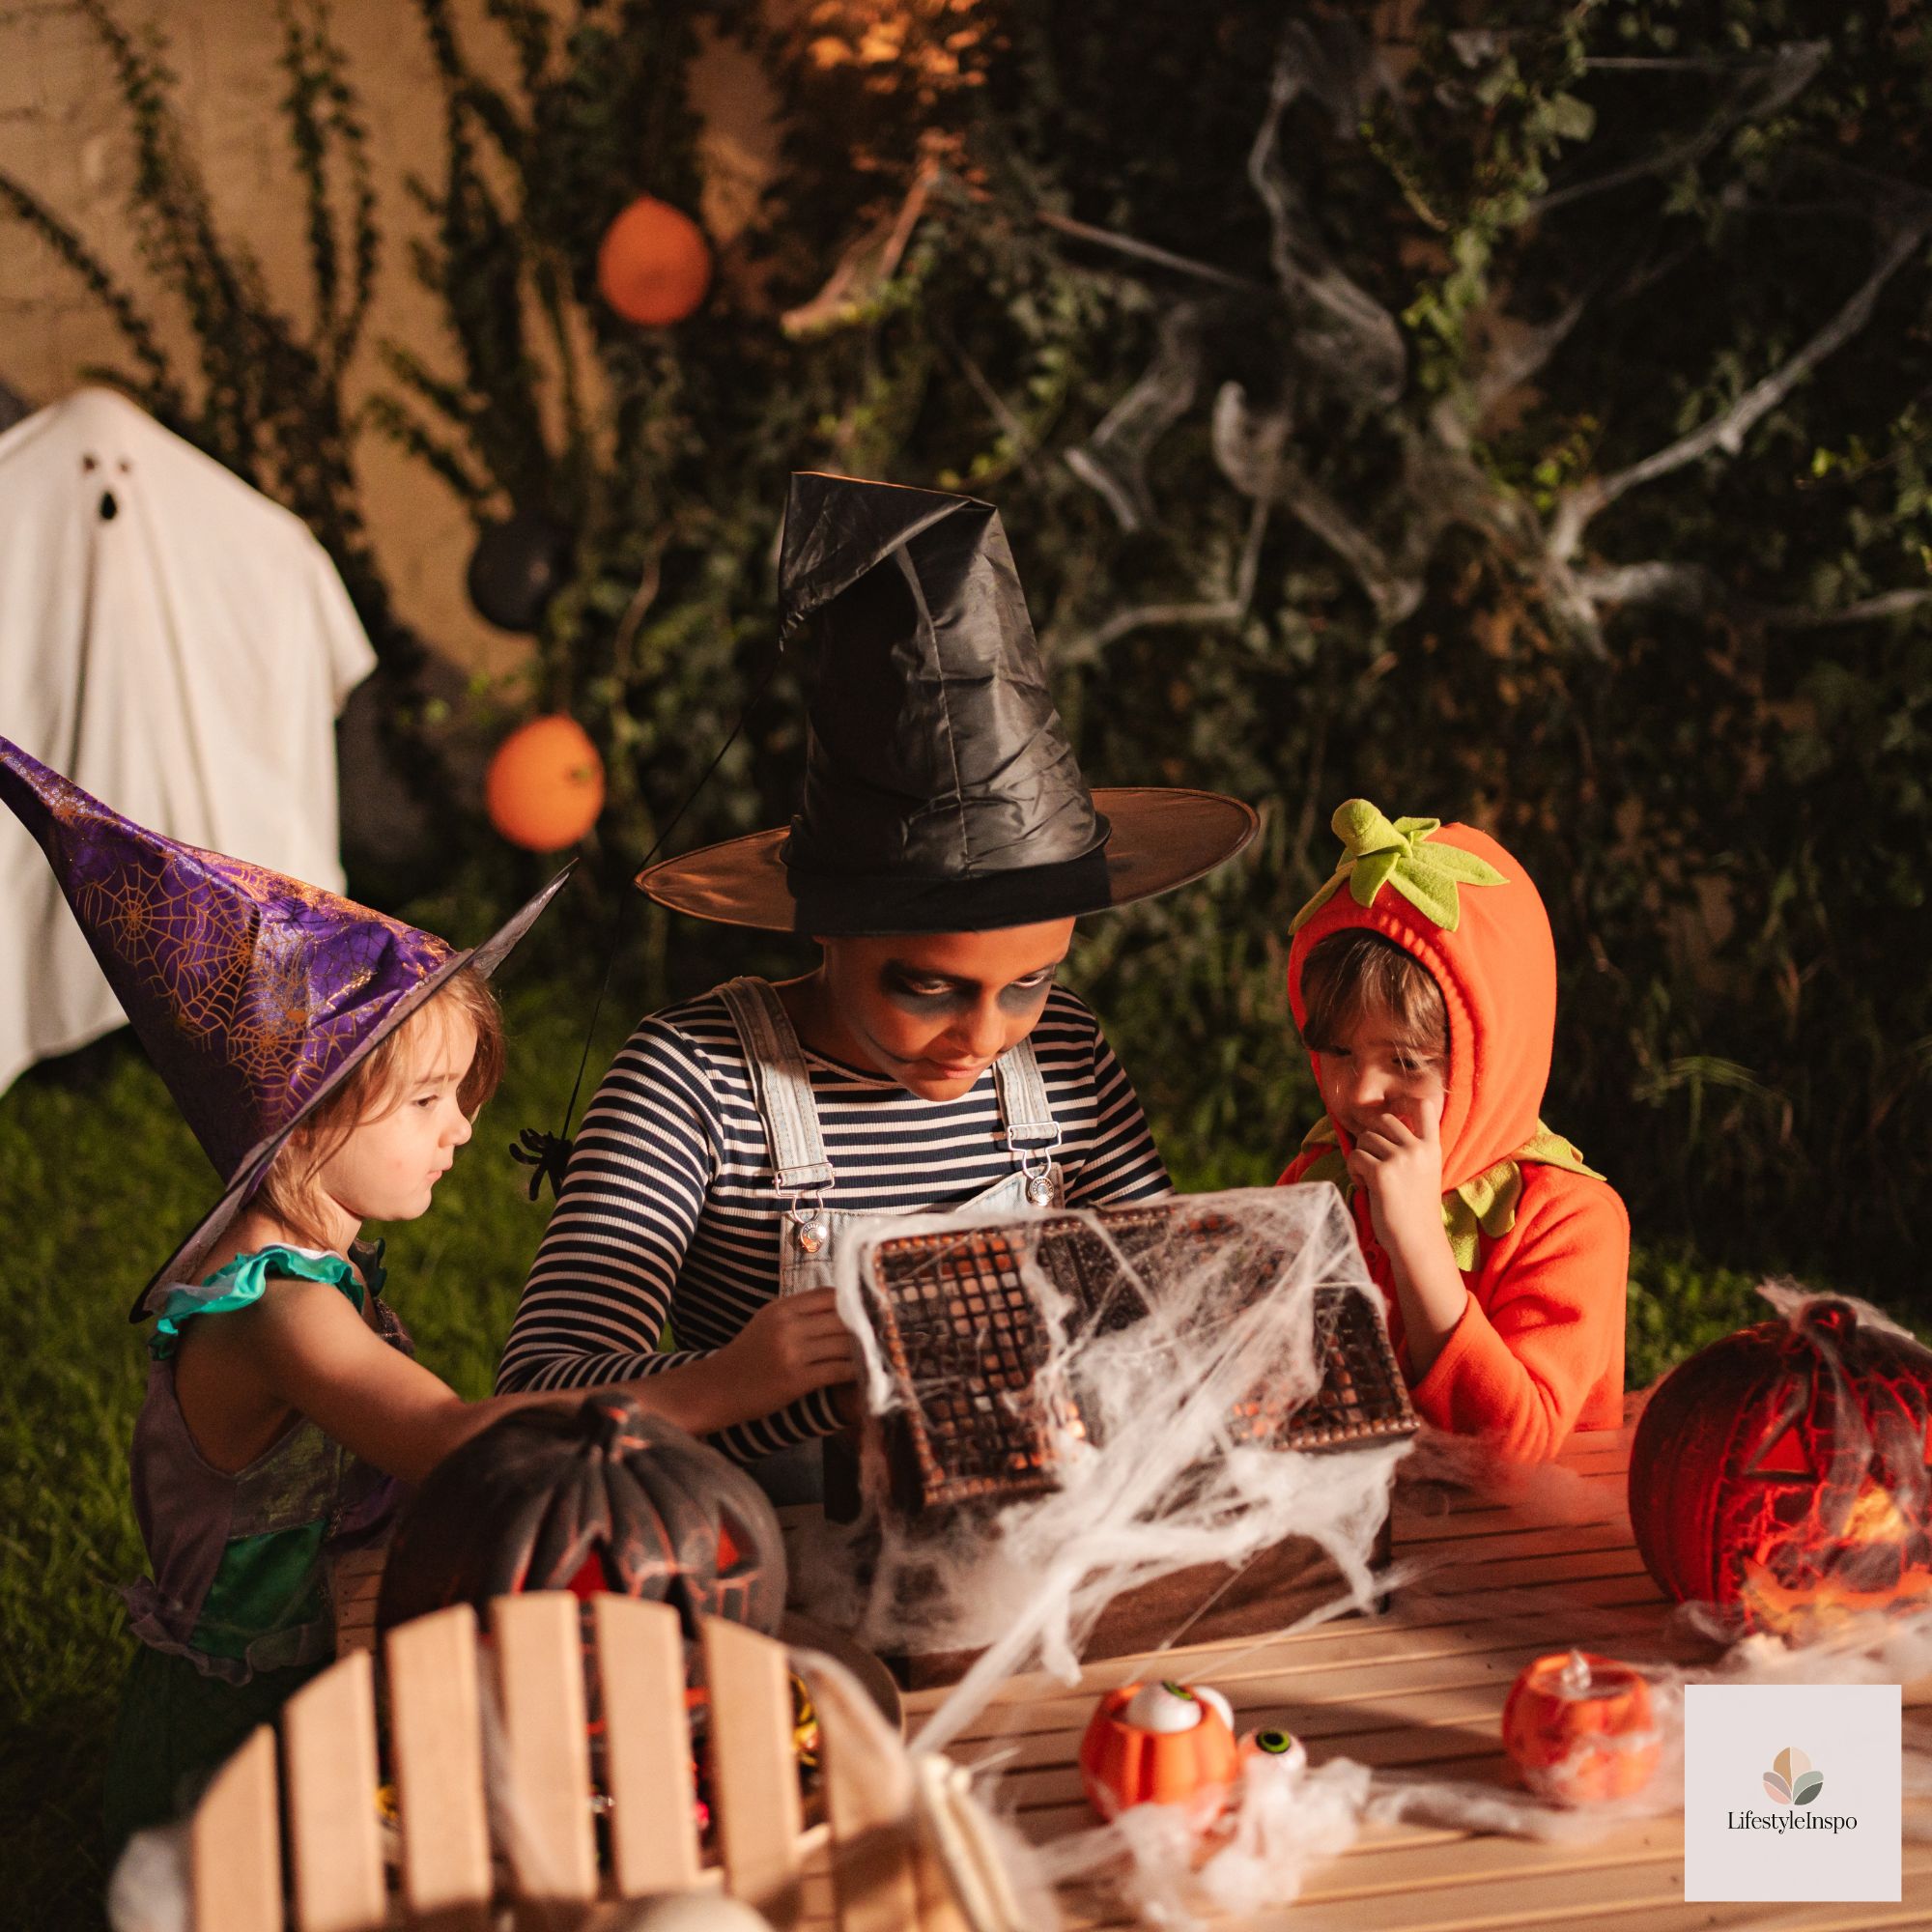
A gingerbread build-off is one of the easiest and most memorable parties to host.
- Pre-build the houses. Assemble the structures ahead of time, so guests spend their time decorating instead of waiting for icing to set.
- Set up a candy bar. Fill bowls with gumdrops, candy corn, pretzels, sprinkles, and licorice. A cauldron-style candy bowl makes a fun centerpiece.
- Offer judging categories. Award titles like “Spookiest,” “Most Creative,” and “Best Use of Candy Corn.”
- Serve snacks. Keep food simple with finger foods and a Halloween punch in a drink dispenser.
- Make the table cozy. A Halloween tablecloth protects your table and ties together the theme.
- Take photos. Everyone will want to show off their creation.
Frequently Asked Questions
How long does a gingerbread house last? Displayed in a cool, dry place, it can look great for 2-3 weeks. It’s generally not recommended for eating after a long display.
Can I eat the gingerbread house? Kit pieces are often made to be edible, but they can be quite hard and may sit out for a while. If you want to eat it, build and enjoy it the same day.
What if my icing is too runny? Add more powdered sugar a tablespoon at a time until it thickens.
Is it okay to use hot glue or other adhesives? For decoration-only houses, yes, but if you plan to eat any of it, stick with royal icing.
Final Thoughts
A haunted gingerbread house is part baking project, part art class, and entirely fun. Whether you use a kit for convenience or go all in from scratch, the best houses are the ones with a little personality, a few crooked walls, and a lot of candy.
Now grab your icing and build something spooky!
About the Author