Halloween Chocolate Treats: Easy Candy Mold Recipes (No Baking Skills Needed)
If you love the idea of homemade Halloween treats but the thought of a complicated recipe makes you want to order takeout, I have good news. Some of the cutest Halloween desserts require no oven, no mixer, and barely any skill at all.
Enter candy molds and candy melts. Melt, pour, chill, pop out. That’s the whole method, and the results look like something from a boutique chocolate shop: tiny skulls, bats, pumpkins, and ghosts, all made in your own kitchen.
In this post, I’m walking you through three beginner-friendly recipes: molded Halloween chocolates, five-minute Halloween bark, and silicone-mold brownie bites. Plus, my best tips for smooth, shiny chocolate and a few ideas for packaging your creations as gifts. Let’s make something delicious.
The Tools That Make It Easy
A little equipment goes a long way with candy making. You don’t need much, but the right basics make the difference between glossy chocolates and a frustrating mess.
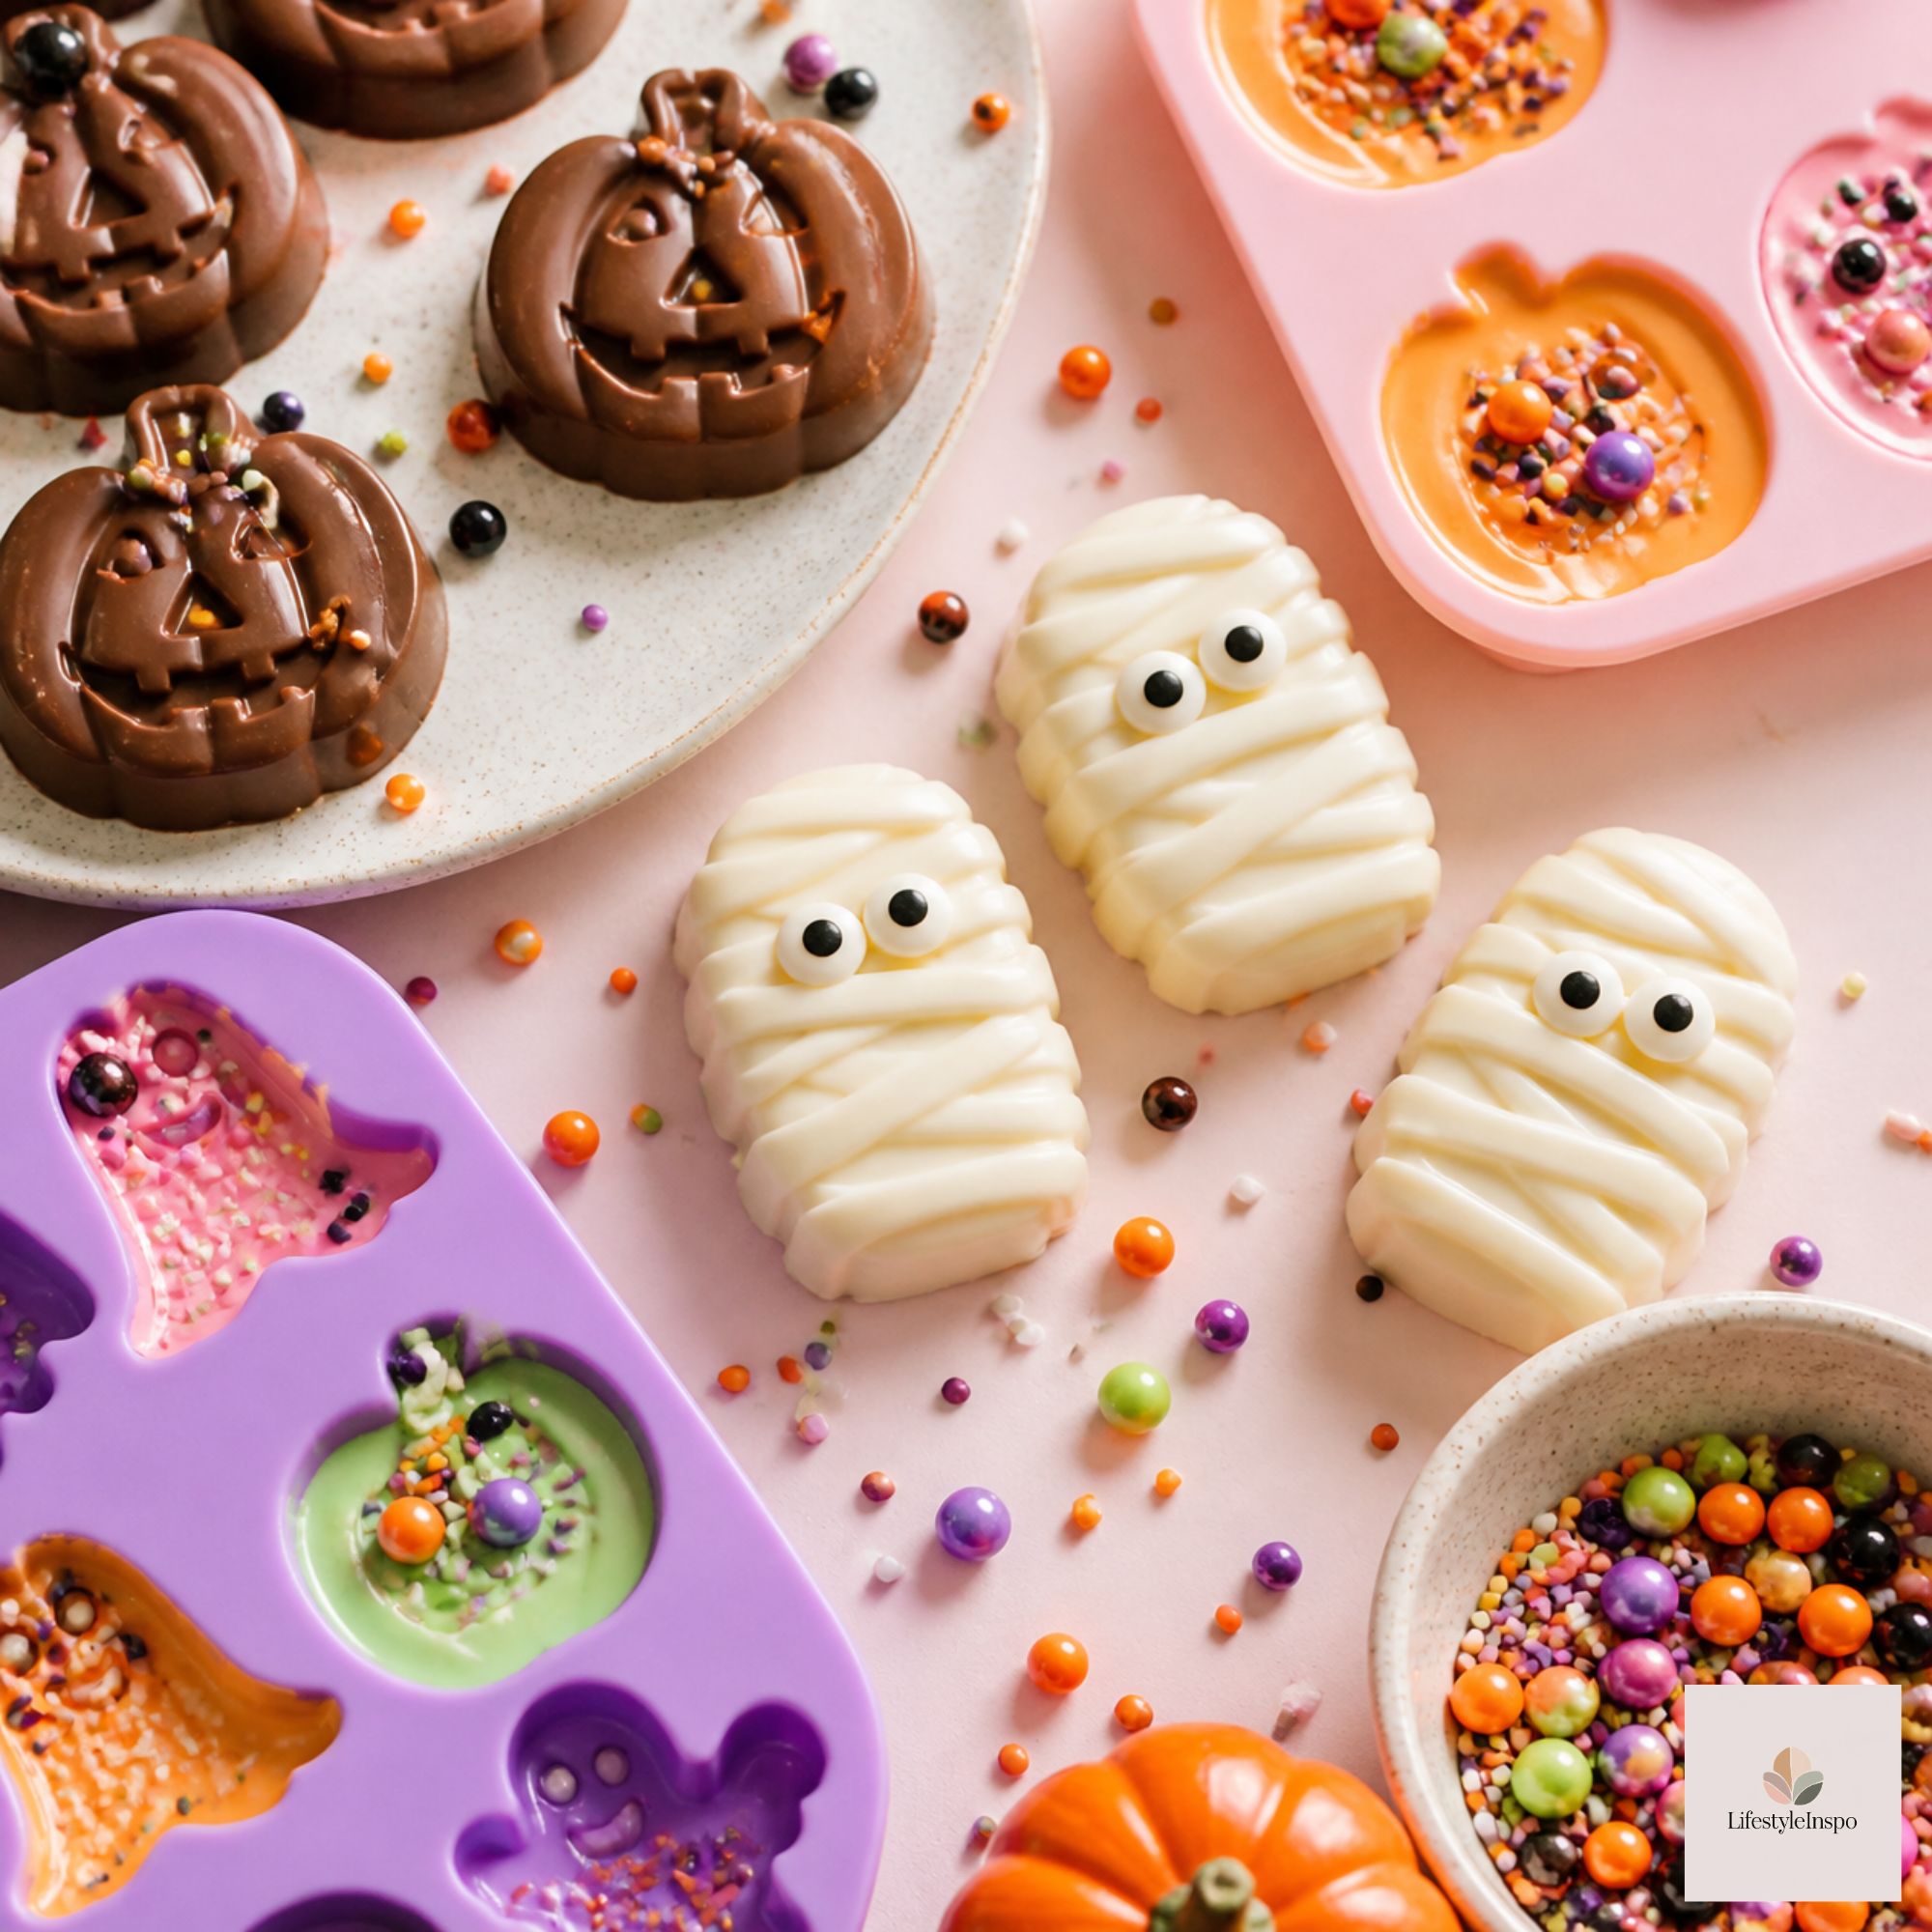
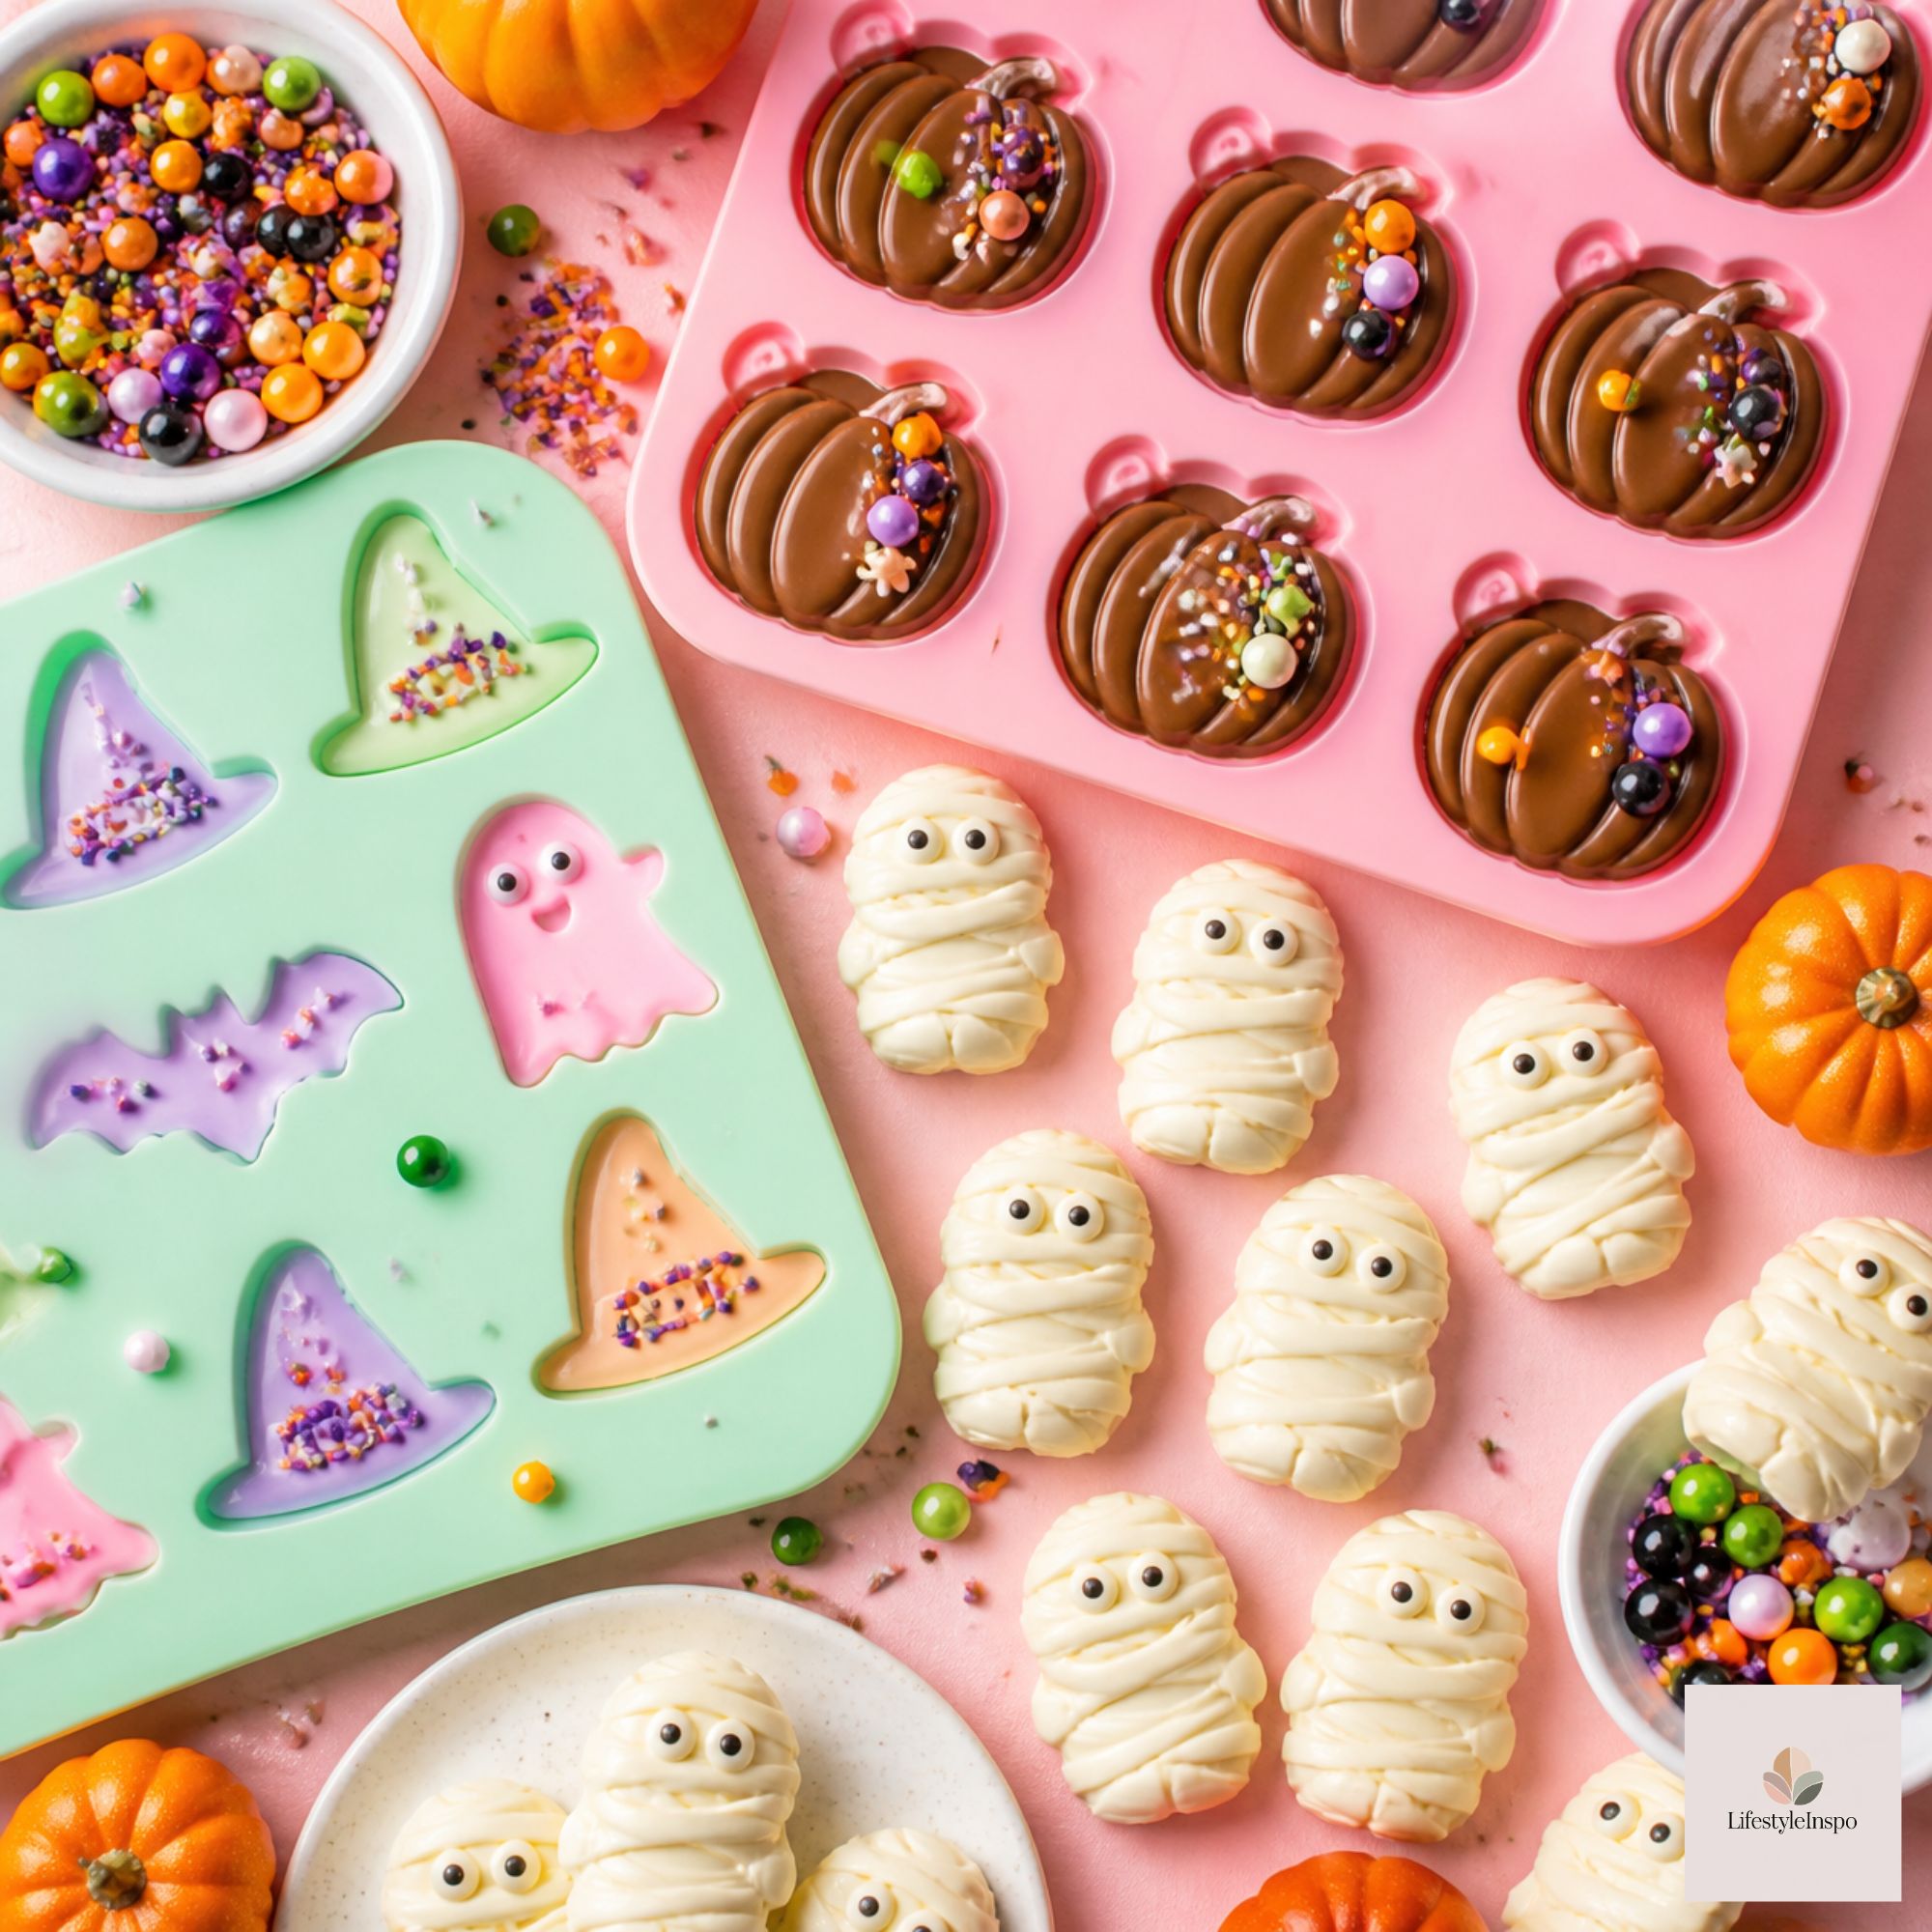
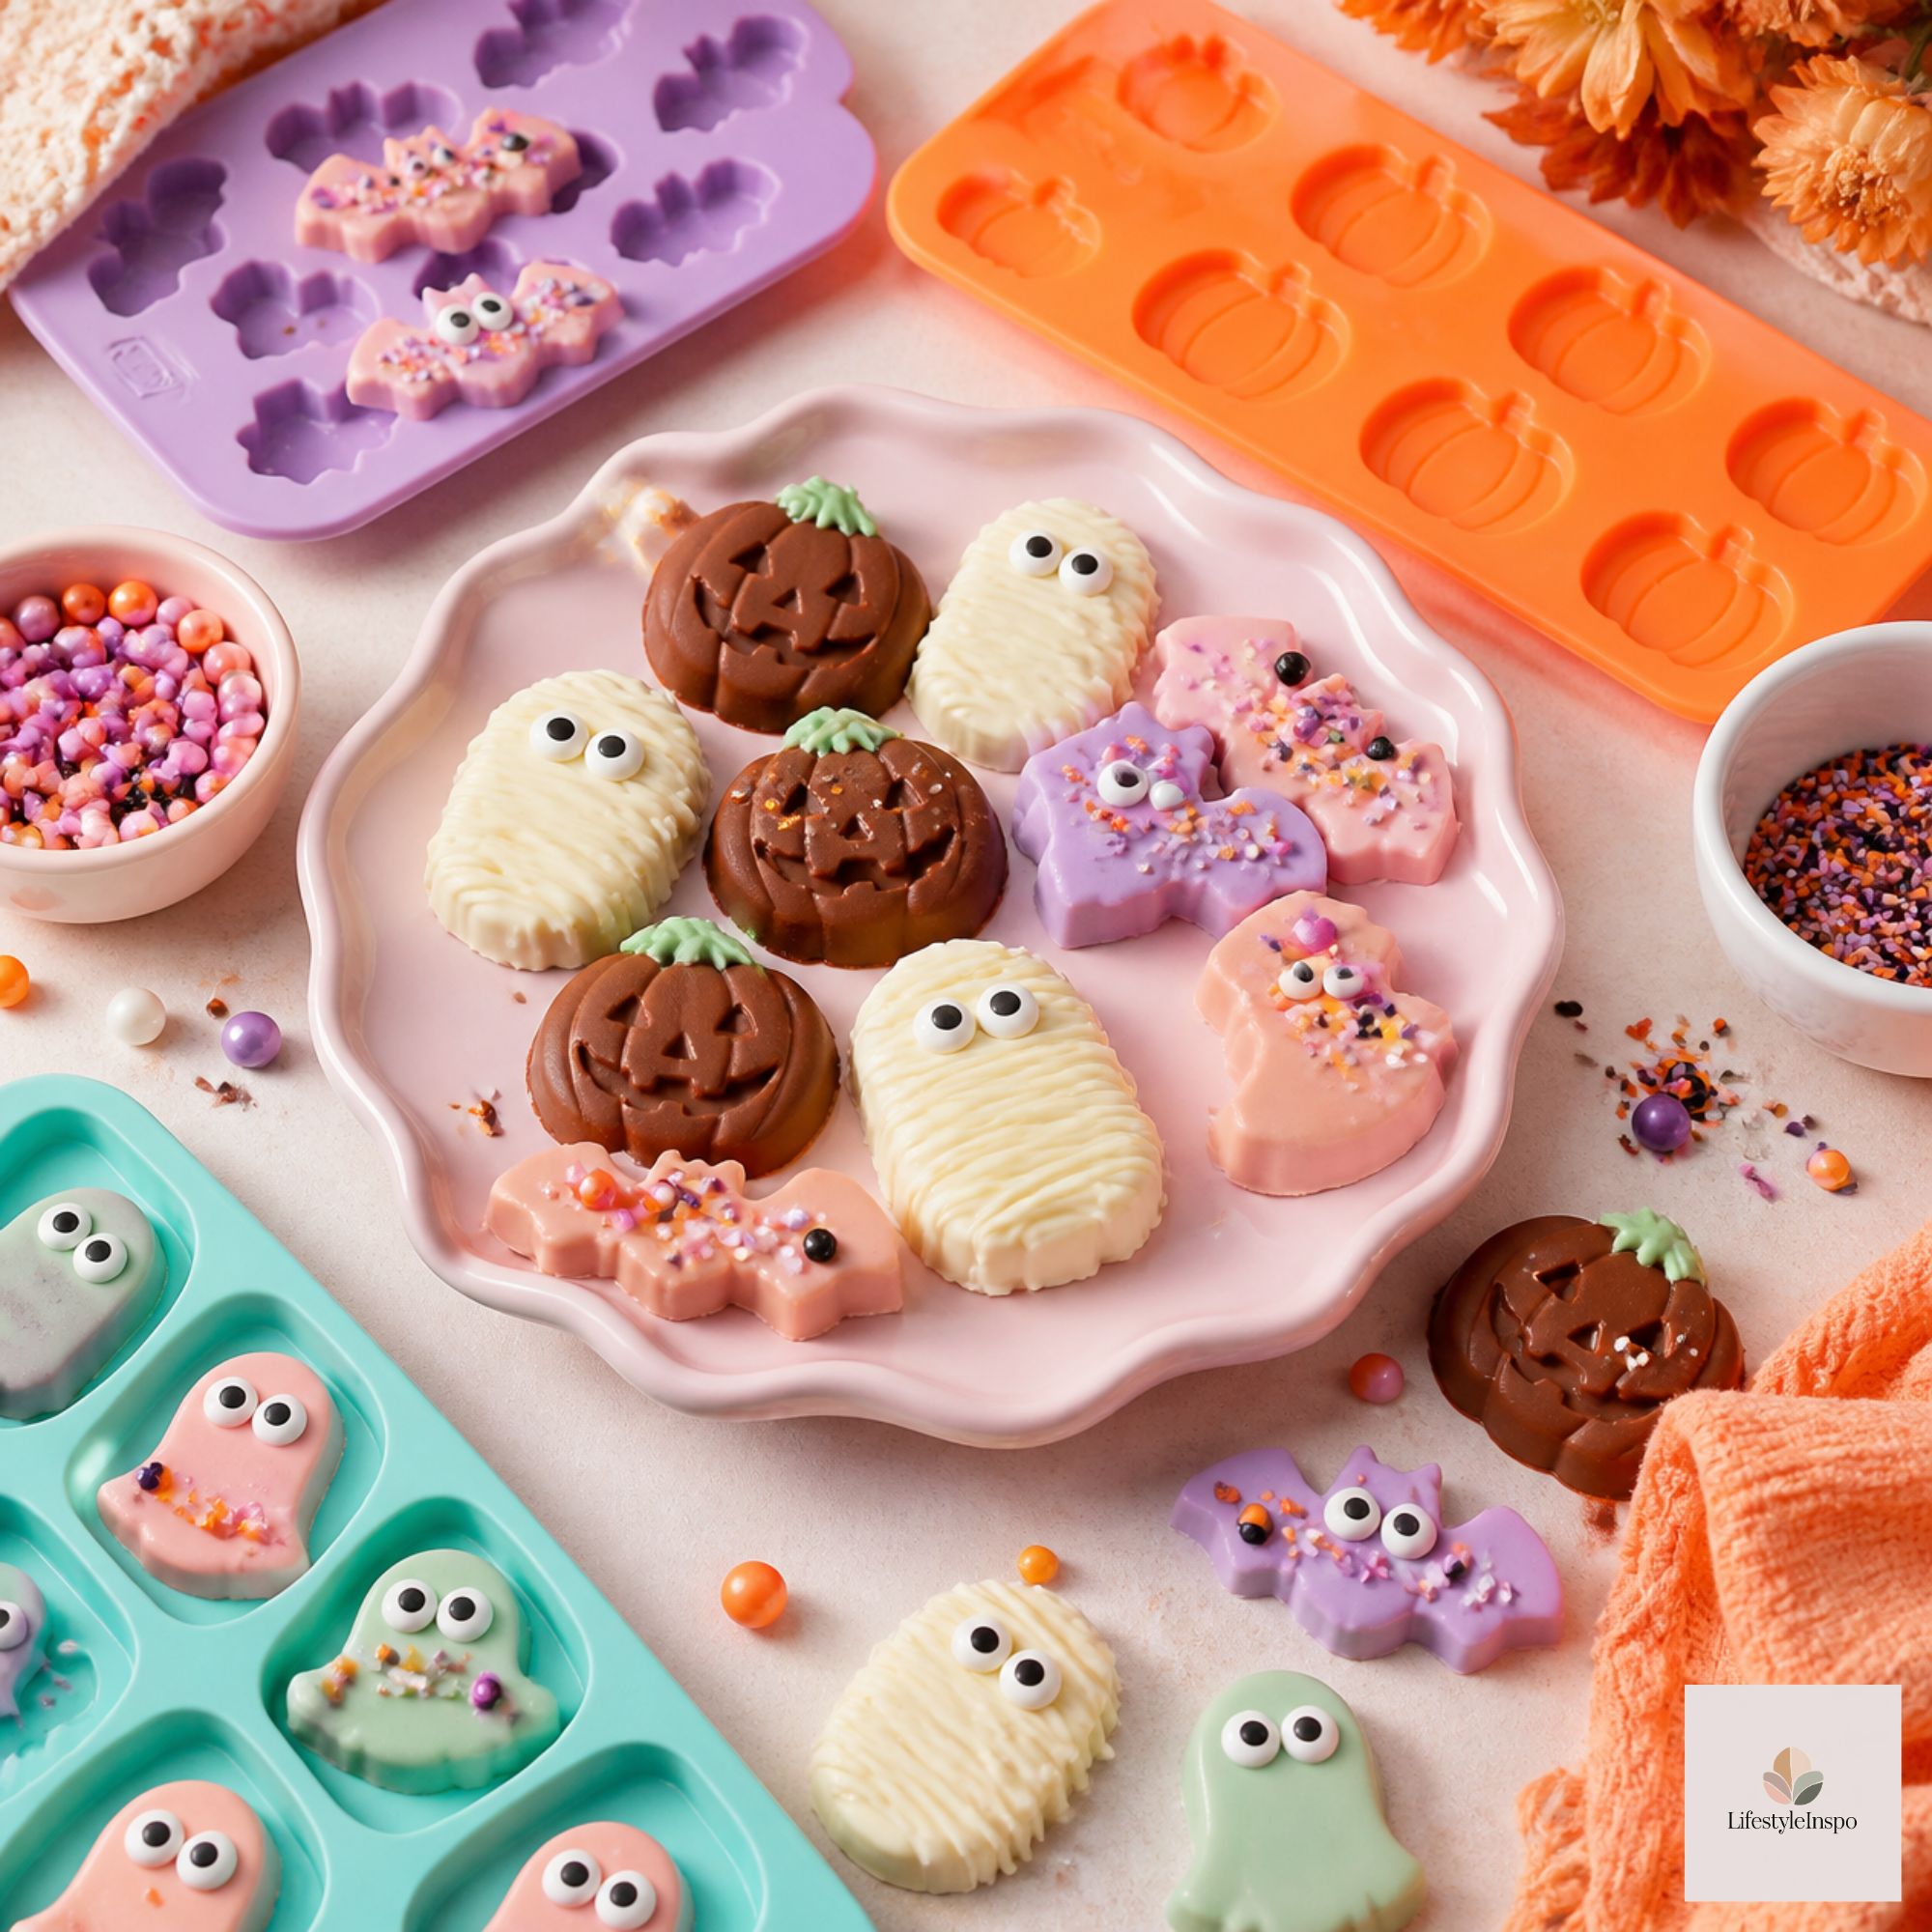
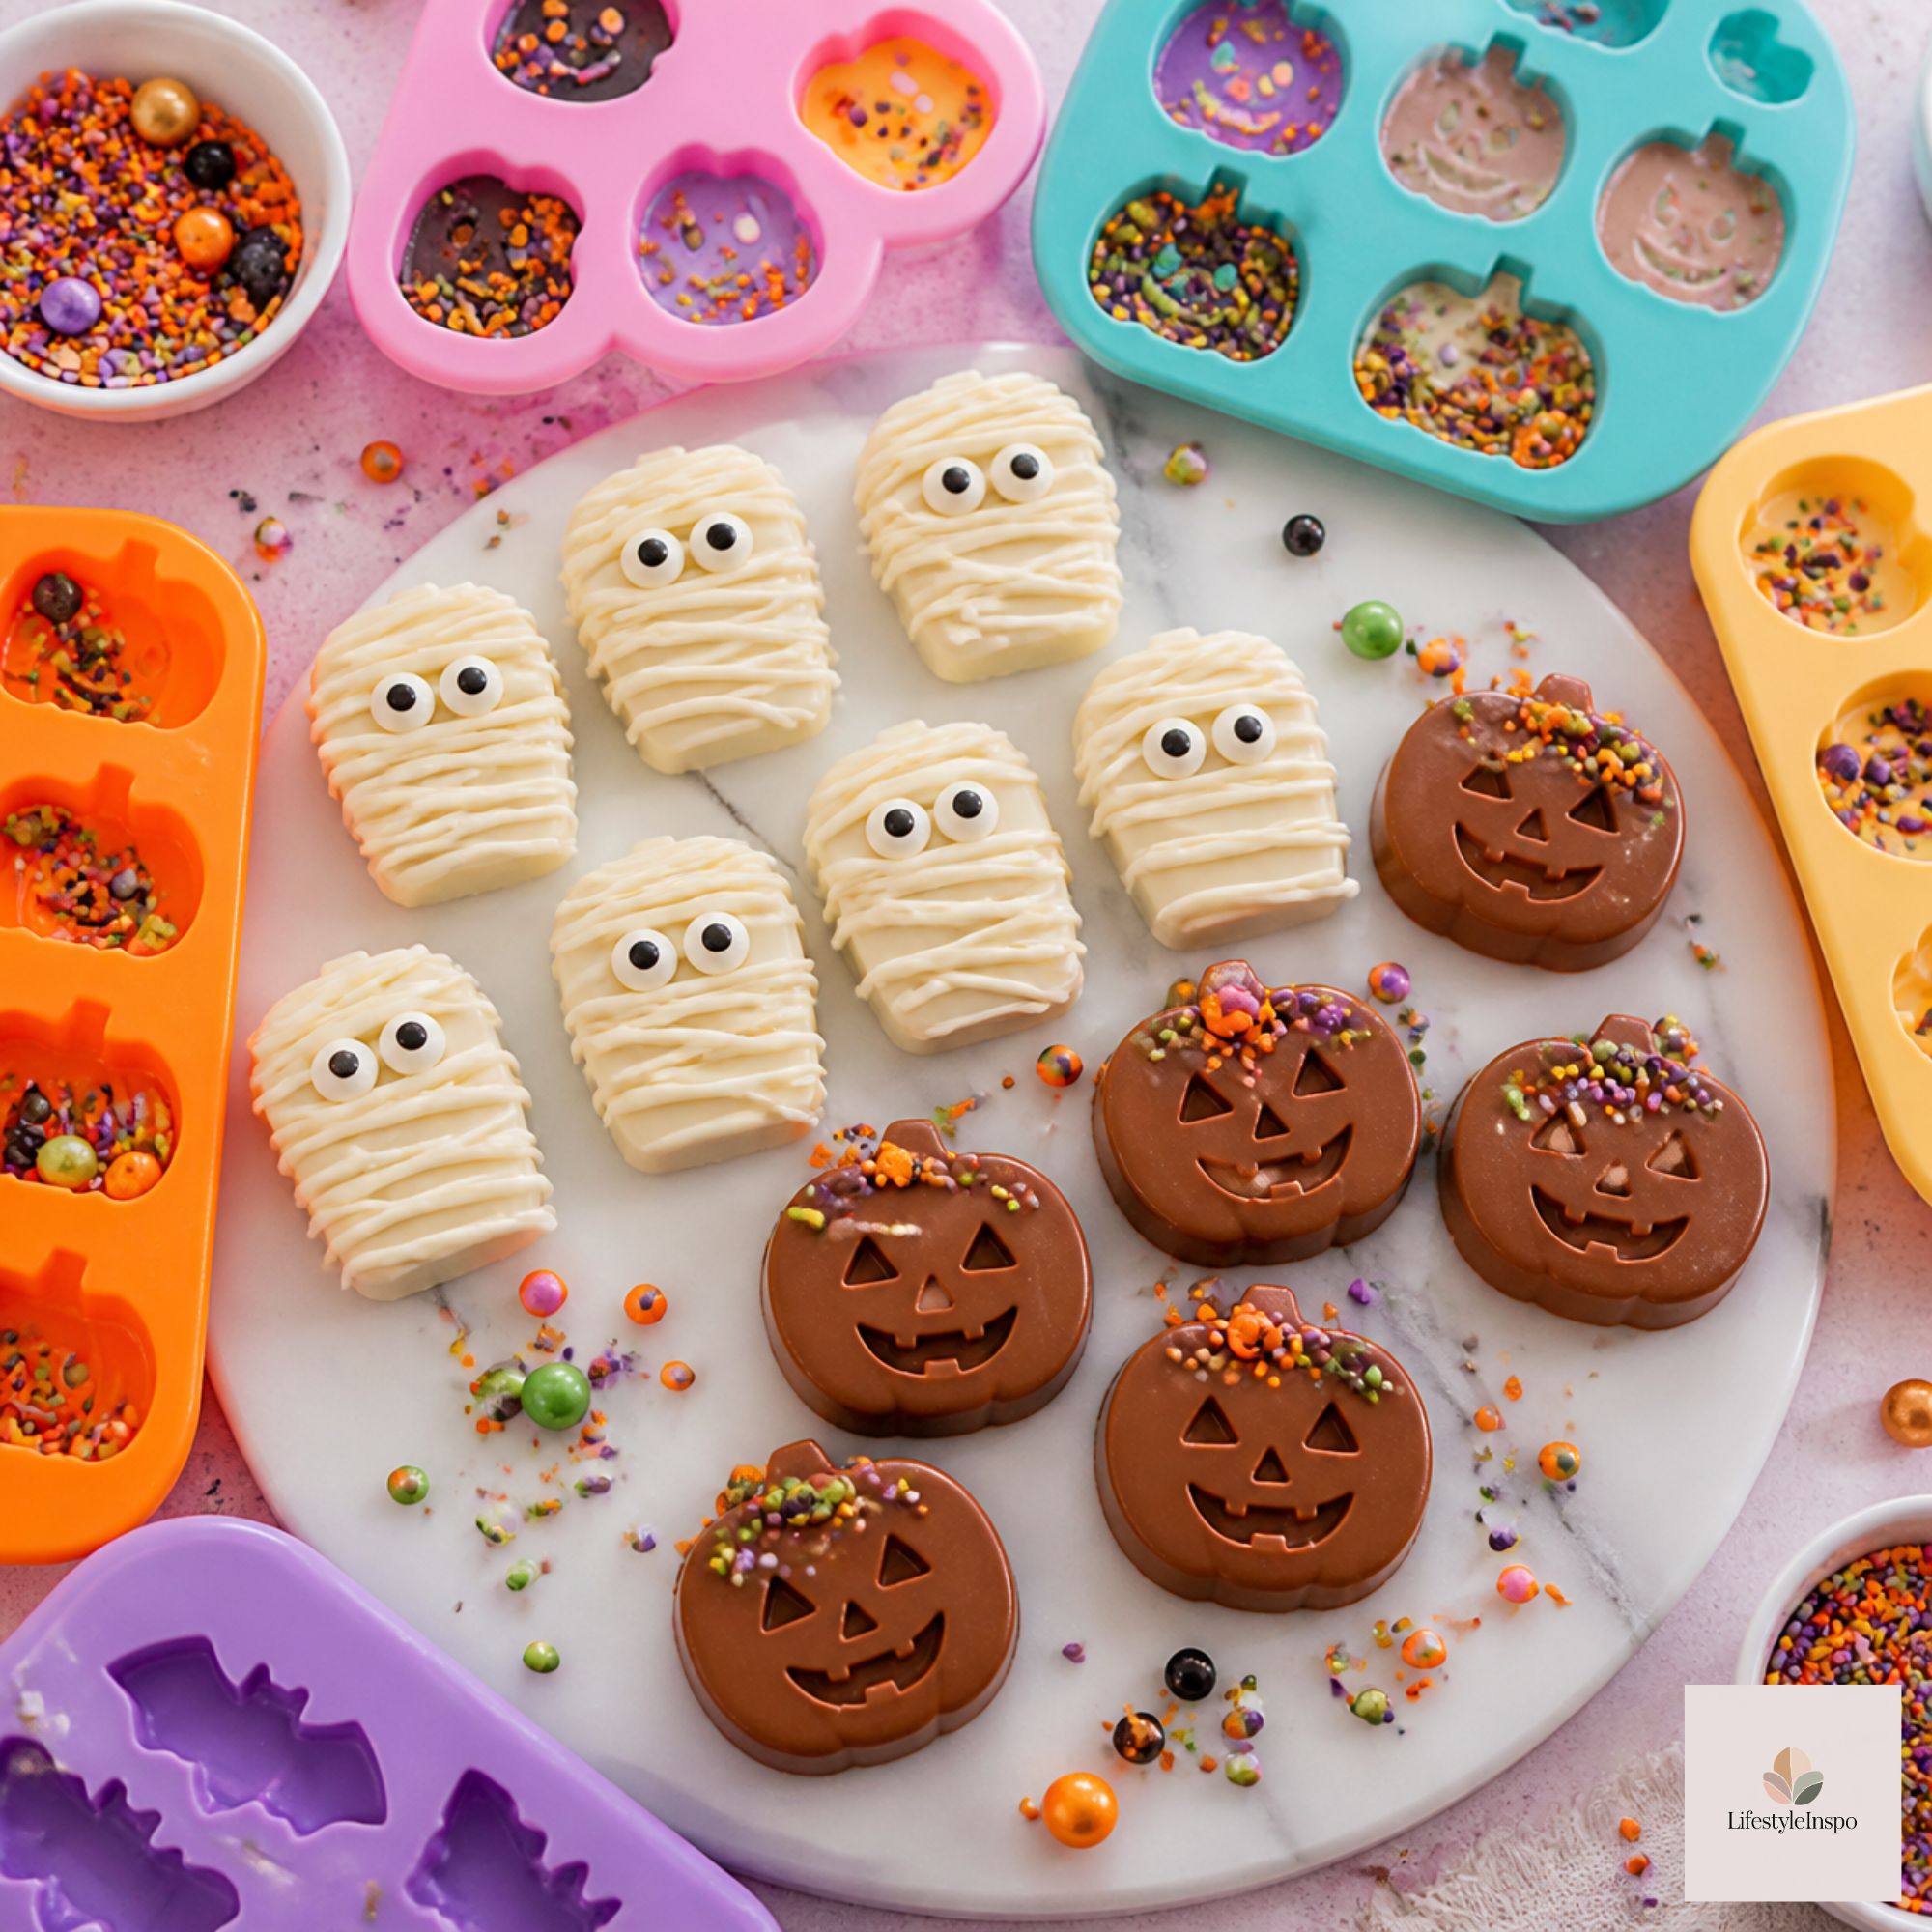
Chocolate candy molds. A Halloween chocolate candy mold is the star of the show. Look for flexible silicone or sturdy plastic molds with defined details, like pumpkin faces, skulls, and bats. Deeper details make the finished chocolates look more impressive.
Candy melts. Halloween candy melts are designed to melt smoothly and set firm without tempering, which makes them perfect for beginners. They come in colors like orange, purple, black, and white, so you can skip food coloring altogether.
Silicone baking molds. A Halloween silicone baking mold is wonderfully versatile. Use it for brownie bites, mini cakes, gummies, or even frozen yogurt treats. Silicone is flexible, so removing finished pieces is a breeze.
Cupcake liners and toppers. For dressing up dessert, a pack of Halloween cupcake liners and toppers adds instant personality to anything from muffins to brownie bites.
Sprinkles and decorations. Keep a jar of Halloween sprinkles on hand for finishing touches.
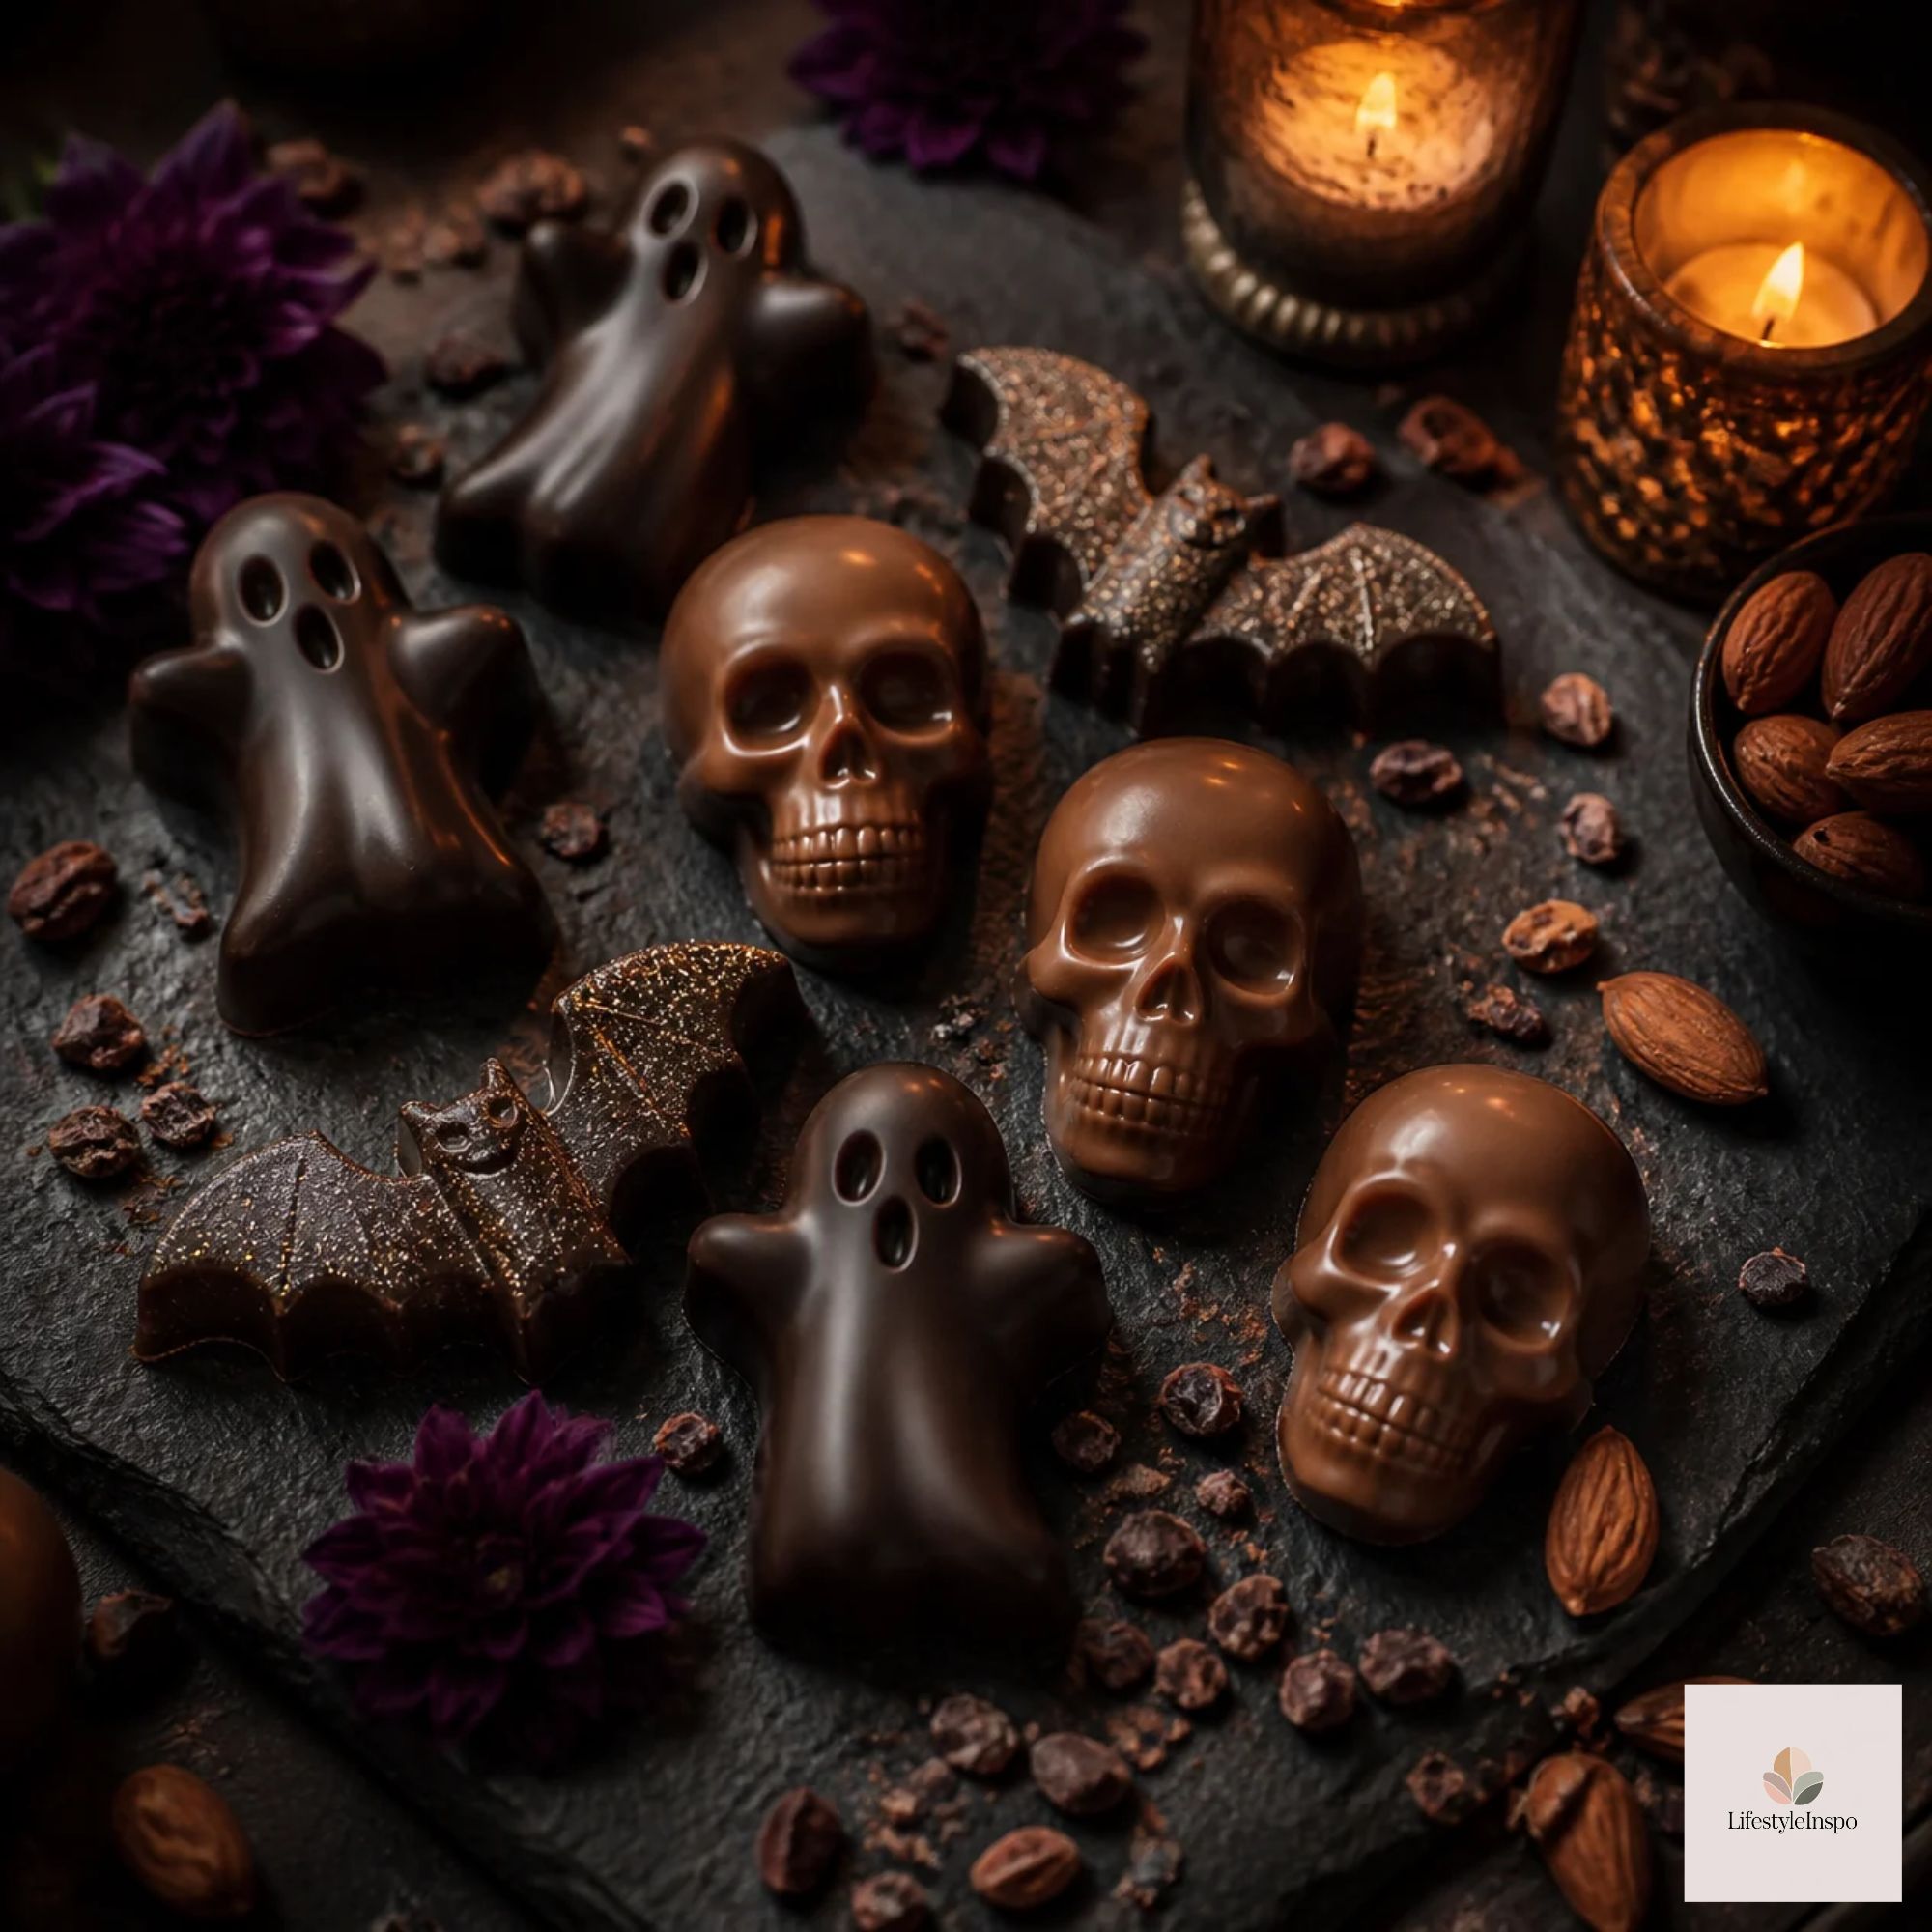
Recipe 1: Molded Halloween Chocolates
This is the foundation recipe. Once you master it, you can make endless variations: filled, layered, striped, or painted.
Yield: About 24 small chocolates (depends on mold size) Prep time: 15 minutes Chill time: 15-20 minutes
Ingredients
- 12 ounces candy melts (orange, purple, white, or a mix)
- 1 teaspoon coconut oil or vegetable shortening (optional, helps thin the melts)
- Sprinkles or edible glitter, for decoration
- Optional fillings: peanut butter, caramel, or a mini marshmallow
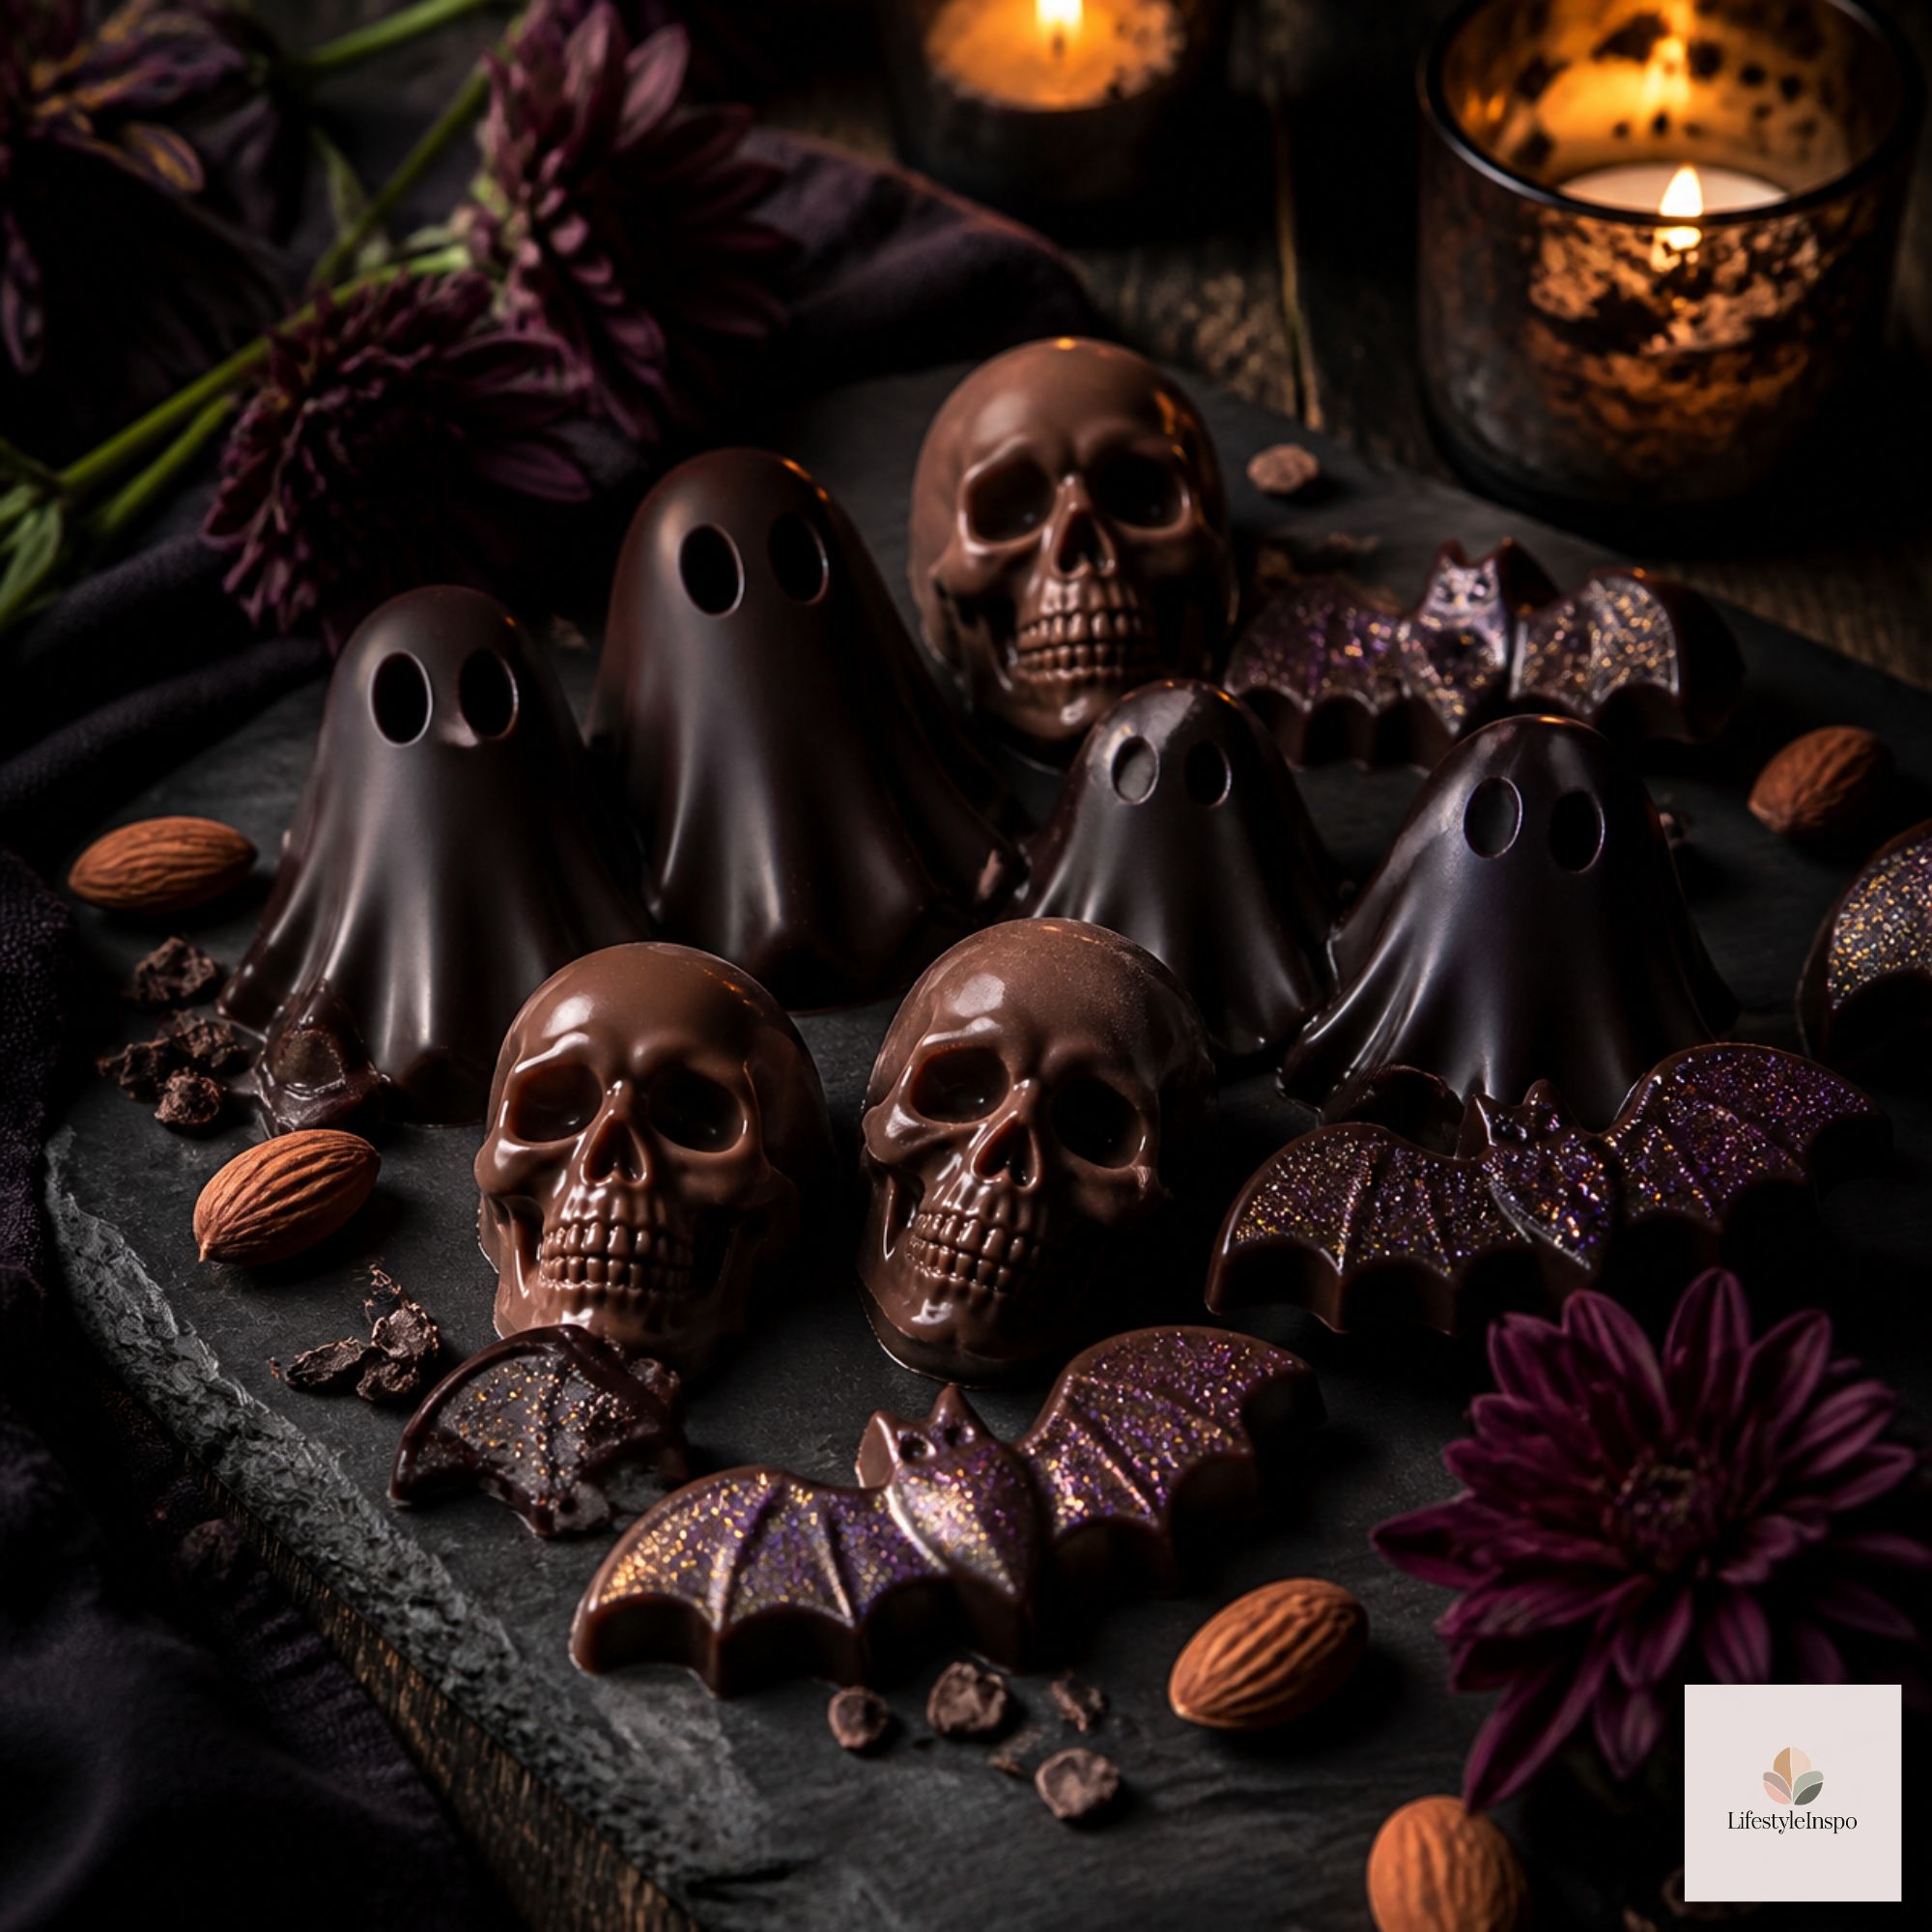
Instructions
- Prep your mold. Make sure it’s clean and completely dry. Even a drop of water can make chocolate seize.
- Melt the candy. Place the candy melts in a microwave-safe bowl and heat at 50% power in 30-second bursts, stirring each time. Stop when nearly melted and stir until completely smooth. Add the coconut oil if the mixture seems thick.
- Fill the mold. Spoon or pipe the melted candy into each cavity. Tap the mold gently on the counter to release air bubbles.
- Add the filling (optional). For filled chocolates, fill each cavity halfway, add a small dollop of peanut butter or caramel in the center, then cover with more candy melts.
- Chill. Refrigerate for 15-20 minutes until fully firm.
- Unmold. Gently flex the mold or turn it over and press the back to release. If they don’t pop out, chill for another 5 minutes.
Make Them Look Fancy: Two-Tone Technique
Want chocolates that look like they came from a boutique? Use a clean paintbrush or toothpick to paint tiny details into the mold first. For example, use white candy melts for the eyes of a ghost or black for a bat’s wing outline. Let that layer set for 5 minutes in the fridge, then fill the rest of the mold with your main color. The details will appear crisp on the finished piece.
Recipe 2: Five-Minute Halloween Bark
When you need a treat fast, bark is your best friend. It’s customizable, colorful, and nobody can tell how little effort it took.
Yield: About 20 pieces Prep time: 5 minutes Chill time: 30 minutes
Ingredients
- 12 ounces white chocolate or white candy melts
- 6 ounces orange candy melts
- 6 ounces purple candy melts
- ½ cup mini pretzels, broken in half
- ½ cup candy corn
- ¼ cup Halloween sprinkles
Instructions
- Line a baking sheet with parchment paper.
- Melt the white chocolate according to the package directions, then spread it into a thin, even rectangle on the parchment.
- Melt the orange and purple candy melts in separate bowls. Drop spoonfuls of each color over the white layer.
- Drag a knife or toothpick through the colors in swirls to make a marbled pattern.
- Immediately scatter the pretzels, candy corn, and sprinkles over the top, pressing lightly so they stick.
- Refrigerate for 30 minutes, then break into jagged pieces.
Flavor variation: Swap the pretzels for crushed sandwich cookies, or add a pinch of flaky sea salt for a sweet-and-salty finish.
Recipe 3: Silicone-Mold Brownie Bites
Bite-sized brownies baked in a shaped mold feel so much more special than a standard square. They are especially fun for parties because everyone gets their own tiny dessert.
Yield: About 20 brownie bites Prep time: 10 minutes Bake time: 15-18 minutes
Ingredients
- 1 box (18 ounces) brownie mix, plus ingredients called for on the box (typically eggs, oil, and water)
- Nonstick cooking spray
- ½ cup melted candy melts, for drizzling
- Sprinkles, for topping
Instructions
- Preheat the oven to 350°F. Lightly spray your silicone mold with nonstick spray, then place it on a baking sheet for easy transfer.
- Prepare the brownie batter according to the package directions.
- Spoon the batter into each cavity, filling about ¾ full. Silicone molds need a little room to rise.
- Bake for 15-18 minutes, or until a toothpick inserted in the center comes out with a few moist crumbs.
- Let the brownies cool completely in the mold. This is important, because warm brownies will break when you unmold them.
- Gently flex the mold to pop them out. Drizzle with melted candy melts and add sprinkles before the drizzle sets.
If you’d rather skip the mold, place the finished brownie bites in Halloween cupcake liners and top each with a little themed topper for a quick party platter.
Tips for Smooth, Shiny Chocolate
Candy making is simple, but a few details separate “pretty good” from “wow, you made these?”
- Keep water far away. Even a splash can cause chocolate to seize into a grainy lump. Dry your bowls, spoons, and molds thoroughly.
- Melt low and slow. Overheated candy melts turn thick and clumpy. Use 50% power and stir frequently.
- Use a piping bag. Pouring from a bowl can be messy. Transfer melted candy to a piping bag or a zip-top bag with the corner snipped for precision.
- Tap out the bubbles. After filling the molds, rap them against the counter a few times for a smooth surface.
- Chill, but not too long. The fridge is great for quick setting, but leaving chocolates out of the fridge for too long can cause them to sweat when removed. Pull them out once firm.
- Store at cool room temperature. Keep finished chocolates in an airtight container away from heat and sunlight.
How to Package Halloween Chocolates as Gifts
Homemade candy makes a thoughtful gift, and it’s easy to make it look polished.
Treat bags. Slip a few chocolates into small cellophane bags and tie with orange and black ribbon. Add a handwritten tag that reads “Boo-tiful treats.”
Mini gift boxes. Line a small box with parchment or tissue paper and arrange chocolates in neat rows. Add a few pieces of bark for variety.
Party favors. Set out little paper cups of chocolates at each place setting at your Halloween dinner. If you’re hosting, a Halloween party tableware set pairs nicely with them.
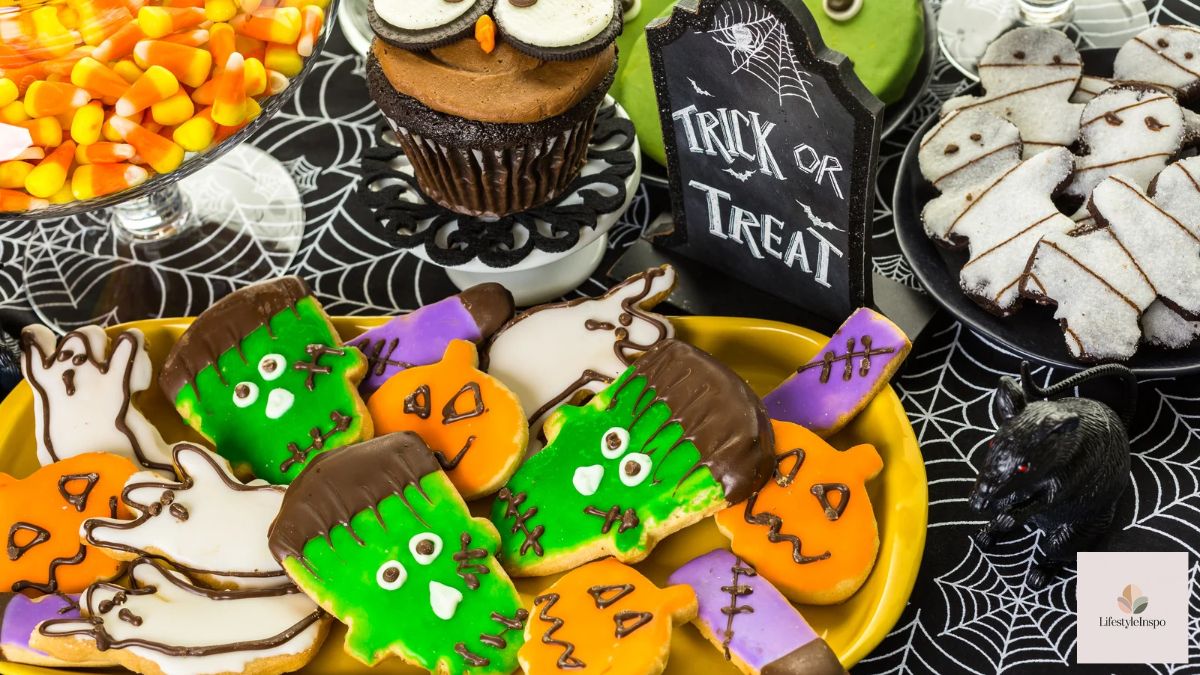
Dessert board. Pile the chocolates, bark, and brownies onto a platter, such as a Halloween serving tray, and let guests graze all evening.
Frequently Asked Questions
Do I need to temper chocolate for these recipes? No. Candy melts are made to set firmly without tempering. If you use real chocolate, tempering gives a snap and shine, but it’s not required for casual treats.
Why did my chocolate get thick and clumpy? It was likely overheated or came into contact with water. Melt on low power and keep everything dry. If it’s only slightly thick, stir in a little coconut oil.
How long do homemade chocolates last? Stored in an airtight container in a cool place, molded chocolates and bark stay fresh for 2-3 weeks. Brownie bites are best within 3-4 days.
Can kids help make these? Absolutely. Pouring melted candy into molds, adding sprinkles, and popping out the finished chocolates are all kid-friendly tasks (the melting step is best left to the grown-ups).
Final Thoughts
Homemade Halloween chocolates prove that the most impressive treats are often the simplest. With a good mold, some candy melts, and a little patience, you can make spooky desserts that look as good as they taste, and have fun doing it.
Start with the molded chocolates, whip up a quick tray of bark, and bake a batch of brownie bites for good measure. Your Halloween dessert table will thank you. Happy making!
About the Author