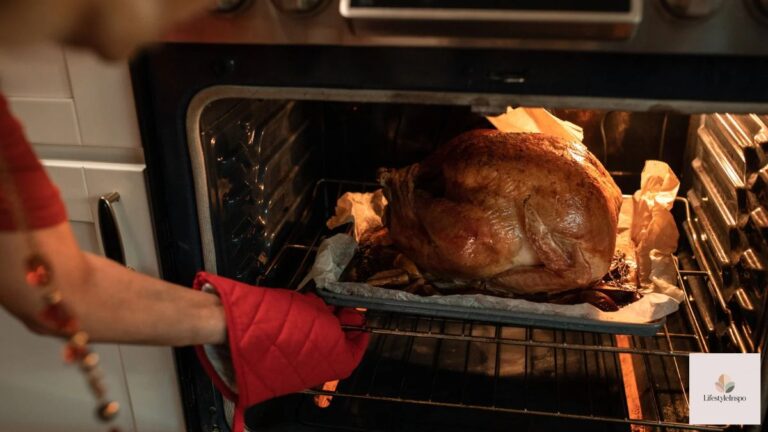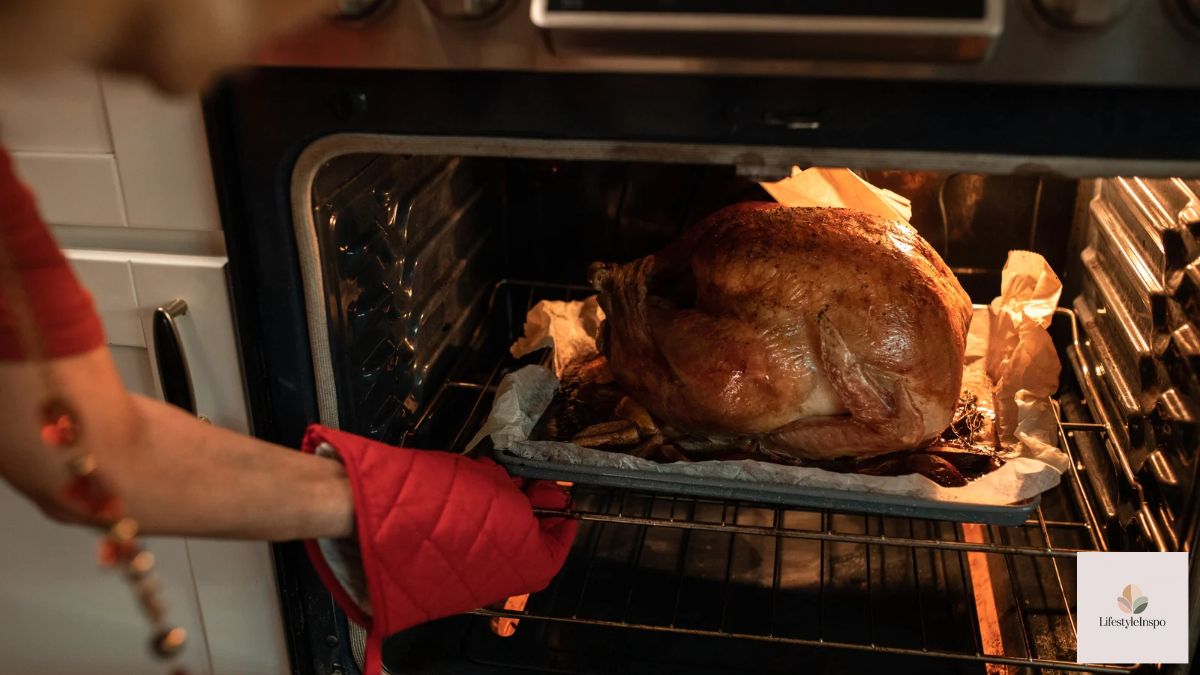
How to Cook a Juicy Thanksgiving Turkey (Without the Panic)
Let’s be honest: the turkey is the thing everyone is quietly stressed about. It’s the centerpiece, it takes hours, and one wrong move can leave you with something closer to cardboard than comfort food.
Here’s the good news. Cooking a juicy Thanksgiving turkey is much less about culinary genius and more about a few smart decisions: thaw it early, season it well, and stop guessing when it’s done. Once you nail those, you’re basically set.
Whether this is your first time hosting or your fifteenth, this guide walks you through everything, from thawing to carving, plus the handful of tools that genuinely make the process easier. Grab a coffee (or a glass of wine, no judgment) and let’s get into it.
Step 1: Start Thawing Earlier Than You Think
If you bought a frozen bird, the fridge is your best friend. Plan on roughly 24 hours of thawing for every 4 to 5 pounds. That means a 16-pound turkey needs about four days. Put it on a rimmed tray (to catch any drips) on the bottom shelf of your fridge.
Short on time? You can thaw in a sink of cold water, changing the water every 30 minutes, at about 30 minutes per pound. It works, but it’s a lot more babysitting. If you can, just give yourself the extra days.
Pro tip: Count backward from Thanksgiving Day on your calendar today. For a Thursday dinner, a big turkey should go into the fridge by the previous Sunday.
Step 2: Choose Your Seasoning Method
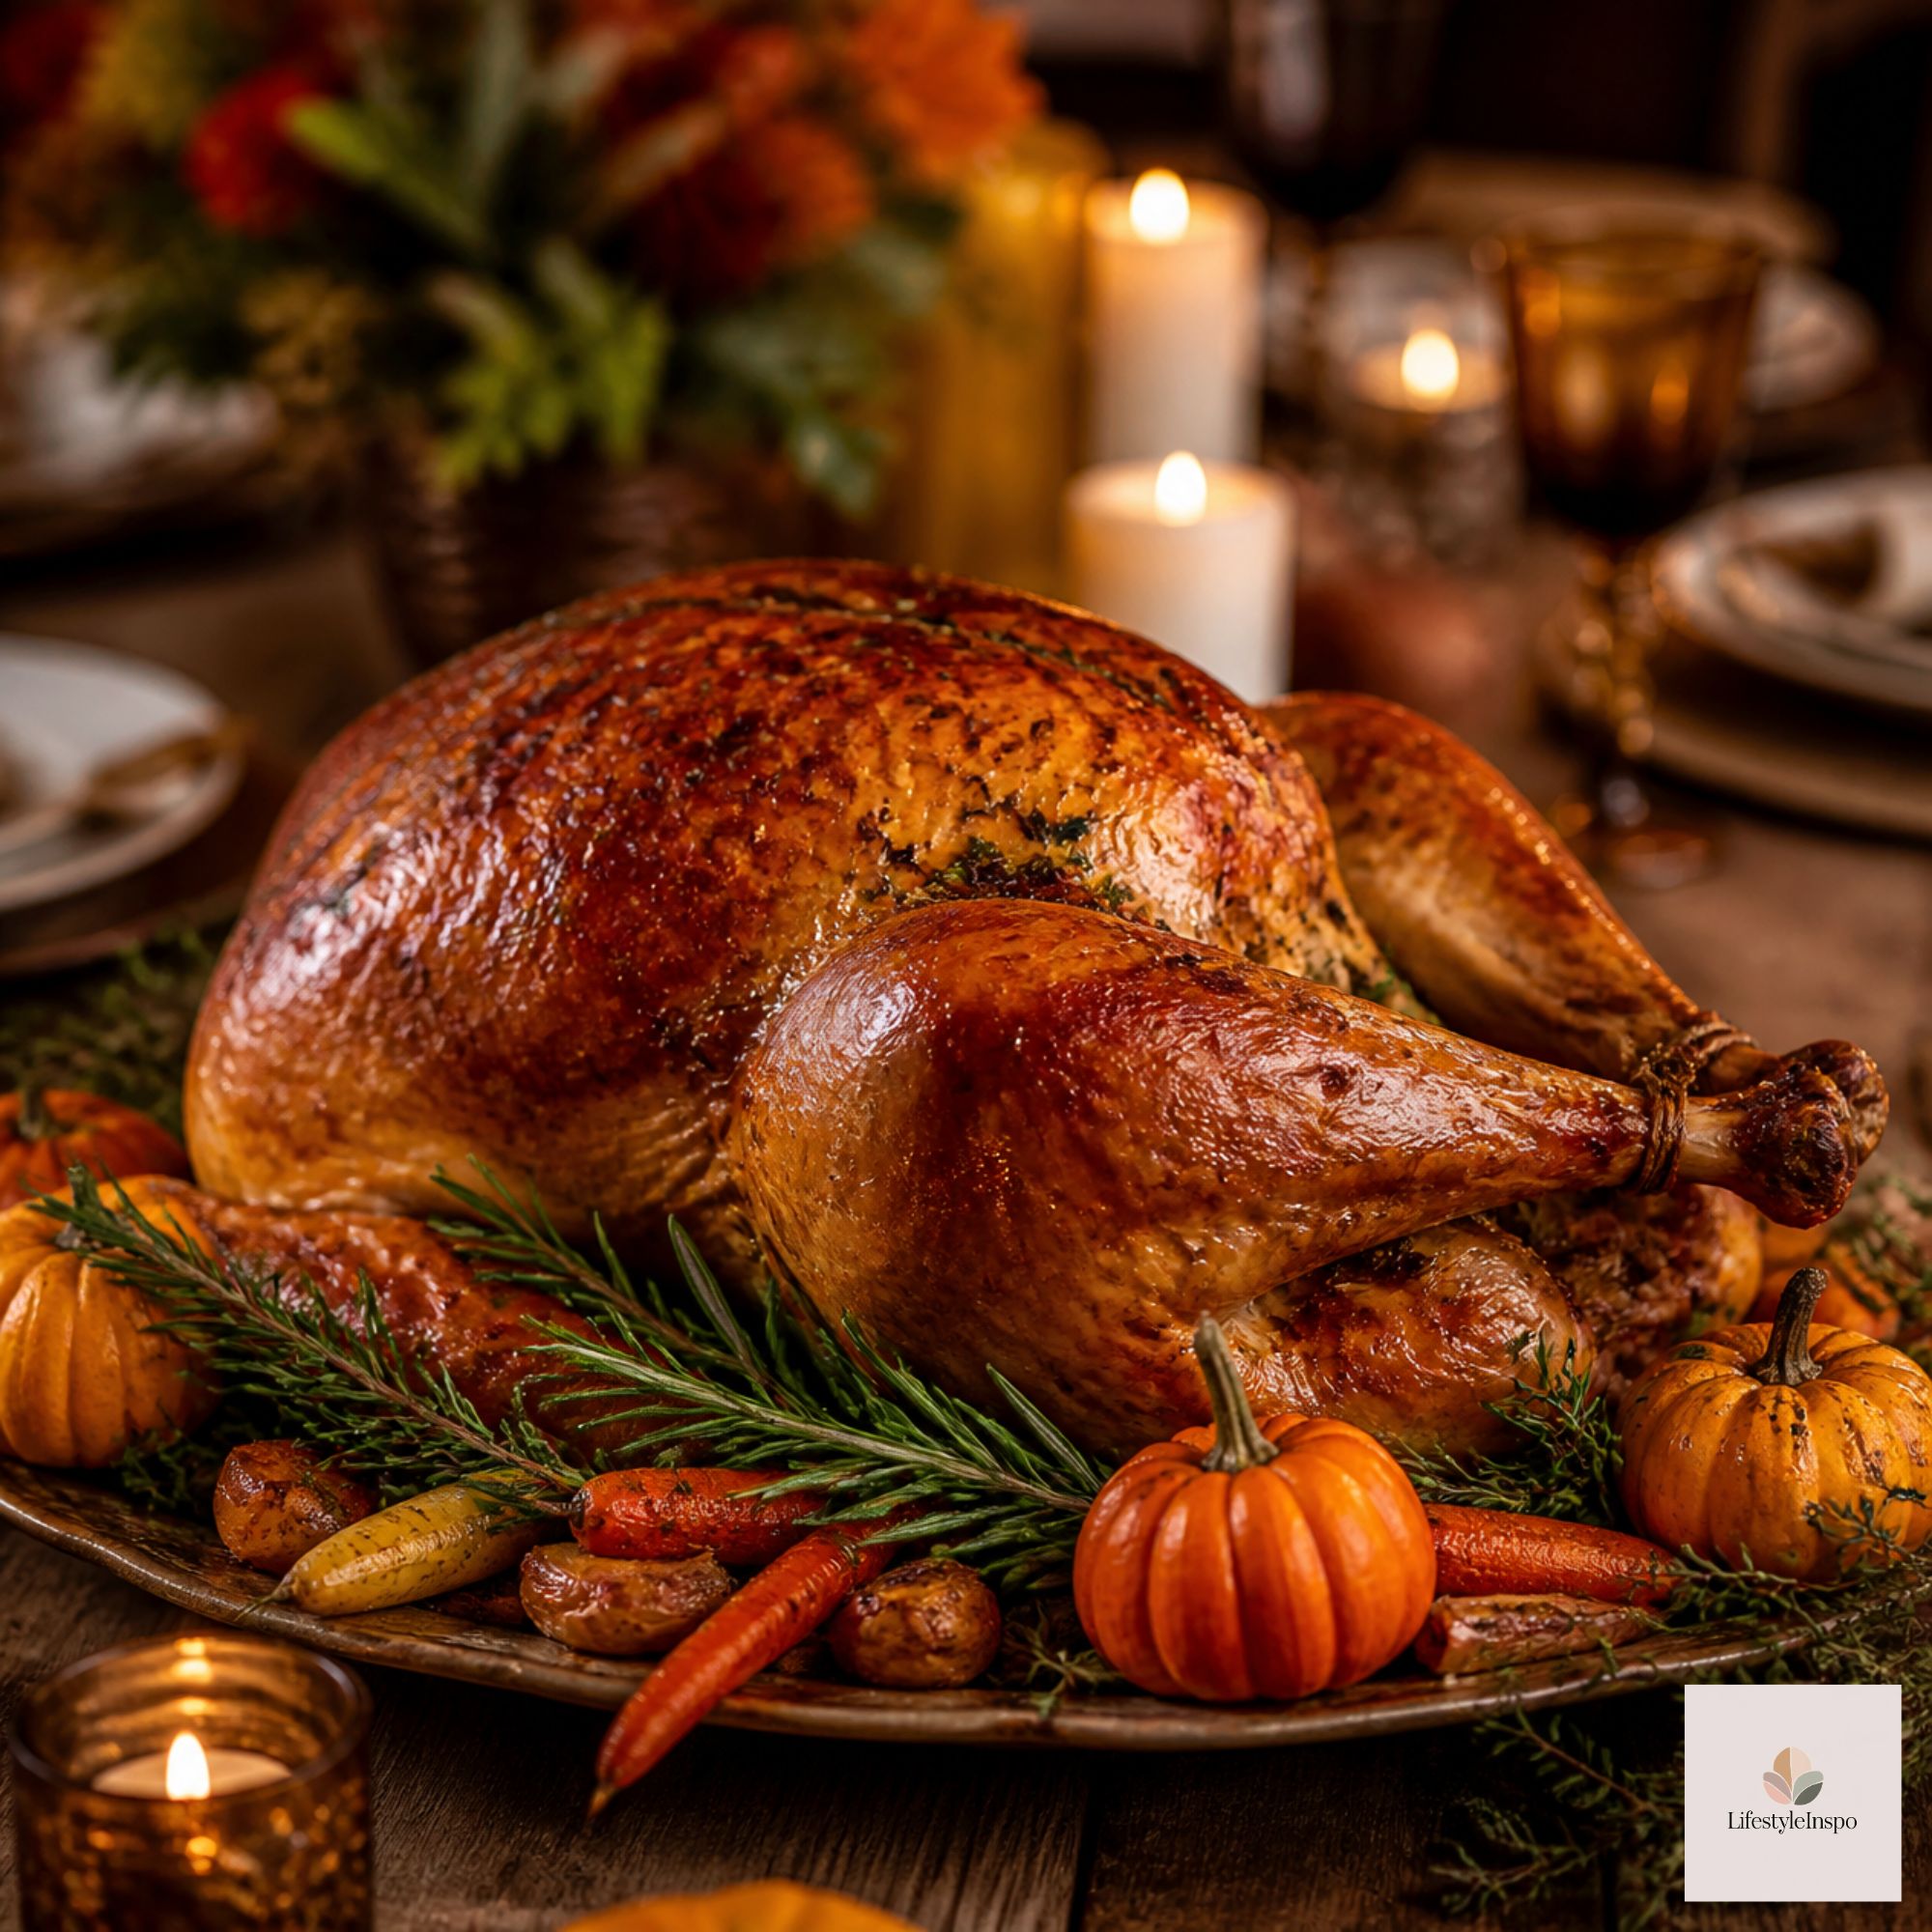
There are two popular ways to build flavor and keep the meat moist: a dry brine and a wet brine. Both work, so pick the one that fits your fridge space and your personality.
The Dry Brine (Our Favorite)
A dry brine is just salt (plus herbs and spices) rubbed all over the turkey and left to rest in the fridge. The salt draws moisture out, dissolves into it, and then gets reabsorbed, which seasons the meat deeply and helps the skin crisp up beautifully.
How to do it:
- Pat the turkey completely dry with paper towels.
- Mix about 1 tablespoon of kosher salt per 4 to 5 pounds of turkey with 1 tablespoon each of chopped fresh thyme, sage, and black pepper, plus the zest of one orange.
- Rub it all over the bird and under the skin of the breast.
- Leave it uncovered on a tray in the fridge for 24 to 48 hours.
Leaving it uncovered feels weird, but it dries out the skin, which is exactly what you want for that golden, crackly finish.
The Wet Brine
A wet brine means soaking the turkey in salted water. It’s a fantastic way to get extra-juicy meat, but it needs a big container and a lot of fridge space. This is where a turkey brining bag is a lifesaver. It holds the bird and the liquid in one sealed bag, so you’re not wrestling a giant stockpot or a cooler.
A basic wet brine is about 1 cup of kosher salt per gallon of water, plus aromatics like bay leaves, peppercorns, brown sugar, citrus, and herbs. Brine for 12 to 18 hours, then rinse and pat the turkey very dry before roasting.
Step 3: Add Extra Flavor and Moisture
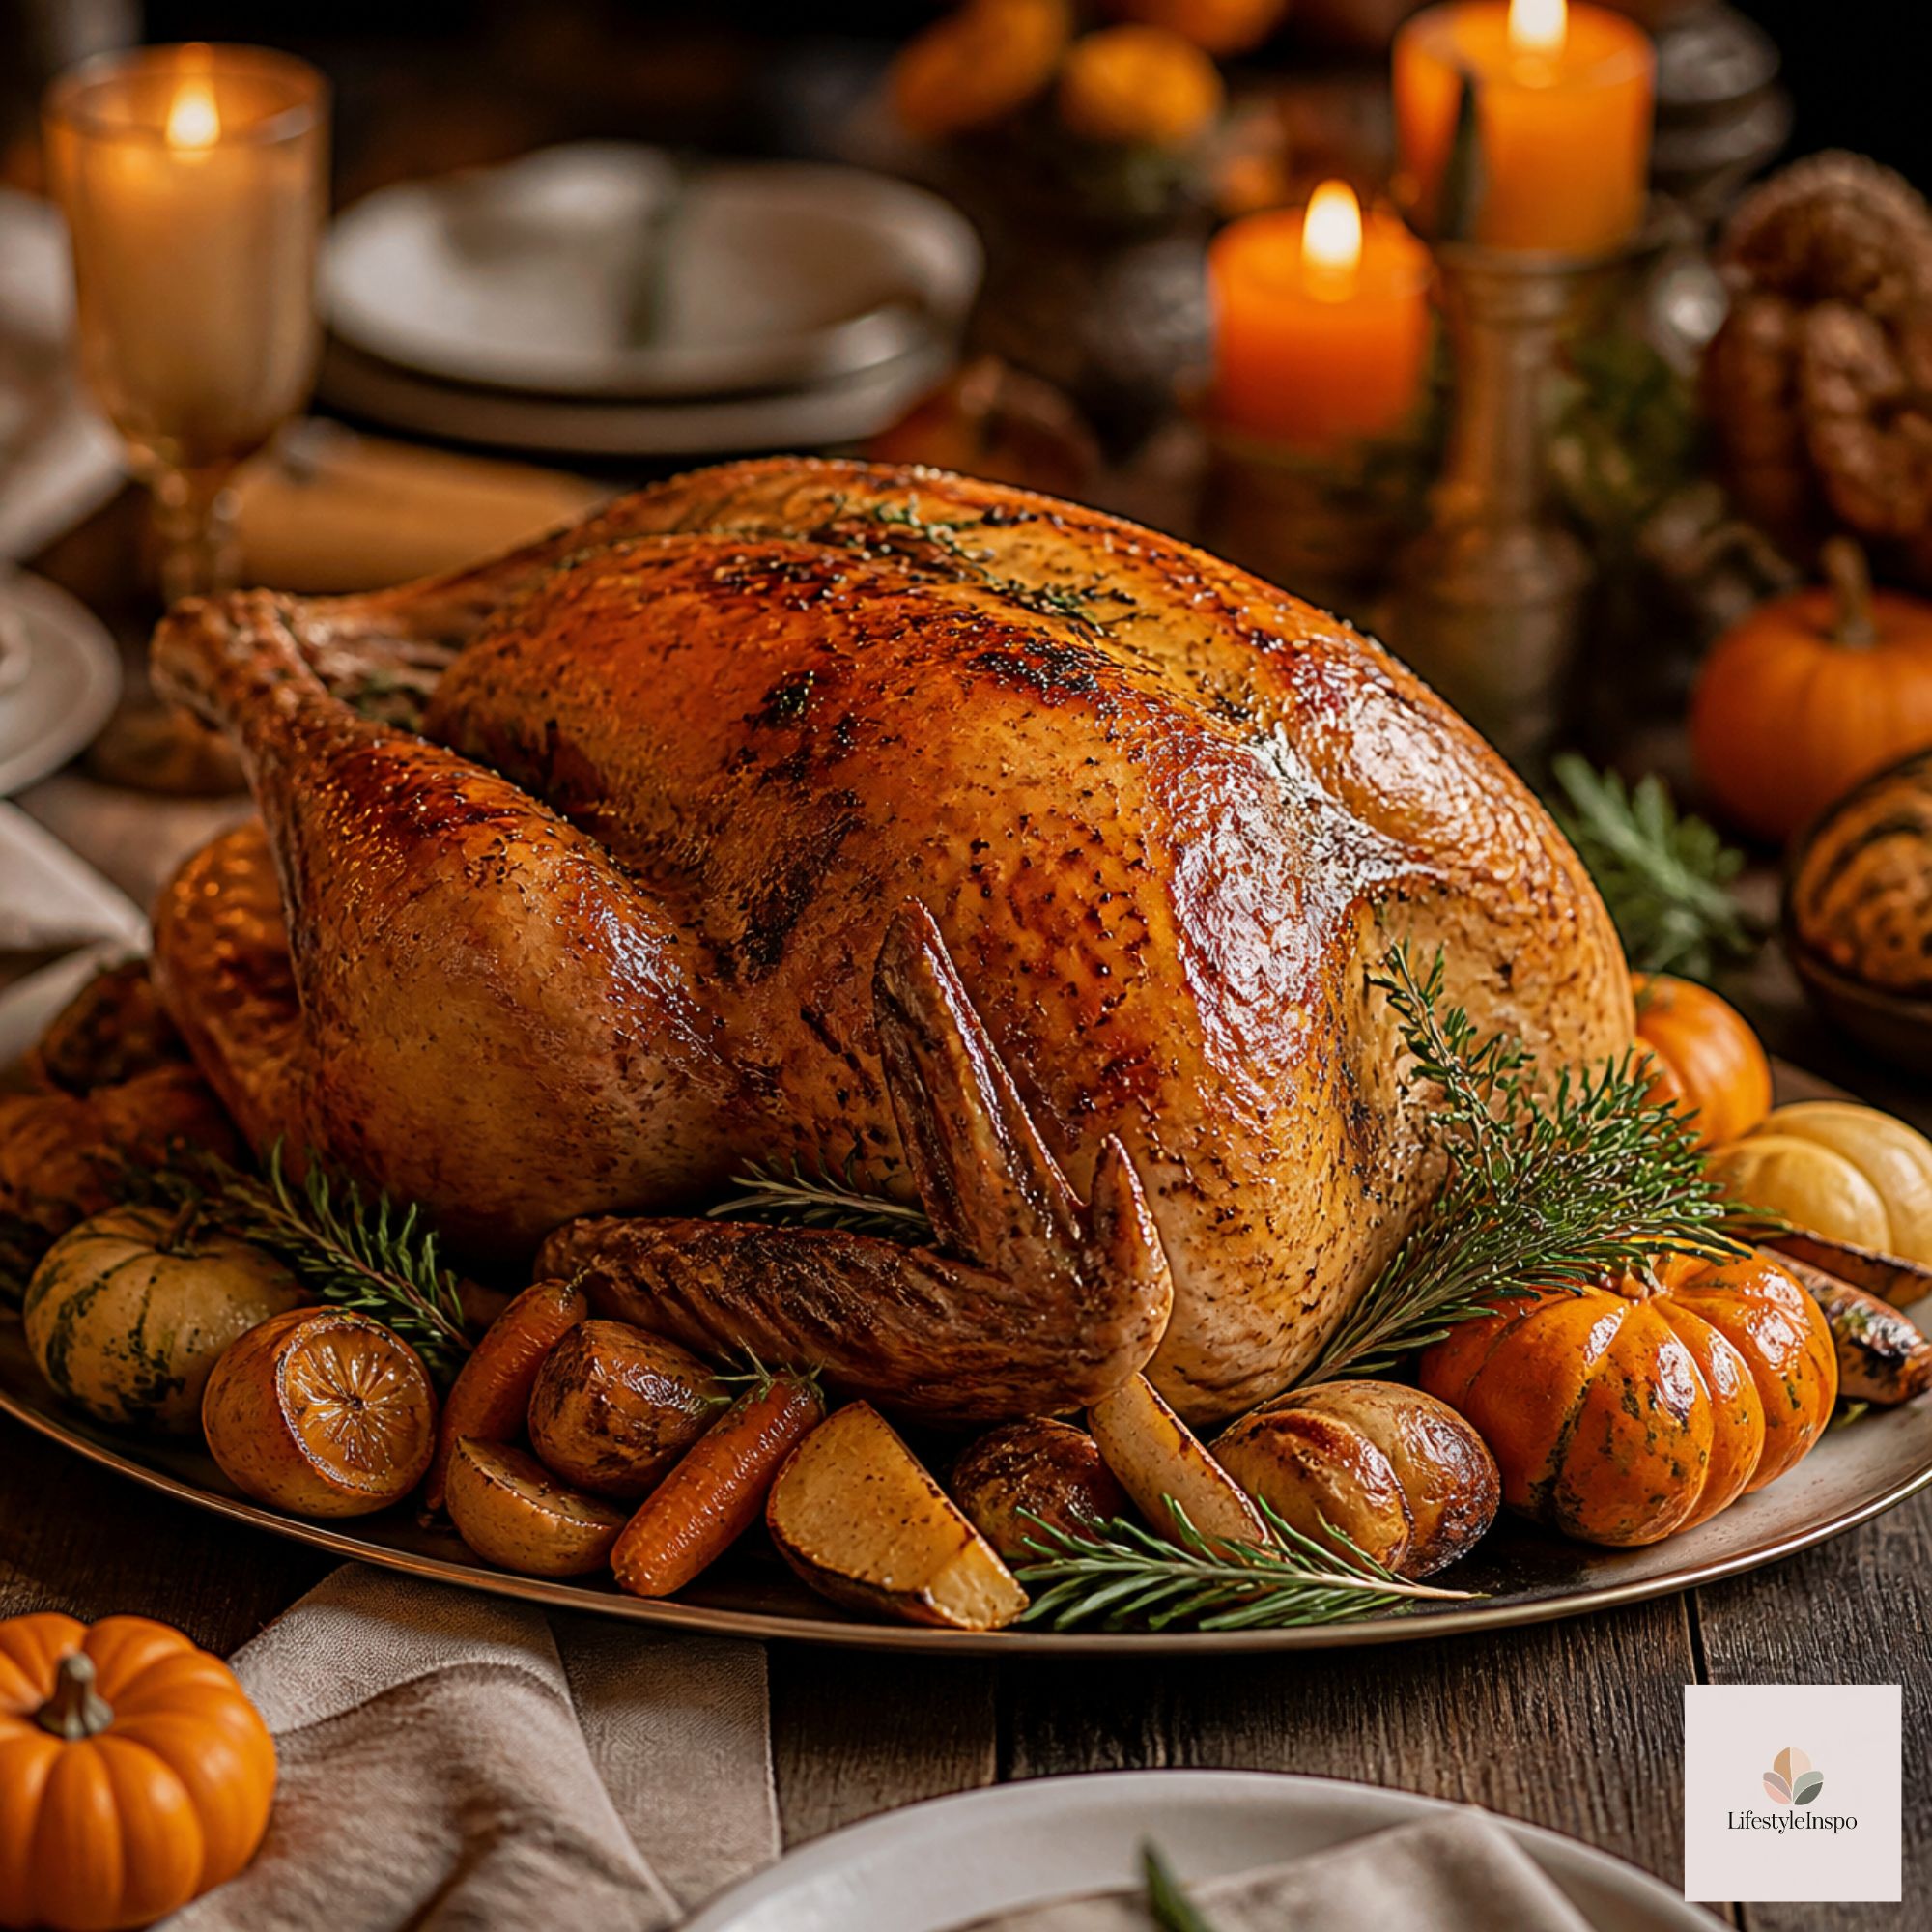
Want to take it up a notch? A flavor injector lets you push melted butter, broth, garlic, and herbs deep into the breast and thigh meat. It’s a little extra effort, but it’s the secret behind that “how is this so juicy?” reaction at the table.
Simple injection mix:
- ½ cup melted unsalted butter
- ½ cup warm chicken or turkey broth
- 2 cloves garlic, finely grated
- 1 teaspoon each of dried thyme, sage, and smoked paprika
- ½ teaspoon salt
Strain the mixture if you’re using any chunky ingredients so they don’t clog the needle. Inject small amounts in several spots rather than one big shot in one place.
Step 4: Get the Right Roasting Setup
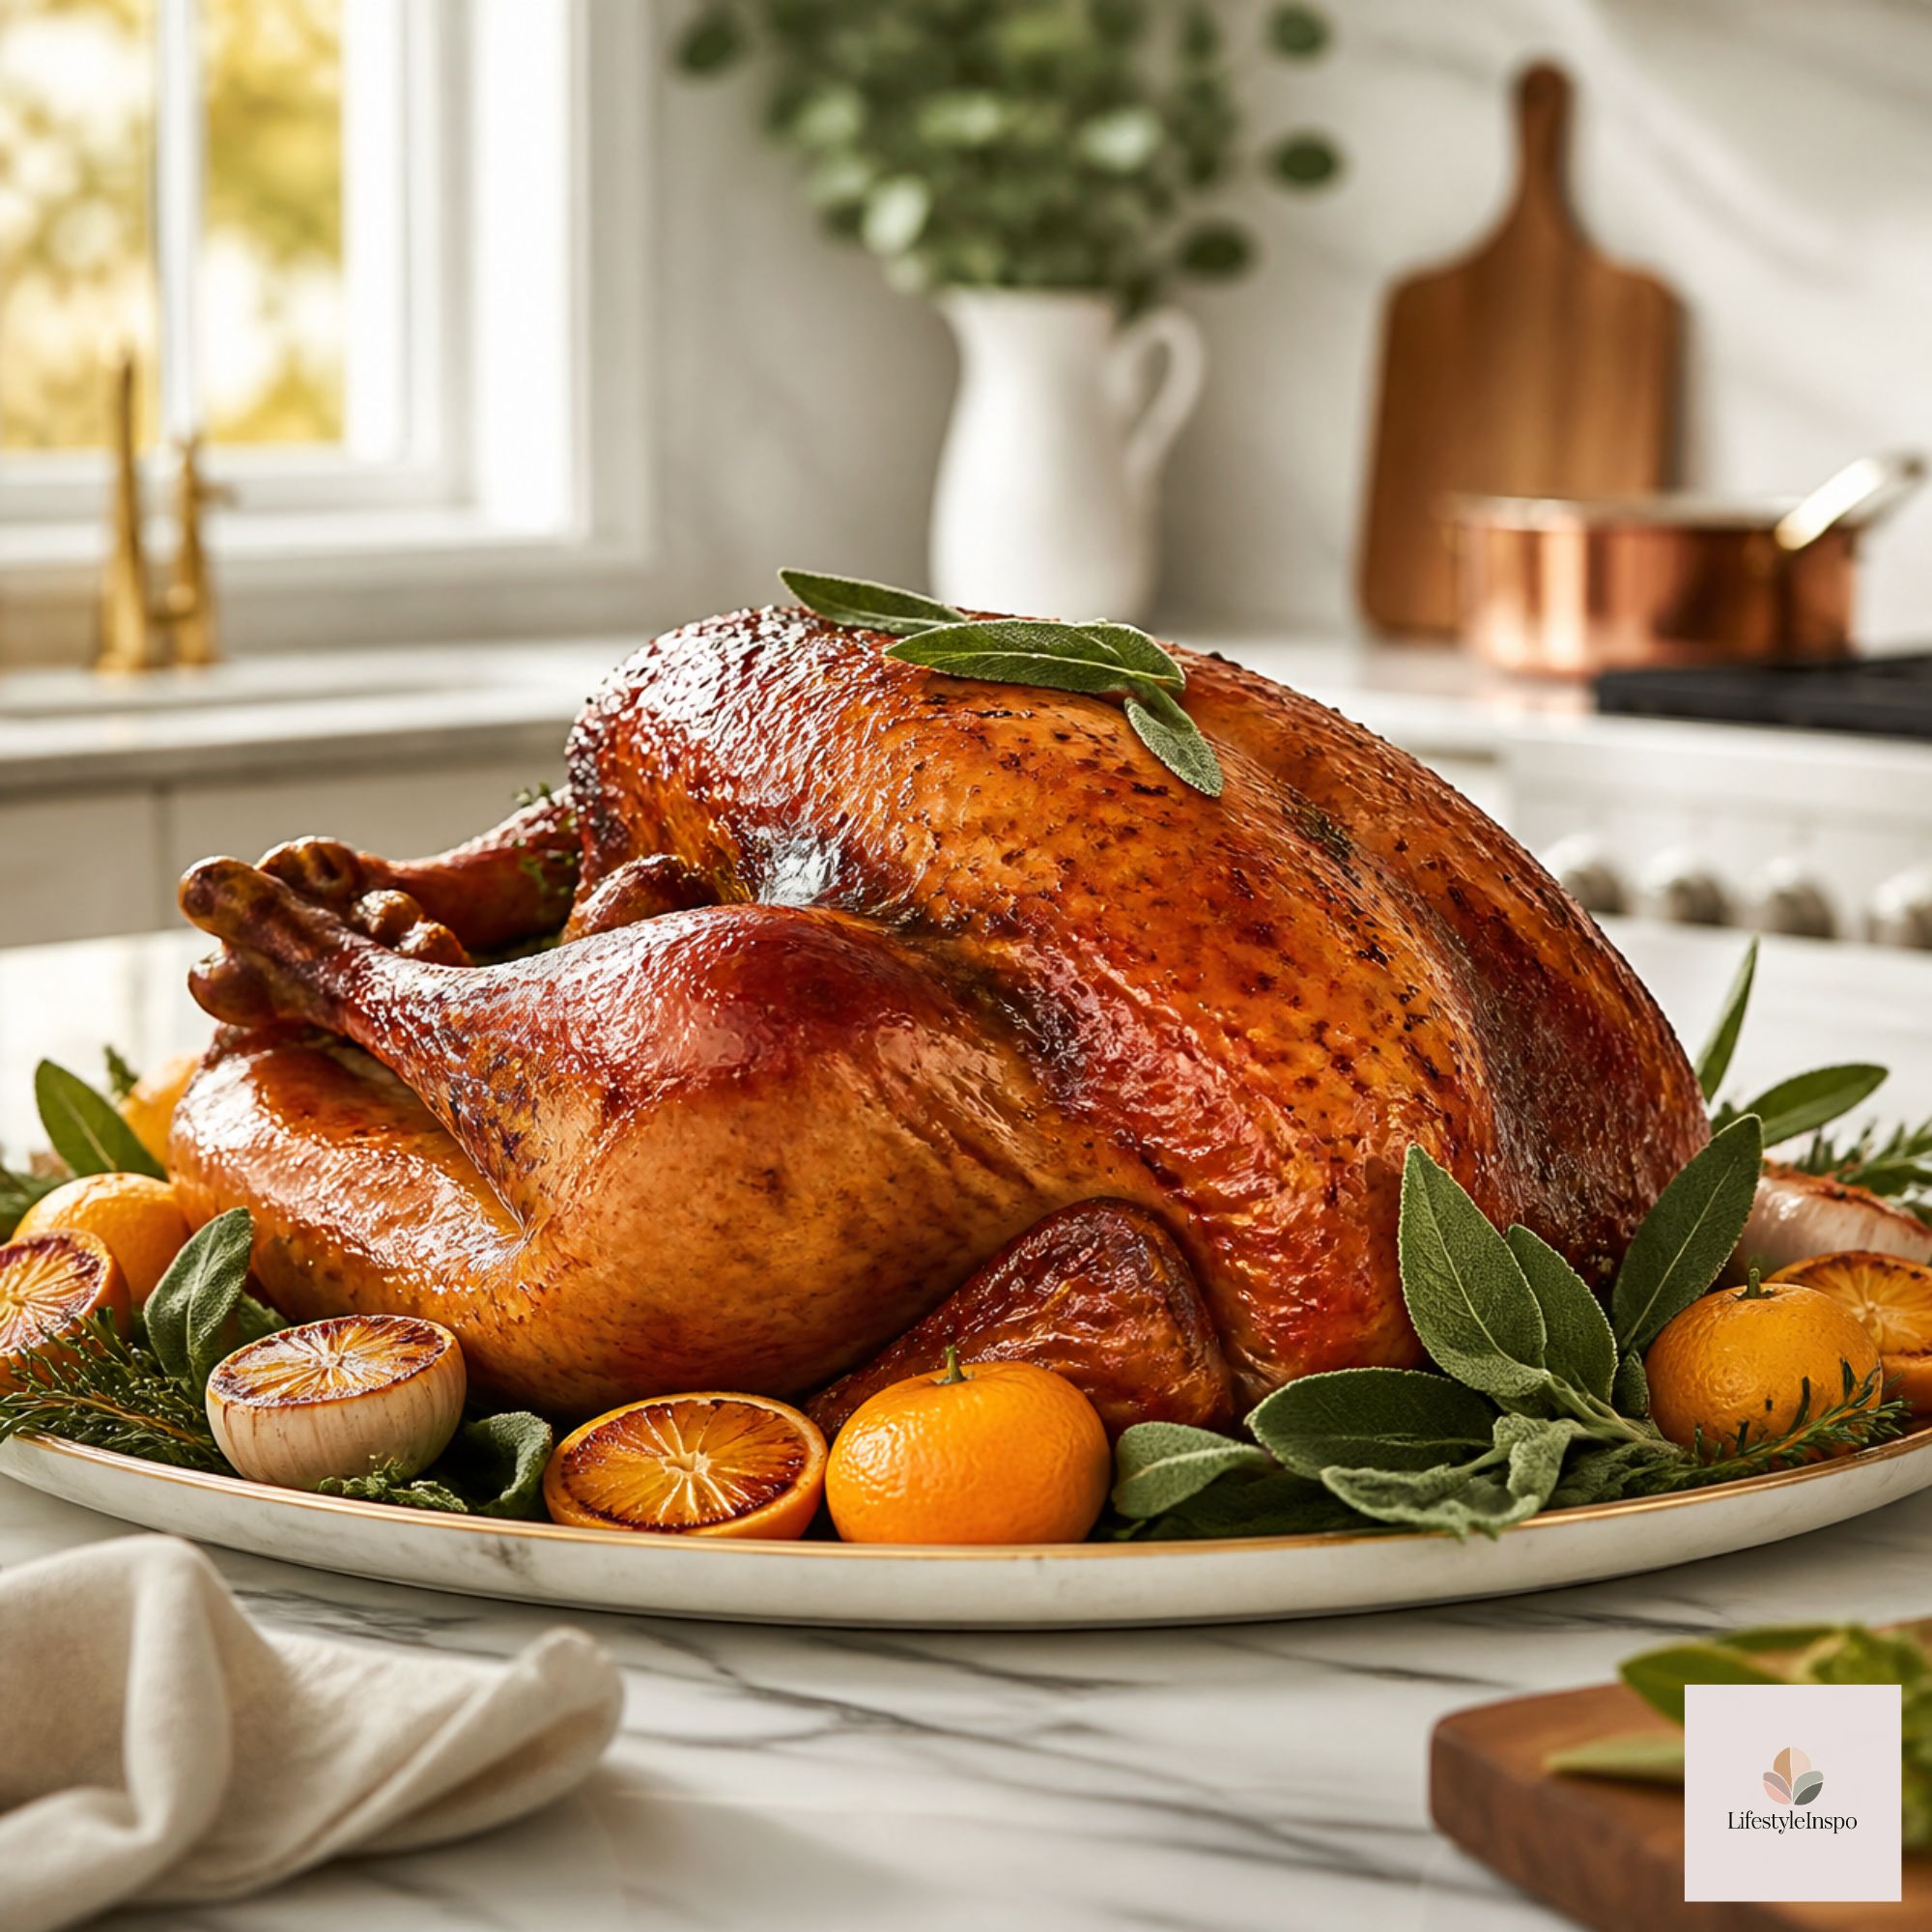
You don’t need a professional kitchen, but a sturdy roasting pan with a rack makes a real difference. The rack lifts the turkey off the bottom of the pan so hot air circulates all the way around the bird. That means more even cooking and crisper skin on the underside. It also keeps the turkey out of its own drippings, which you’ll want for gravy later.
Before it goes in the oven:
- Take the turkey out of the fridge about 45 minutes before roasting to take the chill off.
- Rub the skin with softened butter or olive oil.
- Tuck the wing tips under the body.
- Stuff the cavity loosely with aromatics like onion wedges, lemon halves, garlic, and fresh herbs (skip the bread stuffing inside the bird, which makes timing trickier. Bake it separately instead).
- Pour about a cup of broth or water into the bottom of the pan.
Step 5: Roast It Low and Steady
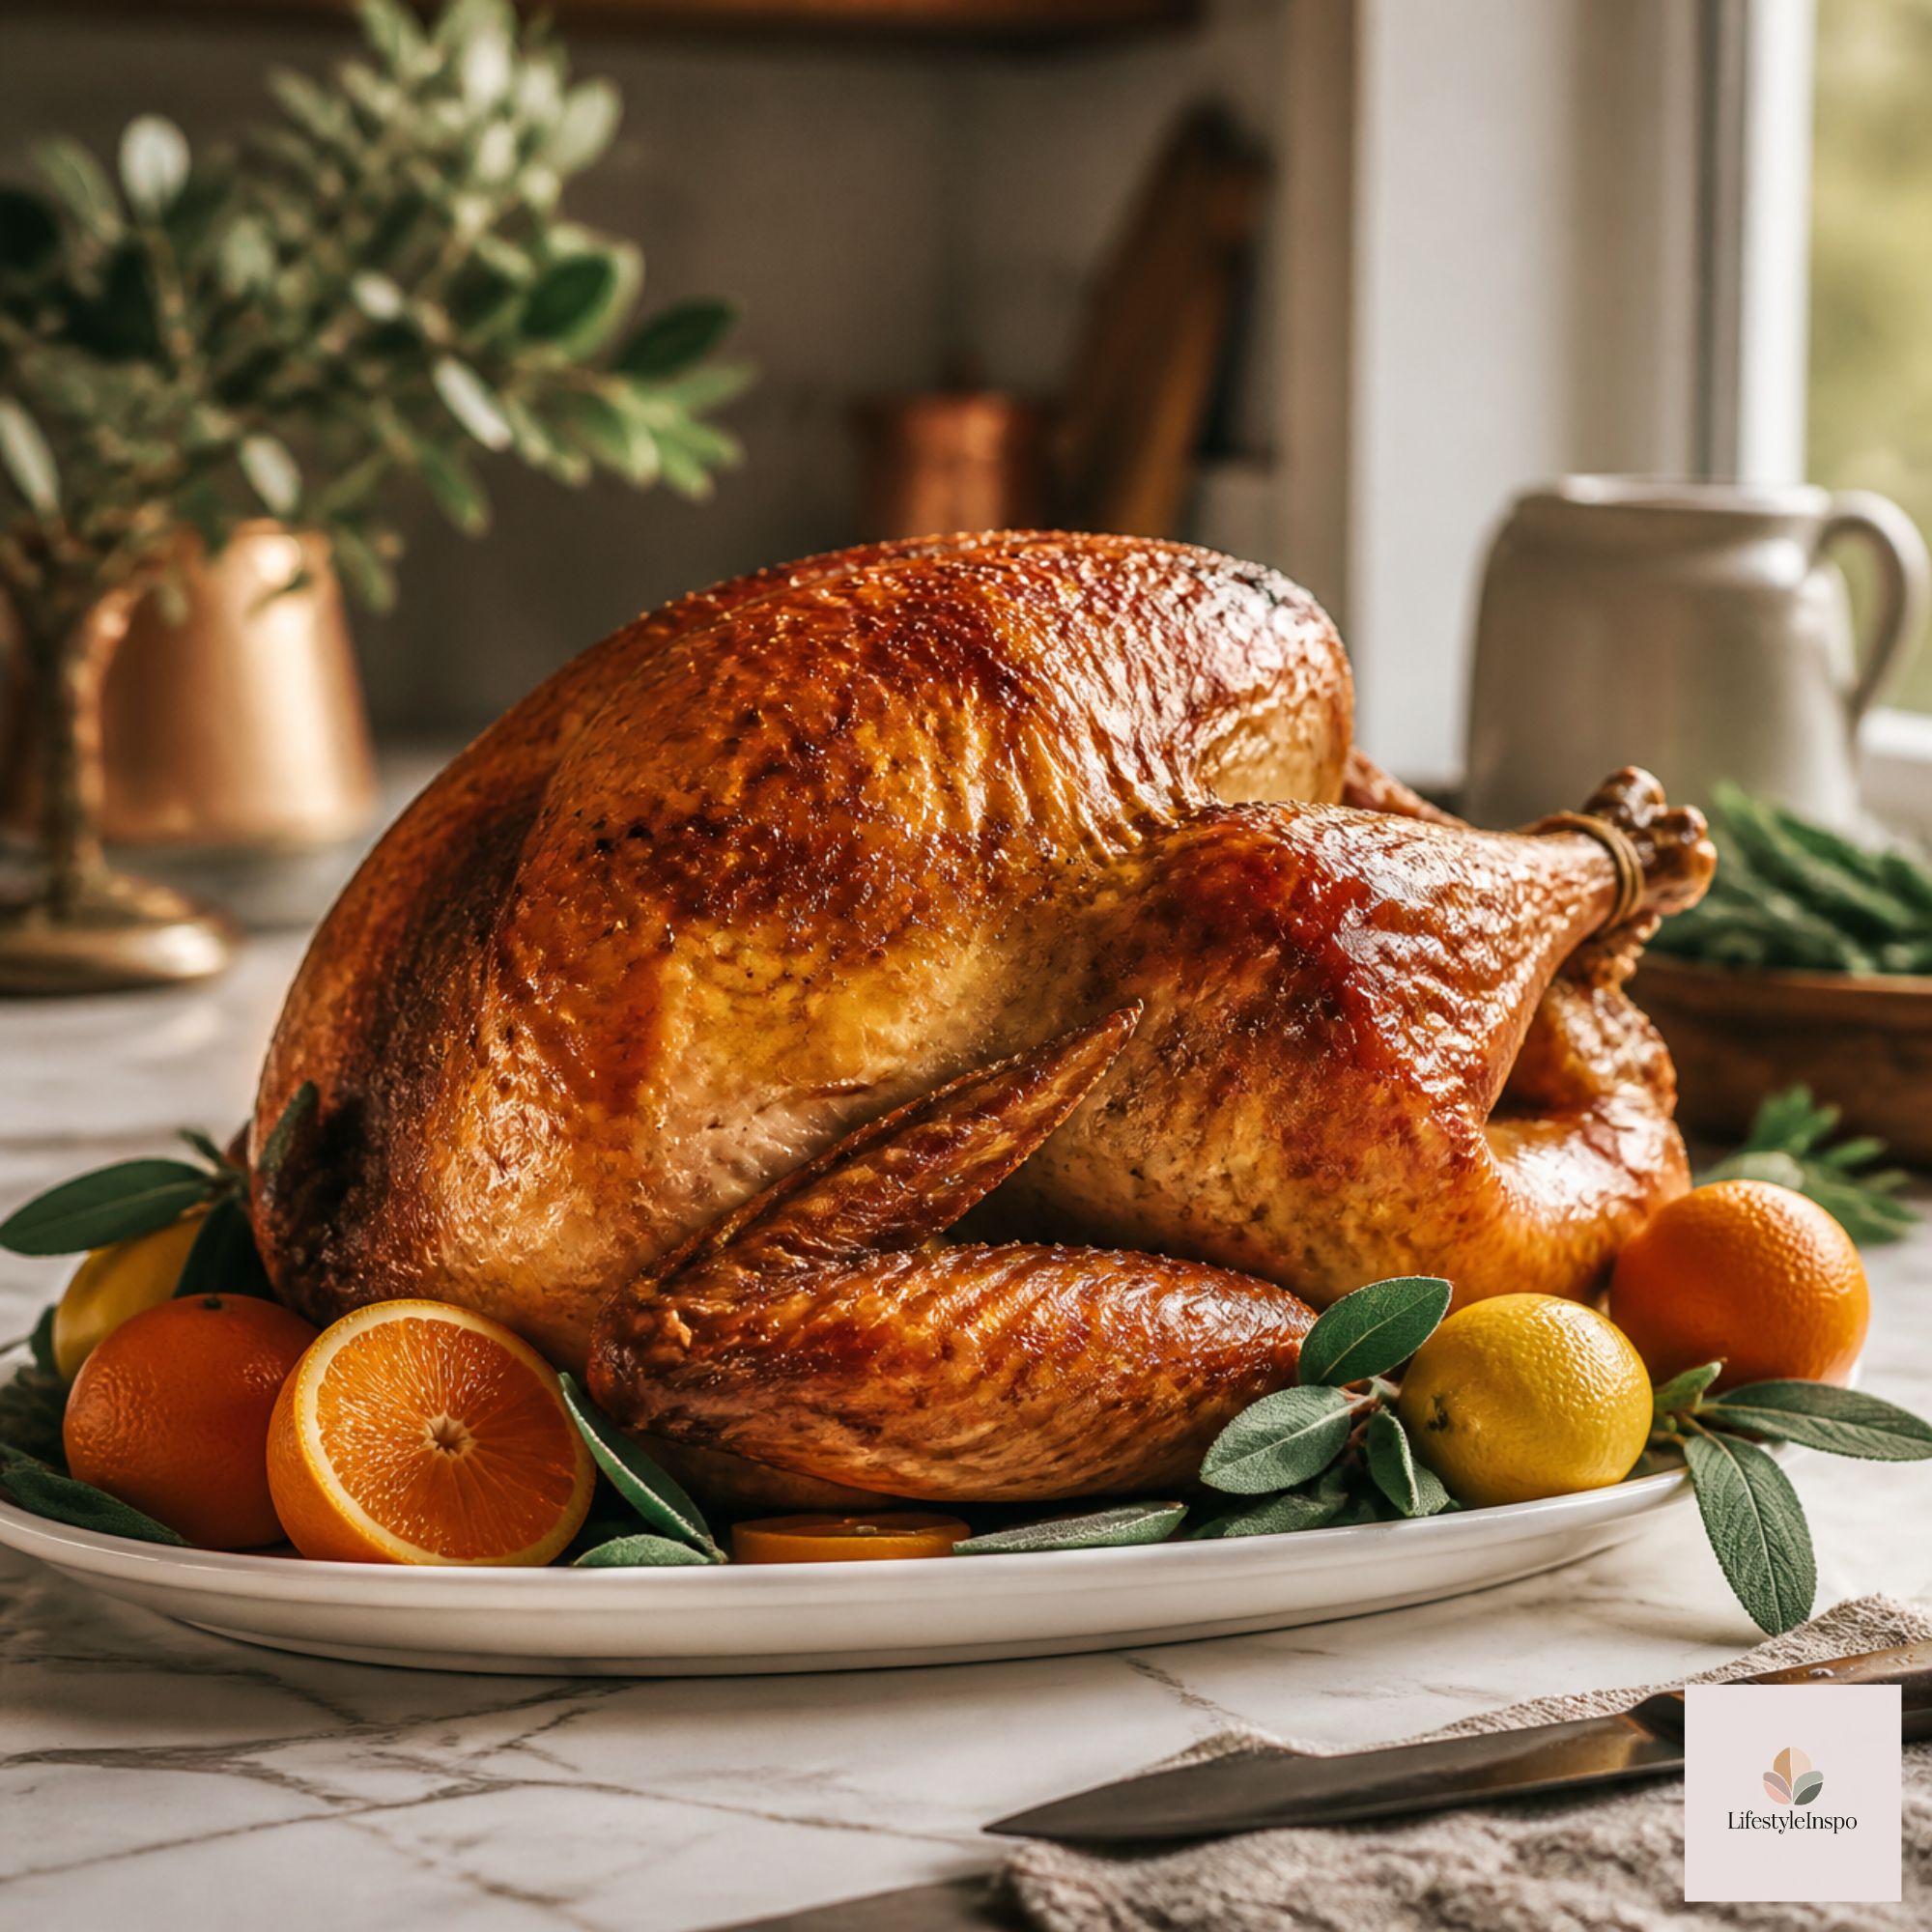
Set your oven to 325°F and place the turkey on the lowest rack. As a rough guide, an unstuffed turkey takes about 13 minutes per pound, so a 16-pound bird lands somewhere around 3½ hours. But please treat that as a ballpark, not a rule. Every oven and every turkey is different.
If the breast skin is browning too fast, tent it loosely with foil. Baste if you like, but know that opening the oven door repeatedly drops the temperature and can add time.
Step 6: Stop Guessing and Use a Thermometer
This is the single biggest upgrade you can make. Pop-up timers are unreliable, and cutting into the bird to check ruins the presentation. A thermometer takes all the guesswork away.
An instant-read meat thermometer gives you a quick, accurate reading in a few seconds. Check the thickest part of the thigh (without touching the bone) and the thickest part of the breast. The USDA safe temperature for poultry is 165°F.
If you want to be even more hands-off, a wireless meat thermometer stays in the turkey while it roasts and sends the temperature to your phone. You can keep an eye on things without opening the oven door once. It’s especially nice when you’re juggling five other dishes and a house full of guests.
A little trick: Many cooks pull the turkey when the breast hits about 160°F, because the temperature keeps rising a few degrees while it rests. Just confirm it reaches 165°F before you carve.
Step 7: Let It Rest (Seriously)
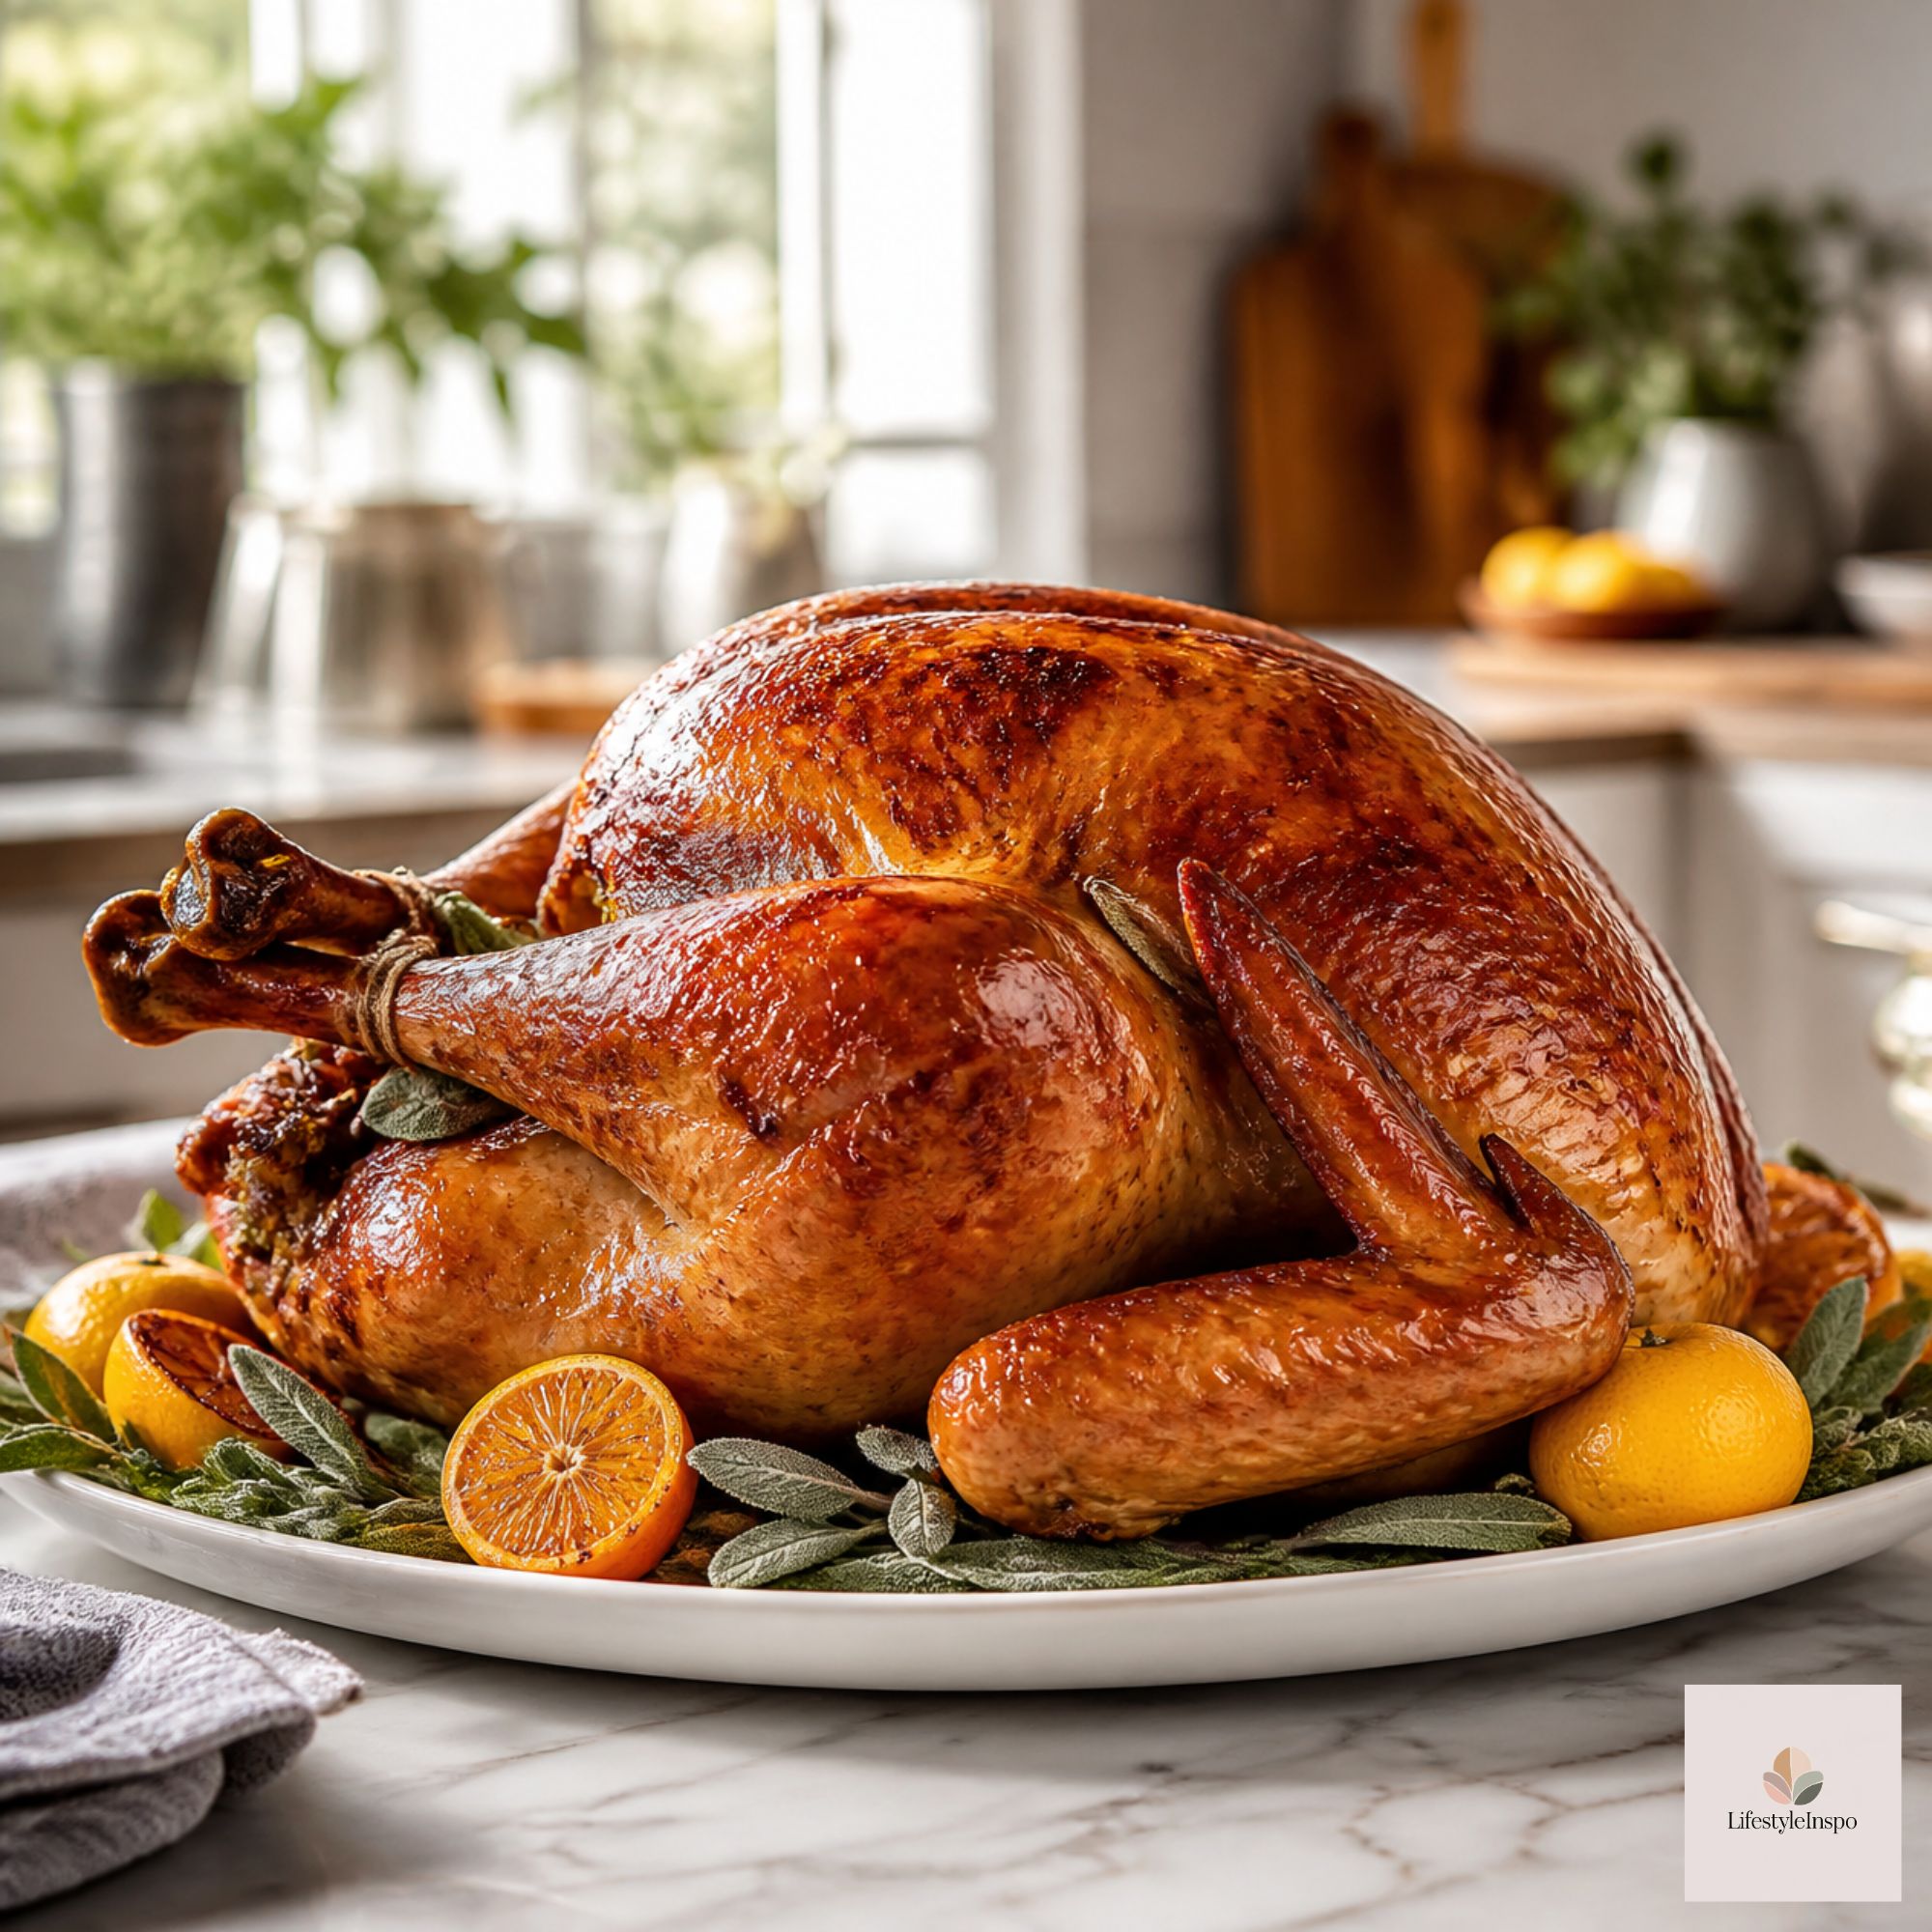
Resting is where the magic happens. When the turkey comes out of the oven, the juices are pushed toward the center of the meat. If you cut right away, they spill all over the cutting board. If you wait, they redistribute and stay in the meat where they belong.
Transfer the turkey to a cutting board, tent it loosely with foil, and let it rest for 30 to 45 minutes. Don’t worry about it getting cold. A large bird holds heat for a surprisingly long time. This window is also the perfect time to make gravy, mash the potatoes, and finally pour yourself that drink.
Step 8: Carve Like You Know What You’re Doing
Carving doesn’t have to be a dramatic tableside performance. Here’s an easy way to do it in the kitchen.
- Remove the legs. Cut through the skin between the thigh and the breast, then bend the leg outward until the joint pops, and slice through it.
- Separate the drumstick and thigh. Find the joint and cut through. Slice the thigh meat off the bone if you like.
- Take off the wings.
- Remove each breast half. Slide your knife along the breastbone, following the rib cage down, and lift the whole breast off in one piece.
- Slice the breast against the grain into ½-inch slices.
A good carving knife set with a long, sharp blade and a sturdy fork makes clean slices easy and keeps the meat from shredding. And if you want to break the bird down quickly, poultry shears are great for snipping through joints, trimming the backbone, and cutting the turkey into serving pieces. They’re also the tool of choice if you decide to spatchcock your turkey, which cuts roasting time dramatically.
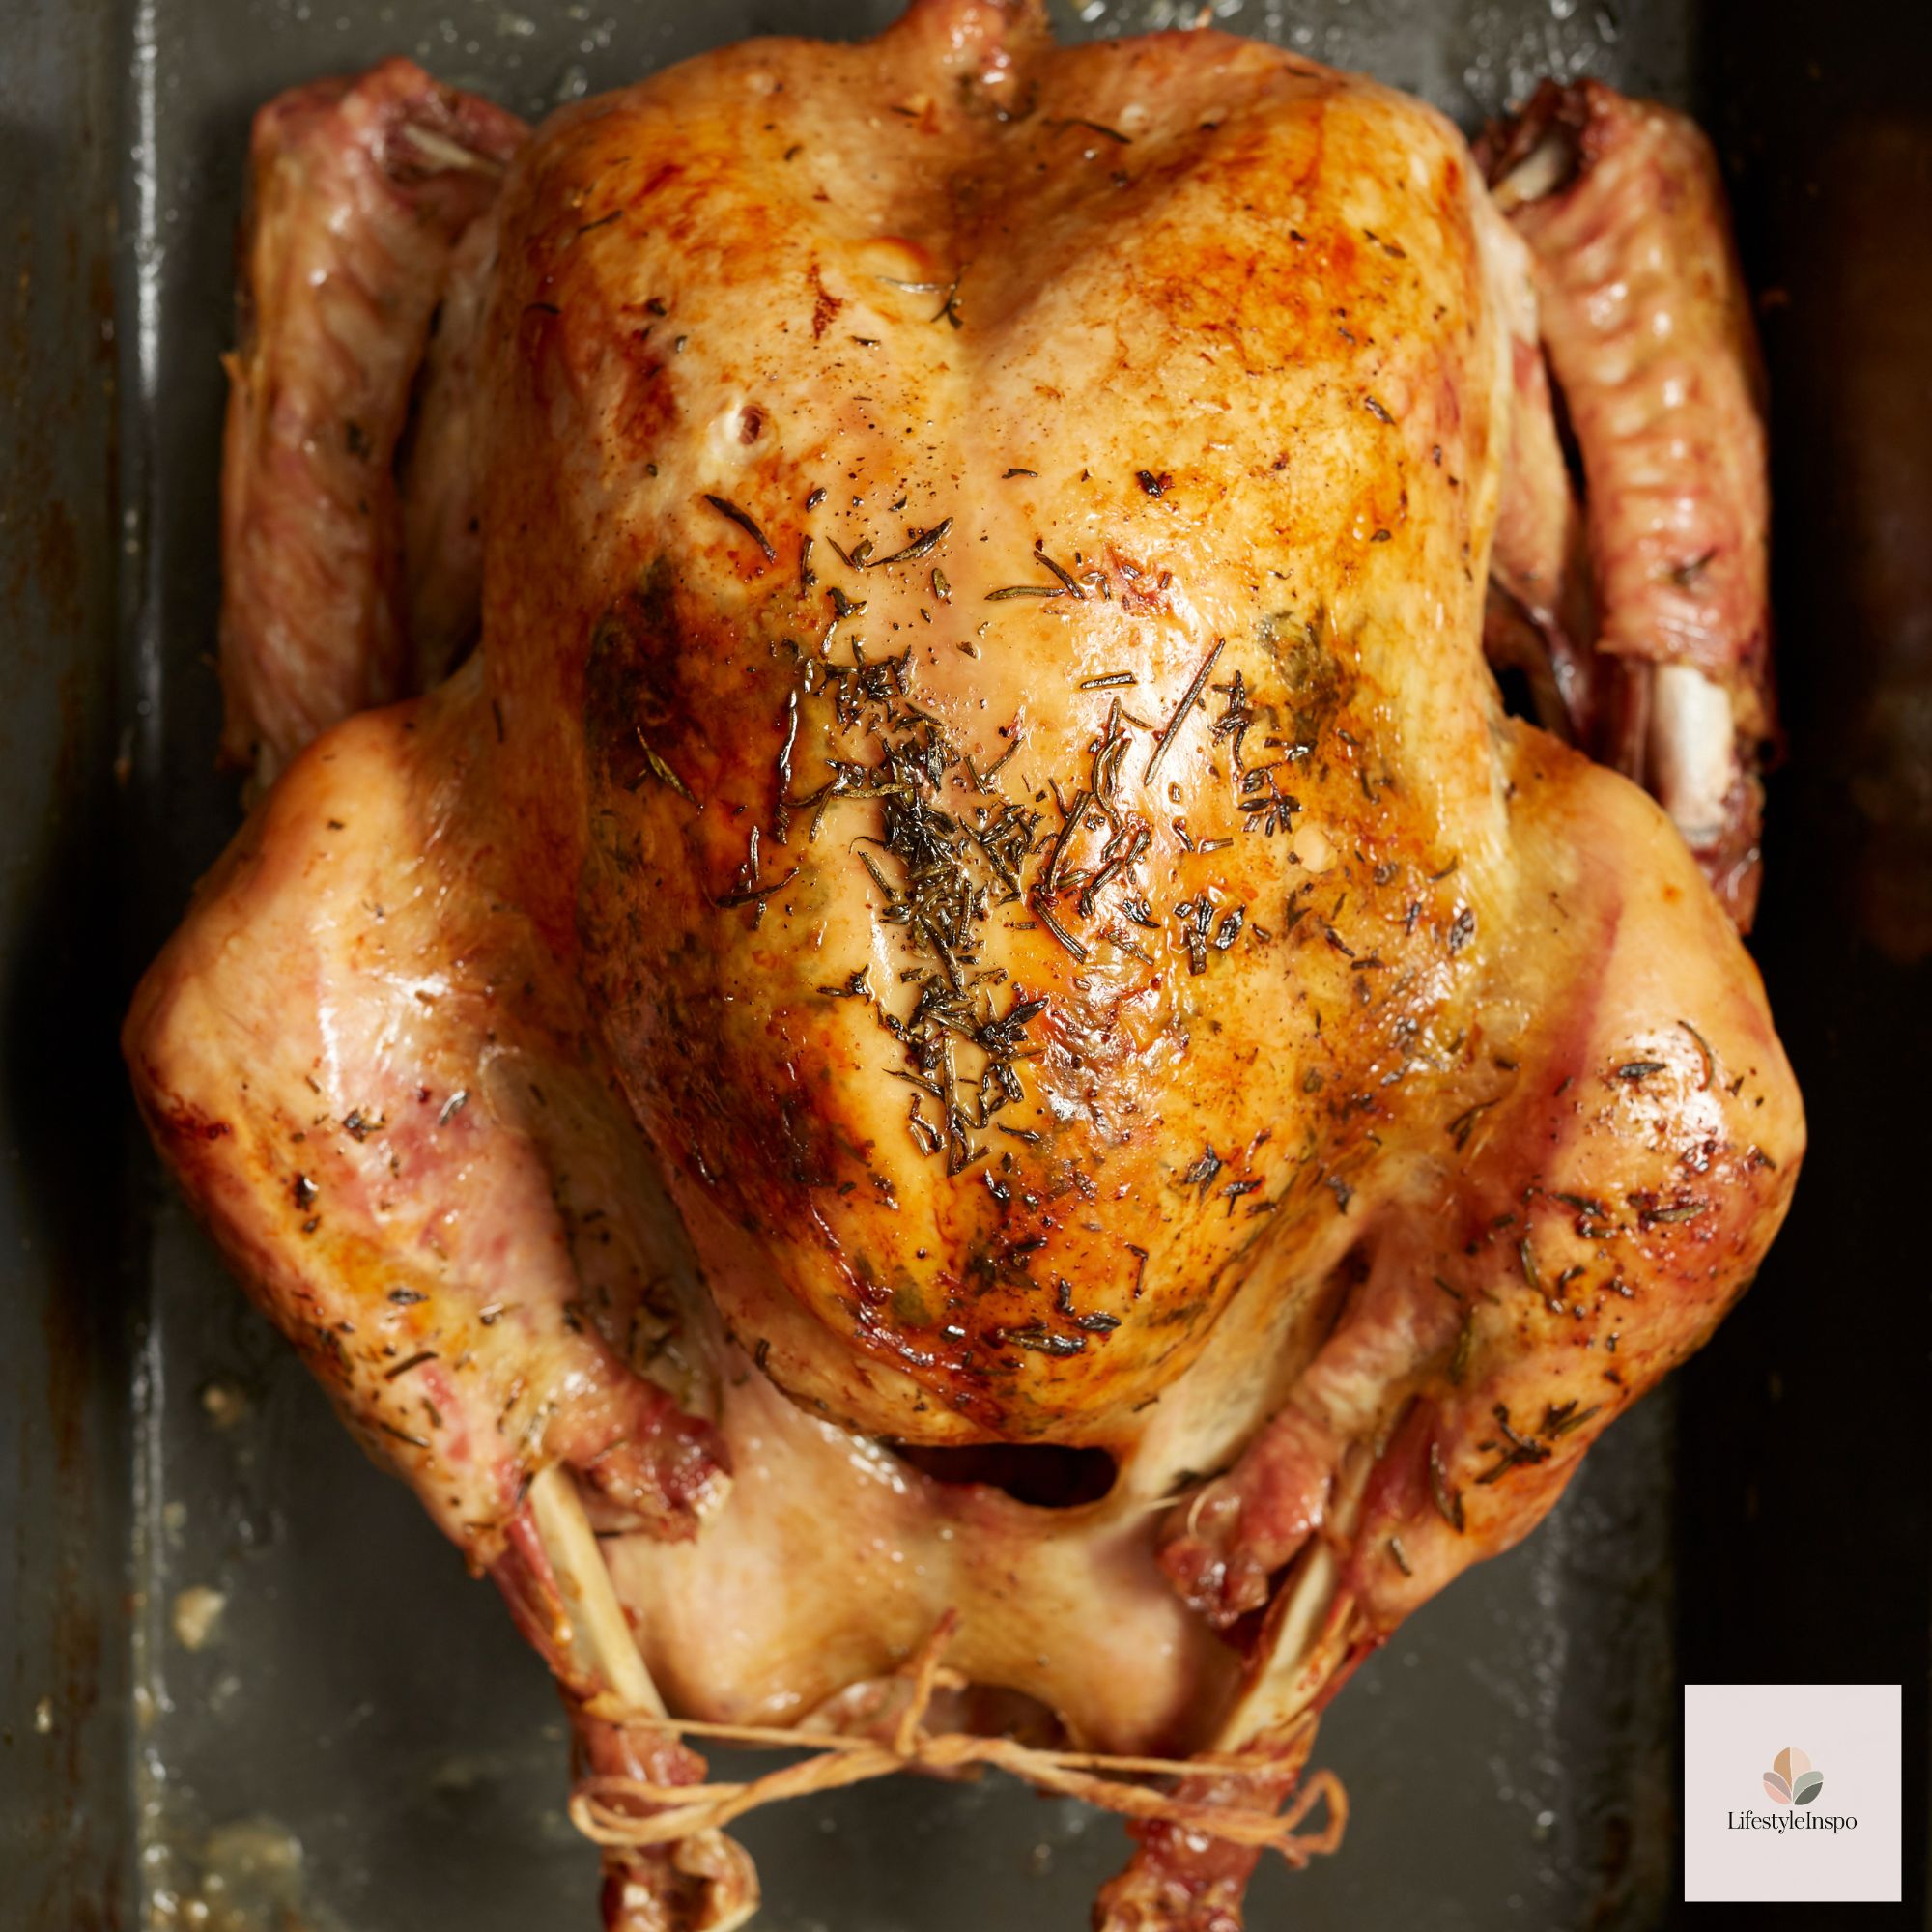
Arrange the slices on a warm platter, spoon a little broth over the top to keep them moist, and garnish with fresh herbs and orange slices.
Common Turkey Mistakes (and How to Avoid Them)
- Not thawing long enough. A partly frozen turkey cooks unevenly. Start early.
- Skipping the salt. Underseasoned turkey is the most common complaint. Brine or dry-brine it.
- Roasting by time alone. Use a thermometer every time.
- Cutting too soon. Give it that full resting period.
- Overcrowding the oven. Plan your sides so they can finish while the turkey rests.
Your Thanksgiving Turkey Timeline
Here’s a simple schedule so nothing sneaks up on you:
- 4 days before: Move the turkey to the fridge to thaw.
- 2 days before: Dry brine (or start the wet brine the night before).
- Thanksgiving morning: Take the turkey out, rub with butter, and preheat the oven.
- Around noon (for a 5 p.m. dinner): Turkey goes in.
- 4 p.m.: Check the temperature. Start thinking about gravy.
- 4:30 p.m.: Turkey comes out to rest.
- 5 p.m.: Carve, serve, and take a bow.
Quick Tool Checklist
If you want to set yourself up for success, here’s the short list of what helps most:
- Instant-read meat thermometer for accurate checks
- Wireless meat thermometer for hands-off monitoring
- Roasting pan with rack for even cooking
- Turkey brining bag for easy wet brining
- Flavor injector for extra juicy meat
- Poultry shears for breaking down the bird
- Carving knife set for clean, beautiful slices
Frequently Asked Questions
How long does it take to cook a turkey? At 325°F, plan on about 13 minutes per pound for an unstuffed turkey, but always confirm with a thermometer.
What temperature should turkey be cooked to? 165°F in the thickest part of the thigh and breast.
Should I wash my turkey? No. Rinsing raw poultry can spread bacteria around your sink. Just pat it dry with paper towels.
Can I cook a turkey the day before? You can, and plenty of people do. Carve it, arrange the slices in a baking dish with broth, cover, and refrigerate. Reheat gently at 300°F until warmed through.
How much turkey do I need per person? Plan on about 1 to 1½ pounds of whole turkey per guest, which gives you a satisfying meal plus leftovers.
Final Thoughts
A juicy turkey isn’t about luck. It’s about starting early, seasoning generously, trusting a thermometer, and giving the bird time to rest. Do those four things and you’ll walk to the table feeling calm, confident, and ready for compliments.
And if the turkey doesn’t come out picture-perfect? Gravy fixes almost everything. You’ve got this.
About the Author