Halloween Sugar Cookies: An Easy Recipe + 8 Spooky Decorating Ideas
Let’s be honest: Halloween is basically the cozy girl’s Super Bowl. The candles are lit, the sweaters are out, and somewhere in your kitchen, a tray of cookies is begging to be turned into tiny ghosts.
If you’ve ever scrolled past a perfectly decorated bat cookie and thought, “I could never,” this post is for you. I promise you can. Halloween sugar cookies are one of the most forgiving baking projects out there, because the theme rewards a little messiness. A wobbly ghost? Still a ghost. A pumpkin with uneven stripes? Rustic, darling.
Below, you’ll find a soft, buttery cut-out cookie recipe that holds its shape, a no-stress royal icing method, and eight decorating ideas ranging from “five minutes and a sprinkle” to “okay, show-off.” Grab a mug of something warm and let’s bake.
What You’ll Need Before You Start
A good cut-out cookie is 50% recipe and 50% setup. Having the right tools on the counter before you begin makes the whole process feel less like a chore and more like a craft night.
Cookie cutters. A Halloween cookie cutter set is the single best investment for this project. Look for a set that includes the classics: a pumpkin, a bat, a ghost, a witch hat, and a cat. Bonus points for sturdy metal or thick plastic cutters with clean edges, since flimsy ones can squish your dough.
A decorating kit. If you’re new to icing, a Halloween cookie decorating kit takes the guesswork out of it. Most kits bundle icing, tools, and toppings so you aren’t hunting down six different items.
Piping bags and tips. For crisp outlines and tiny details, a set of Halloween piping bags and tips is a game changer. You don’t need a dozen tips. A small round tip handles outlines, dots, and writing.
Gel food coloring. Skip the liquid drops from the grocery store. Halloween food coloring gel gives you deep orange, true black, and rich purple without thinning your icing.
Sprinkles. Because everything is better with Halloween sprinkles. We’ll talk about how to use them in a minute.

The Best Halloween Sugar Cookie Recipe
This is my go-to cut-out cookie. It’s soft in the center, lightly crisp at the edges, and, most importantly, it doesn’t spread into blobs in the oven. That means your bats still look like bats.
Yield: About 24 cookies (depending on cutter size) Prep time: 20 minutes, plus chilling Bake time: 8-10 minutes
Ingredients
- 3 cups all-purpose flour, plus extra for rolling
- 1 teaspoon baking powder
- ½ teaspoon salt
- 1 cup (2 sticks) unsalted butter, softened
- 1 cup granulated sugar
- 1 large egg
- 2 teaspoons vanilla extract
- ½ teaspoon almond extract (optional, but it makes them taste bakery-style)

Instructions
- Whisk the dry ingredients. In a medium bowl, combine the flour, baking powder, and salt. Set aside.
- Cream the butter and sugar. In a large bowl, beat the butter and sugar together for 2-3 minutes until light and fluffy.
- Add the wet ingredients. Beat in the egg, vanilla, and almond extract until just combined.
- Combine. Add the dry ingredients a little at a time, mixing on low until a soft dough forms. It should come together without being sticky.
- Chill. Divide the dough in half, flatten each half into a disc, wrap in plastic, and refrigerate for at least 1 hour. Don’t skip this step. Cold dough is the secret to sharp edges.
- Roll and cut. Preheat the oven to 350°F. On a lightly floured surface, roll the dough to about ¼-inch thickness. Cut out shapes and transfer them to a parchment-lined baking sheet, leaving about an inch between cookies.
- Bake. Bake for 8-10 minutes, until the edges are just barely golden. Let the cookies cool on the pan for 5 minutes, then move them to a wire rack.
- Cool completely. Do not ice warm cookies. The icing will melt and slide right off.
Pro tip: If your cut shapes get soft and floppy while you work, pop the whole tray in the freezer for 10 minutes before baking. It’s the easiest way to keep those details sharp.

Easy Royal Icing (Beginner-Friendly)
Royal icing sounds fancy, but it’s really just powdered sugar, meringue powder, and water. It dries hard and glossy, which makes it perfect for stacking, gifting, and photographing for the group chat.
Ingredients
- 4 cups powdered sugar, sifted
- 3 tablespoons meringue powder
- 5-6 tablespoons warm water
- ½ teaspoon vanilla extract

Instructions
- Beat the powdered sugar and meringue powder on low speed to combine.
- Add the water and vanilla, then beat on medium-high for 4-5 minutes until stiff peaks form.
- Divide the icing into small bowls and tint each with gel coloring. Start with a tiny dab, since gel is potent.
- For outline icing, keep it thick, like toothpaste. For flood icing (the stuff that fills in the shape), stir in water a teaspoon at a time until a ribbon of icing disappears back into the bowl after about 10 seconds.
- Spoon into piping bags and snip a tiny tip off the end, or use your piping tips.
Keep any icing you’re not using covered with a damp towel so it doesn’t crust over.

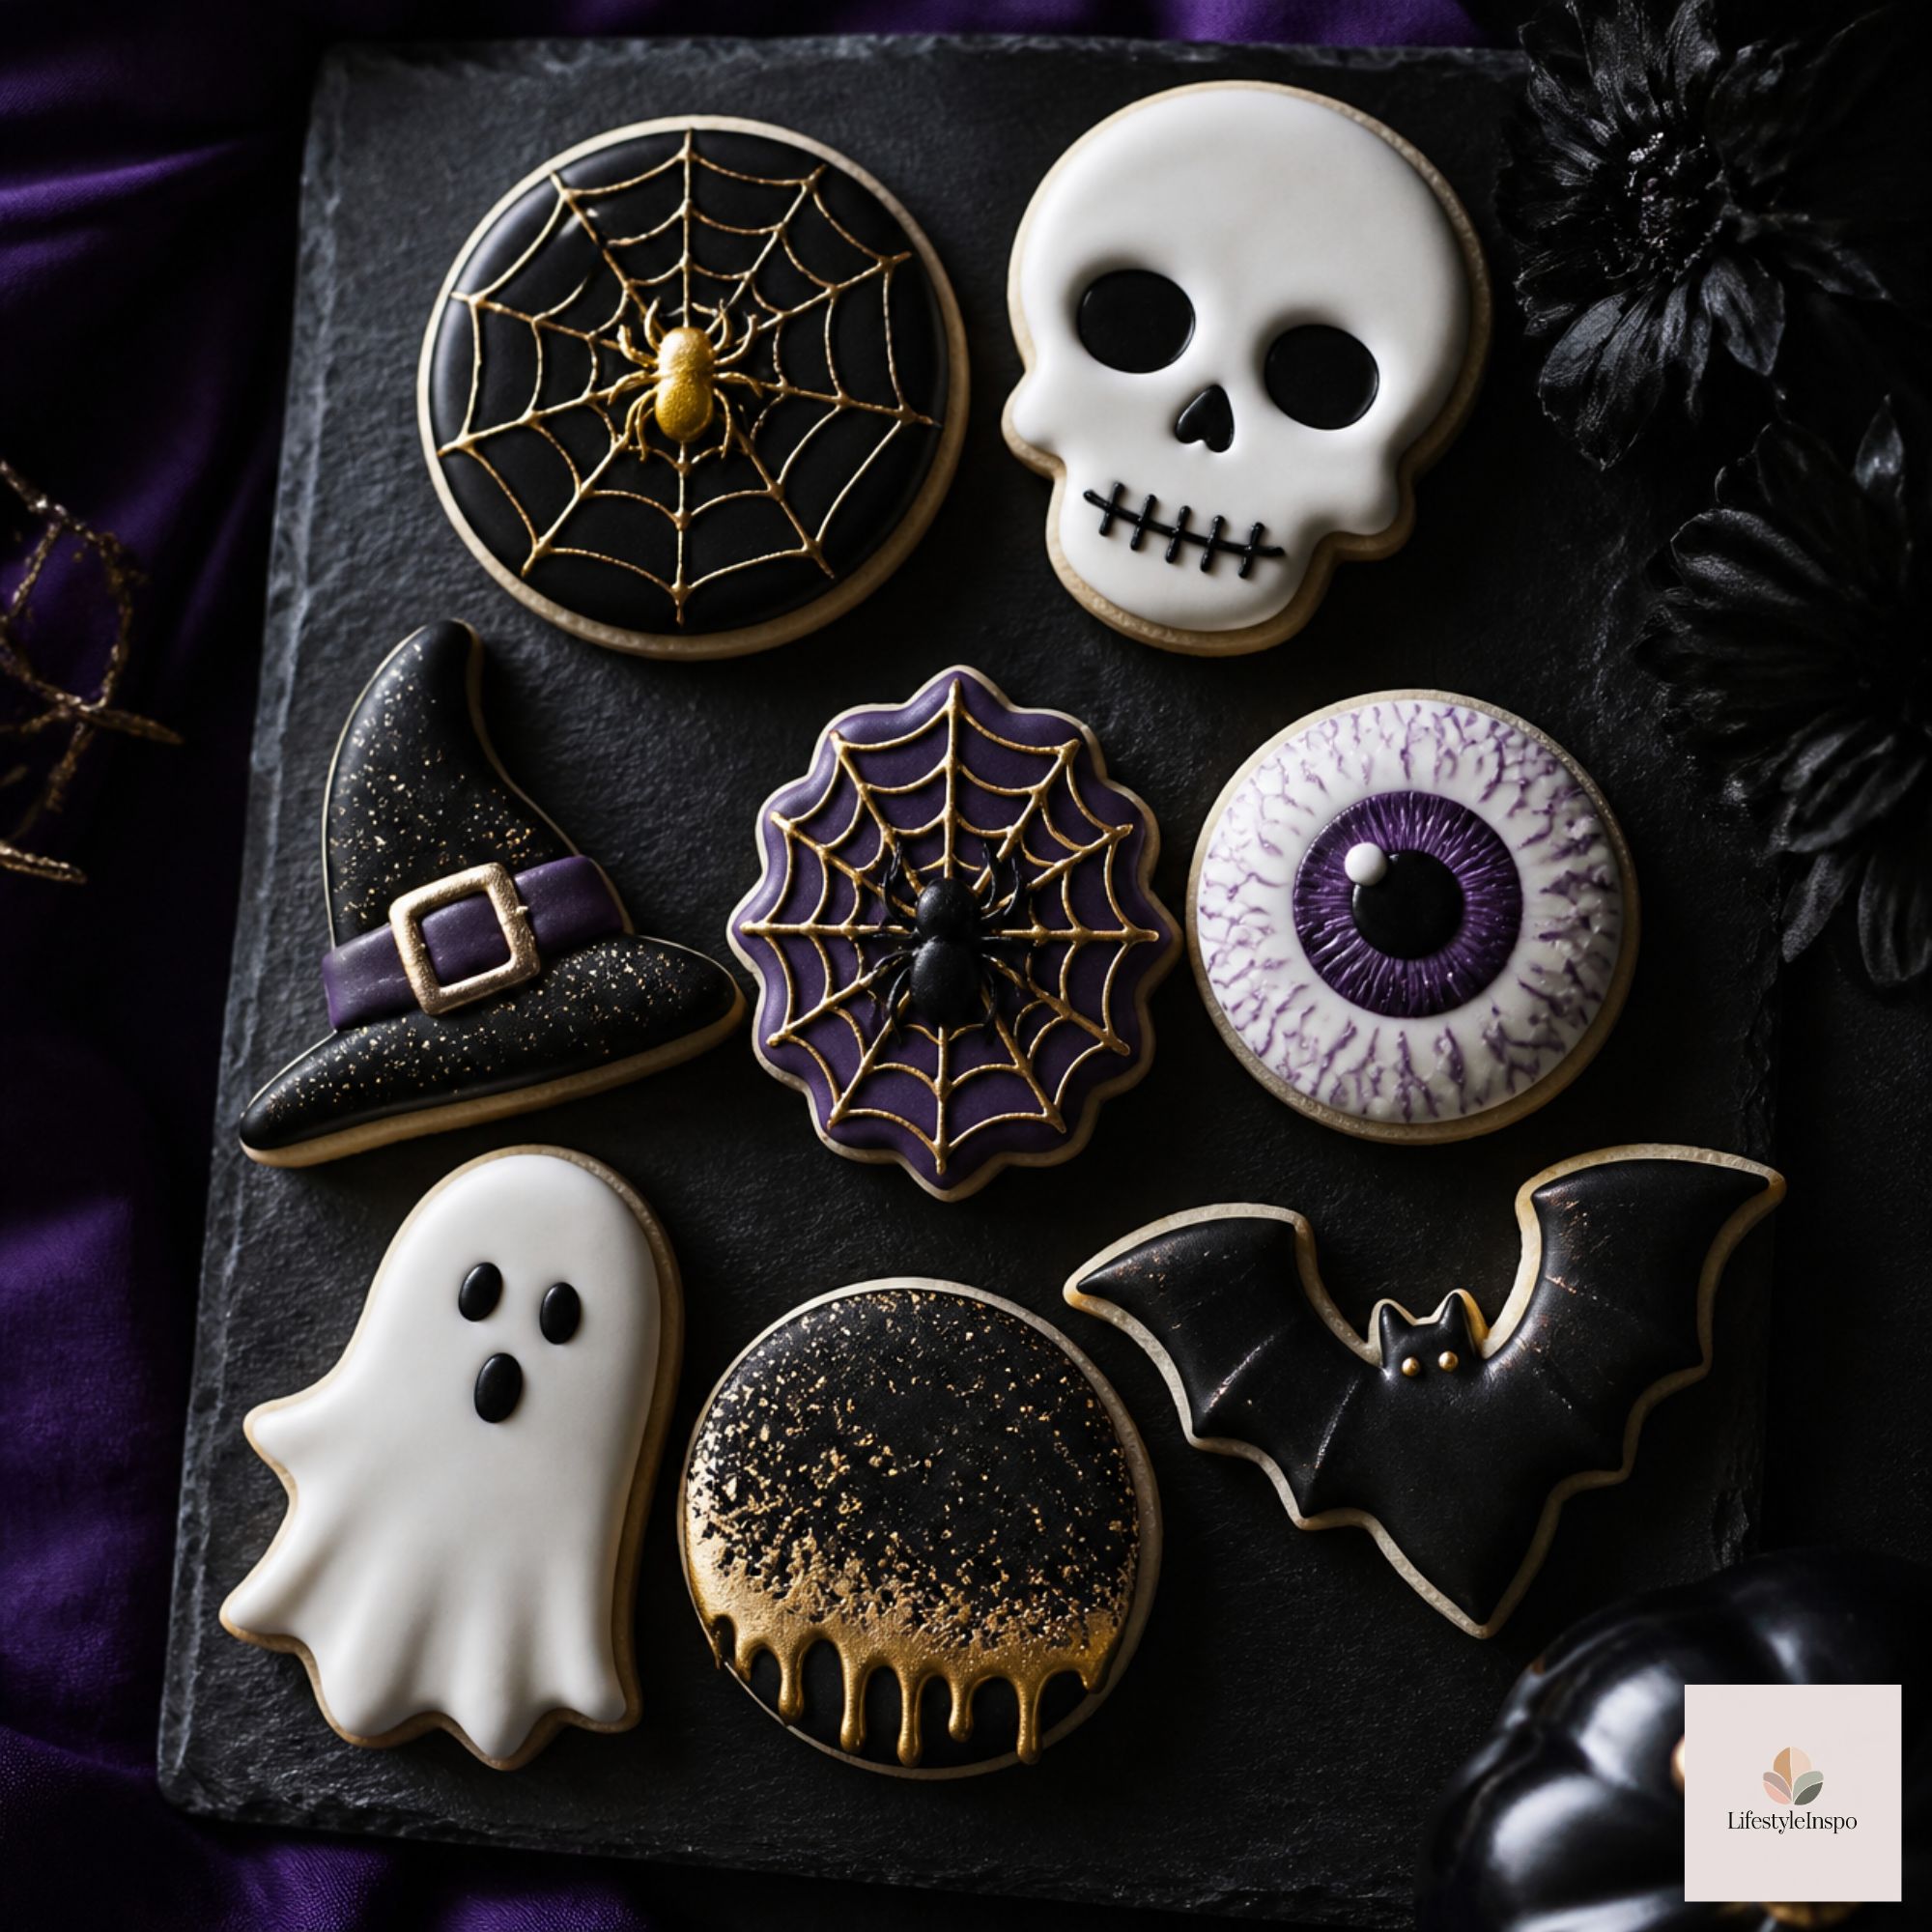
8 Spooky Halloween Cookie Decorating Ideas
Here’s where the fun starts. These ideas are ordered from easiest to most impressive, so you can pick your own adventure.
1. Classic Ghosts
Use a ghost cutter, outline in white, and flood the inside. Let it dry for about 20 minutes, then add two black dots for eyes and a tiny oval mouth. That’s it. A slightly crooked ghost has more personality anyway.
2. Pumpkin Patch Cookies
Outline a pumpkin shape in orange, flood it, and while it’s still wet, drag a toothpick from top to bottom in a few curved lines for pumpkin ridges. Finish with a little green stem. It looks way more advanced than it is.
3. Spiderweb Cookies
Flood a round cookie in orange or purple. While wet, pipe concentric circles in black icing, then drag a toothpick from the center outward to the edge, spacing the lines evenly. You’ll get a perfect web every time.

4. Sprinkle-Dipped Bats
Skip the piping entirely. Brush a bat-shaped cookie with a thin layer of icing and dunk it into a bowl of black and purple sprinkles. Done. This is my go-to when I’m baking with kids or I’m just tired.
5. Witch Hat Cookies
Outline the hat in black, flood it, and add a purple or orange band near the brim. Once dry, pipe a tiny gold or yellow buckle in the center. Cute and very “autumn aesthetic.”
6. Mummy Cookies
Flood your cookie with white icing, let it set, then pipe thin, slightly messy white lines across it for bandages. Add two googly eyes made from icing dots peeking through. The messier the bandages, the better the mummy.
7. Black Cat Silhouettes
Flood a cat cutout in solid black and add two bright yellow-green eyes once dry. Minimal, moody, and so pretty on a dessert board.
8. Candy Corn Cookies
Use a triangle cutter (or cut a rectangle into triangles), then flood in three stripes: yellow, orange, and white. Bonus tip: let each color set slightly before adding the next for crisp lines.
Decorating Tips for Beginners
- Let layers dry. Give each layer of icing at least 15-20 minutes before adding details, or colors will bleed together.
- Use a scribe tool or toothpick. It pops air bubbles and nudges icing into corners.
- Work in batches. Decorate five or six cookies at a time so your icing doesn’t crust over while you work.
- Put on a podcast. Honestly, the best tip. Decorating is meditative when you’re not rushing.
- Don’t aim for perfect. The charm of homemade cookies is that they look homemade.
How to Store and Gift Halloween Cookies
Once your icing has fully hardened (give it 6-8 hours, or overnight), you can stack the cookies with parchment between layers in an airtight container. They’ll stay fresh at room temperature for up to a week.
Want to gift them? Slide a few into clear cellophane bags tied with orange or black ribbon. They make adorable thank-you gifts for neighbors, teachers, and that friend who always hosts the Halloween party.

Make It a Party
Cookie decorating is one of the easiest activities to turn into a get-together. Bake a batch of plain cookies ahead of time, set up a few bowls of icing and sprinkles, and let everyone decorate their own. Add a snack board and a spooky playlist, and you’ve got an instant fall hangout with almost zero planning.
If you’re hosting, a Halloween party tableware set and a festive Halloween tablecloth make cleanup easy and the table look put together, even when there’s icing on your sleeve.
Frequently Asked Questions
Can I make the cookie dough ahead of time? Yes! The dough keeps in the fridge for up to 3 days, or in the freezer for up to 3 months. Thaw it in the fridge overnight before rolling.
Why did my cookies spread? Usually the dough was too warm, or the butter was too soft. Chill the dough thoroughly and the cut-outs before baking.
Do I need meringue powder for icing? It gives you the smoothest, hardest-setting icing, so I recommend it. If you want a simpler glaze, mix powdered sugar with a little milk and corn syrup, though it won’t dry quite as firm.
How do I get a true black icing? Start with a chocolate icing base or a dark cocoa, then add black gel color. Let it sit for an hour, since the color deepens as it rests.
Final Thoughts
Halloween sugar cookies are proof that you don’t need to be a professional baker to make something that feels special. With a simple dough, a little royal icing, and the right tools, you can turn a Tuesday night into a tiny holiday celebration.
Start with the sprinkle bats if you’re nervous, try the spiderwebs when you’re feeling brave, and above all, have fun with it. Tag me if you make these, and tell me which design was your favorite. Happy baking!
About the Author