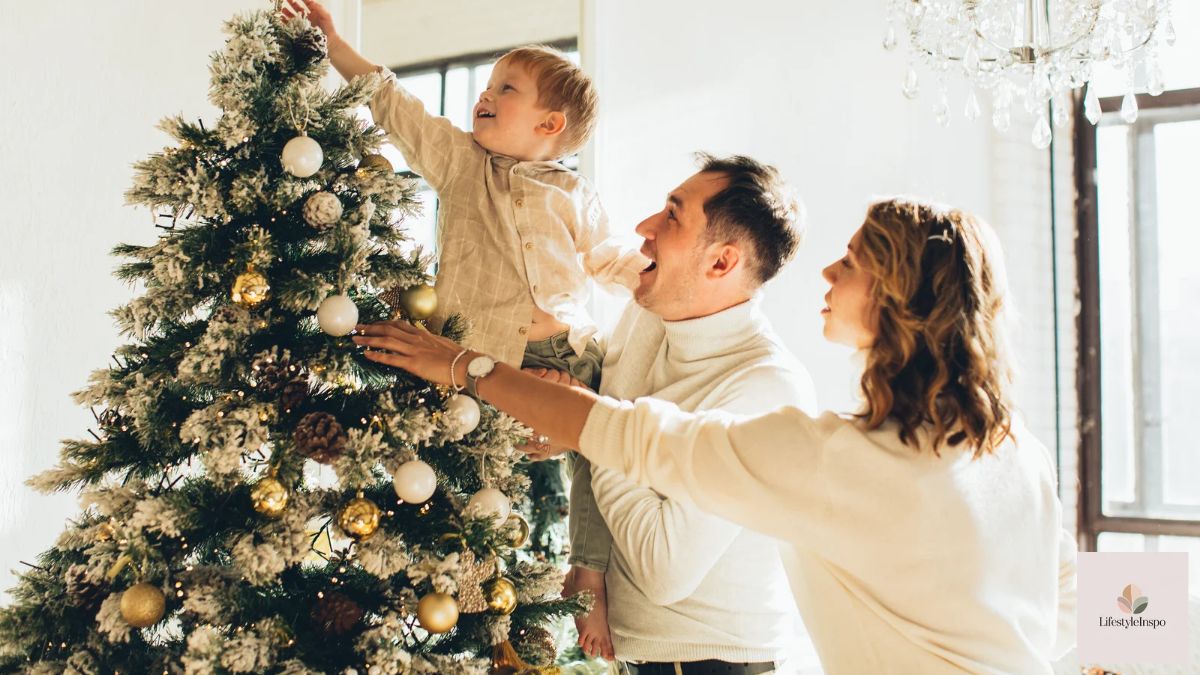
How to Decorate a Christmas Tree Like a Pro (Step by Step)
Every year, the same thing happens. You pull the tree out of the box, stand back, and wonder why yours looks like a sweet but slightly chaotic science project while the ones in magazines look effortless.
Here’s the secret: those trees aren’t lucky. They follow a system. Professional stylists decorate in layers, in a specific order, with a plan for scale and spacing.
Once you know how to decorate a Christmas tree in the right sequence, it gets easier — and honestly, a lot more fun. This guide walks you through every step, from fluffing branches to placing the topper, with simple tricks you can use no matter your budget or style.
Grab a hot chocolate. Let’s build your best tree yet.
Why Most Christmas Trees Look “Off”
Before we get into the how, let’s talk about the why. Most home trees fall flat for three reasons:
- The lights go on last (or not at all), so the tree looks flat instead of glowing from within.
- Ornaments are all the same size, which makes the tree feel busy but not dimensional.
- Decor hugs the outside branches, leaving the center of the tree dark and empty.
Fix those three things and your tree instantly looks designer-level. Ready? Here’s the full process.
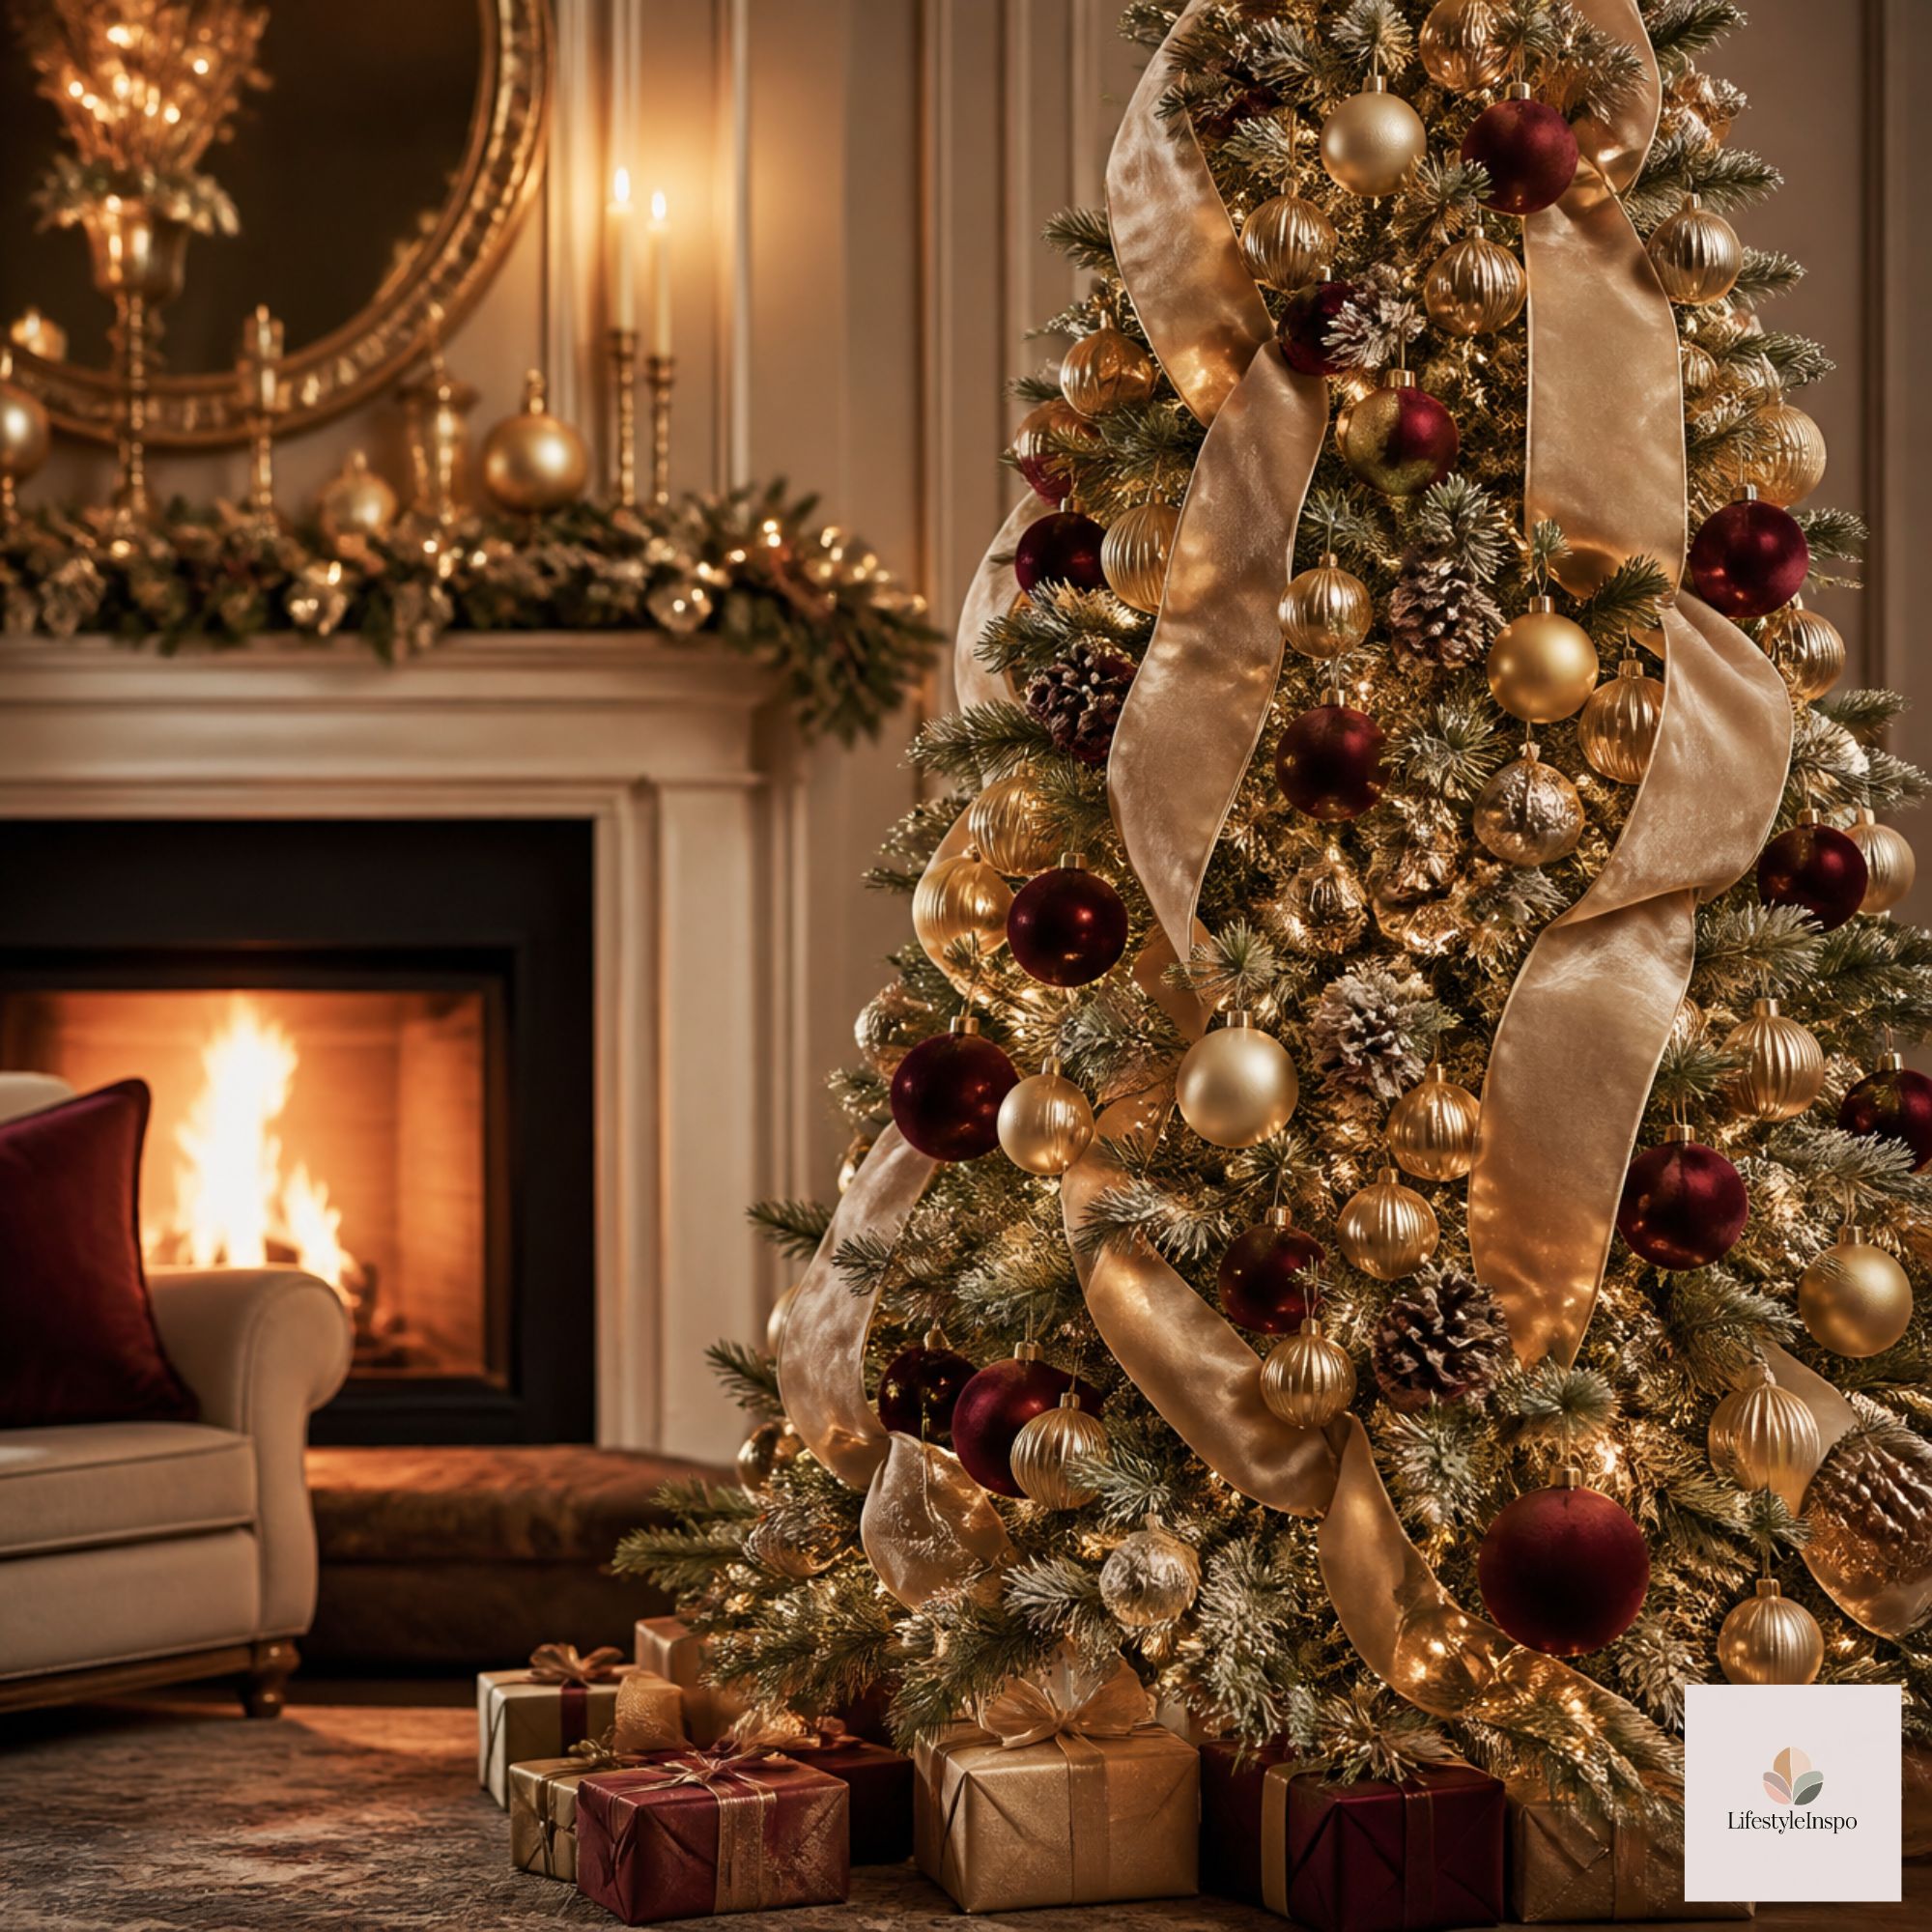
Step 1: Start With the Right Tree and Fluff It Well
A great tree starts with a great base. If you’re buying a new one this year, a pre-lit artificial Christmas tree makes the whole process simpler, because the lights are already woven in evenly. That means more time for decorating and fewer evenings spent untangling strings.
→ Shop it: Pre-lit artificial Christmas tree
How to fluff it: Work from the bottom of the tree upward, one branch at a time. Spread each tip so the branches fan out in different directions. Take your time here. A full, fluffed tree looks like a more expensive tree, and it gives you more spots to hang ornaments.
Fluff the inside branches too, not just the outer ones. This is what creates depth.
Step 2: Add (or Boost) the Lighting
Lighting is what makes a tree feel alive. If your tree is pre-lit, check that every strand works before you go any further. If you want a bigger glow, add extra lights now, before anything else touches the branches.
For a richer look, add a strand of warm white fairy lights in between the existing lights. The thin wire is nearly invisible against the branches, and the extra layer of tiny lights gives the tree that twinkly, magical depth you see in photos.
→ Shop it: Warm white fairy string lights
How to place lights like a pro:
- Start at the base and weave the lights toward the trunk and back out along each branch, instead of just wrapping around the outside.
- Aim for roughly 100 lights per vertical foot of tree for a full look.
- Step back, squint, and look for dark patches. Fill them in.
Squinting is a real stylist trick. It blurs the details so you can see the overall glow and spot the gaps.
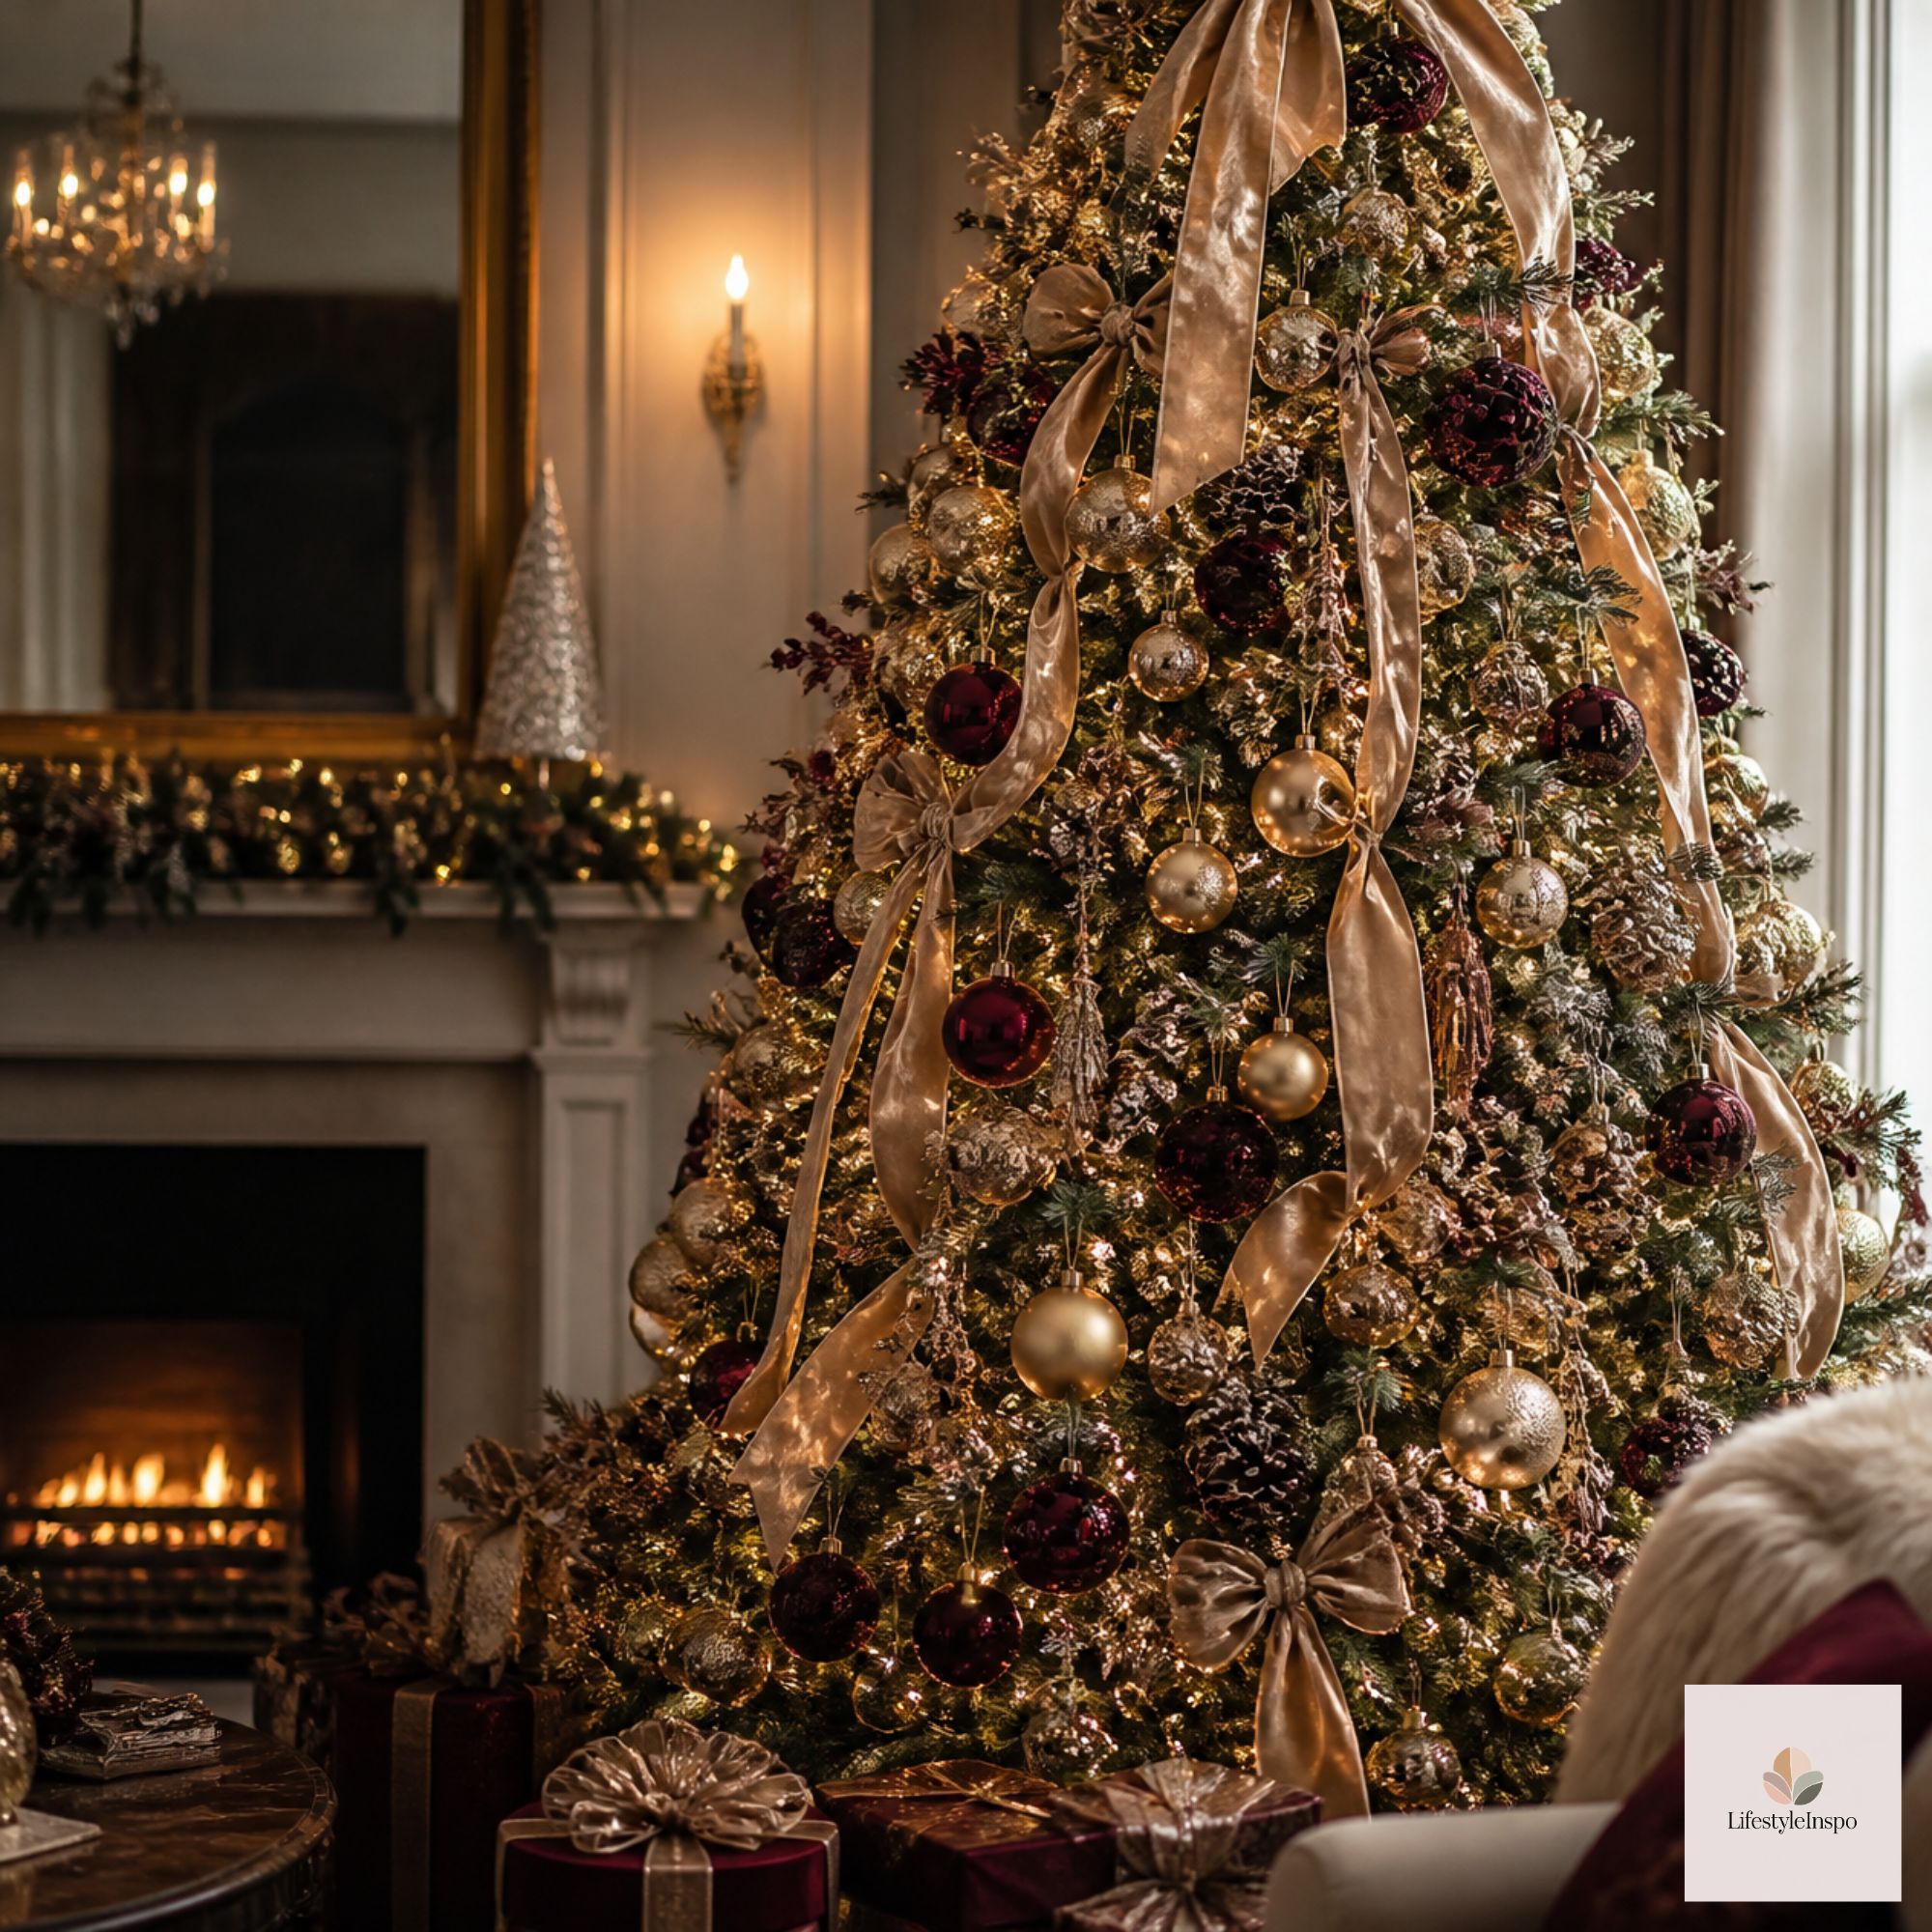
Step 3: Wrap the Tree in Ribbon
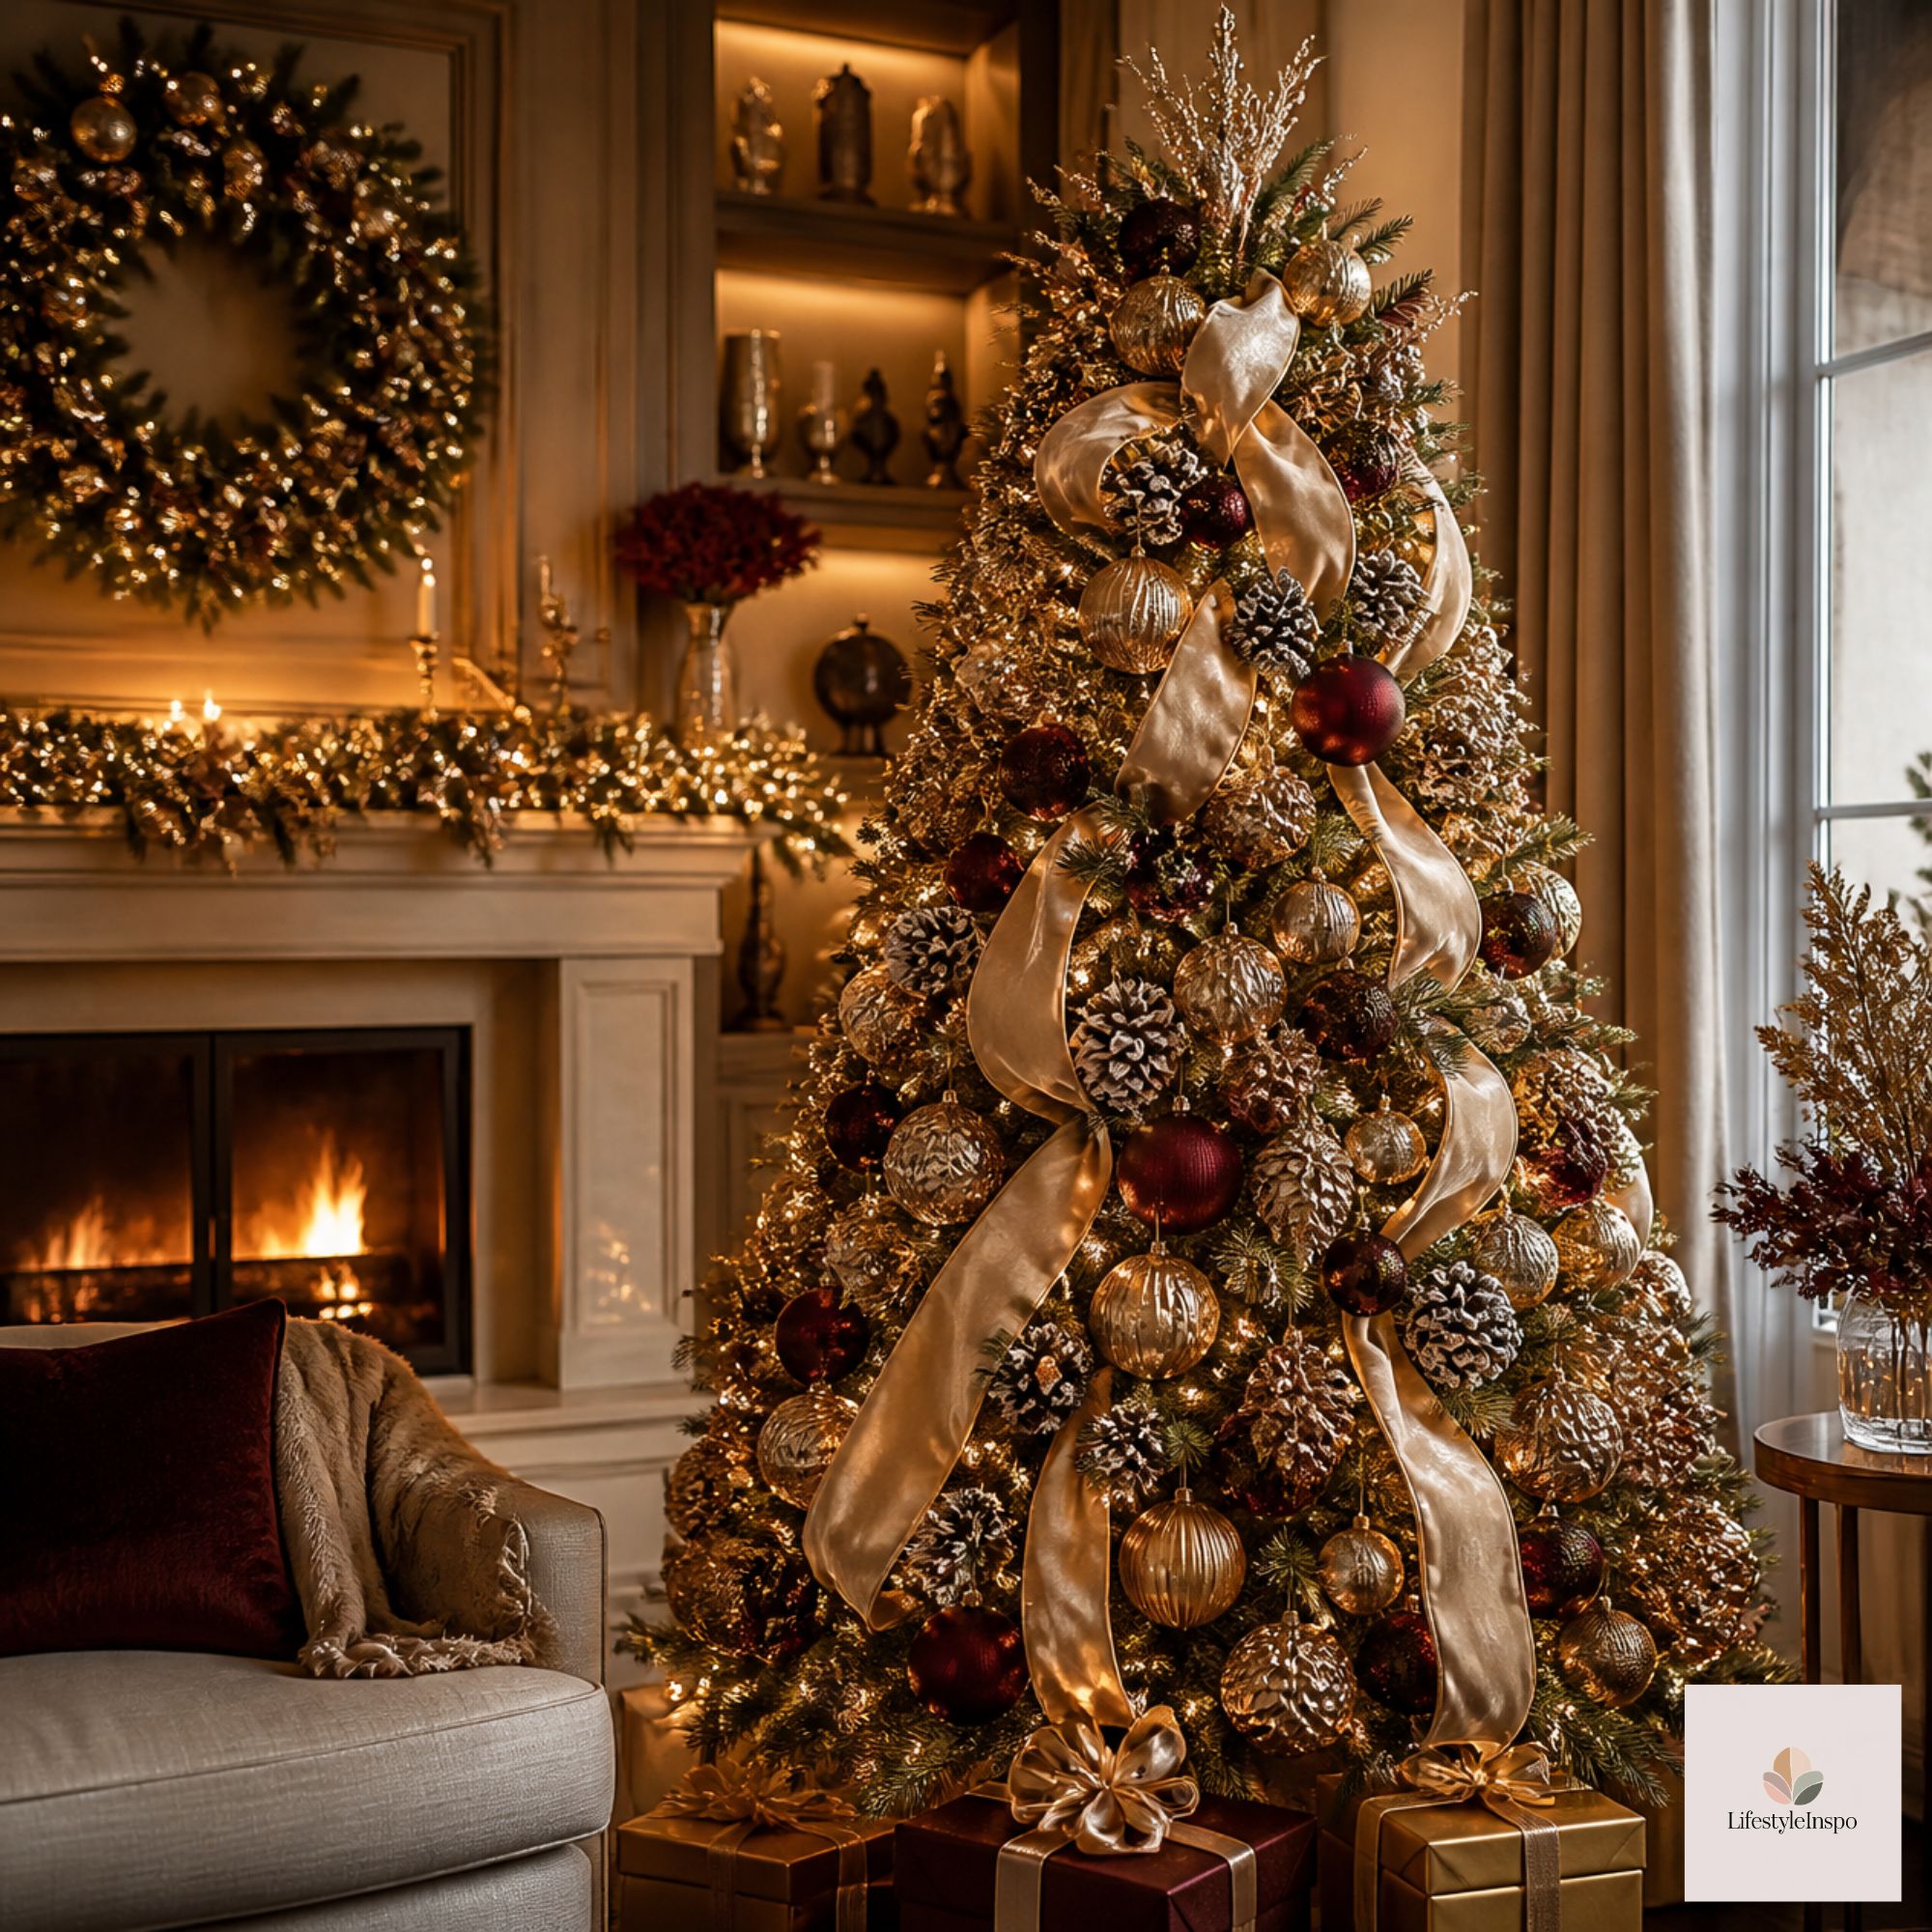
Ribbon is the single fastest way to make a tree look styled. It adds texture, color, and a sense of flow that ornaments alone can’t create.
A natural burlap Christmas tree ribbon is a classic choice, especially for farmhouse, rustic, or neutral trees. It’s soft, wired for easy shaping, and pairs beautifully with both red and gold decor.
→ Shop it: Burlap Christmas tree ribbon
Two easy ribbon methods:
- The cascade: Start at the top, tuck the ribbon into the branches, and let it drape in loose loops down the tree. Tuck the end in at the bottom.
- The puff method: Pinch the ribbon every 8 to 10 inches, tuck each pinch into the branches, and let it form soft billows. This looks full and luxurious.
Whichever method you choose, tuck the ribbon into the tree, not on the surface. Letting it dip in and out of the branches creates dimension.
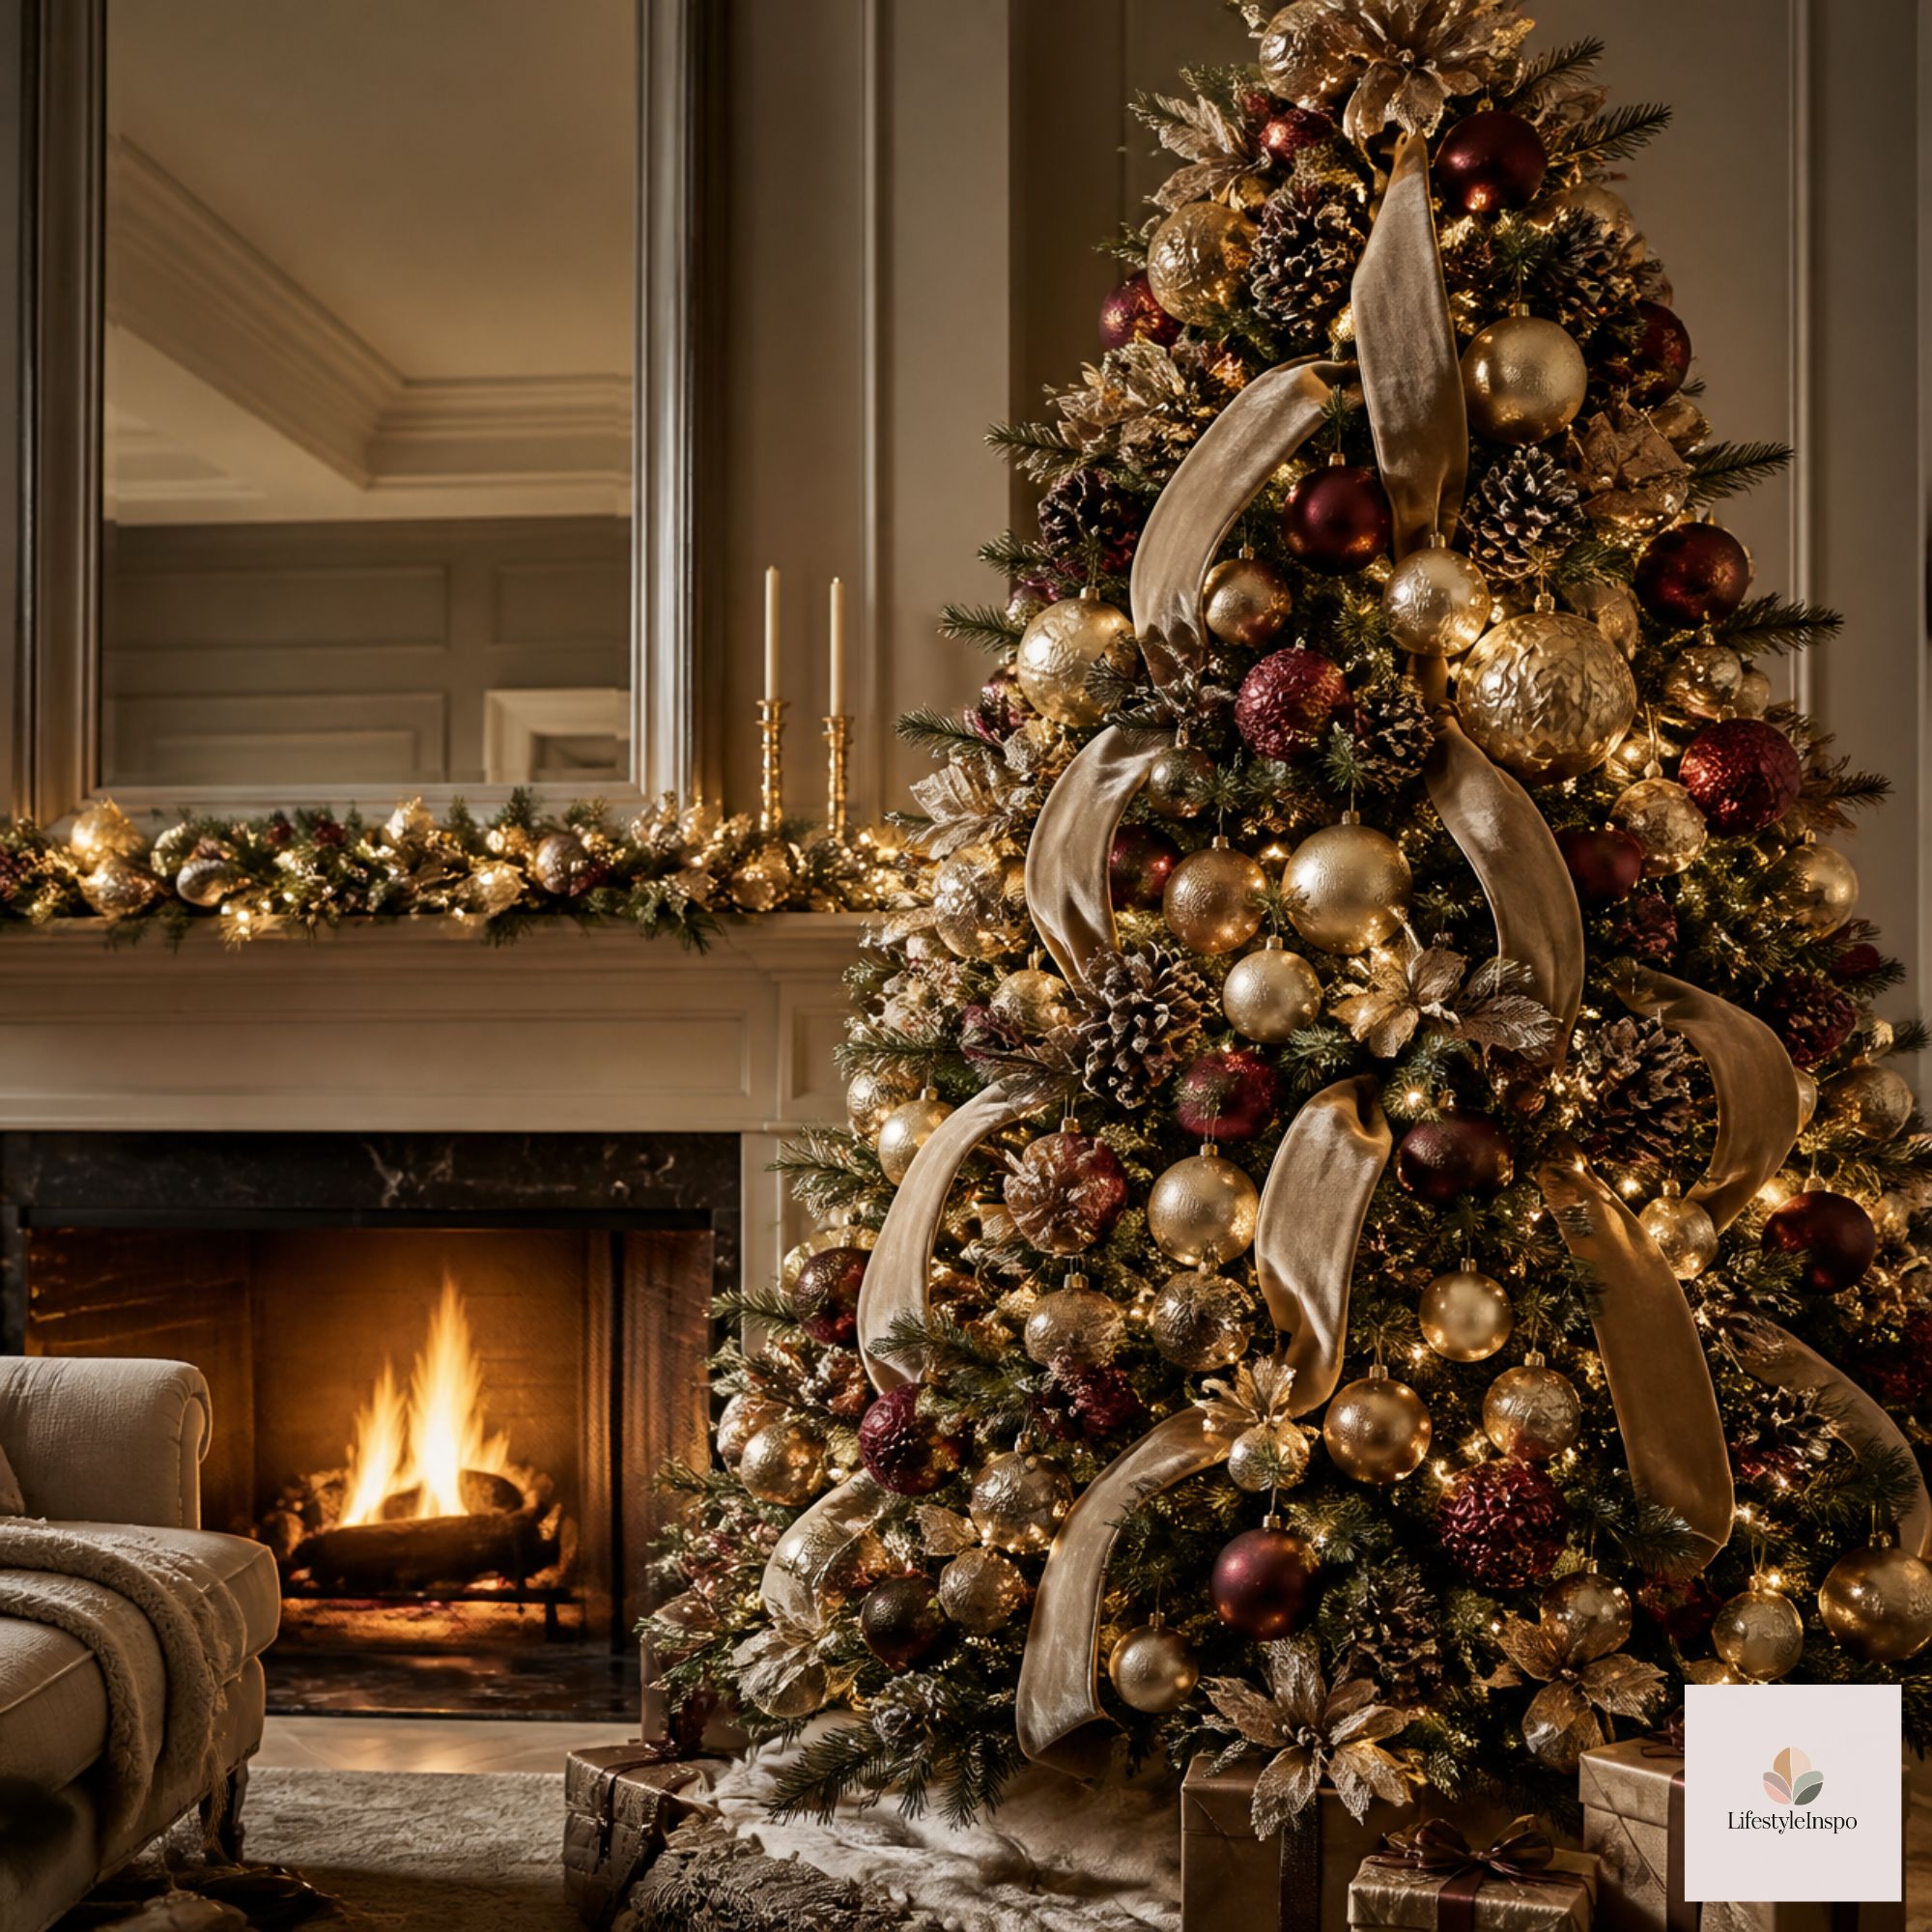
Step 4: Hang Ornaments in Three Layers
Here’s where the magic really happens. Instead of hanging ornaments at random, think in three layers:
Layer 1: The Big Statement Pieces
Start with your largest ornaments and tuck them deeper into the tree, closer to the trunk. These add depth and fill the dark center.
Layer 2: The Core Ornaments
Next, hang your main set across the tree. A set of shatterproof Christmas ball ornaments is perfect here. They come in coordinated colors, and since they won’t break, they’re ideal for homes with kids or curious pets.
→ Shop it: Shatterproof Christmas ball ornaments set
Layer 3: The Small Accents
Finish with small ornaments, picks, and sentimental pieces on the outer branches. This is where your family heirlooms and handmade ornaments get to shine.
Spacing rule: Distribute each type evenly around the tree, including the back and sides if your tree sits in a spot where people see it from multiple angles. Odd groupings of three look the most natural.
Step 5: Crown It With a Topper
The topper is the finishing flourish. It should feel proportional to the tree: too small and it looks lost, too big and it weighs down the top branches.
A classic Christmas tree topper star gives you timeless sparkle, and it works with nearly every style from traditional to modern. Position it so it stands straight, and secure it by attaching it to the top branch with a bit of floral wire if it tilts.
→ Shop it: Christmas tree topper star
If your topper looks a little droopy, try bending the top branches upward to create a sturdy cradle for it, and tuck a few ribbon tails or picks around its base to blend it in.
Step 6: Finish at the Bottom With a Tree Collar
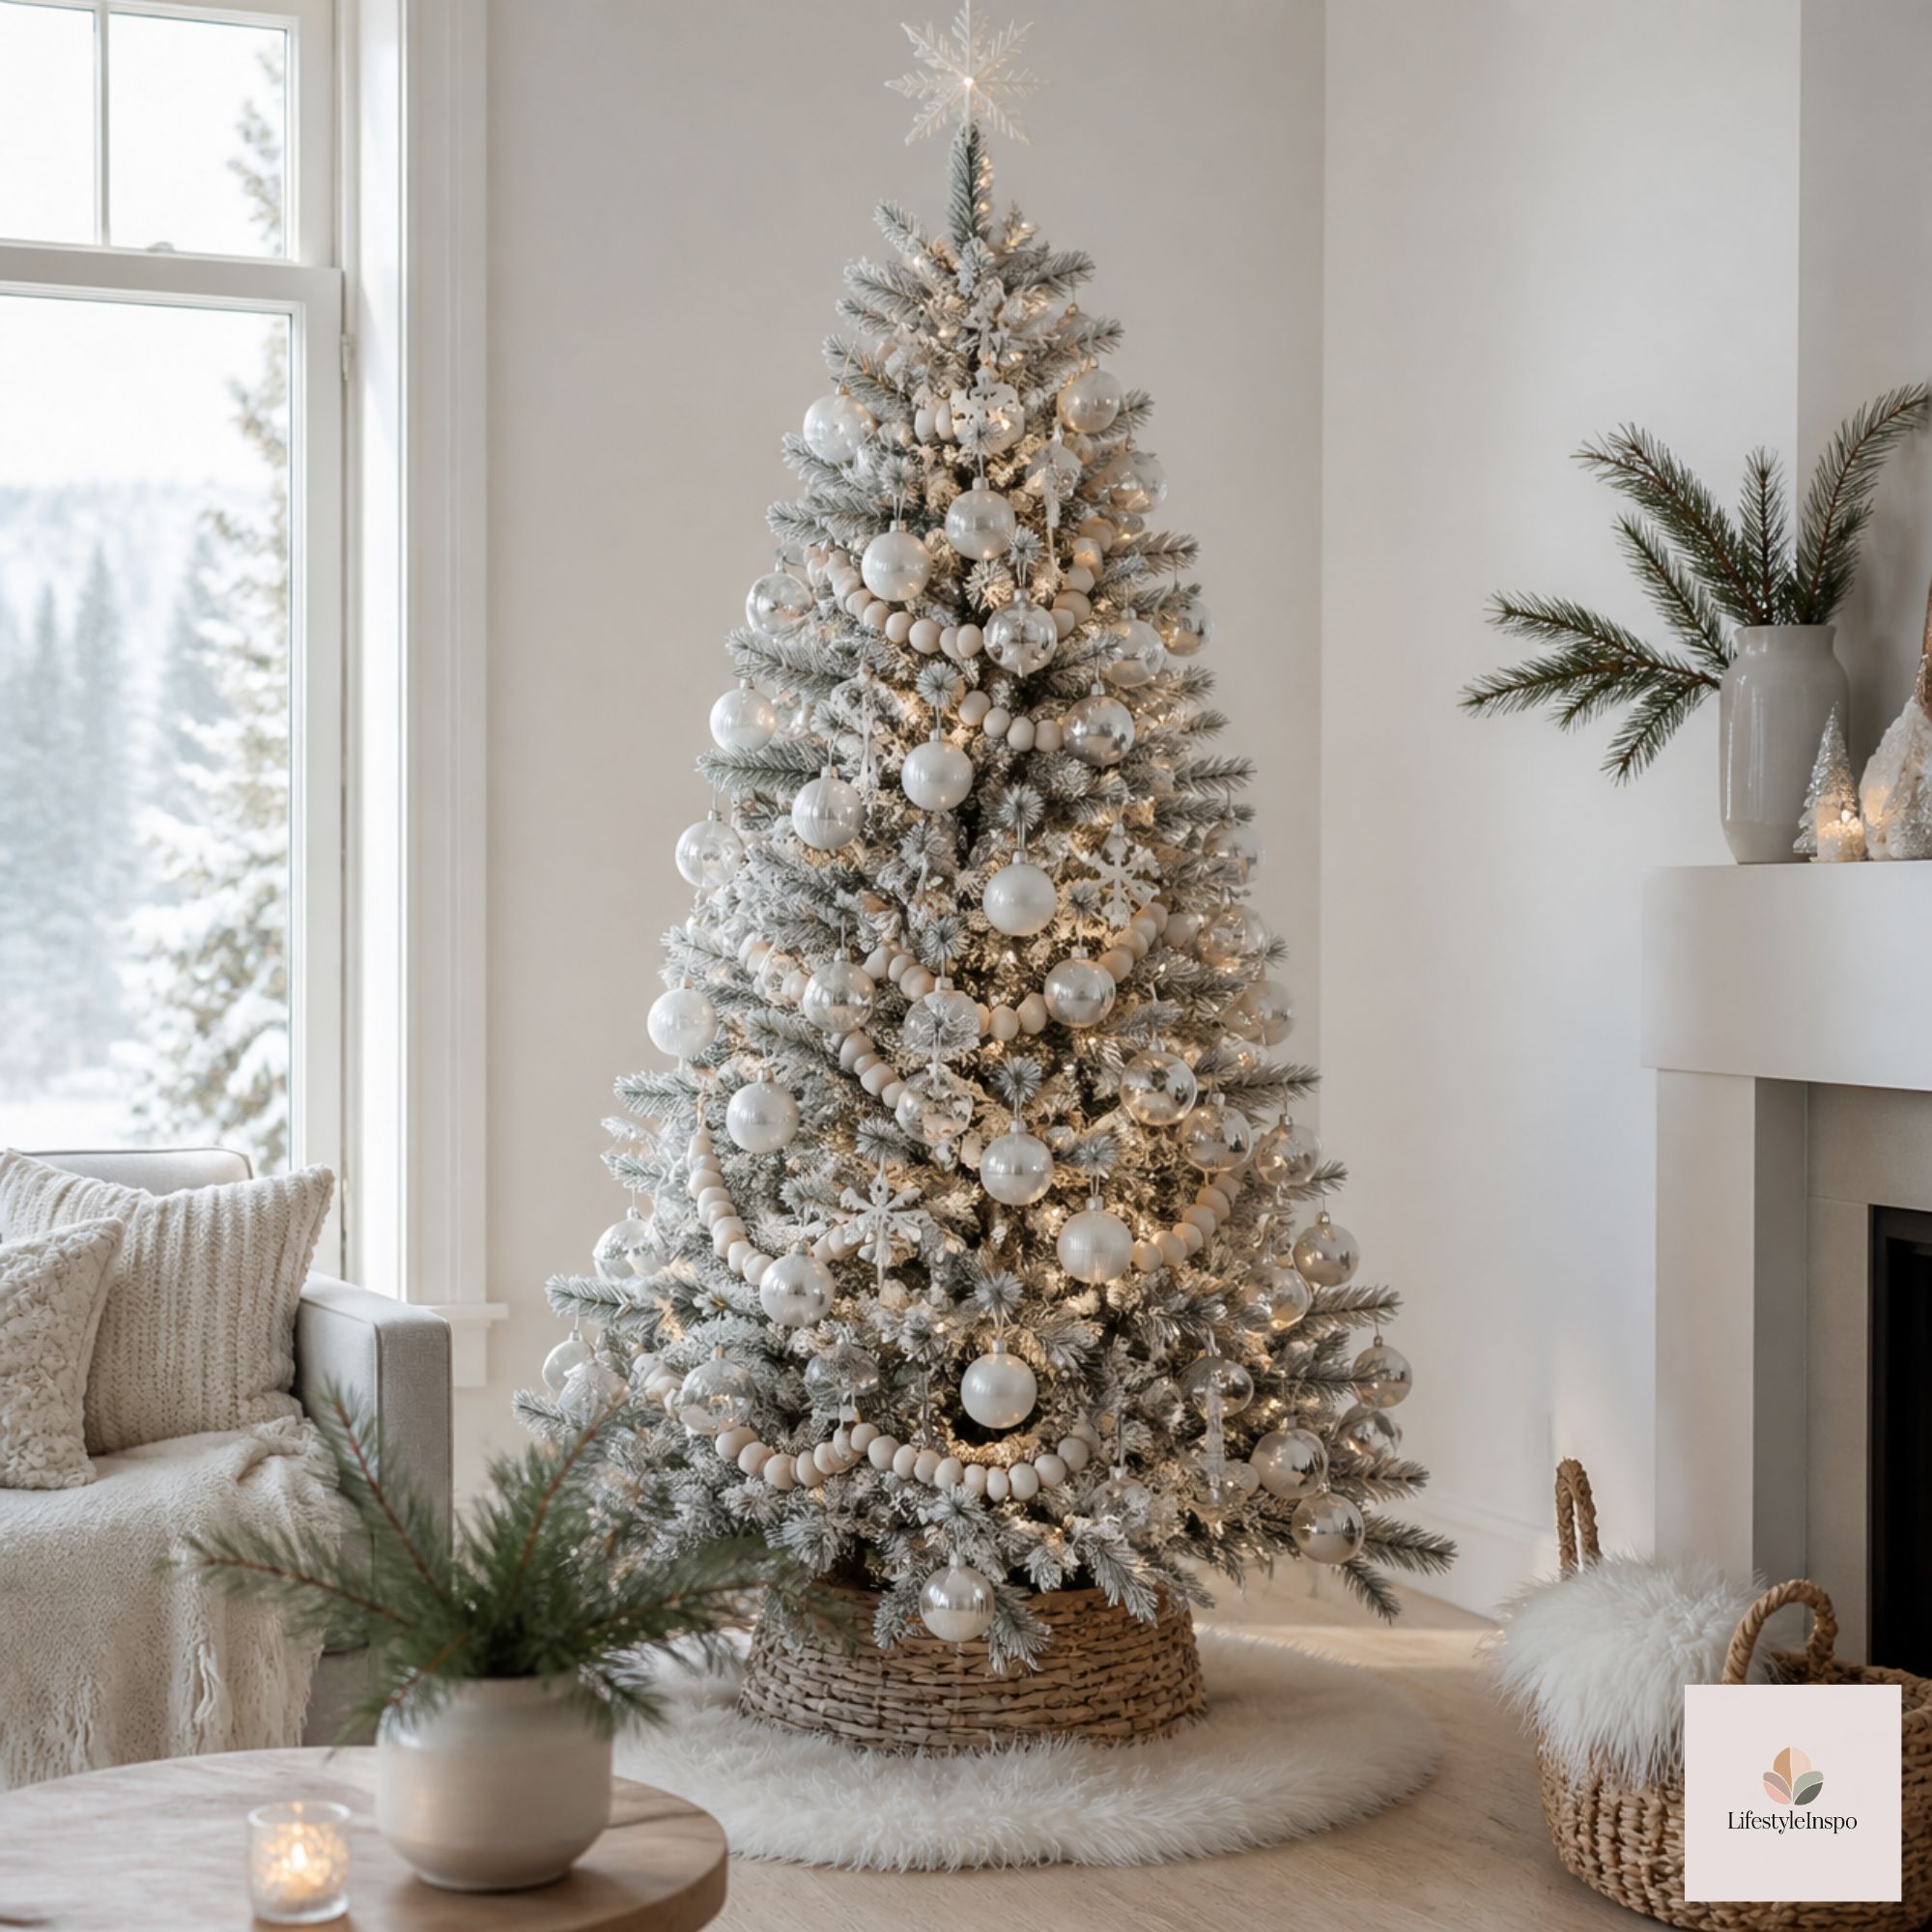
The base of the tree is the most overlooked detail, and it makes a surprising difference. A visible tree stand can make even a beautiful tree feel unfinished.
A Christmas tree collar hides the stand, adds a cozy, polished look, and gives you a clean surface to place gifts around. It’s like putting shoes on an outfit, and the whole look suddenly feels complete.
→ Shop it: Christmas tree collar
Once the collar is in place, add your wrapped presents around it. Mix box sizes and heights for a layered, abundant look.
Common Christmas Tree Decorating Mistakes to Avoid
Even with a great plan, a few small slip-ups can throw a tree off. Watch for these:
- Skipping the squint test. Step back often to check balance.
- Hanging everything at eye level. Distribute ornaments from top to bottom.
- Using too many colors. Two to three coordinating shades look the most elevated.
- Forgetting the back. If the tree is in a corner, you can skip it, but if people walk around it, don’t.
- Rushing the fluffing. This one step makes the biggest difference.
How Many Ornaments Do You Need?
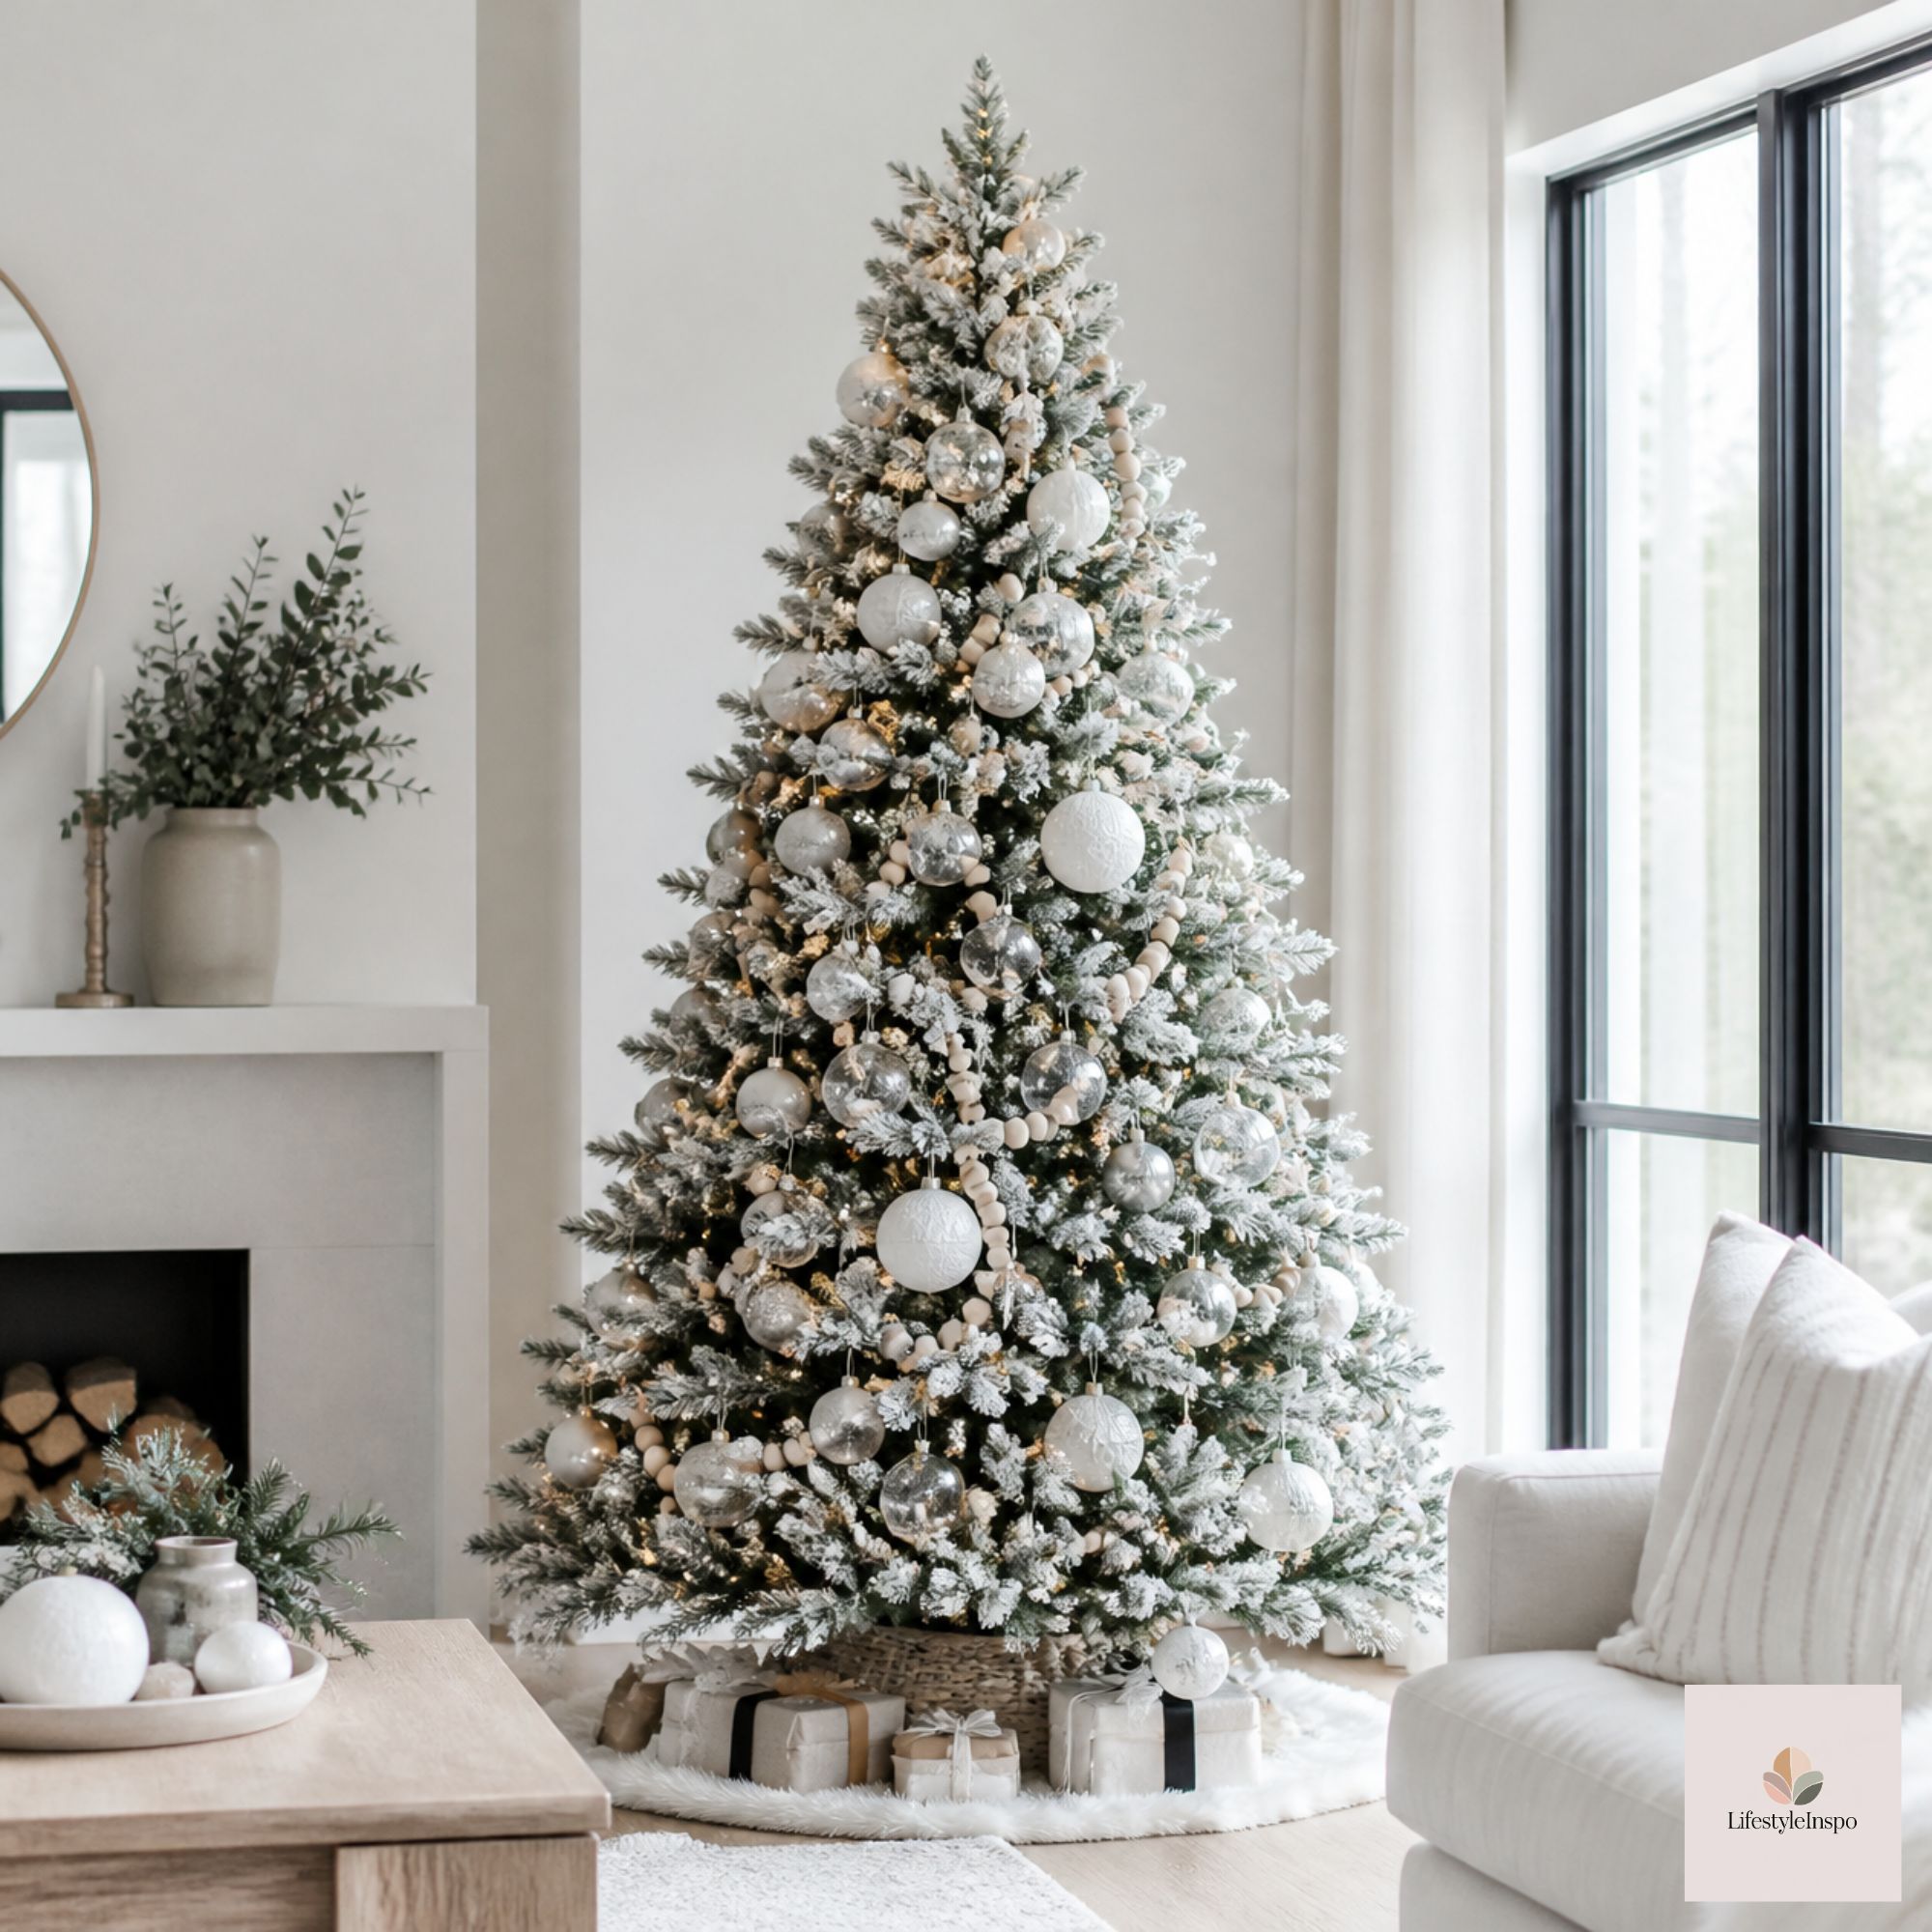
A good guideline is about 10 to 12 ornaments per foot of tree for a full, classic look. For a 7-foot tree, that’s roughly 70 to 85 ornaments. If you prefer a more minimal look, cut that number in half and focus on larger, better-quality pieces.
Don’t forget that ribbon, picks, and fairy lights fill space too, so you may need fewer ornaments than you think.
Christmas Tree Decorating FAQ
What order should I decorate a Christmas tree in?
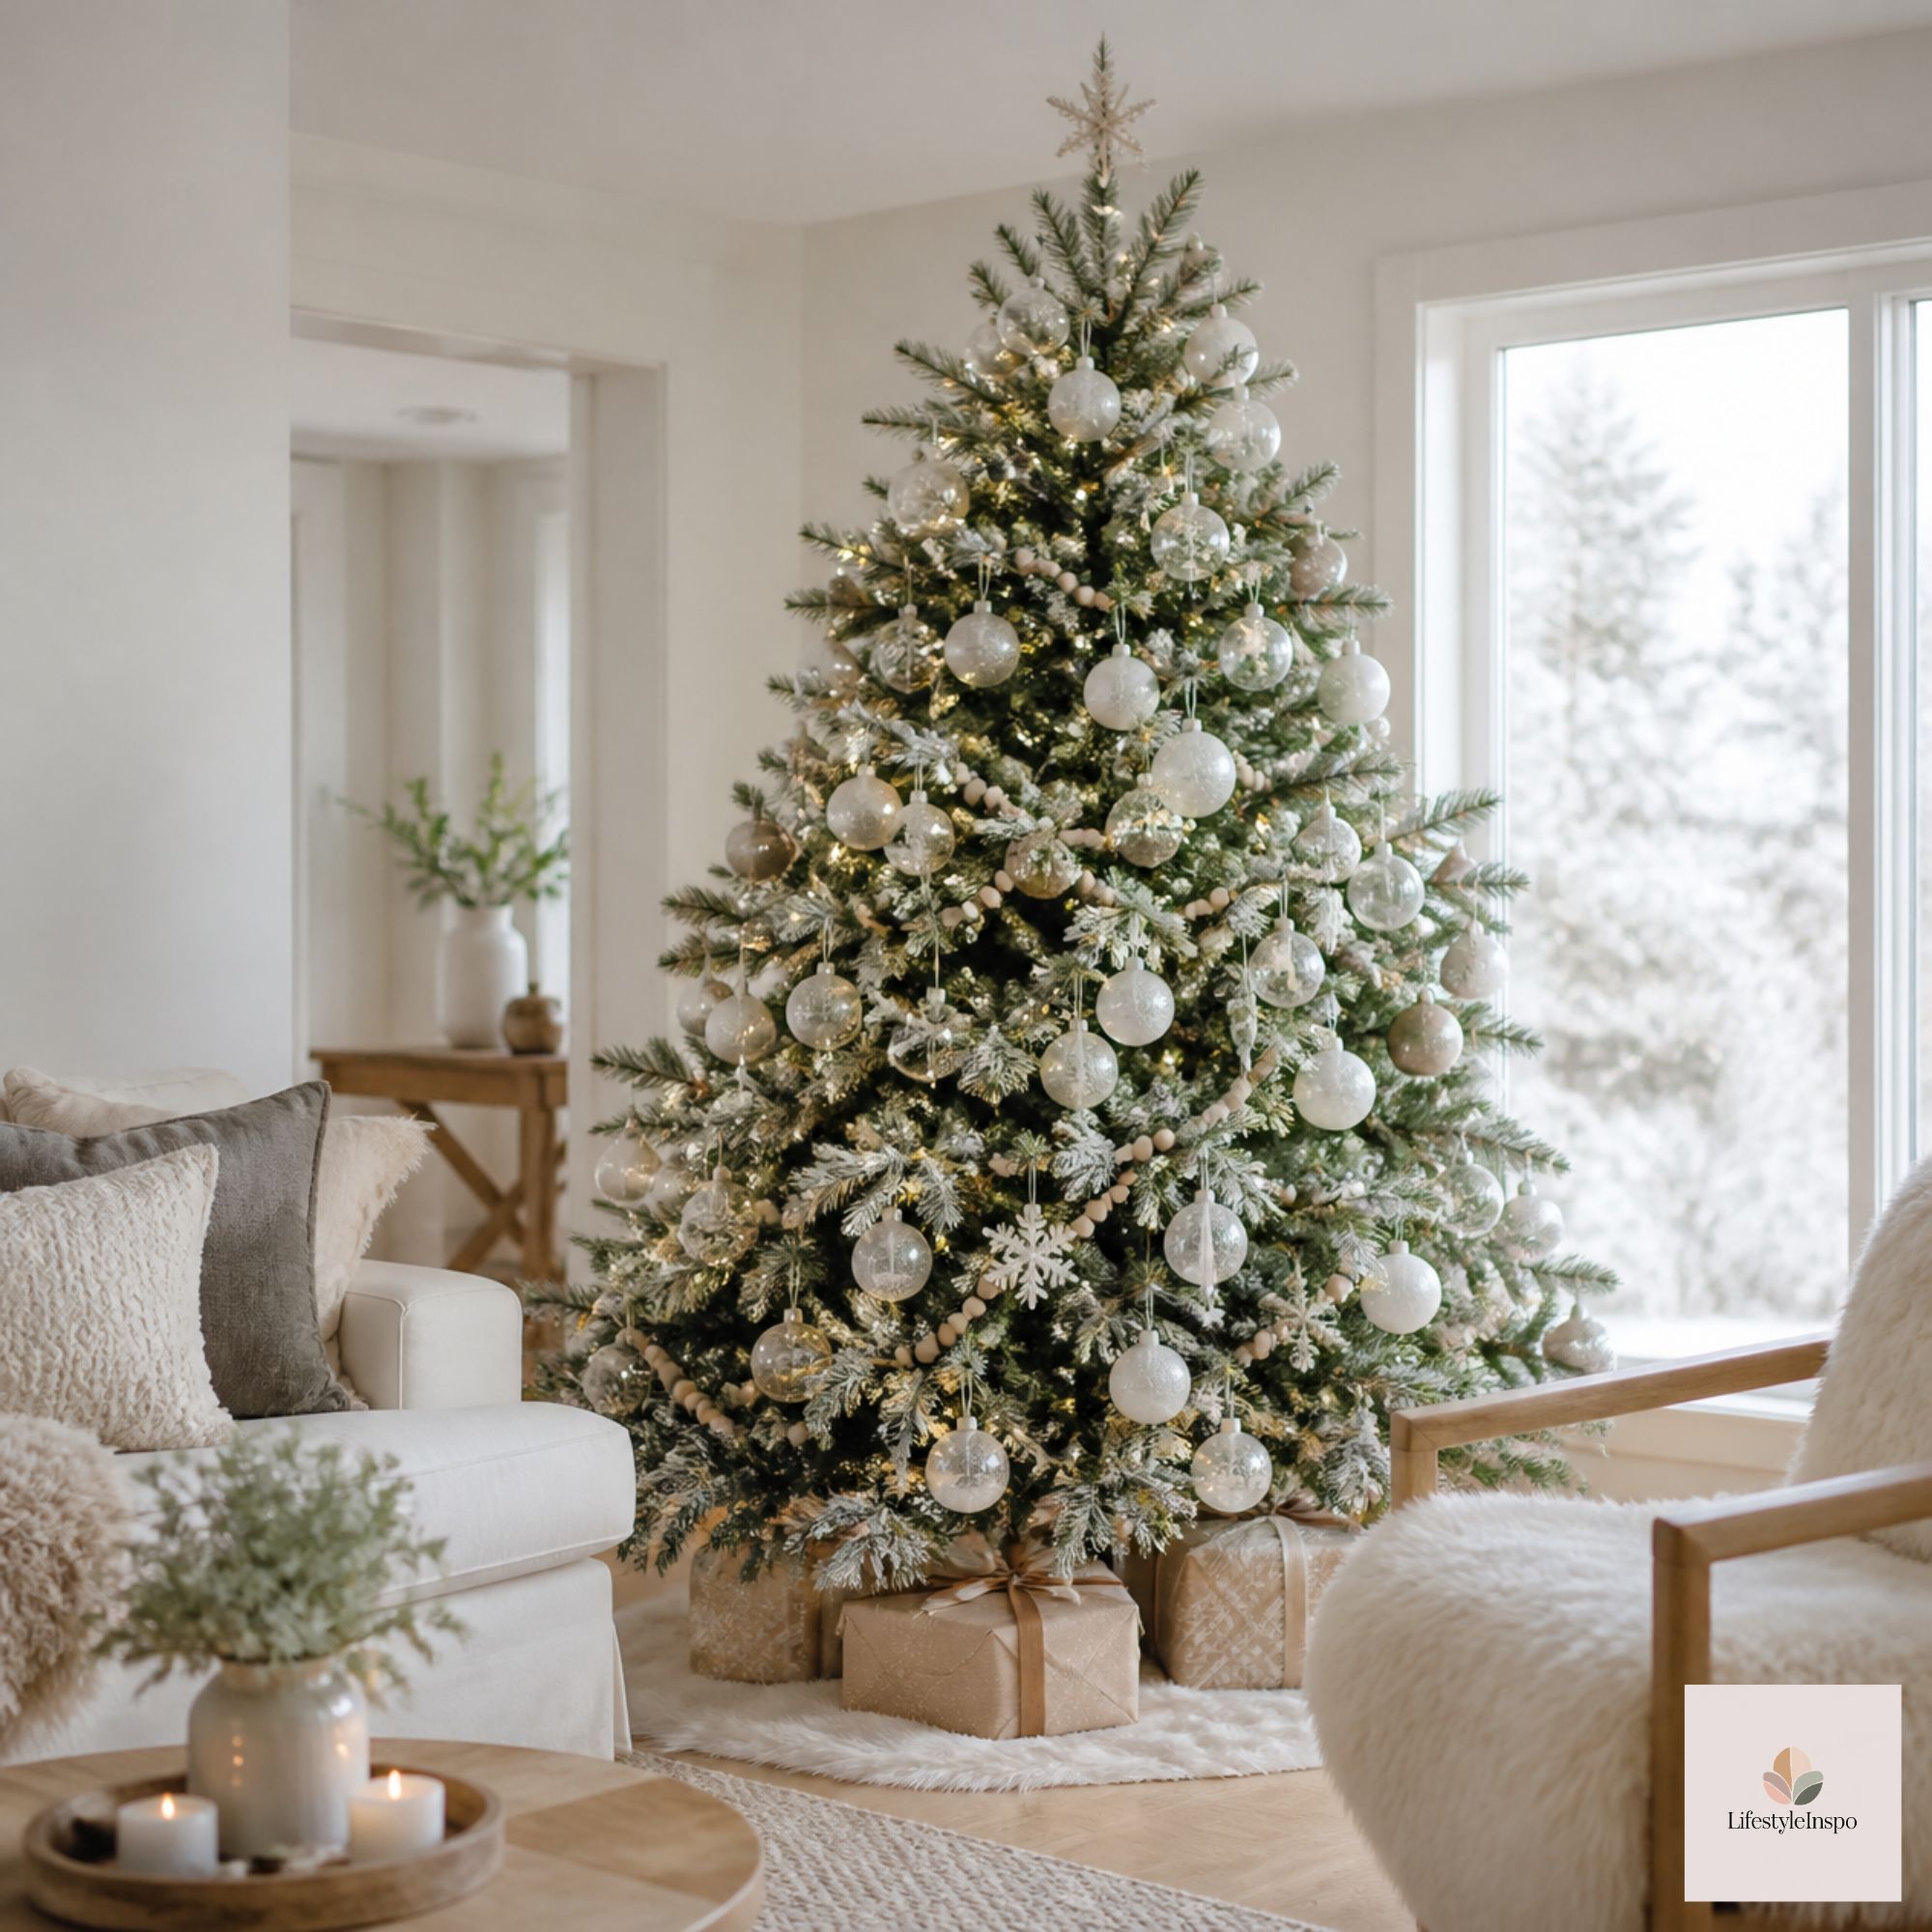
Fluff the branches first, then add lights, ribbon, large ornaments, smaller ornaments, and finally the topper. Place the tree collar once the tree is in position.
How many lights do I need for a 7-foot tree?
A common guideline is 100 lights per vertical foot, so about 700 lights for a full look. If you like extra sparkle, go up to 1,000.
Should I put the topper on first or last?
Many stylists attach the topper early so it’s securely in place before the branches get heavy. Others add it last for a final flourish. Either works, just make sure it’s stable.
How do I make my tree look fuller?
Fluff every branch, add ribbon in billowing loops, and tuck larger ornaments deep toward the trunk. Layering is what creates fullness, not buying more stuff.
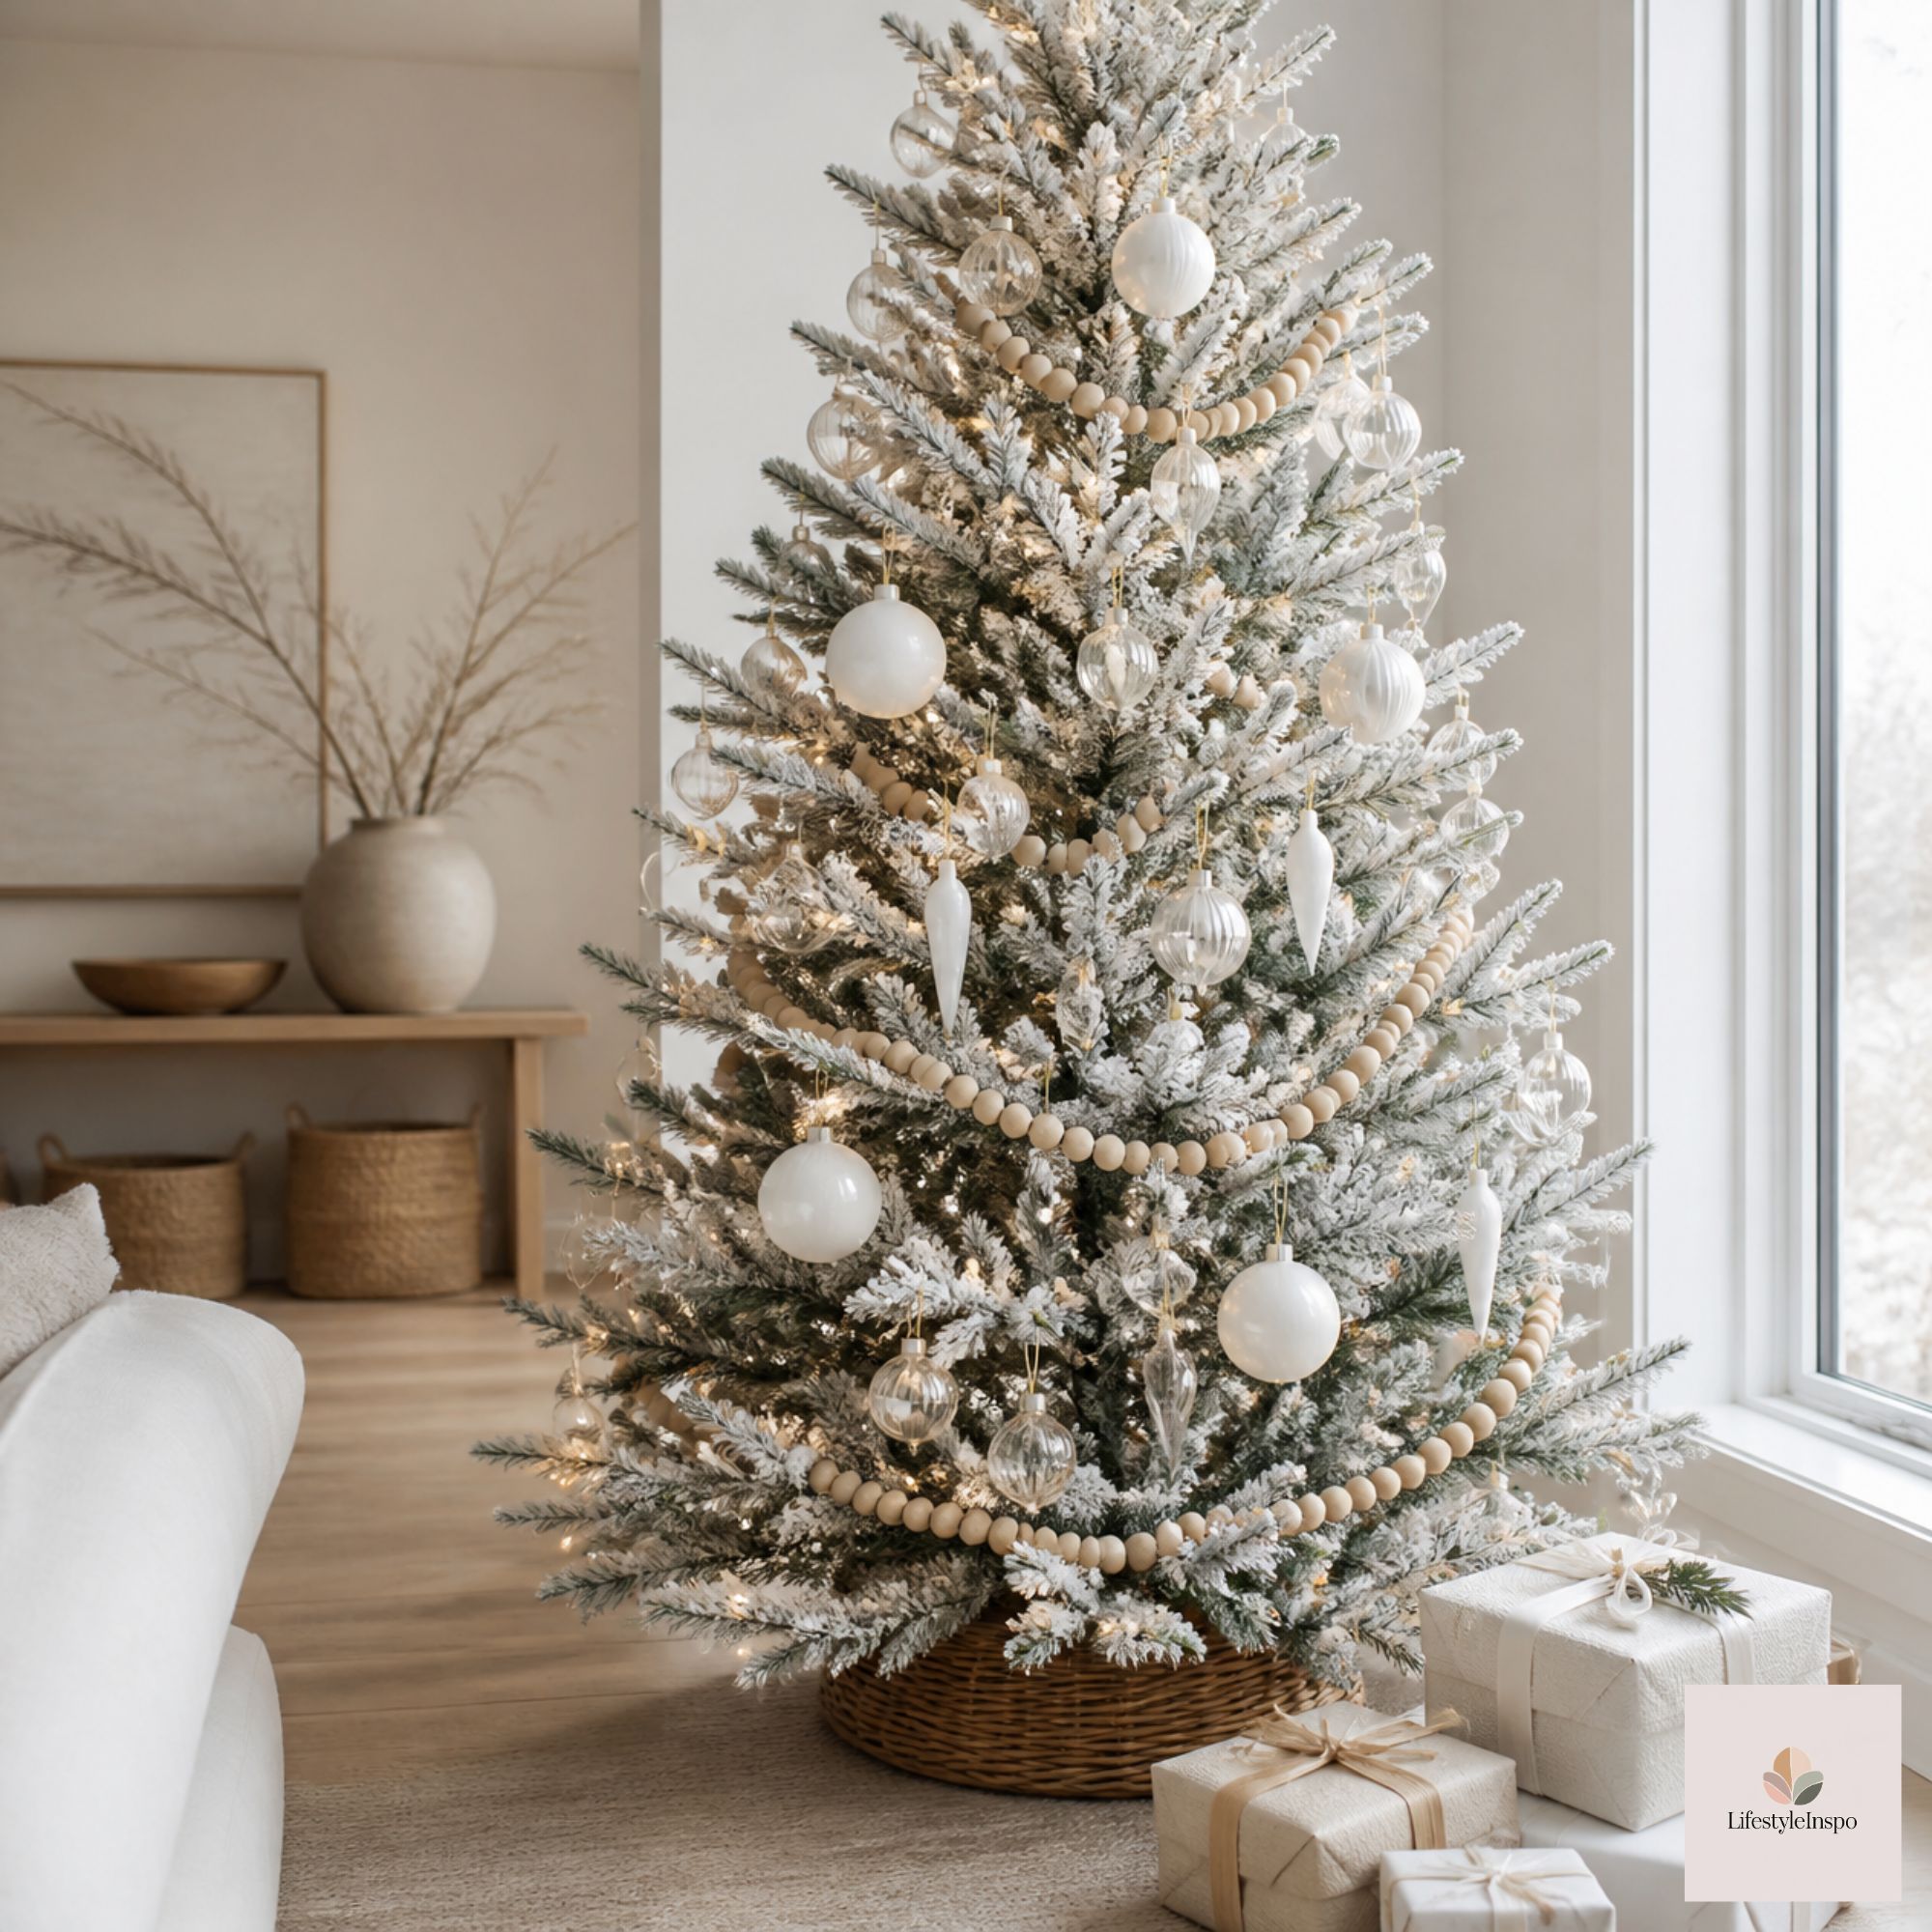
Final Thoughts
A beautiful Christmas tree isn’t about perfection. It’s about layers, light, and the small decisions that make it feel like yours. Follow the steps, trust the squint test, and let a few meaningful ornaments tell your story.
Pin this guide for next year, or send it to the friend who’s about to stare at an empty tree this weekend.
About the Author