Halloween Brownies: 4 Fudgy, Spooky Recipes
Ask anyone what they want on a Halloween dessert table, and I’d bet brownies are somewhere on the list. They’re rich, they’re chocolatey, and best of all, they’re a blank canvas for spooky decorating.
There’s a reason brownies are my go-to for holiday baking. They’re forgiving, they transport well, and they look impressive with only a few extra steps. Whether you prefer a classic from-scratch recipe or a shortcut with a boxed mix, this post has you covered.
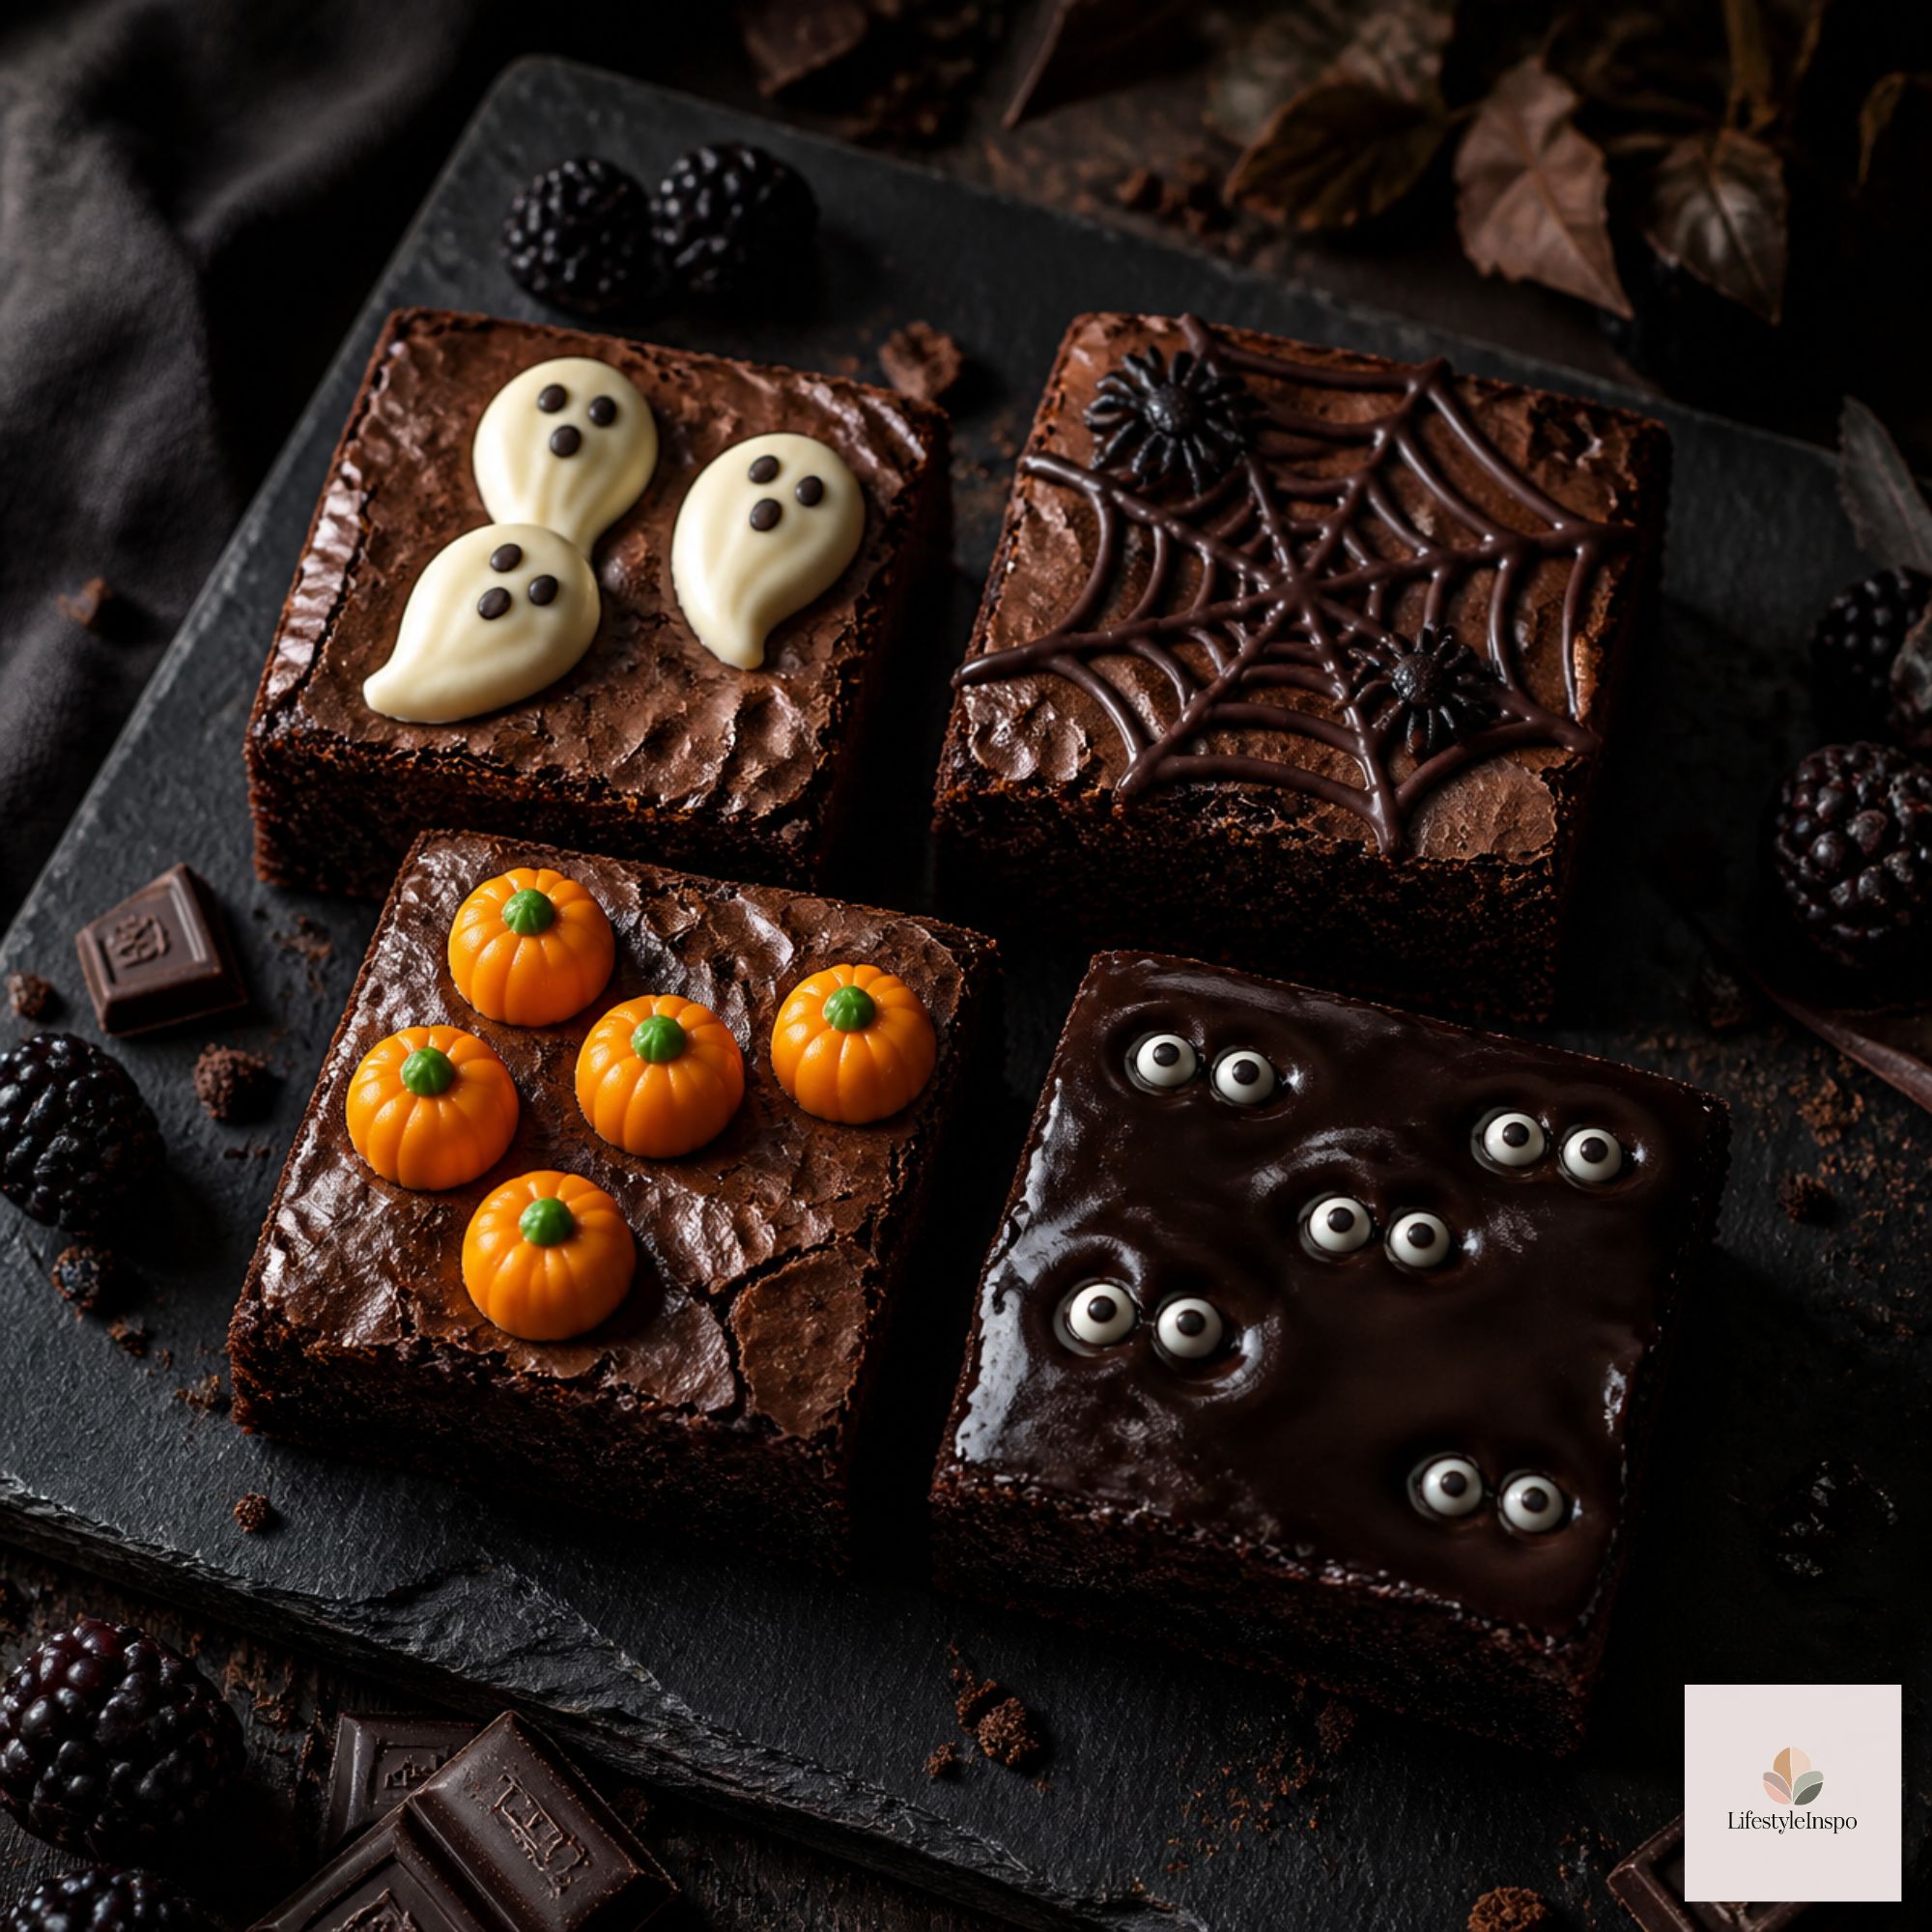
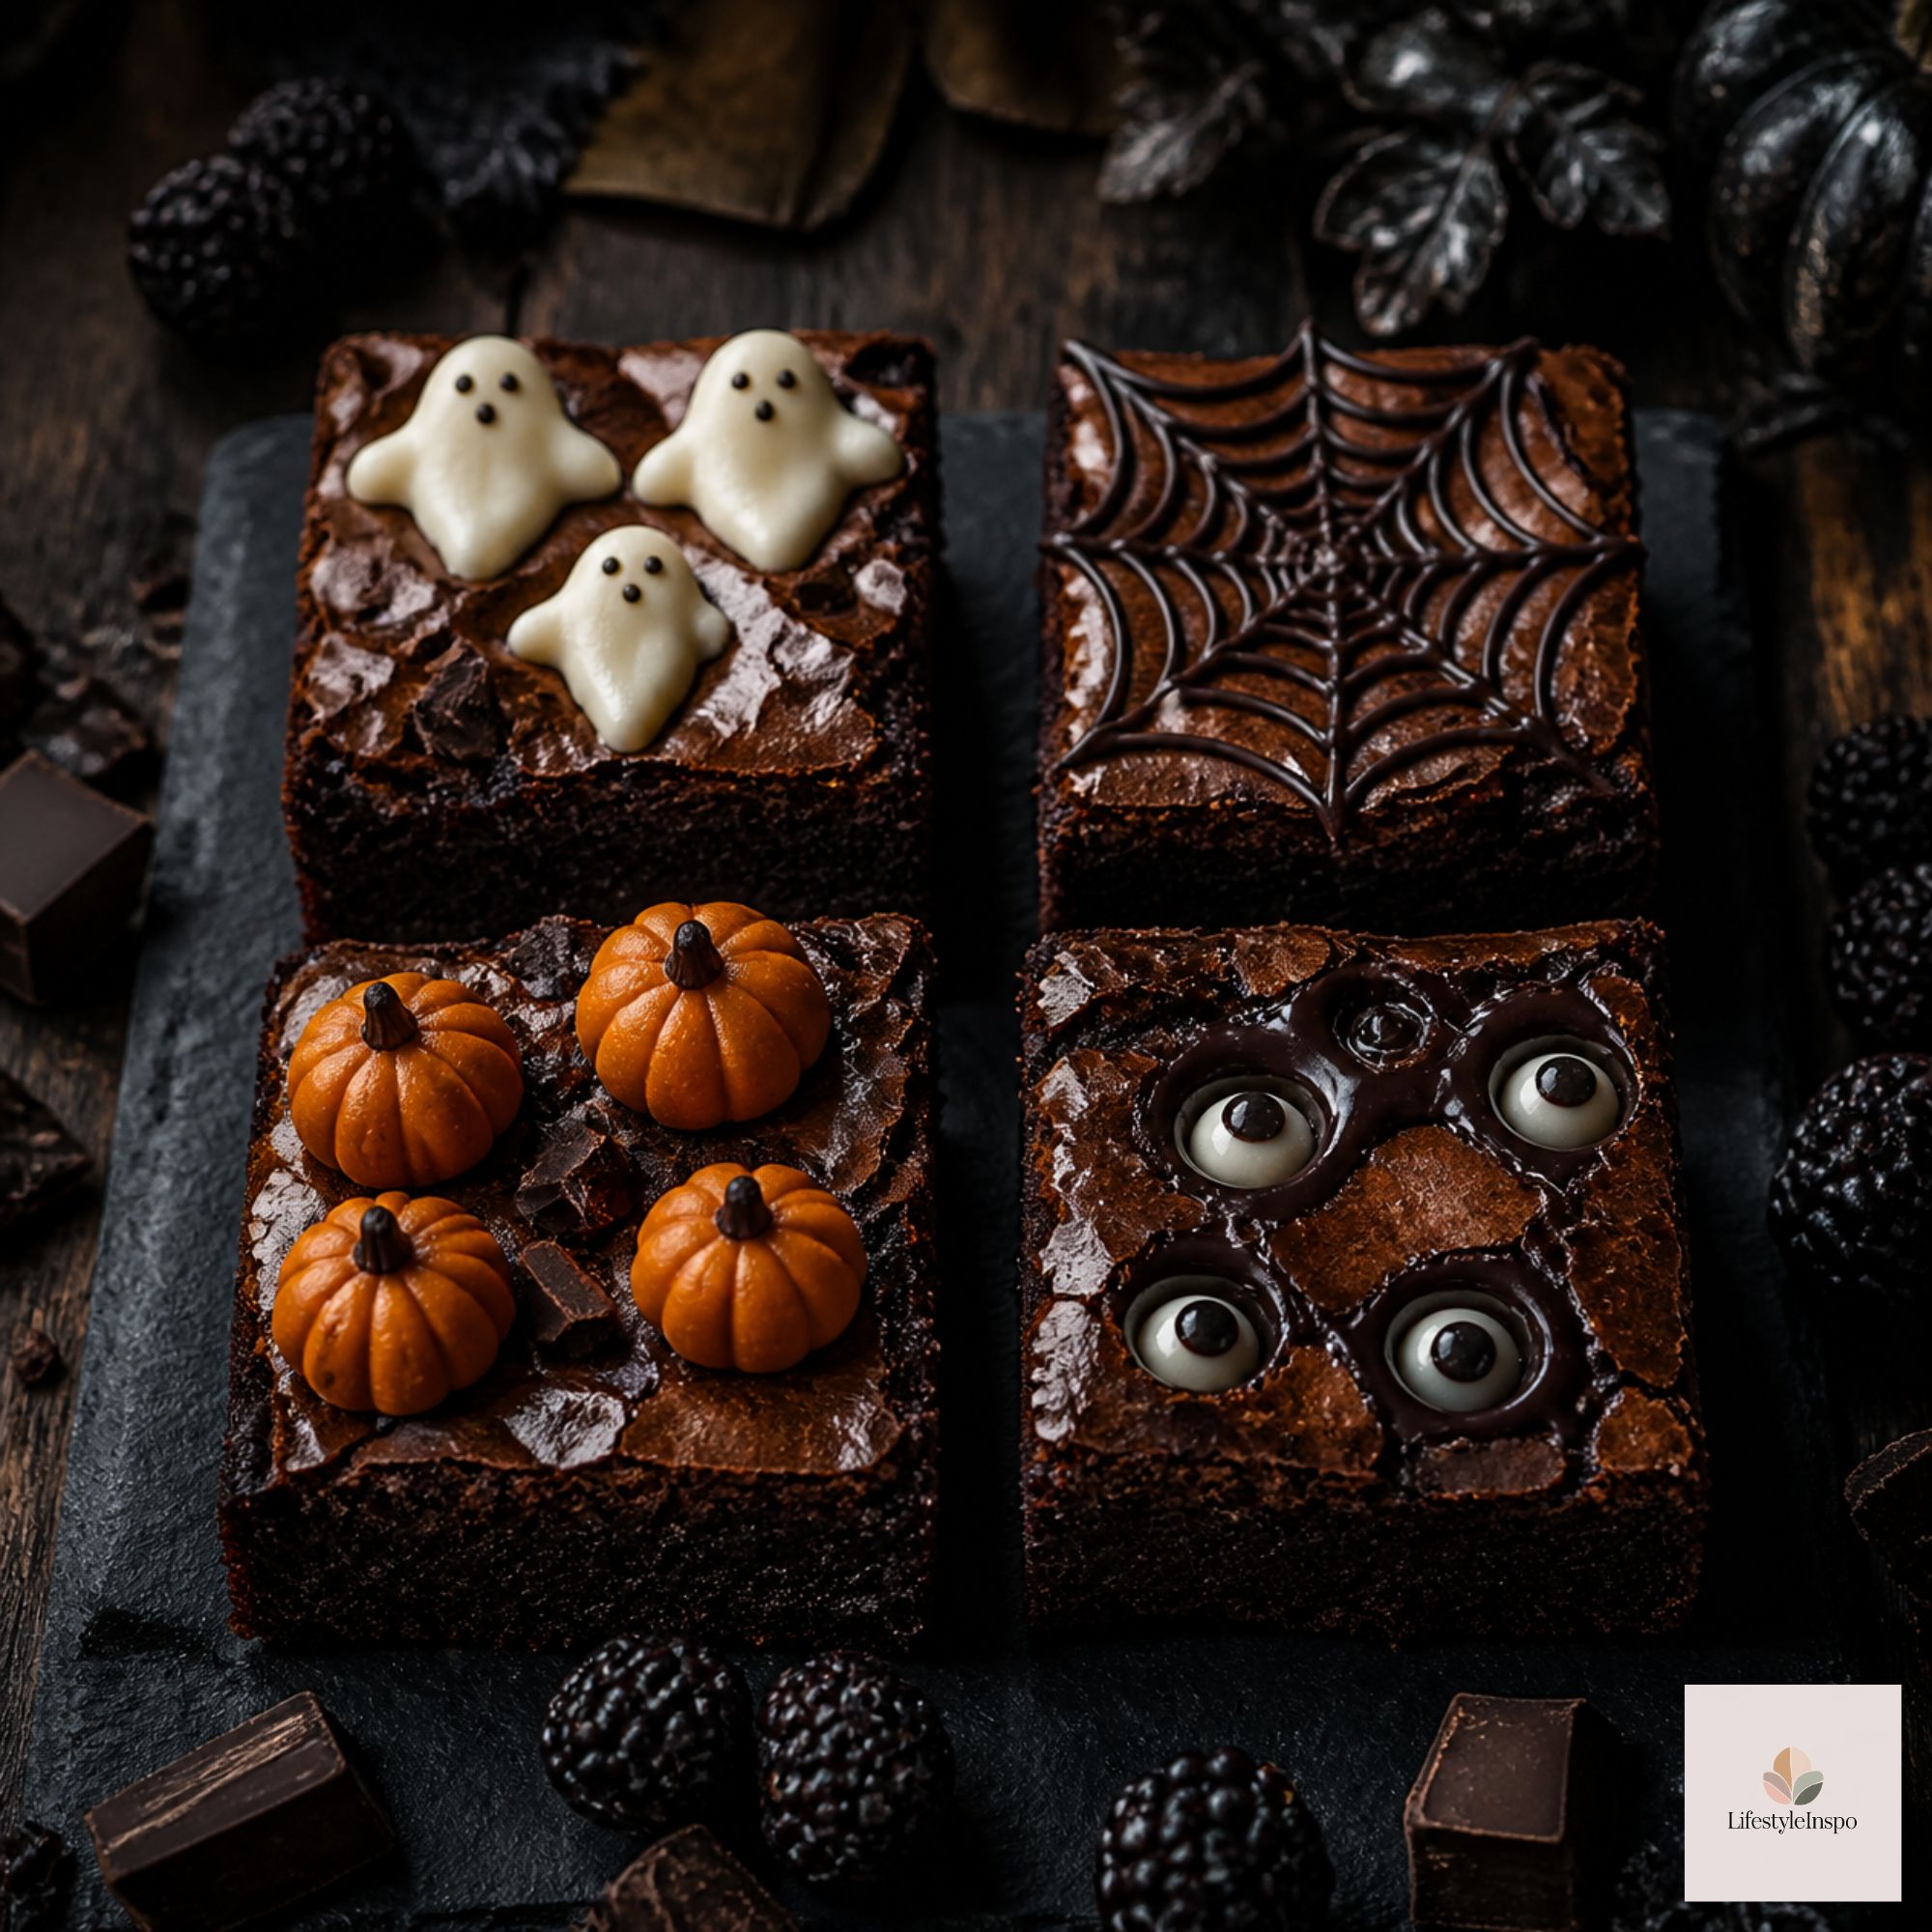
Below you’ll find my base recipe for fudgy brownies and three fun ways to turn them into Halloween treats: spiderweb brownies, candy-topped brownies, and shaped brownie bites.
The Tools You’ll Want
You can make brownies with nothing more than a bowl and a baking pan, but these items make Halloween versions easier:
- A square baking pan (8×8 or 9×9) lined with parchment
- A silicone baking mold for shaped brownie bites
- Cupcake liners for neat mini brownies
- Piping bags for icing webs and details
- Candy melts for drizzling and decorating
- Halloween sprinkles
- A cookie cutter set for cutting brownies into shapes
The Best Fudgy Brownie Recipe
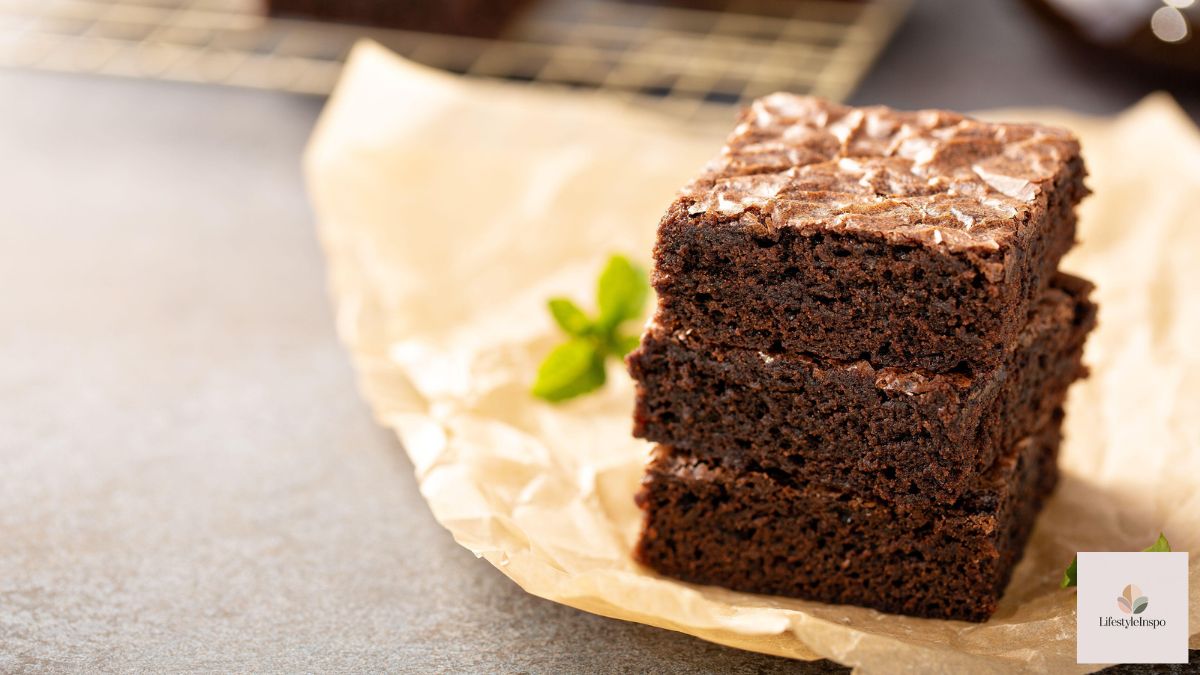
This recipe uses melted butter and cocoa for deep chocolate flavor and a dense, fudgy texture. It’s a one-bowl recipe, so cleanup is minimal.
Yield: 16 brownies Prep time: 15 minutes Bake time: 25-30 minutes
Ingredients
- ¾ cup (1½ sticks) unsalted butter, melted
- 1½ cups granulated sugar
- 3 large eggs
- 2 teaspoons vanilla extract
- ¾ cup all-purpose flour
- ⅔ cup unsweetened cocoa powder
- ½ teaspoon salt
- ¼ teaspoon baking powder
- ½ cup semi-sweet chocolate chips
Instructions
- Preheat the oven to 350°F. Line an 8×8 pan with parchment paper, leaving an overhang for easy removal.
- In a large bowl, whisk the melted butter and sugar until combined.
- Add the eggs one at a time, whisking well after each. Stir in the vanilla.
- Add the flour, cocoa powder, salt, and baking powder. Stir gently until just combined. Do not overmix.
- Fold in the chocolate chips.
- Spread the batter into the prepared pan.
- Bake for 25-30 minutes, until a toothpick inserted in the center comes out with a few moist crumbs, not wet batter.
- Cool completely in the pan before lifting out and slicing. For clean cuts, chill the brownies for 30 minutes first.
Tip: Underbaking slightly is the secret to fudgy brownies. They’ll continue to set as they cool.
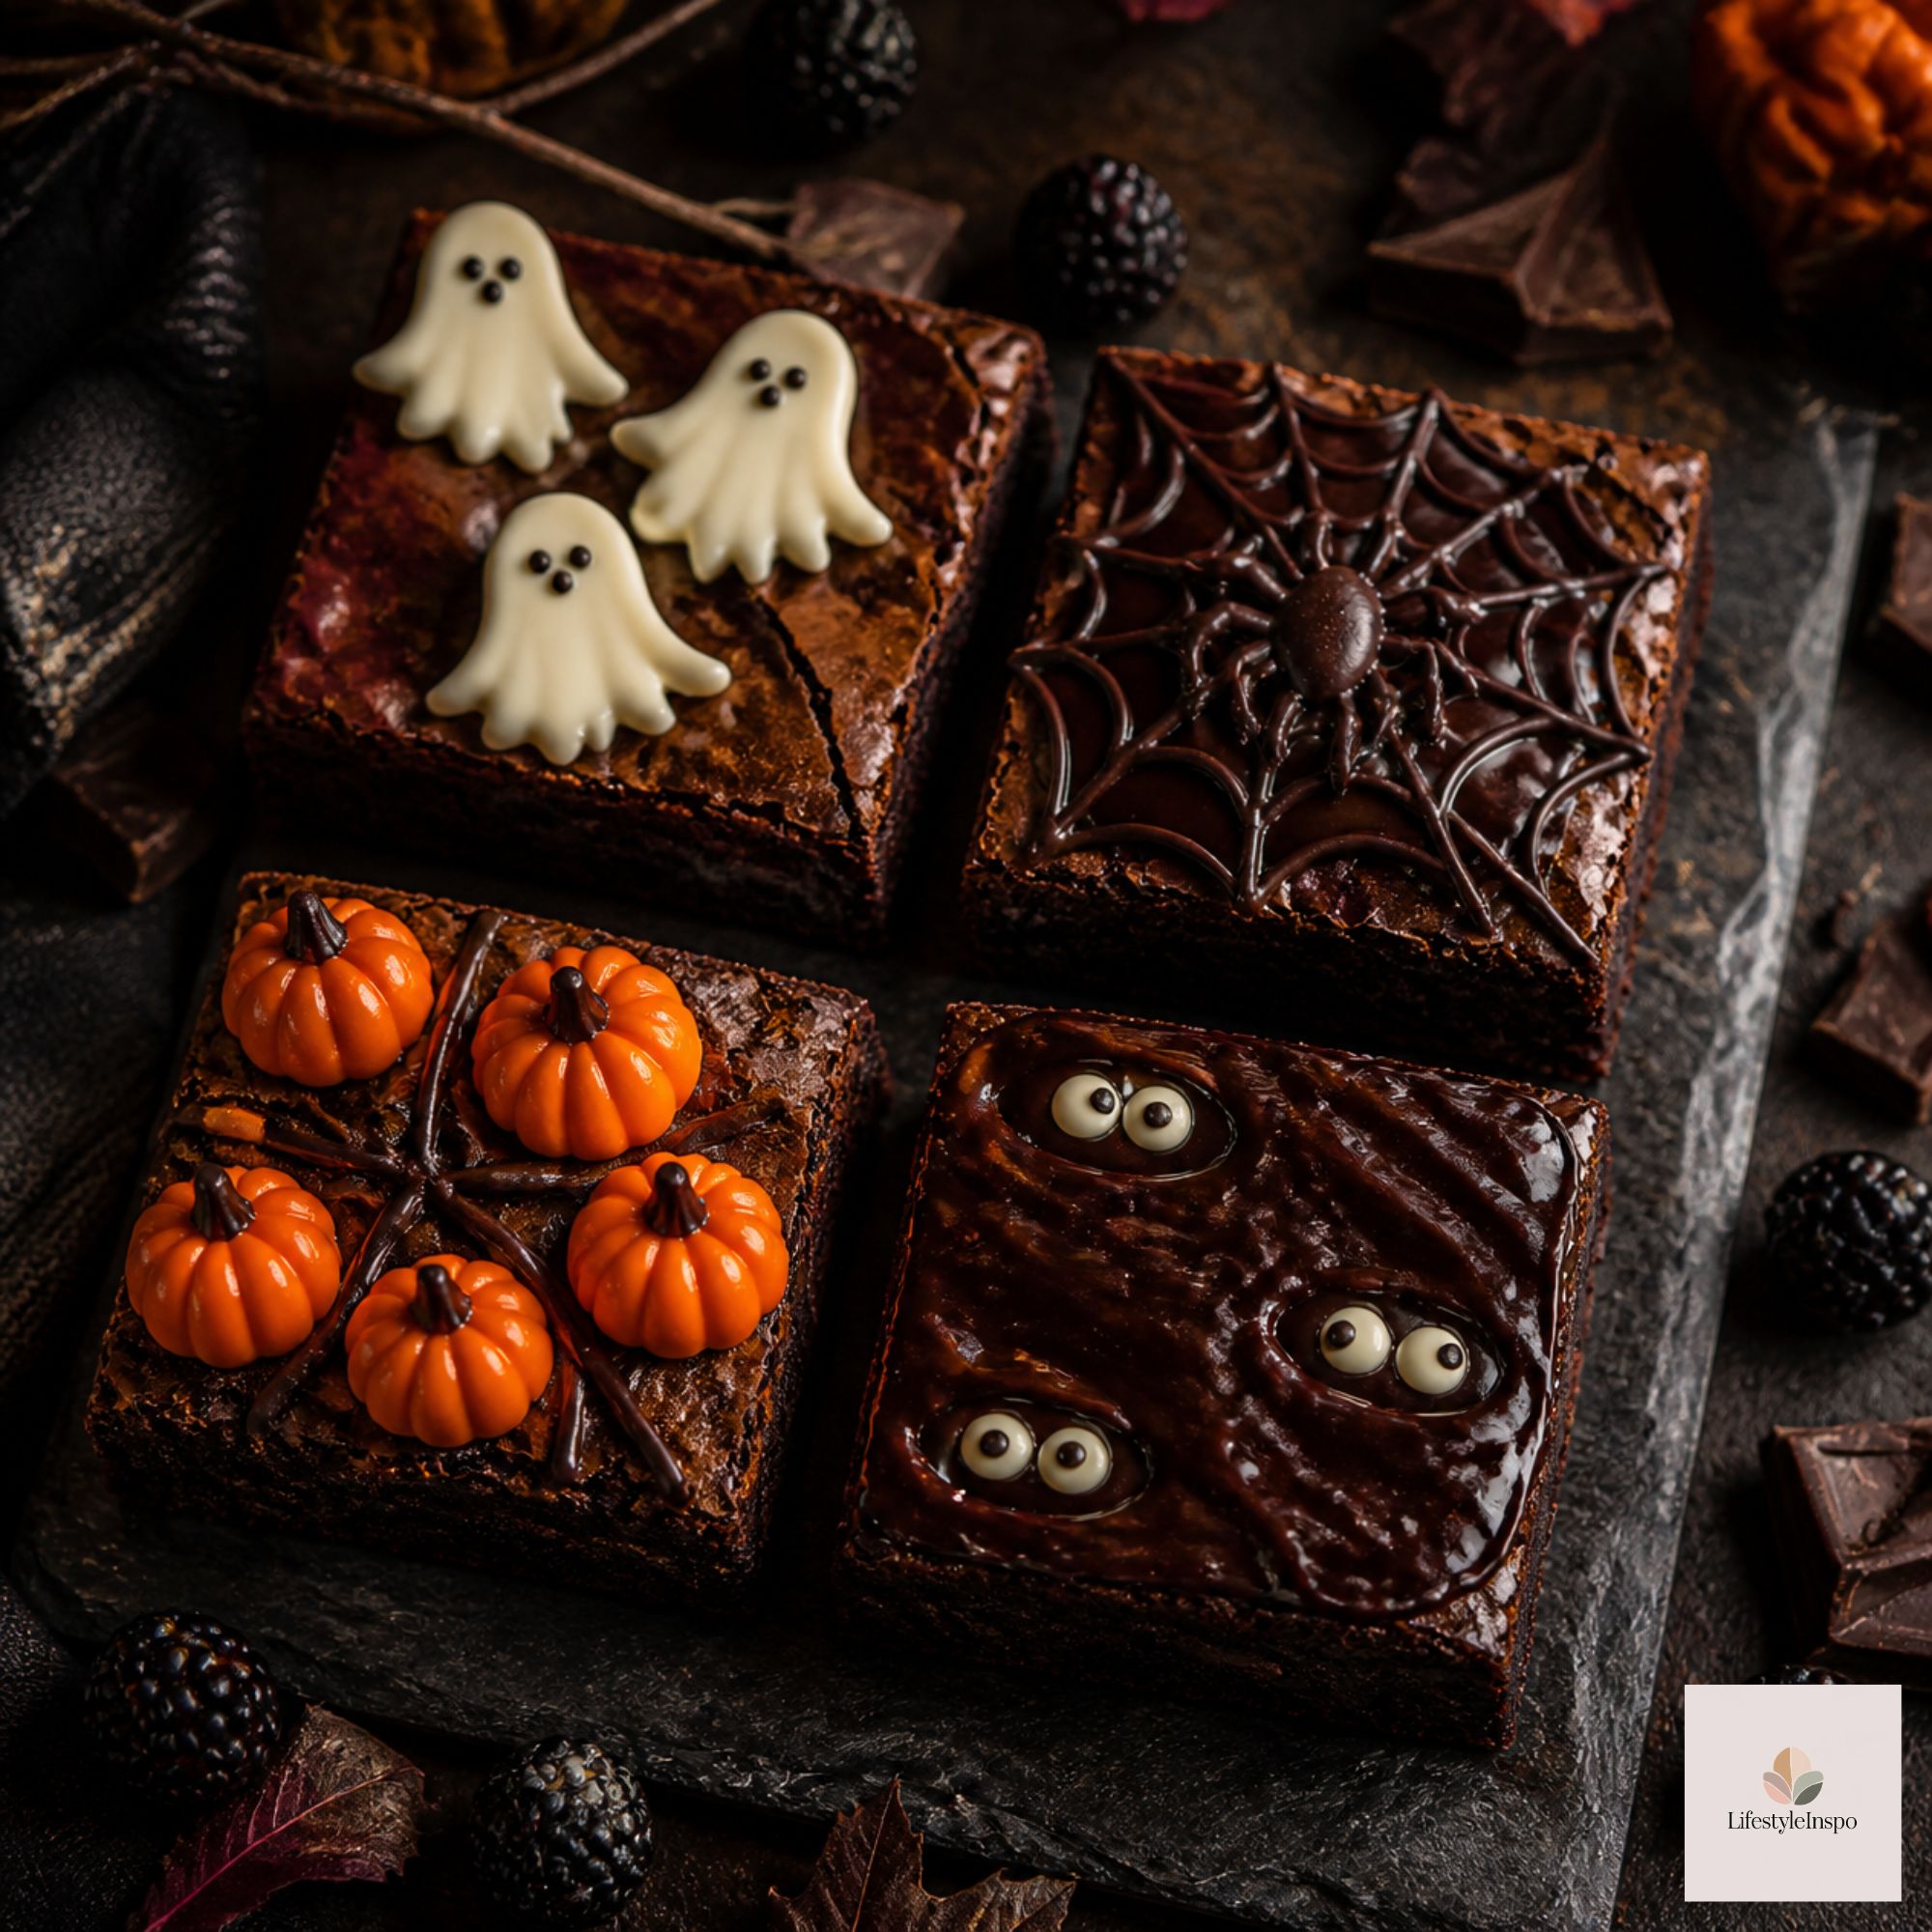
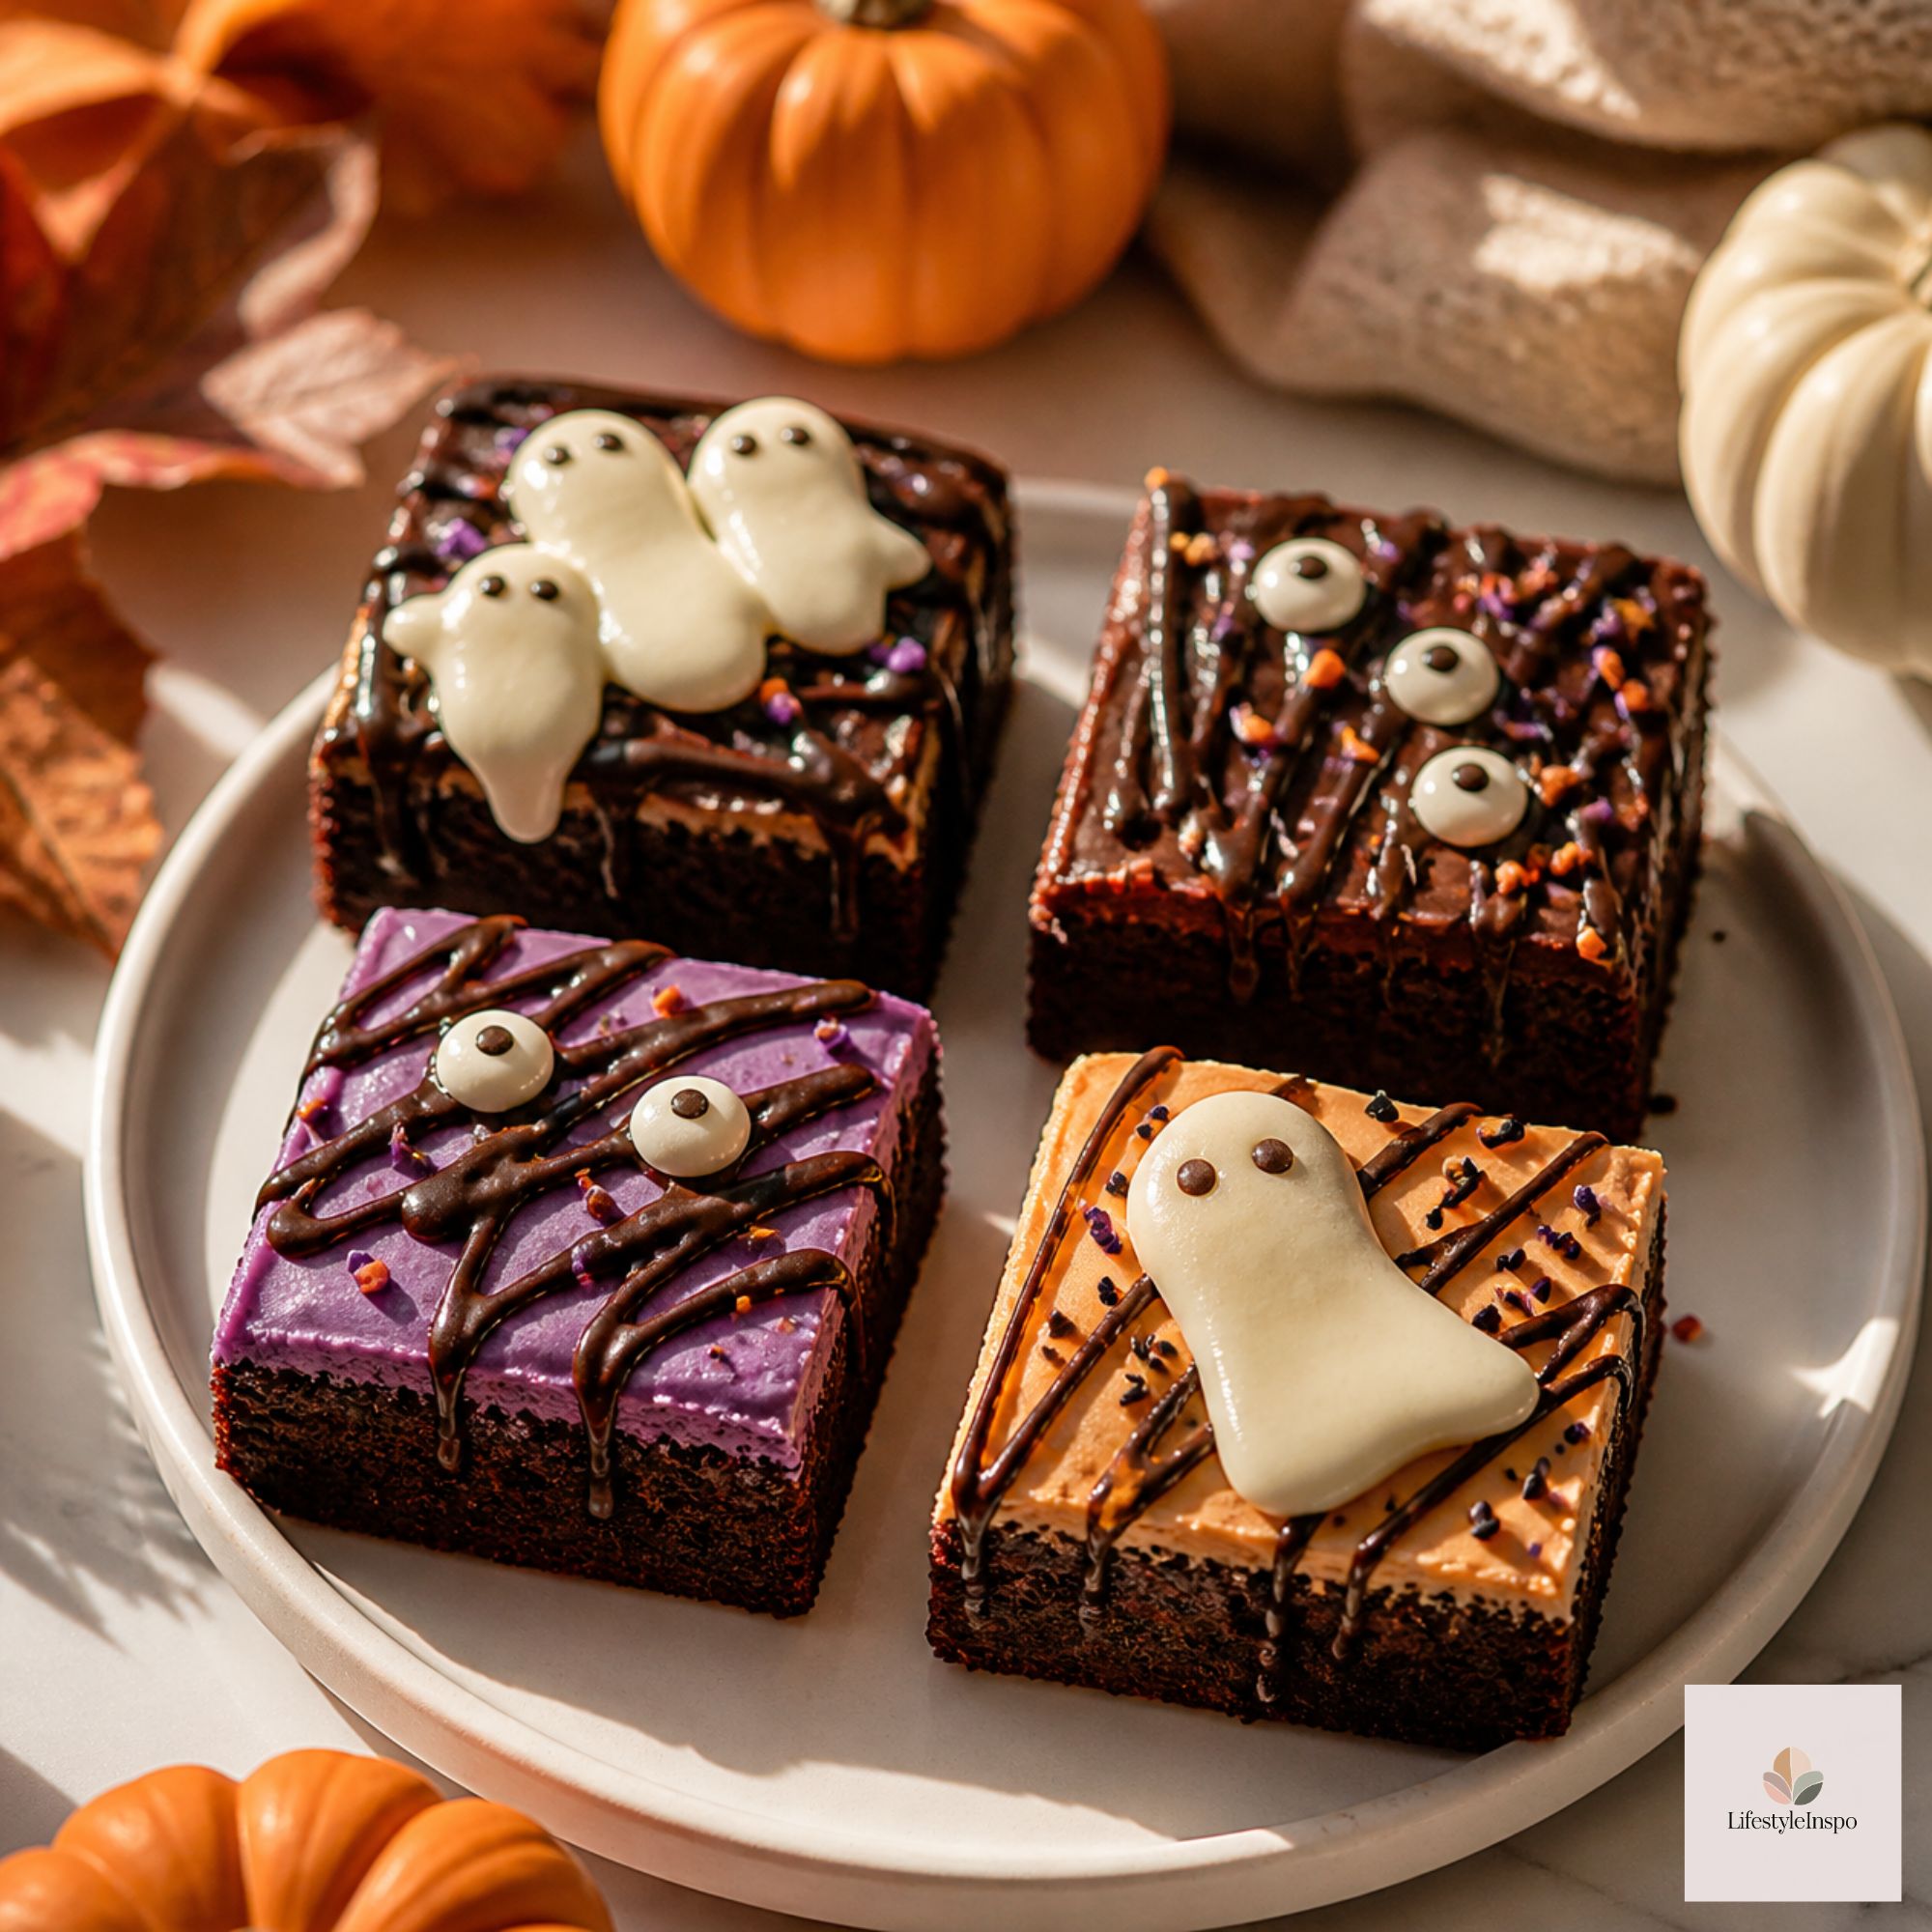
Variation 1: Spiderweb Brownies
This is the easiest way to make brownies look Halloween-ready. It takes 5 minutes and looks like a pro made it.
What You Need
- 1 pan of cooled brownies
- 1 cup white or orange buttercream or icing
- ¼ cup melted dark chocolate or black icing
Instructions
- Spread a thin layer of white or orange icing over the cooled brownies.
- Pipe 4-5 concentric circles in melted chocolate or black icing on each brownie square. For a full pan, pipe circles on the whole surface and then cut.
- Starting from the center, drag a toothpick outward to the edge, spaced evenly like the spokes of a wheel. Repeat 6-8 times.
- Let the topping set before cutting.
Variation: Add a chocolate spider in the middle, made with a chocolate candy mold, for extra creepiness.
Variation 2: Candy-Topped Monster Brownies
Another super simple option. This one is especially fun with kids, because you can’t really go wrong.
What You Need
- 1 pan of cooled brownies
- 1 cup chocolate frosting
- Candy eyes
- Gummy worms and candy corn
- Halloween sprinkles
Instructions
- Spread chocolate frosting over the cooled brownies.
- Cut into squares.
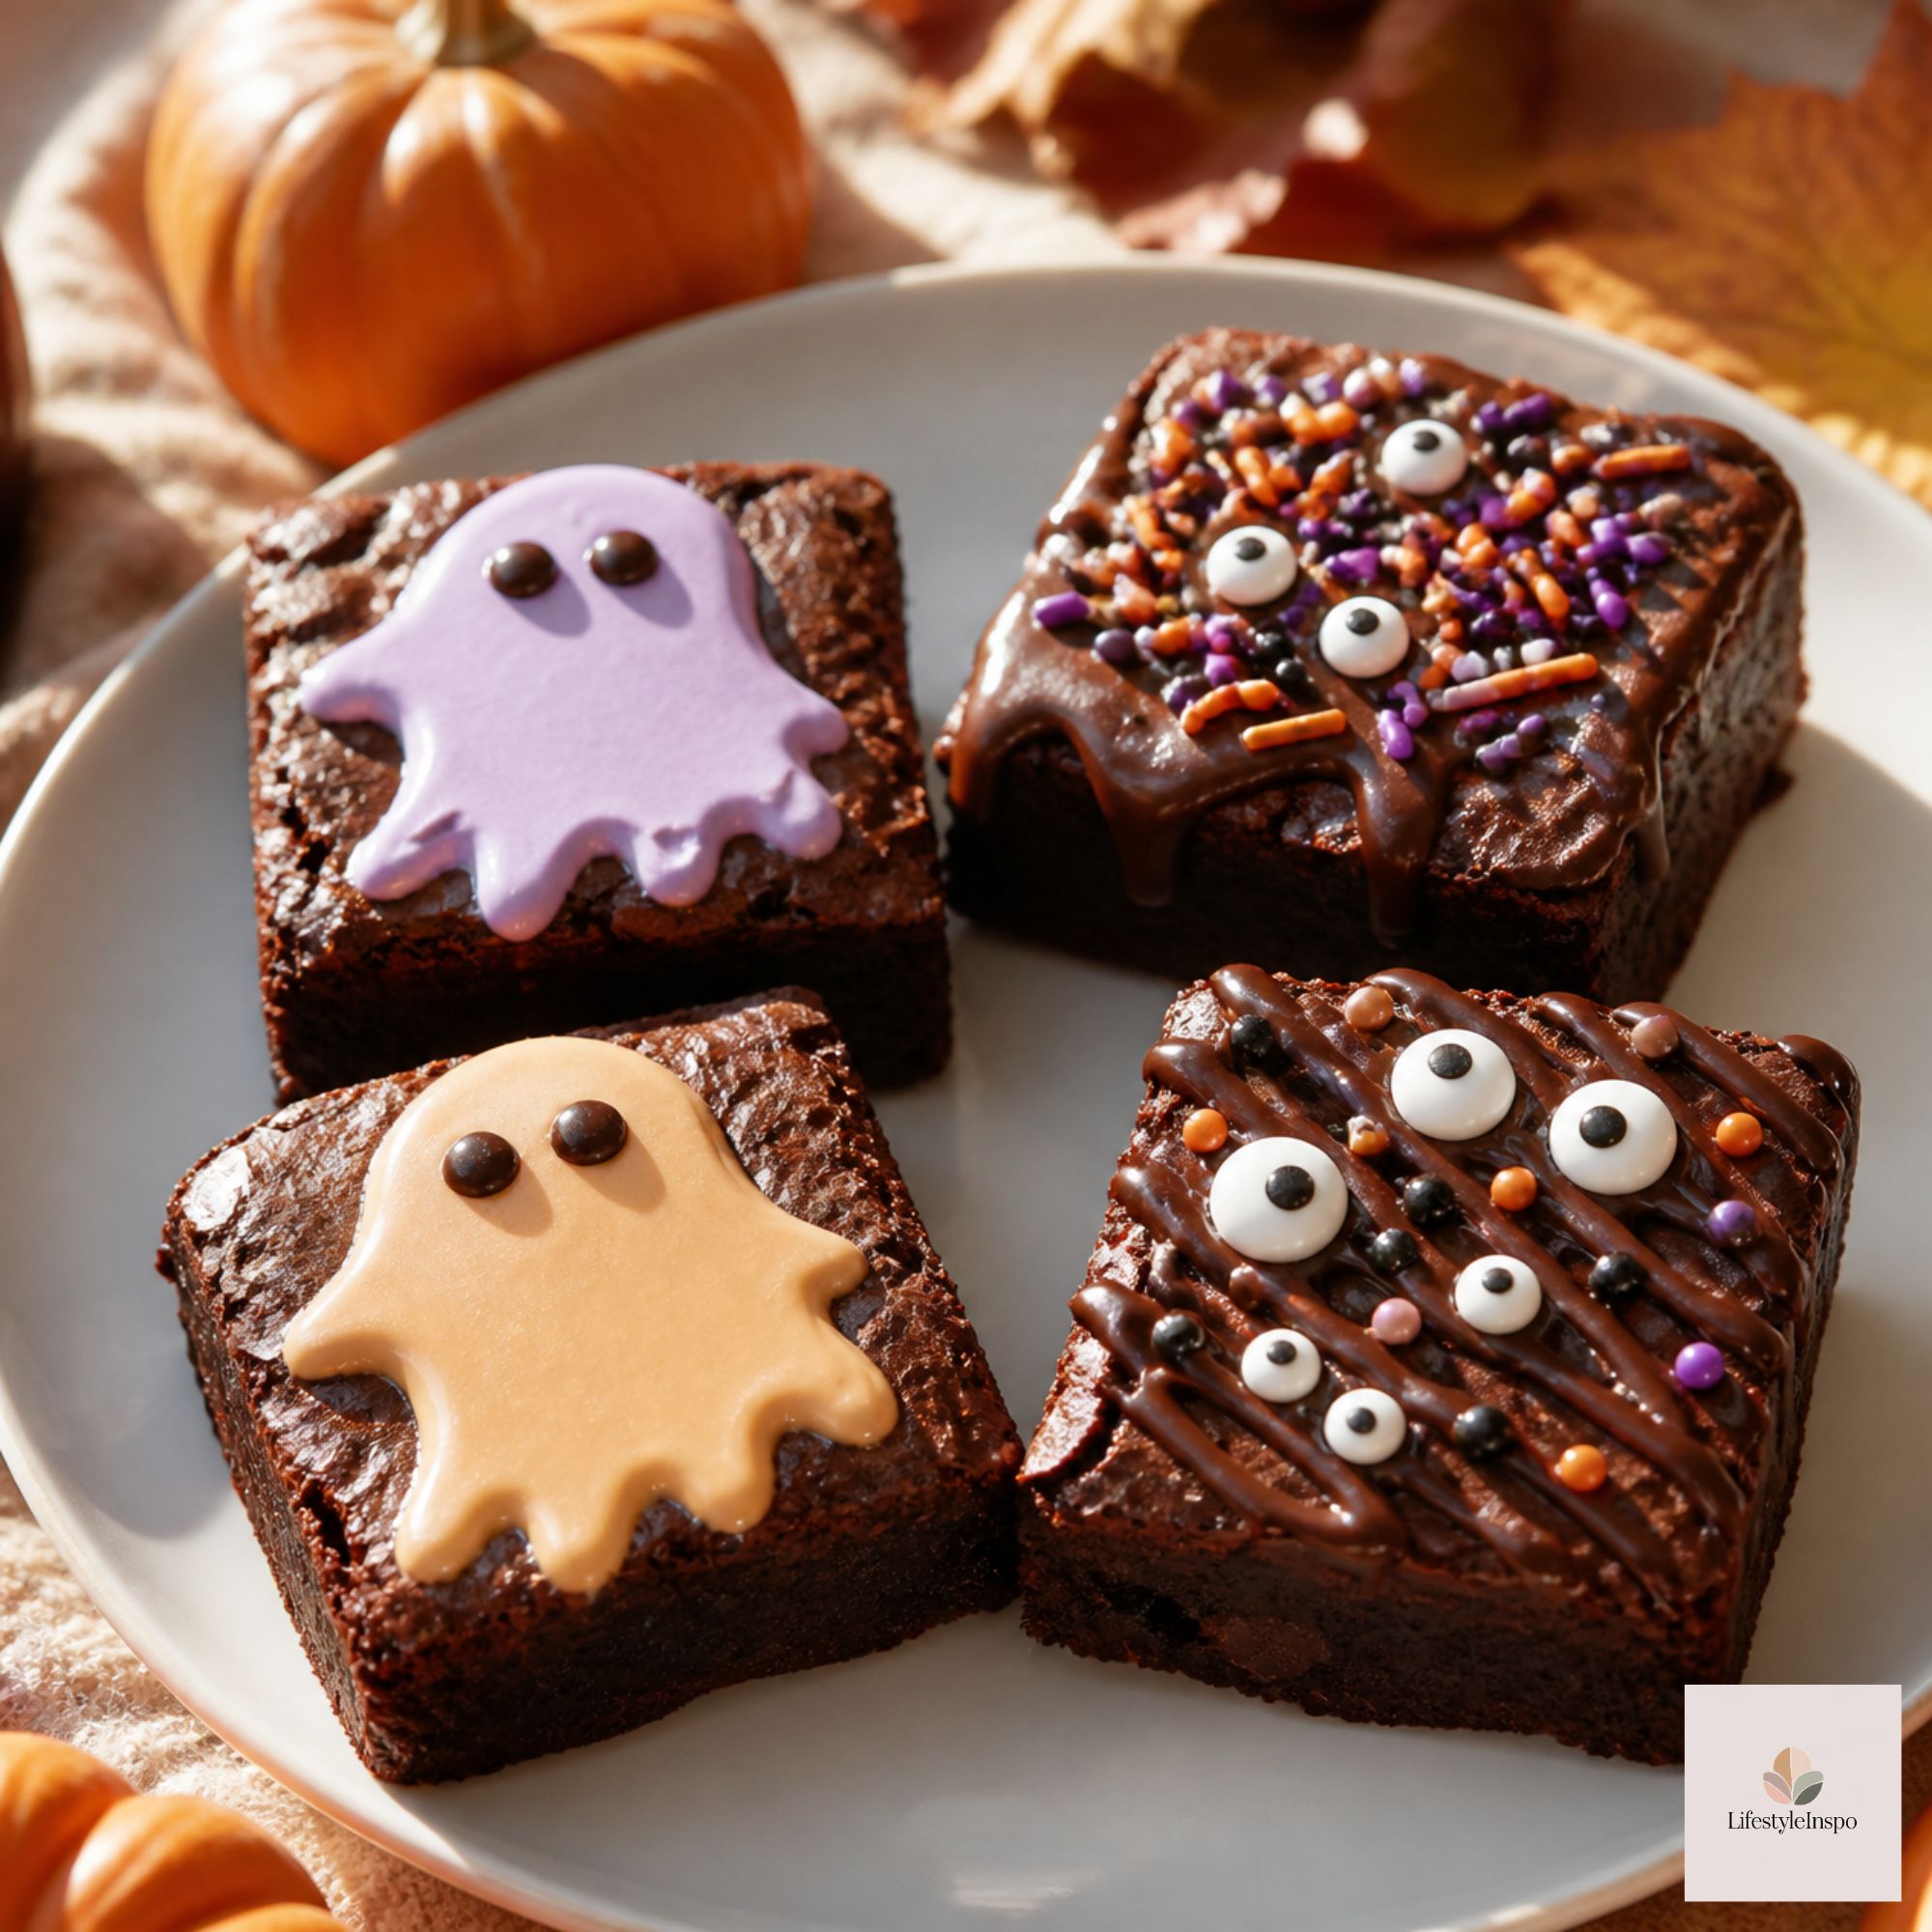
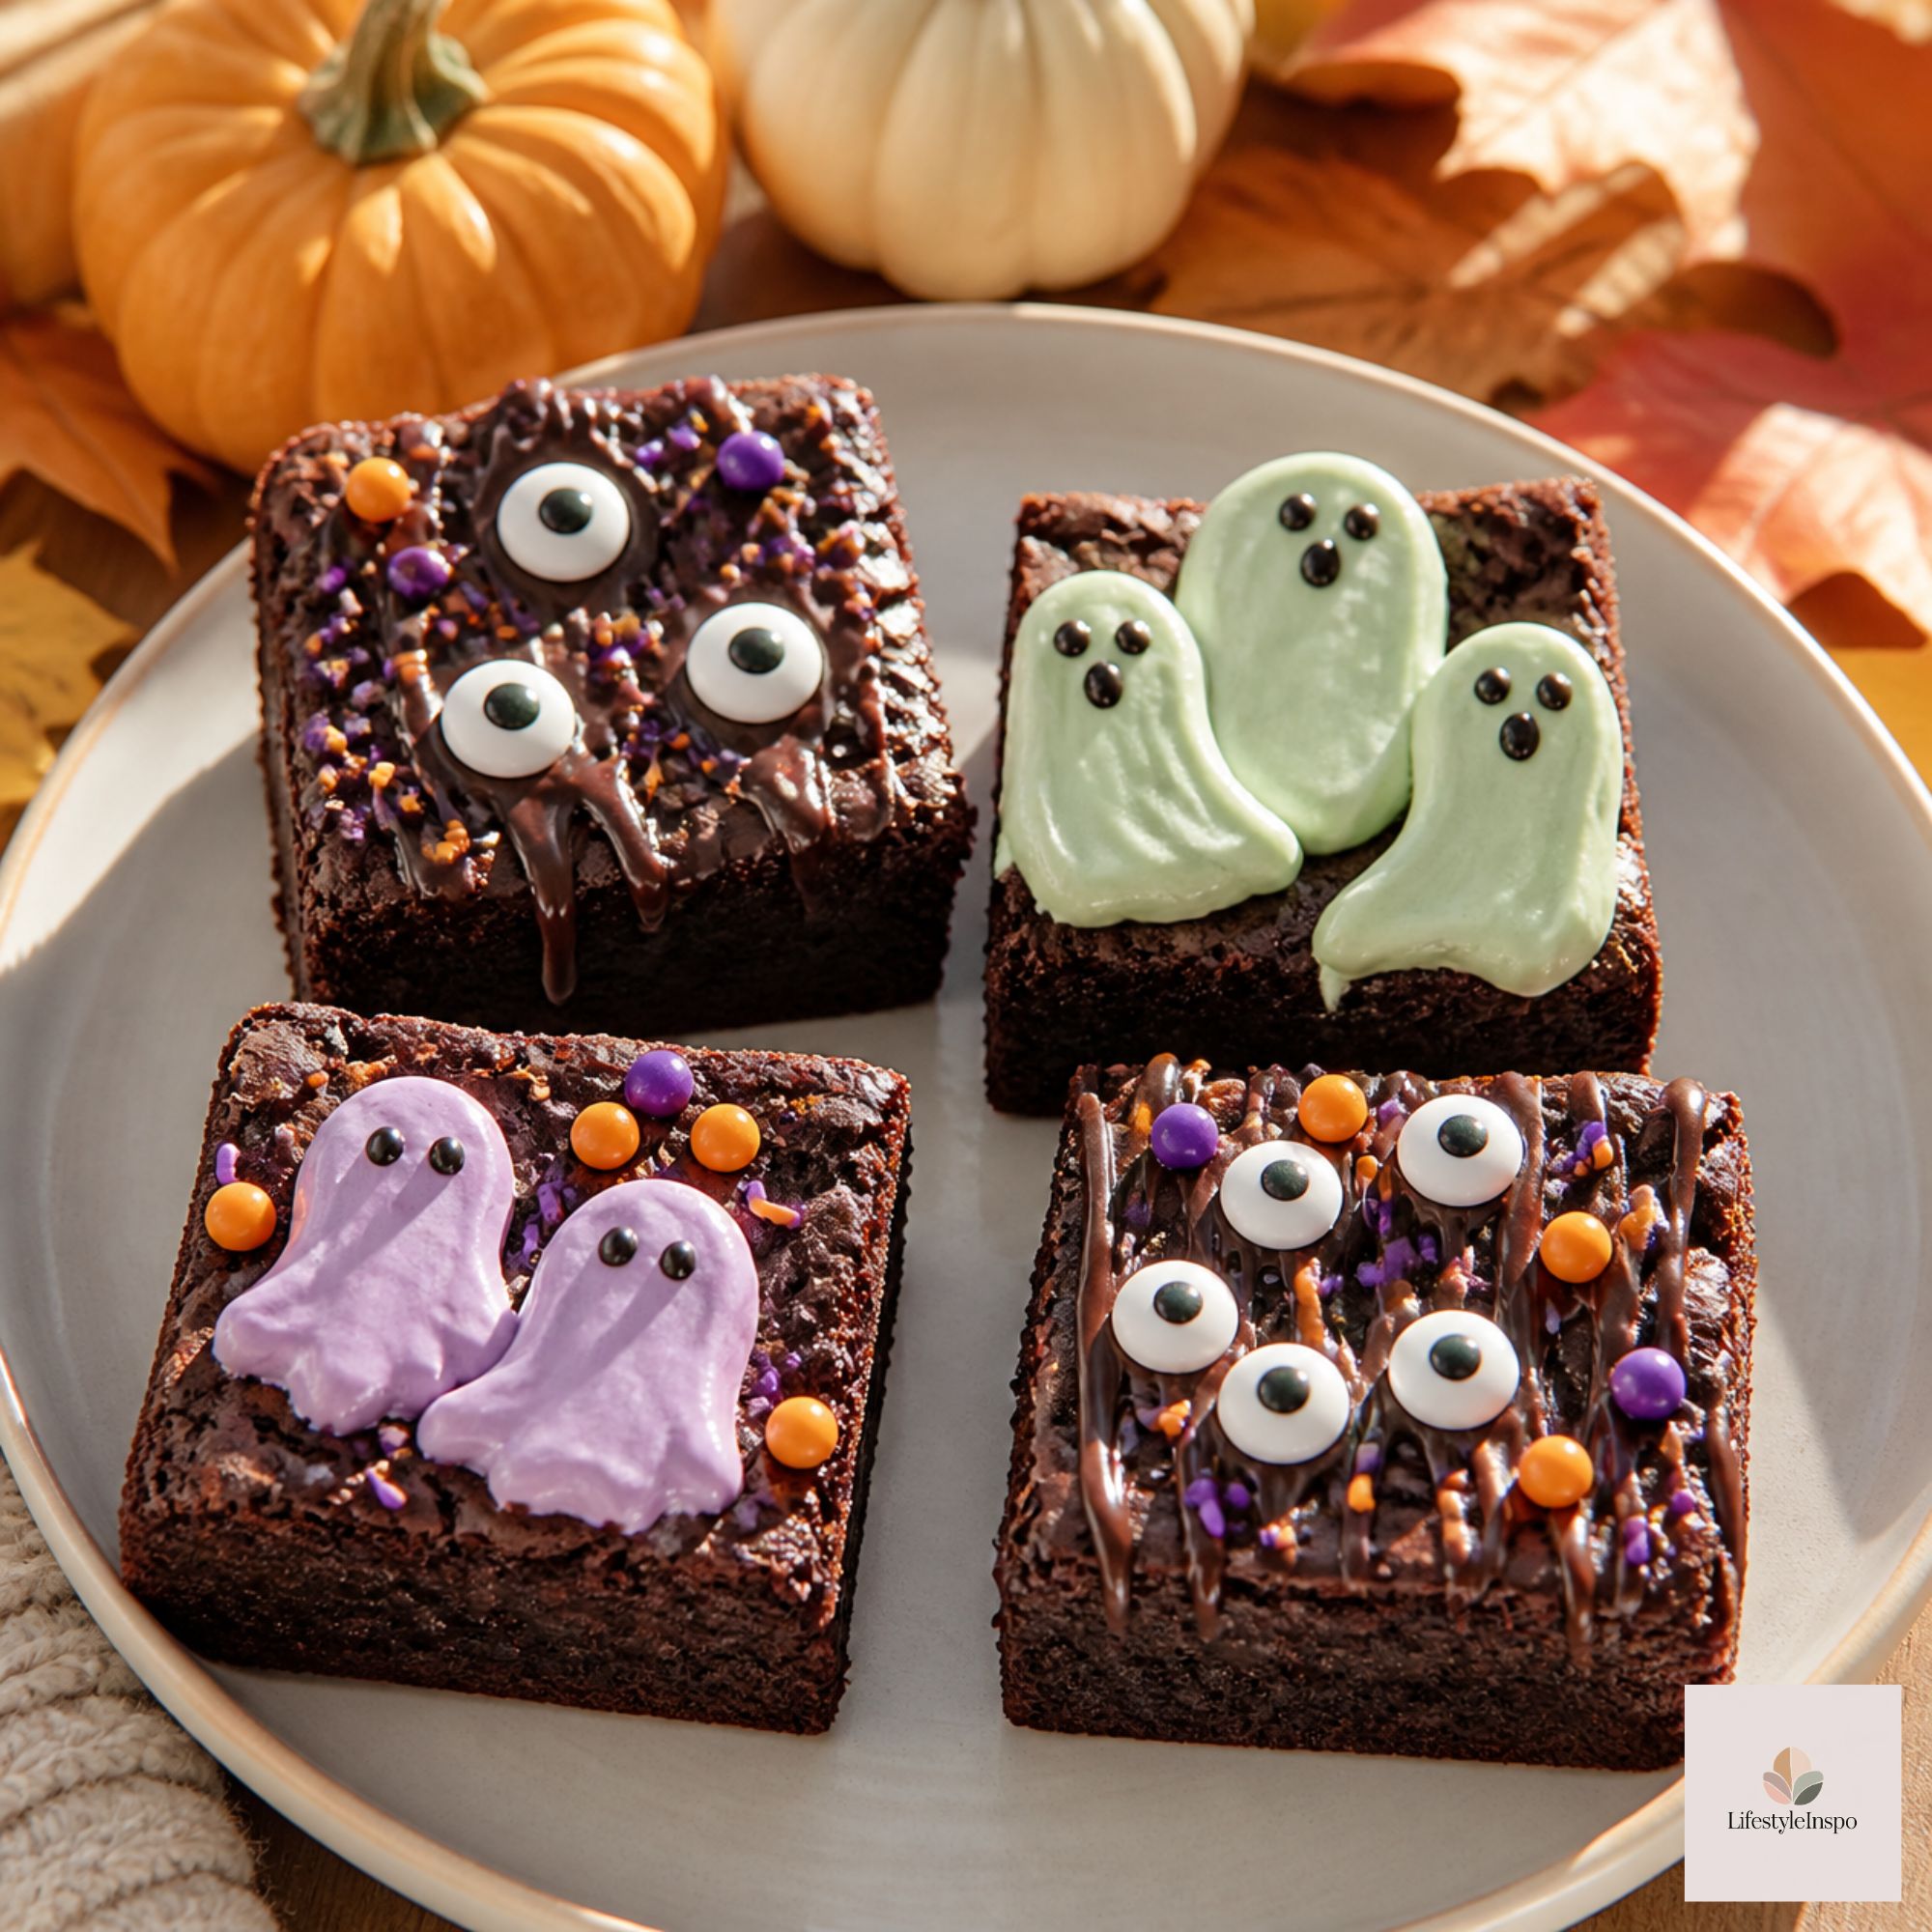
- Add candy eyes, a gummy worm “tongue,” and a few sprinkles to turn each square into a monster.
- Let kids go wild with different faces and colors.
For a fun twist, color the frosting with gel food coloring in neon green or bright purple.
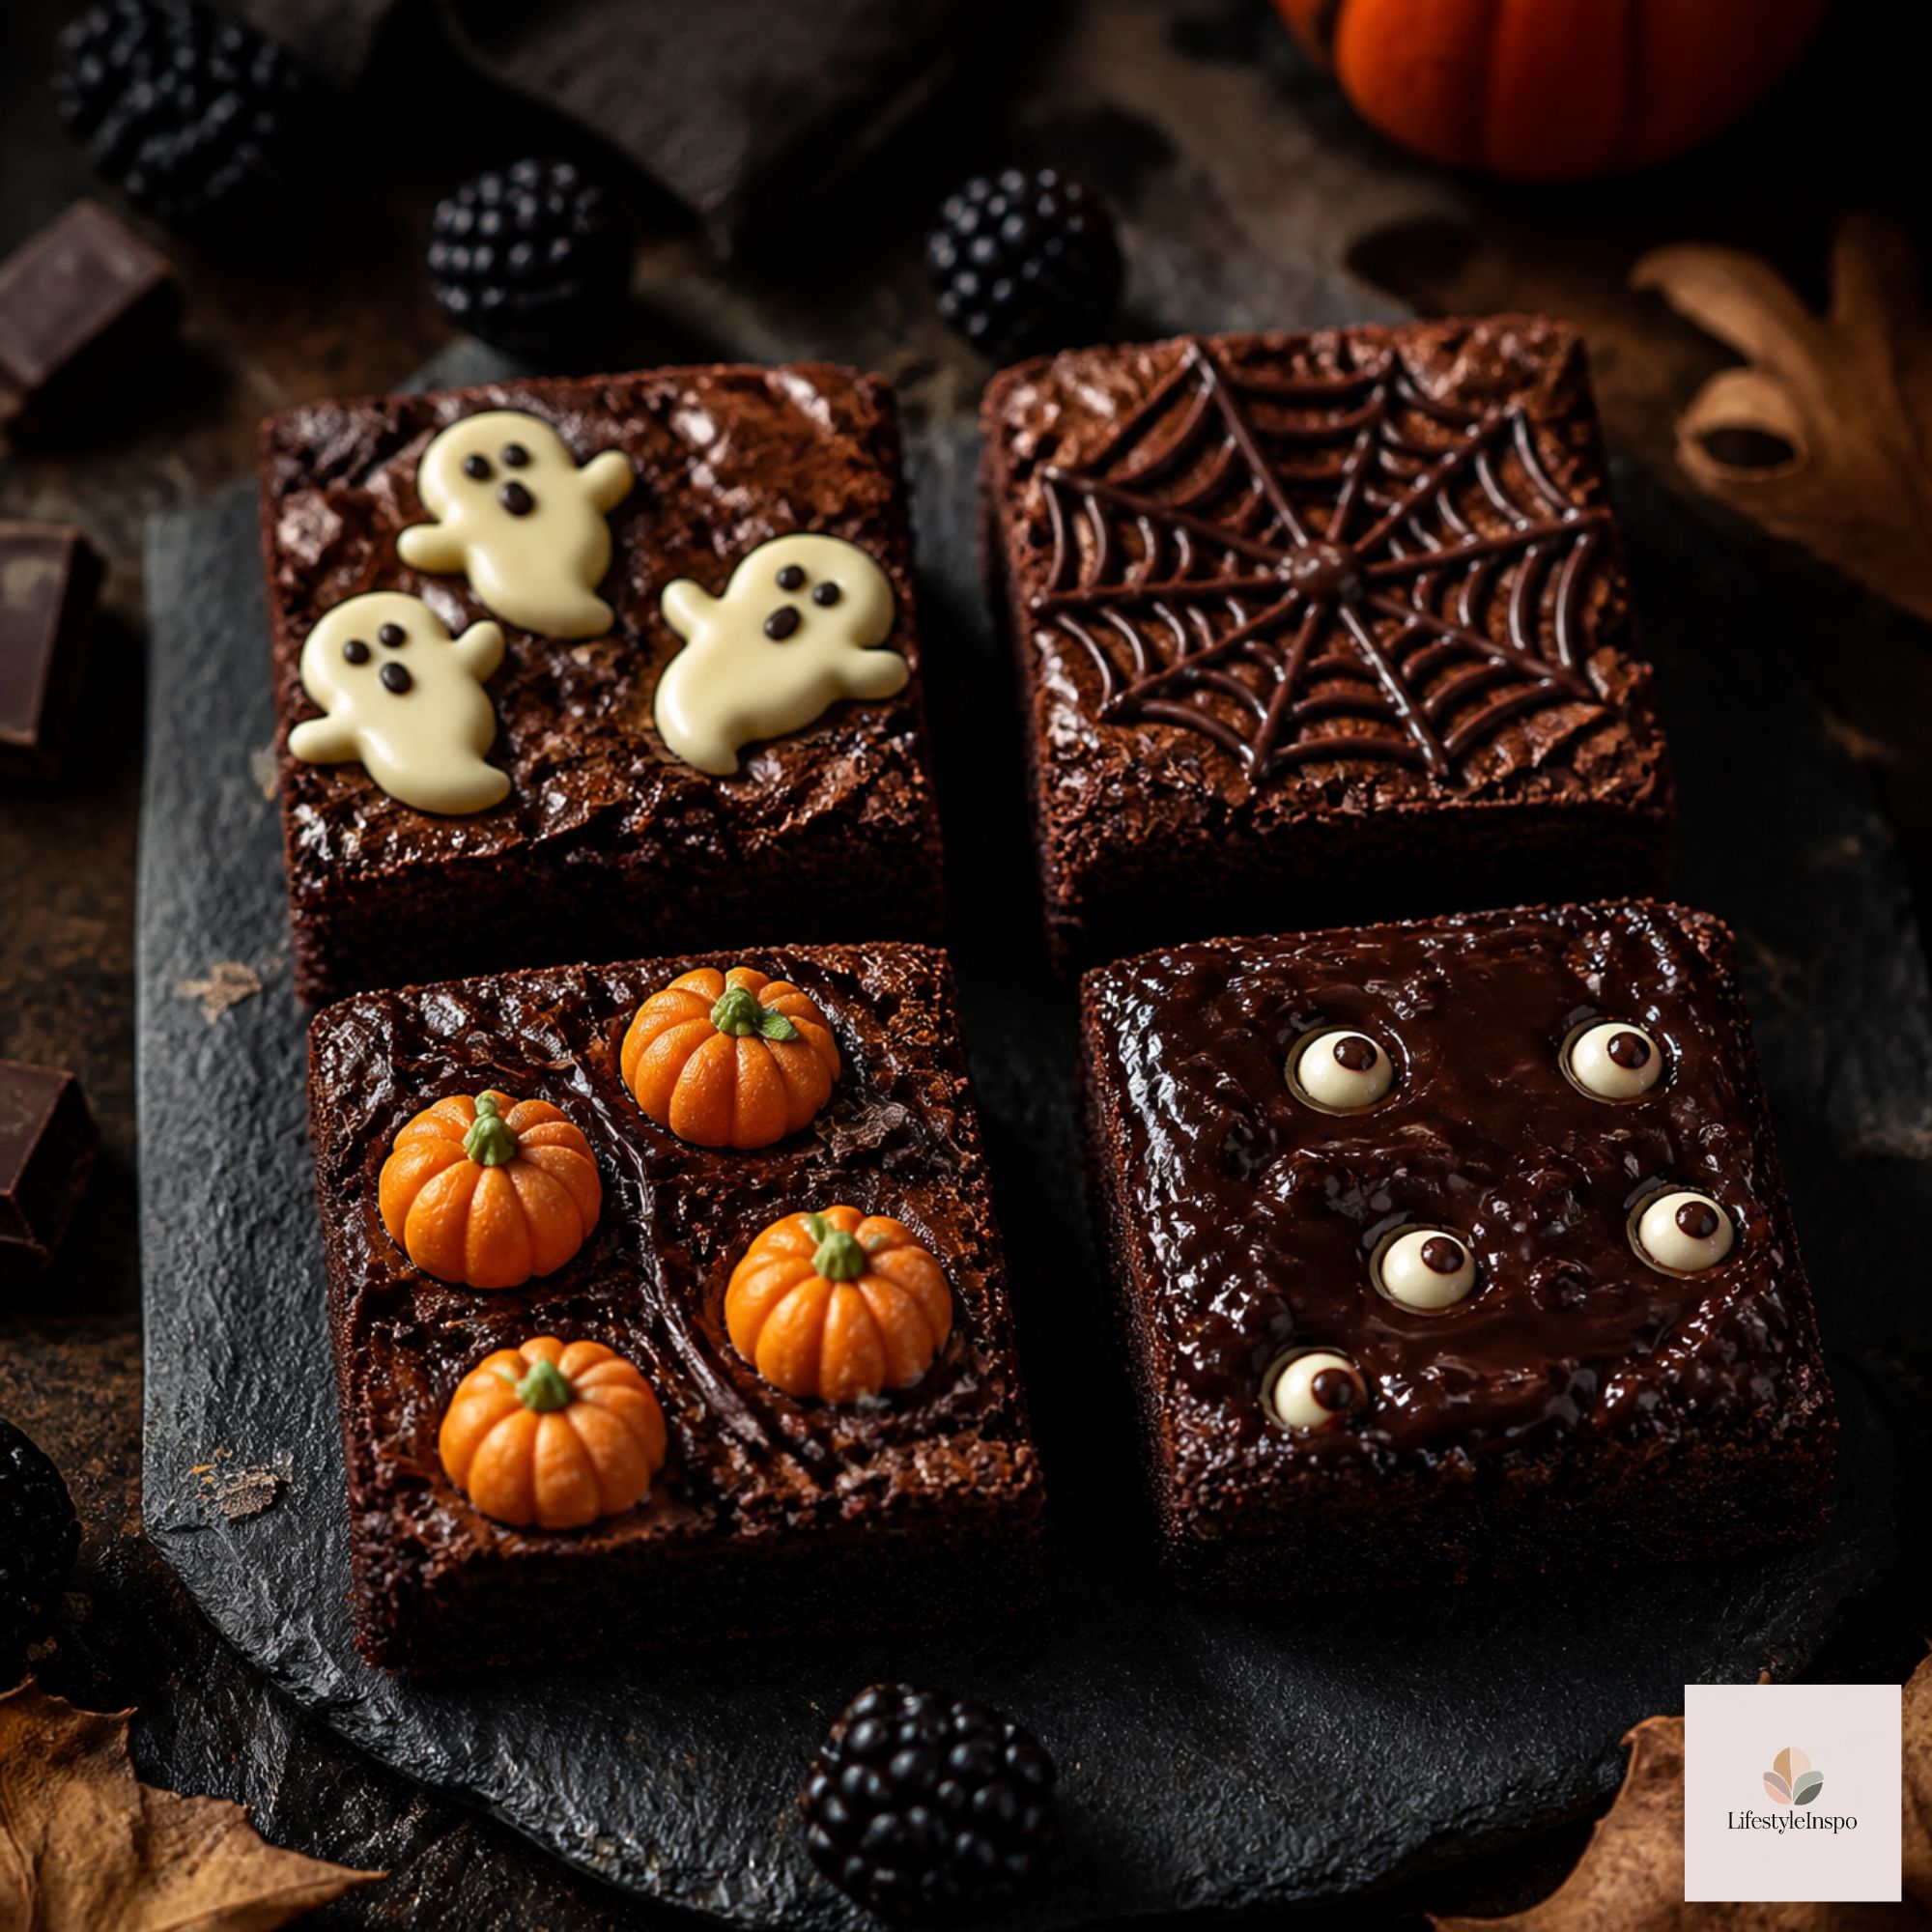
Variation 3: Silicone-Mold Brownie Bites
Baking brownies in a fun-shaped mold turns an everyday dessert into a party treat. Think mini pumpkins, skulls, or bats.
Ingredients
- 1 batch fudgy brownie batter
- Nonstick cooking spray
- 4 ounces melted candy melts for decorating
Instructions
- Preheat the oven to 350°F. Lightly spray the silicone mold and place it on a baking sheet for stability.
- Fill each cavity about ¾ full with batter.
- Bake for 15-18 minutes, until set.
- Cool completely in the mold, about 30 minutes. For easier unmolding, freeze the mold for 15 minutes.
- Pop out the brownies and decorate with melted candy melts or sprinkles.
Tip: Thicker batters hold shapes better. If your batter is thin, add an extra tablespoon of flour.
Cupcake-Liner Mini Brownies
No mold? Use Halloween cupcake liners in a muffin tin. Fill each liner halfway with batter and bake for 18-20 minutes. Top with a candy and serve as is. They’re ideal for packing in treat boxes.
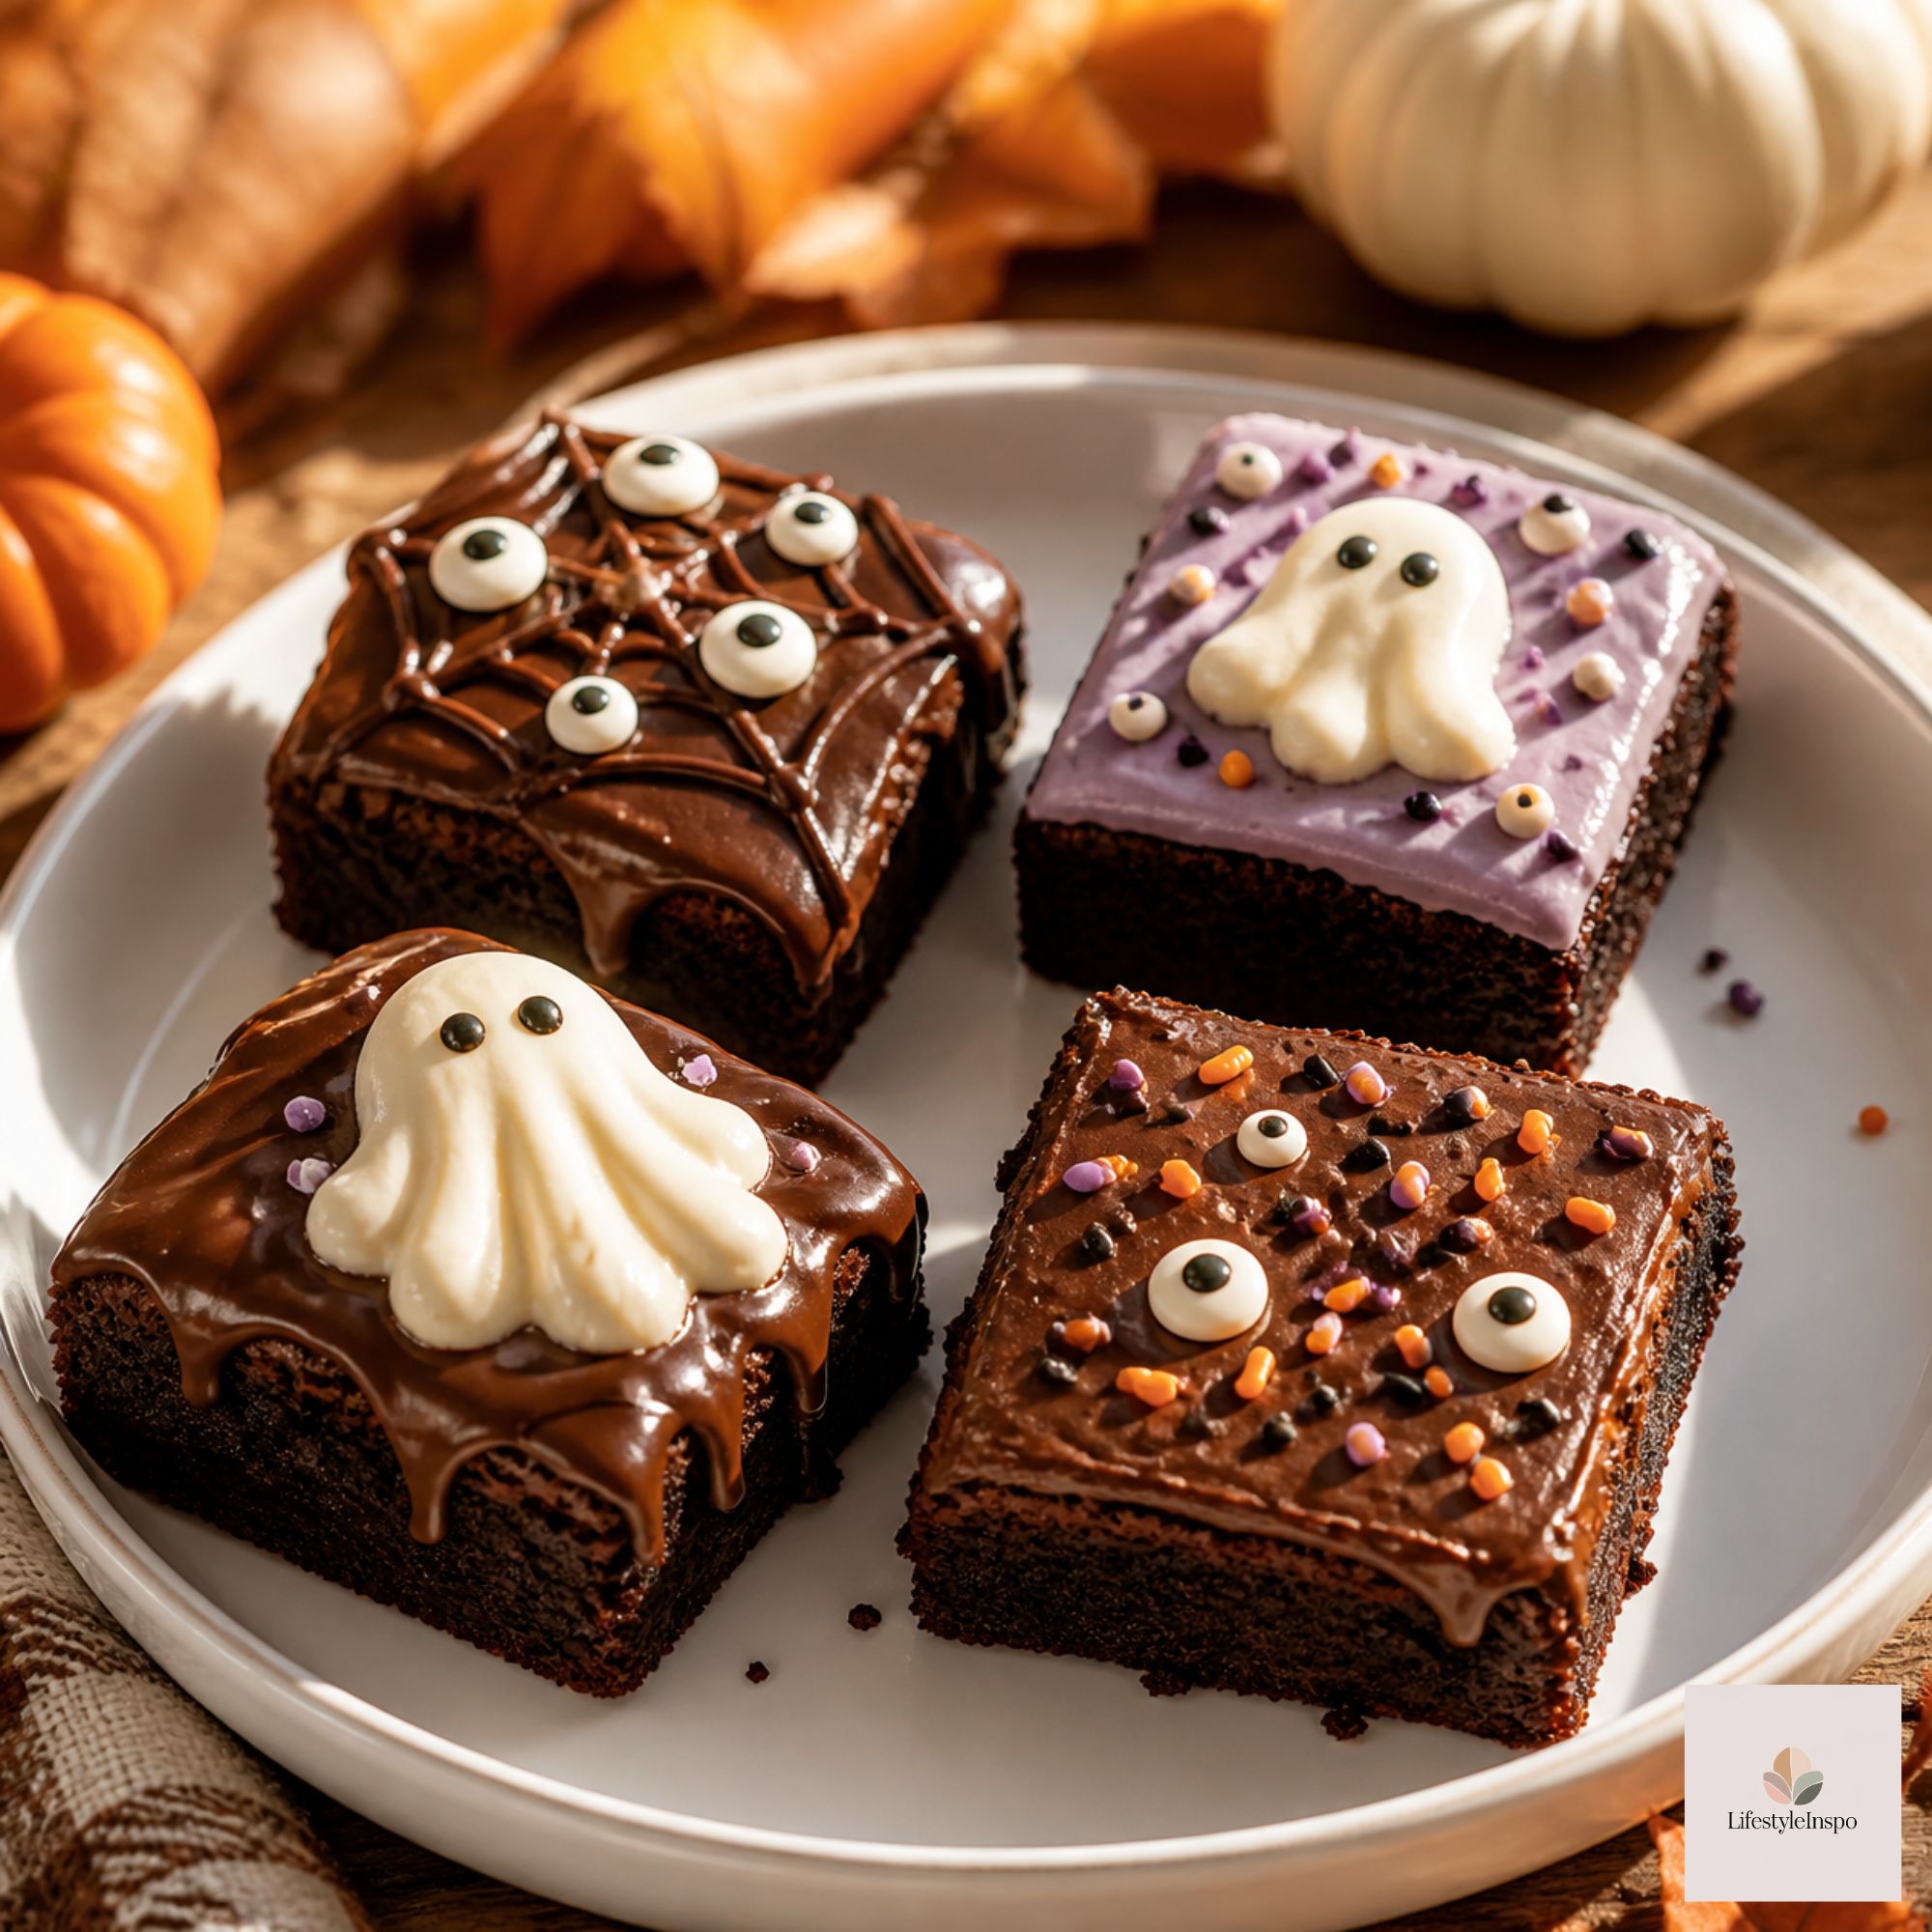
Variation 4: Brownie Cutouts
Cut cooled brownies into shapes with a Halloween cookie cutter for a quick and festive result. A tip is to chill the brownies before cutting so they hold their shape. Dip the cutter in hot water between cuts for the cleanest edges. Decorate the shapes with a drizzle of melted candy melts.
Brownie Troubleshooting
Why are my brownies cakey? Too much flour or too much mixing. Measure flour by spooning it into your measuring cup and leveling it.
Why are they greasy? Butter that’s too hot can separate. Let it cool slightly before mixing.
Why do they have a flaky top? Dissolving the sugar fully in the butter helps create that shiny, crackly top. Whisk well.
Why are they hard to cut? Brownies cut best when cool. Chill, then use a sharp knife wiped between cuts.
Pro Tips for Better Brownies
- Use good cocoa. It makes a visible difference in flavor.
- Add a pinch of espresso powder. It deepens the chocolate taste without adding coffee flavor.
- Don’t overbake. Aim for a slightly gooey center.
- Use parchment. It lifts brownies out in one piece and helps clean cuts.
- Add flaky salt on top. A little sprinkle before baking adds balance.
- Cool before decorating. Warm brownies melt icing.
How to Store Brownies
- Room temperature: In an airtight container for up to 3-4 days.
- Refrigerator: Up to 1 week. Bring to room temperature before serving.
- Freezer: Wrap individually and freeze for up to 3 months.
Serving Ideas
Brownies are a star on a Halloween dessert spread. Arrange them on a Halloween serving tray with cookies and candy, as in our dessert table guide. Warm a brownie, top with vanilla ice cream, and drizzle with caramel for an easy dessert after a Halloween movie. They also make great gifts: stack squares in a small box, tie with ribbon, and add a label.
For party prep, pair with a mocktail or a glass of milk, and use a Halloween tableware set to keep things easy.
Frequently Asked Questions
Can I use a boxed mix? Yes. Prepare it according to the directions and use any of the decorating ideas above.
Can I make these gluten-free? Use a gluten-free 1:1 baking flour. Brownies are quite forgiving with the swap.
Can I double the recipe? Yes, bake it in a 9×13 pan for 30-35 minutes.
What if I don’t have cocoa powder? Replace with melted chocolate, though the texture will be different. Cocoa gives the best fudgy result.
Final Thoughts
Brownies are a simple dessert with endless potential. With a good base recipe and a few Halloween touches, they’re perfect for parties, gifts, and cozy nights in. Start with the classic, pick your favorite decorating style, and enjoy every chocolaty bite.
About the Author