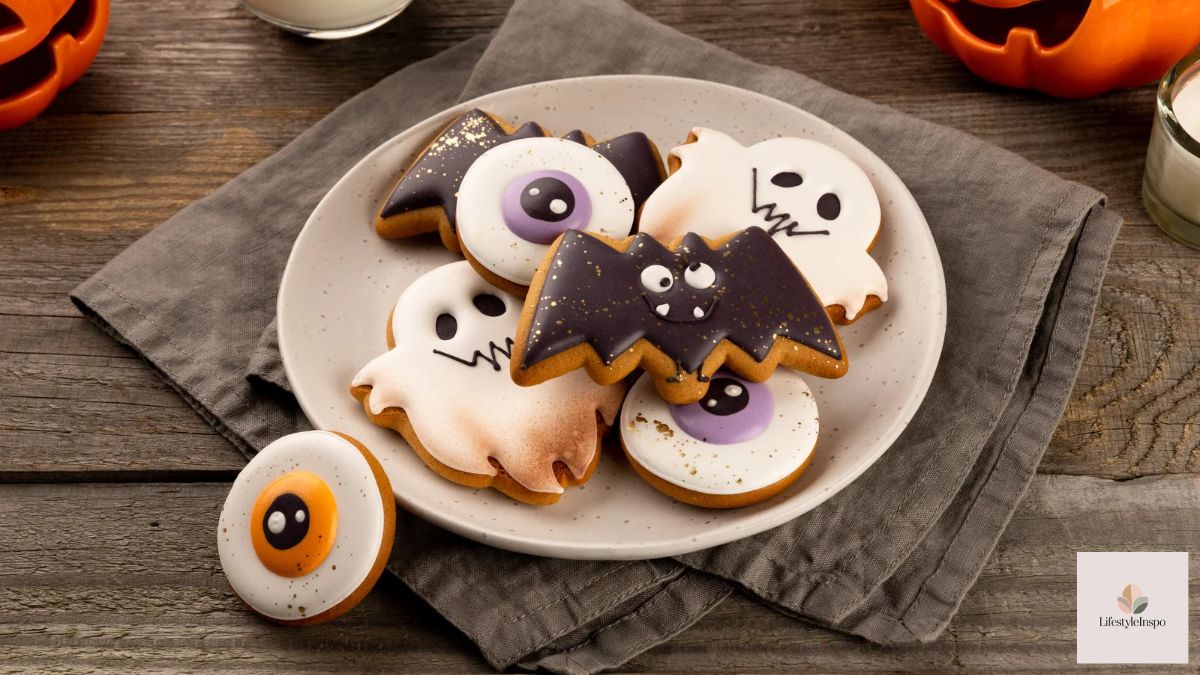
How to Style a Halloween Dessert Table (On Any Budget)
A dessert table is the closest thing to a party’s main event. People gravitate toward it, they photograph it, and it’s often the part of the night they remember most. At Halloween, a dessert table is also the perfect place to let your creativity run wild.
The best news: you don’t need a professional stylist or a giant budget. What matters is a clear plan, a few key pieces, and a good eye for layers and color. In this guide, I’ll walk through exactly how to set up a Halloween dessert table, from the menu to the finishing touches.
Step 1: Choose a Theme and Color Palette
Before buying anything, decide on a vibe. A cohesive palette instantly makes the table look intentional.
Classic Halloween: Orange, black, and white. Bold, playful, and always on theme.
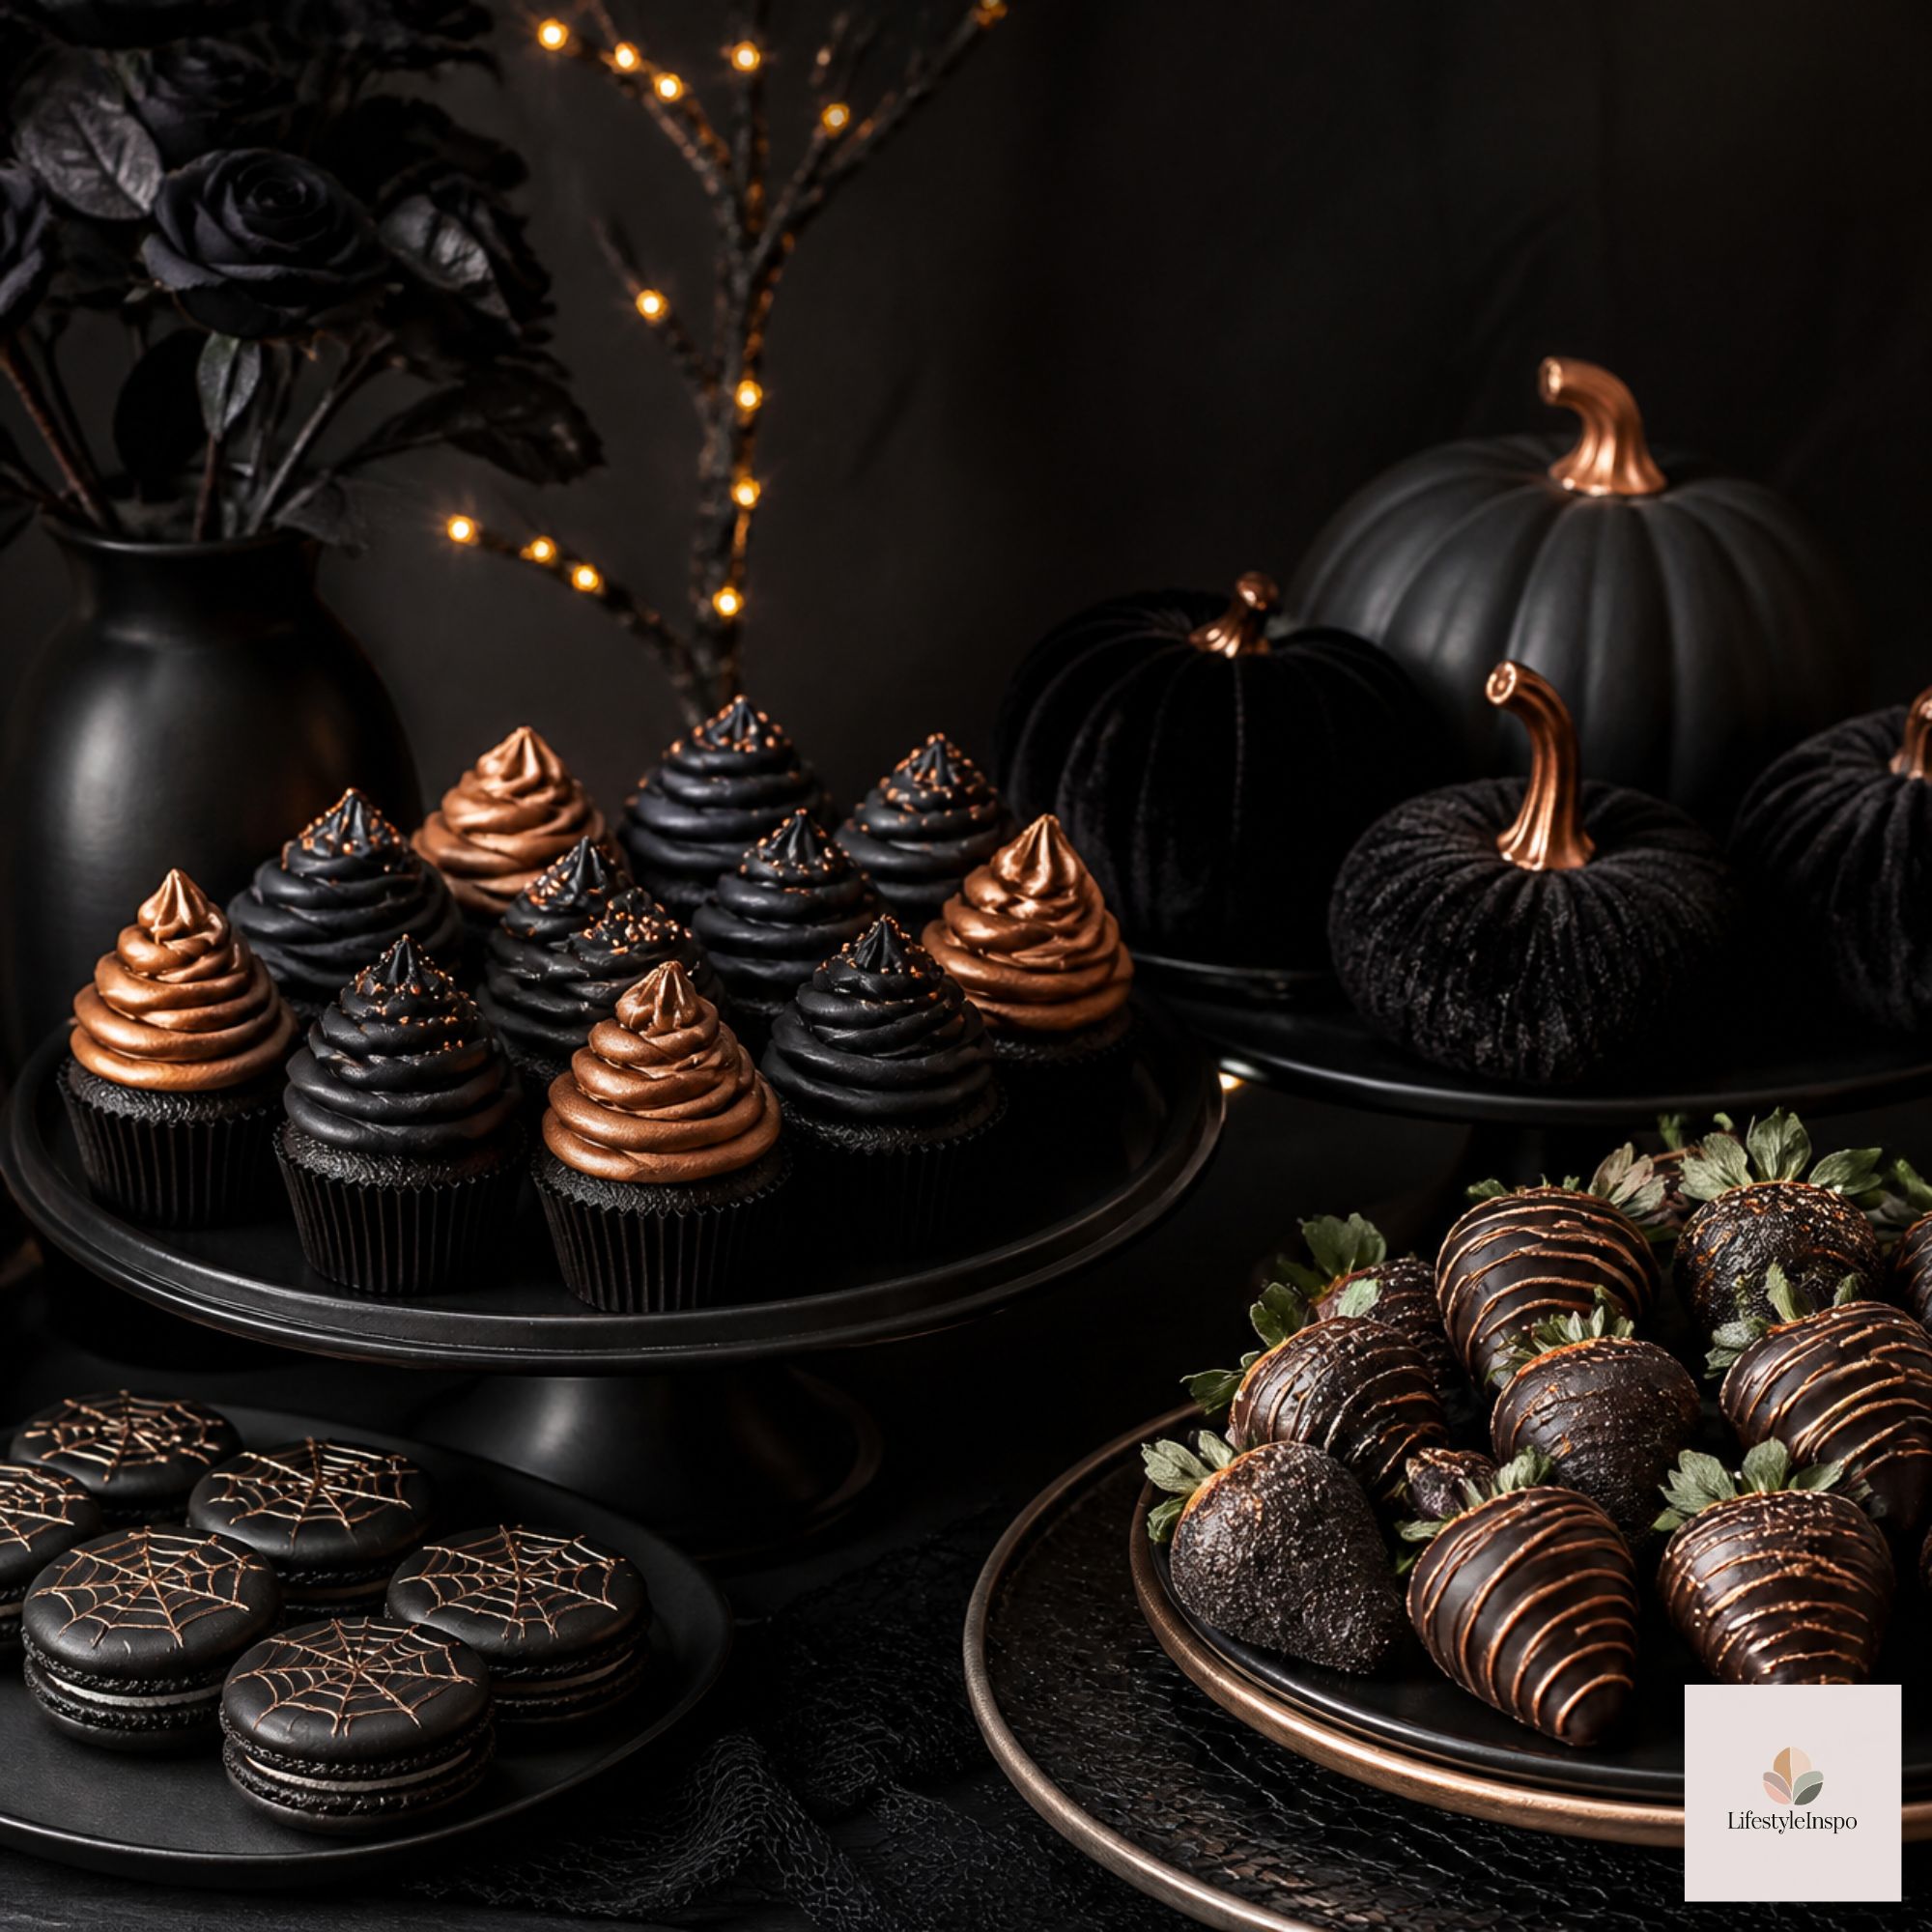
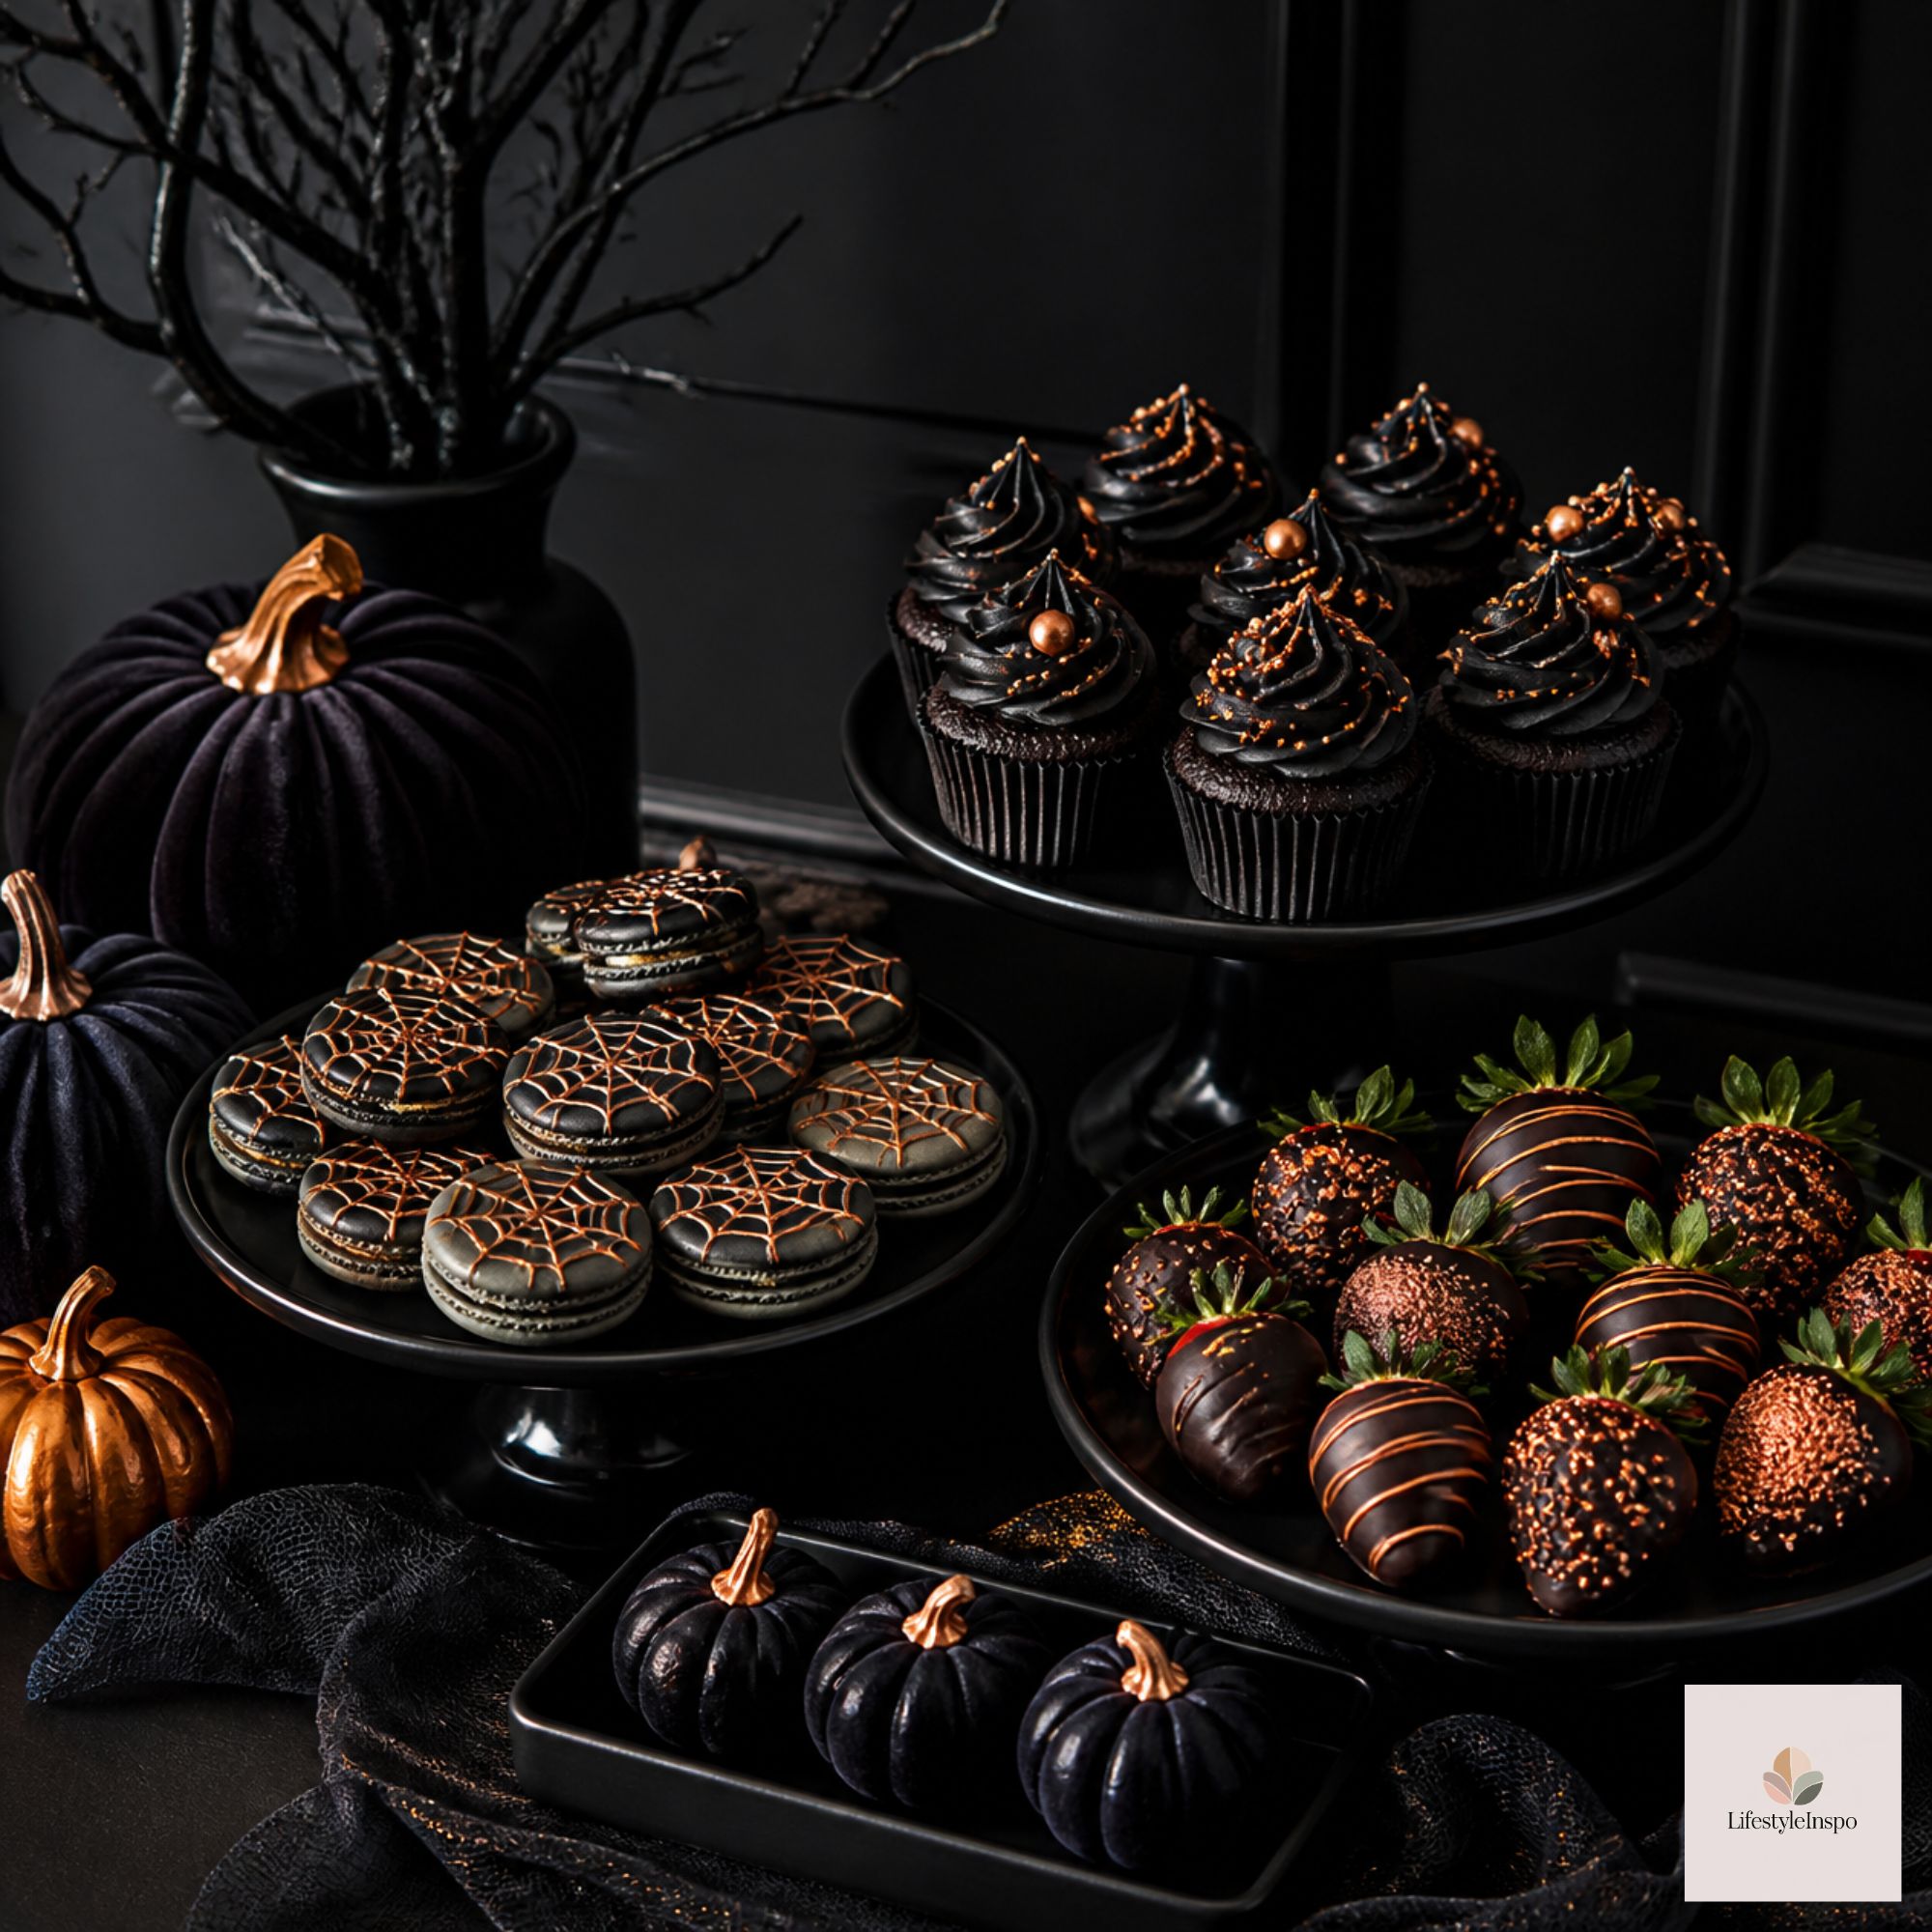
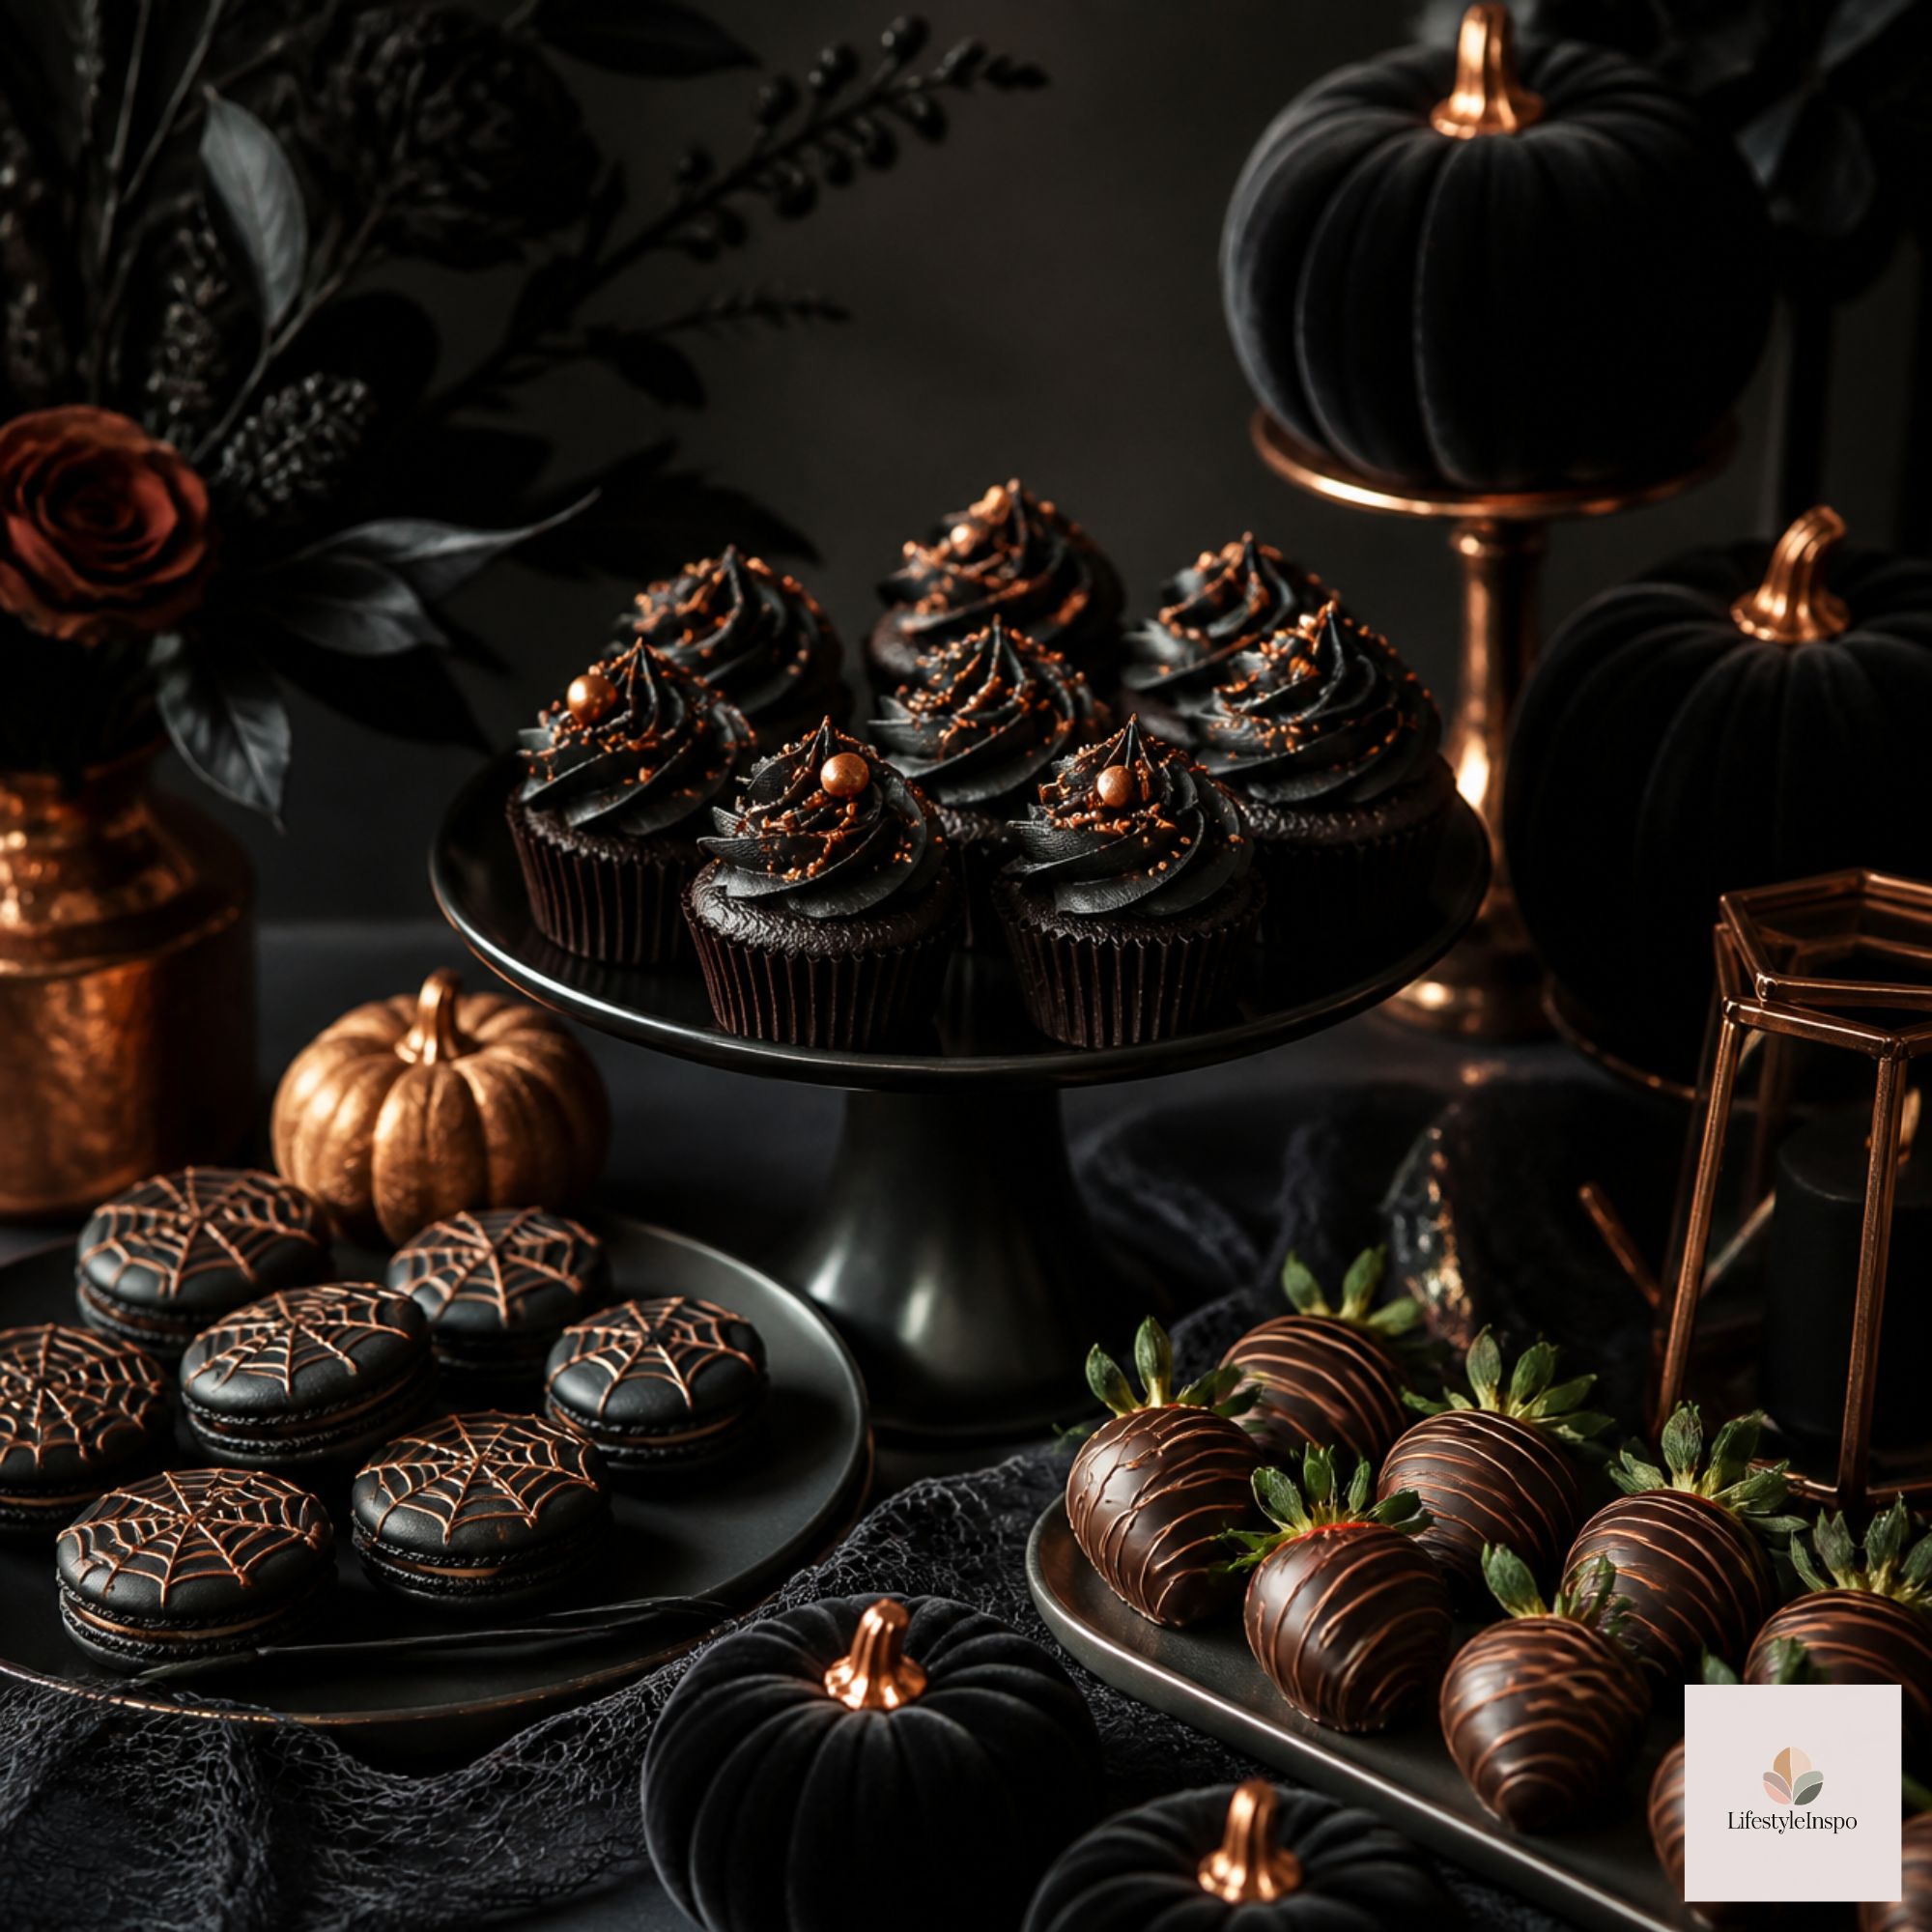
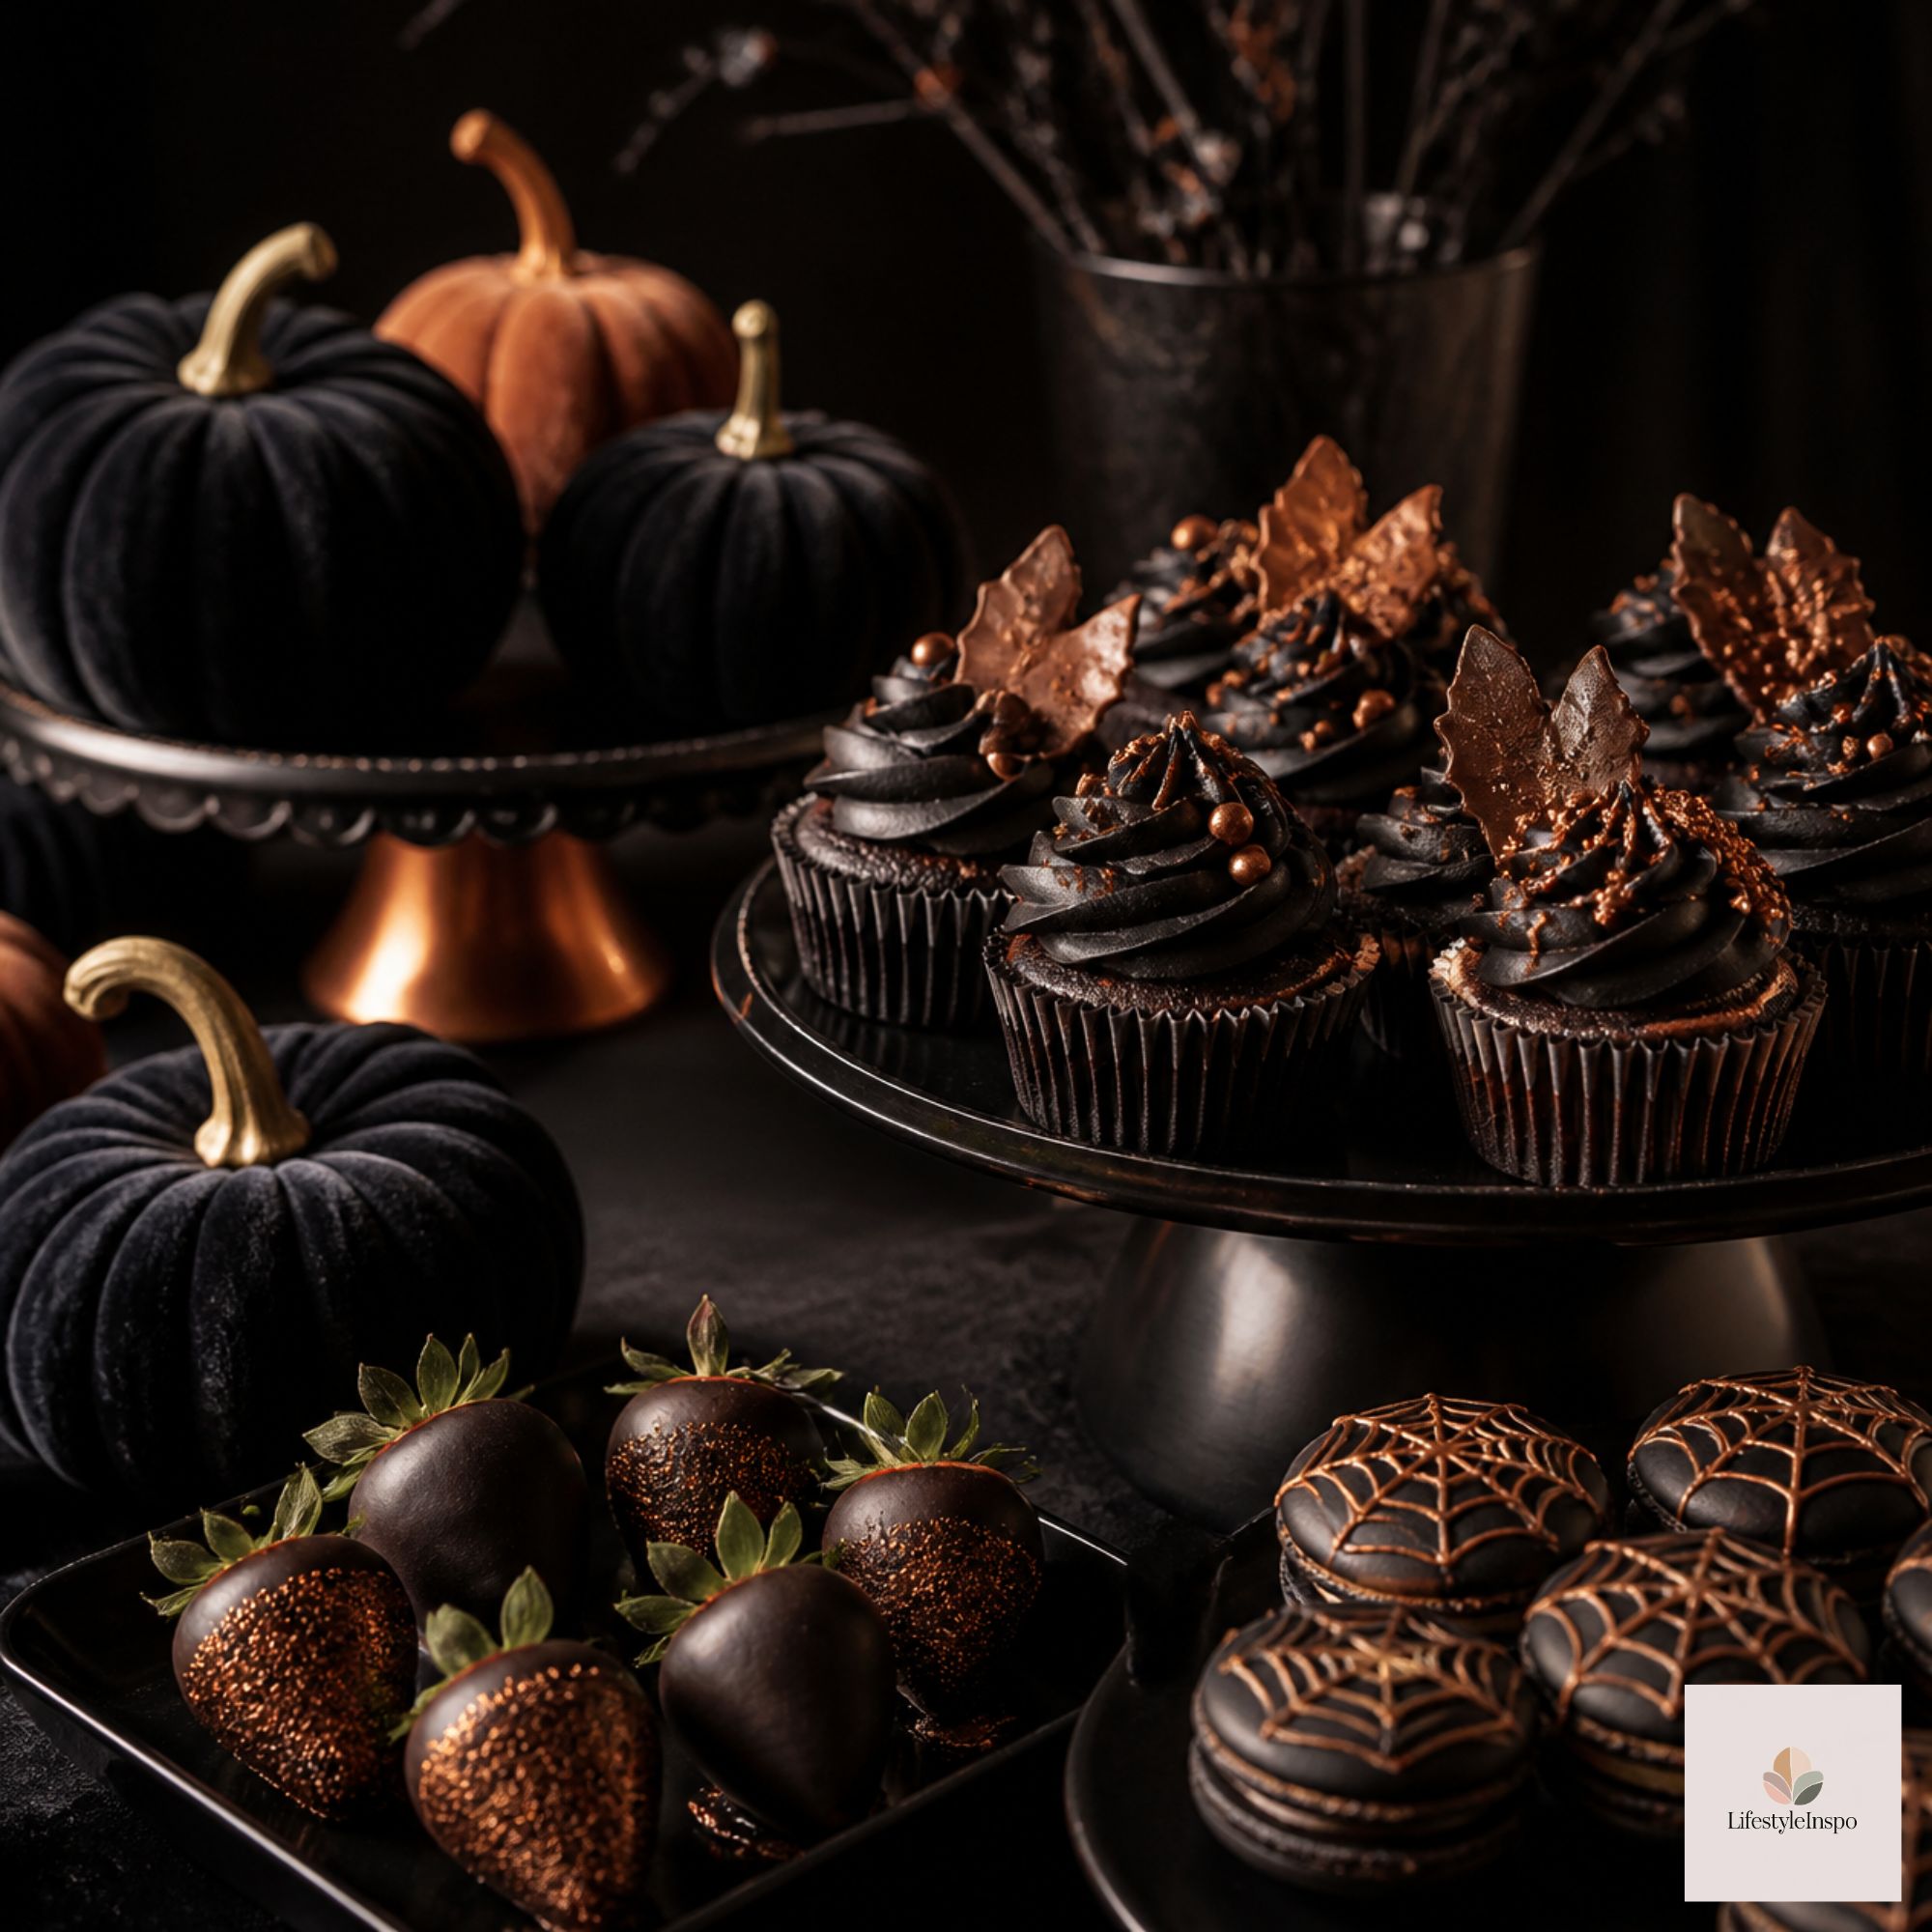
Moody and Elegant: Black, deep purple, burgundy, and gold. Perfect for an adult party.
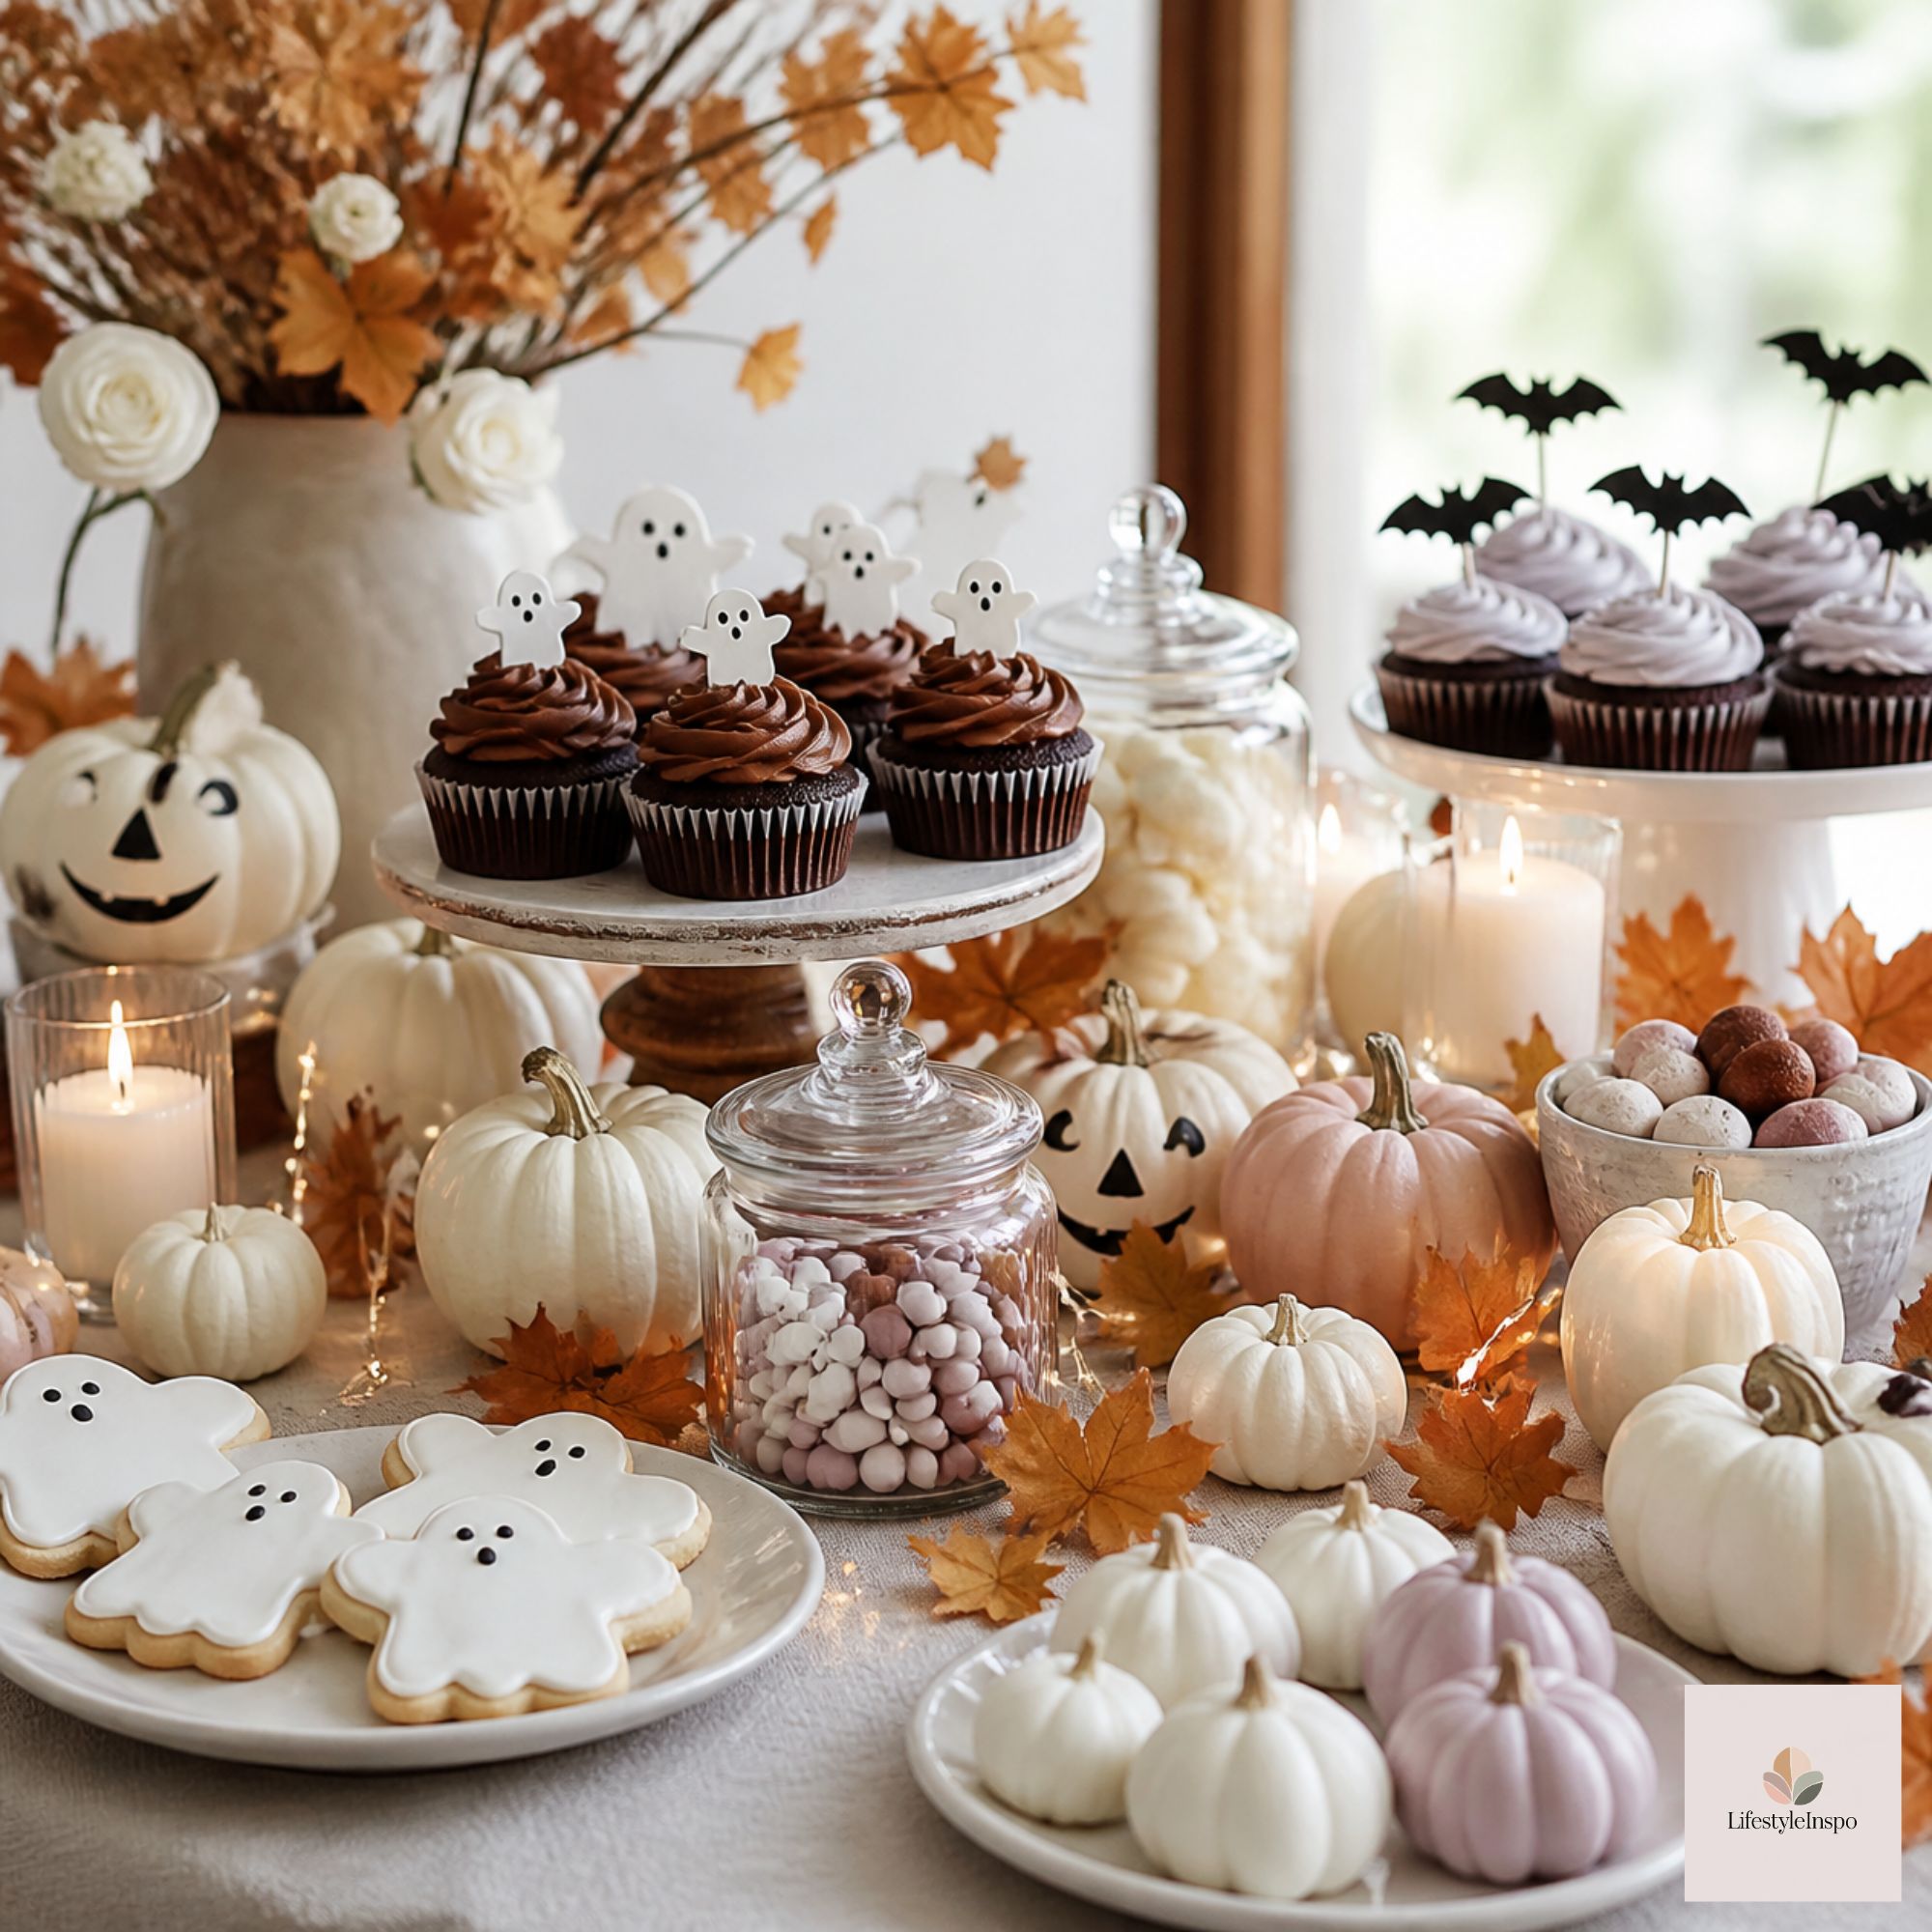
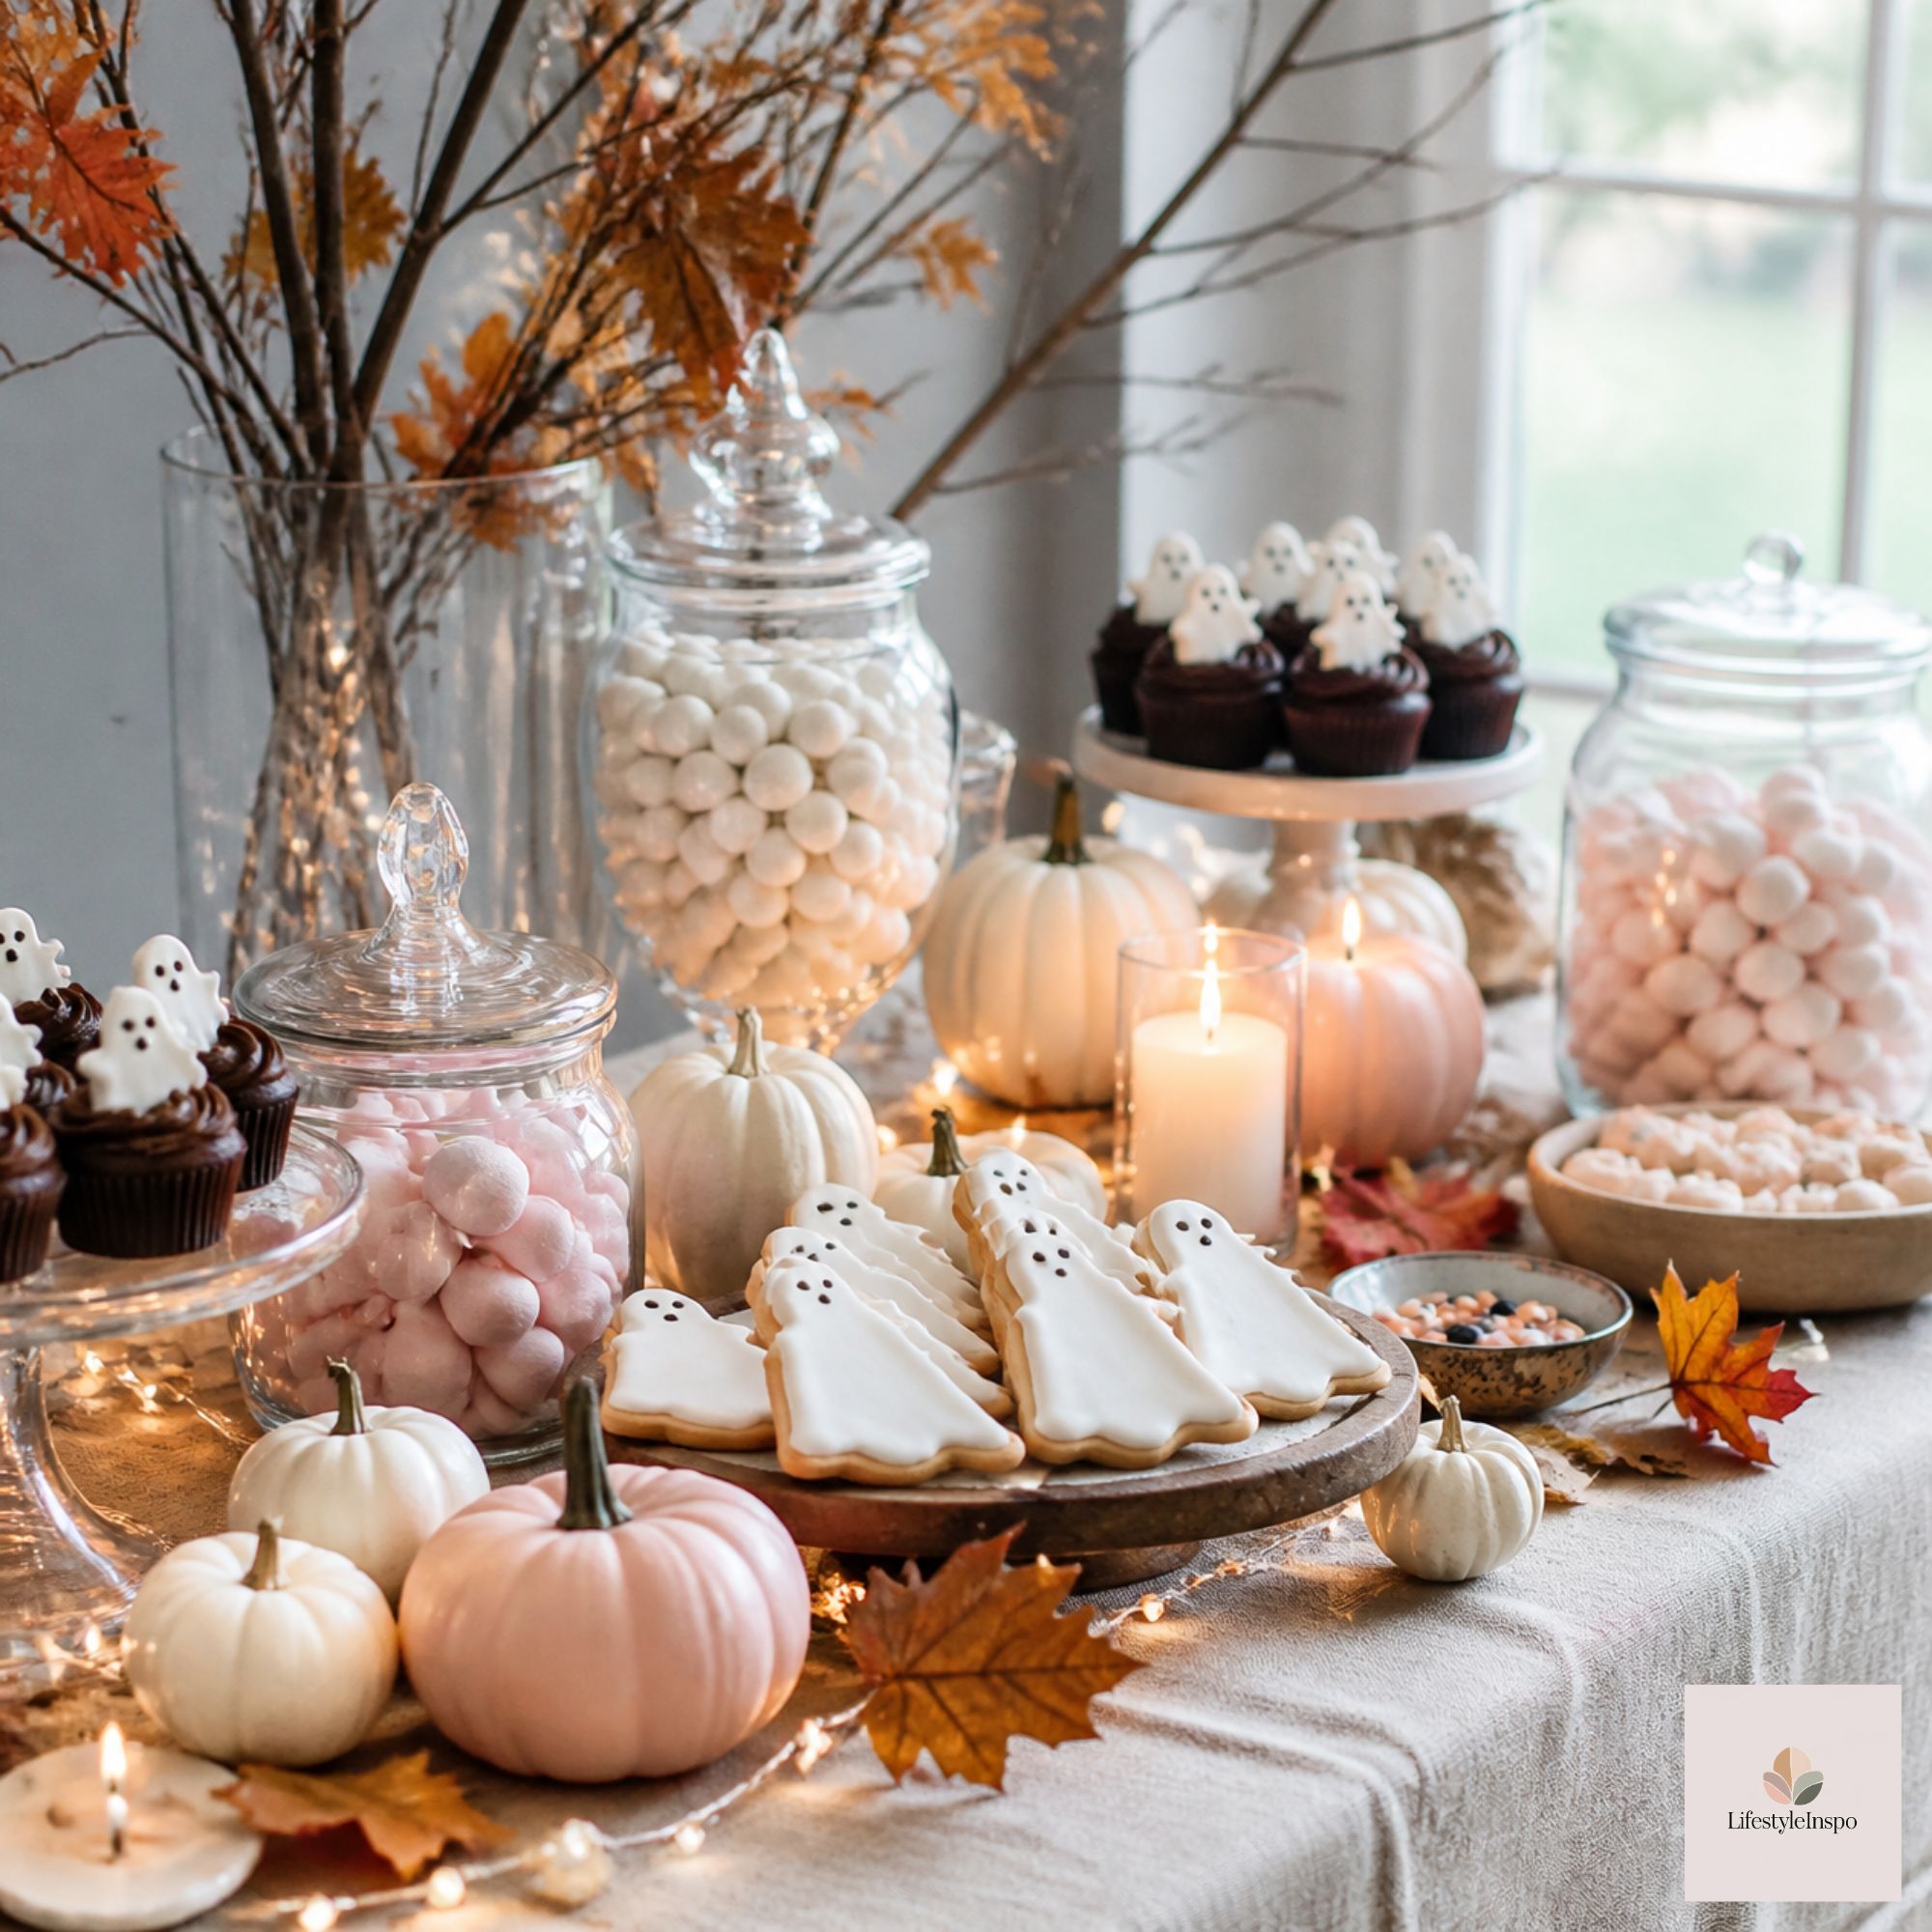
Cute and Whimsical: Pastel pink, lavender, mint, and white. A softer, “Hocus Pocus” take on the holiday.
Witchy Woodland: Forest green, rust orange, cream, and dark wood. It feels like a cozy autumn night.
Whichever you choose, stick to it for the cloth, the plates, and the desserts. Your decorations and food will all harmonize.
Step 2: Start With the Foundation
Cover the table first. A Halloween tablecloth sets the tone and protects the surface from icing and spills. Add a runner or a layer of fabric (black tulle looks like cobwebs) for texture and depth.
If the table is against a wall, hang a backdrop: black fabric, orange paper garlands, a spooky “Dessert Bar” sign, or even a sheet with hand-cut bats. This frames the table and makes it feel like a scene.
Step 3: Build Height
The biggest difference between a plain table and a styled one is height. Items at different levels create visual interest and make more room for food.
Ways to build height:
- Cake stands in varied sizes
- Upside-down bowls or boxes covered with fabric
- Stacked books under a cloth
- Tiered trays, like a Halloween serving tray set
- Pumpkins of various sizes as risers
A good rule: put your tallest items at the back and your shortest at the front, like a staircase. And place your showpiece (a big cake or a gingerbread house) in the center or slightly off to one side.
Step 4: Plan the Dessert Menu
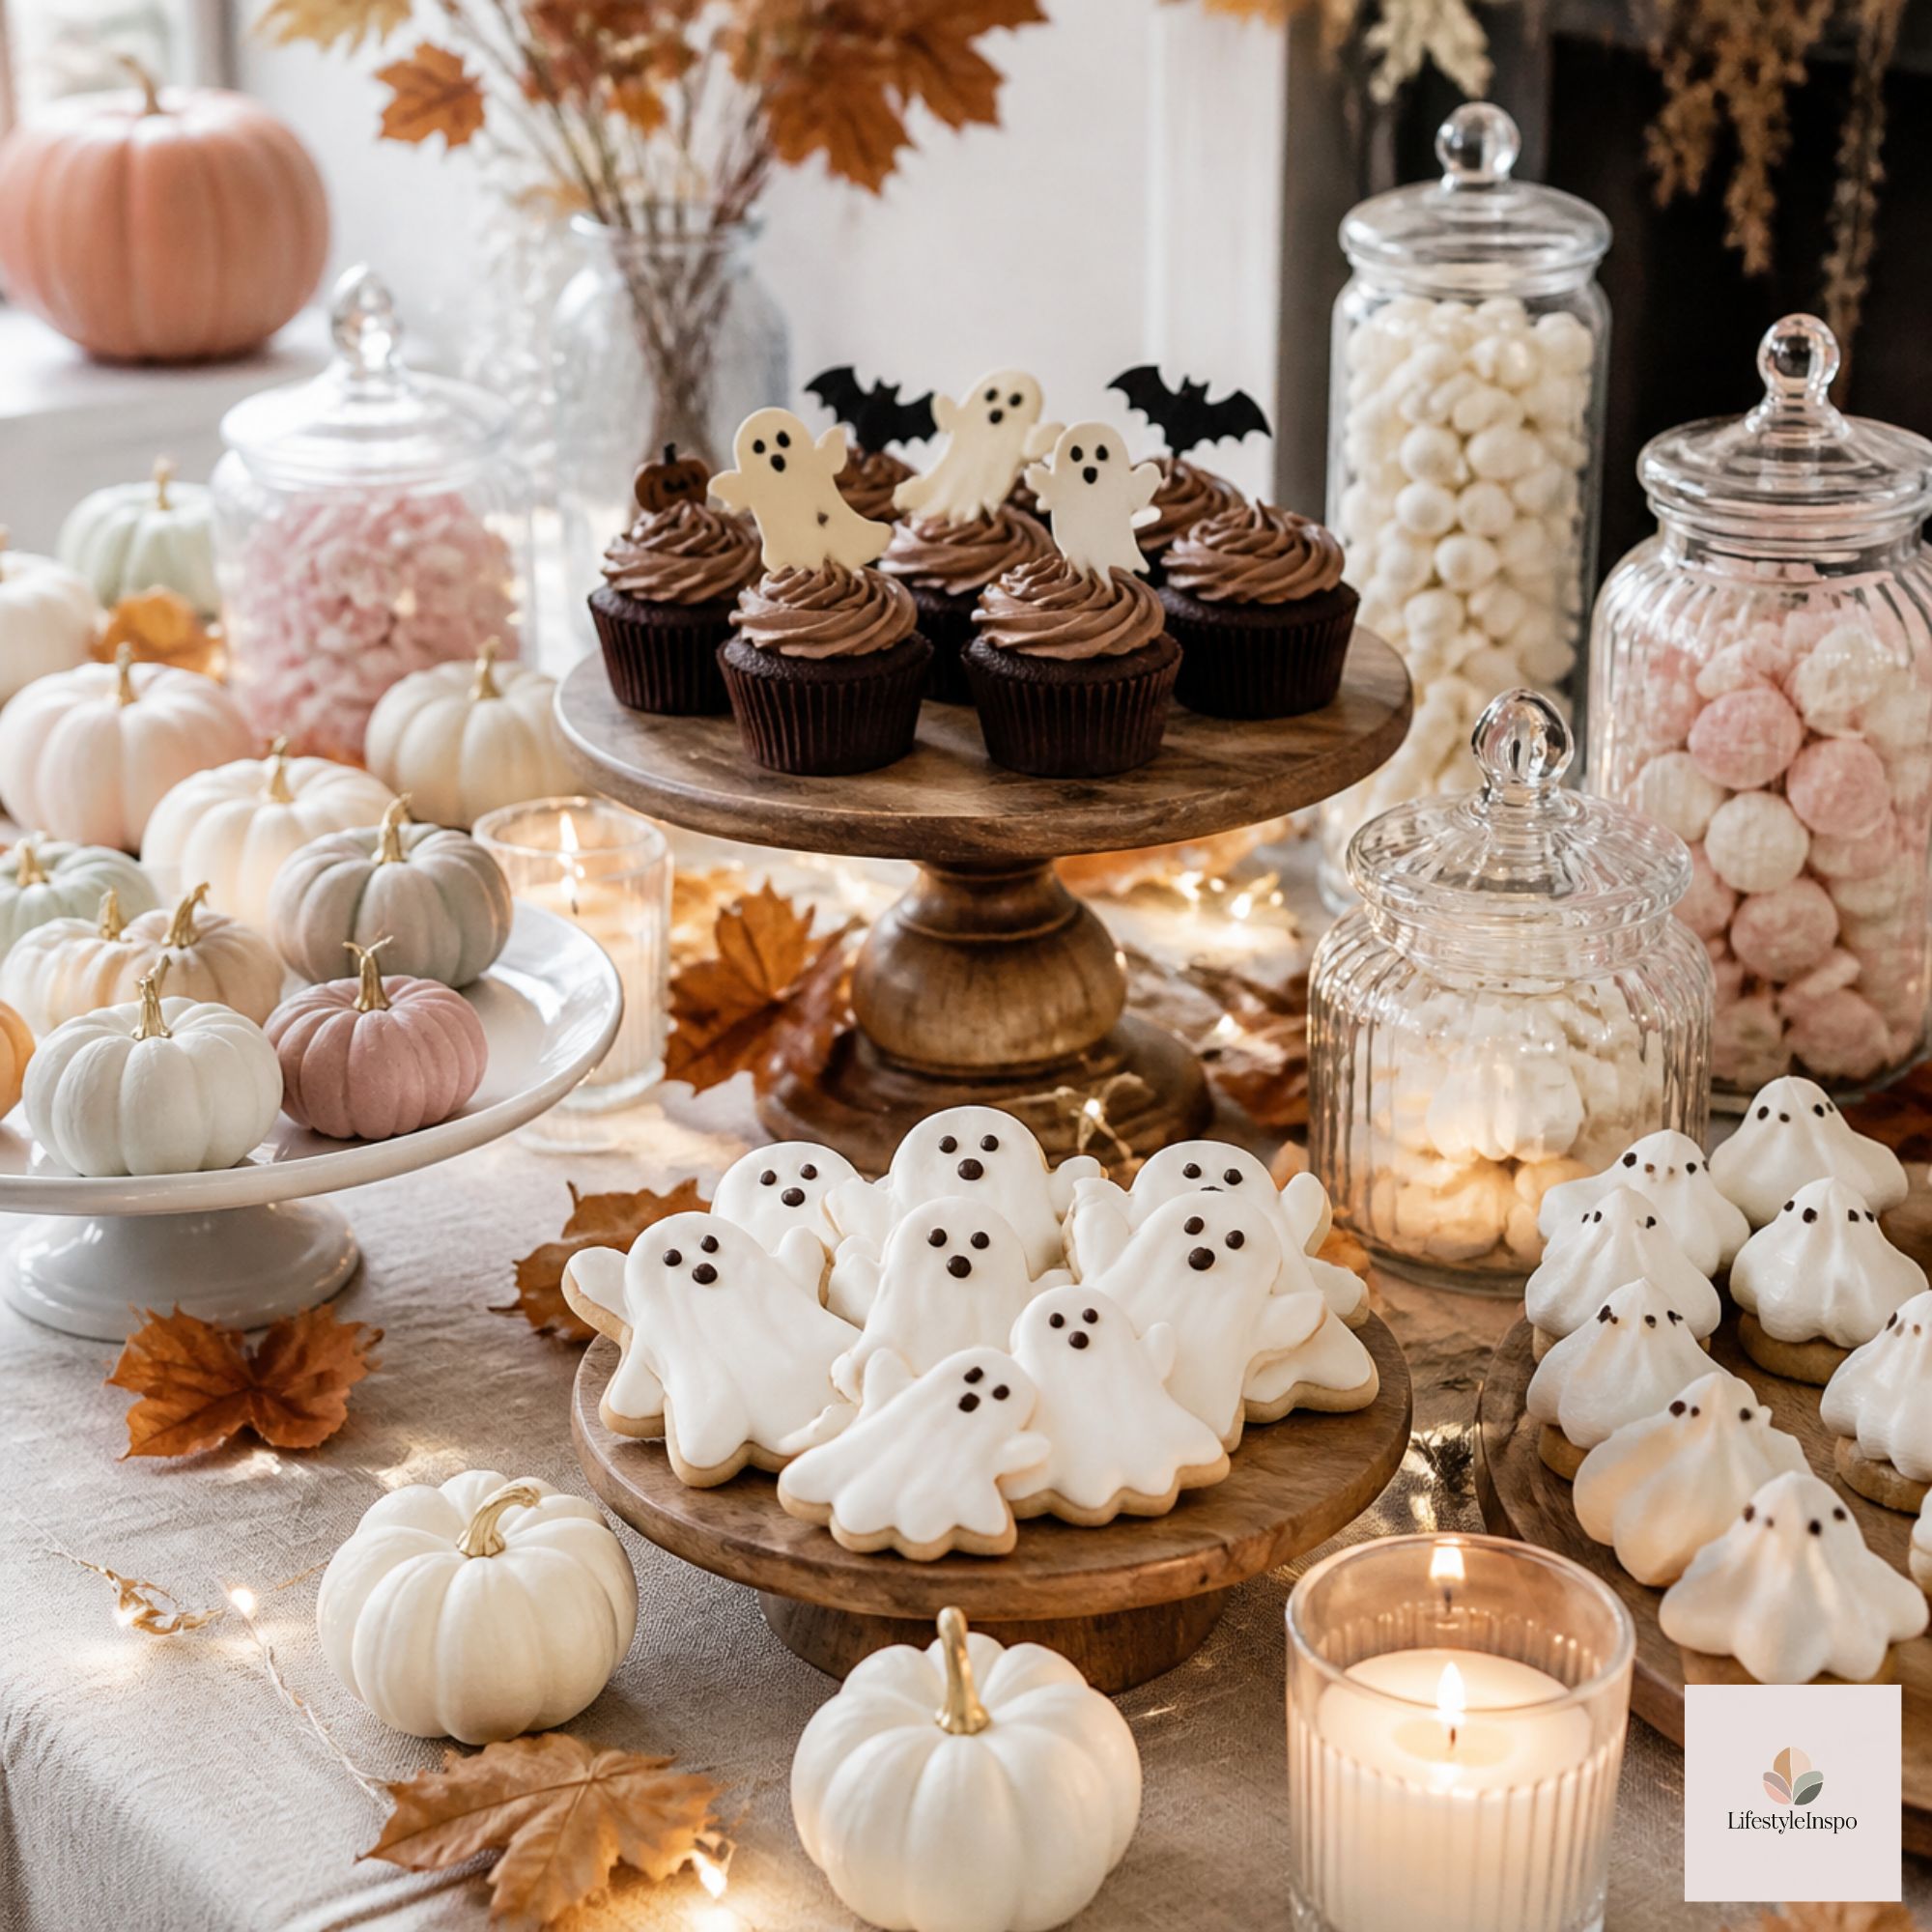
A balanced table has variety in flavor, texture, and size. The classic formula is five to seven items:
- One show-stopper: A large cake, a haunted gingerbread house, or a stacked cupcake tower
- Cupcakes or mini cakes: Easy to grab and eat
- Cookies: Decorated sugar cookies in Halloween shapes
- Something chocolatey: Brownie bites, truffles, or molded chocolates
- Something fruity: Caramel apples, strawberry ghosts, or clementine pumpkins
- Candy: A jar or bowl of candy corn, gummies, or wrapped treats
- Something salty: Popcorn or pretzel mix for balance
Sample Menu for 20 Guests
- 24 Halloween cupcakes
- 24 decorated cookies
- 20 brownie bites made in a silicone mold
- 20 chocolate-dipped strawberry ghosts
- 1 big bowl of candy bark
- 1 large candy bowl full of candy
- Popcorn mix
Estimate about 4-6 dessert pieces per person if desserts are the main event, or 2-3 if there’s also a full meal.
Step 5: Make Easy, Impressive Desserts
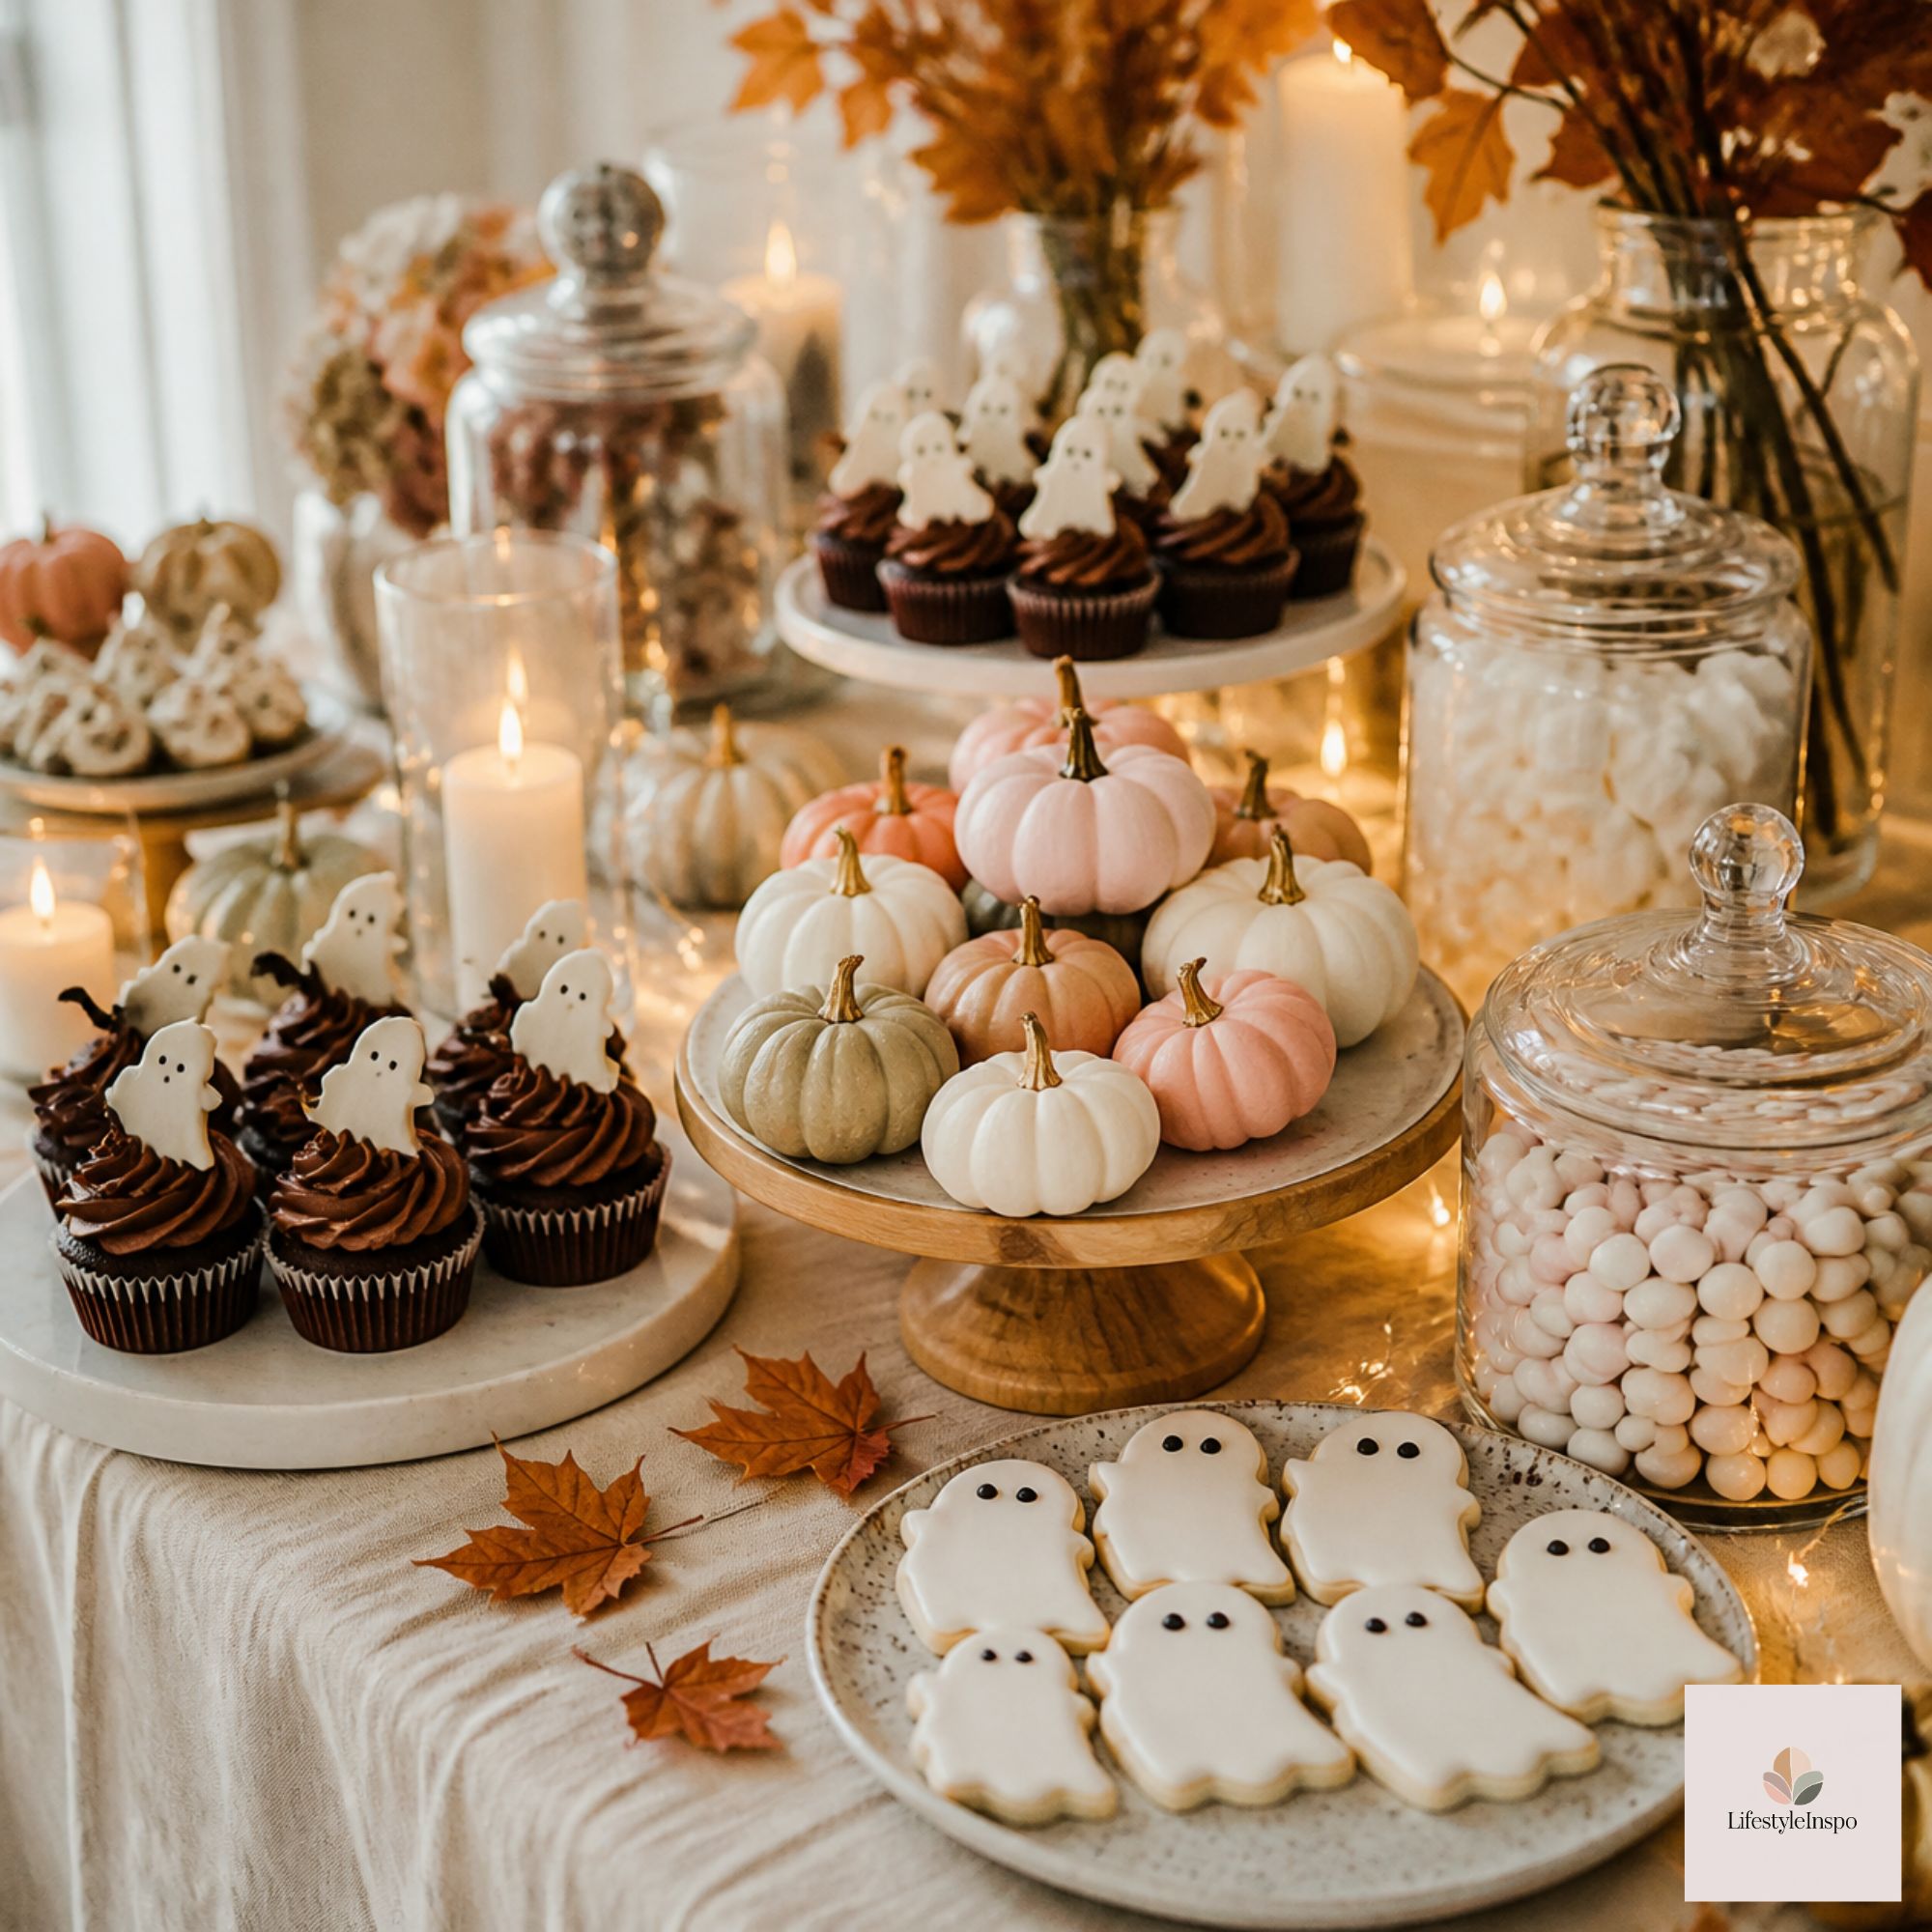
You don’t have to bake everything from scratch. Mix homemade items with store-bought ones, and use simple tricks to make the whole table feel cohesive.
Strawberry Ghosts (No Baking!)
Ingredients:
- 1 pound strawberries, washed and dried
- 8 ounces white candy melts
- Mini chocolate chips or black icing
Instructions:
- Melt the candy melts in 30-second bursts, stirring until smooth.
- Dip each strawberry into the melted candy, leaving a bit of the green top exposed. Place on parchment paper.
- Before the coating sets, add two mini chocolate chip eyes and a small mouth.
- Chill for 15 minutes until firm.
Dirt Cups
Ingredients:
- 1 package chocolate pudding mix, prepared per directions
- 1 cup whipped topping
- 10 chocolate sandwich cookies, crushed
- Gummy worms
Instructions:
- Fold the whipped topping into the prepared pudding.
- Layer pudding and crushed cookies in clear cups.
- Top with cookie “dirt” and a gummy worm crawling out.
Candy Corn Cupcake Toppers
Make your cupcakes extra special by adding molded chocolate toppers. Use a Halloween chocolate mold with candy melts, then place each topper on a swirl of frosting. For more on piping and frosting, see our cupcake guide.
Cookie Decorating Station
Set out plain cookies and bowls of icing, and let guests decorate their own. A cookie decorating kit and Halloween sprinkles make it easy.
Step 6: Add Serving Pieces and Labels
Having enough serving pieces is crucial. You don’t want to be digging through the cupboard mid-party.
- Platters and trays: For cookies, brownies, and bars
- Jars and bowls: For candy, popcorn, and snack mix
- Tongs and scoops: For hygiene and easy serving
- Napkins and plates: A Halloween tableware set keeps everything on theme
- Small labels: Use food picks or small signs to name each dessert in fun ways: “Bat Bites,” “Witch Fingers,” “Poison Apples”
Label any dessert that includes common allergens such as nuts, dairy, or gluten.
Step 7: Add Decor and Details
The finishing touches make your table special:
- Candles: Use flameless LED candles in tall holders for glowing ambience
- Faux cobwebs: Drape across the table edges, but keep them away from food
- Mini pumpkins and gourds: Tuck them among the desserts
- Fresh or dried flowers: Dark roses or dried grasses add elegance
- Bats, spiders, and skulls: Scatter a few sparingly
- Apothecary jars: Fill with candy and label “Potions”
- A fun sign: “Sweets & Treats,” “Witch’s Brew Bakery,” or “Boo-tiful Desserts”
Step 8: Plan the Drinks
A dessert table needs something to sip. Set up a drink station nearby with a drink dispenser filled with punch, plus a coffee or hot cocoa corner for chilly nights. Check our Halloween mocktail ideas for kid-friendly options.
Timeline for a Stress-Free Setup
One week before: Plan your menu, buy decorations, and order any supplies.
Three days before: Bake cookies and cupcakes (unfrosted), and freeze them.
Two days before: Make candy, chocolates, and any no-bake treats. Prep the decorations.
The day before: Frost cupcakes, assemble any layered desserts, and set up the table structure (cloth, risers, signs).
Day of: Arrange food, add fresh items last (like strawberries), and take photos before the guests arrive.
Budget-Friendly Tips
- Make instead of buy. Homemade treats cost far less than bakery items.
- Shop your house. Cake stands, trays, bowls, and candles you already own work beautifully.
- Use dollar-store finds. Cheap plastic spiders, cauldrons, and cobwebs go a long way.
- Mix store-bought and homemade. A box mix with fancy toppers can look bakery-quality.
- Buy in bulk. Candy and sprinkles are far cheaper in big bags.
- Reuse decor. Pumpkins and faux candles can carry over to Thanksgiving.
Frequently Asked Questions
How far in advance can I set up the table? You can set up the base (cloth, risers, signs) a day ahead. Add the food a couple of hours before guests arrive.
How do I keep desserts from melting or drying out? Keep chocolate and cream-based items in the fridge until just before serving. Cover cookies and cakes with a cloth or dome until the party starts.
How many desserts do I need? Aim for 5-7 different items. Variety is more important than volume.
What if I only have a small space? Use vertical space. Tiered trays, a narrow console table, or even a bookshelf can double as a dessert display.
Final Thoughts
A Halloween dessert table is really a mini art project. Start with a color story, build in height, mix homemade and simple store-bought items, and add personality with labels and decor. Done right, it’s the first thing guests will talk about, and the last thing standing at the end of the night.
About the Author