How to Use a Wooden Advent Calendar (Fill, Style & Reuse)
There’s something quietly lovely about a wooden advent calendar. Unlike the cardboard kind that ends up in the recycling bin on December 25, a wooden one is built to stay. It looks beautiful on display, it can hold something new each year, and it grows into a tradition.
But once you’ve unpacked yours, a few practical questions pop up. What do I put in those tiny drawers? How do I arrange everything so the days are in order? How do I make it look pretty on the shelf, not just functional?
This guide on how to use a wooden advent calendar answers all of that, from the first-day setup to storing it for next year. Let’s get yours ready.
Why Choose a Wooden Advent Calendar?
If you’re still deciding, here’s what makes wooden calendars special:
- They’re reusable. You can fill them again every year with a new theme.
- They double as decor. A good one looks like a piece of furniture.
- They’re sturdy. Wood handles daily opening, unlike paper doors that tear.
- They’re customizable. You can fill them with anything that fits.
- They become heirlooms. Many families pass them down.
A wooden advent calendar is a simple investment that gets better every year, because the tradition builds around it.
→ Shop it: Wooden advent calendar
Check the listing for dimensions, the number of drawers or compartments, and how big each opening is, so you know what you can fit inside.

Step 1: Unpack and Inspect
Start by taking everything out and checking the details.
- Count the drawers or doors. Most have 24 or 25, but check yours.
- Look at the numbers. Make sure they’re clear and in the right order.
- Test each drawer. Open and close them to make sure they slide smoothly.
- Check for assembly. Some calendars arrive ready, while others need a little putting together.
- Wipe it down. A soft, dry cloth removes dust and fingerprints.
If a drawer sticks, rub a little candle wax or a dry bar of soap along the edges to help it glide.
Step 2: Measure the Compartments
This is the step people skip, and then end up frustrated. Before you buy anything to put inside, measure the openings.
Use a ruler to note the width, height, and depth of the drawers. Write the dimensions down, or take a photo with a ruler for reference. Keep in mind that some drawers may be slightly different sizes.
Once you know the space, you’ll know what fits: small candies, tea bags, folded notes, tiny charms, or compact trinkets.
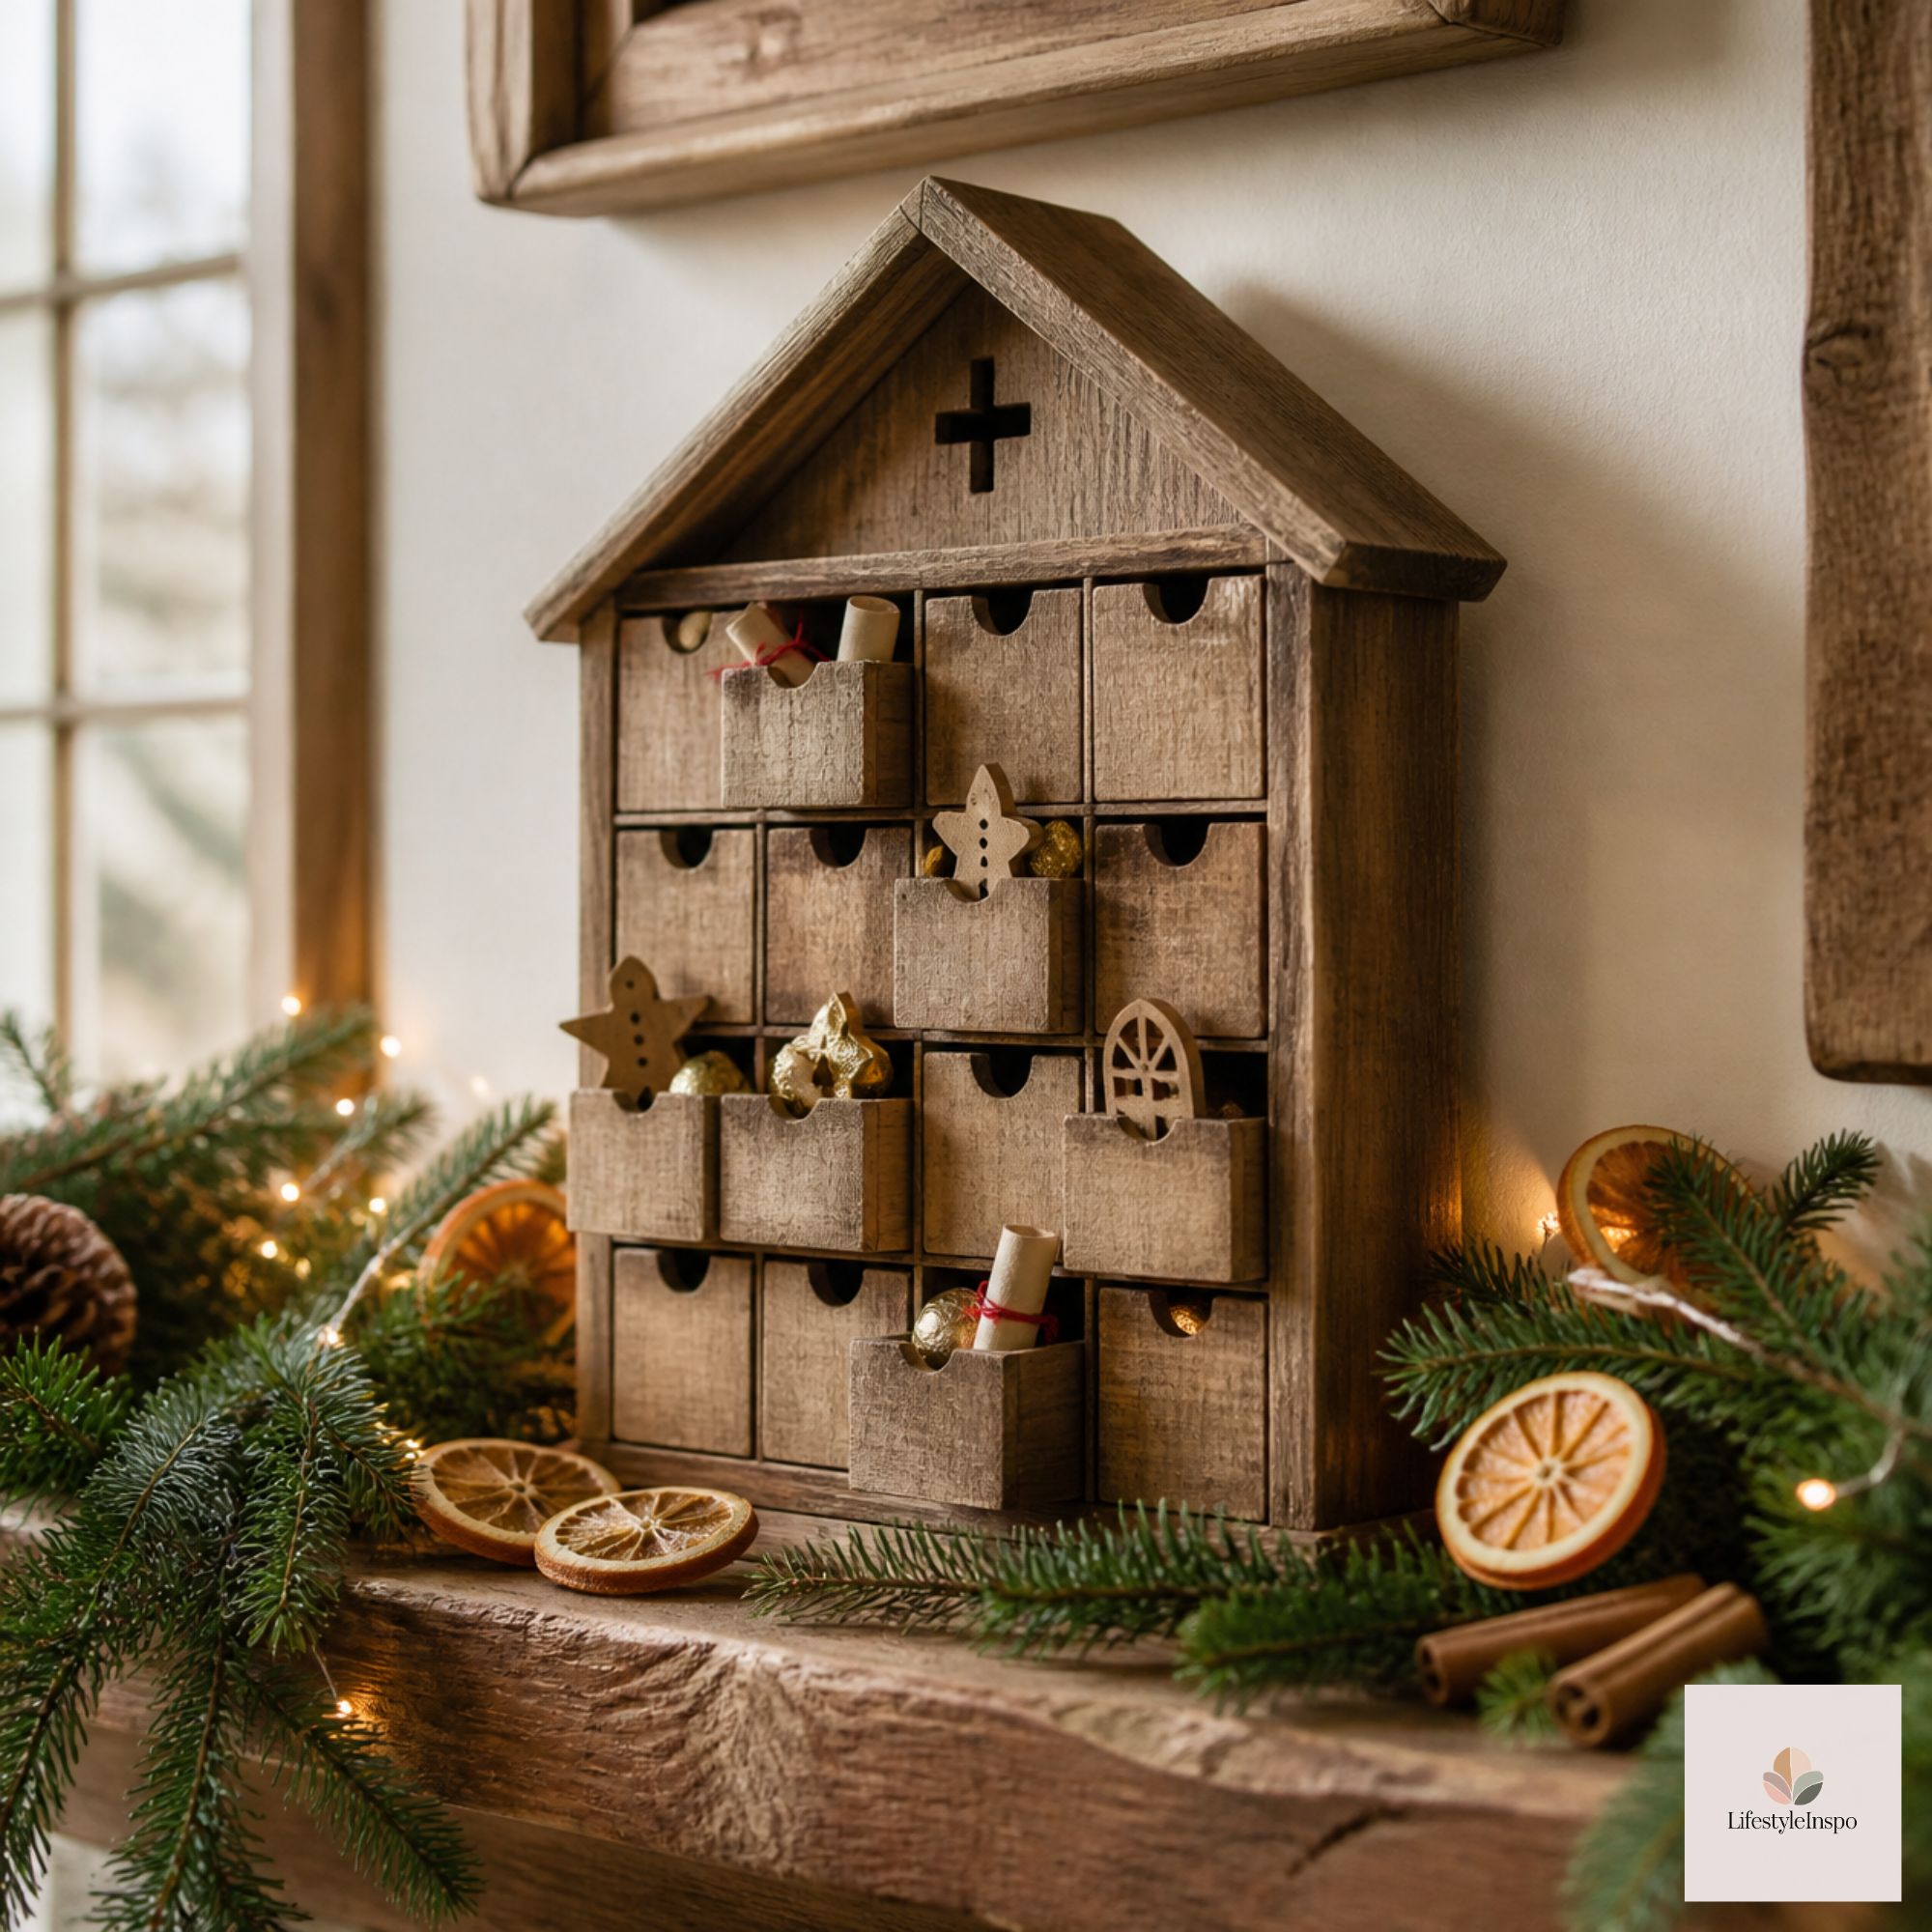
Step 3: Choose Your Theme
A theme makes filling the calendar easier and more meaningful. Here are some popular options.
- Sweet treats: chocolates, candies, and cookies
- Cozy night in: tea bags, cocoa packets, small candles, and notes
- Kindness challenge: little cards with acts of kindness
- Memory-making: activities and family traditions
- Self-care: lip balm, face mask samples, and affirmations
- Mini gifts: small ornaments, charms, or crafts
You can also mix themes. Maybe most days have a small treat, while every Sunday has a note with a special activity.
Step 4: Gather and Prep Your Fillers
Now you can shop or make your fillers. Here are some ideas that fit well into small drawers.
Edible Fillers
- Wrapped chocolates and truffles
- Candy canes (broken in half if needed)
- Tea bags and cocoa packets
- Nuts and dried fruit in mini bags
- Gum or mints
Non-Edible Fillers
- Folded notes and quotes
- Stickers and washi tape samples
- Small ornaments or charms
- Lip balm and hand cream samples
- Bookmarks
- Tiny candles or matches
Experience Fillers
- “Coupons” for a movie night, breakfast in bed, or a walk
- Activity cards, like “bake cookies together”
- Questions or prompts for conversation
A Christmas scented candle gift set can supply a few special-day treats, such as a mini candle tucked into a bigger drawer for a weekend night.
→ Shop it: Christmas scented candles gift set
Check the sizes in the listing before you plan to fit anything into a small drawer.
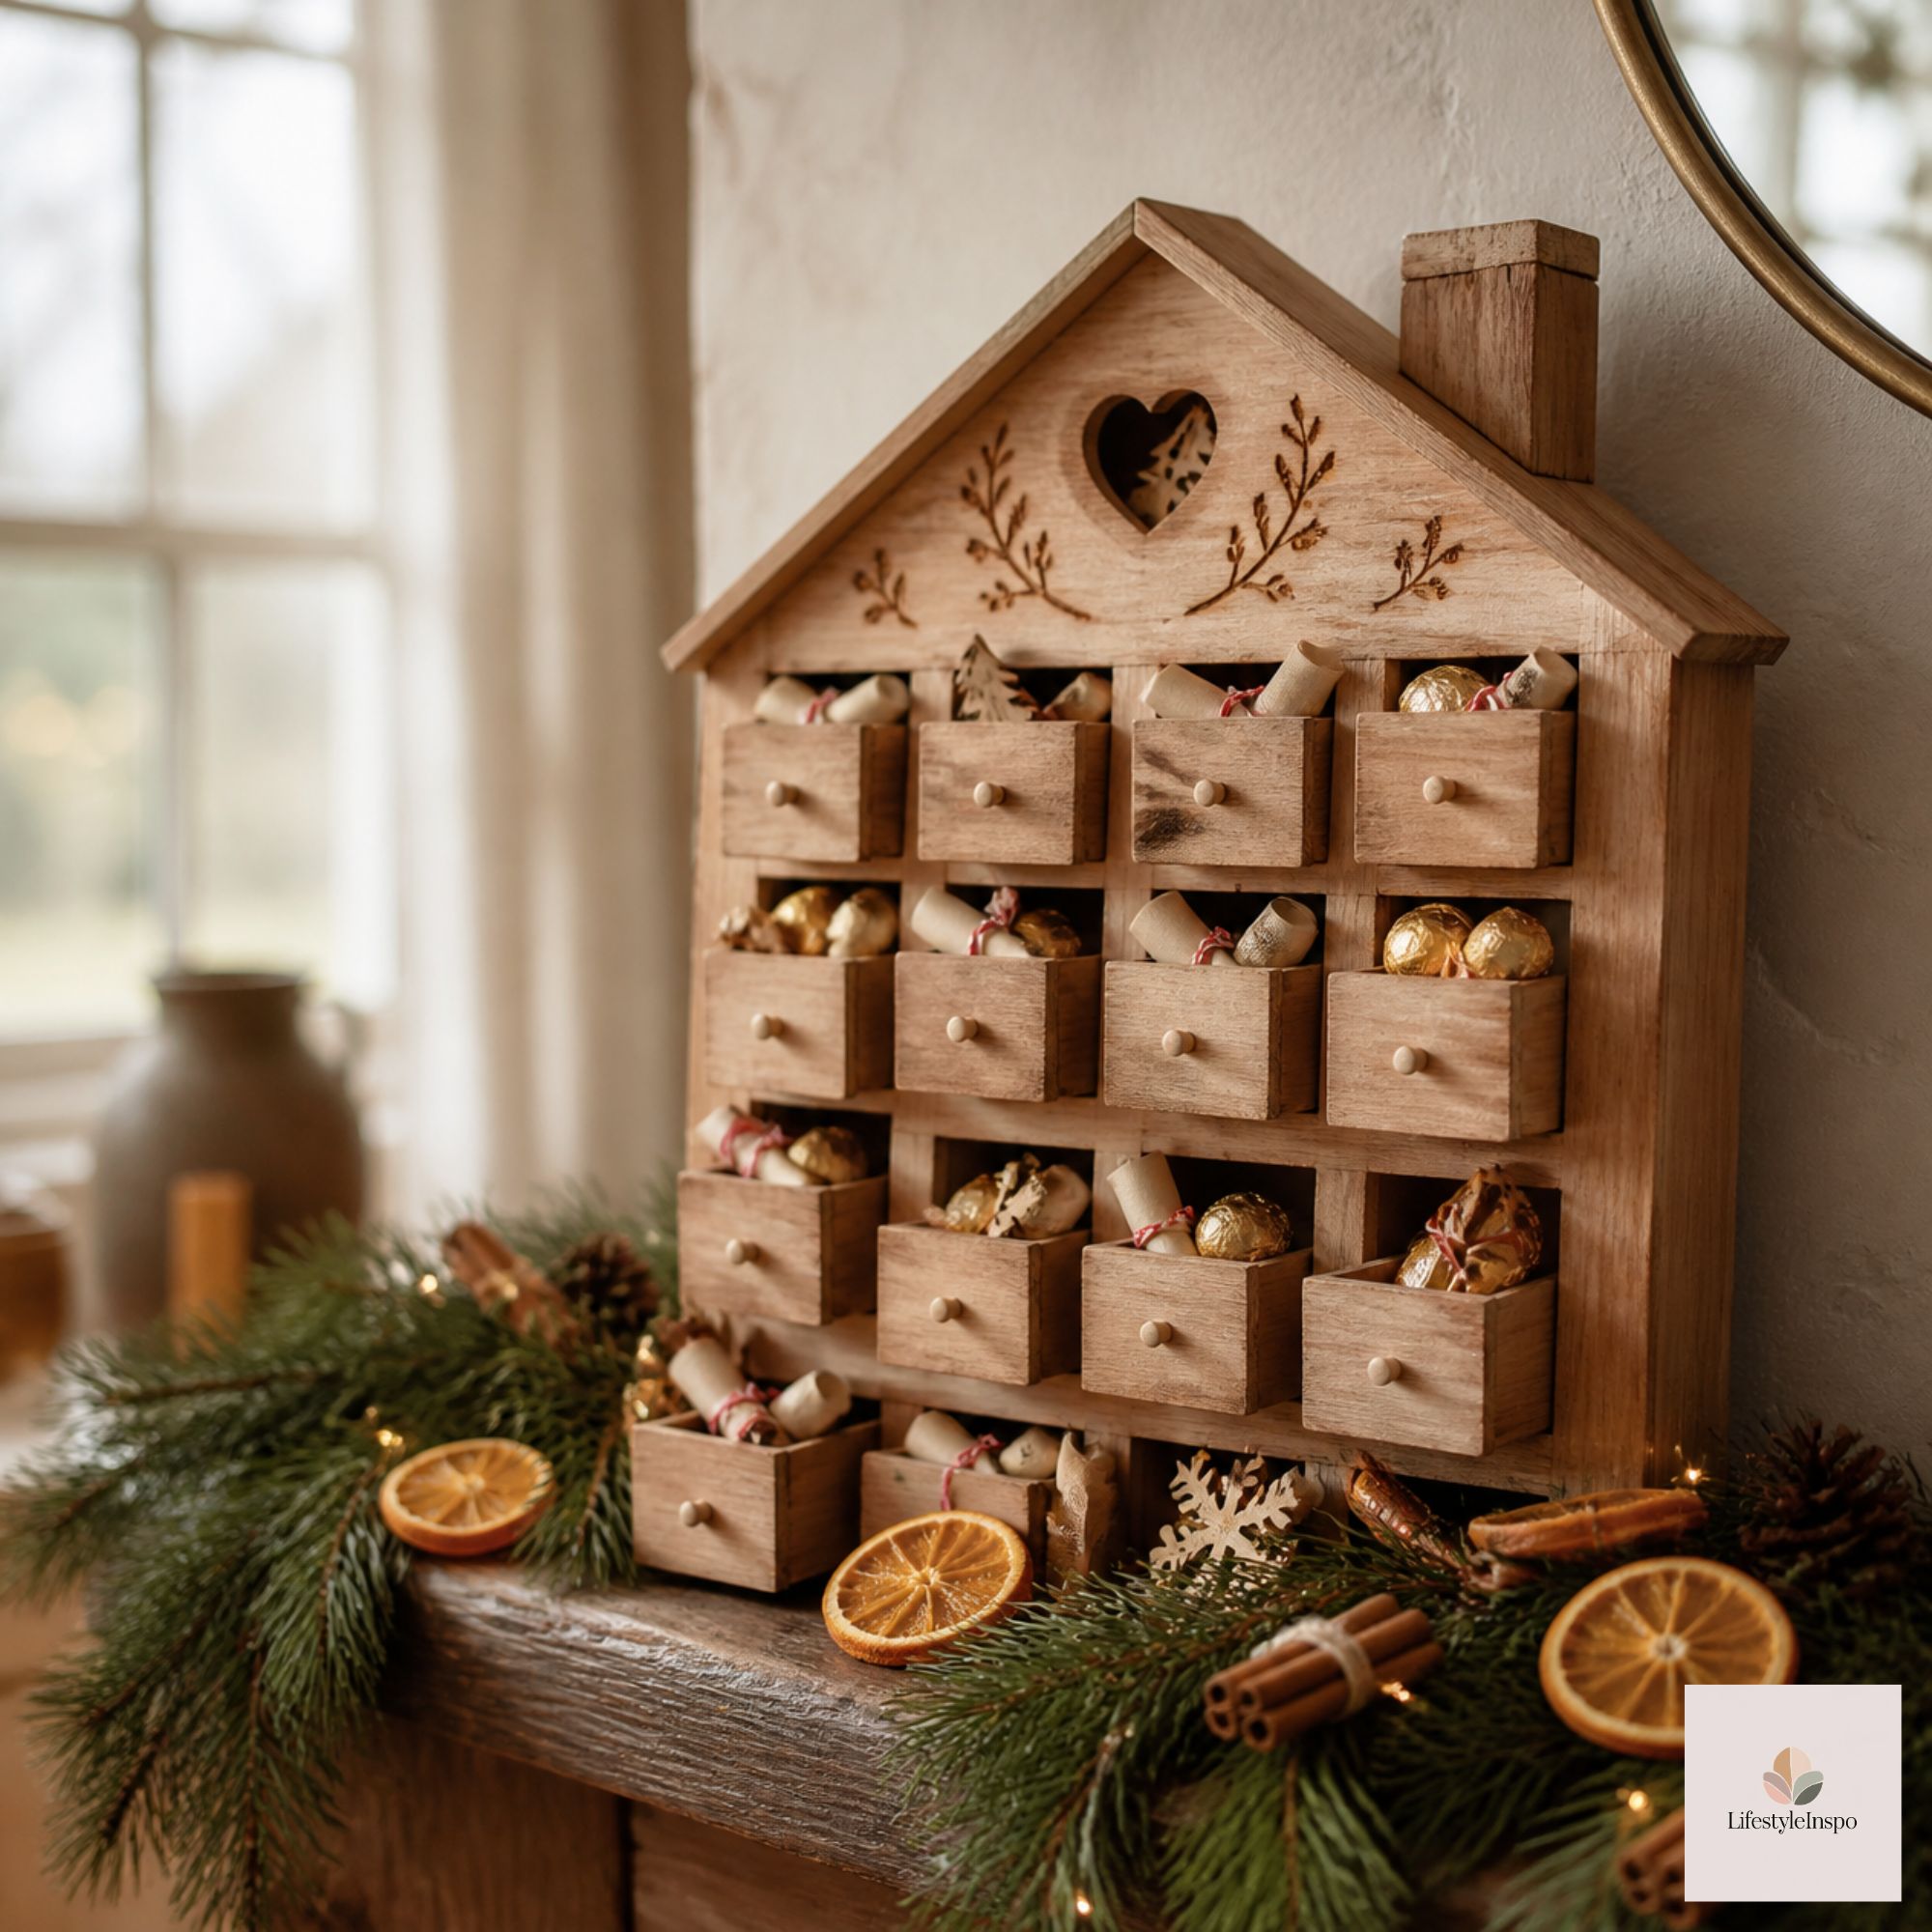
Step 5: Wrap and Number Everything
Small touches make your calendar feel like a collection of tiny gifts.
- Wrap items in tissue paper or small bags.
- Tie them with twine or ribbon.
- Add a number tag that matches each drawer.
- Keep similar items together to speed up filling.
Lay everything out on a table in order from 1 to 24. This makes the loading process fast, and it lets you spot any gaps before you fill the calendar.
Step 6: Load the Calendar
Fill the drawers in order, double-checking the numbers as you go.
- Start with day 1, and work your way up.
- Place each item flat so the drawer closes smoothly.
- Mix the sizes so a few special days stand out.
- Save the best surprise for day 24.
- Close each drawer and give the calendar a gentle test.
If you’re giving the calendar as a gift, add a small note on the top explaining the theme, or include a little “key” with a hint for each day.
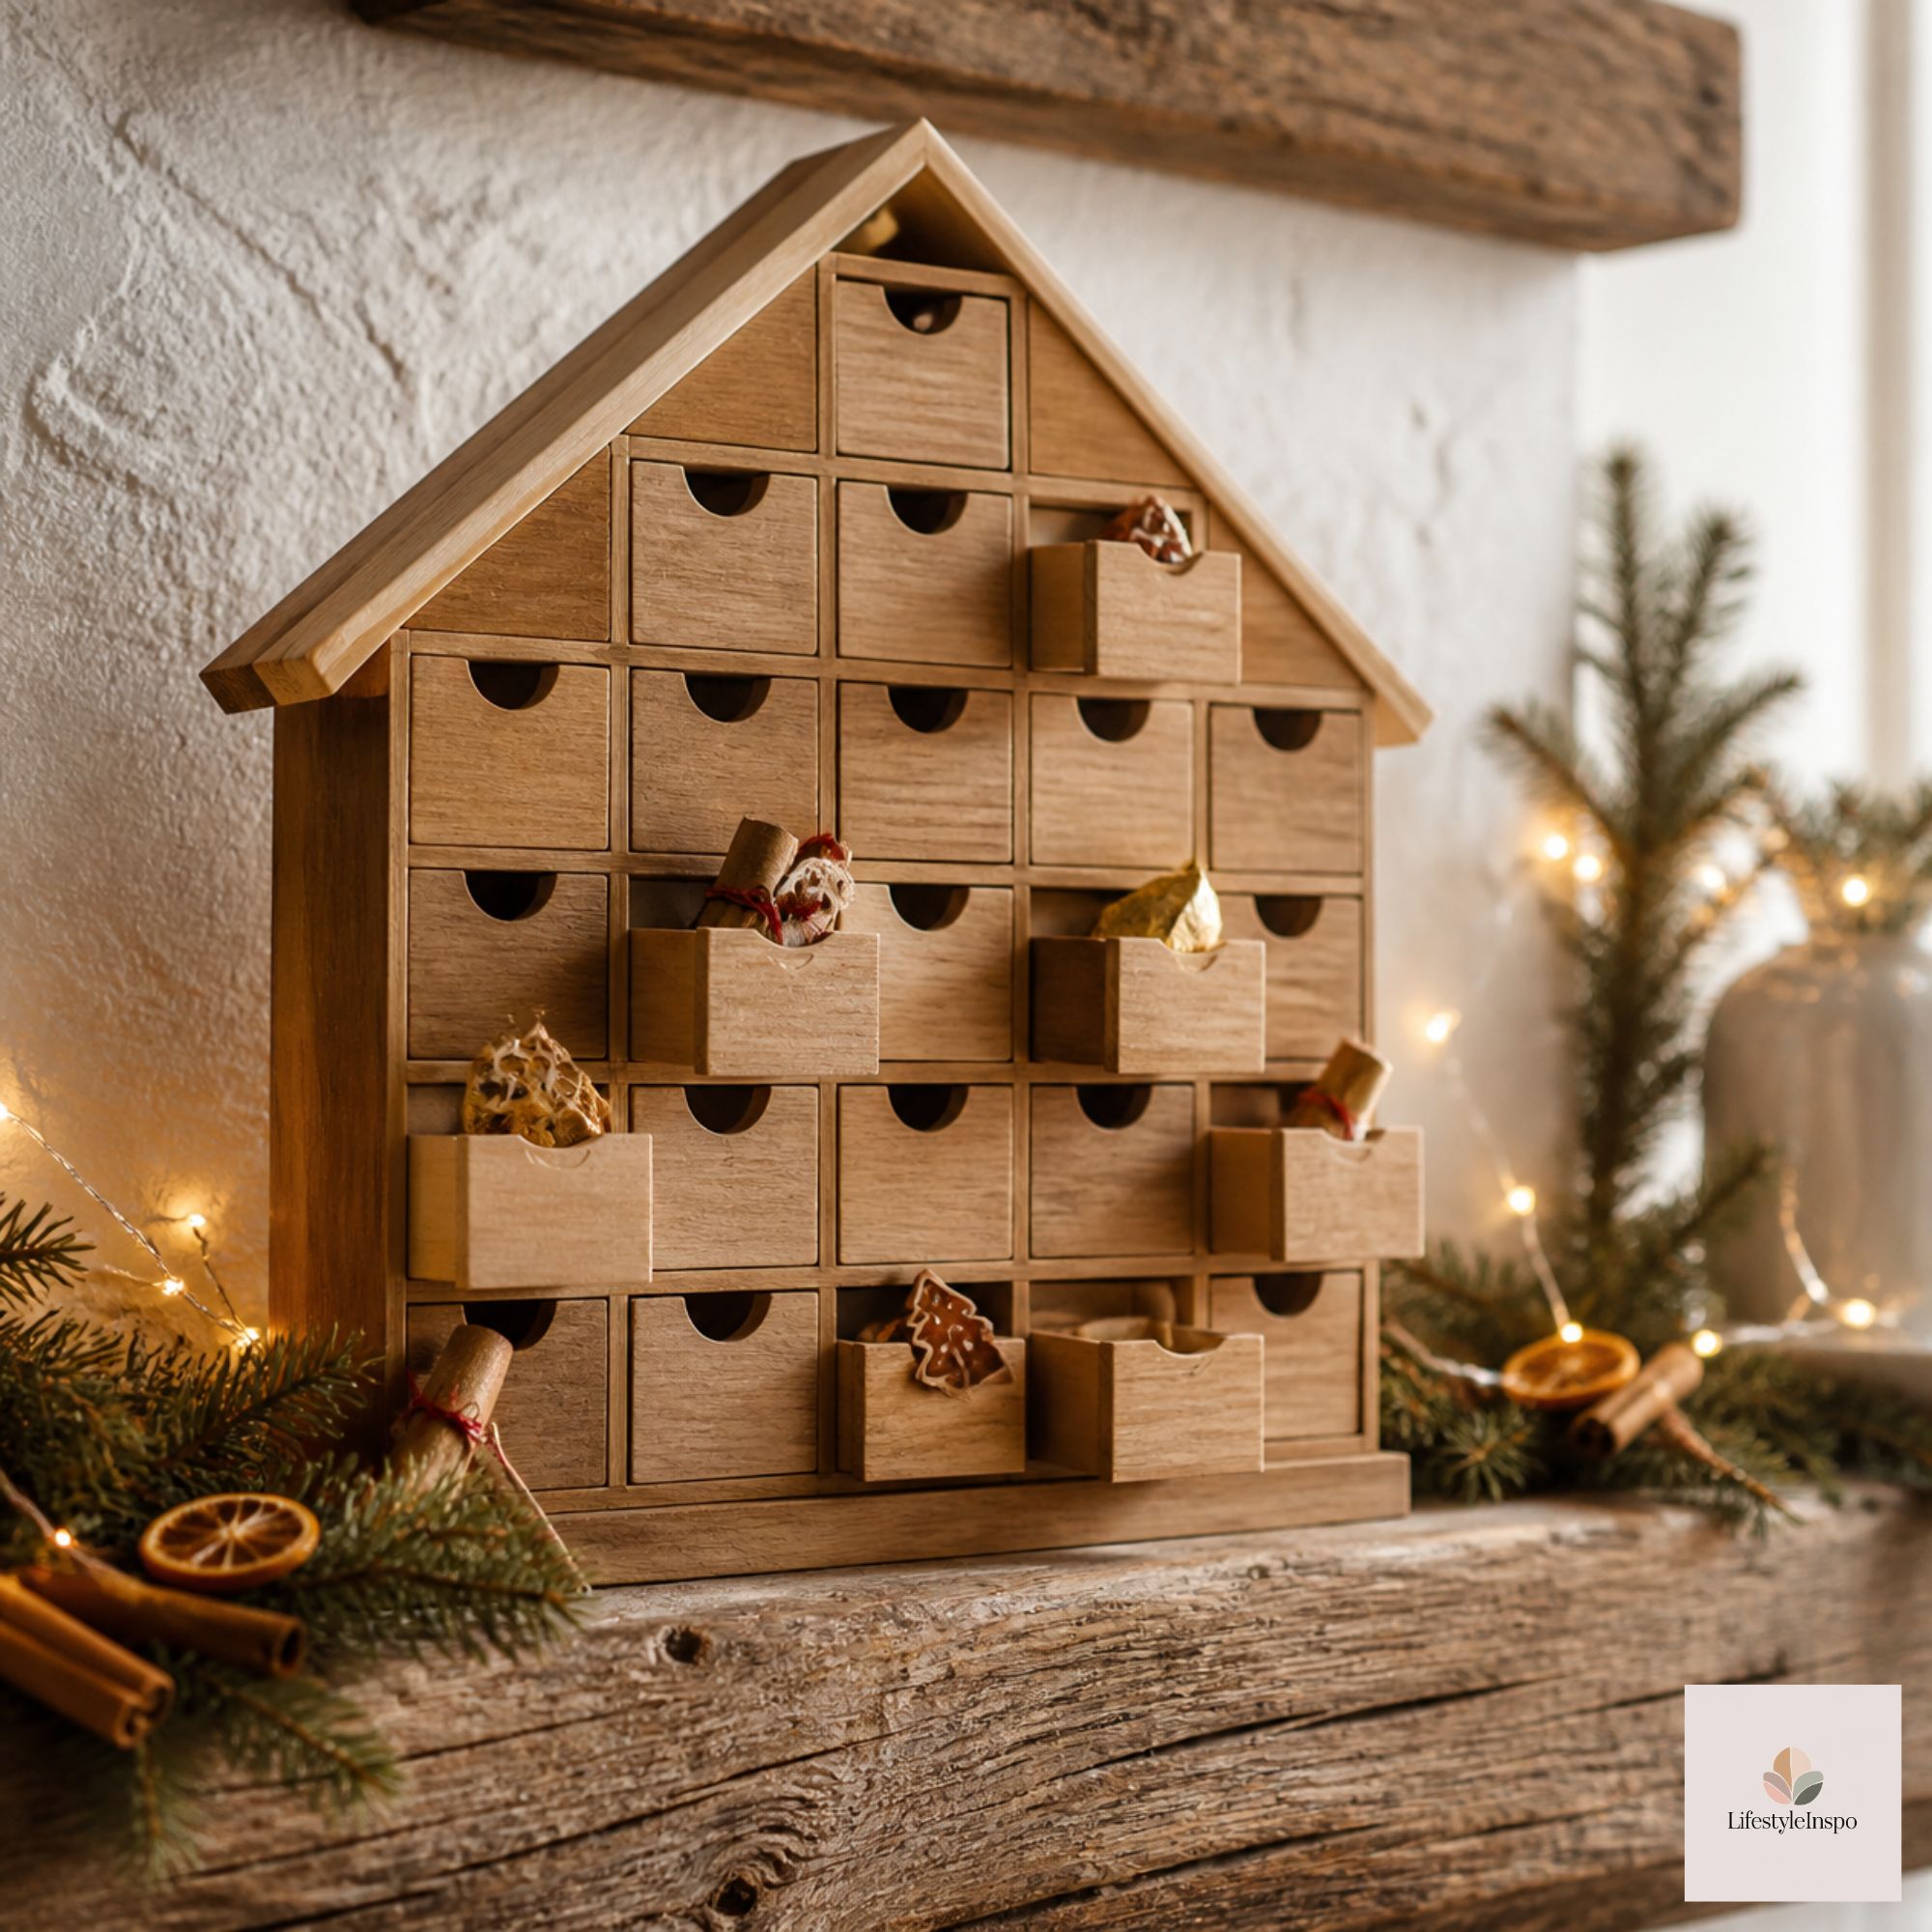
Step 7: Style It as Decor
A wooden advent calendar is a beautiful decorative piece. Treat it like part of your styling.
- On a shelf or console: Place it as a centerpiece, with candles and greenery on the sides.
- On a mantel: Prop it among garlands and stockings.
- On a kitchen counter: Make it part of your morning routine.
- On a coffee table: Let everyone open it together.
Add a few charming accents, like a pair of Christmas gnomes beside it, a small garland, or a strand of fairy lights. It becomes a little holiday vignette that people enjoy walking past.
→ Shop it: Christmas gnomes plush decor
Step 8: Build a Daily Ritual
The magic of an advent calendar is in the habit, so make the daily opening feel special.
- Pick a time. Morning with coffee, or evening before bed.
- Make it a moment. Light a candle, put on a playlist, or pause for a deep breath.
- Share it. Take turns opening drawers if you’re a couple or family.
- Reflect. Take a minute to appreciate the day’s surprise.
- Take a photo every few days to remember the season.
Keep it short and joyful. The point isn’t to add one more task to your list, but to give yourself a little moment of delight.

What If You Forget to Open a Day?
It happens to everyone. If you miss a day:
- Open two the next day. Nobody’s counting.
- Skip it. Open the missed item at the end of the month.
- Save it for a “bonus day.” Make it an extra surprise on December 25.
The calendar is meant to be a source of joy, not stress, so be flexible and kind to yourself.
How to Store and Reuse Your Calendar
A little care now will keep your calendar in great shape for years.
- Empty every drawer and remove all wrappers.
- Wipe it down with a soft, dry cloth.
- Store it flat or upright in a cool, dry place.
- Keep it away from moisture and direct sunlight, which can warp or fade the wood.
- Wrap it in a soft cloth or bag to protect against dust.
- Make notes for next year, like what worked and what you’d change.
Next December, you can pull it out, fill it with a new theme, and start the tradition again.

Wooden Advent Calendar Mistakes to Avoid
- Overfilling the drawers. They may jam or break.
- Using items that melt. Chocolate can melt if the calendar sits near heat.
- Skipping the measurements. Always check sizes before you buy fillers.
- Waiting until December 1 to start. Prepare a week or two ahead.
- Forgetting about allergies. Check ingredients if you’re filling it for someone else.
How to Use a Wooden Advent Calendar FAQ
How do I fill a wooden advent calendar?
Measure the drawers, choose a theme, gather small items, wrap them, and place them in order from 1 to 24. Add a few special surprises for weekends or milestone days.
What are good fillers for small drawers?
Wrapped chocolates, tea bags, folded notes, stickers, charms, and lip balm are all compact and fit well.
Can I use a wooden advent calendar every year?
Yes. That’s its biggest advantage. Refill it each December with a new theme or the same favorites.
How do I display an advent calendar?
Place it on a shelf, mantel, console table, or kitchen counter, and style it with greenery, candles, or small decorations.

Final Thoughts
A wooden advent calendar is more than a countdown. It’s a daily pause in a busy month, a small ritual that builds anticipation and connection, and a keepsake that gets better with every year.
Choose a theme, fill it with care, and let each little drawer be a reason to smile. Save this guide for your setup day, or share it with someone who’s about to open their first calendar.
About the Author