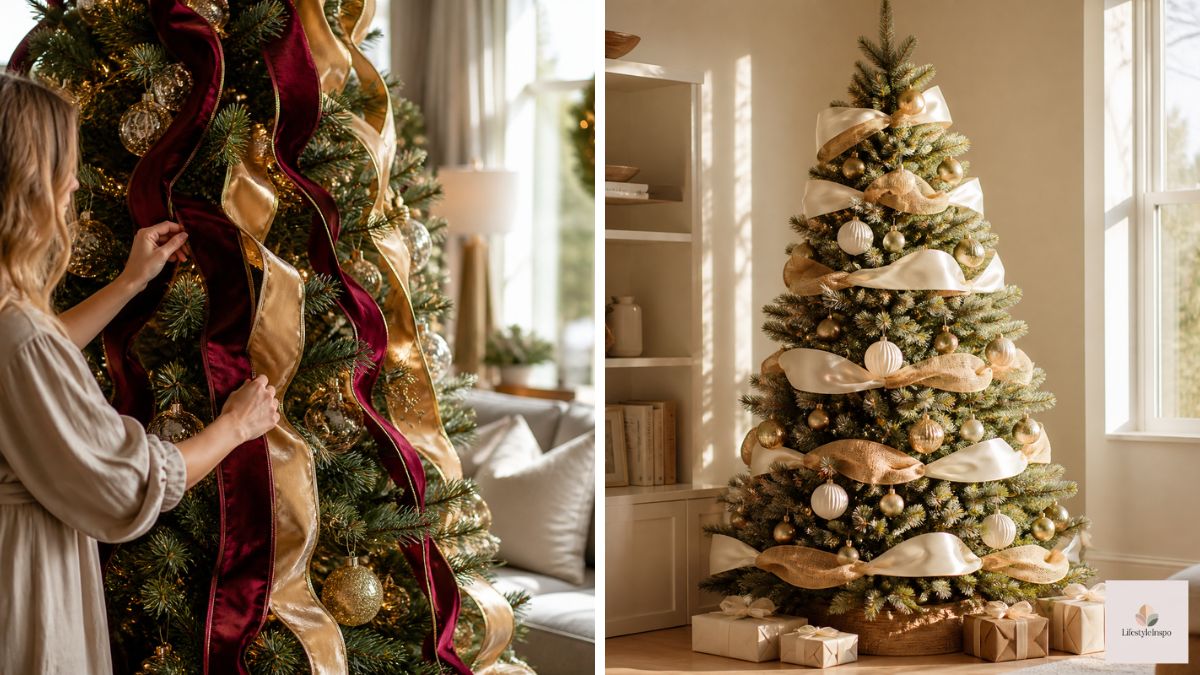
How to Put Ribbon on a Christmas Tree (3 Easy Methods)
If you’ve ever stared at a magazine-worthy Christmas tree and thought, “What is it about that tree?”, the answer is often ribbon. It’s the detail that makes a tree look finished. Lights give it glow, ornaments give it sparkle, but ribbon gives it flow: those soft, billowing loops that make the whole tree look layered, rich, and professionally styled.
The problem? Ribbon can be intimidating. It slides off the branches. It bunches up on one side. It somehow runs out two-thirds of the way down. And the tutorial videos make it look so effortless.
The good news is that putting ribbon on a tree is much easier than it looks, once you know the method. This guide on how to put ribbon on a Christmas tree covers three simple techniques, how much ribbon you need, and the little tricks that make the difference.
Why Ribbon Makes Such a Difference
Before we get into the how, here’s why ribbon deserves a spot on your tree.
- It adds texture. Ornaments are smooth and shiny. Ribbon adds softness and movement.
- It fills gaps. If your tree has bare spots, ribbon covers them beautifully.
- It adds color without clutter. A single ribbon color can tie your whole palette together.
- It creates direction. Flowing ribbon leads the eye around the tree.
- It makes the tree look fuller. Loops of ribbon add visual volume.
If you only add one thing to your tree beyond lights and ornaments, make it ribbon.
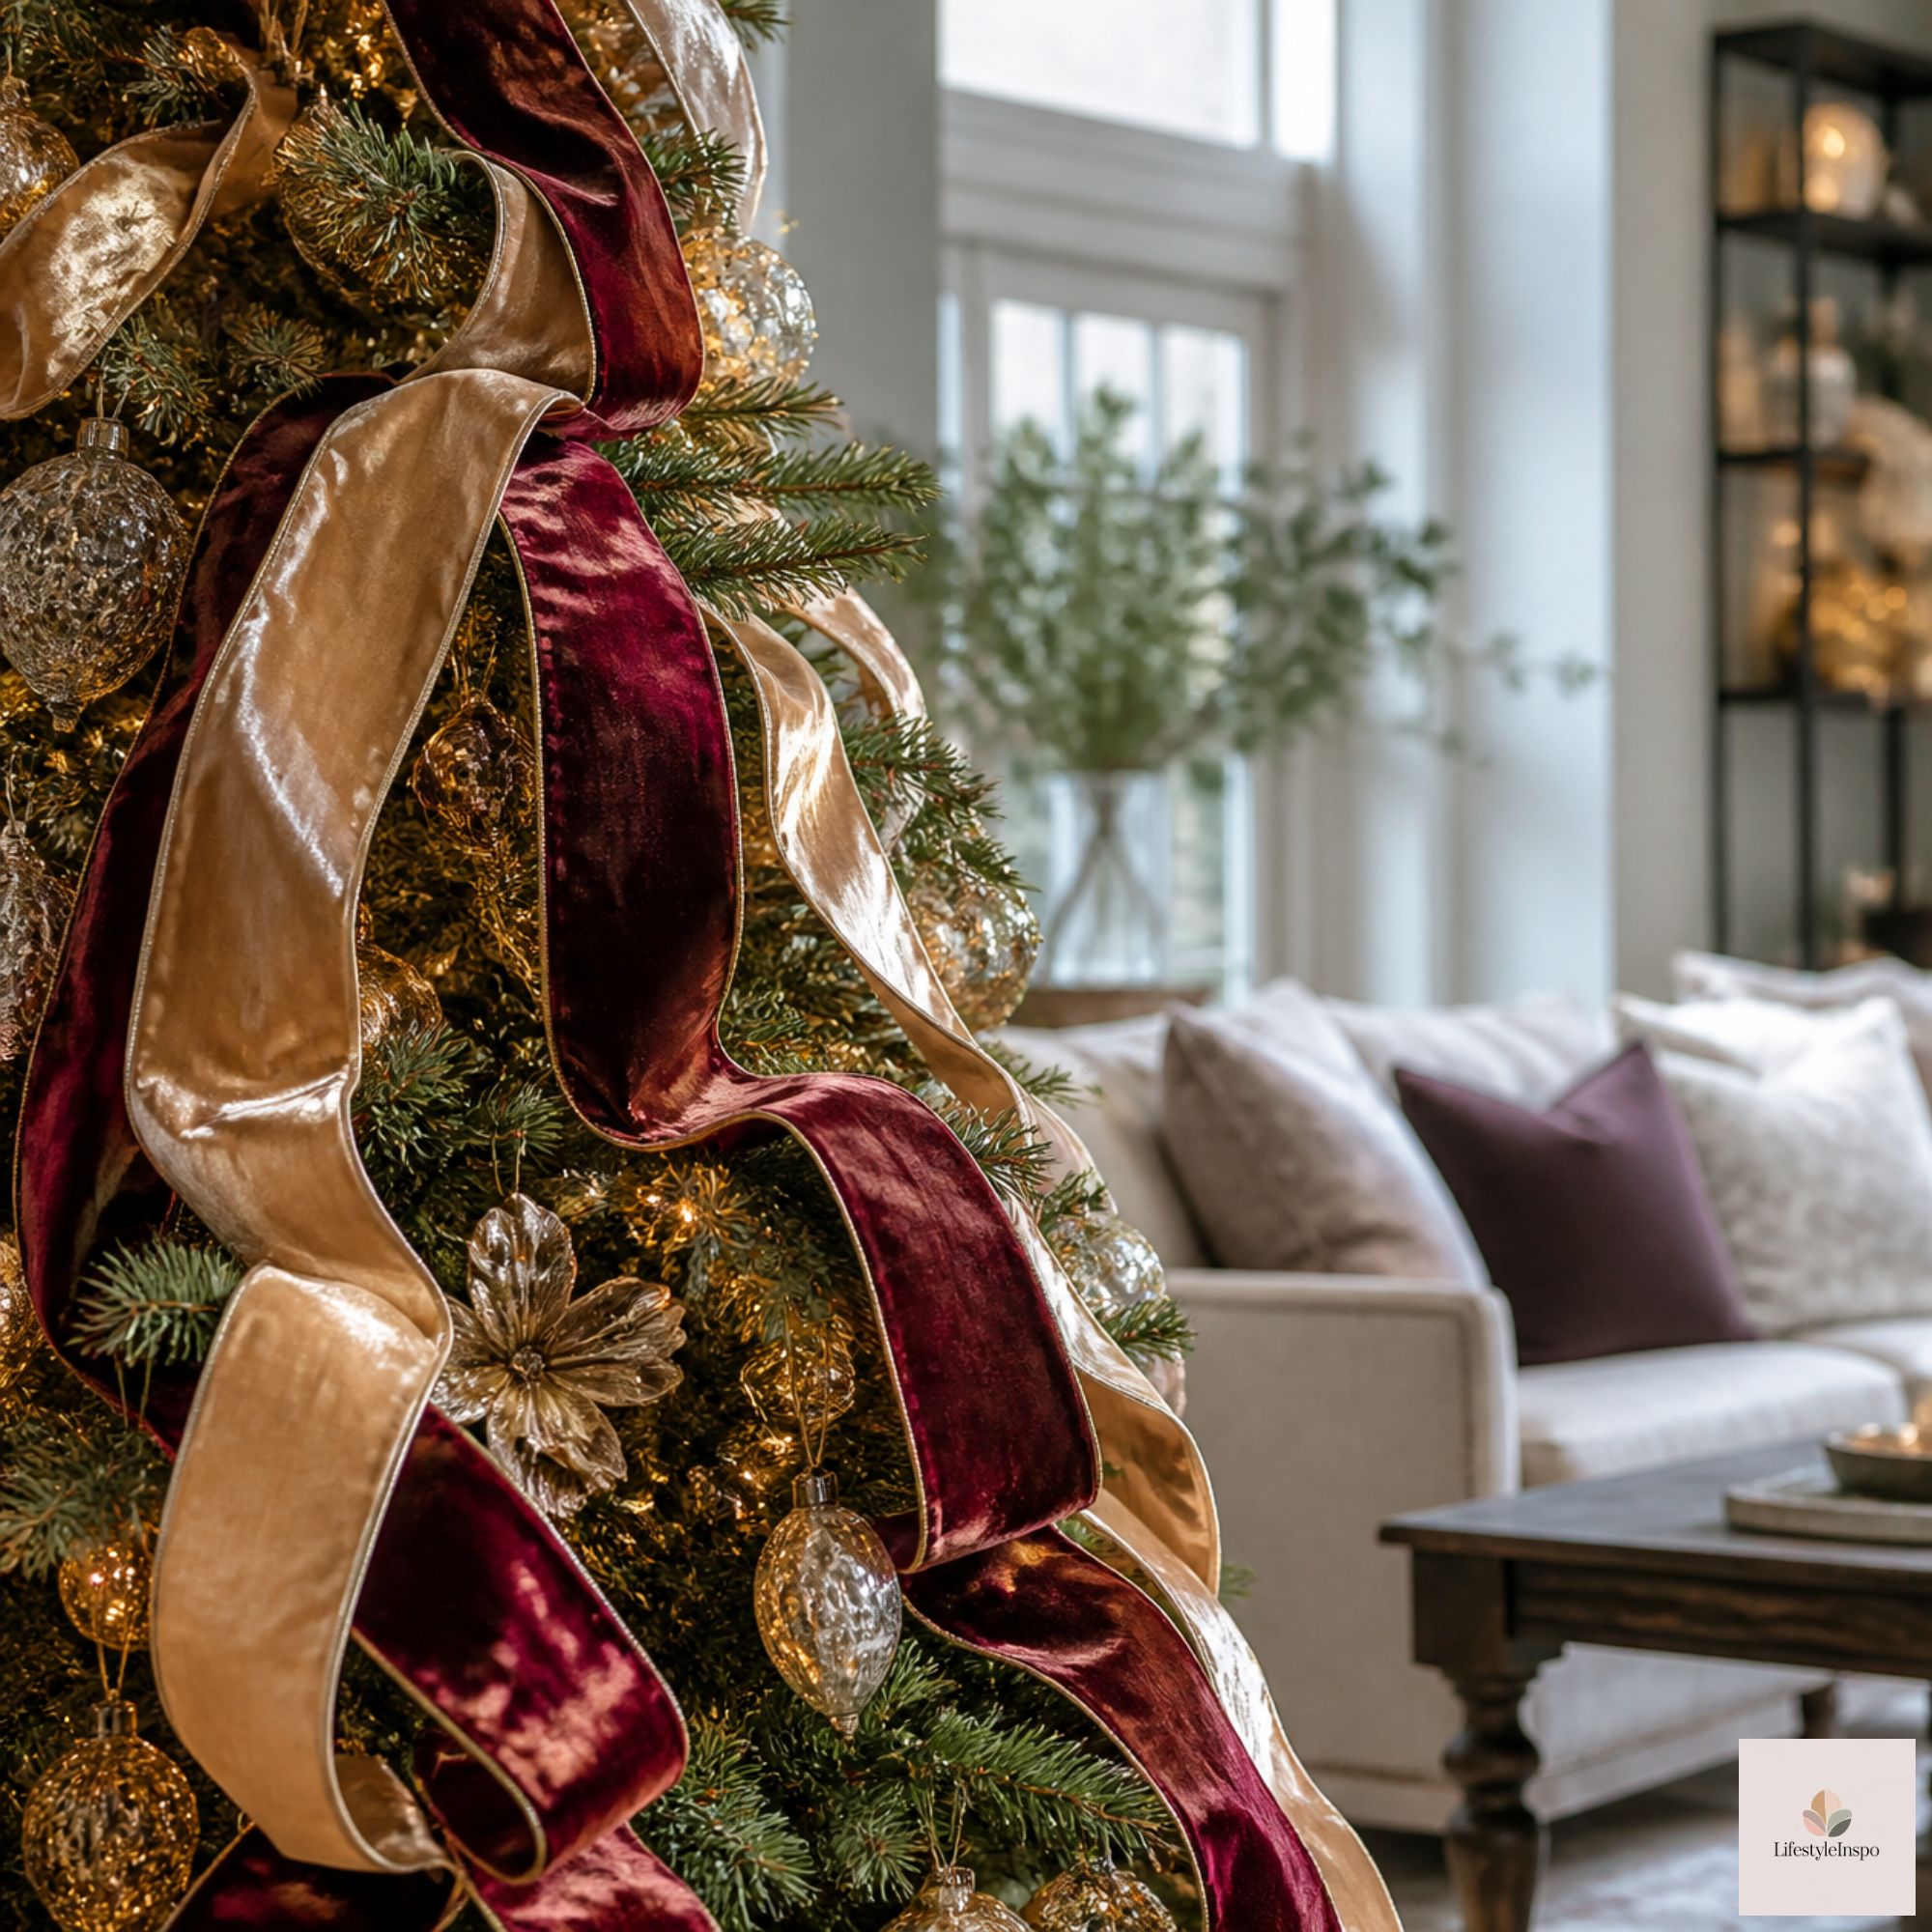
Step 1: Choose the Right Ribbon
Not all ribbon behaves the same way on a tree, so choose carefully.
Wired vs Unwired
Wired ribbon has thin wire along the edges. It holds its shape, stays put on branches, and makes fuller loops. For trees, wired is almost always the better choice.
Width
A width of about 2.5 inches is the most popular for trees. It’s wide enough to make an impact, but not so wide that it overwhelms the branches. For a small tree, go a bit narrower, and for a big tree, a bit wider.
Texture and Color
Choose a texture that suits your style: burlap for rustic, velvet for traditional, satin for glam, and plaid for cozy. Match the color to your ornaments, or choose a contrasting shade for a bold look.
A roll of burlap Christmas tree ribbon is a classic, versatile pick. It’s soft and textured, and it works with red, gold, white, and natural palettes. Check the listing for the width, length, and whether it’s wired, so you know how it will behave on your tree.
→ Shop it: Burlap Christmas tree ribbon
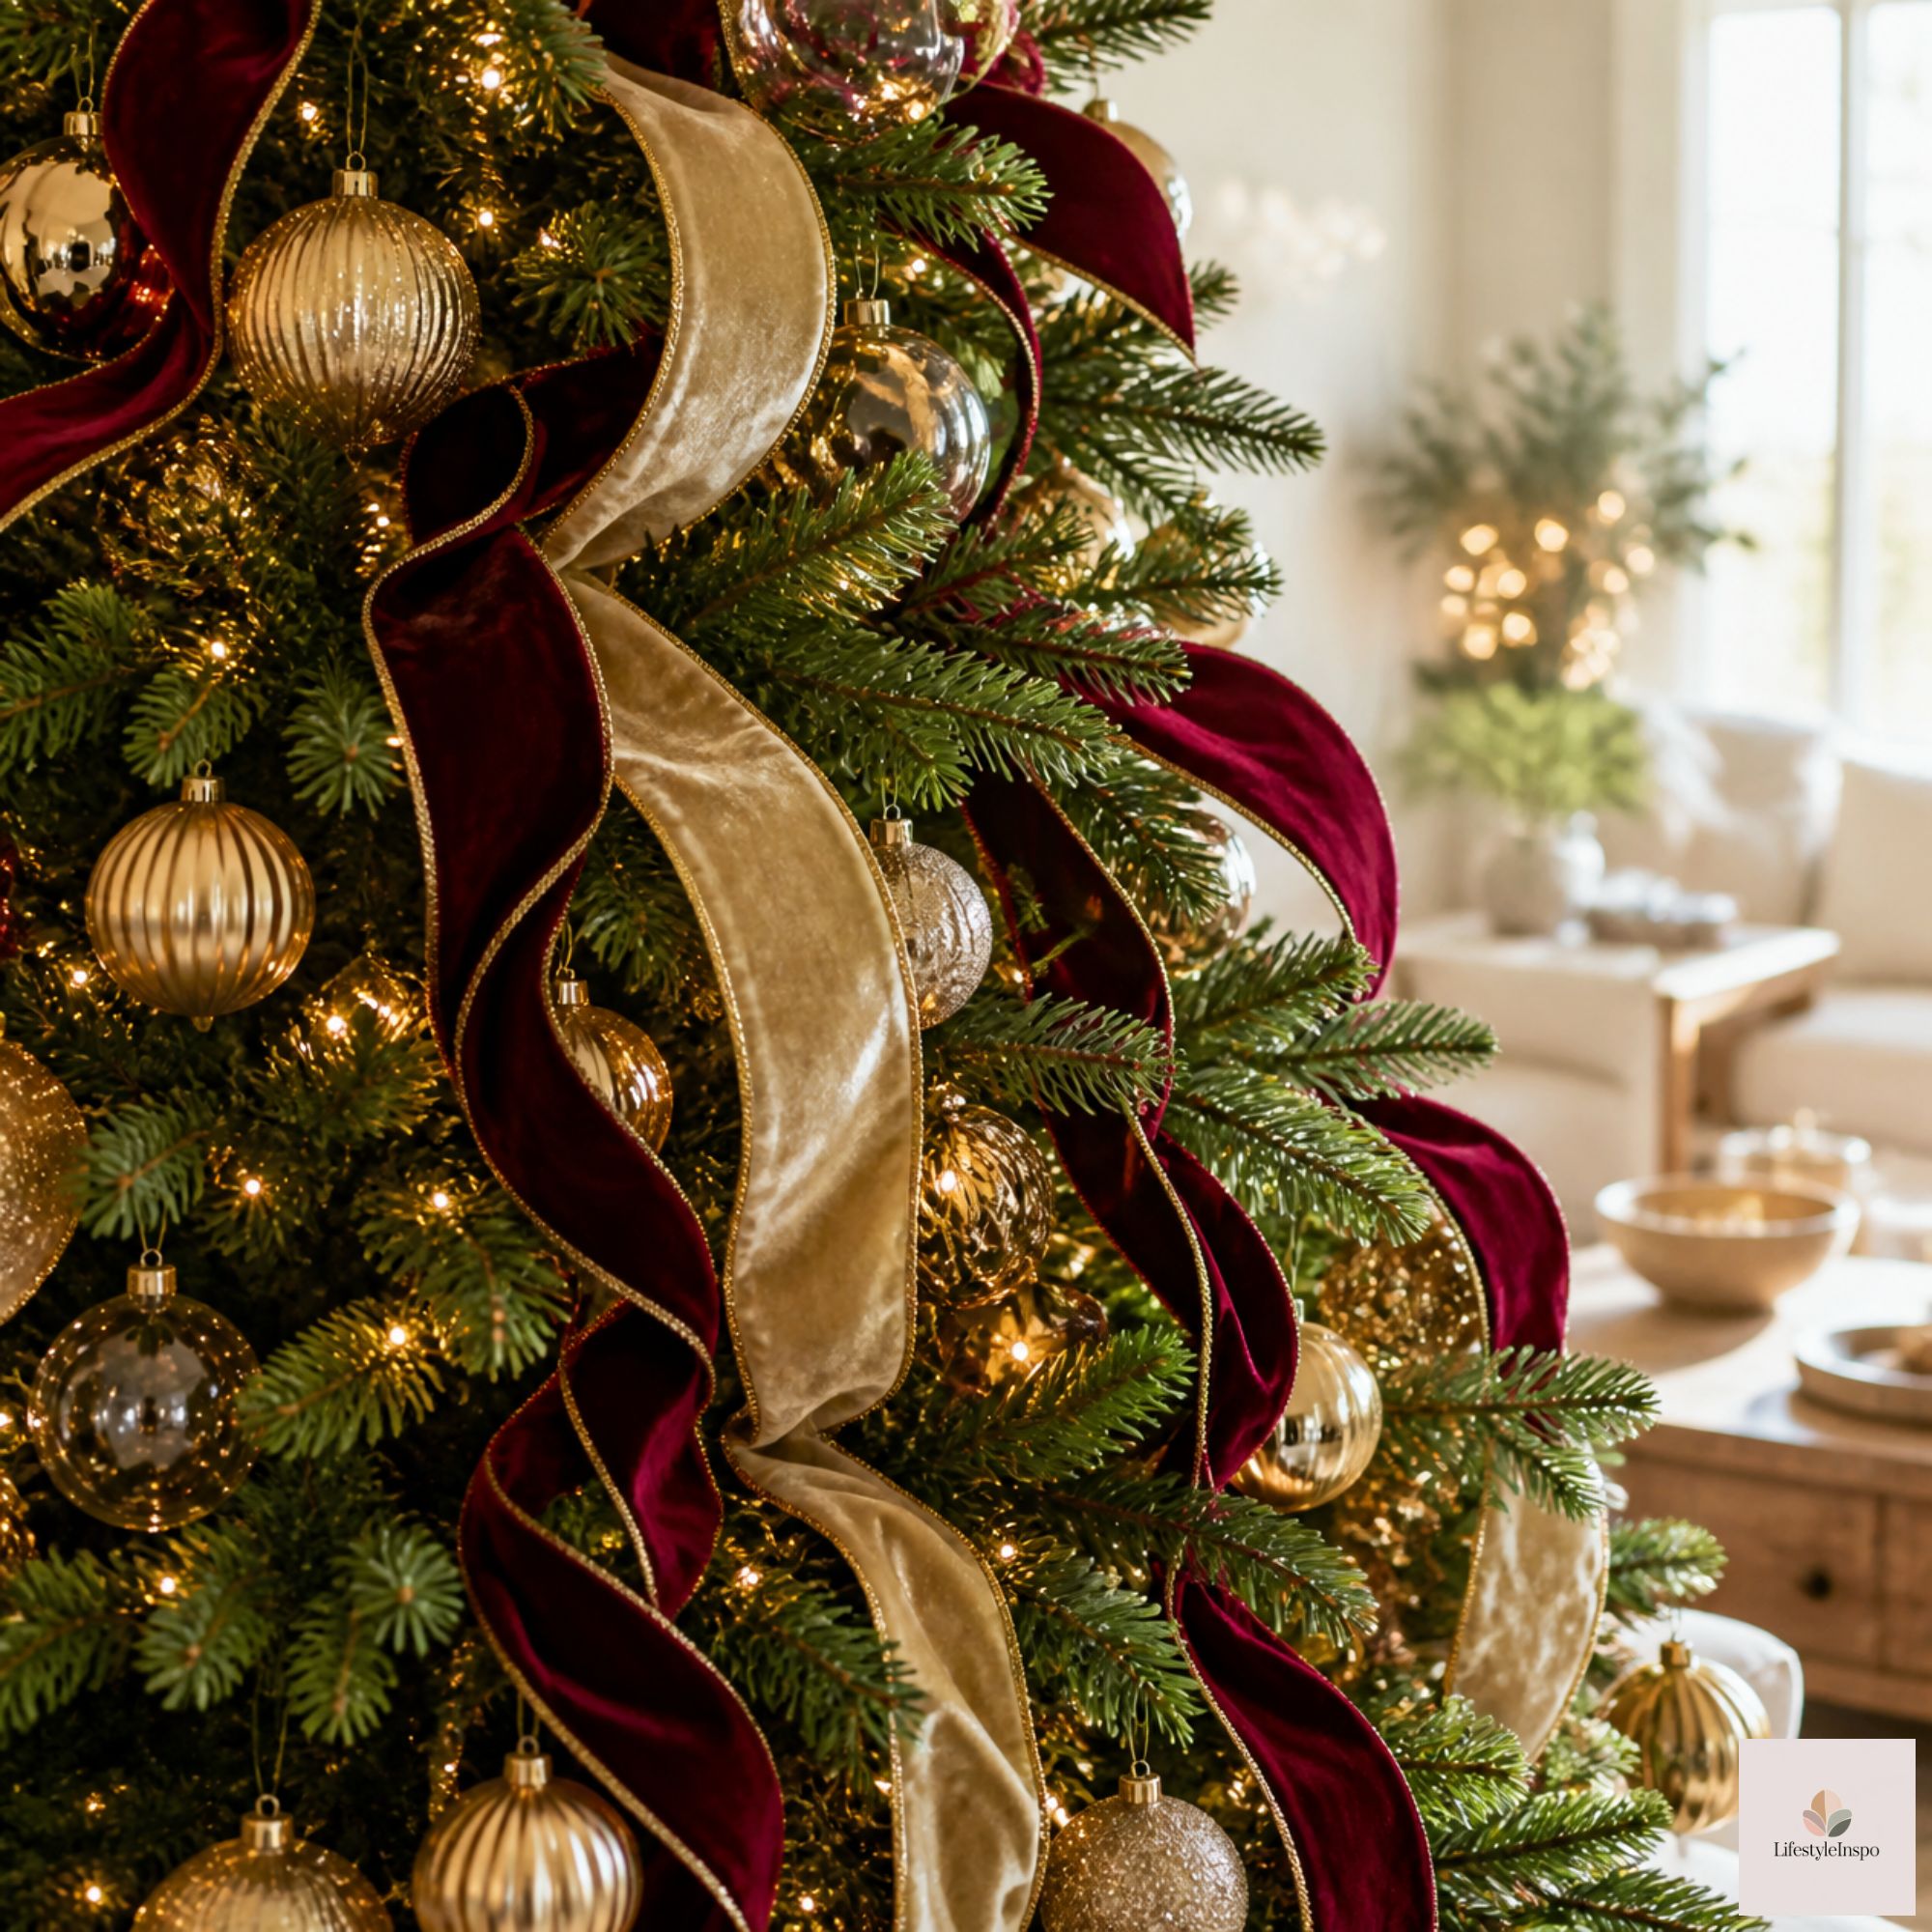
Step 2: Figure Out How Much Ribbon You Need
Nothing is more frustrating than running out of ribbon halfway down. Use this guideline to estimate.
- For a cascade or swag look: about 3 yards of ribbon per foot of tree height
- For a puff or billow look: about 4 to 5 yards per foot of tree height
- For a woven look: about 2 yards per foot
So for a 7-foot tree, a cascade look might use around 21 yards, while a puffy look could use 28 to 35 yards. If your tree is very full or wide, add more.
When in doubt, buy extra. You can always use leftover ribbon on a wreath, a garland, or gift wrapping.
Step 3: Prep the Tree First
Ribbon looks best when the tree is ready for it. Before you add ribbon:
- Fluff every branch. A full tree holds ribbon better.
- Add the lights. Lights should go on before ribbon, so you can tuck the ribbon around them.
- Leave ornaments for after. Add ribbon first, then ornaments, so the ornaments can hold the ribbon in place.
A pre-lit artificial Christmas tree makes this easier, since the lights are already in place and evenly spaced. You can go straight to ribbon after fluffing.
→ Shop it: Pre-lit artificial Christmas tree
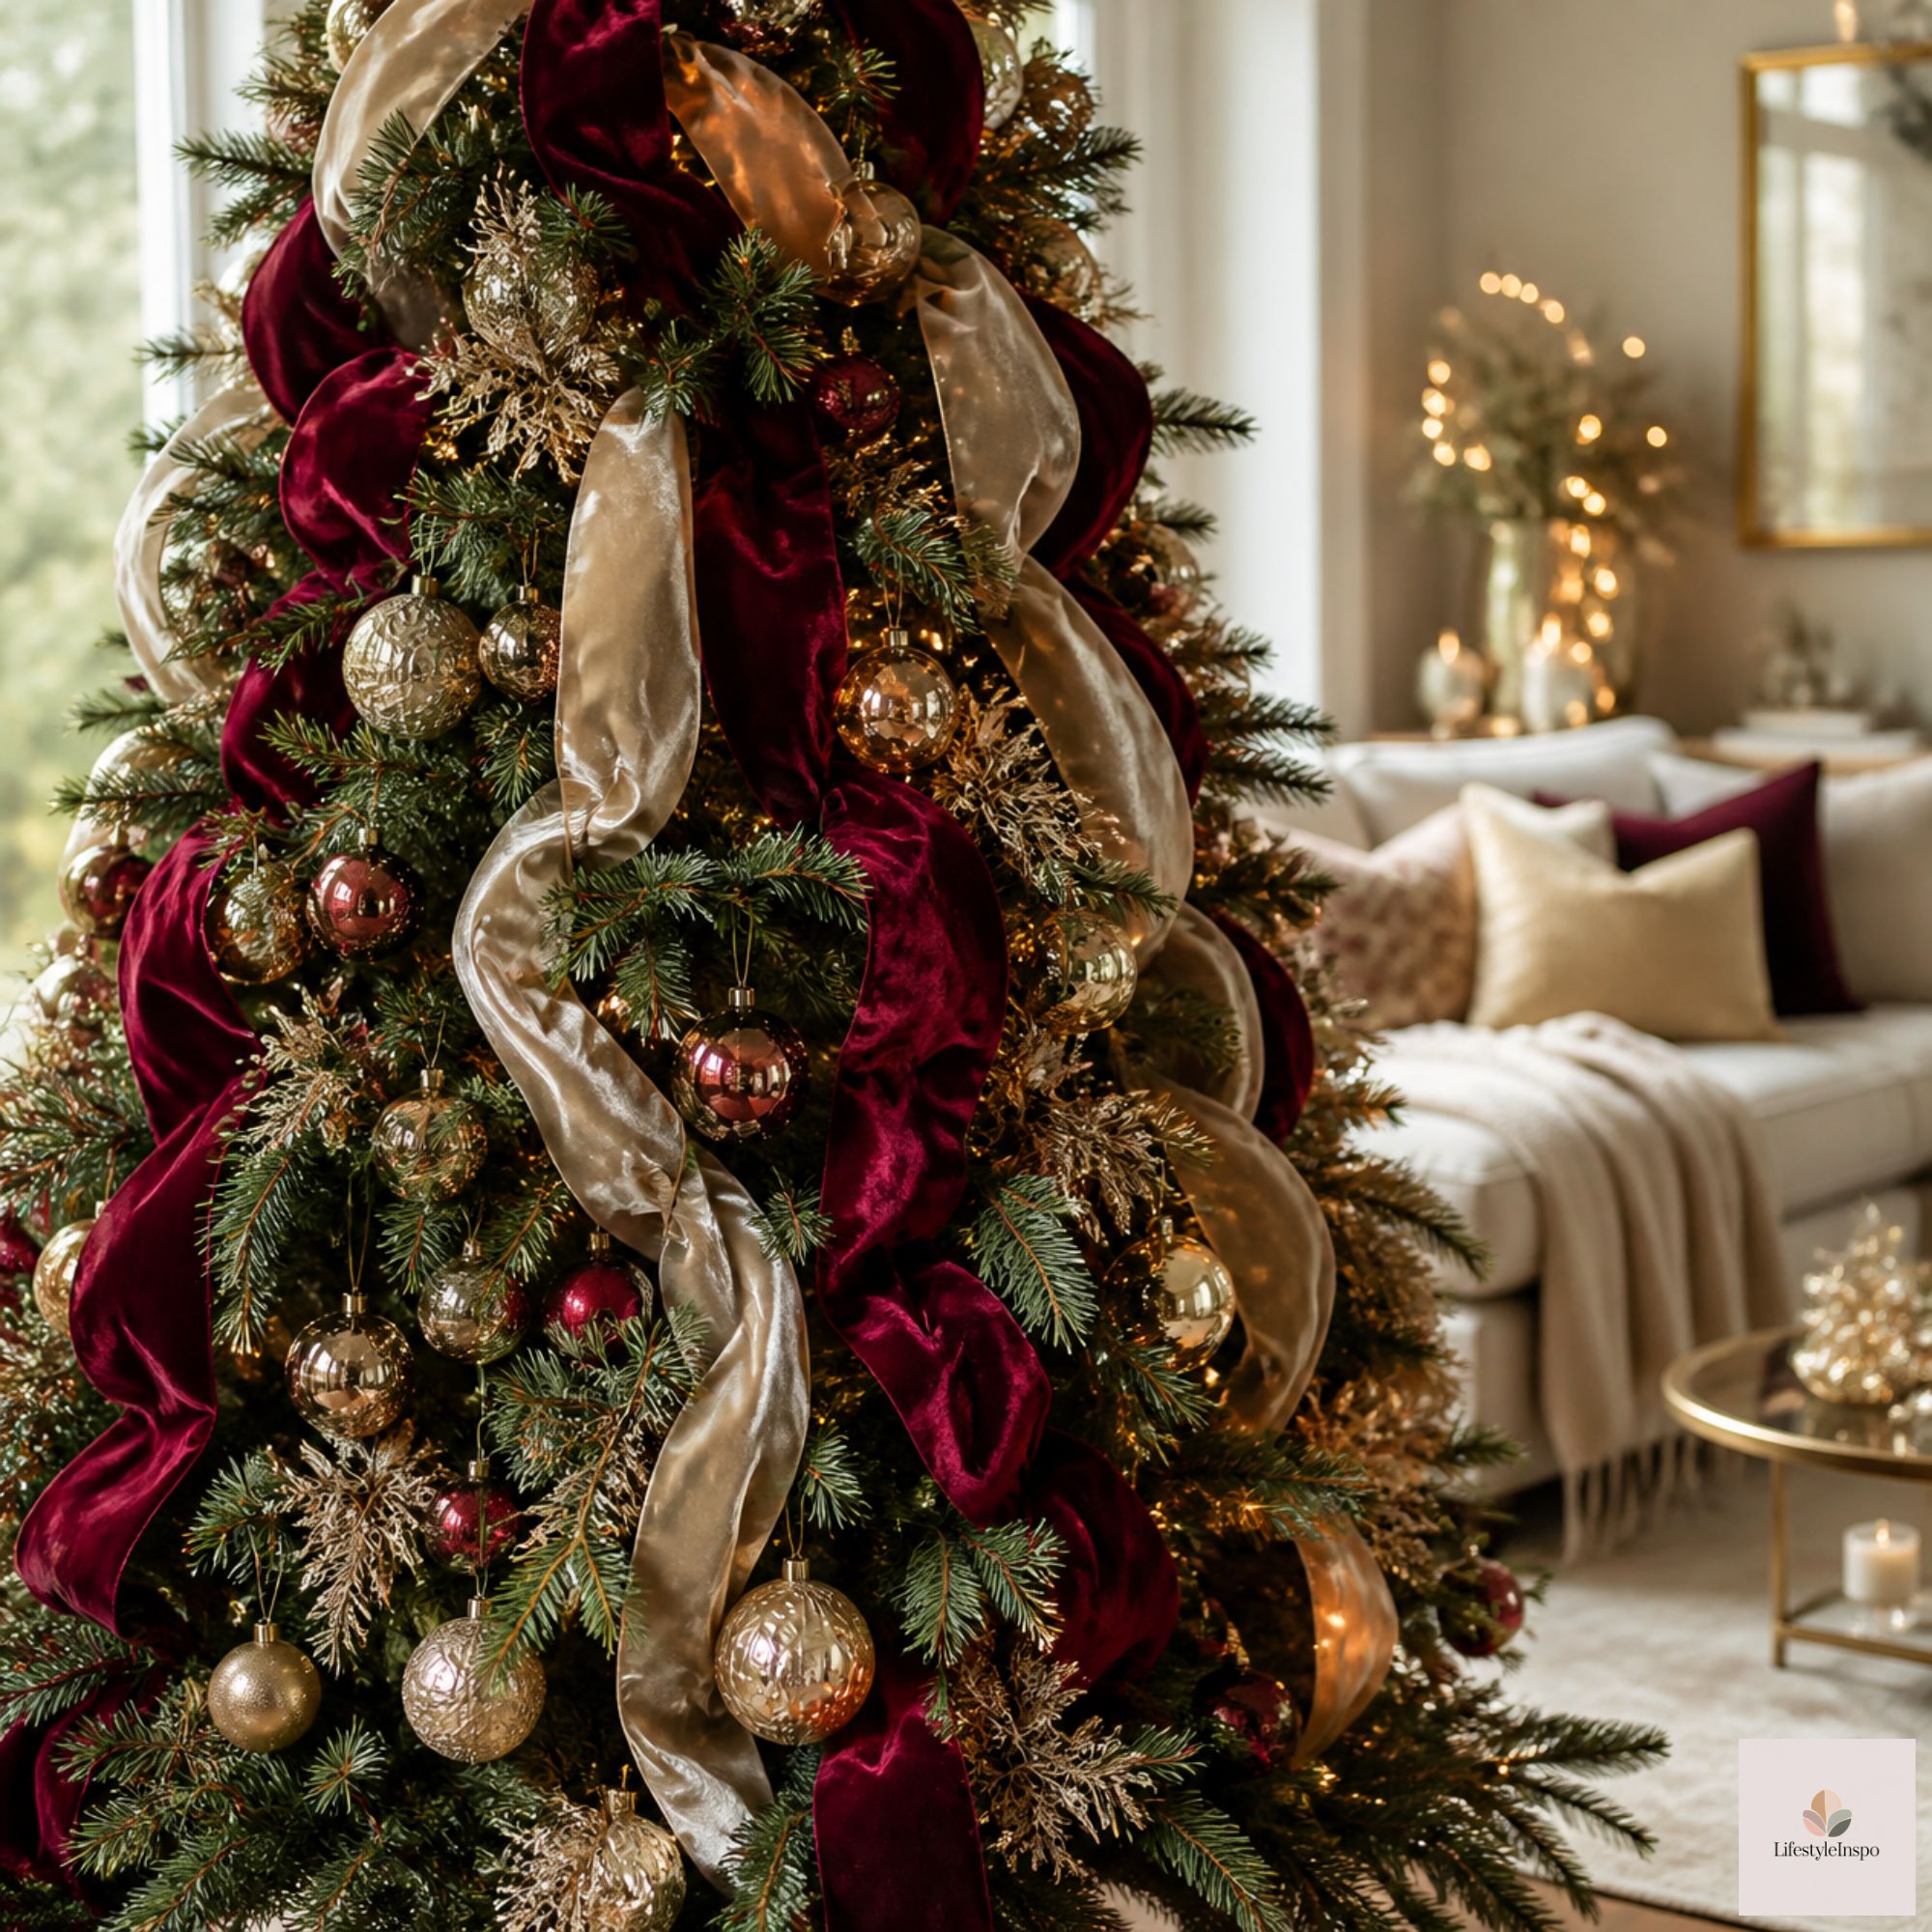
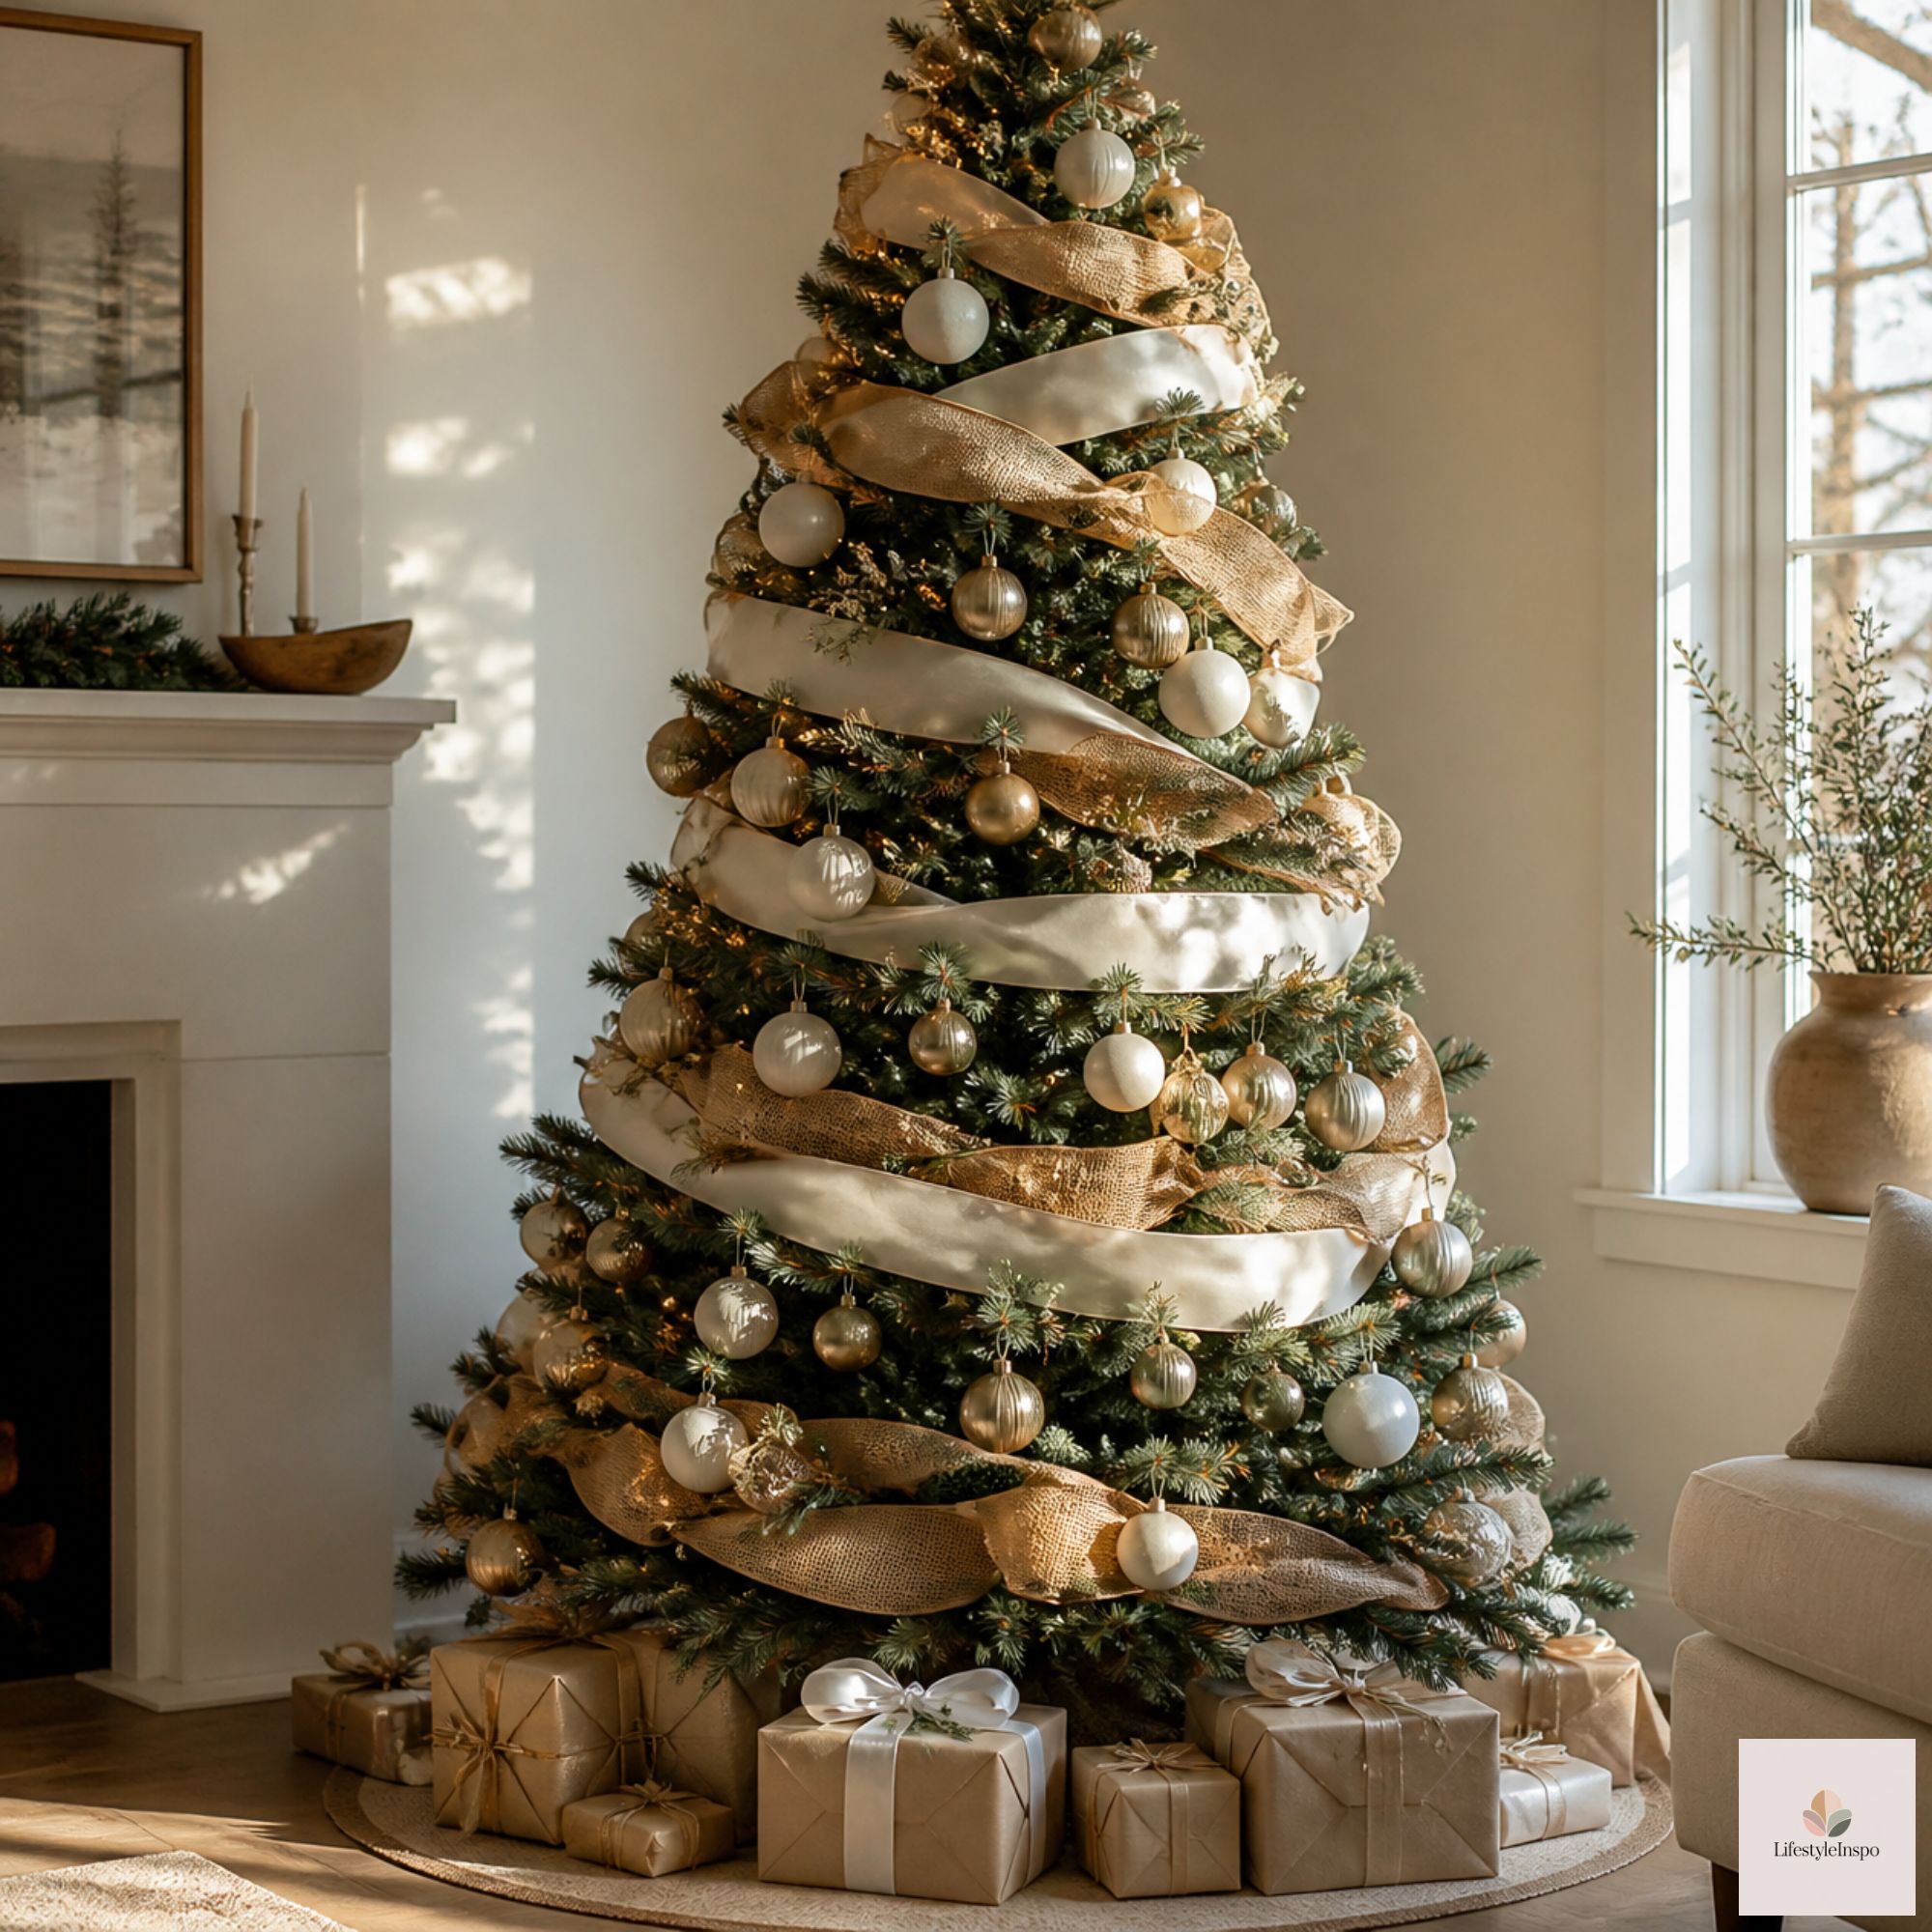
Method 1: The Cascade (Vertical Swags)
This is the most popular and beginner-friendly method. It creates flowing waves of ribbon that run from the top of the tree to the bottom.
Step by step:
- Start at the top. Tuck the end of the ribbon into the top branches, and secure it with floral wire or a pipe cleaner.
- Let the ribbon drape down. Create a soft, loose loop about 12 to 18 inches long.
- Tuck it into the branches. Push the ribbon into the tree, so it dips behind a branch.
- Pull out the next loop. Let it hang a bit, and tuck it in again a few inches down.
- Continue to the bottom. Repeat until you reach the base.
- Secure the end. Tuck the final end deep into the branches.
- Repeat for a second or third strand. Space them evenly around the tree, so the effect wraps all sides.
The look: Soft, flowing, and elegant. It feels natural and effortless.
Tips: Vary the loop sizes slightly for a more organic look, and don’t pull the ribbon too tight. A little slack looks better than a taut line.
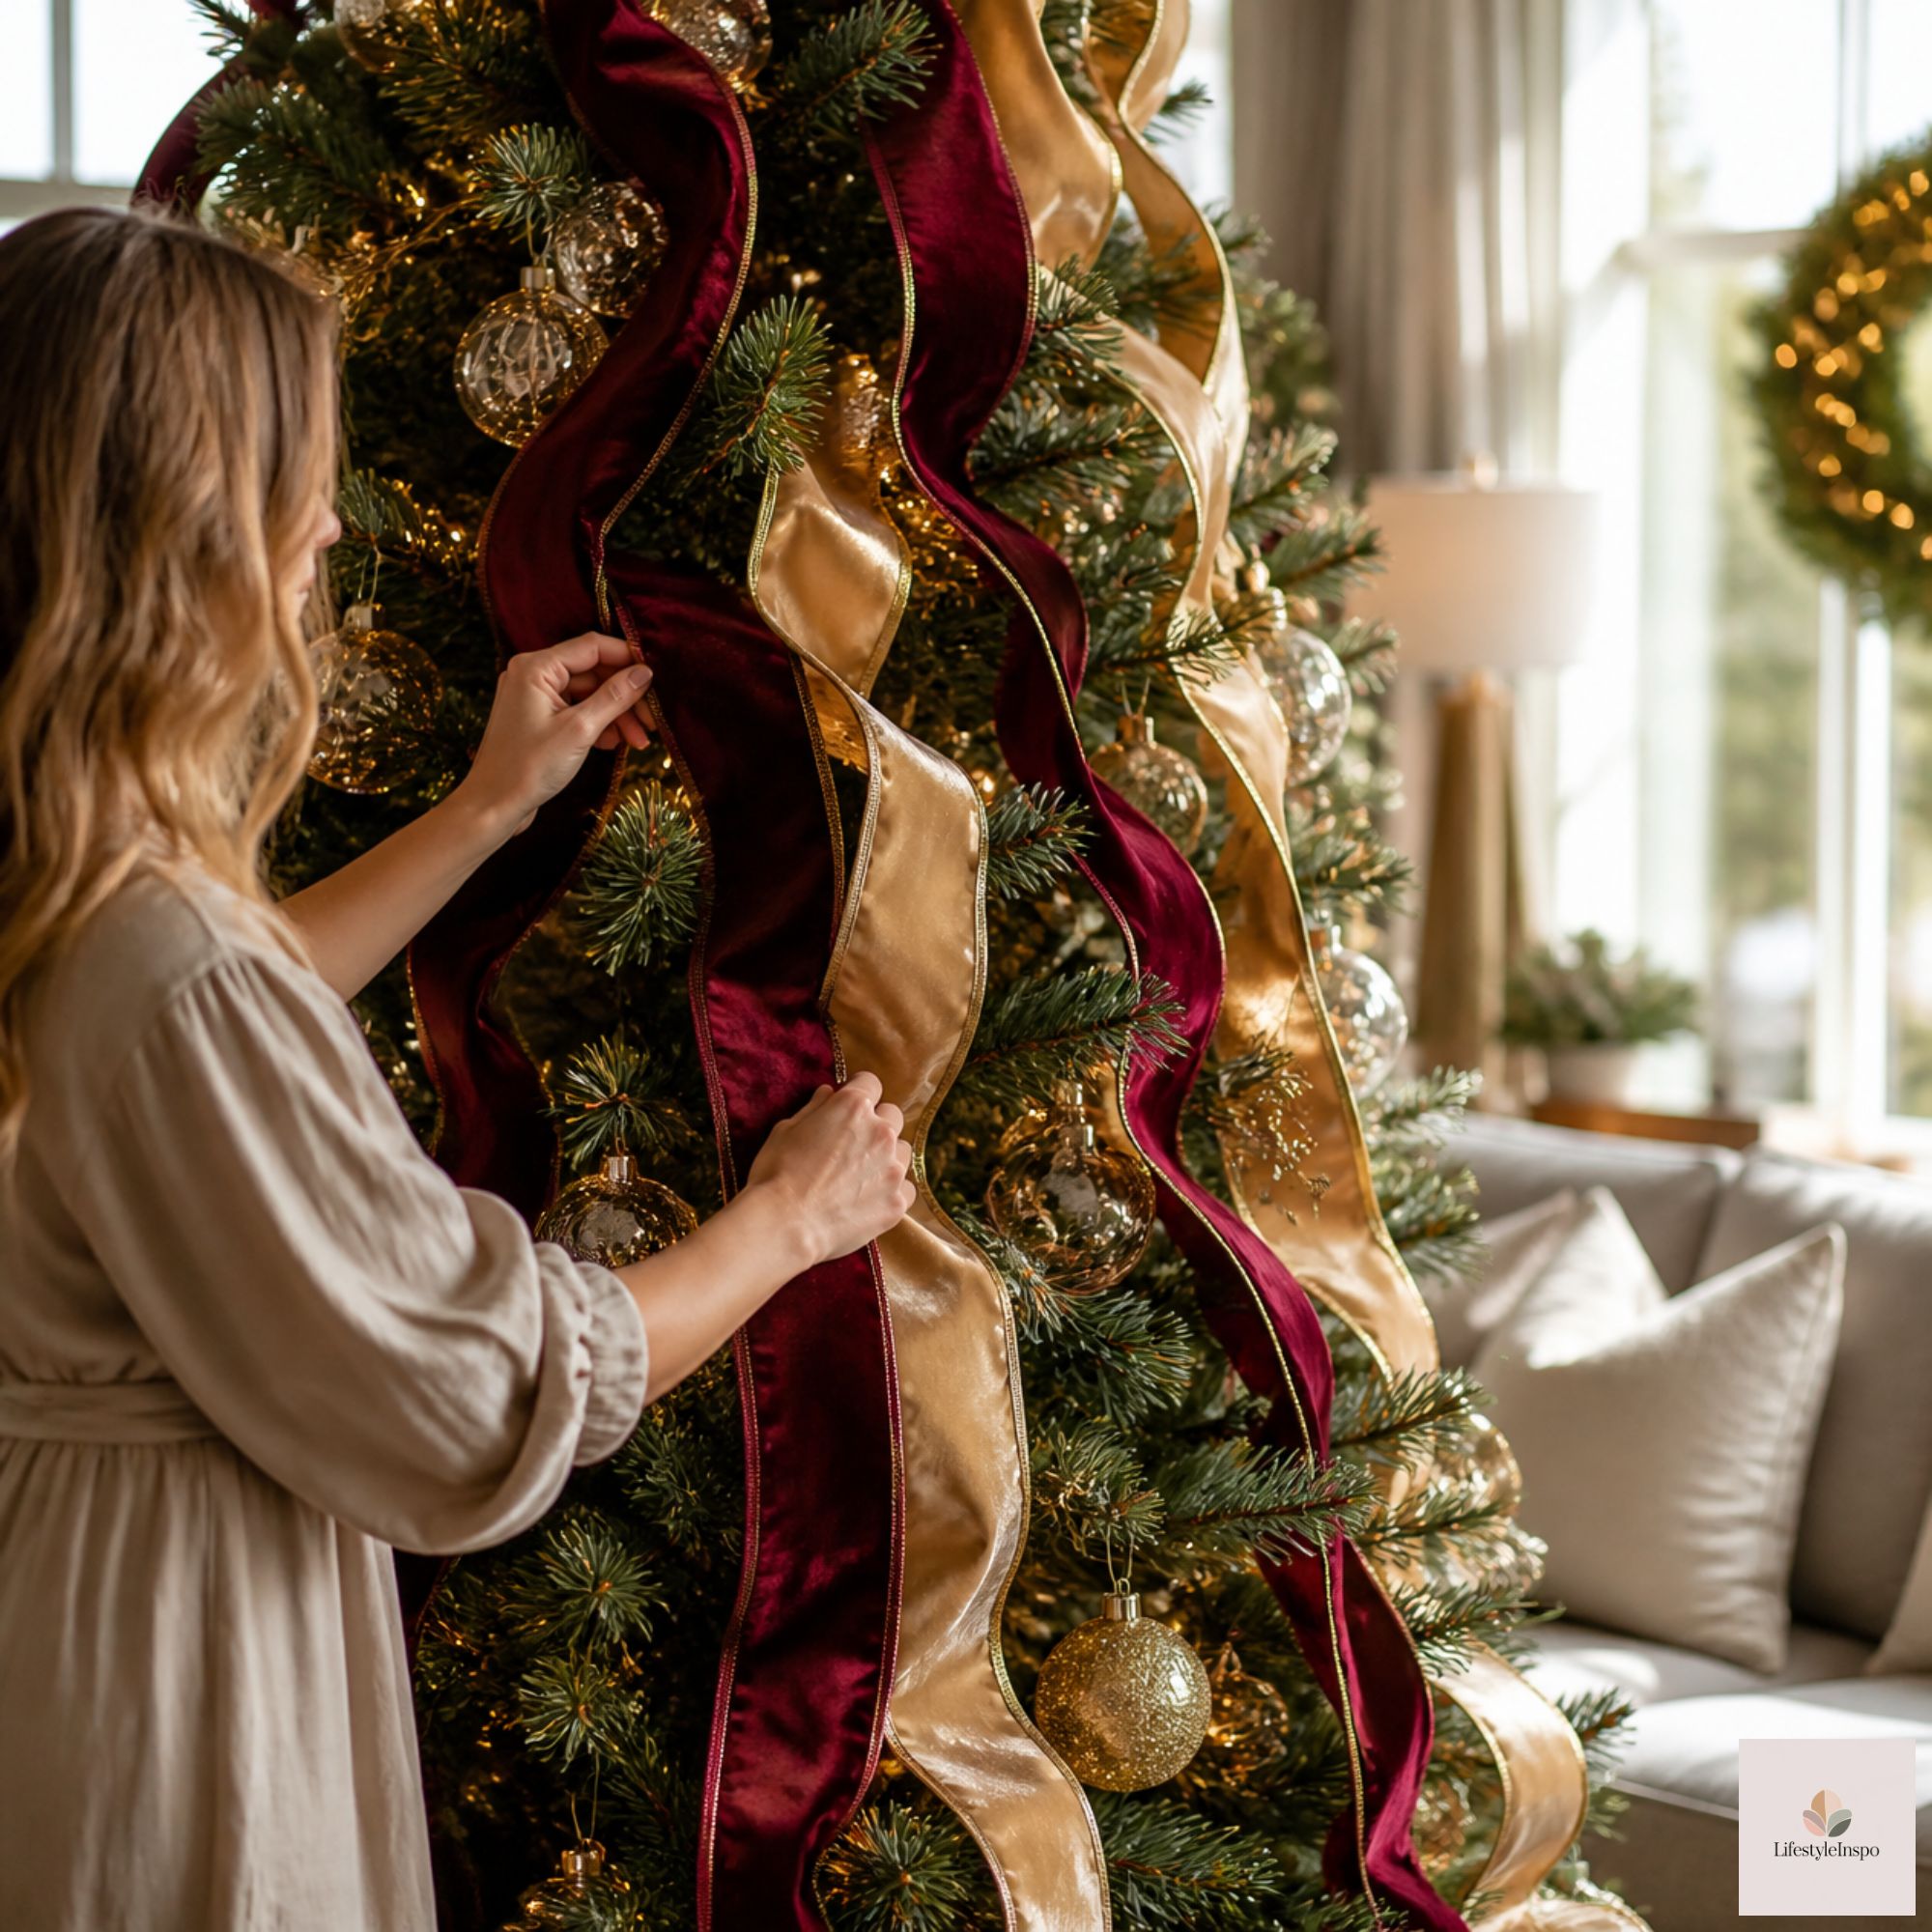
Method 2: The Puff (Billowing Loops)
This method creates a full, luxurious, bow-like effect. It uses more ribbon, but the result is dramatic.
Step by step:
- Start at the top, securing the end of the ribbon.
- Pinch the ribbon about 6 to 8 inches down.
- Tuck the pinched section into a branch, letting the ribbon puff out on either side.
- Repeat every 6 to 10 inches, creating a series of soft billows.
- Work your way down, keeping the puffs even in size.
- Finish at the bottom.
- Fluff the puffs, shaping each one with your fingers.
The look: Full, plush, and rich. It’s especially pretty on a traditional or glam tree.
Tips: Make the puffs slightly larger near the bottom and smaller near the top, so the ribbon follows the tree’s natural shape.
Method 3: The Weave (In and Out)
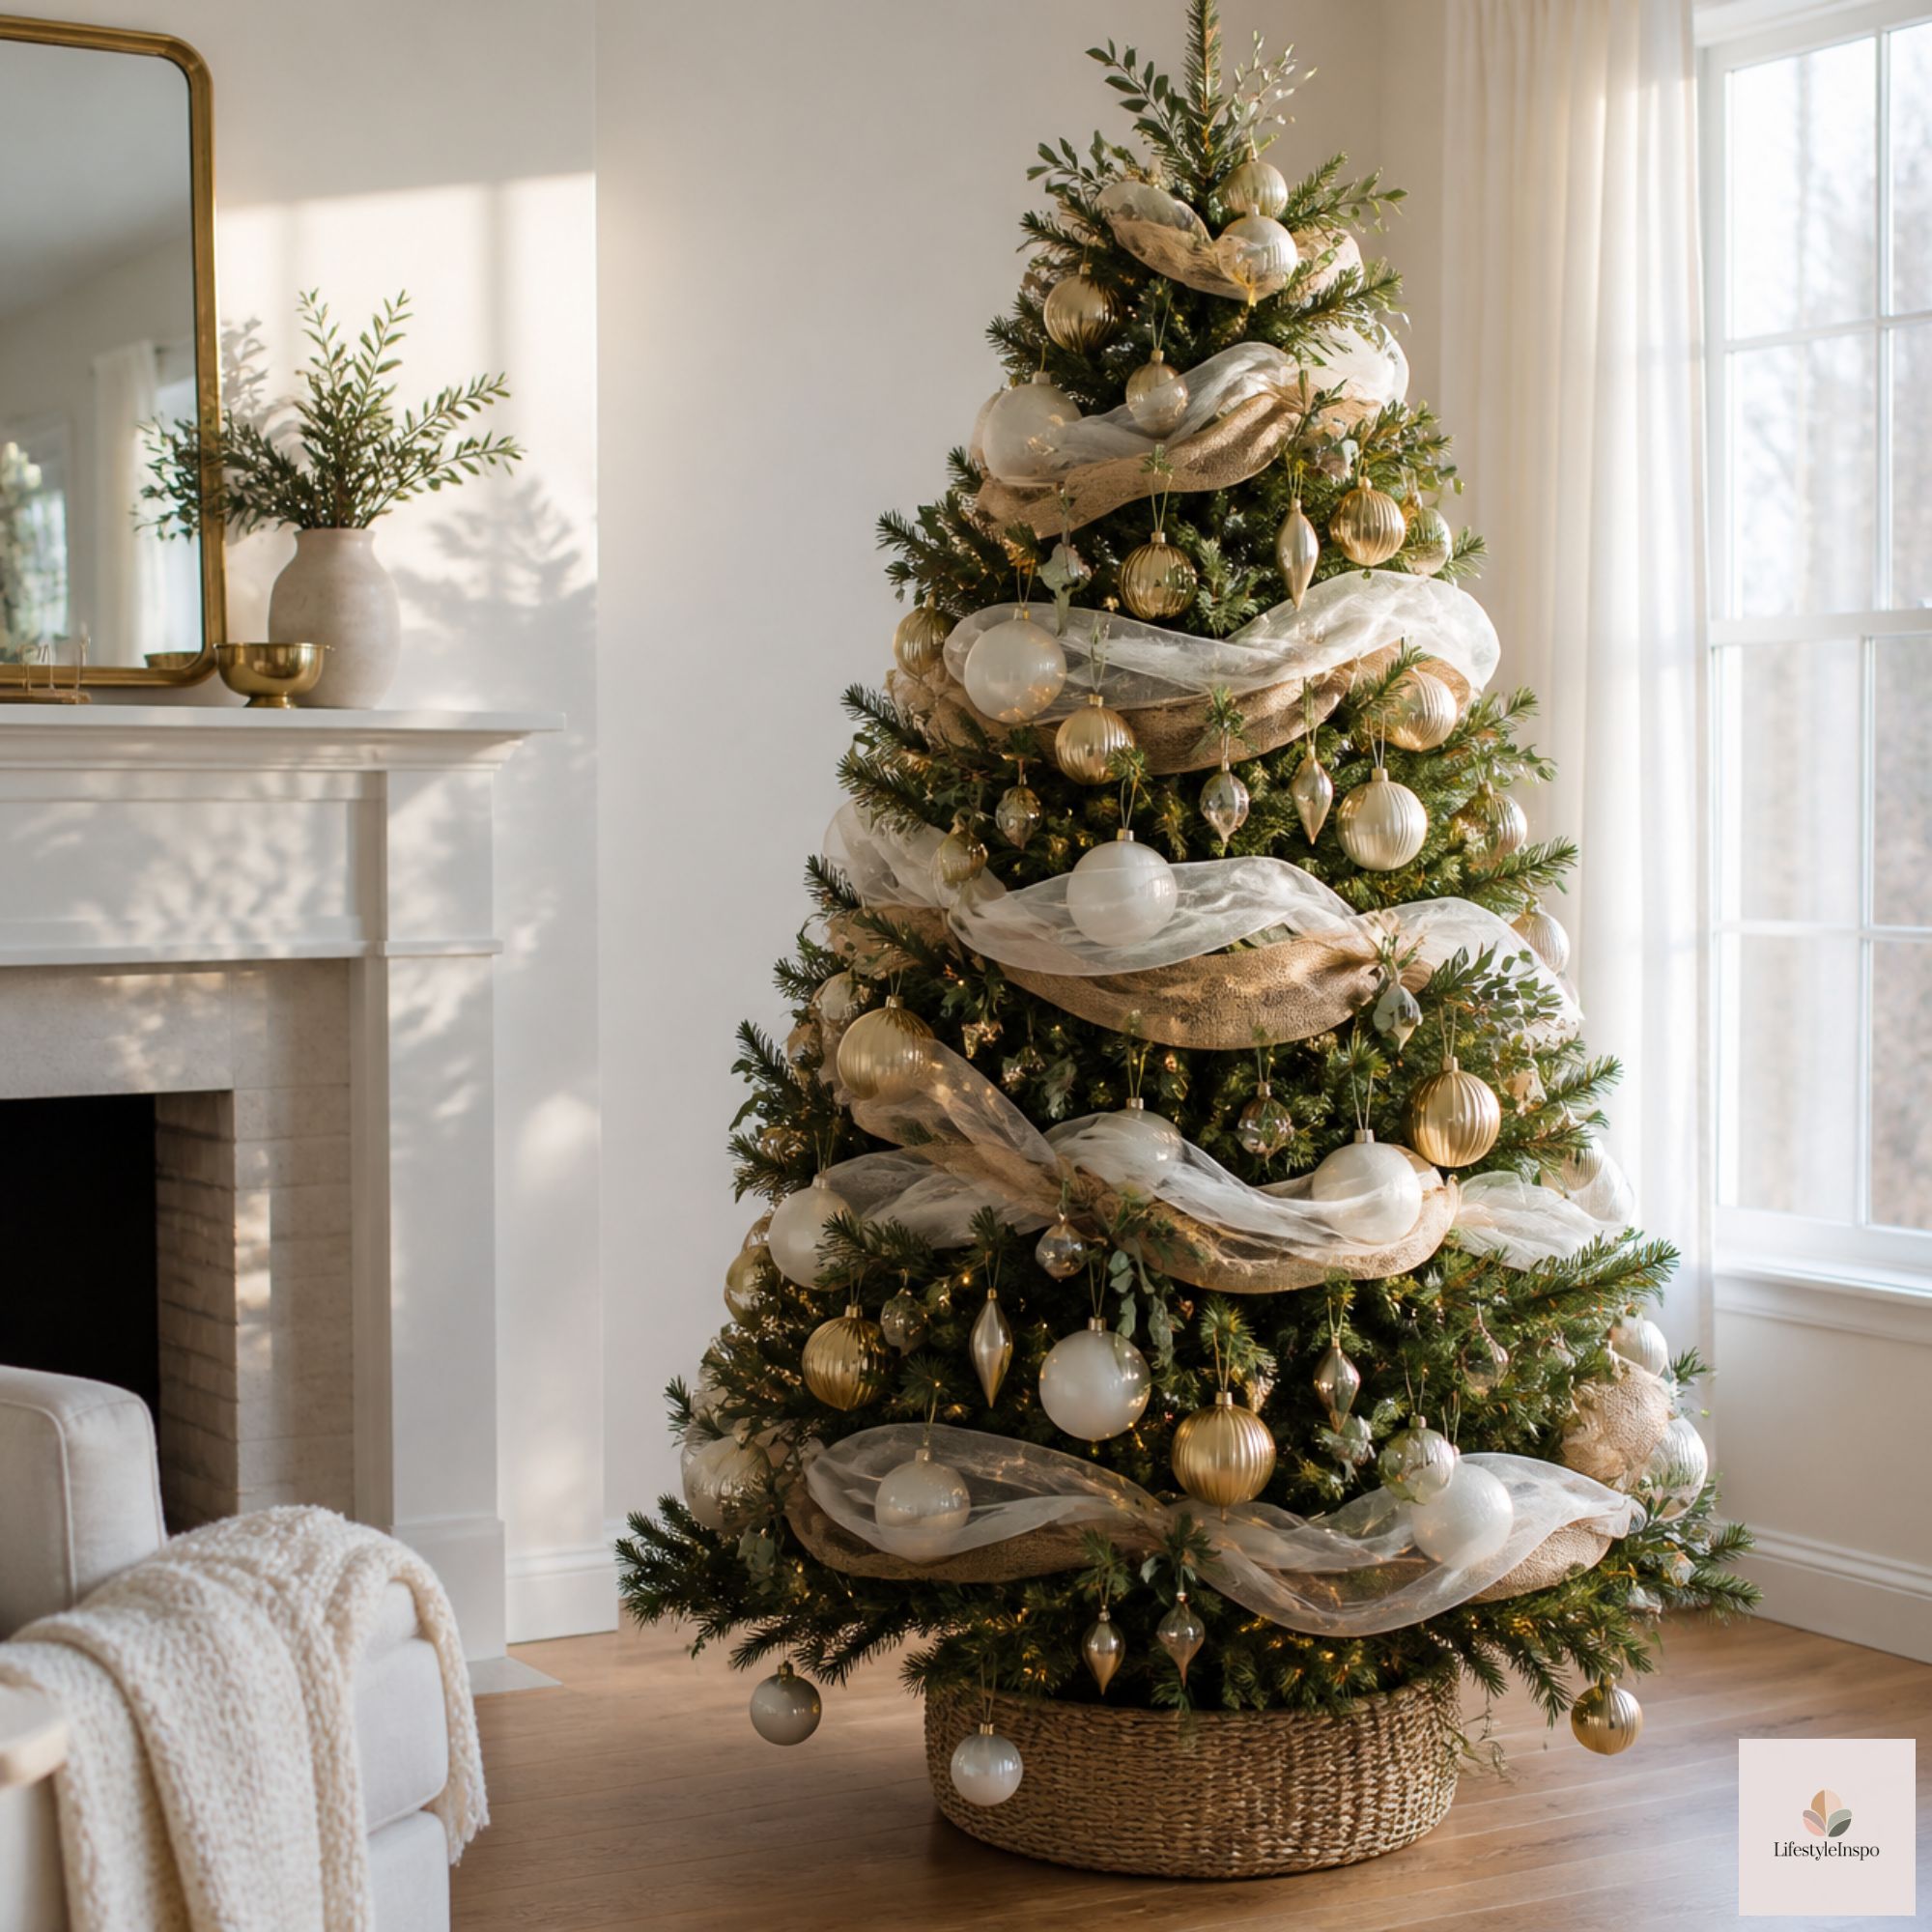
For a subtle, tailored look, weave the ribbon horizontally around the tree, in and out of the branches.
Step by step:
- Start at the bottom, tucking the end into a branch near the trunk.
- Weave it around the tree. Pass it behind one branch, in front of the next, and so on.
- Work upward in rows, spacing them 8 to 12 inches apart.
- Tuck the end at the top.
- Adjust so the ribbon sits evenly.
The look: Neat, classic, and structured. It feels like garland made of ribbon.
Tips: Keep the weave loose enough that the ribbon doesn’t flatten the branches. Avoid pulling it taut.
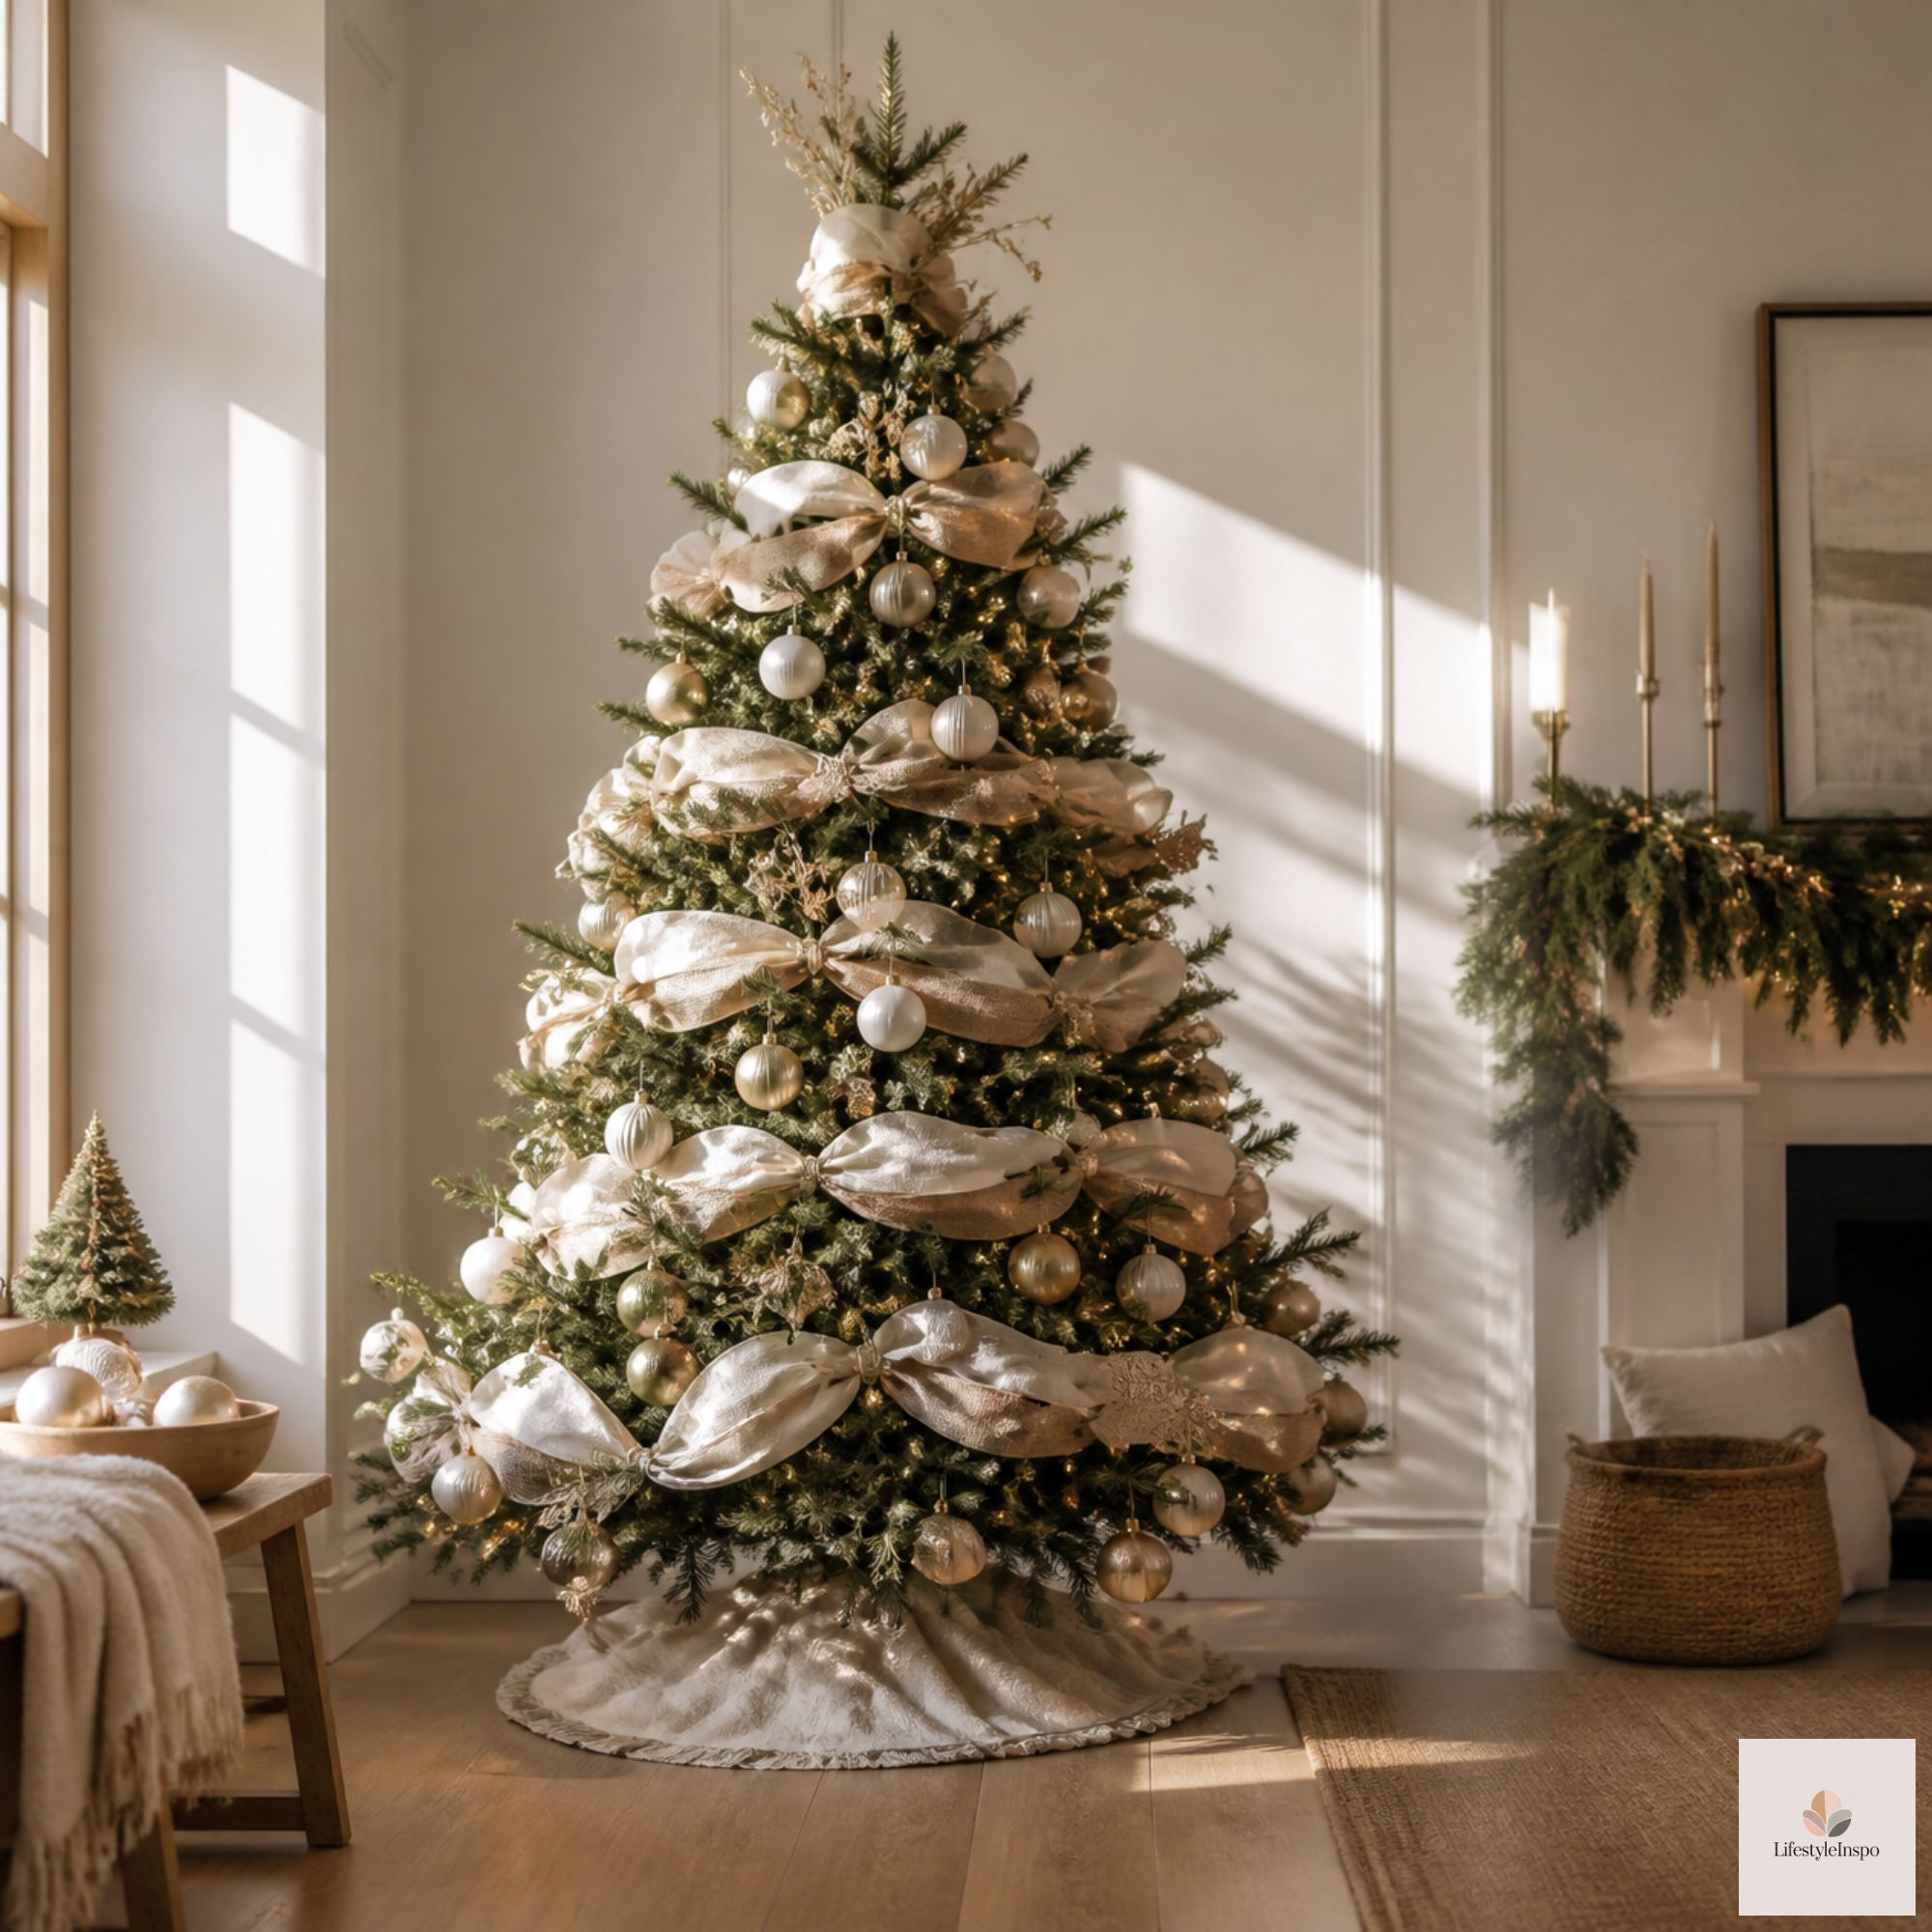
Add Ornaments and Topper to Hold It All Together
Once the ribbon is in place, ornaments help lock it in. Hang a few ornaments where the ribbon dips behind branches, and they’ll hold it in position and add visual interest.
A set of shatterproof Christmas ball ornaments works well, since they’re lightweight and won’t weigh down the ribbon. Tuck a few near the loops for a layered look.
→ Shop it: Shatterproof Christmas ball ornaments set
Finish at the top with a Christmas tree topper star, and tuck the starting end of the ribbon neatly behind it. The ribbon flows right out from under the topper, which looks intentional and polished.
→ Shop it: Christmas tree topper star
Choosing Ribbon by Tree Style
Different trees suit different ribbons.
- Rustic farmhouse: burlap, plaid, and natural linen
- Classic traditional: deep red velvet or satin with gold edging
- Modern minimalist: a single, simple ribbon in white, cream, or black
- Glam: metallic, sequined, or glitter ribbon
- Scandinavian: natural linen or soft white ribbon
- Whimsical: bold, bright, or patterned ribbon
When in doubt, choose a ribbon that echoes the main color of your ornaments, or pick a neutral that works with anything.
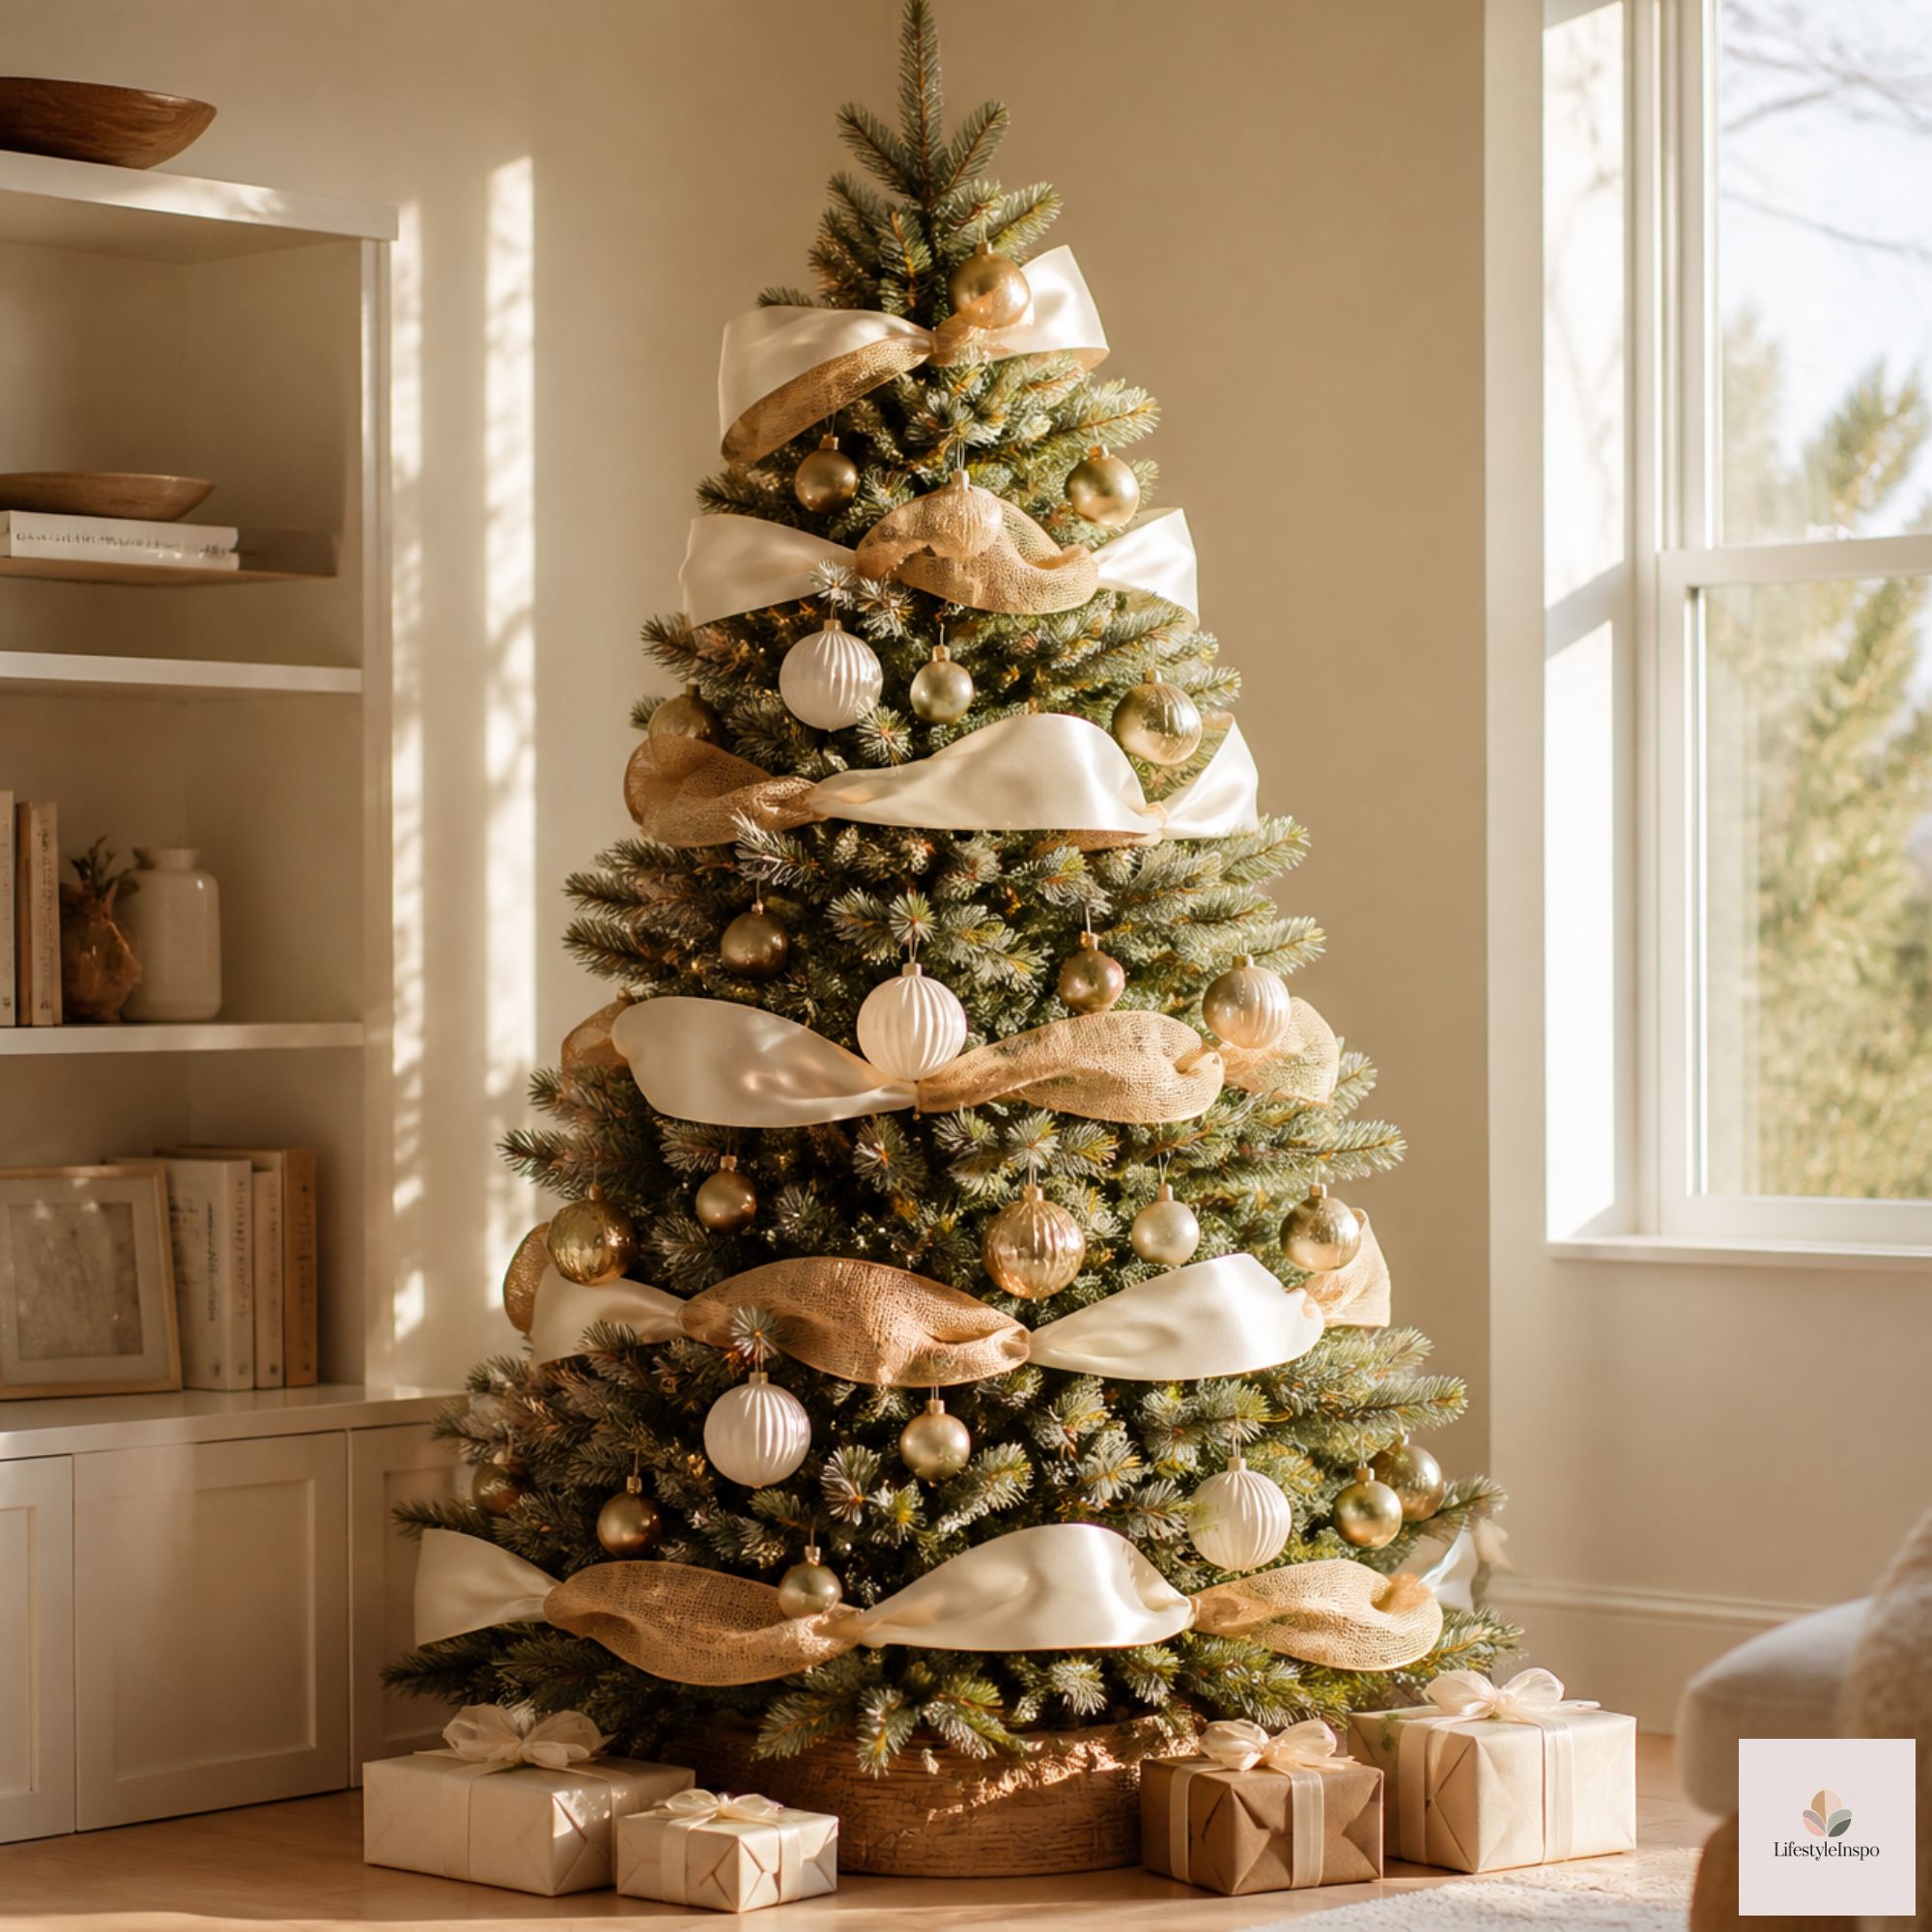
Common Ribbon Mistakes to Avoid
- Pulling it too tight. Ribbon should look soft and flowing.
- Using too little. A skimpy ribbon looks sparse and uneven.
- Skipping the wire. Unwired ribbon droops and slides.
- Ignoring the back. If the tree is visible from all sides, ribbon should wrap around.
- Adding ribbon after ornaments. It’s much harder to tuck in.
- Using too many colors or patterns. Stick to one or two ribbons.
- Not securing the ends. Tuck them in or use floral wire.
Ribbon Tips From Professional Stylists
A few stylist secrets make a big difference.
- Add floral wire or pipe cleaners to secure ribbon at key points.
- Cut ribbon ends at an angle, or in a V shape, for a polished finish.
- Layer two ribbons in different widths or textures for depth.
- Work in sections, top to bottom, so you don’t run out in the middle.
- Step back and squint to check the flow.
- Save the leftover ribbon for wreaths, garlands, and wrapping.
How to Store Ribbon
Ribbon can be reused year after year if you store it well.
- Remove it from the tree gently, and shake off dust.
- Roll it loosely around a piece of cardboard or a spool.
- Secure it with a clip or a piece of tape.
- Store in a labeled bag or bin, away from moisture.
- Iron on a low setting if it gets wrinkled, if the fabric allows.
How to Put Ribbon on a Christmas Tree FAQ
How much ribbon do I need for a 7-foot tree?
For a cascade look, about 20 to 25 yards. For a puffy look, 28 to 35 yards. If your tree is wide, add more.
Should I put ribbon on before or after ornaments?
Before. Ribbon is easier to tuck in when the branches are free, and ornaments can hold it in place afterward.
Is wired ribbon better for Christmas trees?
Yes. The wire holds the shape, creates fuller loops, and stays in place on the branches.
How do I keep ribbon from falling off the tree?
Tuck it deep into the branches, and secure it with floral wire or pipe cleaners at key points. Ornaments also help hold it in place.
Final Thoughts
Ribbon is the finishing touch that gives a tree its softness and polish. Choose a texture that suits your style, pick a method that feels comfortable, and take your time.
Don’t worry about perfection. A little imperfection is what gives a tree its charm. Save this guide for tree-trimming day, or share it with a friend who’s about to wrestle with her first roll of ribbon.
About the Author