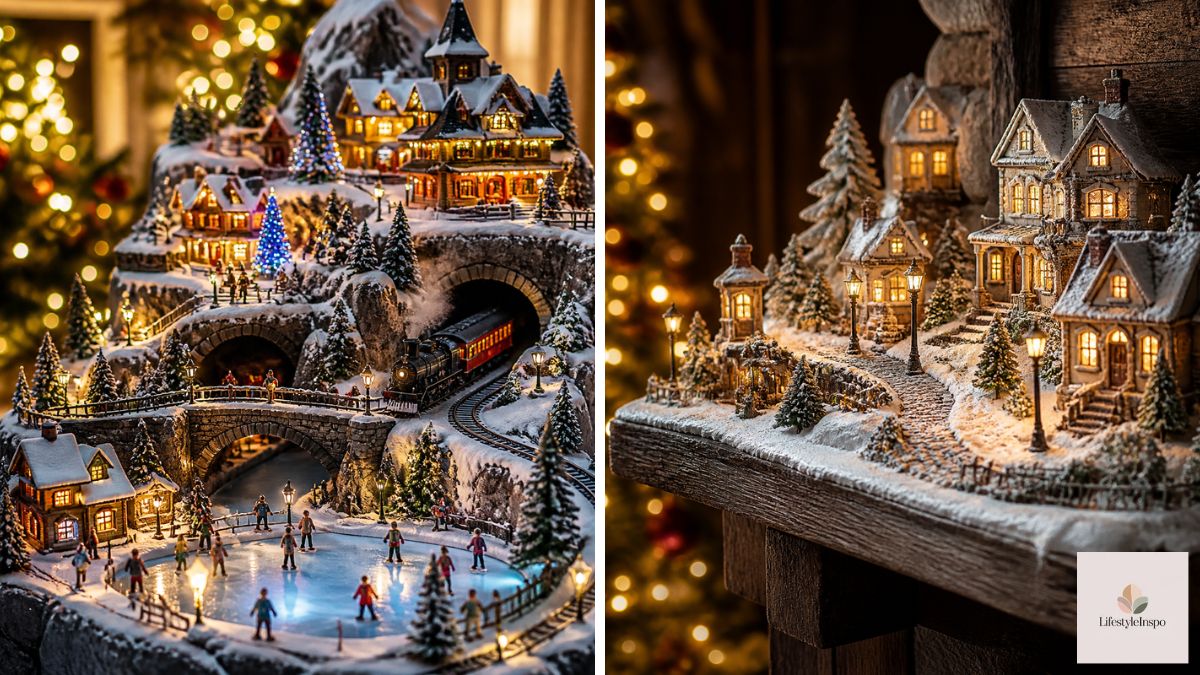
Christmas Village Display Ideas: How to Build a Magical Scene
Some decorations are beautiful. Others are enchanting. A Christmas village falls squarely into the second category, because it doesn’t just decorate a space. It tells a story.
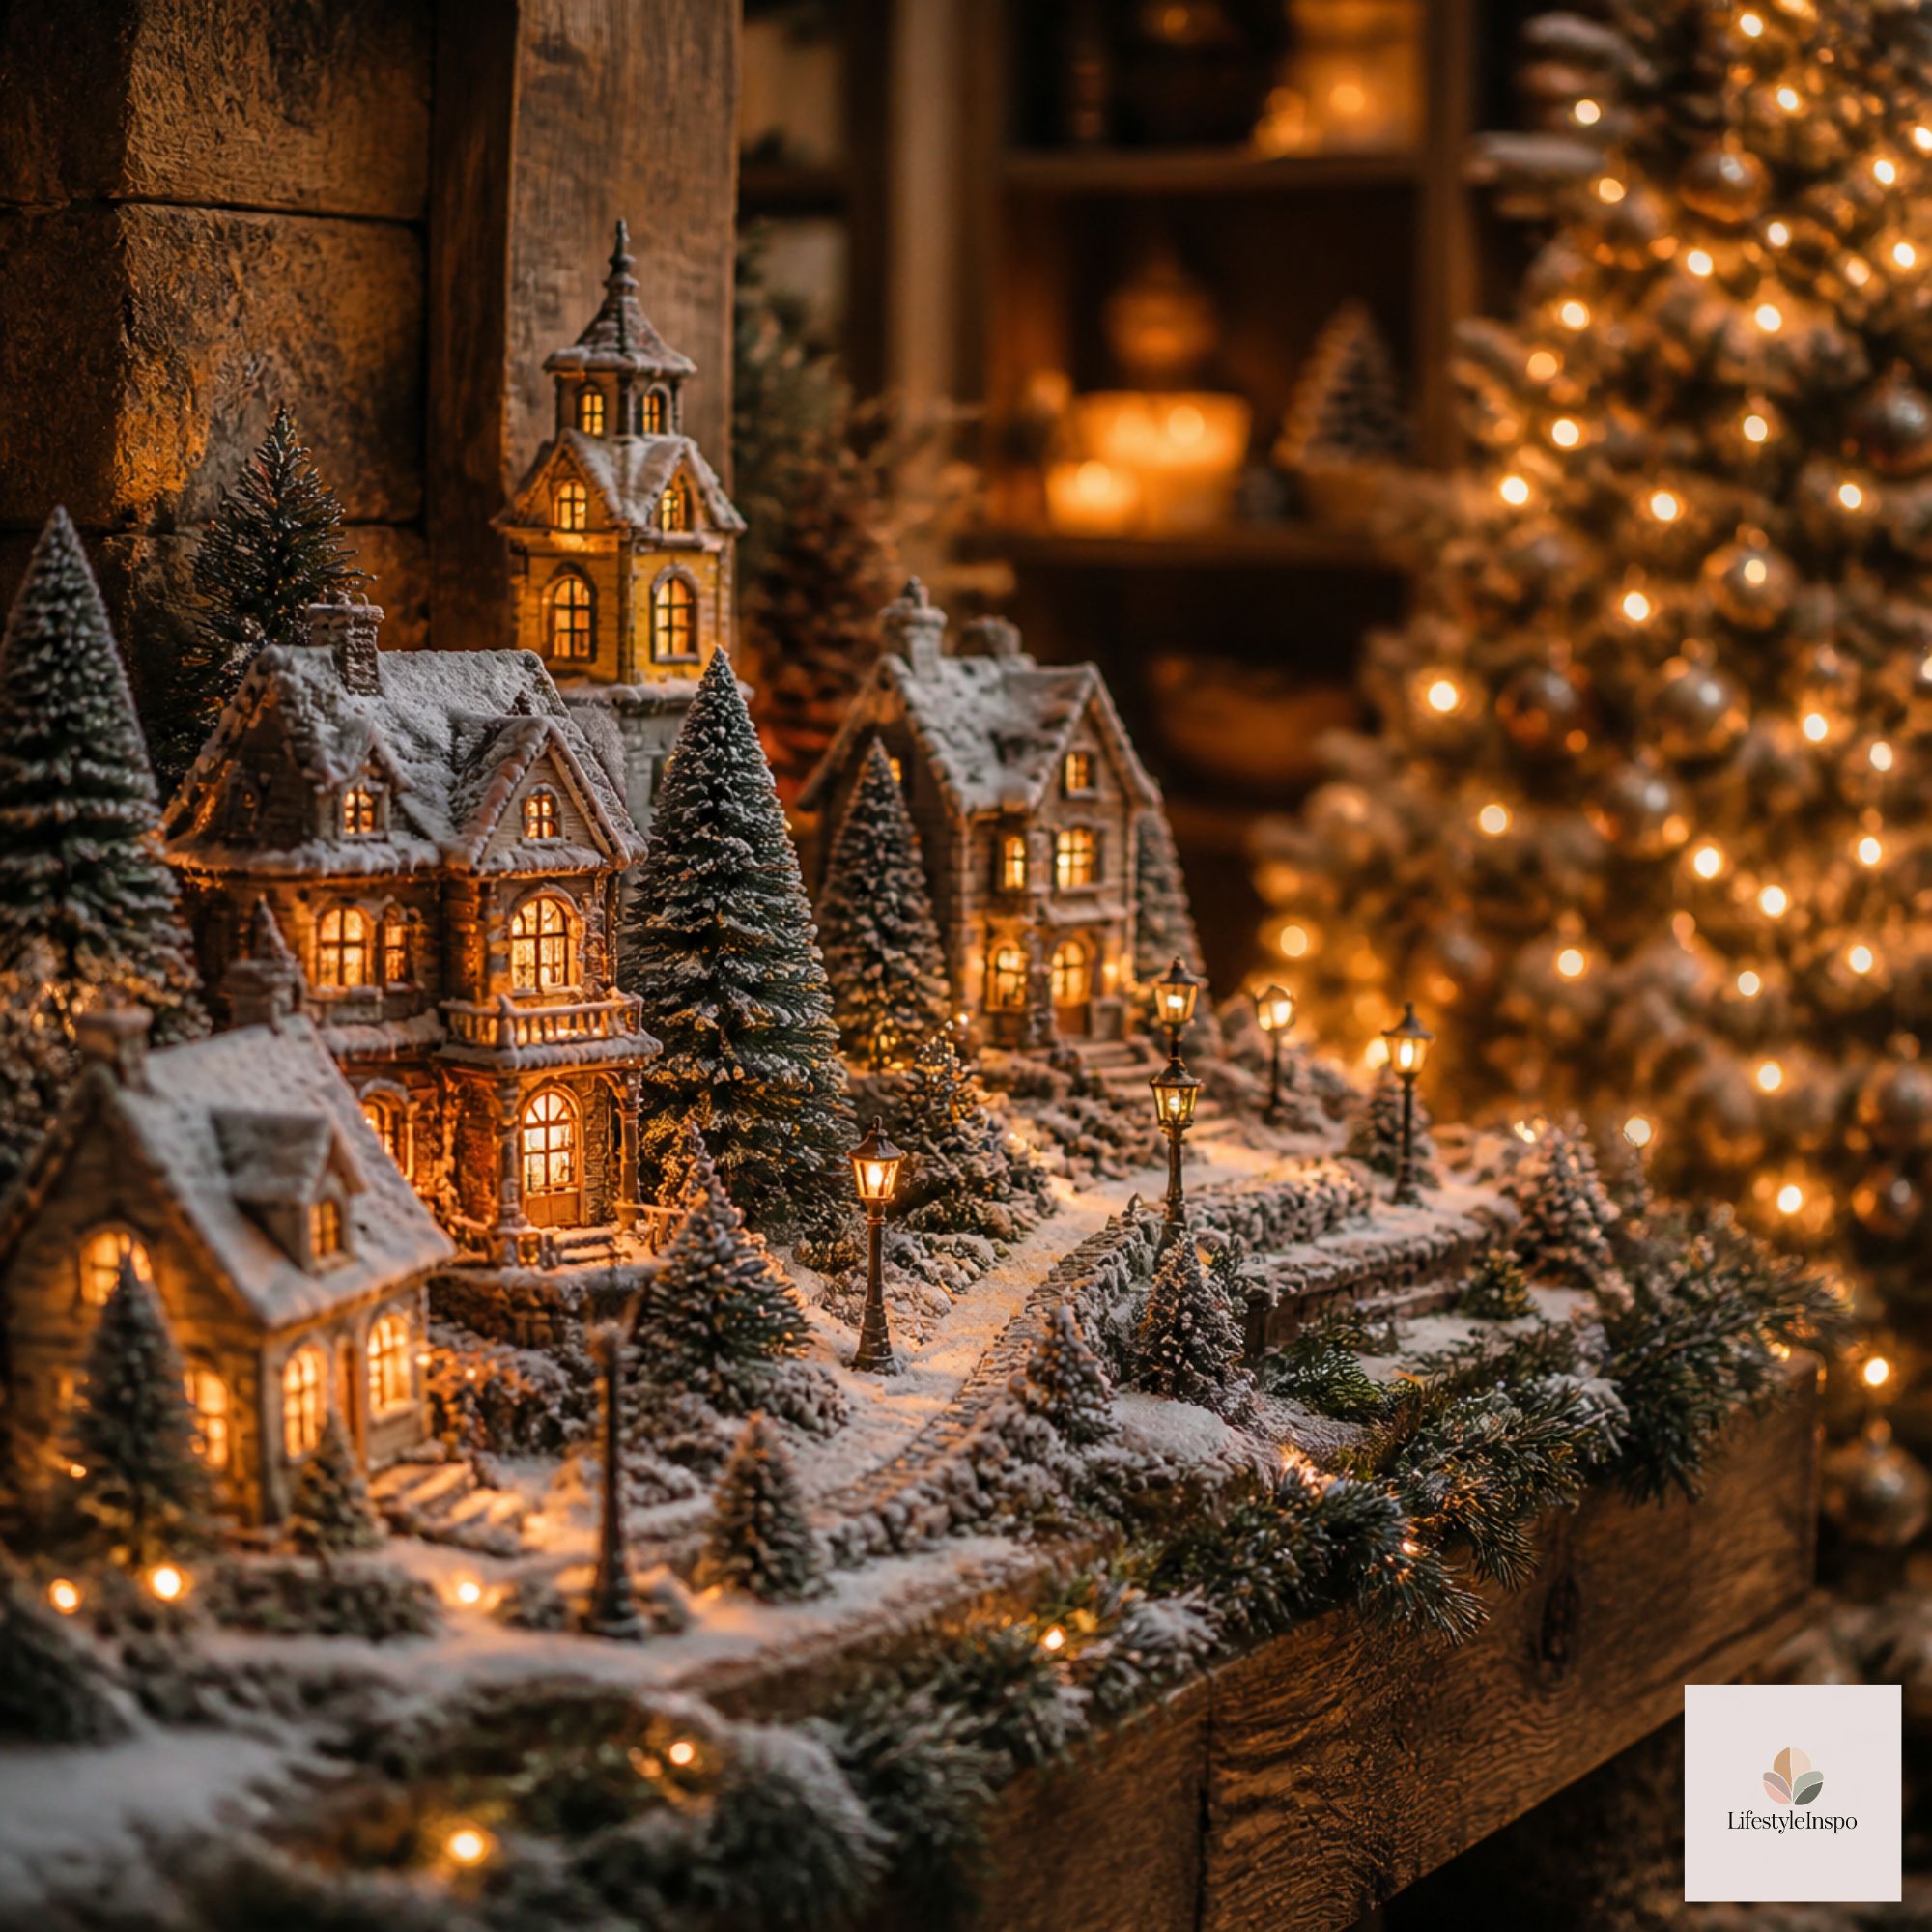
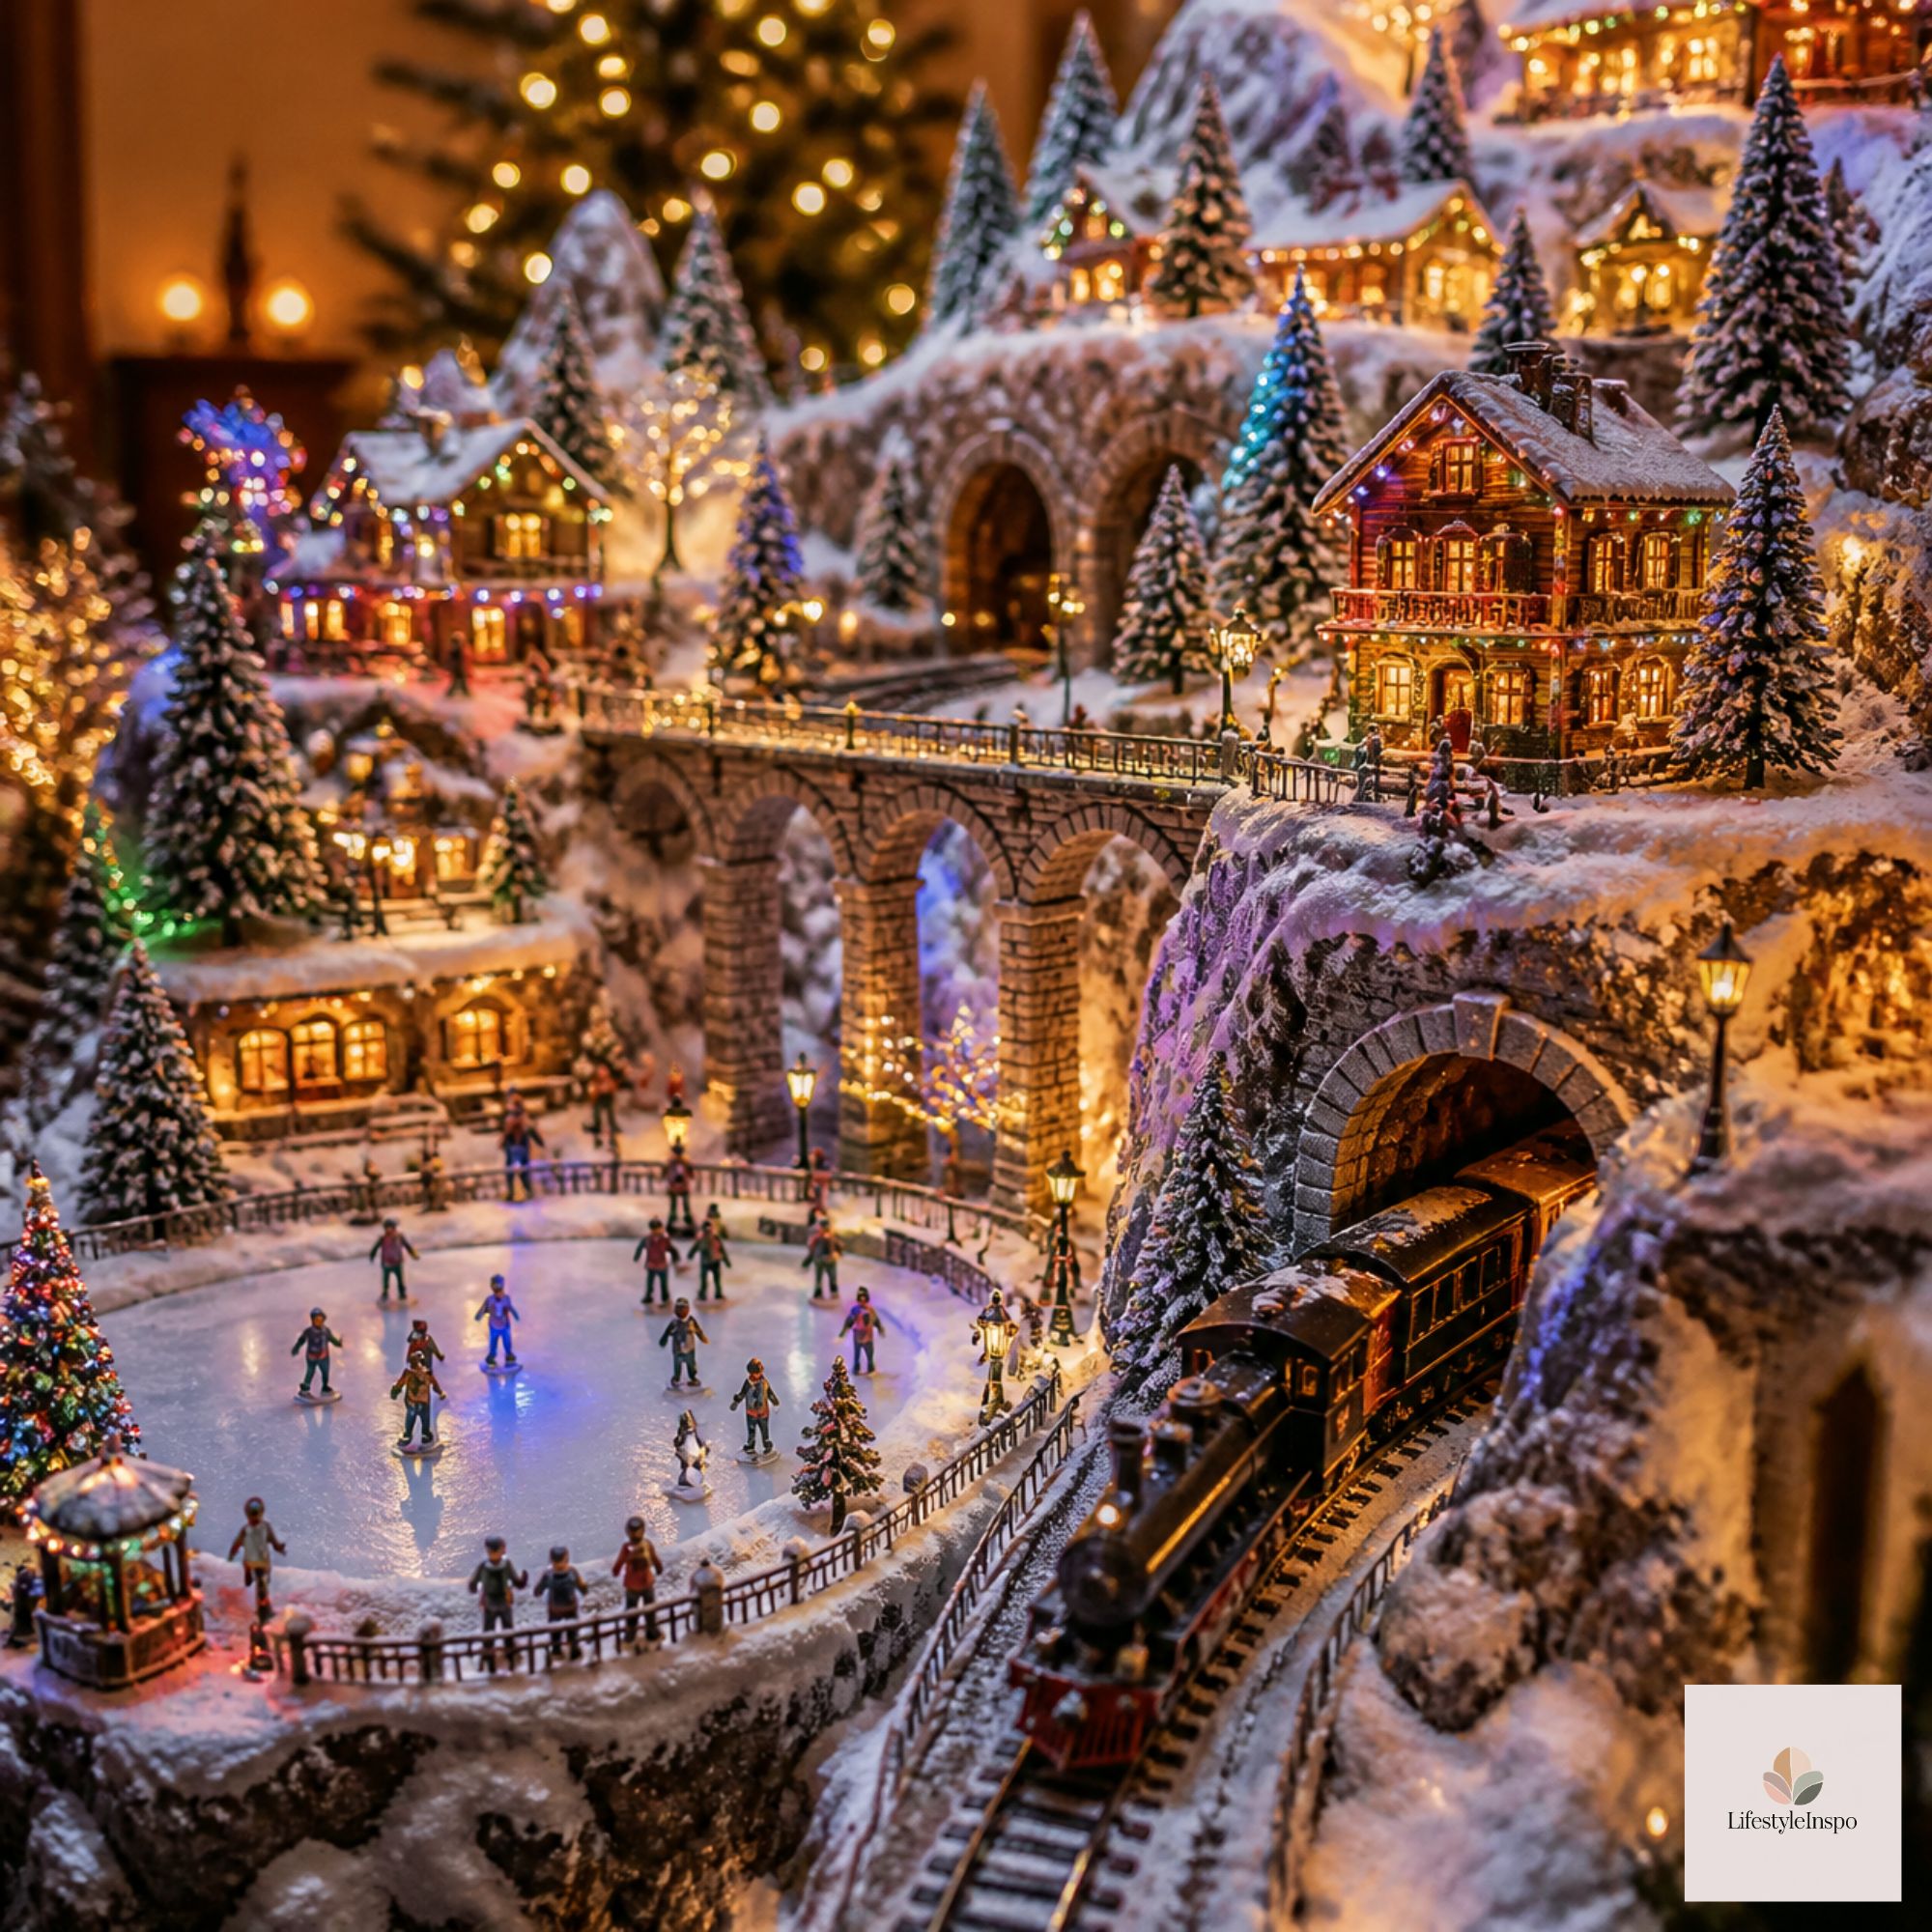
Picture a tiny, glowing street: little houses with lit windows, snow-dusted roofs, a church on the hill, maybe a frozen pond. People lean in to look at it. Kids point out the tiny details. Adults find themselves lingering, remembering old favorites from childhood.
If you’ve never built a village display before, it can seem intimidating. But the process is surprisingly simple once you understand a few basic principles: layers, scale, and light. These Christmas village display ideas will walk you through each step, so you can build a scene that looks like it belongs in a snow globe.
What Is a Christmas Village?
A Christmas village is a collection of miniature buildings, figures, and accessories arranged to look like a small winter town. Most pieces are lighted, so the houses and shops glow from within, and many collections grow over the years as families add a new piece each season.
You can build a village on a mantel, a console table, a bookshelf, a sideboard, or even a dedicated table. It can be tiny (three houses and a tree) or sprawling (dozens of pieces on multiple levels). The beauty is that you get to decide the size and story.
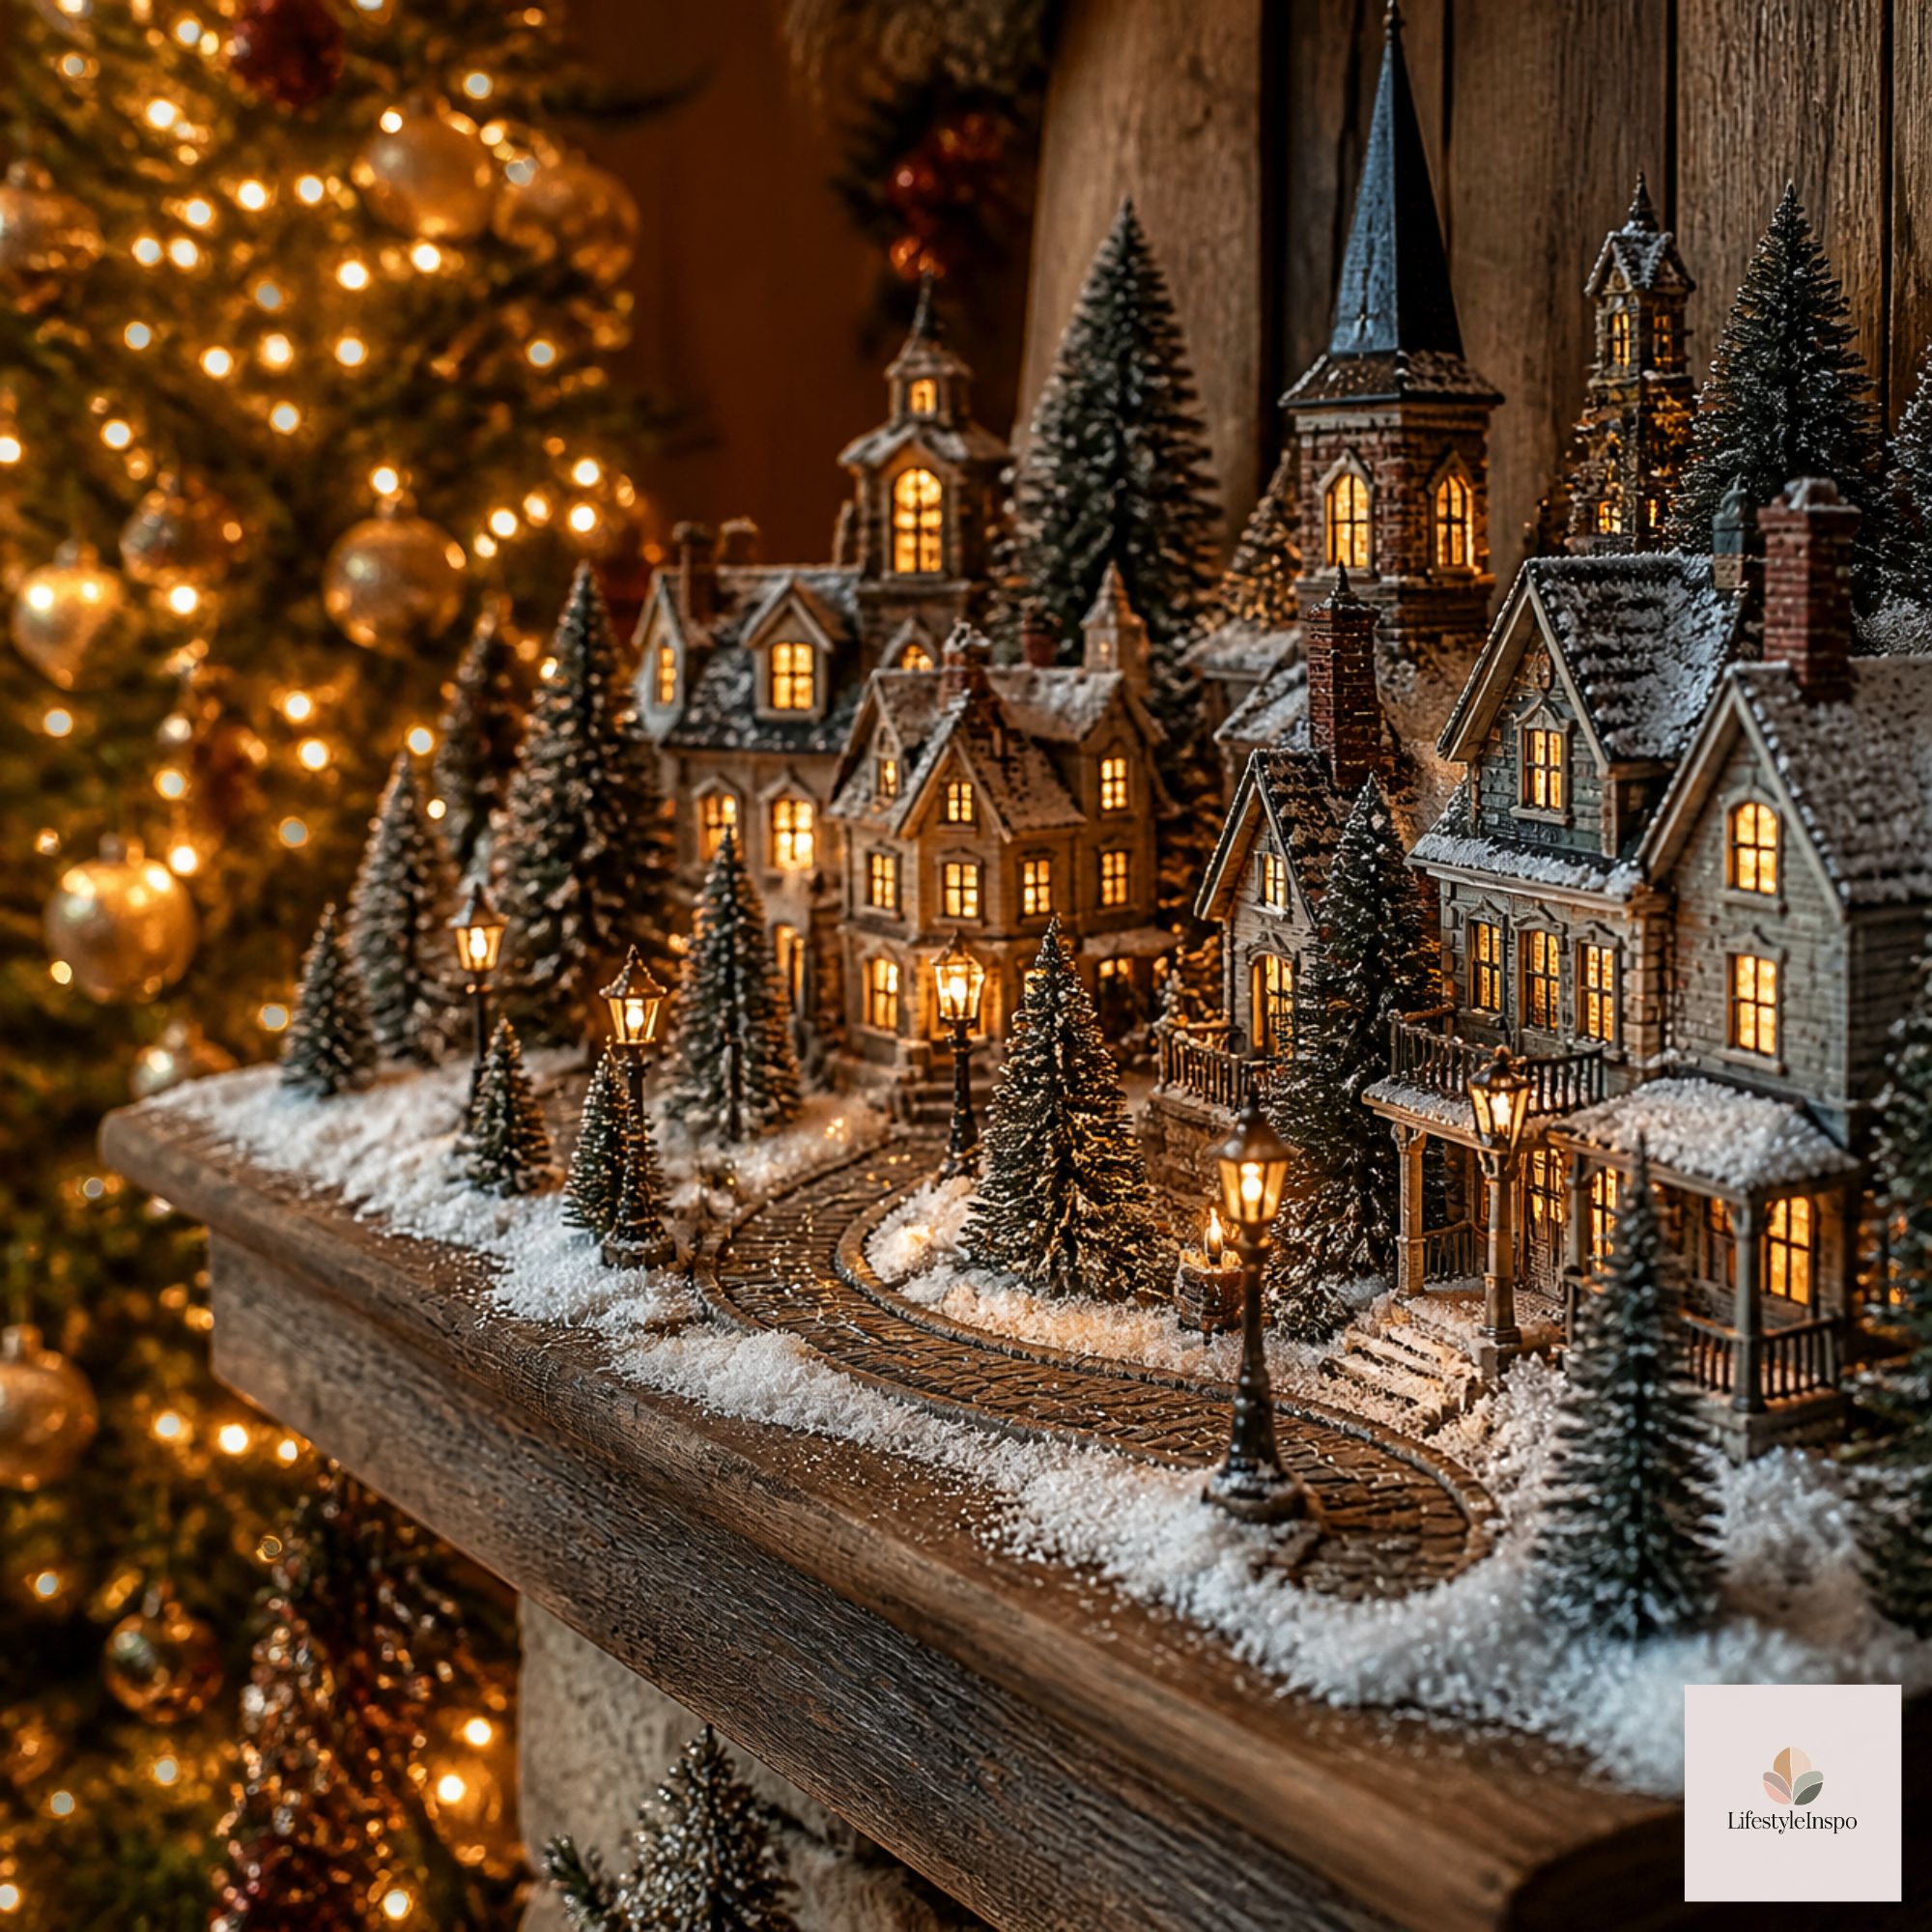
Step 1: Choose Your Location
Where you place your village affects how you build it. Think about:
- Visibility: Choose a spot where people will see it and enjoy it.
- Power: Lighted pieces need outlets, so keep a power strip within reach.
- Space: Measure the surface so you know how many pieces you can fit.
- Safety: Keep it away from heat sources, and out of reach of curious pets or small children.
- Depth: A deeper surface lets you create layers, while a narrow shelf calls for a single row.
Popular spots include mantels, long console tables, bookshelves, and the top of a piano or sideboard.
Step 2: Start With Your Houses
Houses are the heart of the village, so begin there. A set of lighted Christmas village houses gives you a ready-made starting point, with matching styles that look cohesive together. Check the listing for the number of pieces, their sizes, and how they’re powered, so you can plan your layout.
→ Shop it: Lighted Christmas village houses
How to arrange them:
- Place the largest pieces in the back, and smaller ones in front. This creates depth.
- Vary the heights. A mix of tall and short buildings feels natural.
- Angle a few pieces slightly, so the village feels like a real, organic town.
- Leave small gaps for paths, trees, and figures.
A common mistake is lining everything up in a perfectly straight row. A little irregularity makes the scene feel more charming.
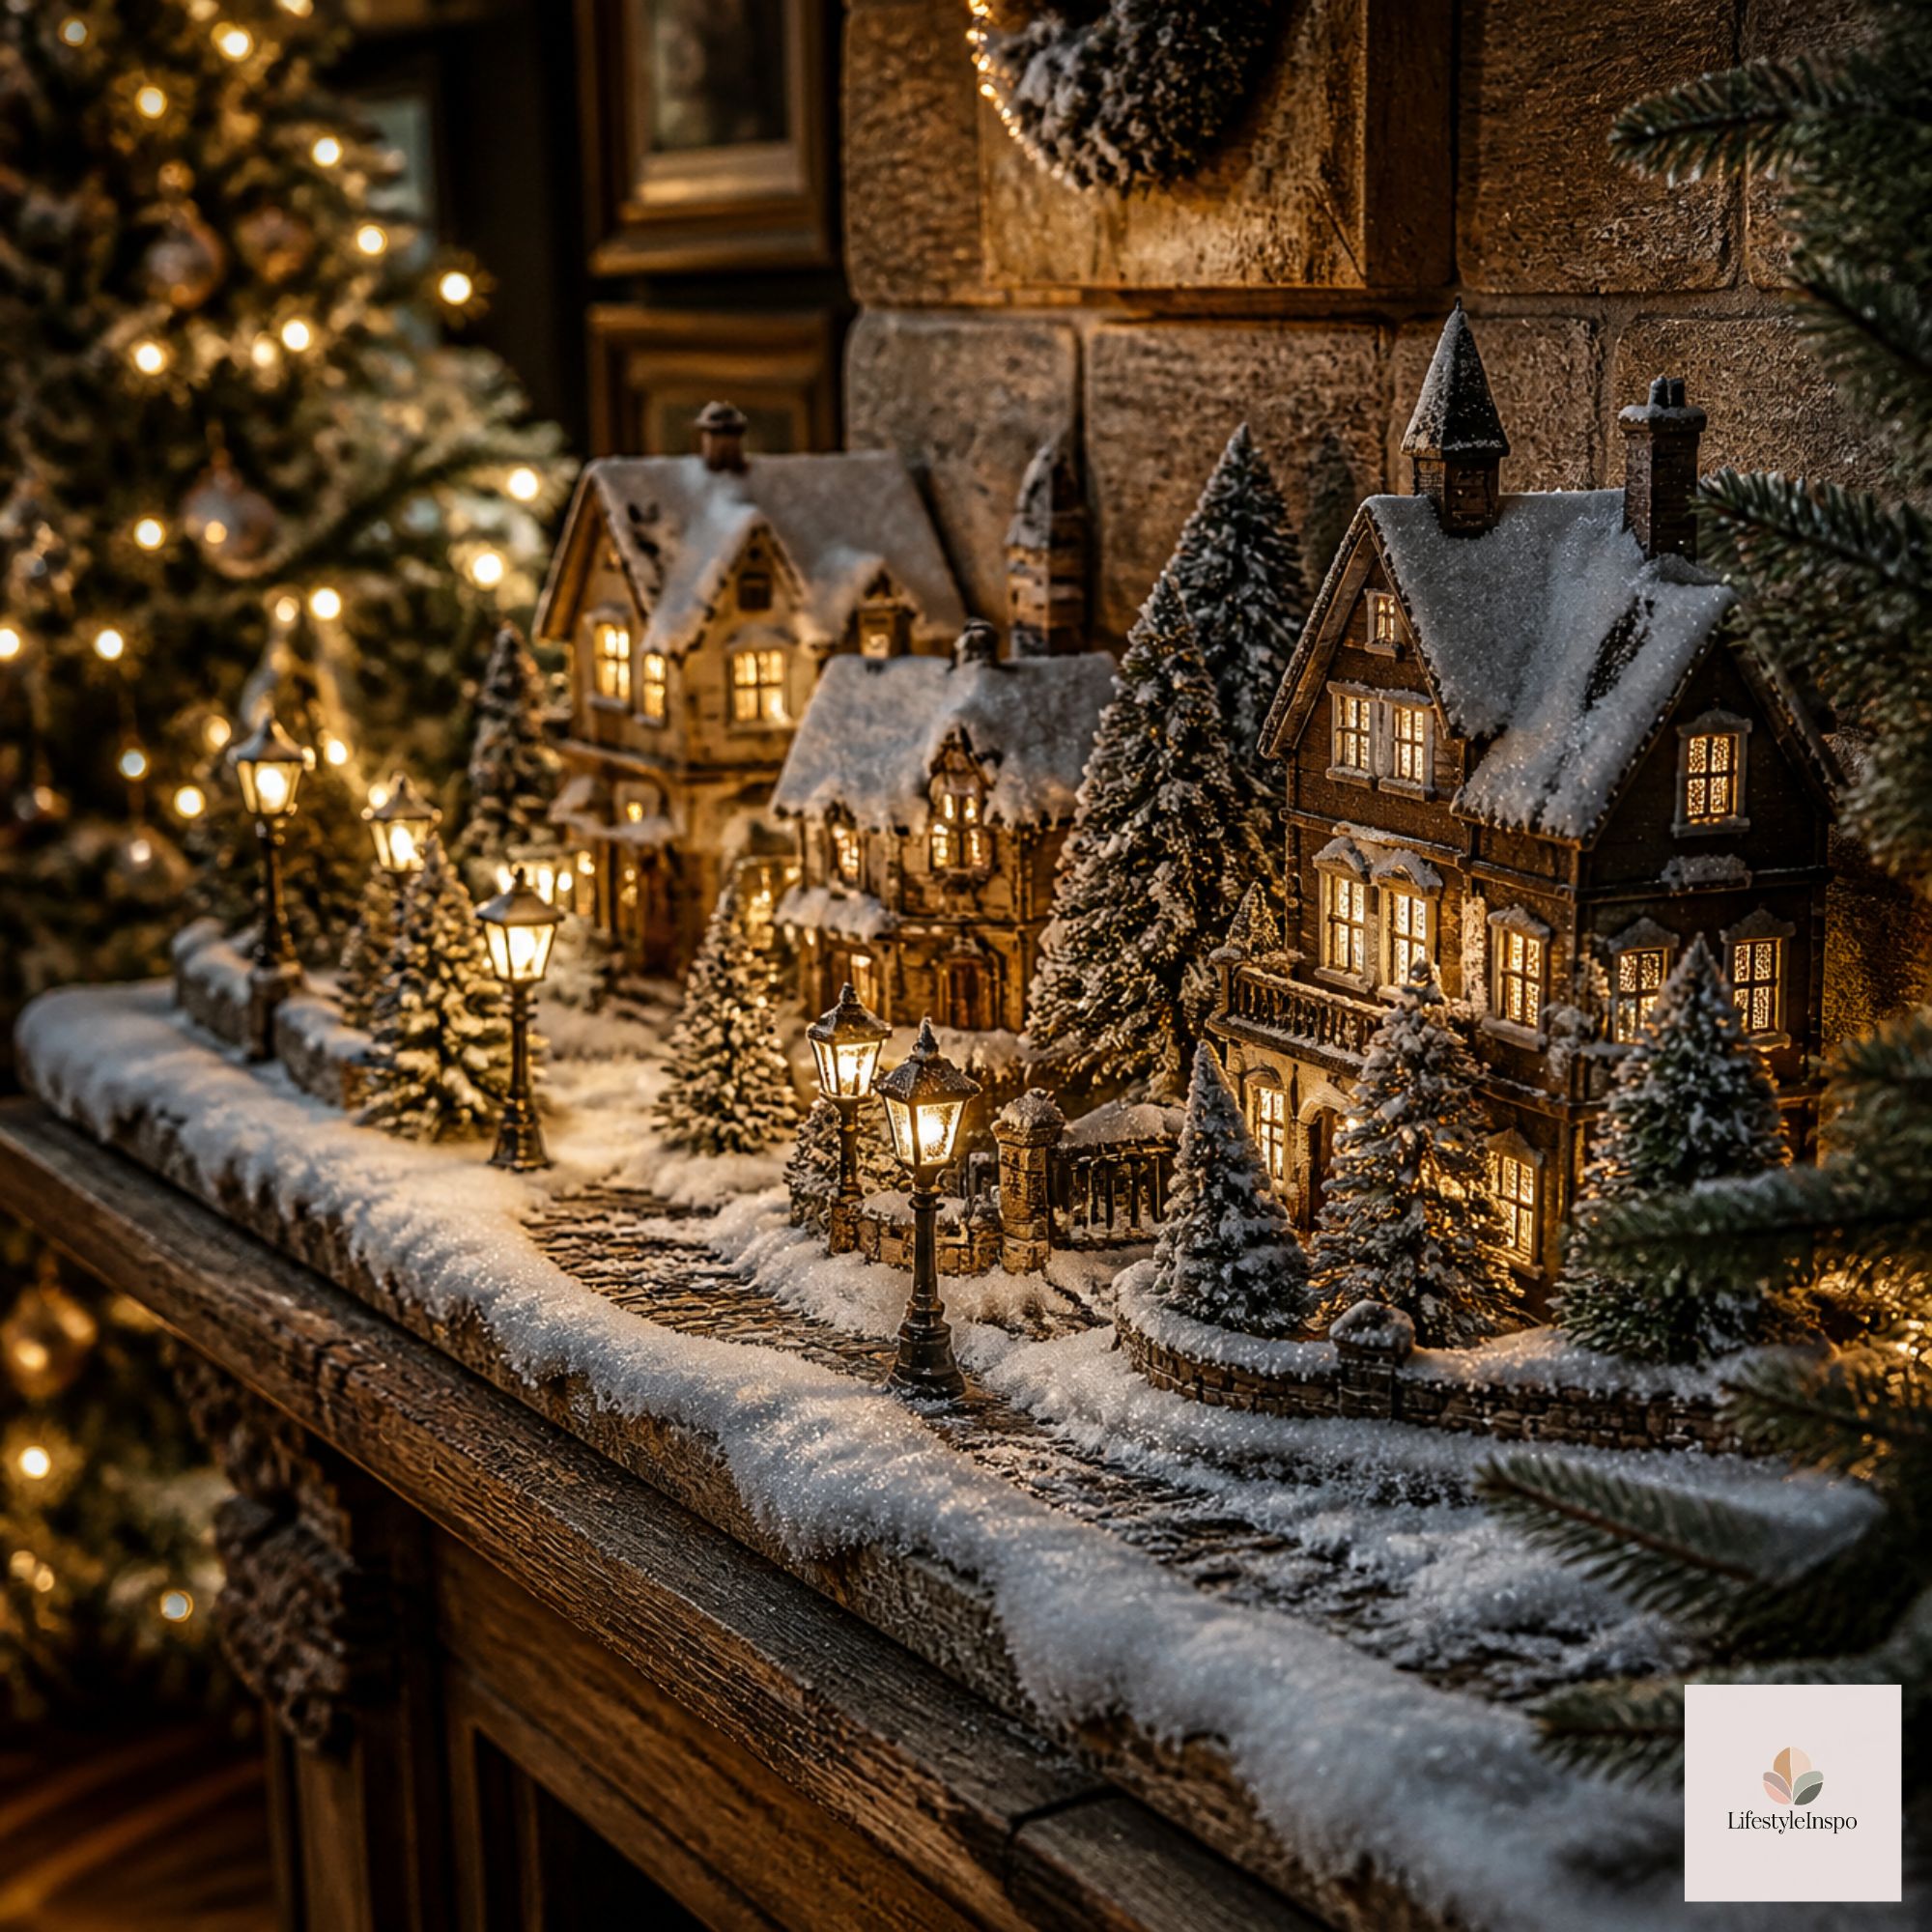
Step 3: Build Levels for Depth
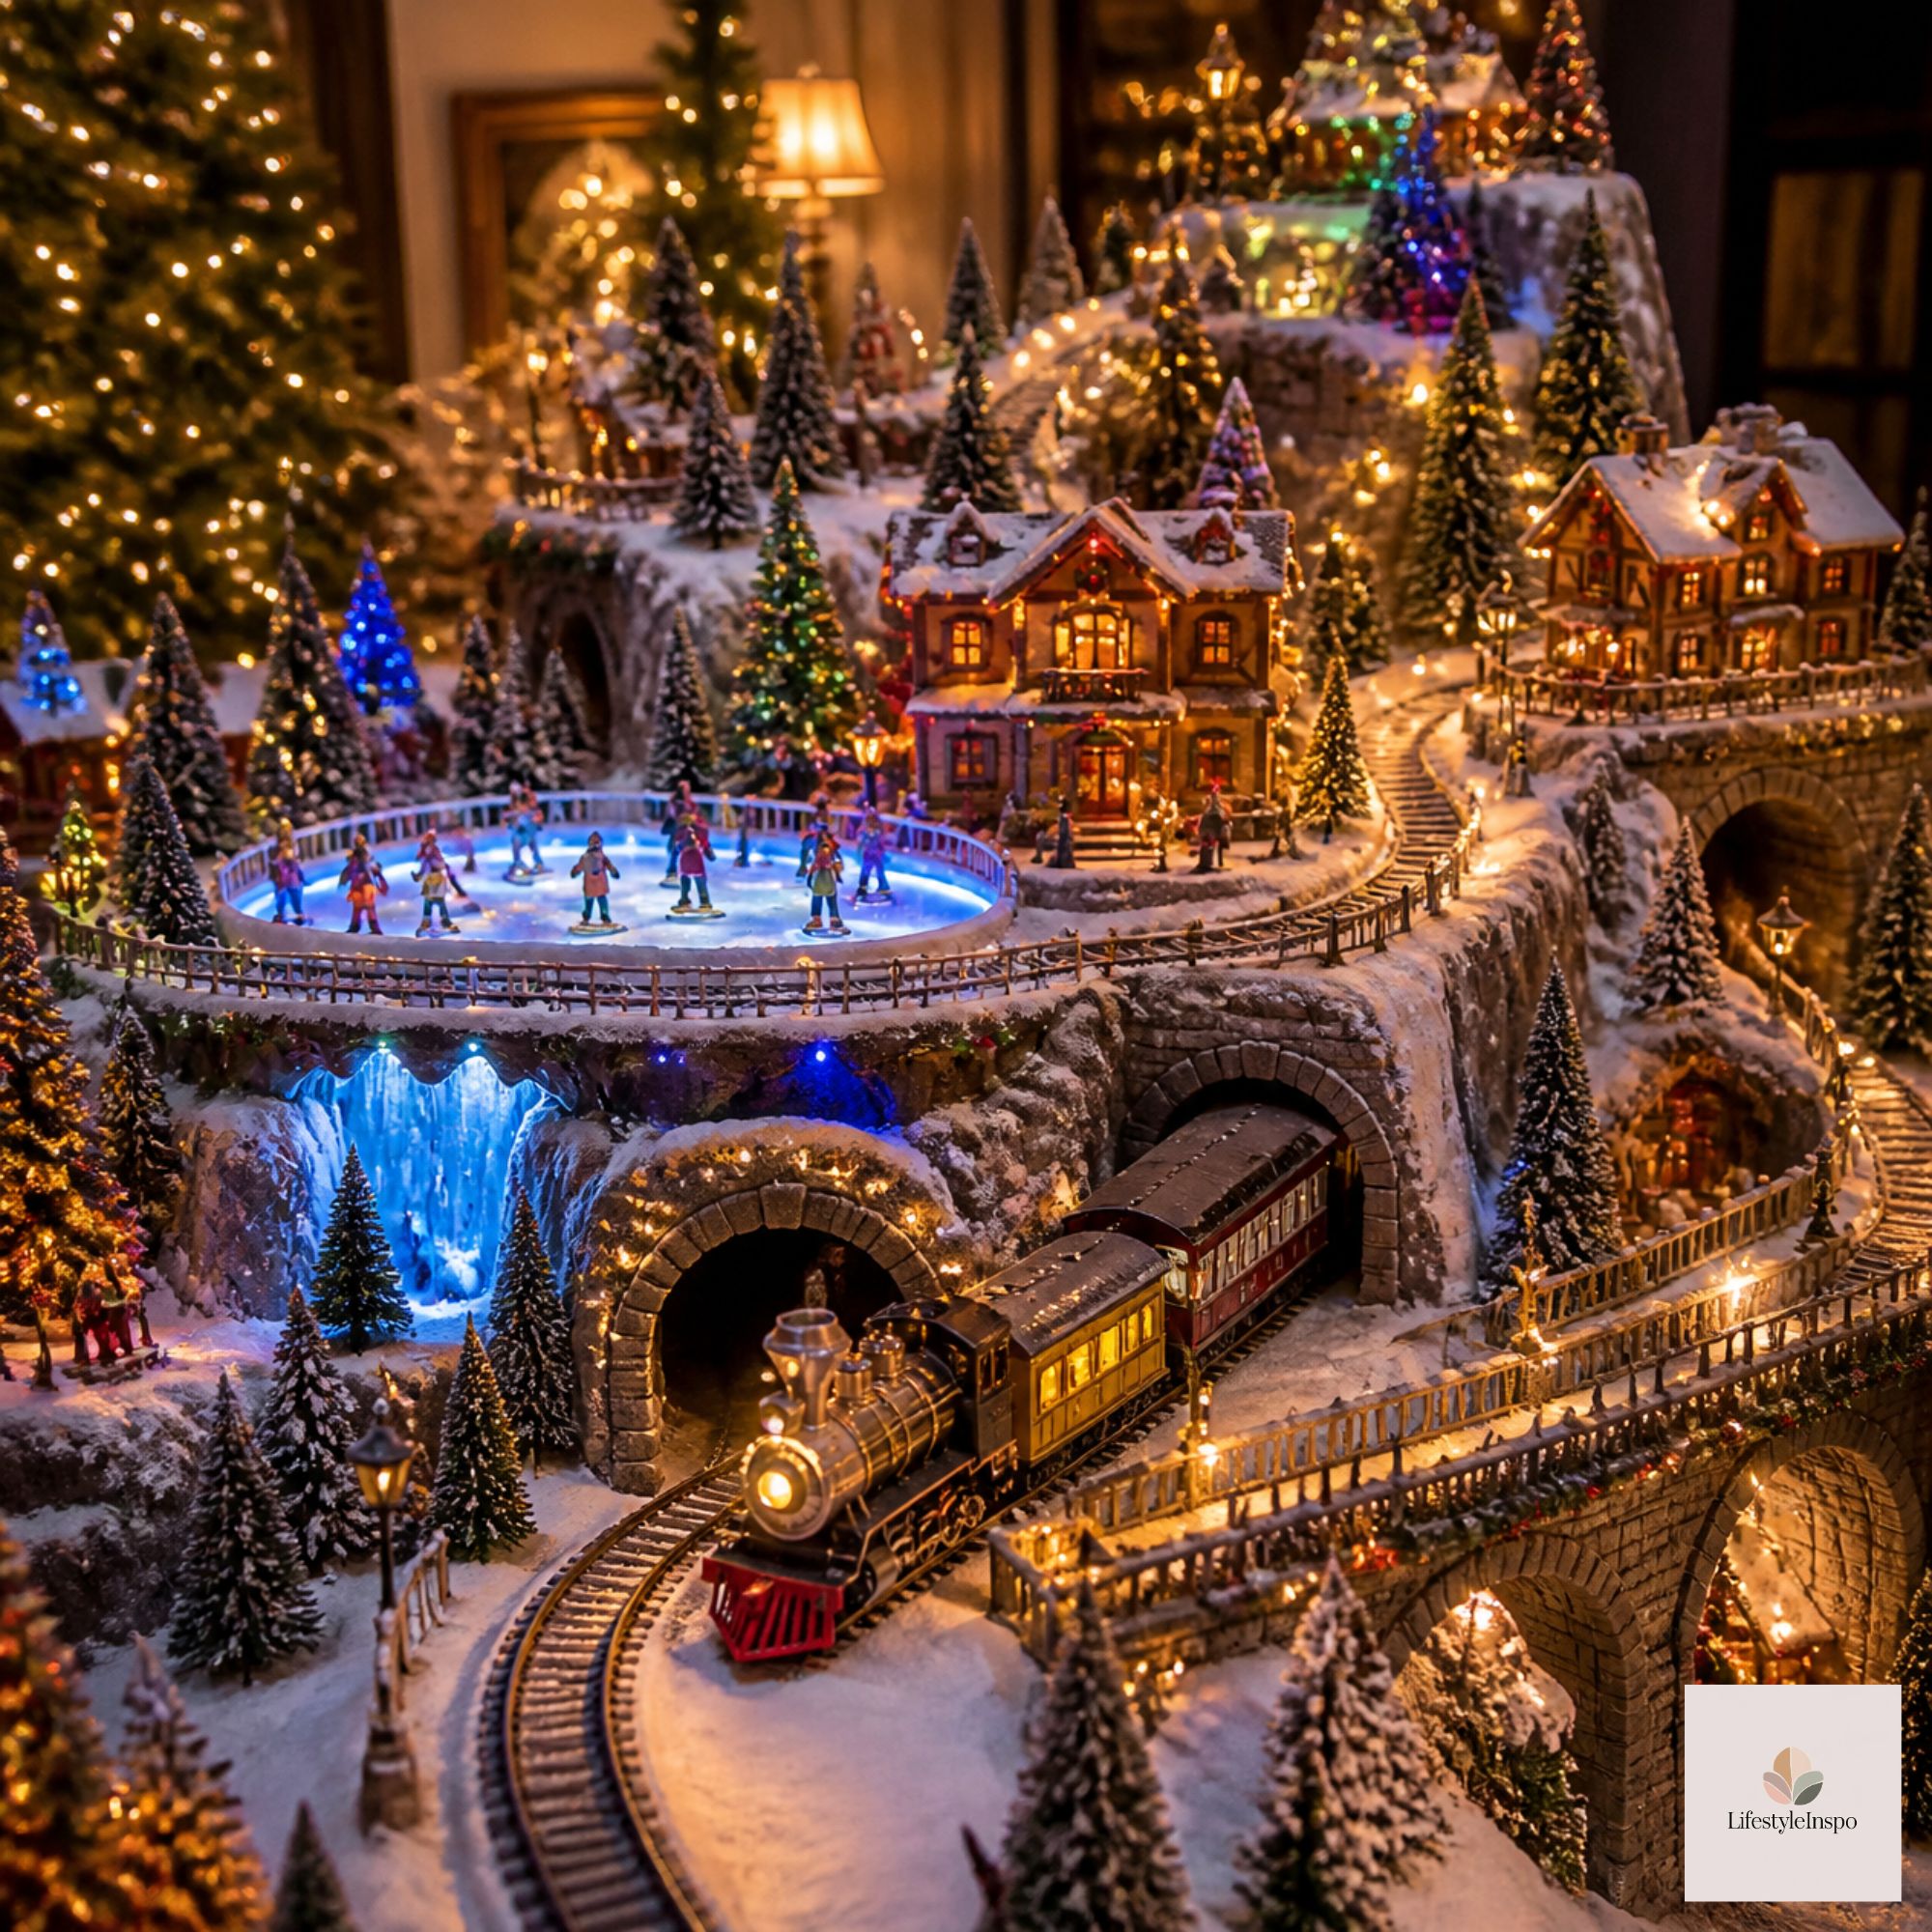
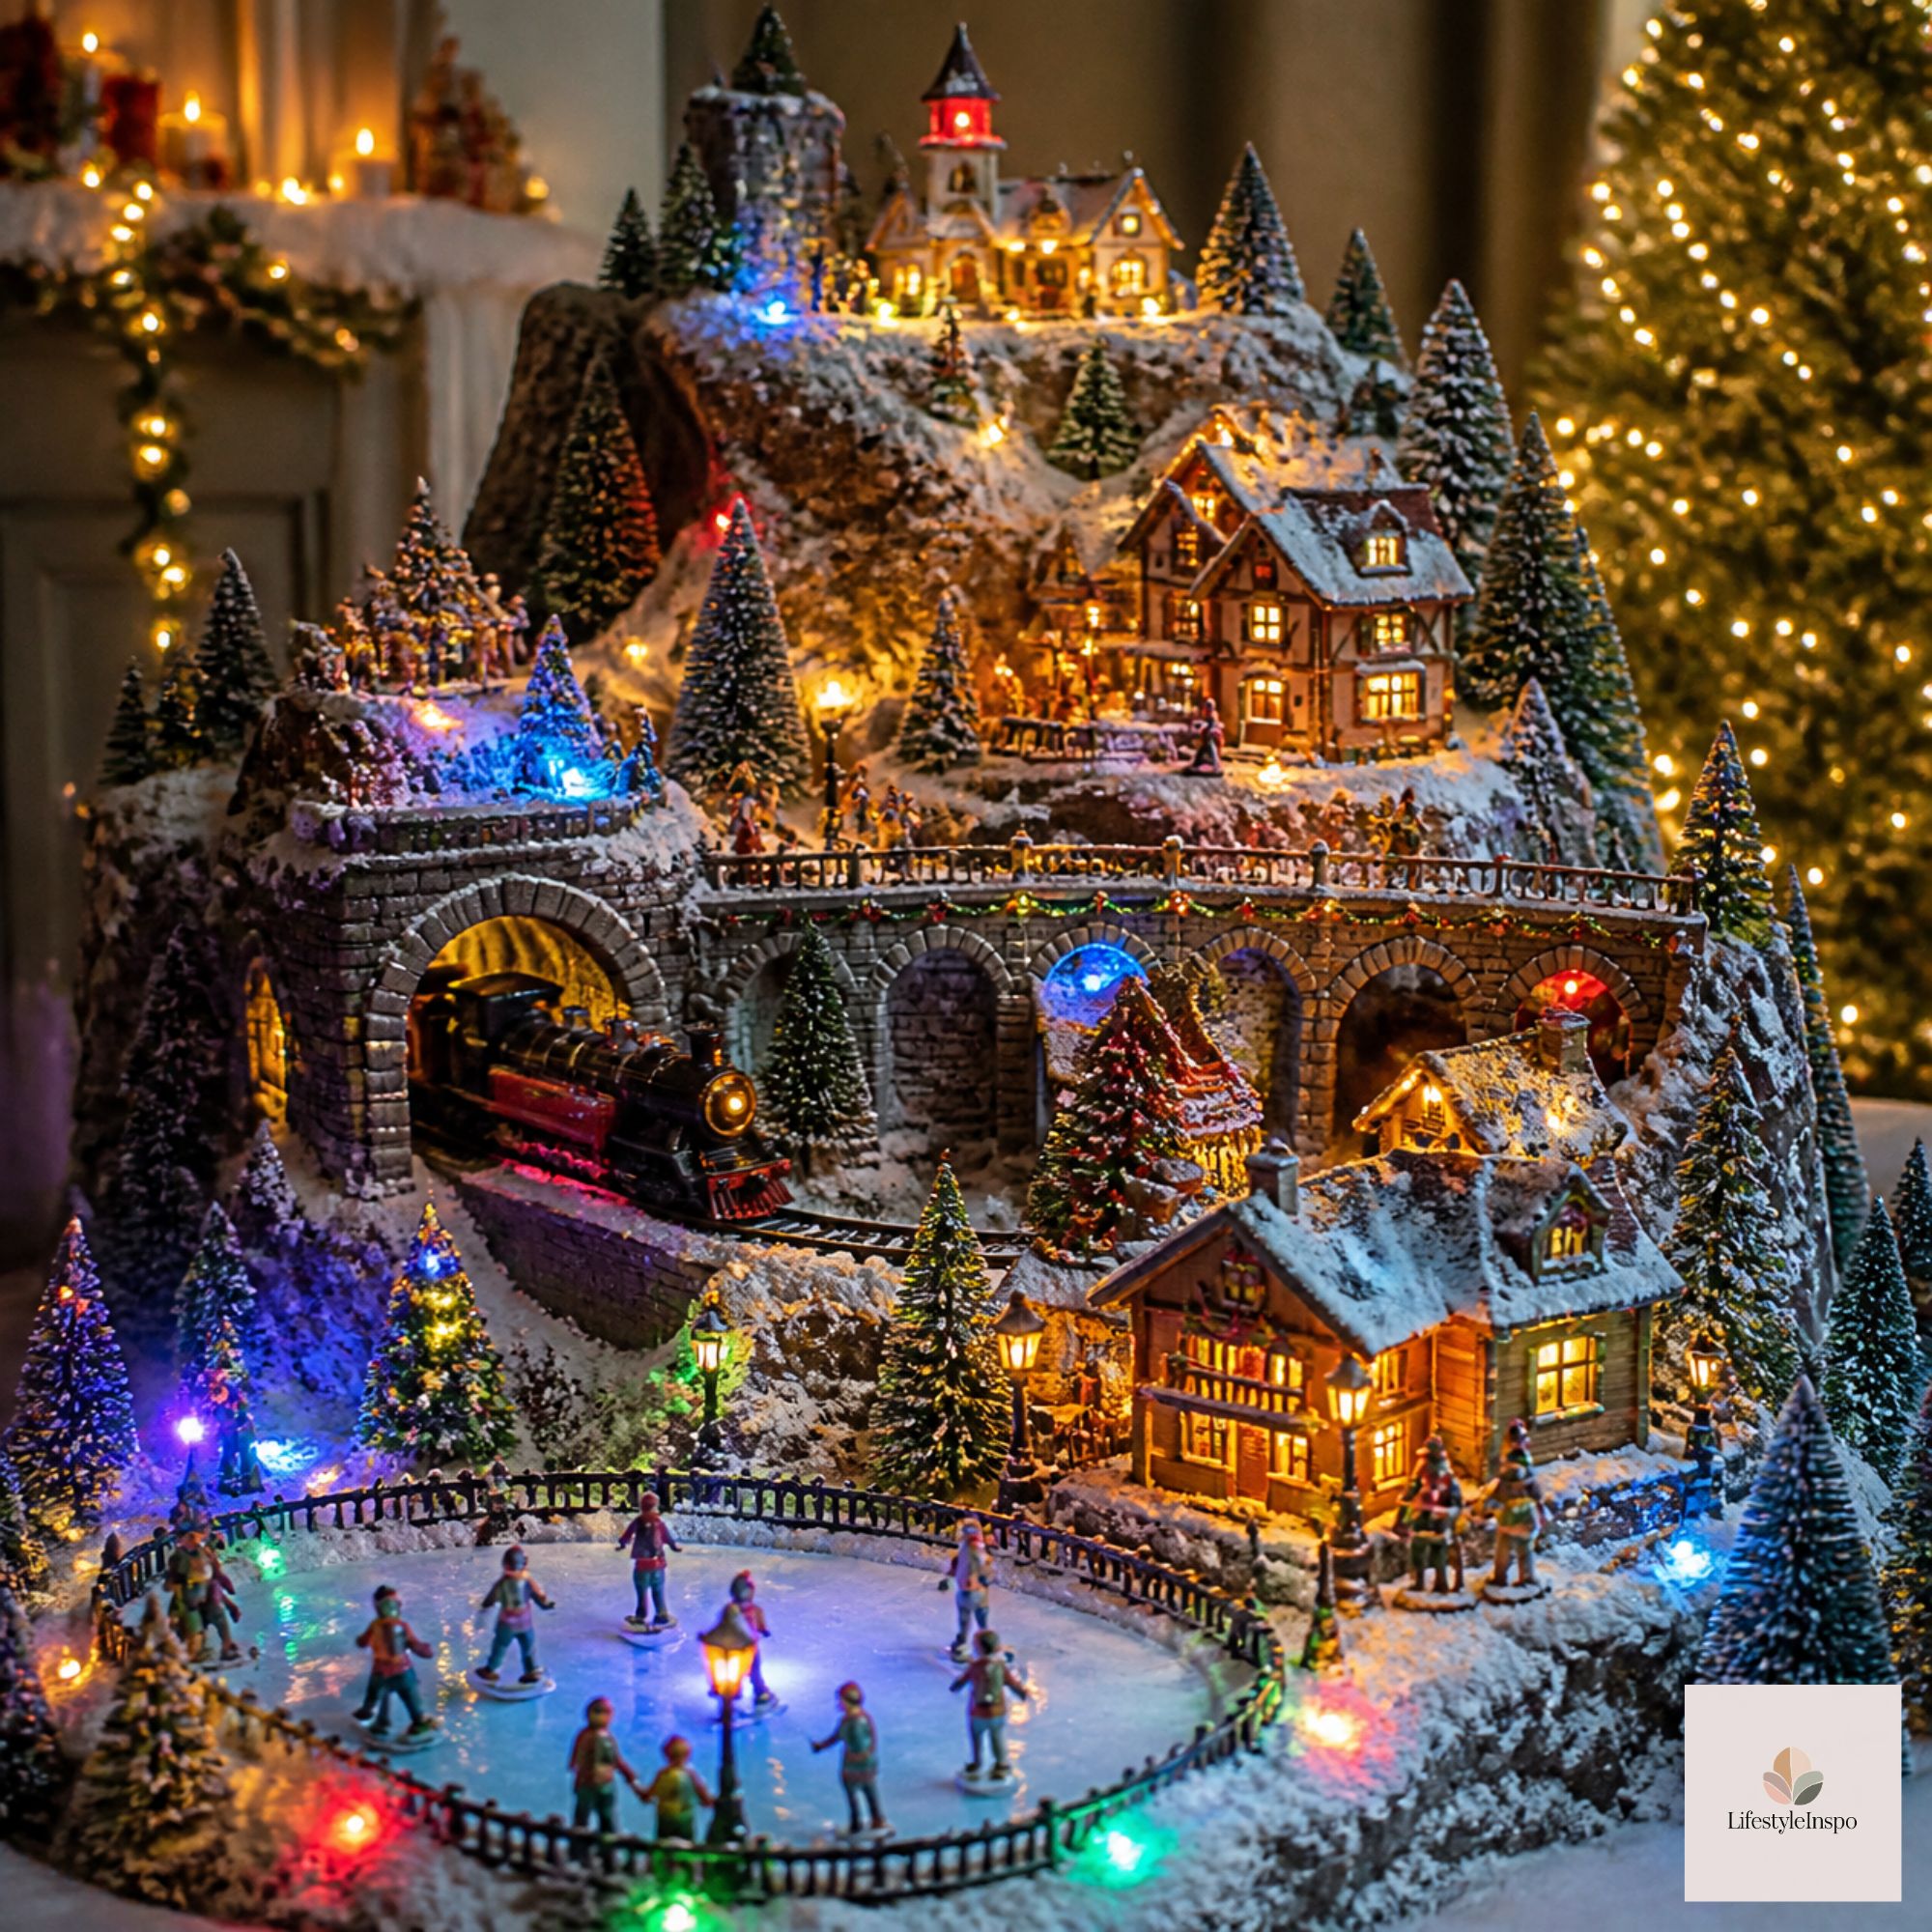
One of the secrets of a showstopping village is height. Flat displays look like a row of toys, while layered ones look like a landscape.
Easy ways to create levels:
- Use boxes or risers. Place them under a cloth or snow blanket.
- Stack books beneath the fabric for gentle hills.
- Use shelves or tiered stands to build multiple tiers.
- Place buildings on cake stands for a mini-mountain look.
Cover everything with white batting, a cotton blanket, or faux snow to create a smooth, continuous landscape. Tuck the edges underneath so the structure disappears.
Step 4: Add Snow and Landscaping
Snow transforms a group of houses into a winter scene.
You can use:
- Batting or snow blankets for a soft, smooth surface
- Faux snow flakes or powder for sparkle
- White felt or cotton to create pathways
- Mirror or glass pieces to make a frozen pond
Add greenery to make the scene look alive. A short length of Christmas garland can wrap around the back of the display like a forest, and small trees dotted between the houses give the village depth and variety.
→ Shop it: Christmas garland pre-lit for mantel
Check the garland’s length and power details, so it fits your layout and doesn’t strain your outlets.
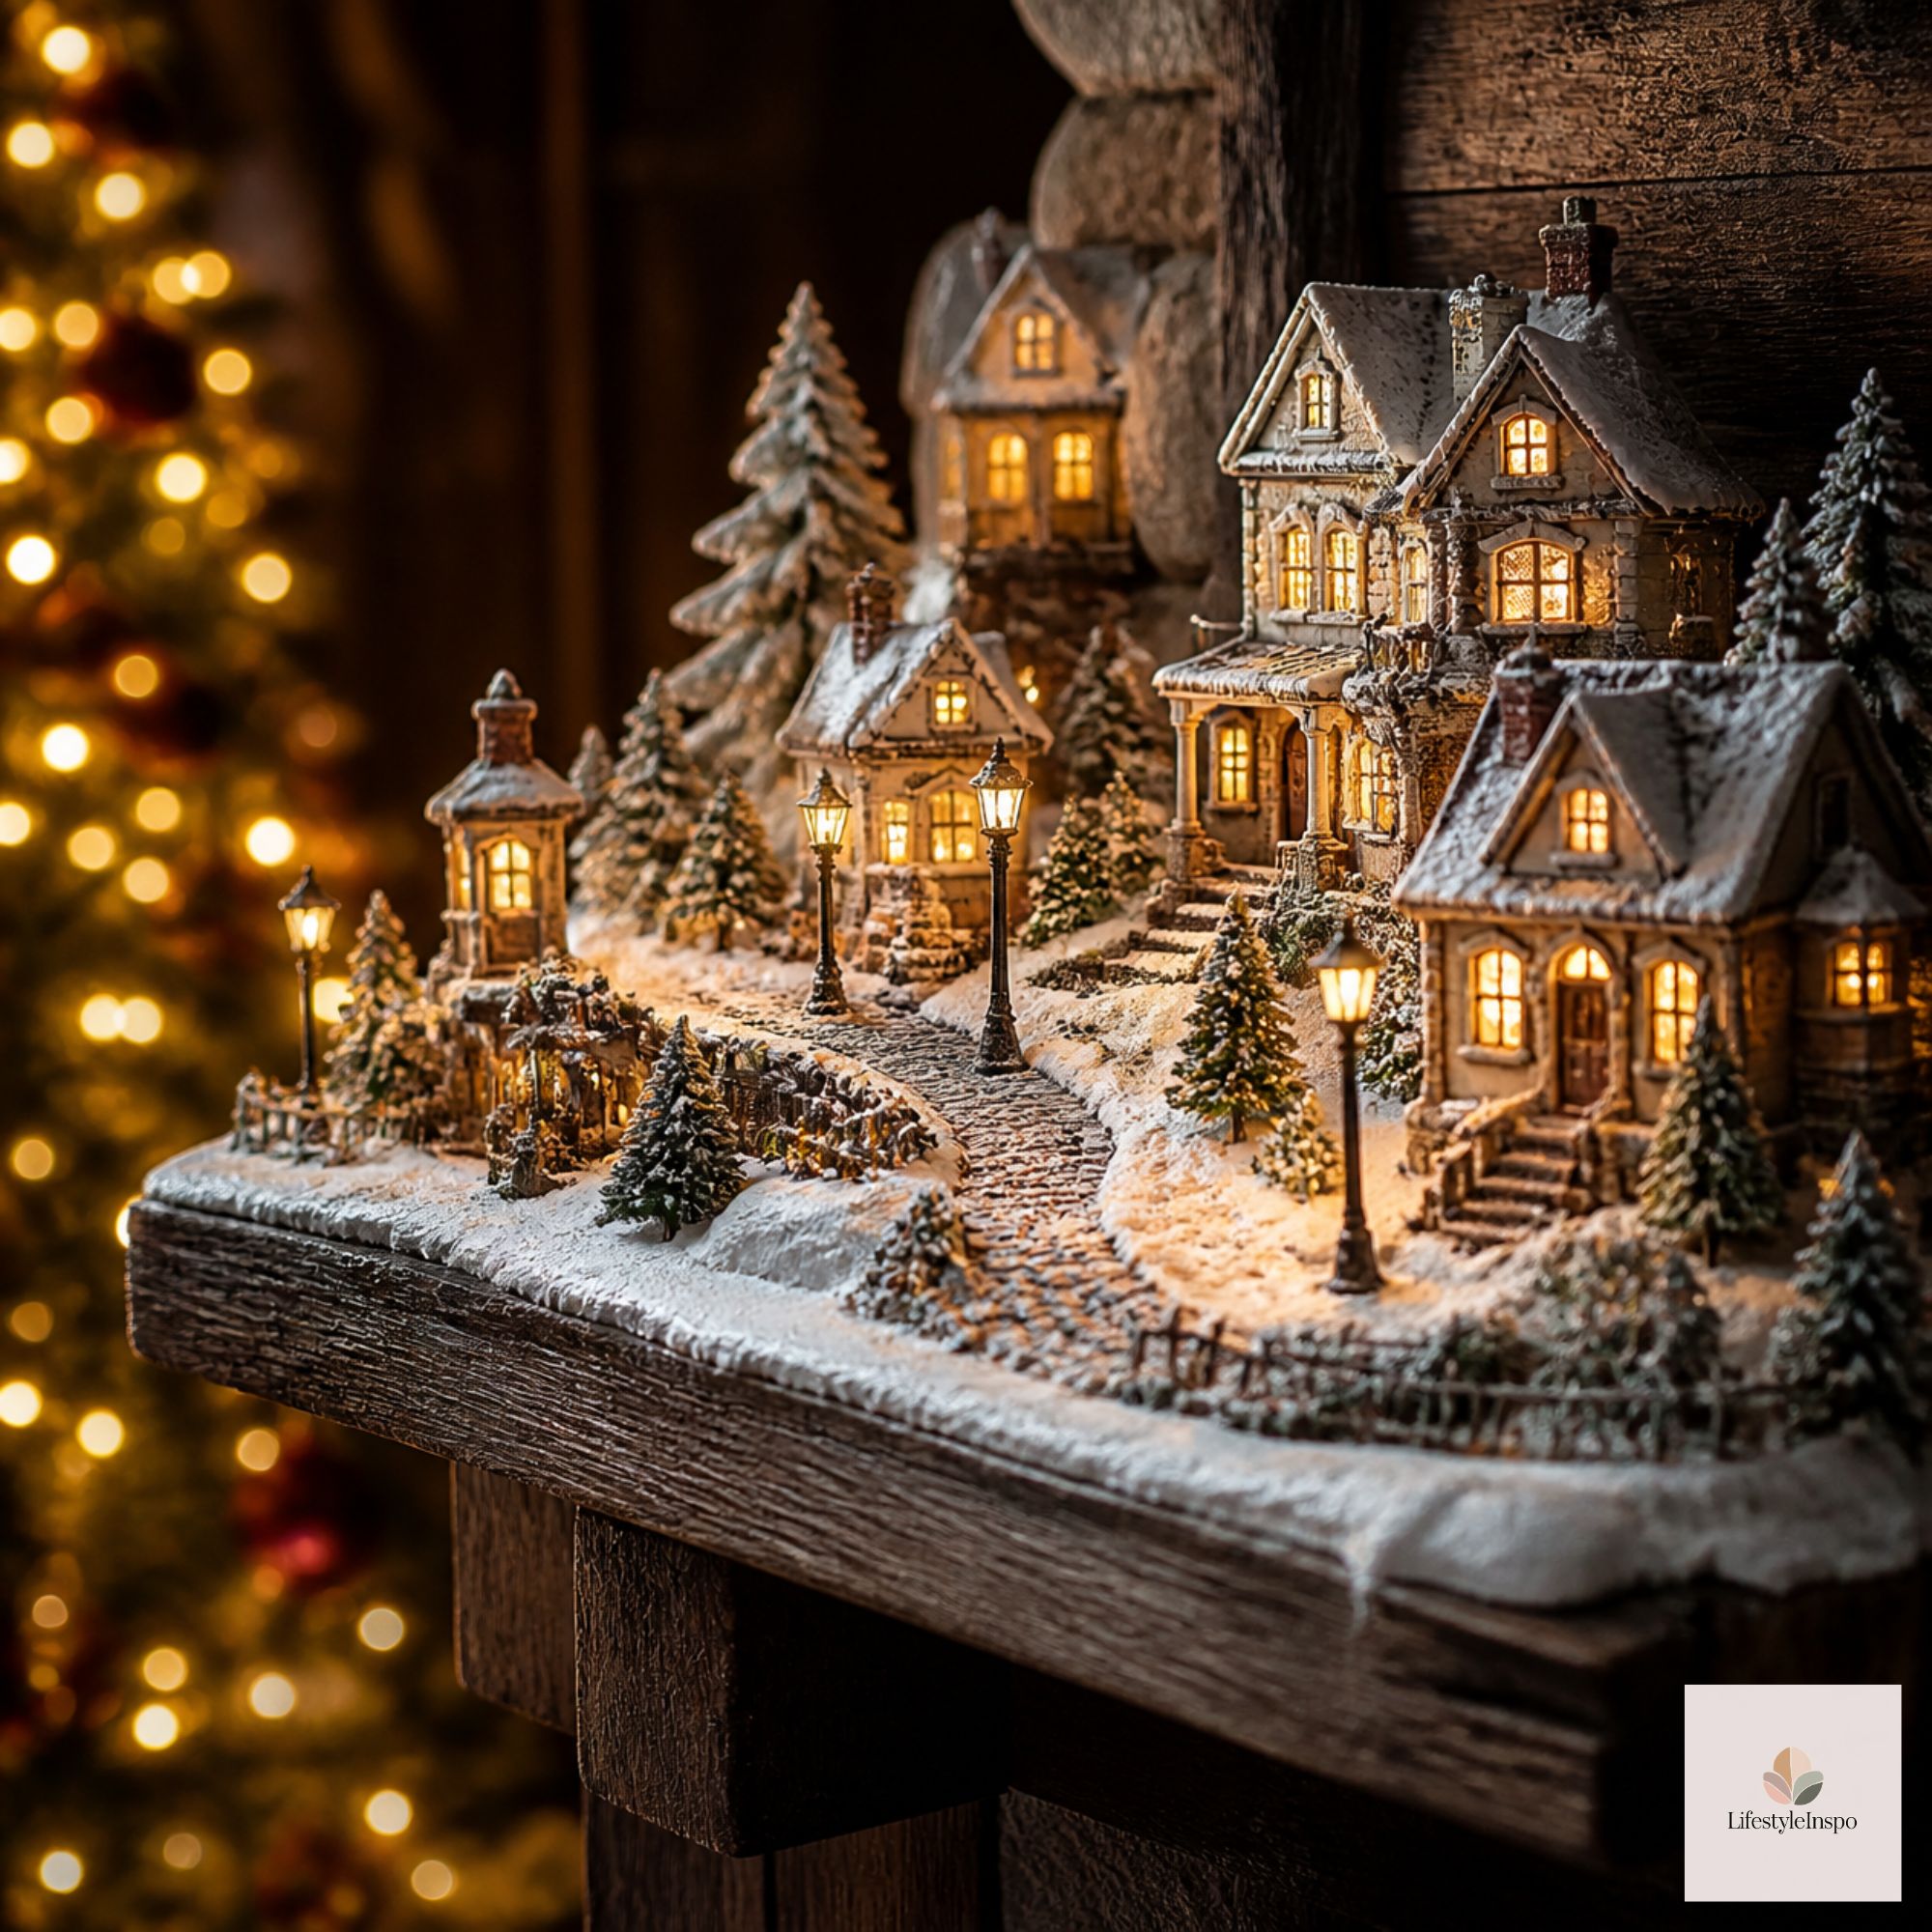
Step 5: Add Magic With Lighting
Lighting is what takes a village from “cute” to “wow.” The houses glow from within, but you can add more layers to deepen the effect.
A strand of warm white fairy lights tucked into the greenery behind the village adds a twinkling backdrop, like stars above the rooftops. You can also hide small lights under the snow to create glowing pathways.
→ Shop it: Warm white fairy string lights
Lighting tips:
- Hide the cords. Run them behind the display or under the snow.
- Use a power strip with a switch so you can turn everything on at once.
- Use a timer. It makes the display glow on schedule.
- Dim the room. The village looks best in soft evening light.
Step 6: Fill the Village With Life
Now for the fun part: the details that make the scene feel real.
Add:
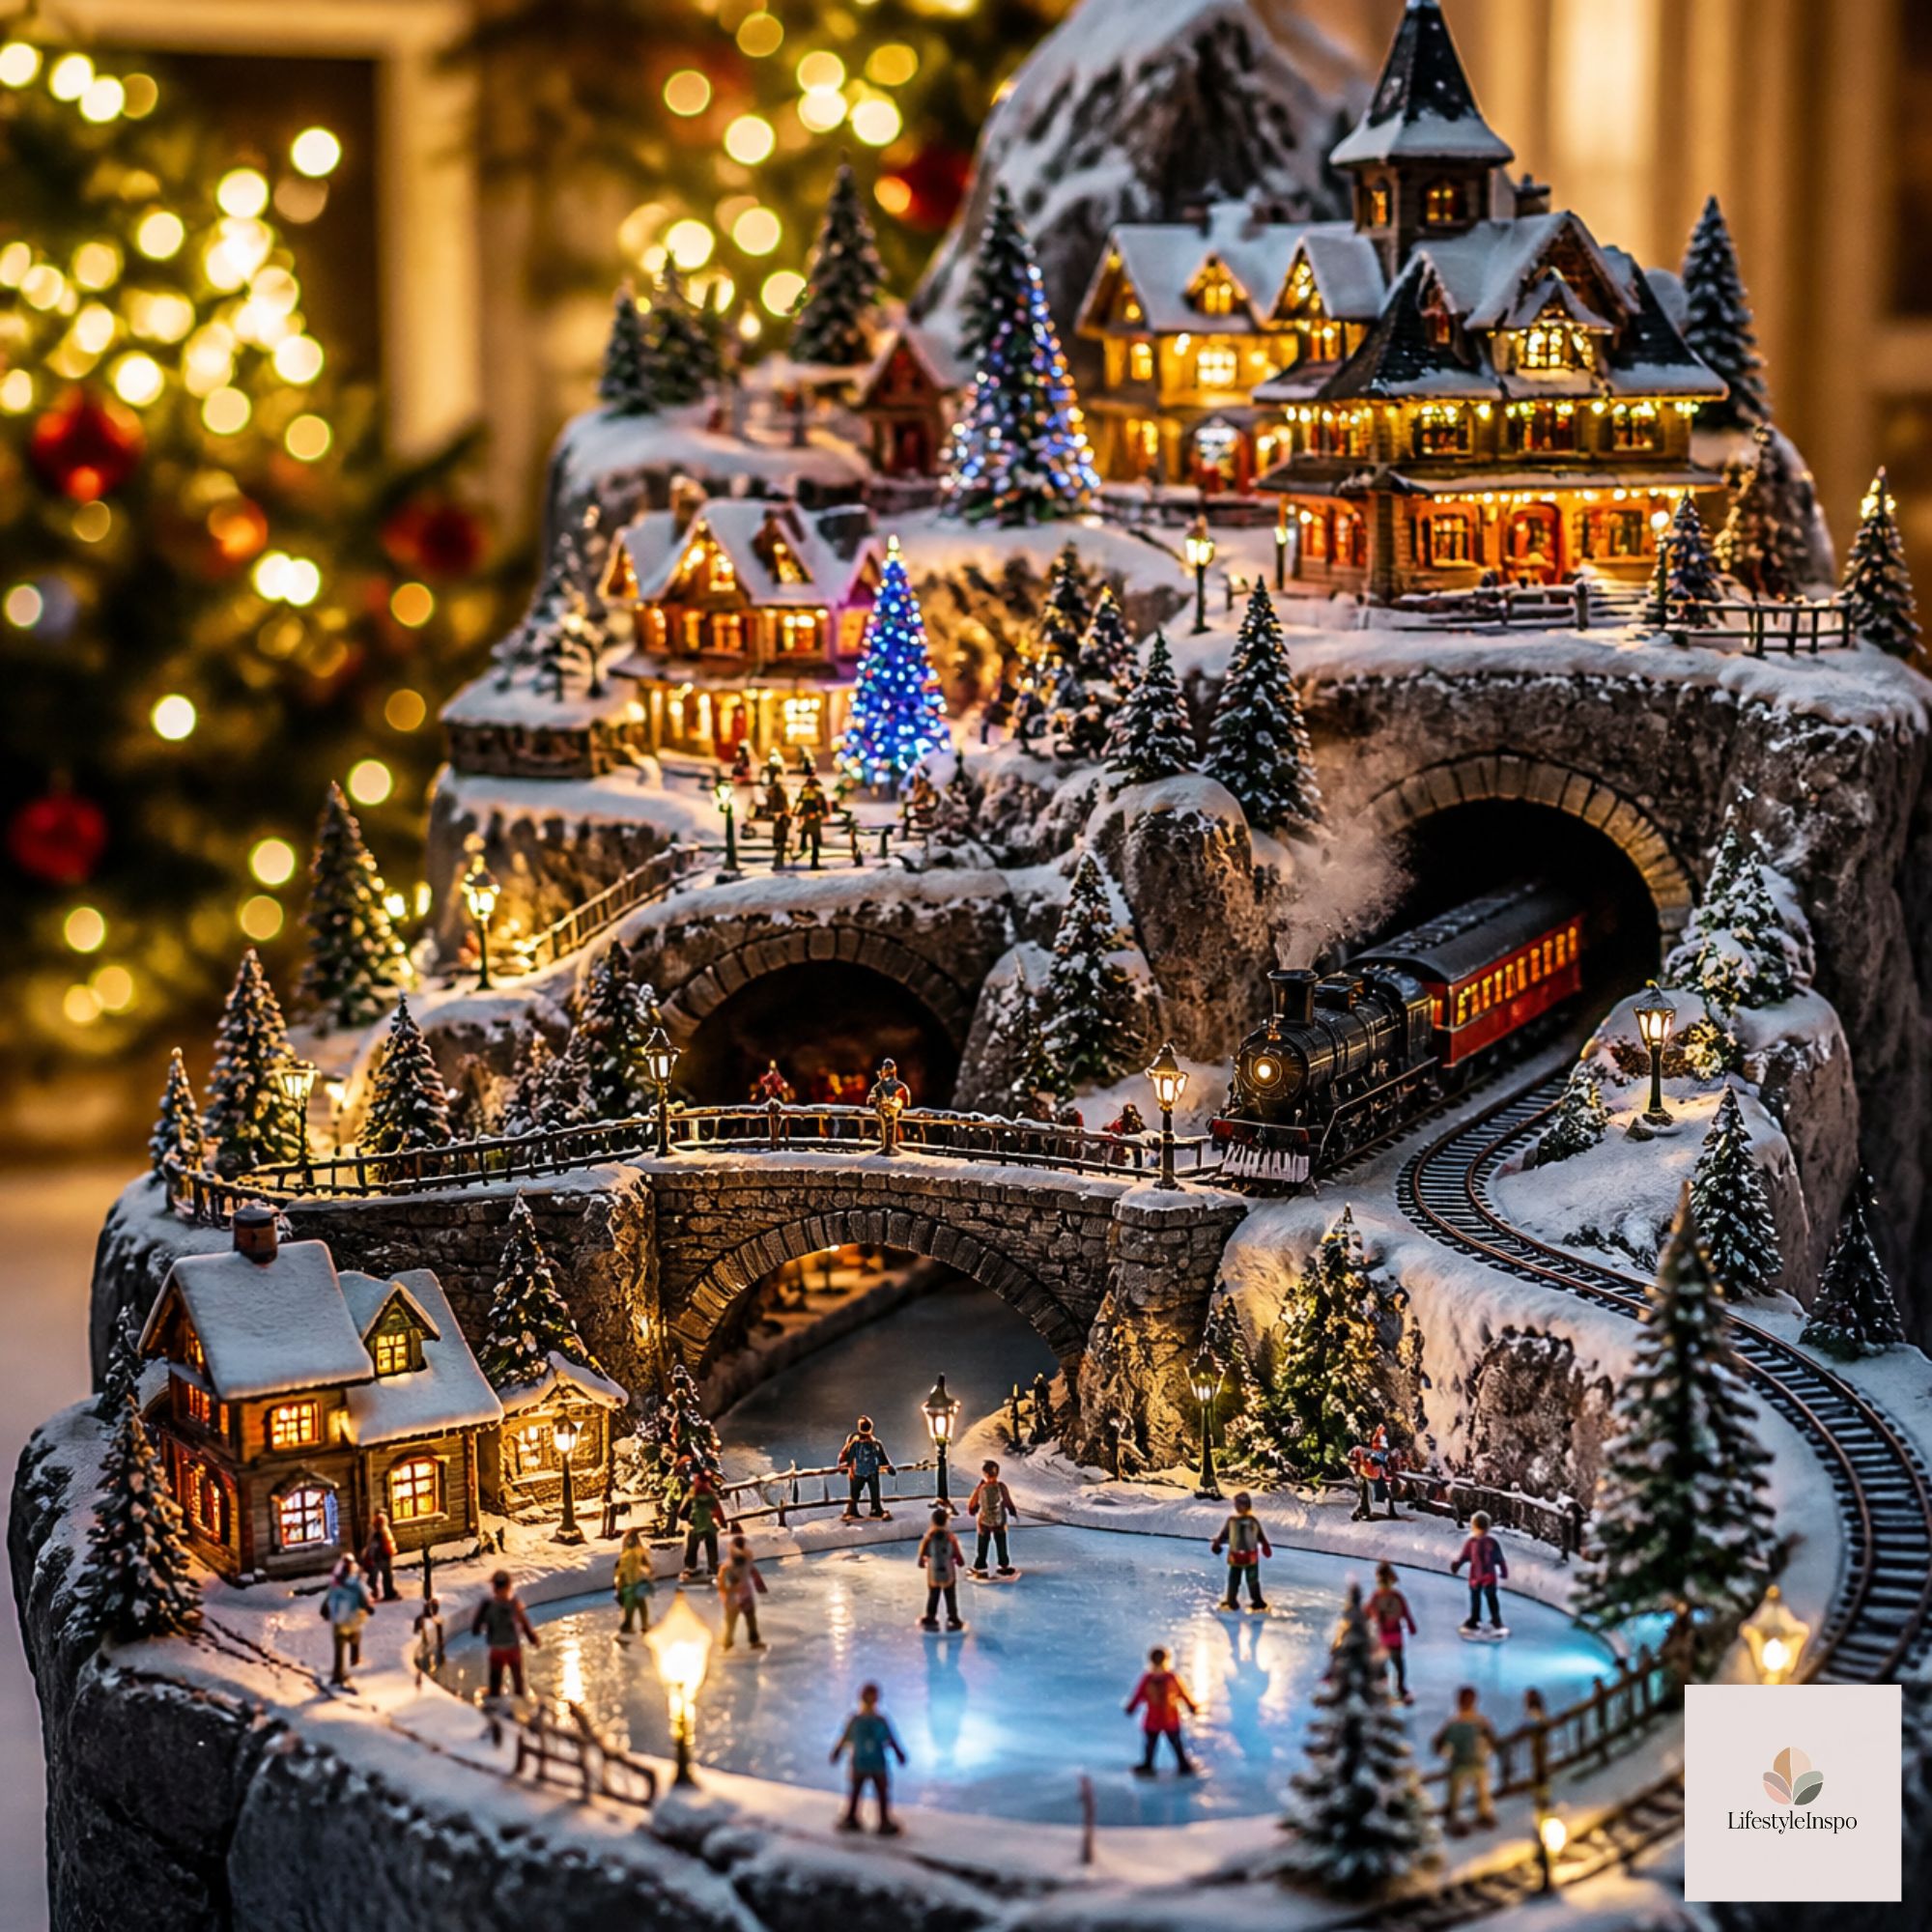
- Figures: Skaters, carolers, shoppers, and families
- Vehicles: A sleigh, a train, or a little truck
- Trees: Different sizes and shapes of evergreens
- Accessories: Fences, streetlamps, benches, and signs
- Animals: Reindeer, sheep, or a snowman family
Place figures in groups, rather than evenly spaced. A cluster of carolers near the church or a family by the Christmas tree stall creates mini-stories that make people look twice.
Step 7: Create a Story
The best villages have a narrative. Think about what’s happening in your town.
- A busy market day: shops open, shoppers hurrying, a tree being carried
- A winter festival: skaters on the pond, carolers by the church
- A quiet evening: a few glowing windows, a lamplit path, soft snow
- A holiday parade: a sleigh, a band, and a crowd gathering
Even if you don’t tell anyone the story, it will guide your choices, and the display will feel more cohesive.
Village Display Ideas for Different Spaces
On a Mantel
Use a single row of buildings with a garland behind them. Keep it simple and low so it doesn’t block the wall decor.
On a Console Table
Build two or three levels with risers, and add lights behind for a glowing effect.
On a Bookshelf
Use each shelf for a different scene, like a village, a forest, and a lake.
On a Dedicated Table
Create a full landscape with hills, a pond, and winding paths. This is the best option for a large collection.
In a Small Apartment
Use a window ledge or a narrow shelf with three or four houses. Even a tiny village is charming.
Village Safety and Care Tips
- Check the cords and bulbs before each season.
- Never leave the village running unattended for long periods. Use a timer.
- Keep it away from open flames and heaters.
- Handle pieces gently. Many are fragile.
- Store each piece in its original box or wrap in tissue paper to prevent chips.
- Label your storage bins so setup is quicker next year.
Starting and Growing a Collection
A village is a wonderful long-term tradition. Here’s how to build one over time.
- Start with a theme. Choose a style, like classic, rustic, or modern.
- Add one or two pieces each year. Make it a family tradition to choose a new house together.
- Mix old and new. Combine sentimental pieces with fresh ones.
- Keep a record. Note the year you bought each piece, and take a photo of the display each season.
Over time, your village becomes a story of your family, one little house at a time.
Christmas Village Display FAQ
How many houses do I need for a village?
You can start with just three or four. A small group looks charming, and you can always add more later.
How do I hide the cords?
Run them behind the display, under the snow blanket, or along the back edge of the surface. A power strip tucked behind a riser keeps everything neat.
What can I use for snow?
White batting, cotton blankets, felt, and faux snow all work well. Choose a material that’s fire-resistant and easy to store.
Can I leave my village up all season?
Yes, but use a timer so the lights aren’t on all day, and check the cords and pieces regularly.
Final Thoughts
A Christmas village is a small world you get to create, and it grows with your family over the years. Start with a few houses, add layers of snow and light, and let your imagination fill in the rest.
Turn off the lamps, sit back, and watch it glow. Save this guide for your next display, or share it with a friend who loves tiny, magical things.
About the Author