Halloween Candy Melts: 10 Easy Treat Ideas (No Baking Required)
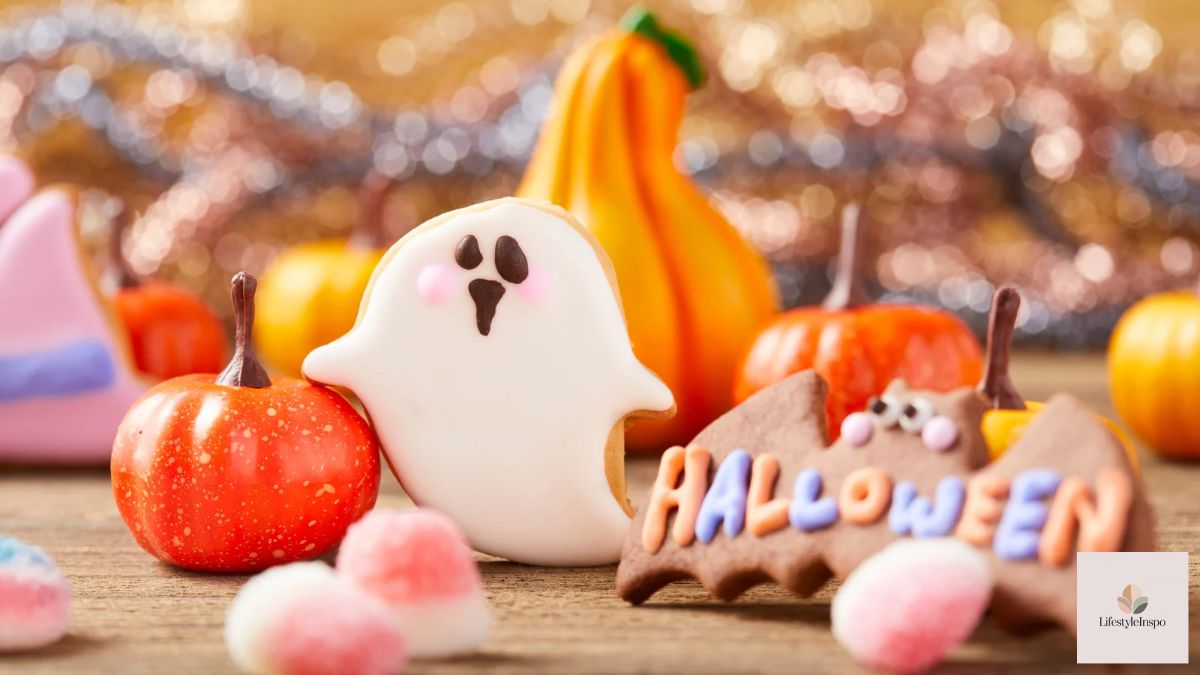
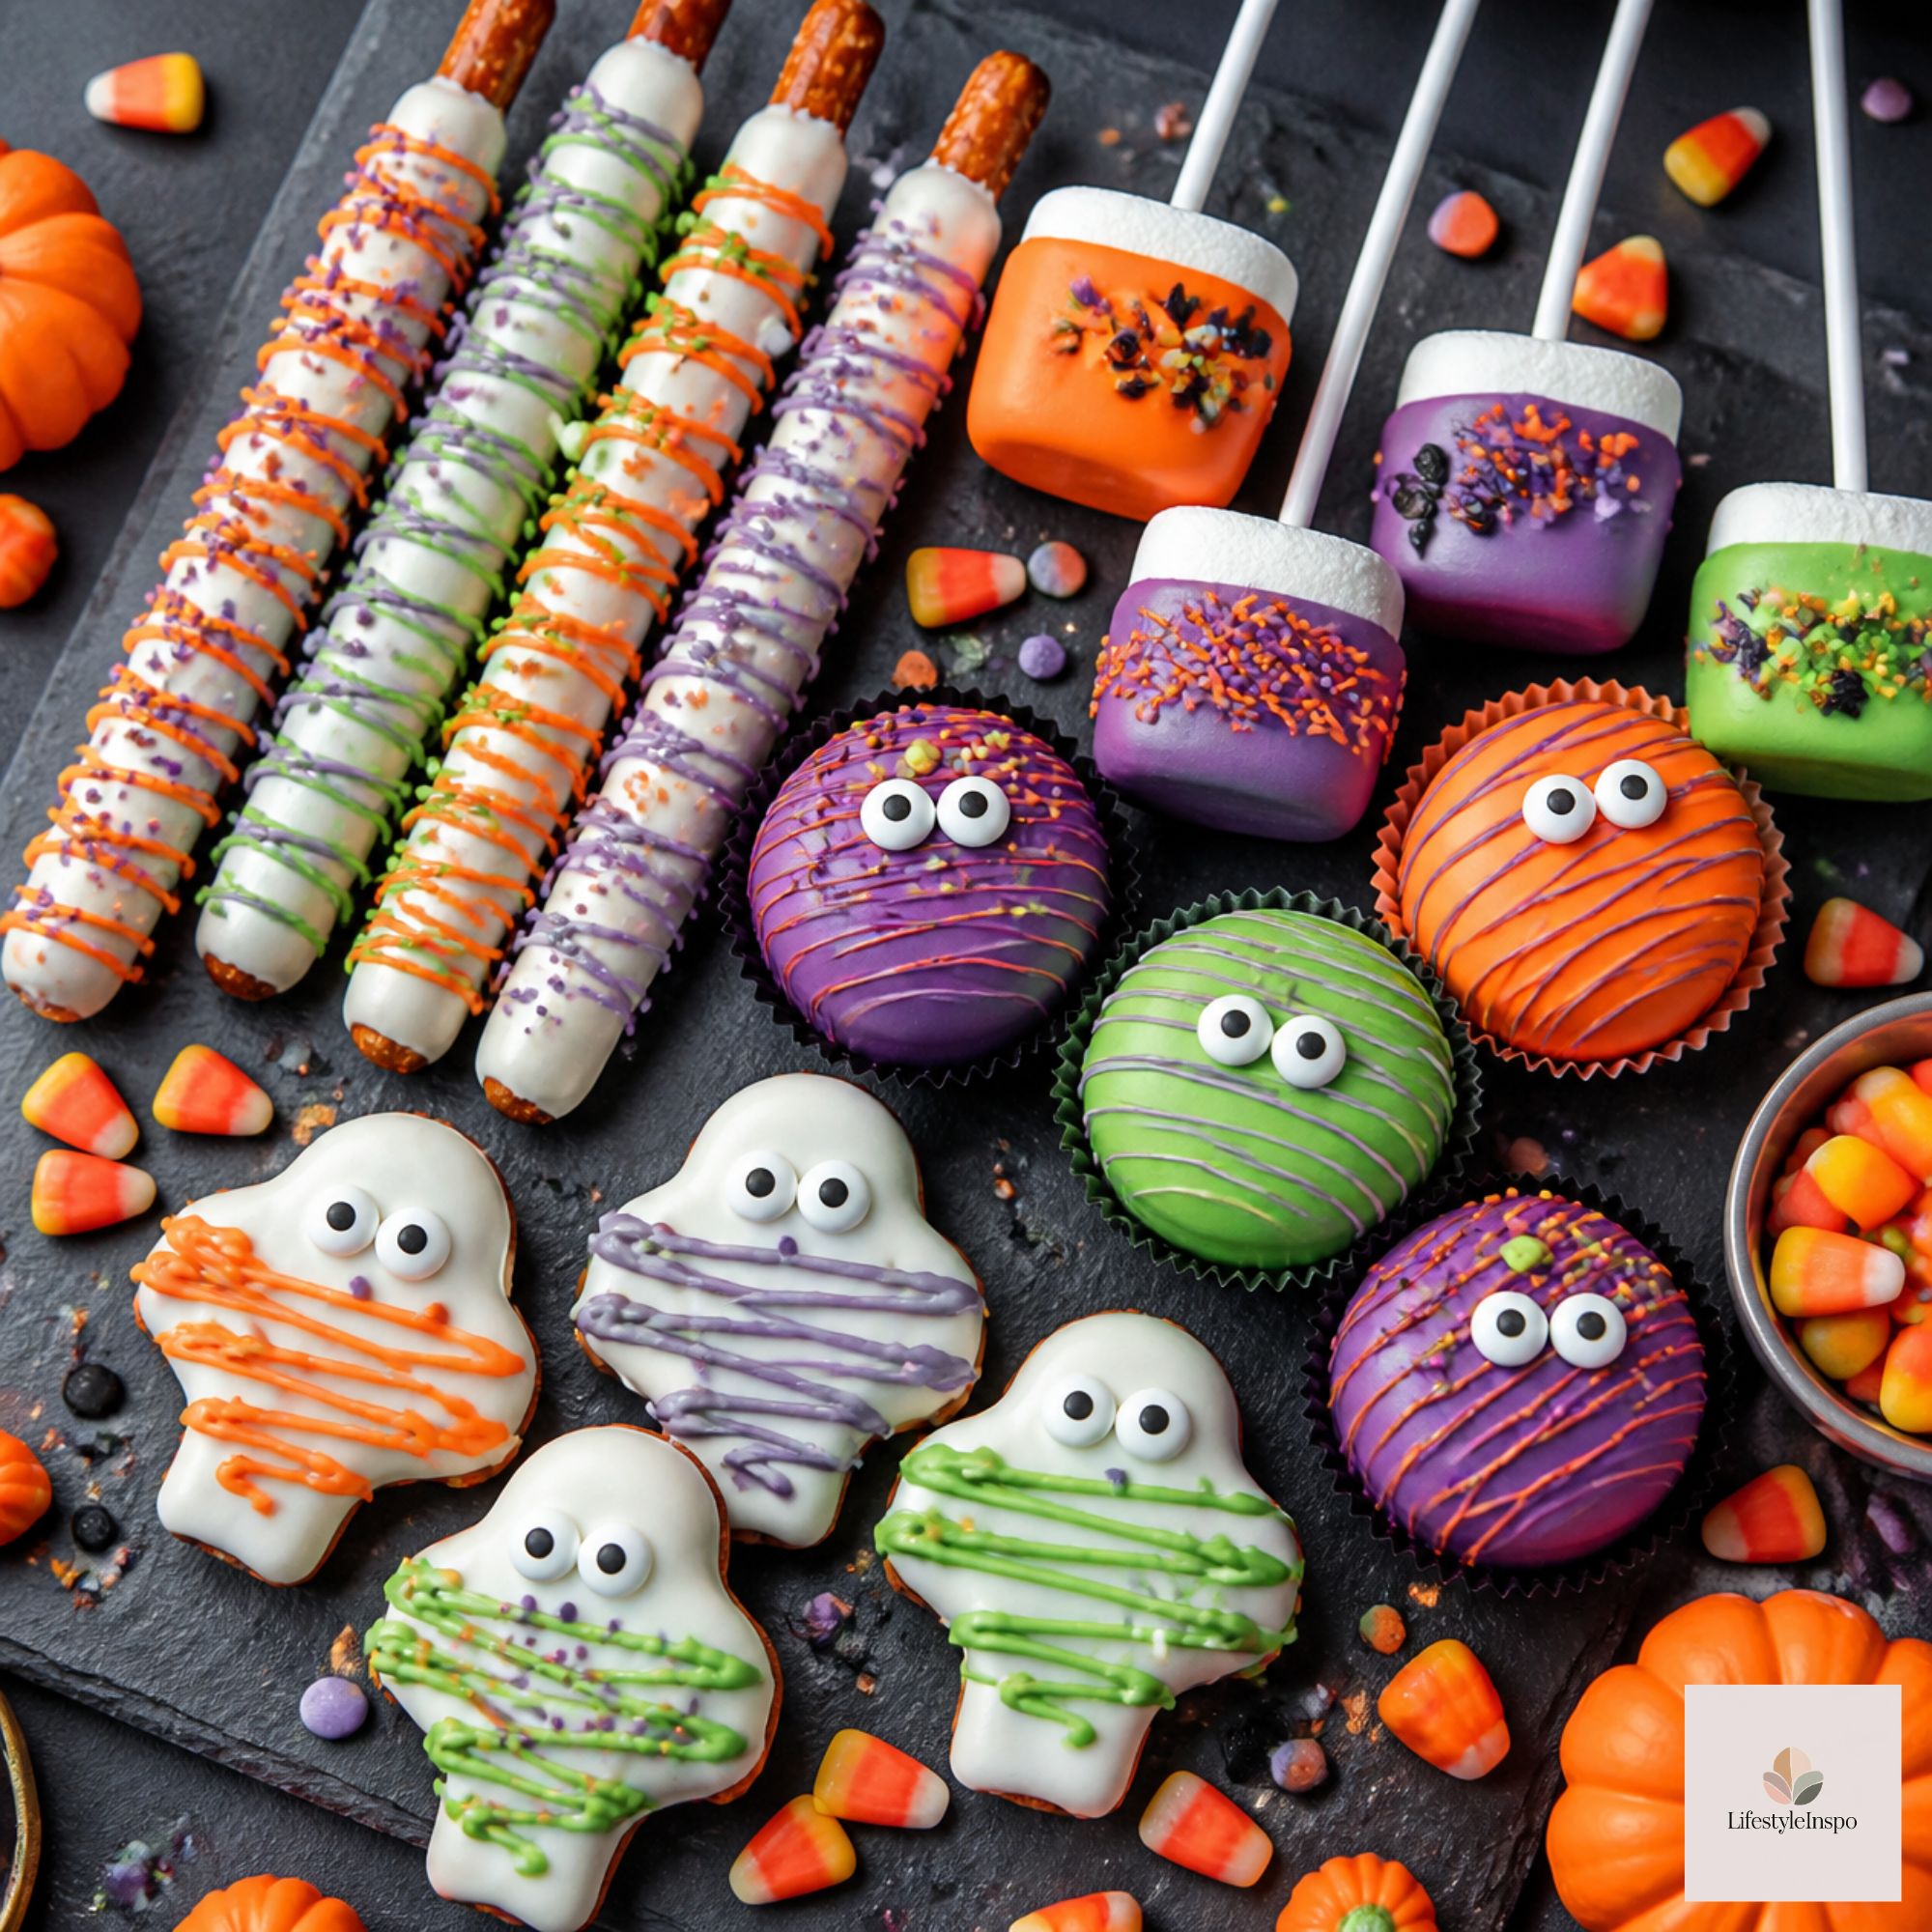
If you want maximum Halloween impact with minimal effort, candy melts are your new best friend. These little colored discs melt into smooth, pourable candy that sets firm, no tempering needed. That means you can transform pretzels, cookies, fruit, and marshmallows into adorable Halloween treats in minutes.
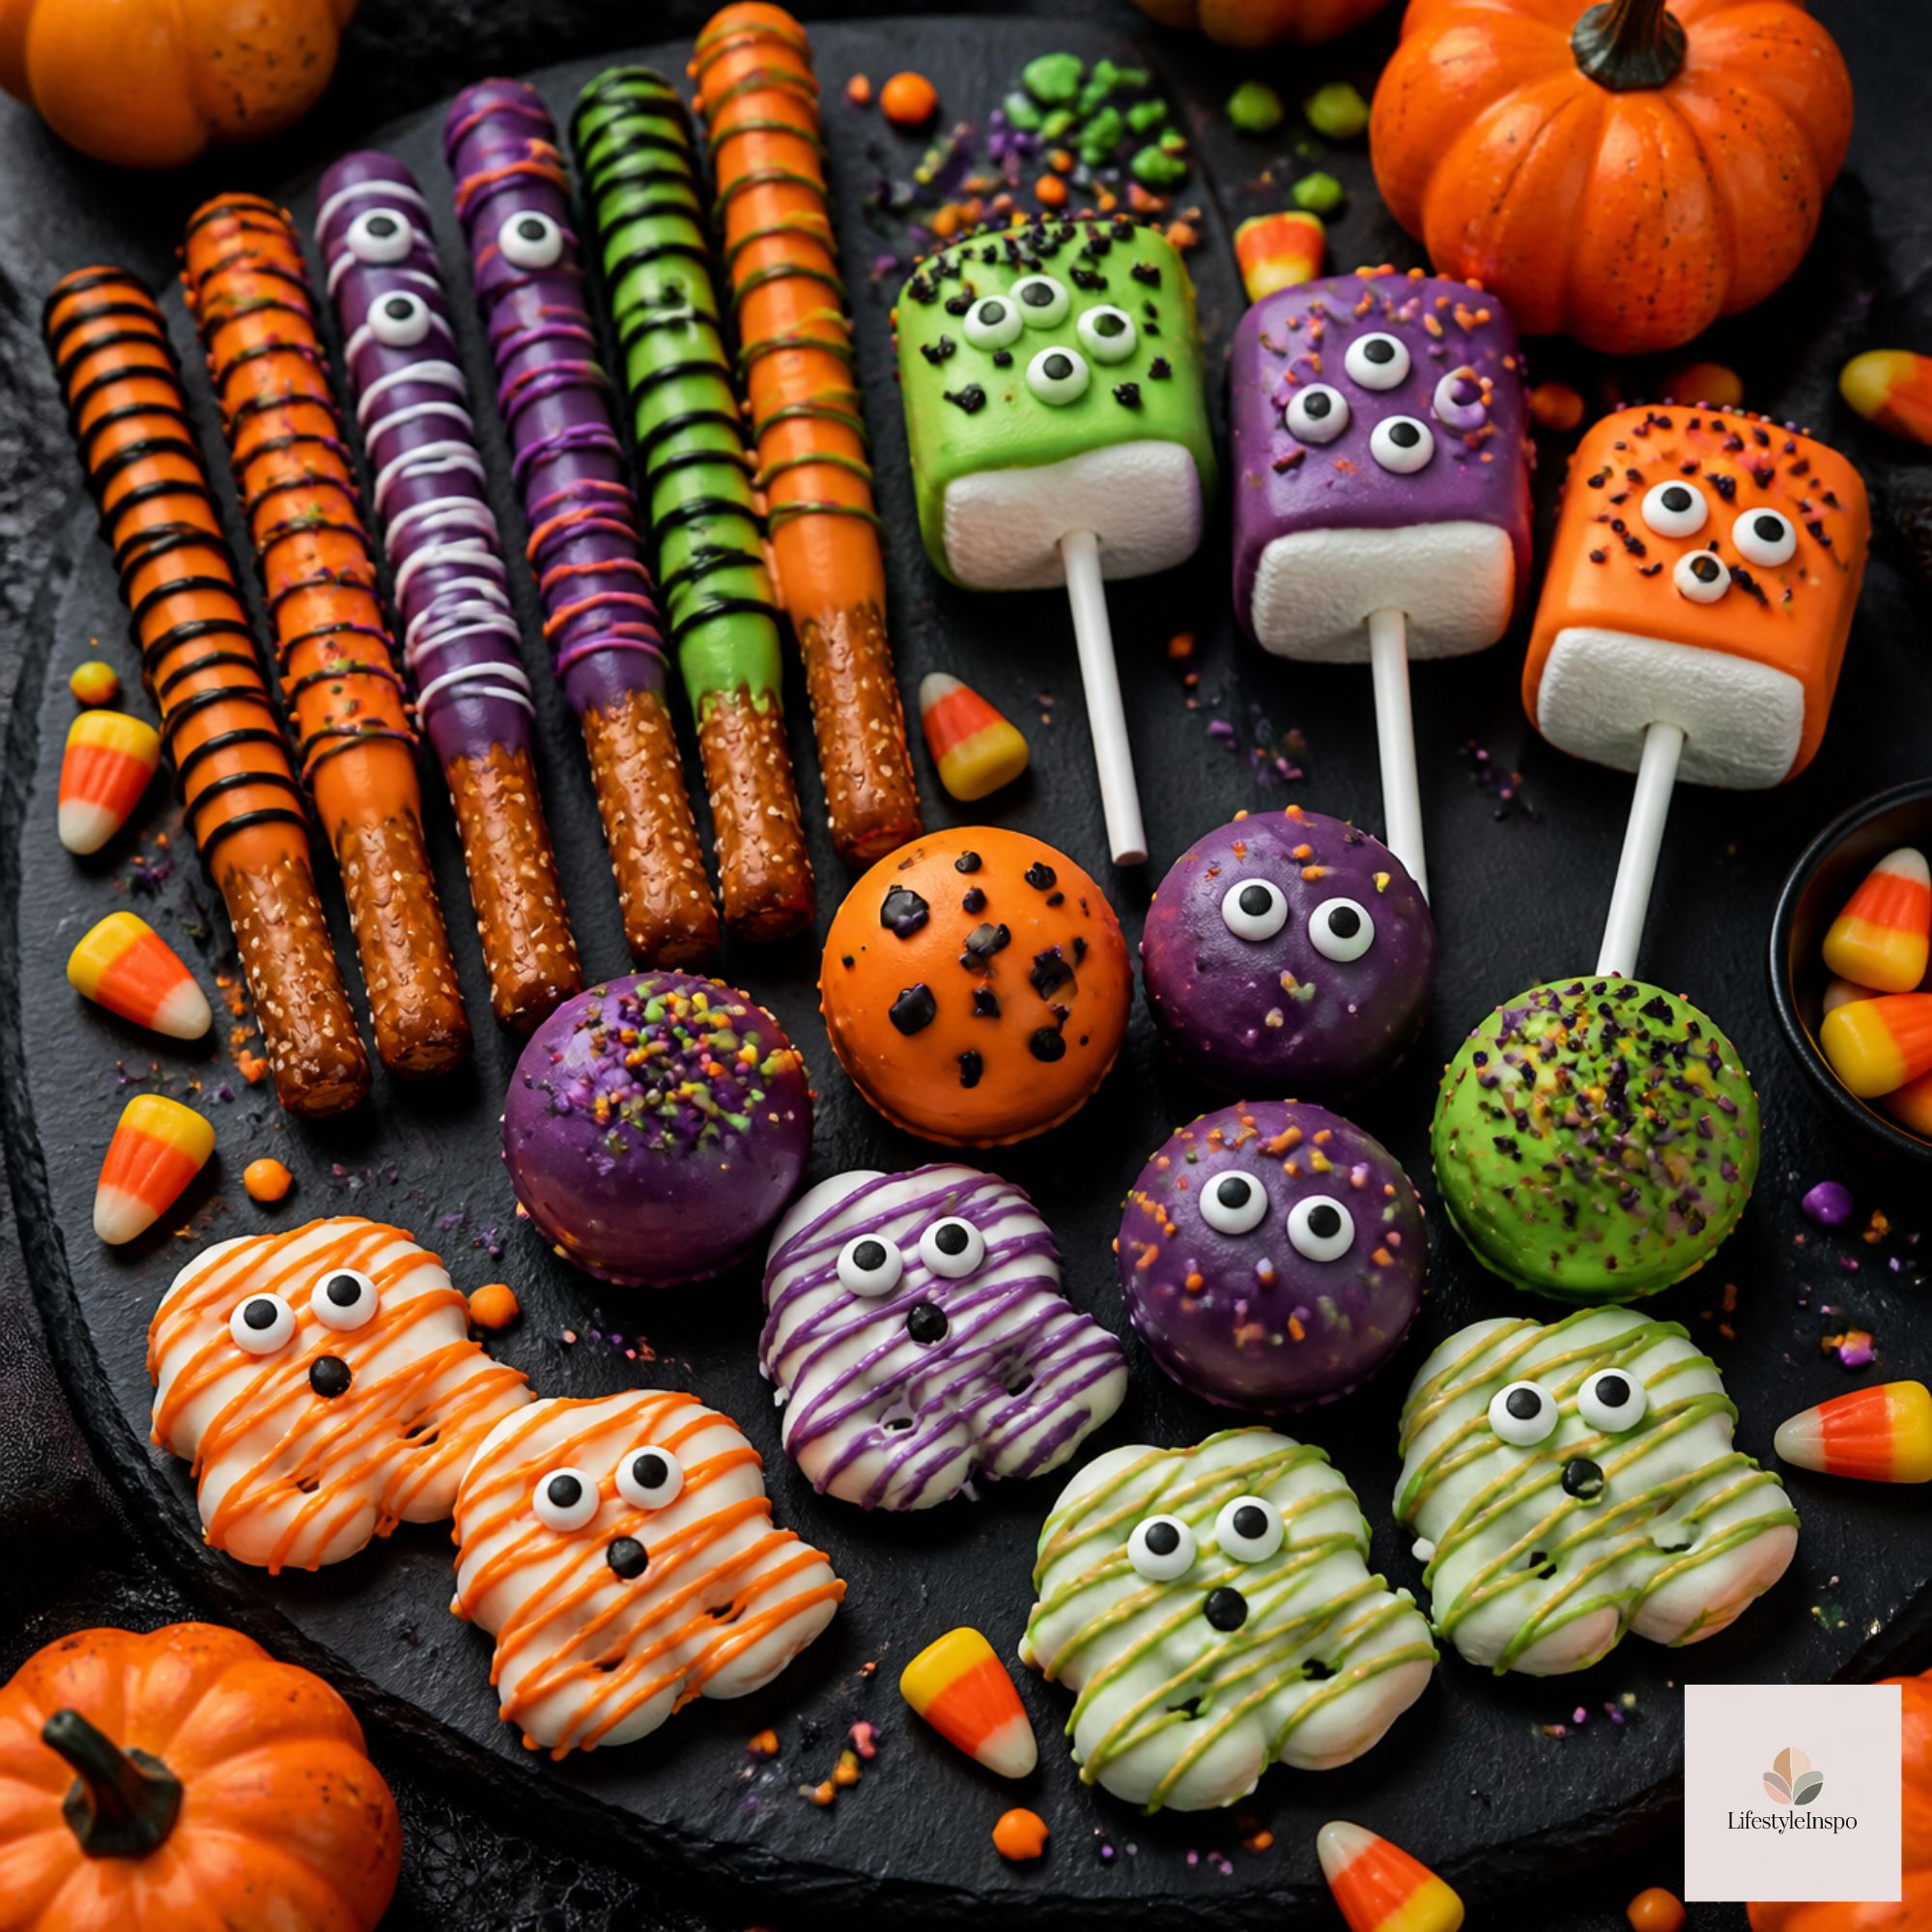
And the colors! Orange, purple, black, green, and white give you a full Halloween palette right out of the bag, no food coloring required.
Whether you’re making party favors, filling goodie bags, or just want a fun weekend project with kids, here are ten ideas that are easy enough for beginners and cute enough to get compliments.
What Are Candy Melts?
Candy melts (sometimes called candy wafers or melting wafers) are sweet coating made for dipping, molding, and drizzling. Unlike regular chocolate, they’re formulated to melt smoothly and harden with a glossy finish without needing to be tempered. They taste sweet and creamy, similar to white chocolate.
Pick up a bag of Halloween candy melts in a mix of colors to cover most of the recipes below.
How to Melt Candy Melts (Without Burning Them)
Getting a smooth, lump-free melt is the most important skill in candy making.
Microwave Method
- Put the candy melts in a microwave-safe bowl (a deep, narrow bowl works best for dipping).
- Heat at 50% power for 30 seconds. Stir.
- Continue in 15-20 second intervals, stirring after each, until smooth.
- Stop heating when a few pieces remain unmelted. The residual heat will melt them as you stir.
Double Boiler Method
- Fill a saucepan with 1-2 inches of water and bring to a gentle simmer.
- Place a heatproof bowl on top (not touching the water).
- Add the melts and stir constantly until smooth.
Troubleshooting
- Too thick? Add ½ teaspoon of coconut oil or vegetable shortening at a time.
- Seized or grainy? Water got into the bowl, or it overheated. It’s usually not salvageable, so start over.
- Burned? Melt on low and stir often.
Tools That Help
- Piping bags or zip-top bags for drizzling and details
- A chocolate candy mold for shaped candies
- Halloween sprinkles for decoration
- Parchment paper for setting treats
- Skewers or forks for dipping
- Gel food coloring (oil-based coloring is best for candy melts; regular gel can seize them)
10 Easy Halloween Candy Melts Treats
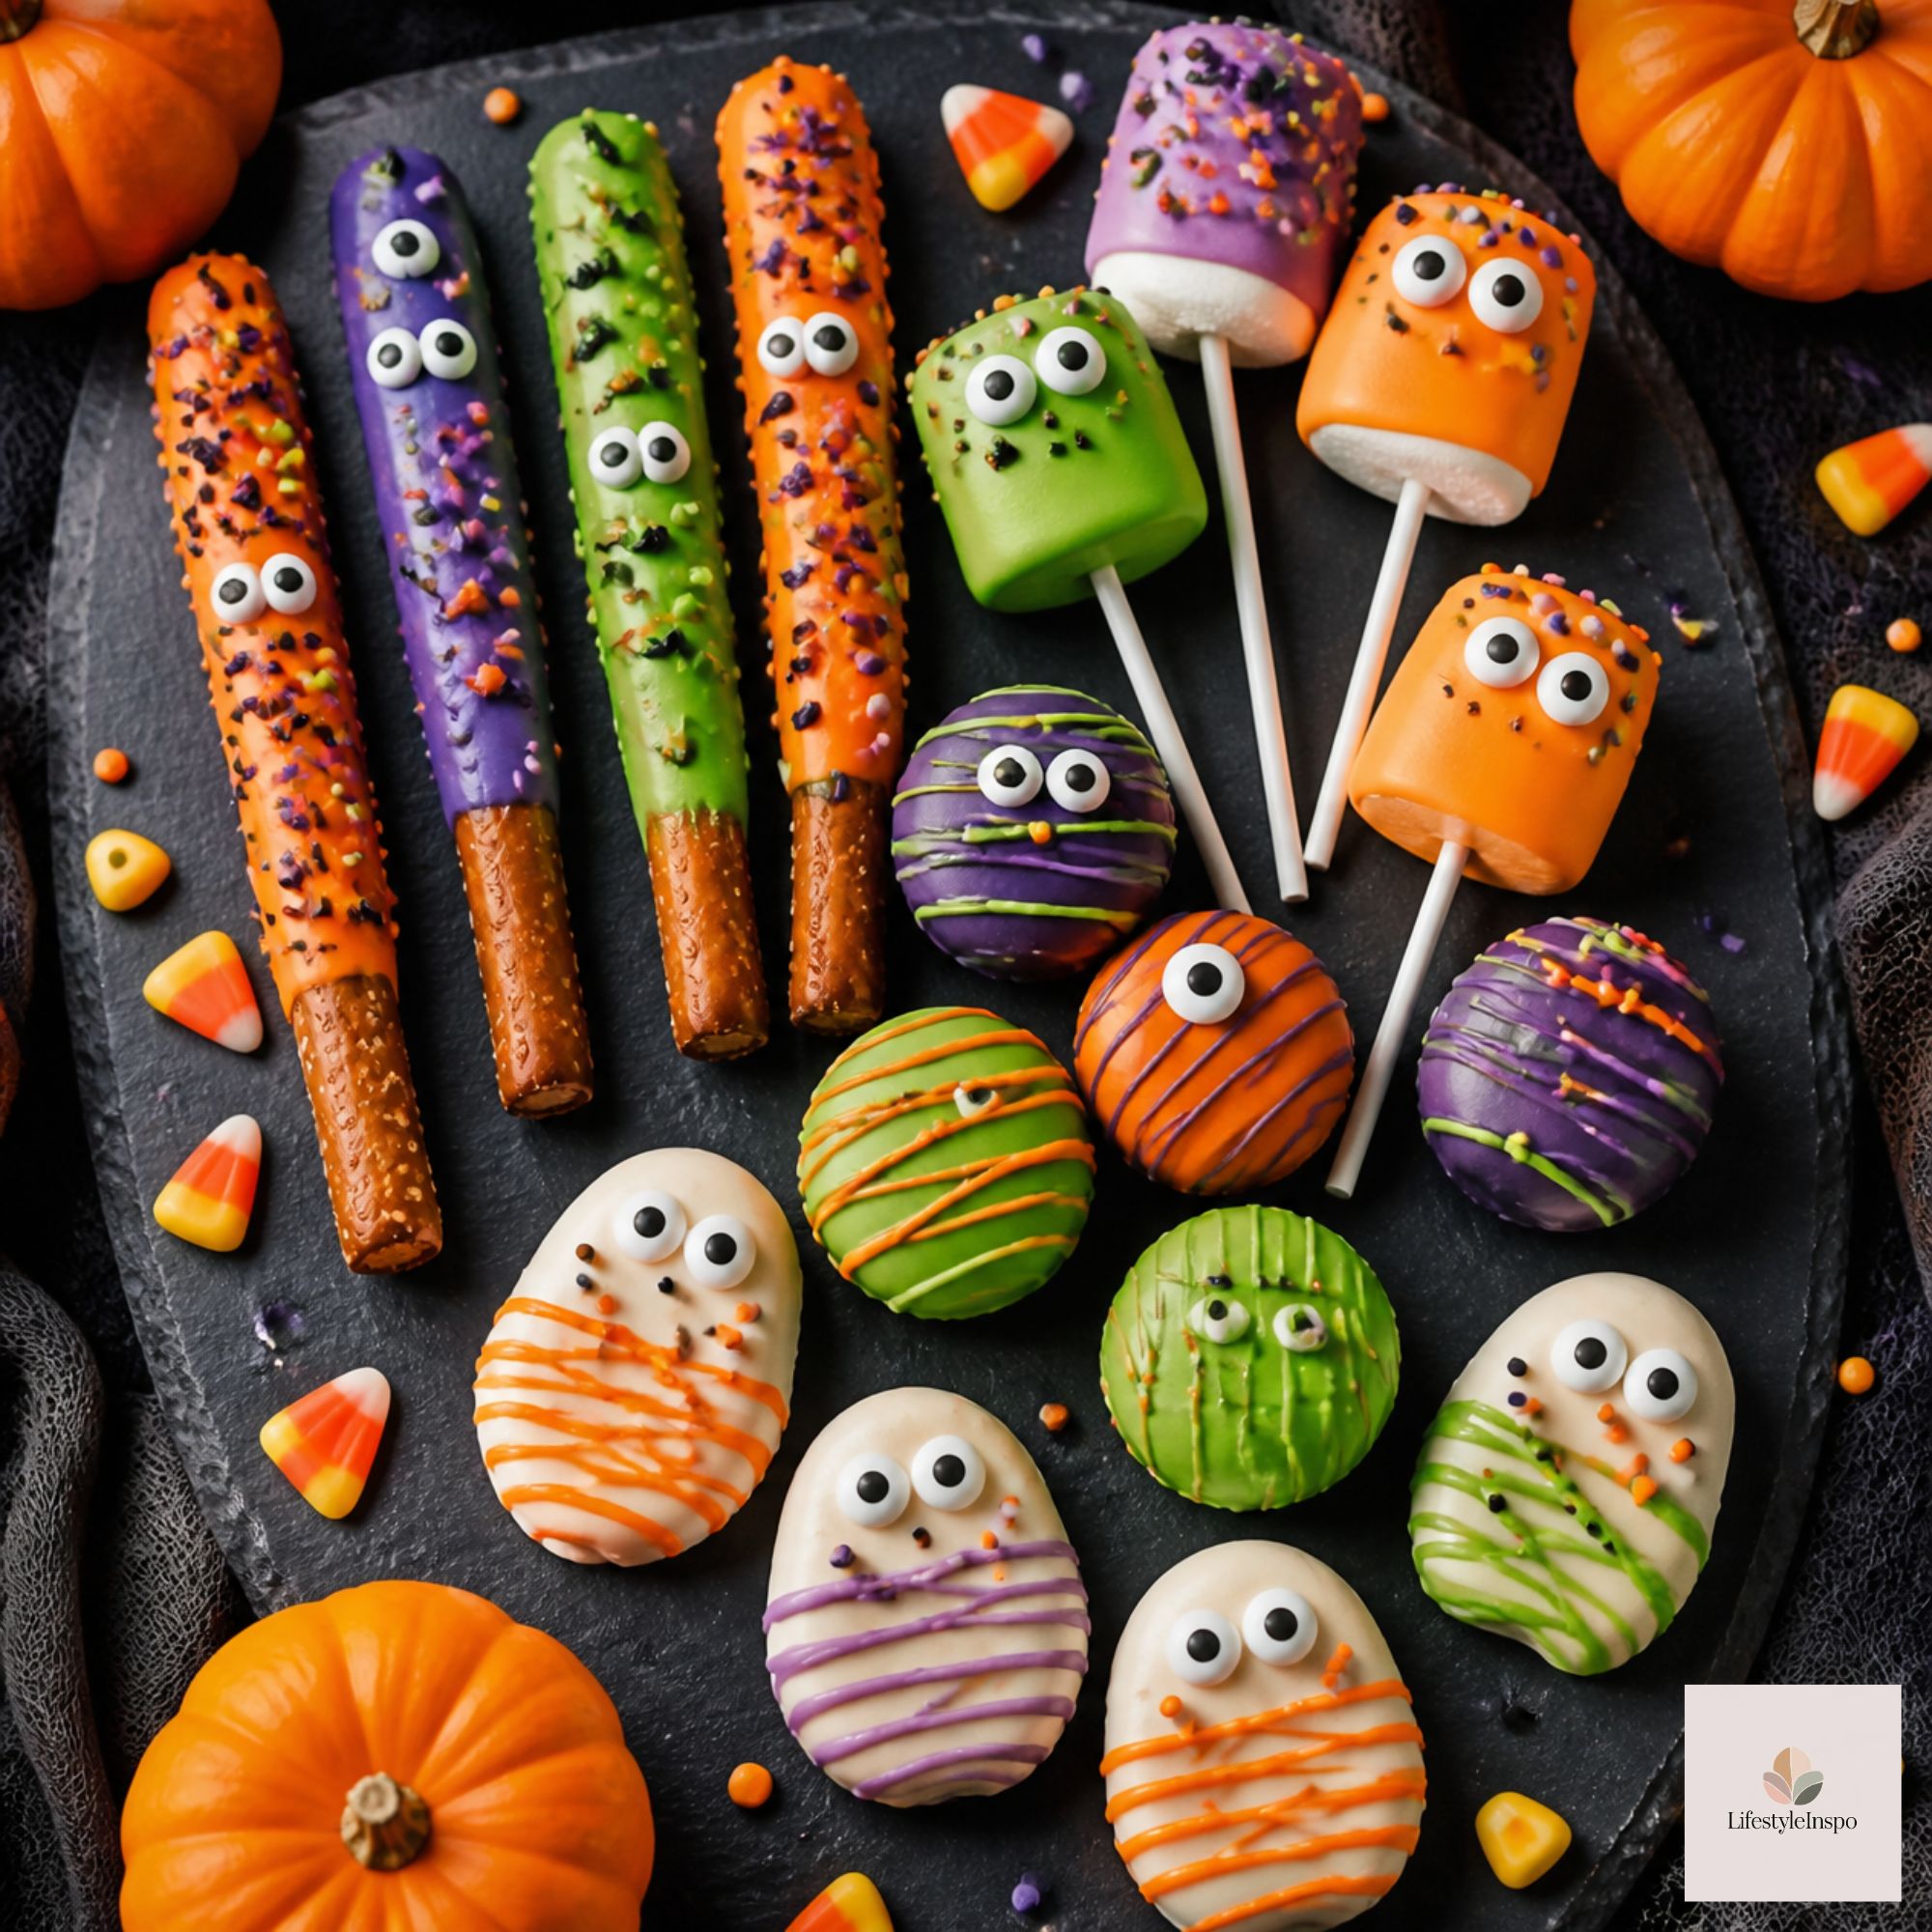
1. Ghost-Dipped Pretzels
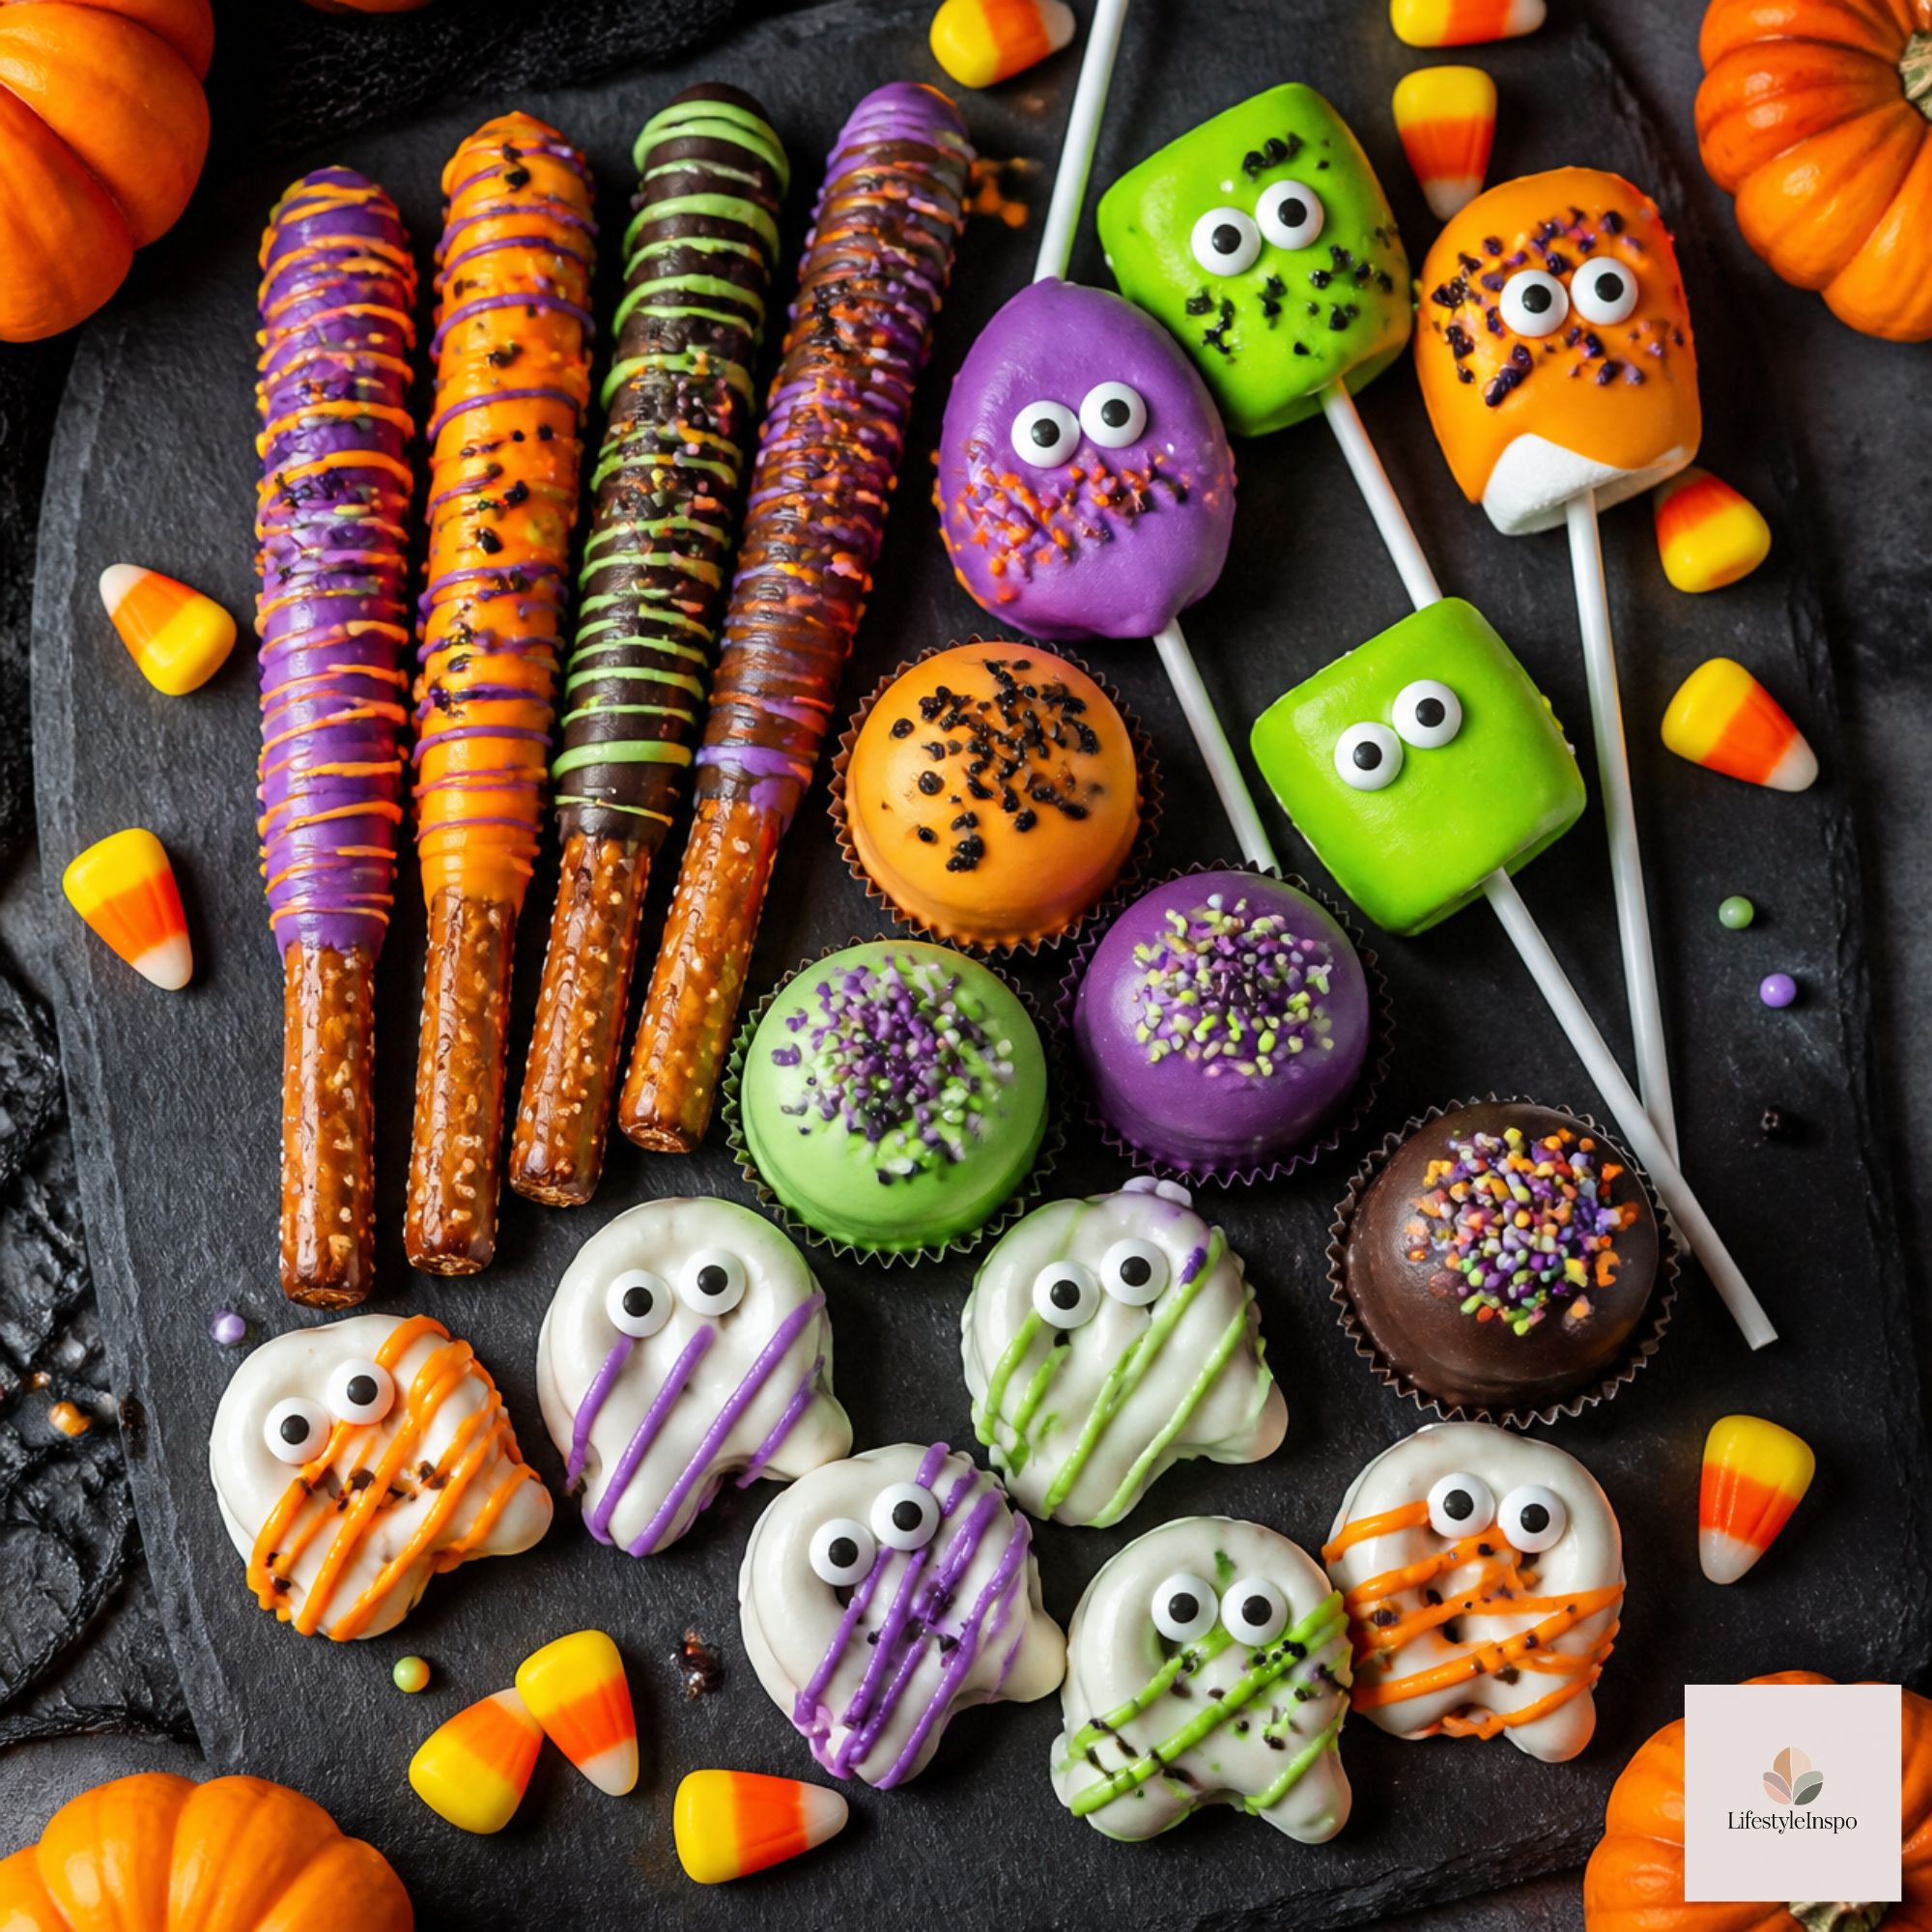
Dip pretzel rods about two-thirds of the way into melted white candy melts. Place on parchment, then add two mini chocolate chip eyes or pipe black dots. Let set for 20 minutes.
2. Monster Oreos
Dip sandwich cookies in green, purple, or orange candy melts. Before they set, add candy eyes for instant monsters. A few drizzles of contrasting color finish the look.
3. Spiderweb Cookies
Dip a round cookie in orange melts and let set slightly. Pipe black concentric circles over the top and drag a toothpick from center to edge for a web. Add a chocolate spider for extra drama. For a homemade base, try our sugar cookie recipe.
4. Mummy Marshmallows
Dip jumbo marshmallows in white melts, then drizzle thin lines of white over the top for bandages. Add two tiny eyes with melted chocolate.
5. Candy Melt Lollipops
Pour melted candy into a lollipop mold (or any shaped chocolate mold), insert a stick, and let set. Pop them out for fun, homemade pops that double as party favors.
6. Pumpkin Pretzel Bites
Place a mini pretzel on a baking sheet, top with a round chocolate candy, and bake for 3-4 minutes at 250°F until soft. Press a candy-coated chocolate on top and let cool. Dip in orange melts for extra pumpkin color if you like.
7. White Chocolate Popcorn
Pour melted candy melts over a bowl of freshly popped popcorn, toss to coat, and spread on parchment. Sprinkle with Halloween sprinkles and let set. Break into clusters. It’s addictive.
8. Witch Hat Cookies
Place a chocolate-covered shortbread cookie upside down, top it with a candy kiss using a dab of melted candy as glue, then pipe a purple band around the base. Instant witch hats.
9. Strawberry Ghosts and Pumpkins
Dip strawberries in white (for ghosts) or orange (for pumpkins) melts. Add a chocolate face, or a green candy stem. Chill to set and serve the same day for best freshness.
10. Halloween Bark
Spread melted candy melts in three colors onto parchment, swirl with a toothpick, and top with sprinkles, crushed cookies, and candy. Chill and break into pieces. For full details and more topping combinations, see our candy bark recipe.
Coloring Candy Melts
If you want a specific shade, mix colors or add oil-based candy coloring.
- Create black: Melt dark chocolate or add black candy coloring.
- Make a deeper orange: Add a few drops of red coloring to orange melts.
- Make a lighter shade: Mix with white melts.
- Avoid water-based coloring. Even a drop can cause seizing.
For regular gel coloring on white chocolate, add a tiny amount and stir quickly. If it stiffens, a little coconut oil may rescue it.
Decorating Techniques
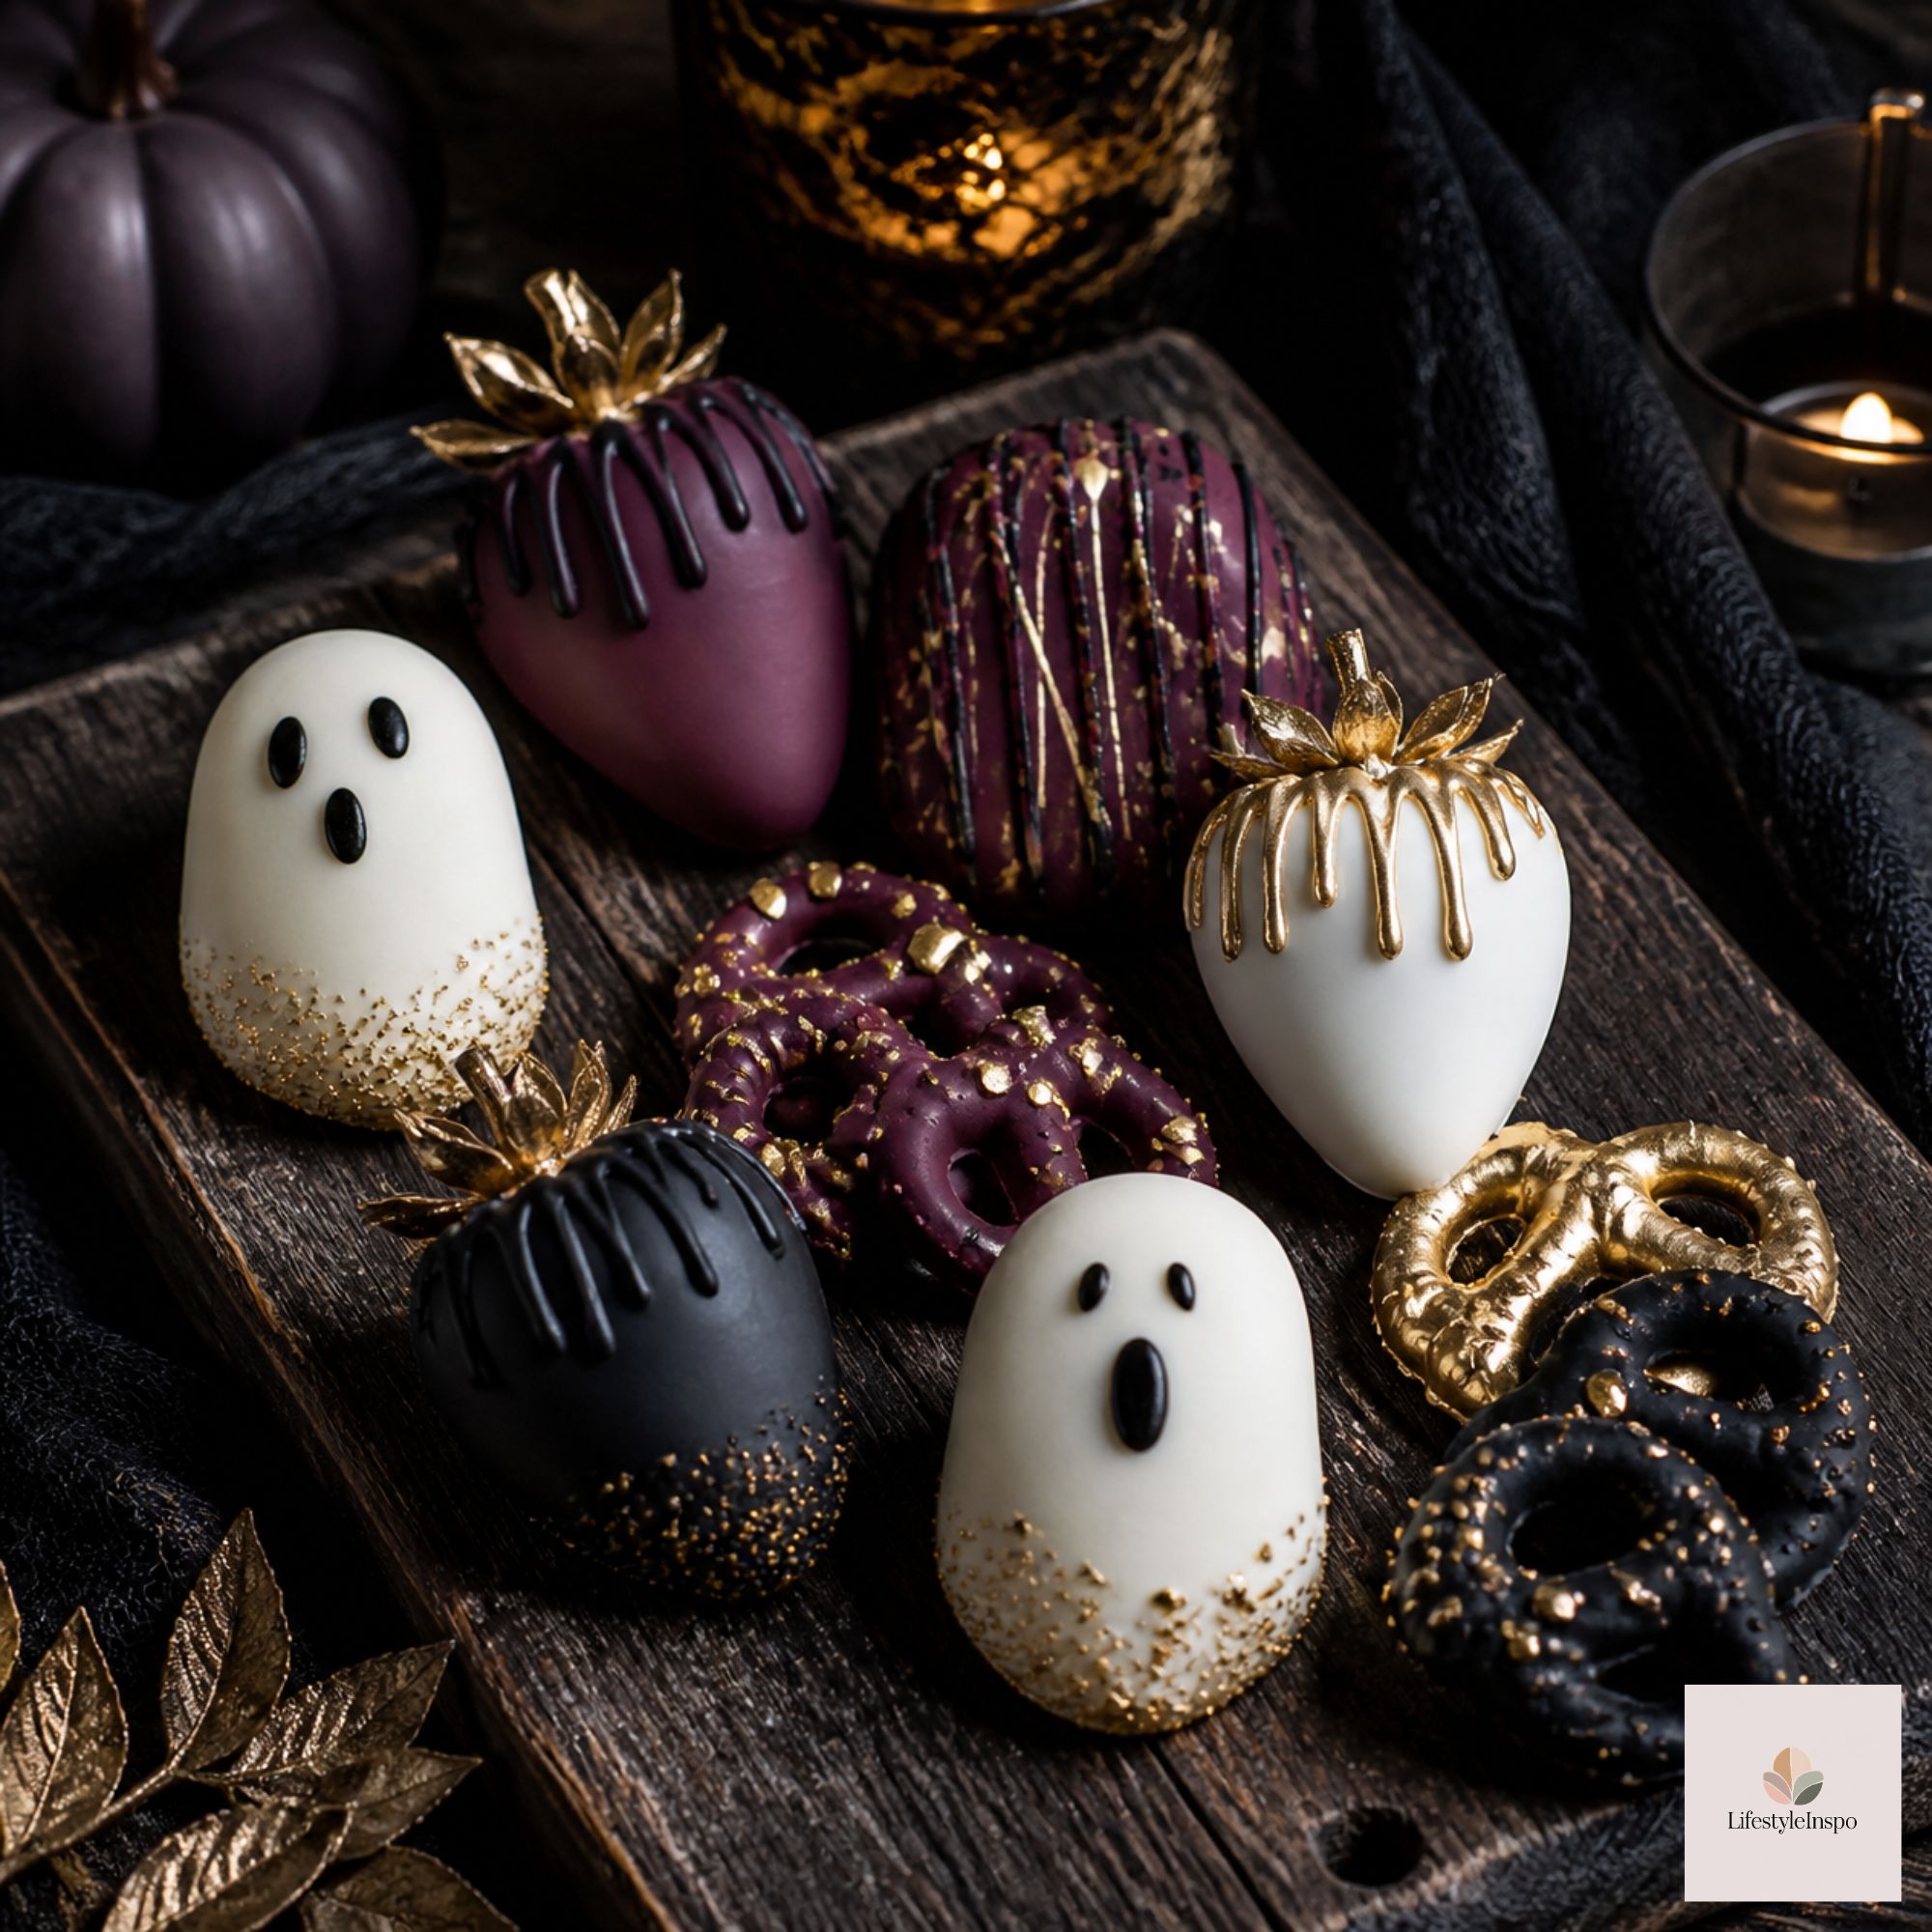
Drizzling: Fill a piping bag or zip-top bag, snip the tip, and move quickly across the treat in a zigzag pattern.
Dipping: Hold the item at an angle and dip it halfway, then gently tap off the excess.
Painting: Use a clean paintbrush to paint melted candy into a mold for fine details.
Layering: Pour one color, let it set slightly, then add another color on top.
Sprinkling: Add sprinkles immediately while the candy is still wet. Once set, they won’t stick.
How to Store Candy Melts Treats
- Room temperature: Store in an airtight container away from heat for up to 2 weeks.
- Refrigerator: Fruit-dipped items need to be kept cold and eaten within 1-2 days.
- Freezer: Many treats freeze well for up to 3 months. Thaw in the fridge to avoid condensation.
- Unused candy melts: Keep in a cool, dry place in a tightly sealed bag for up to 1 year.
Make Treat Bags and Gifts
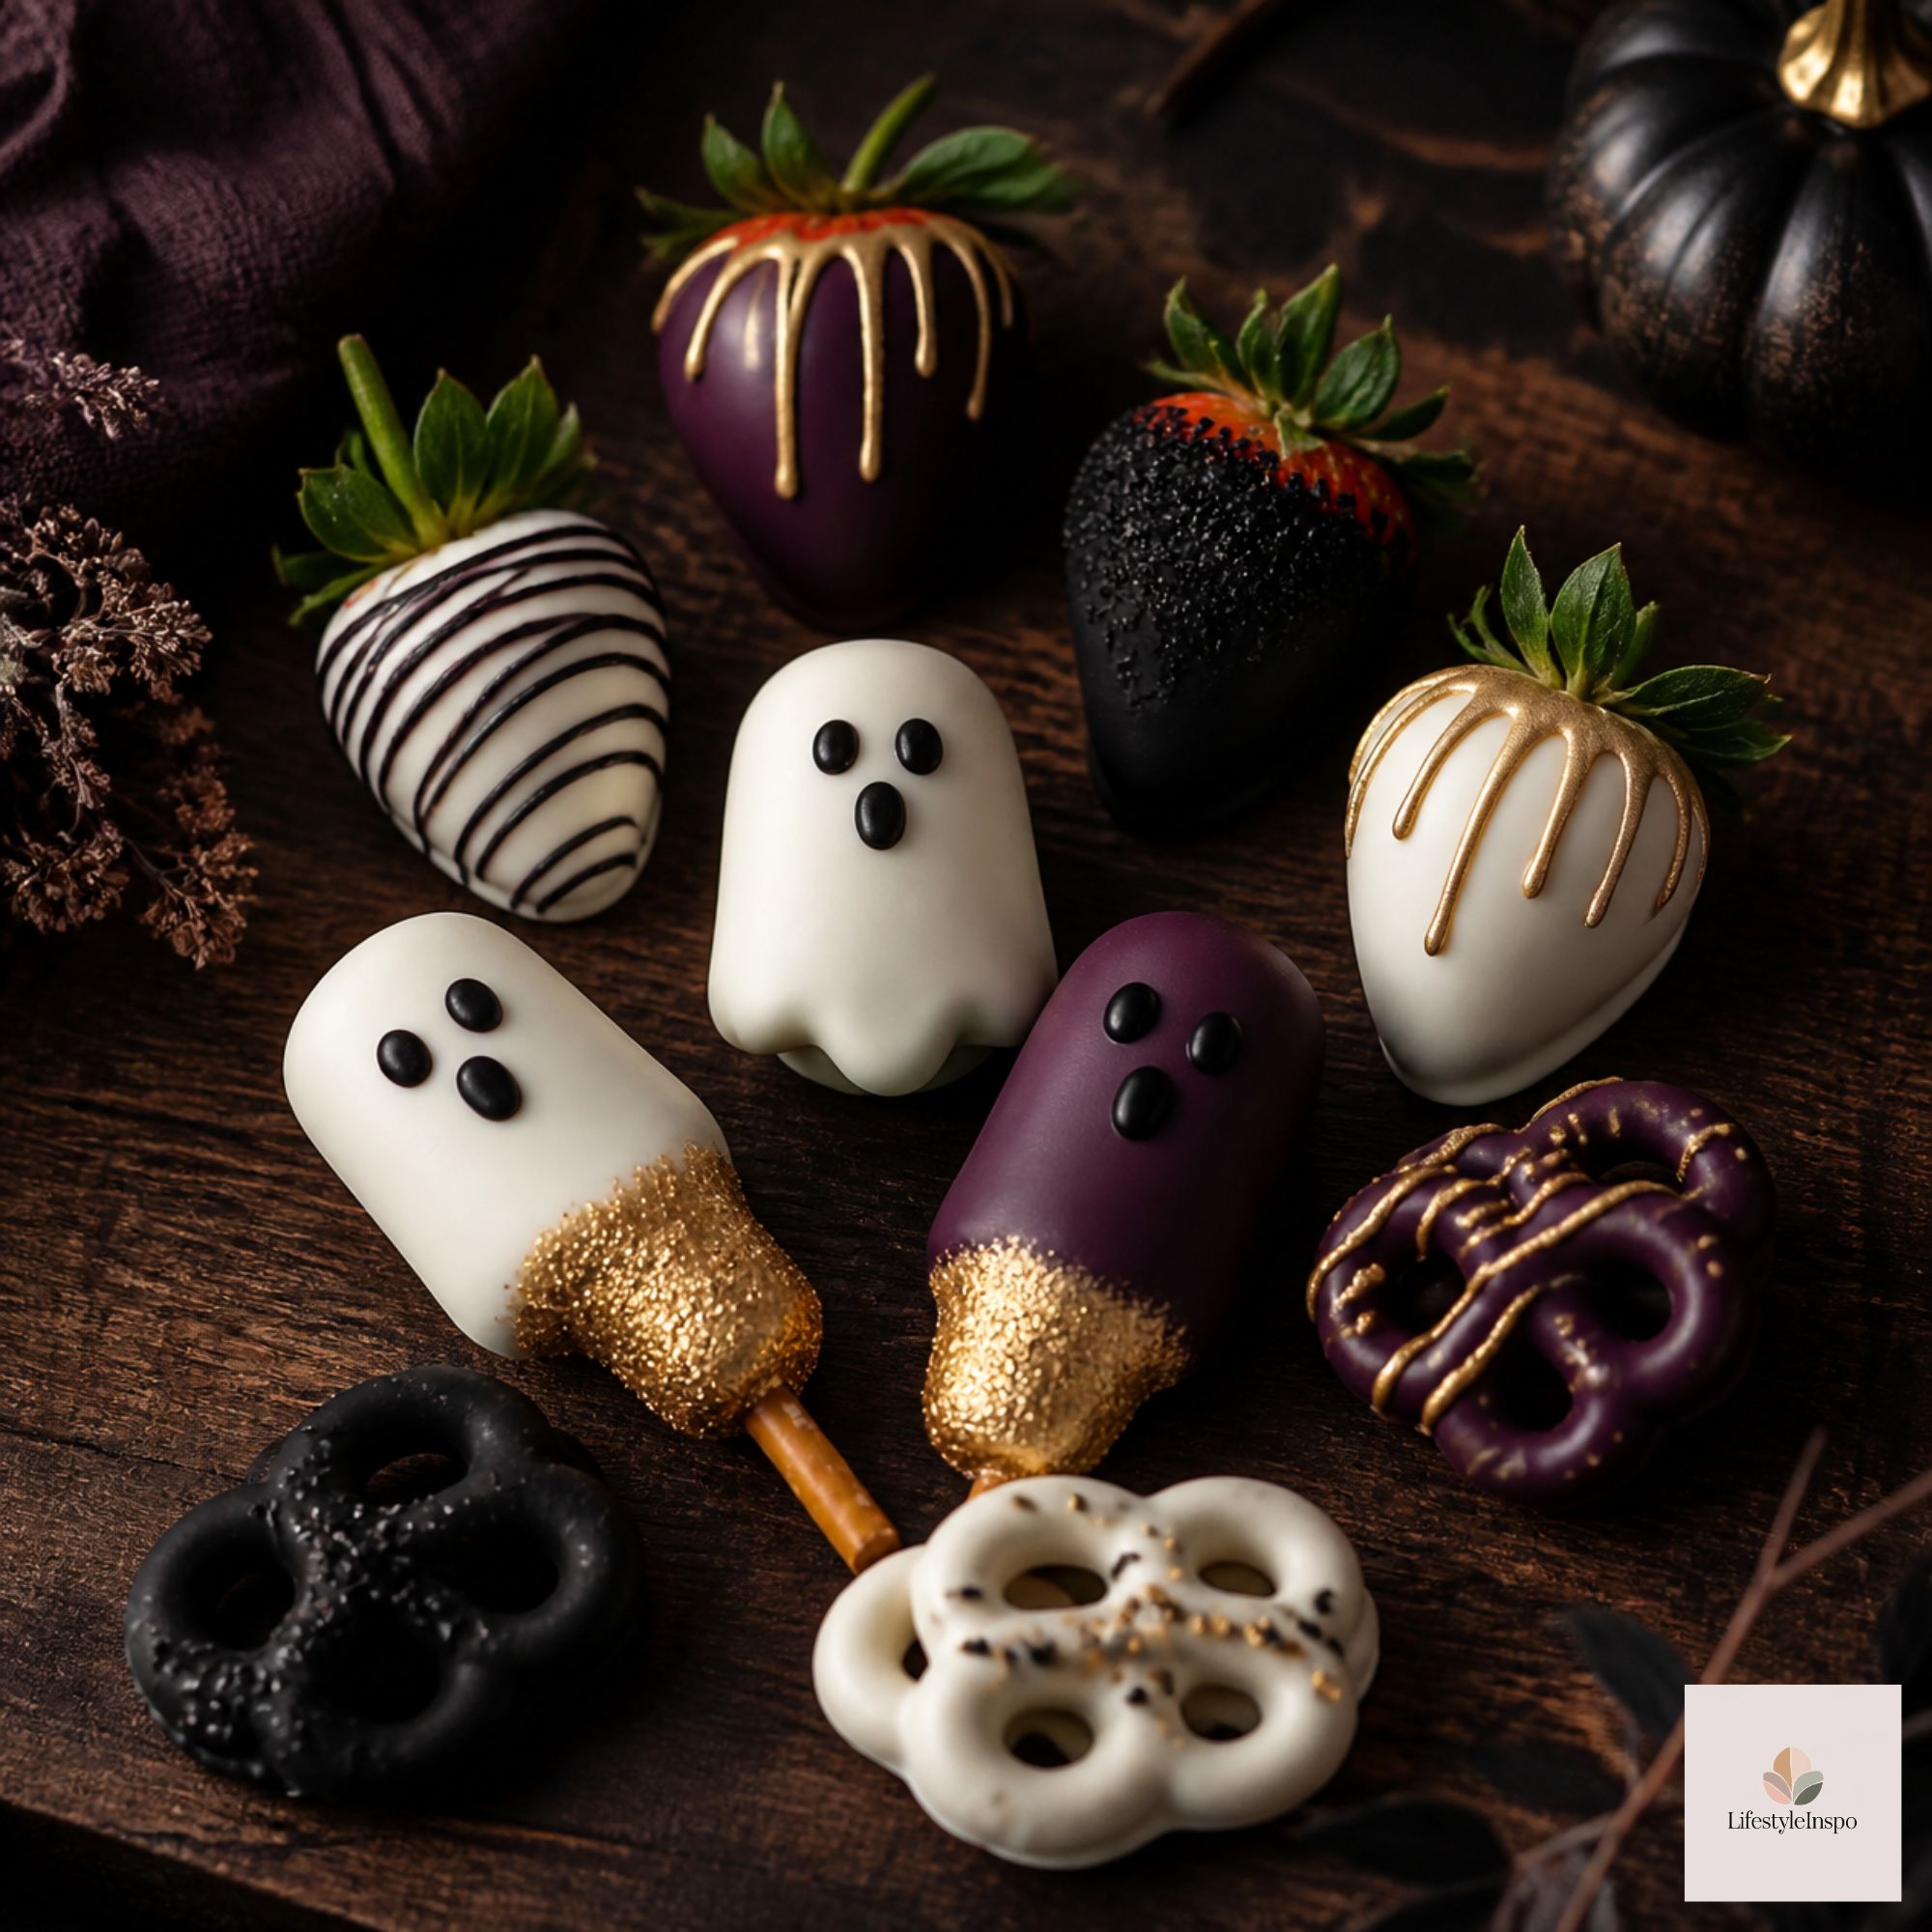
Candy melts treats make charming homemade gifts. Package 3-4 treats in a clear cellophane bag with a ribbon and a tag. A few other ideas:
- Stack ghost pretzels in a tall jar with a bow
- Fill a mini box with molded candies
- Arrange a platter of dipped Oreos on a Halloween serving tray and wrap in cellophane
- Put together a “Halloween treat kit” with candy melts, sprinkles, and a mold
For parties, put out a candy melts station where kids can dip and decorate their own treats. Set the table with a Halloween tablecloth and tableware for easy cleanup.
Frequently Asked Questions
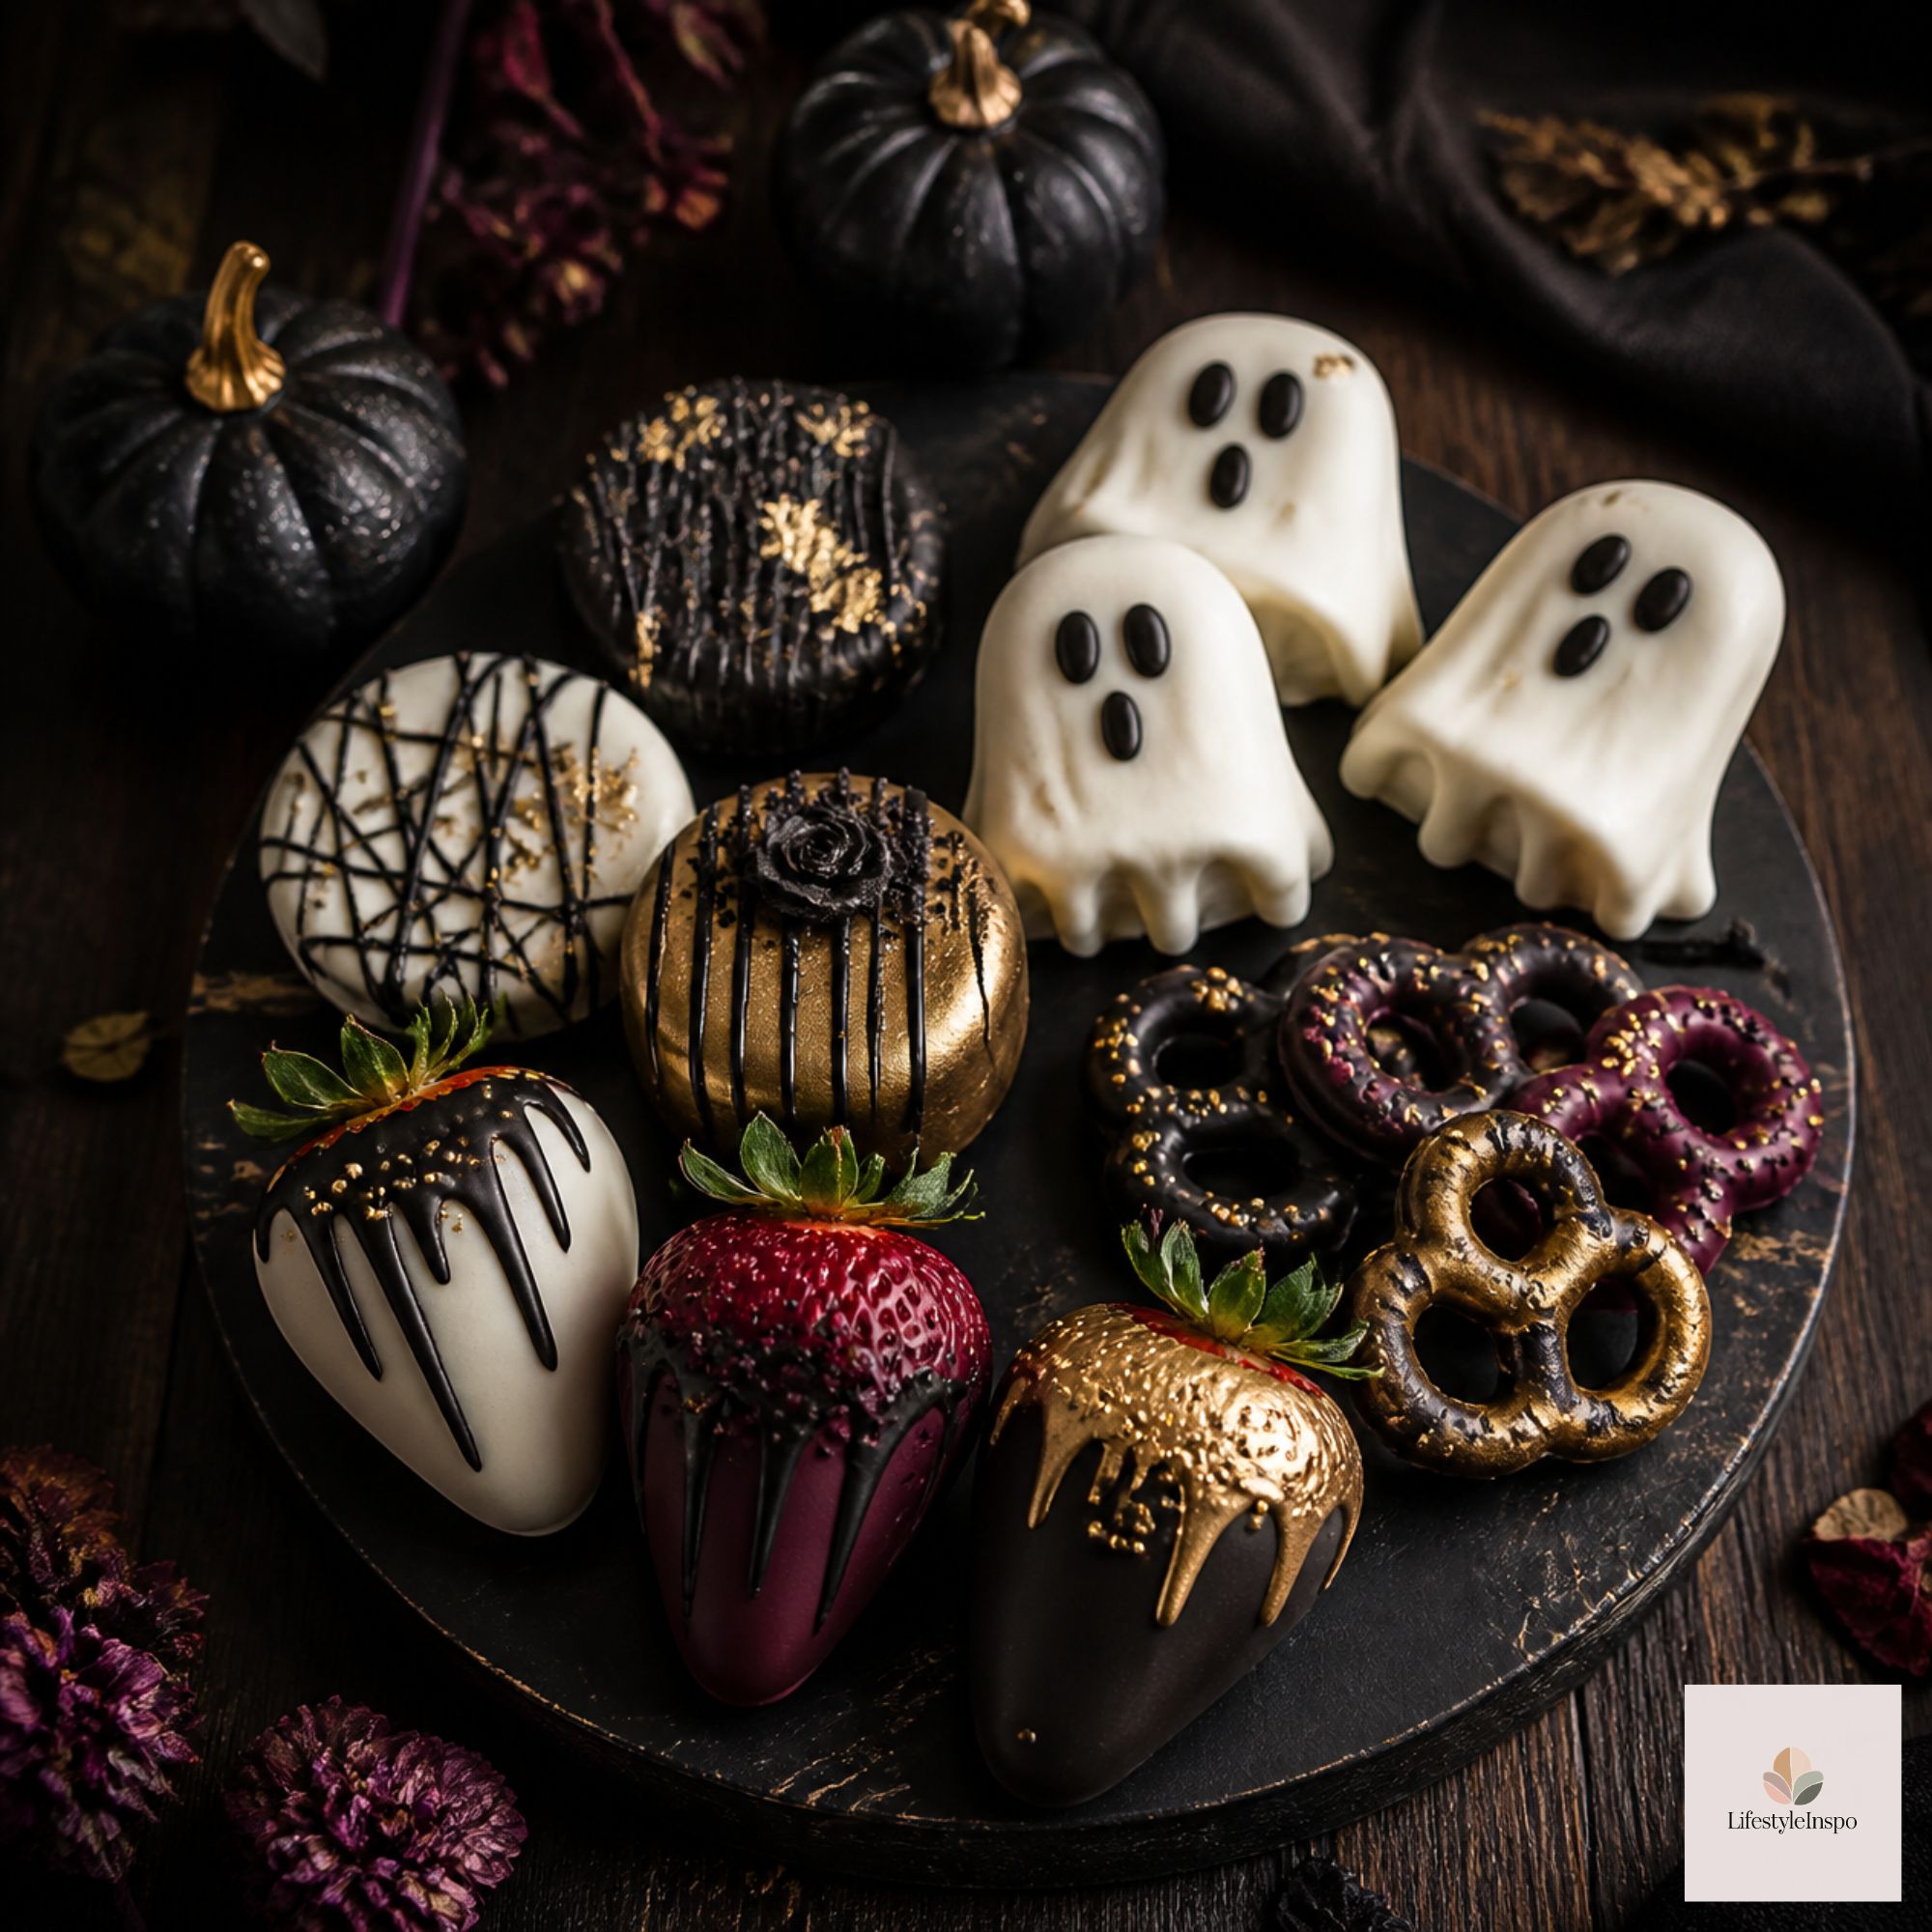
Can I use candy melts to make chocolate-covered strawberries? Yes. Make sure the strawberries are completely dry before dipping, or the coating won’t stick.
Do candy melts taste good? They have a sweet, creamy, vanilla-like flavor. Many people mix them with real chocolate for a richer taste.
Why won’t my candy melts set? Too much oil or a warm environment can slow setting. Pop the treats in the fridge for 10-15 minutes.
Can I re-melt candy melts? Yes, if they haven’t been overheated. Leftover melted candy can be poured onto parchment, hardened, and remelted later.
Are candy melts the same as white chocolate? Not exactly. White chocolate contains cocoa butter, while candy melts use vegetable oils to help them set without tempering.
Final Thoughts
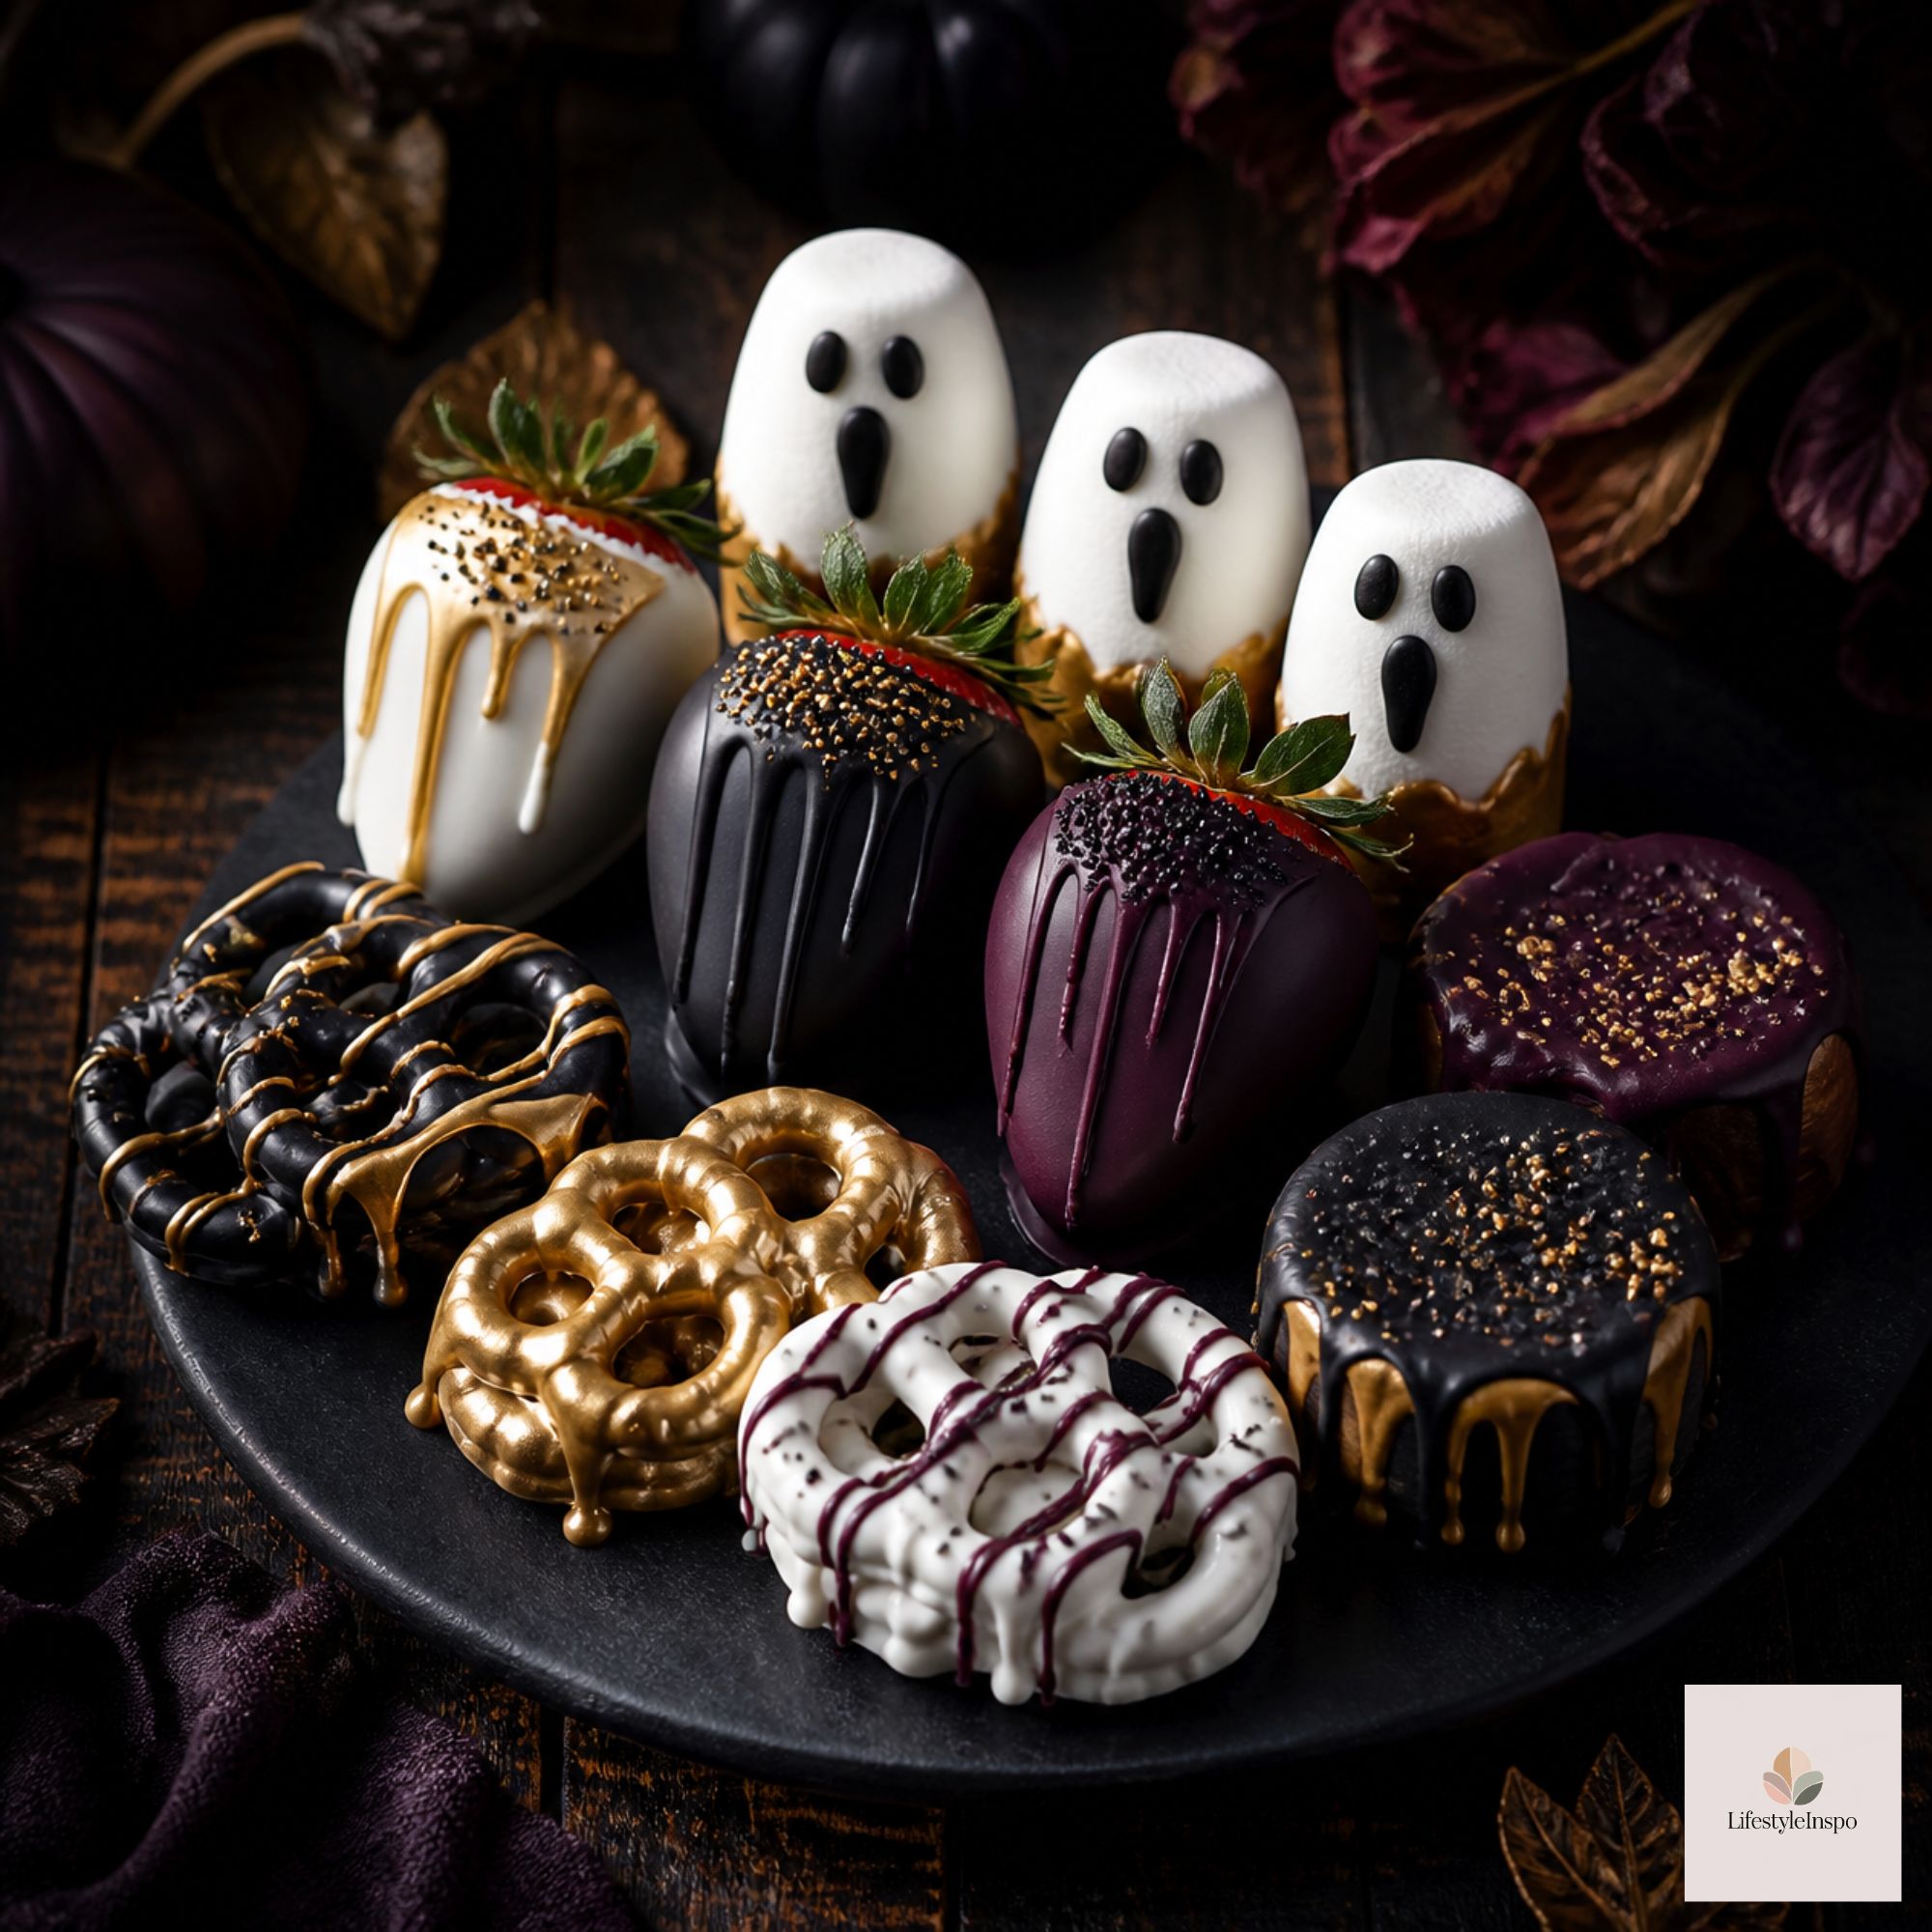
Candy melts make Halloween treat-making fun, fast, and foolproof. With a few bags in your favorite colors, a bit of parchment, and some sprinkles, you can create goodies that look like they came from a bakery.
Pick two or three of these ideas, set aside an hour, and enjoy the sweetest kind of crafting. Happy dipping!
About the Author