Halloween Decor on a Budget: A Simple 5-Step Shopping Plan
Here’s the thing nobody tells you about decorating for Halloween: the problem usually isn’t the price of any single item. It’s the order you buy things in.
Most of us wander into the seasonal aisle, grab whatever looks fun, and end up with a bag of disconnected pieces that don’t quite work together. Then we go back for more to fill the gaps. That’s how a “small” Halloween budget quietly balloons.
If you want Halloween decor on a budget that still looks polished, you need a plan. This five-step approach tells you what to buy first, what can wait, and what to skip entirely. It’s built around one idea: spend where it shows, save where it doesn’t.
Halloween is right around the corner, so you can do this in a single weekend.
Before You Spend Anything: Shop Your Home First
The cheapest decor is the stuff you already own. Before adding anything to your cart, take ten minutes to gather:
- Candlesticks, trays, and glass jars
- Baskets, books, and cake stands (great for adding height)
- Dark fabrics, throws, and old scarves
- Branches from the yard
These become the “supporting cast” for everything you buy. You’ll be amazed at how much of a Halloween look you can build from ordinary things.
Step 1: Buy Your Foundation Piece (Pumpkins)
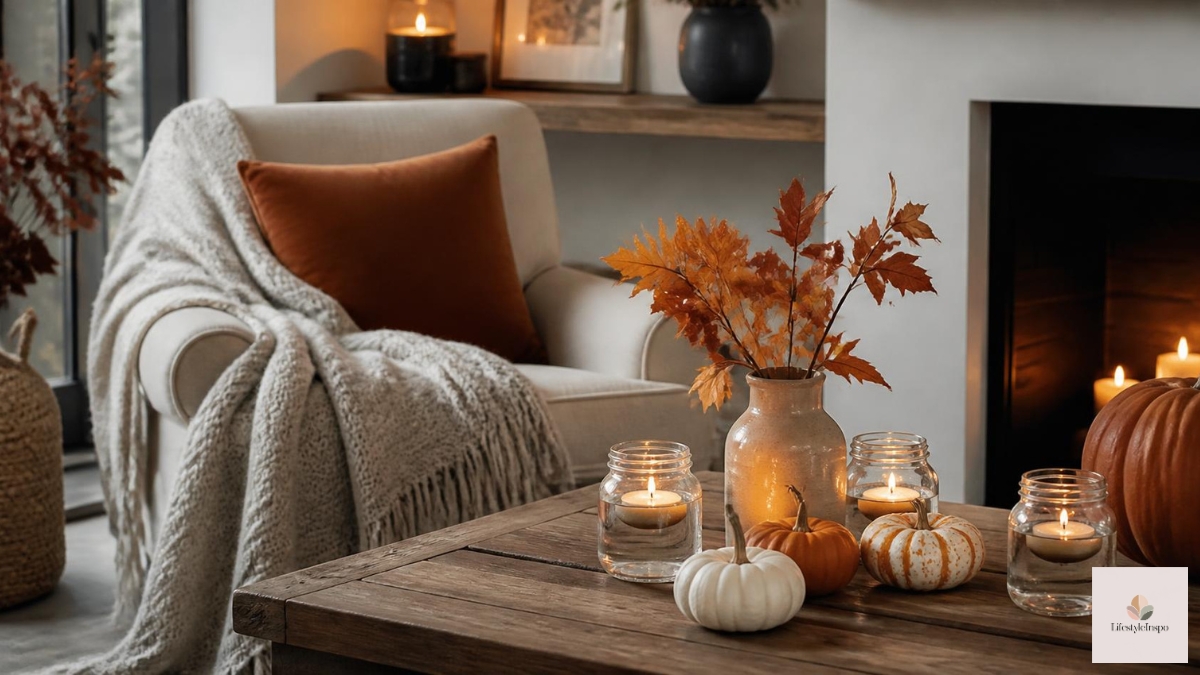
Every good autumn scheme starts with pumpkins. They signal “season” without screaming “Halloween,” which means they work for weeks, not days.
A set of artificial pumpkins in assorted sizes is the smartest first purchase because you’ll use it year after year. Faux pumpkins don’t rot, don’t attract bugs, and don’t need replacing. That’s a better cost-per-use than almost anything else you can buy.
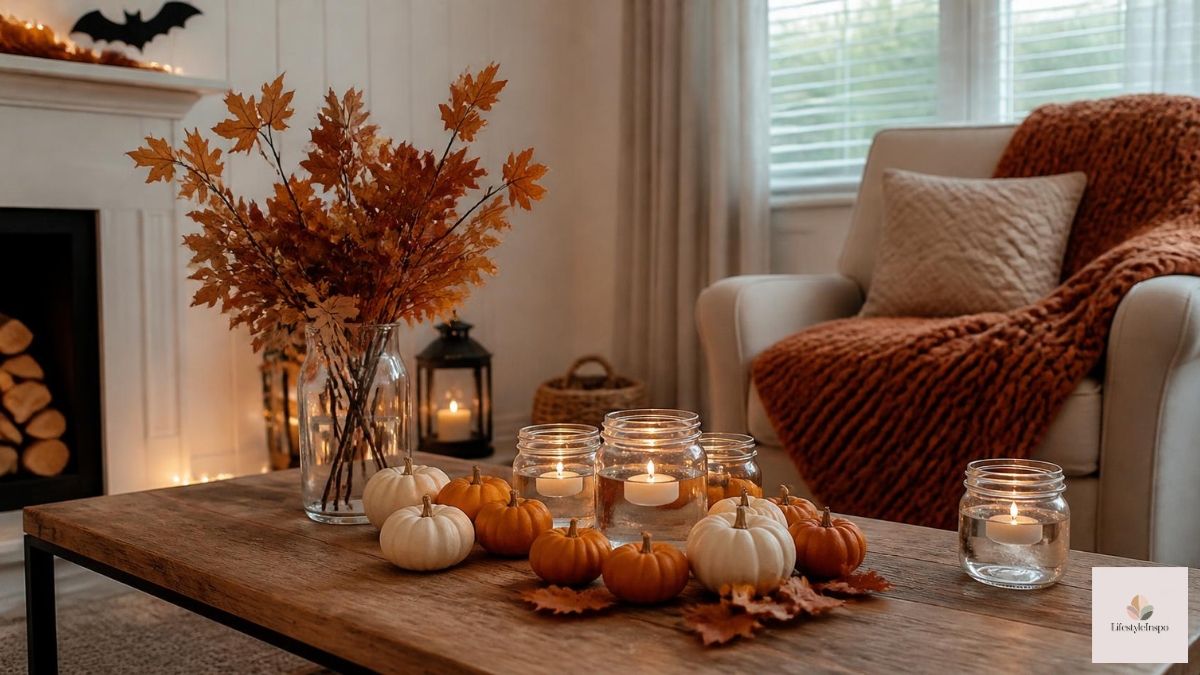
Where to use them: Cluster a few on a mantel, a table, or beside your door. Mix heights and keep groups in odd numbers.
Step 2: Add Light (The Biggest Return on Investment)
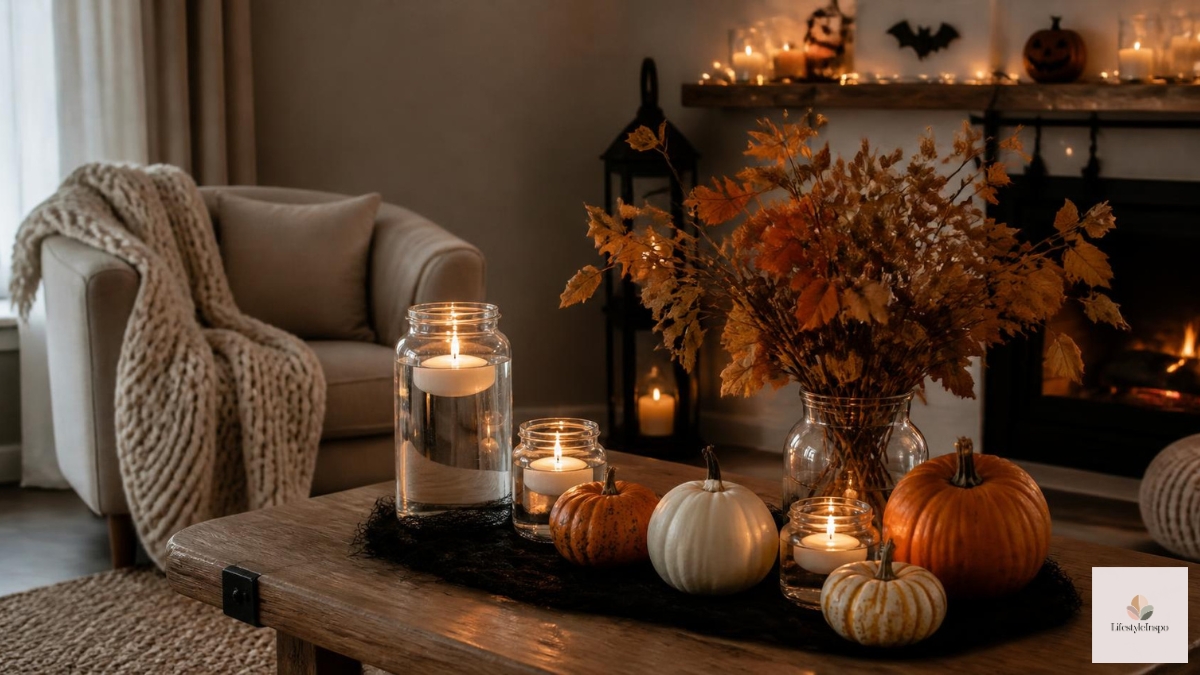
If you only spend money on one category, make it lighting. It’s the cheapest way to change the mood of a space, and it makes everything else you own look better.
Start with a strand of pumpkin LED string lights for a warm, festive glow. If your style leans playful or spooky, add ghost and bat LED string lights to a different spot. Battery-powered versions are especially useful because you can put them anywhere.
Then, if you want that cozy flicker, grab a set of flameless taper candles. They give you candlelight without the fire risk, and they last well beyond October.
Pro tip: Use lights on a bookshelf, window frame, or mantel, and turn off the overhead lights in the evening. It’s a free upgrade.
Step 3: Add Texture (Where Cheap Looks Expensive)
Once you have light and a focal piece, texture is what gives a space depth. It’s also where small budgets really shine.
Drape something
Creepy cloth or cheesecloth is one of the most cost-effective decor items out there. Hang it over a doorway, window, or banister and tug it into soft, irregular folds. It creates a moody, atmospheric effect that looks far pricier than it is.
Hang something
A burlap Halloween banner adds rustic warmth over a fireplace, window, or porch railing. It’s an inexpensive way to fill an awkward empty space and pairs beautifully with the pumpkins you already bought.
Step 4: Swap Instead of Buy
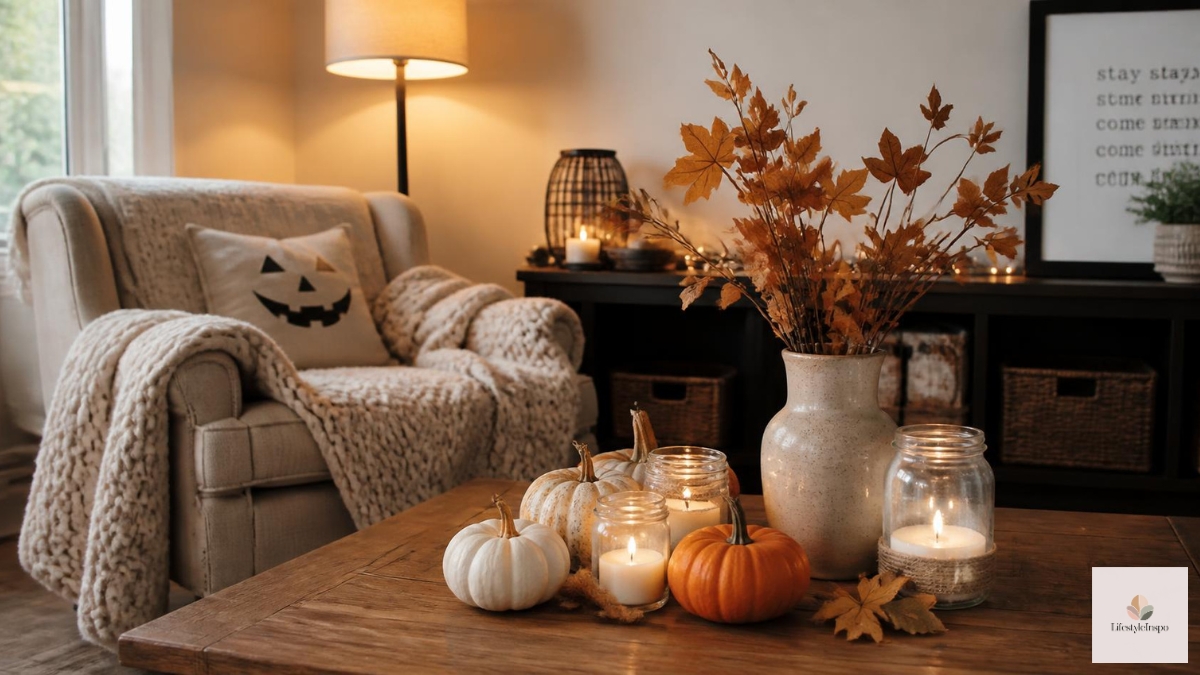
The next smartest move is to swap instead of replacing. Small swaps change a room dramatically for less money.
Halloween pillow covers are a perfect example. You keep your existing pillow inserts and change only the covers, which costs far less than buying new pillows and stores flat after the season. It’s a seasonal refresh that barely takes up closet space.
The same logic works at the front door. A Halloween doormat replaces your regular one for a few weeks, making a first impression for very little effort or money.
Step 5: Splurge on One Statement Piece (Optional)
If you have a little room left, choose one big moment rather than many small ones. A single memorable piece does more than ten forgettable ones.
A large Halloween skeleton is a good example. Pose it on a porch chair, a bench, or by the mailbox, and give it a hat or scarf from your closet. It becomes the thing people remember, and you can bring it out again next year.
If you’re expecting trick-or-treaters, a candy bucket is a practical, inexpensive addition that does double duty as decor by the door.
What to Skip (Save Your Money)
Not everything deserves a spot in your cart. Here’s what to skip or buy later:
Single-use, disposable decor. Anything that goes in the trash after one night has the worst cost-per-use.
Too many tiny items. A dozen small trinkets look cluttered. A few larger pieces look intentional.
Highly themed items that won’t work next year. Choose pieces that fit your style, not just this season’s trend.
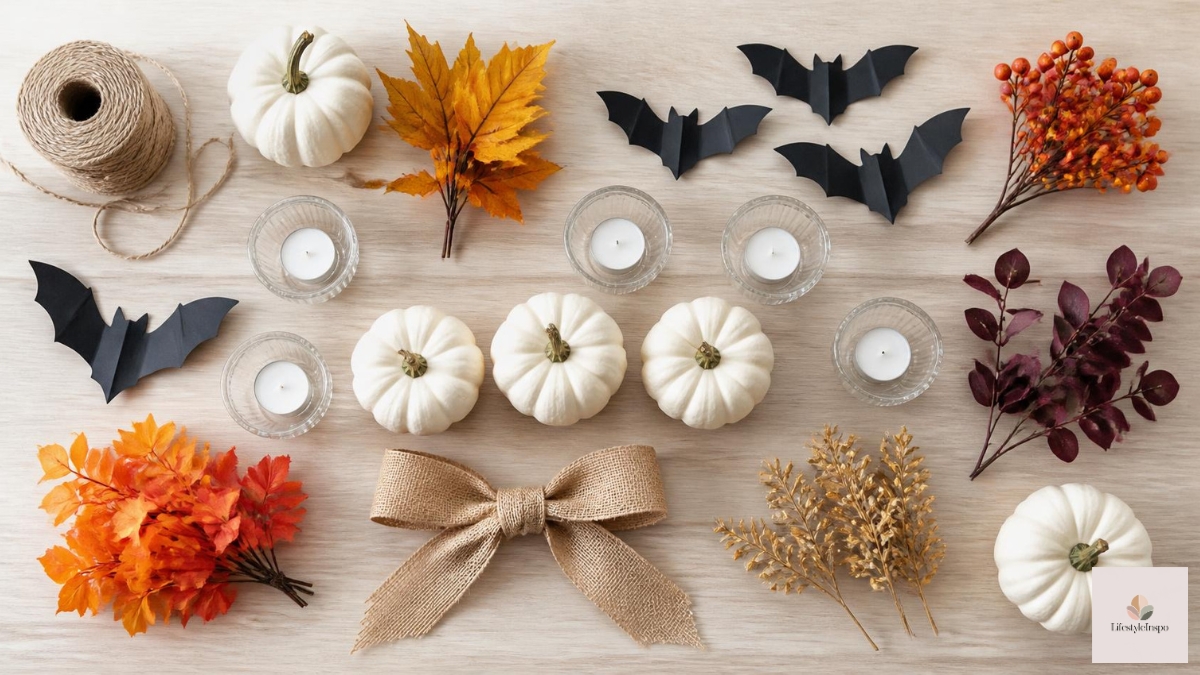
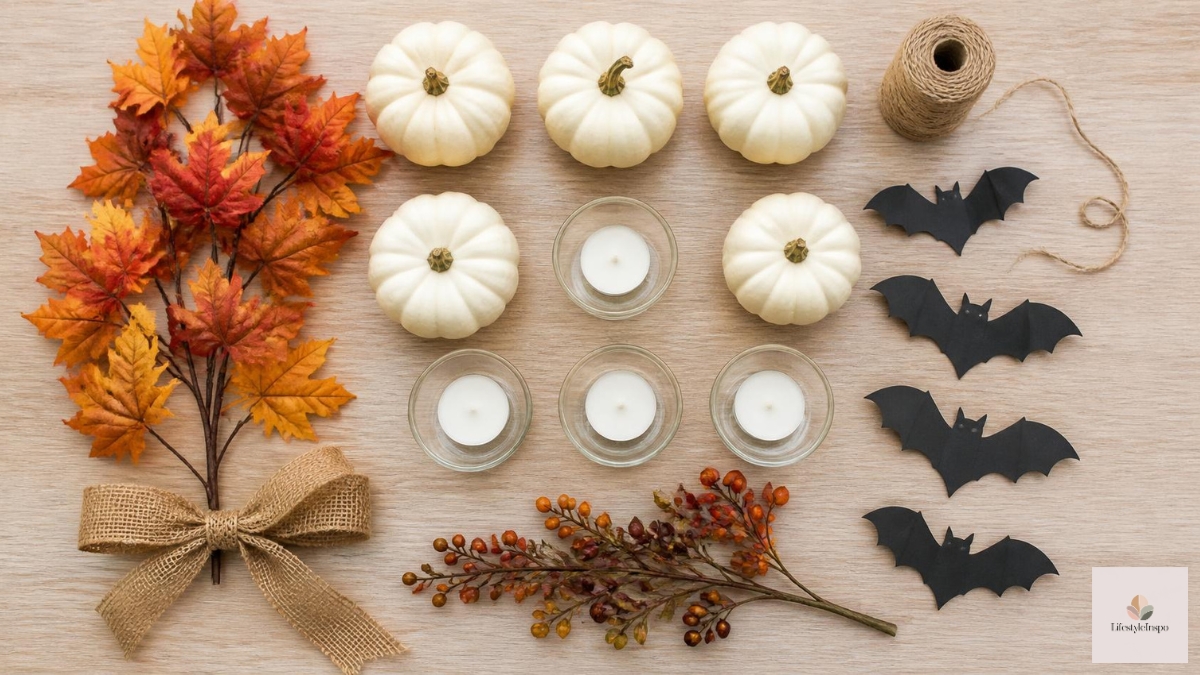
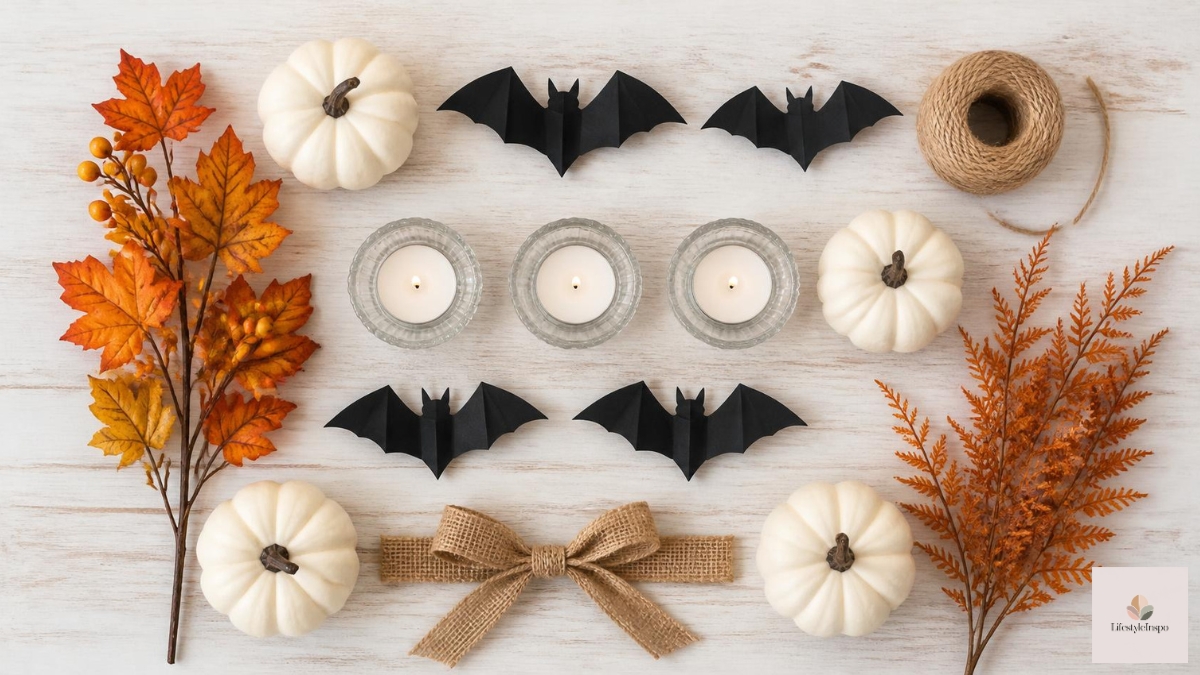
Anything you can make. Paper bats, branch arrangements, and candle clusters are free or nearly free.
A Simple Weekend Plan
If you want to get it all done without stress, here’s a rough timeline:
Saturday morning: Shop your home and gather supplies. Decide your palette.
Saturday afternoon: Place pumpkins and lights in two key spots.
Sunday morning: Add texture, such as cheesecloth, banners, and pillow covers.
Sunday afternoon: Add your statement piece, step back, and edit. Remove anything that feels like too much.
FAQ: Halloween Decor on a Budget
What should I buy first for Halloween decorations?
Start with reusable basics: pumpkins and lighting. They give the biggest visual impact and can be used for years.
How can I make cheap Halloween decorations look better?
Stick to a color palette, group items in odd numbers, and use warm lighting. Editing out extras makes a huge difference.
Is it better to buy real or fake pumpkins?
Faux pumpkins last for years and cost less over time. Real pumpkins are lovely but short-lived. A mix of both gives you the best of each.
How much should I spend on Halloween decor?
There’s no right number. Set a budget before you shop, prioritize lighting and reusable basics, and treat anything beyond that as optional.
The Takeaway
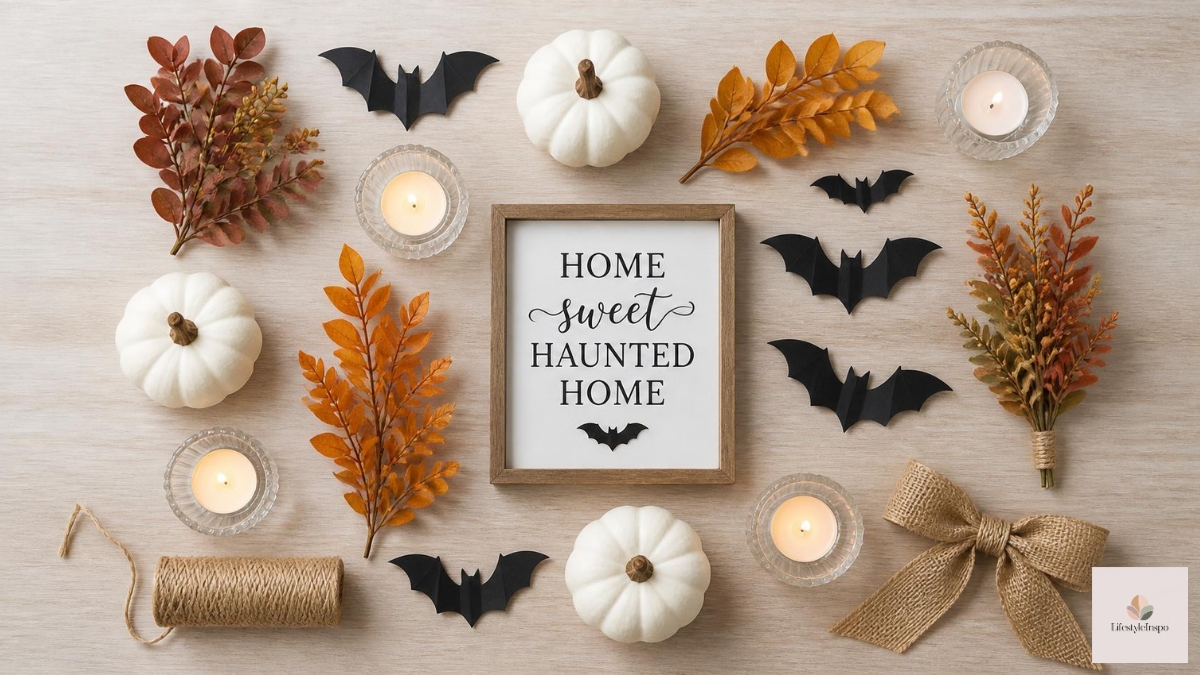
Budget decorating isn’t about deprivation. It’s about being deliberate. Buy your foundation, add light, layer in texture, swap rather than replace, and save a little room for one standout piece.
Do it in that order and your home will look polished, intentional, and festive without the overspending. Save this plan for next year, and share it with someone who’s about to wander the seasonal aisle without a list.
About the Author