Turn a Playful Circus Coloring Page Into a Keepsake Display at Home
Turn a single sheet of circus coloring art into a living keepsake rather than another cardboard pile in the toy bin. With just a little intention—selective framing, a simple routine for coloring together, and flexible display strategies—you can elevate a circus-themed coloring page into a meaningful art wall that grows with your family, complements your playroom, and resists the temptation to go full theme-park decor.

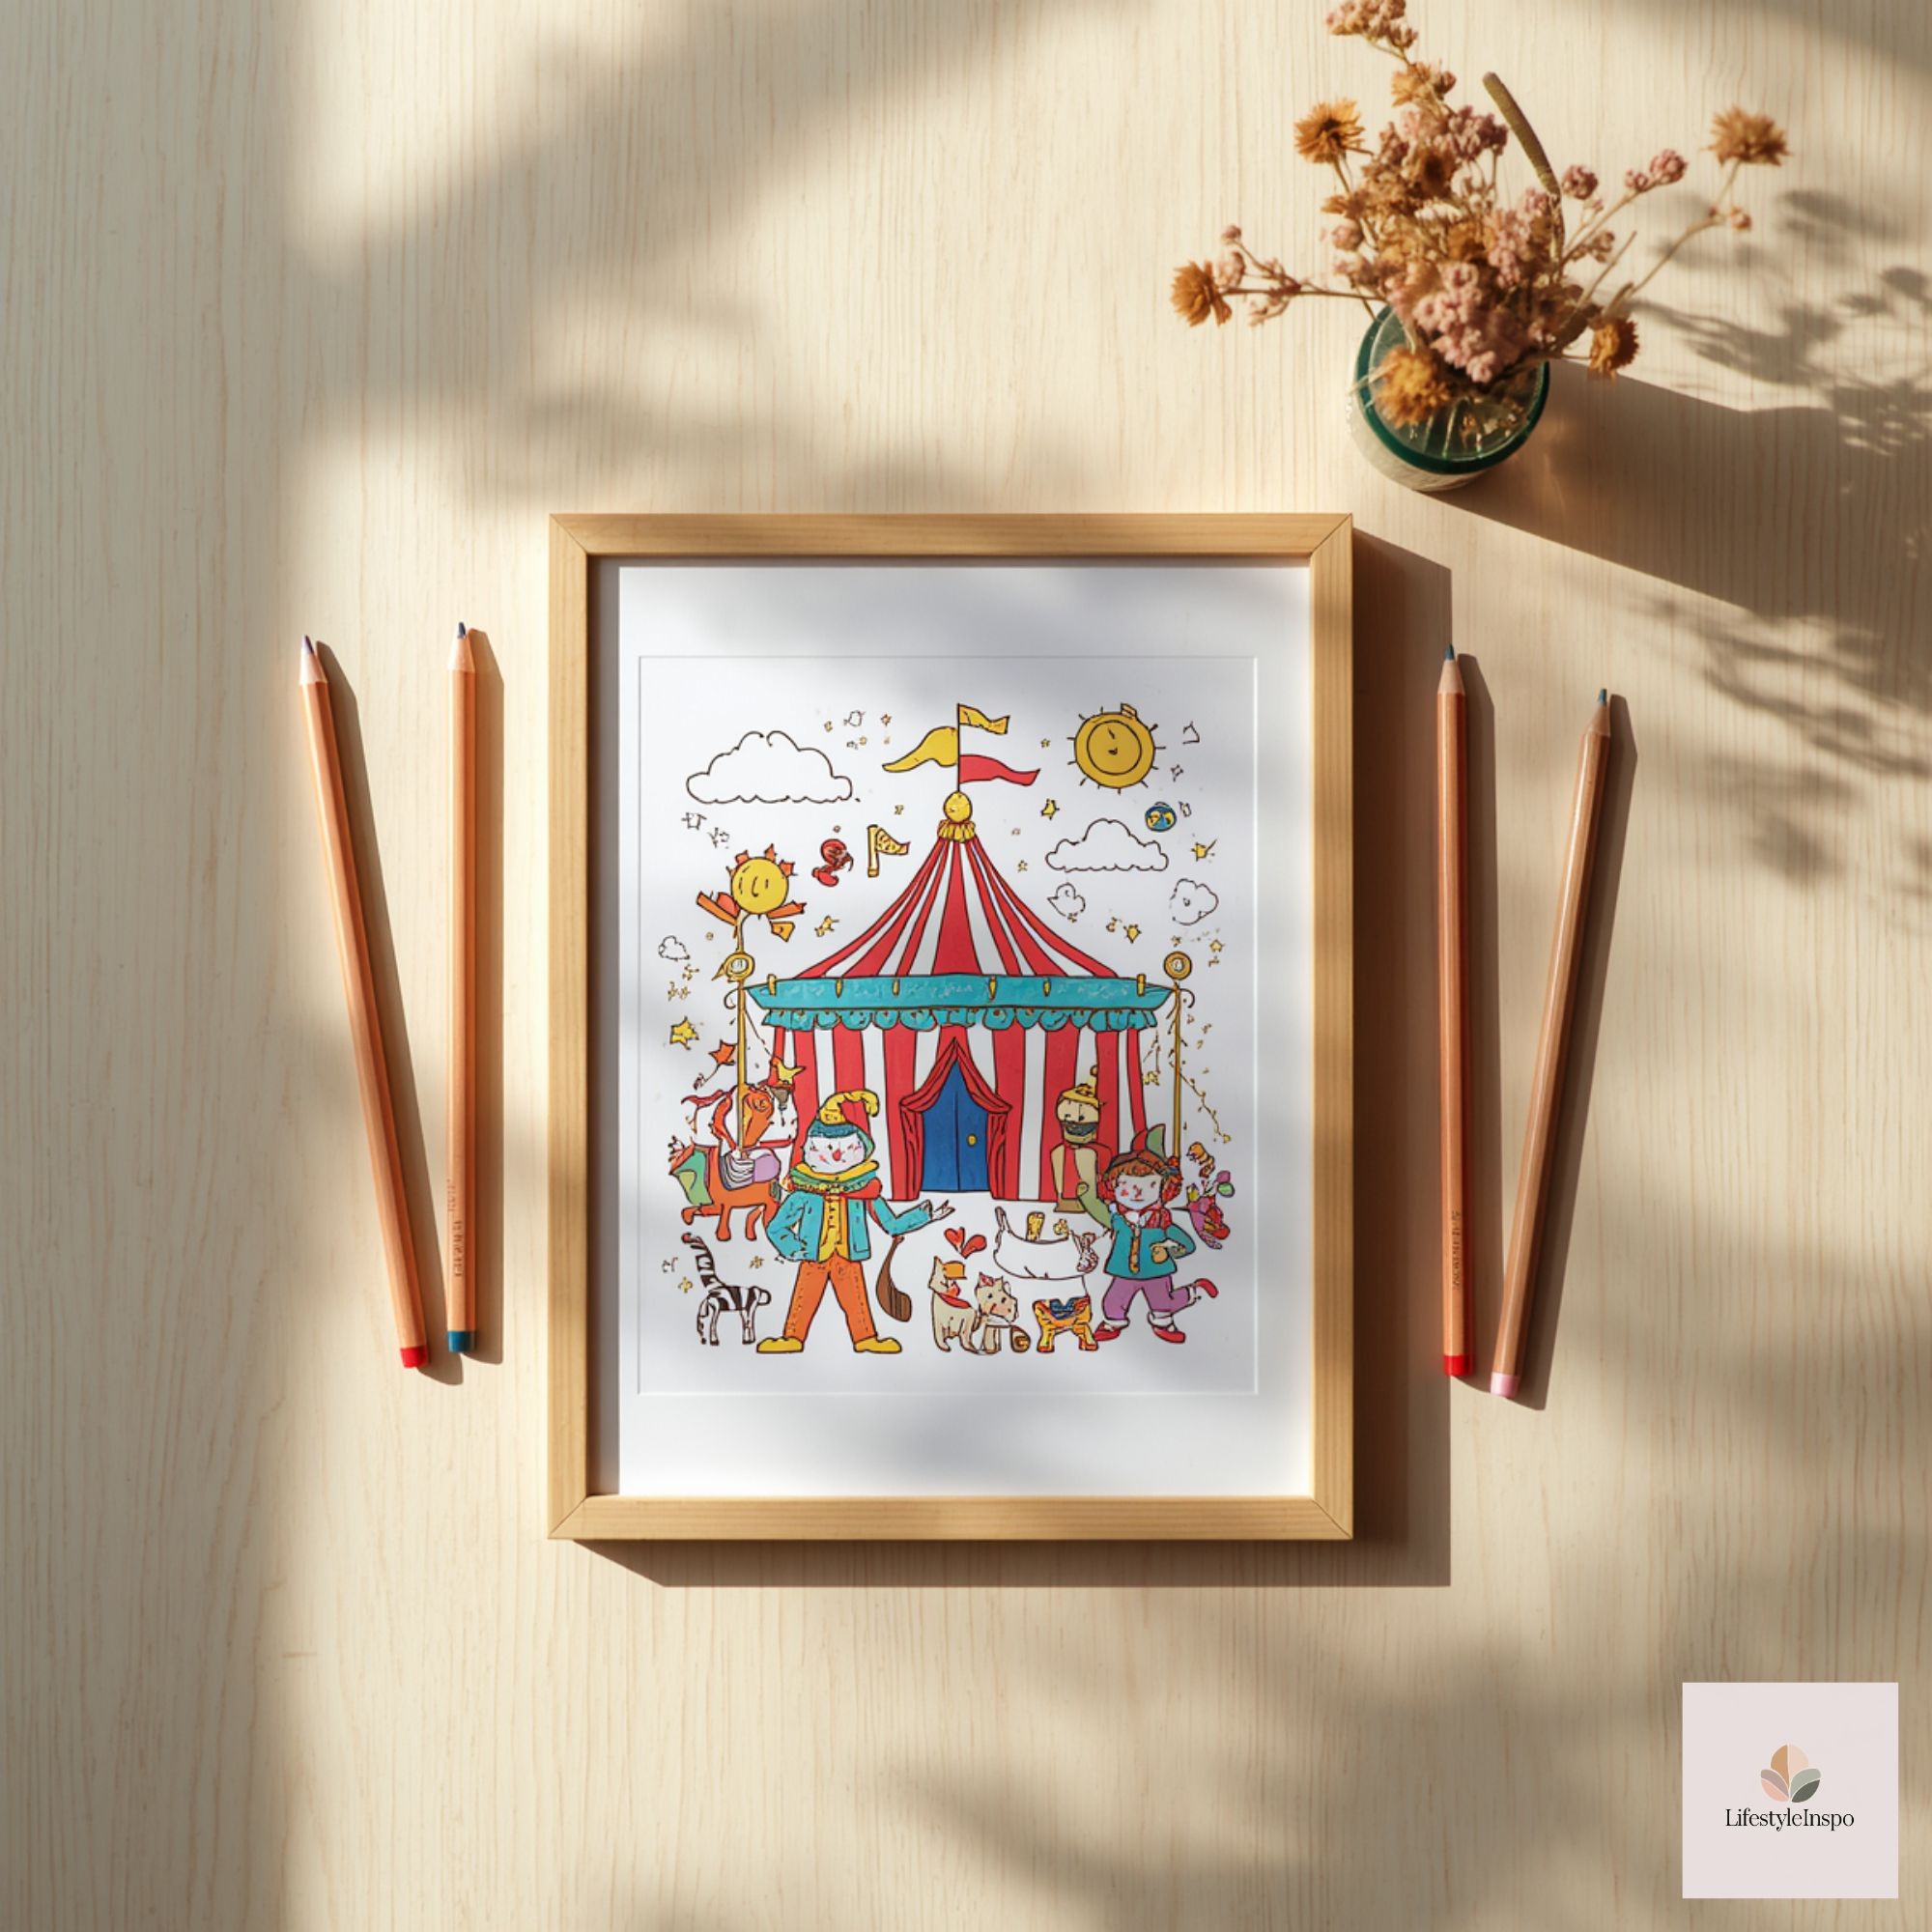
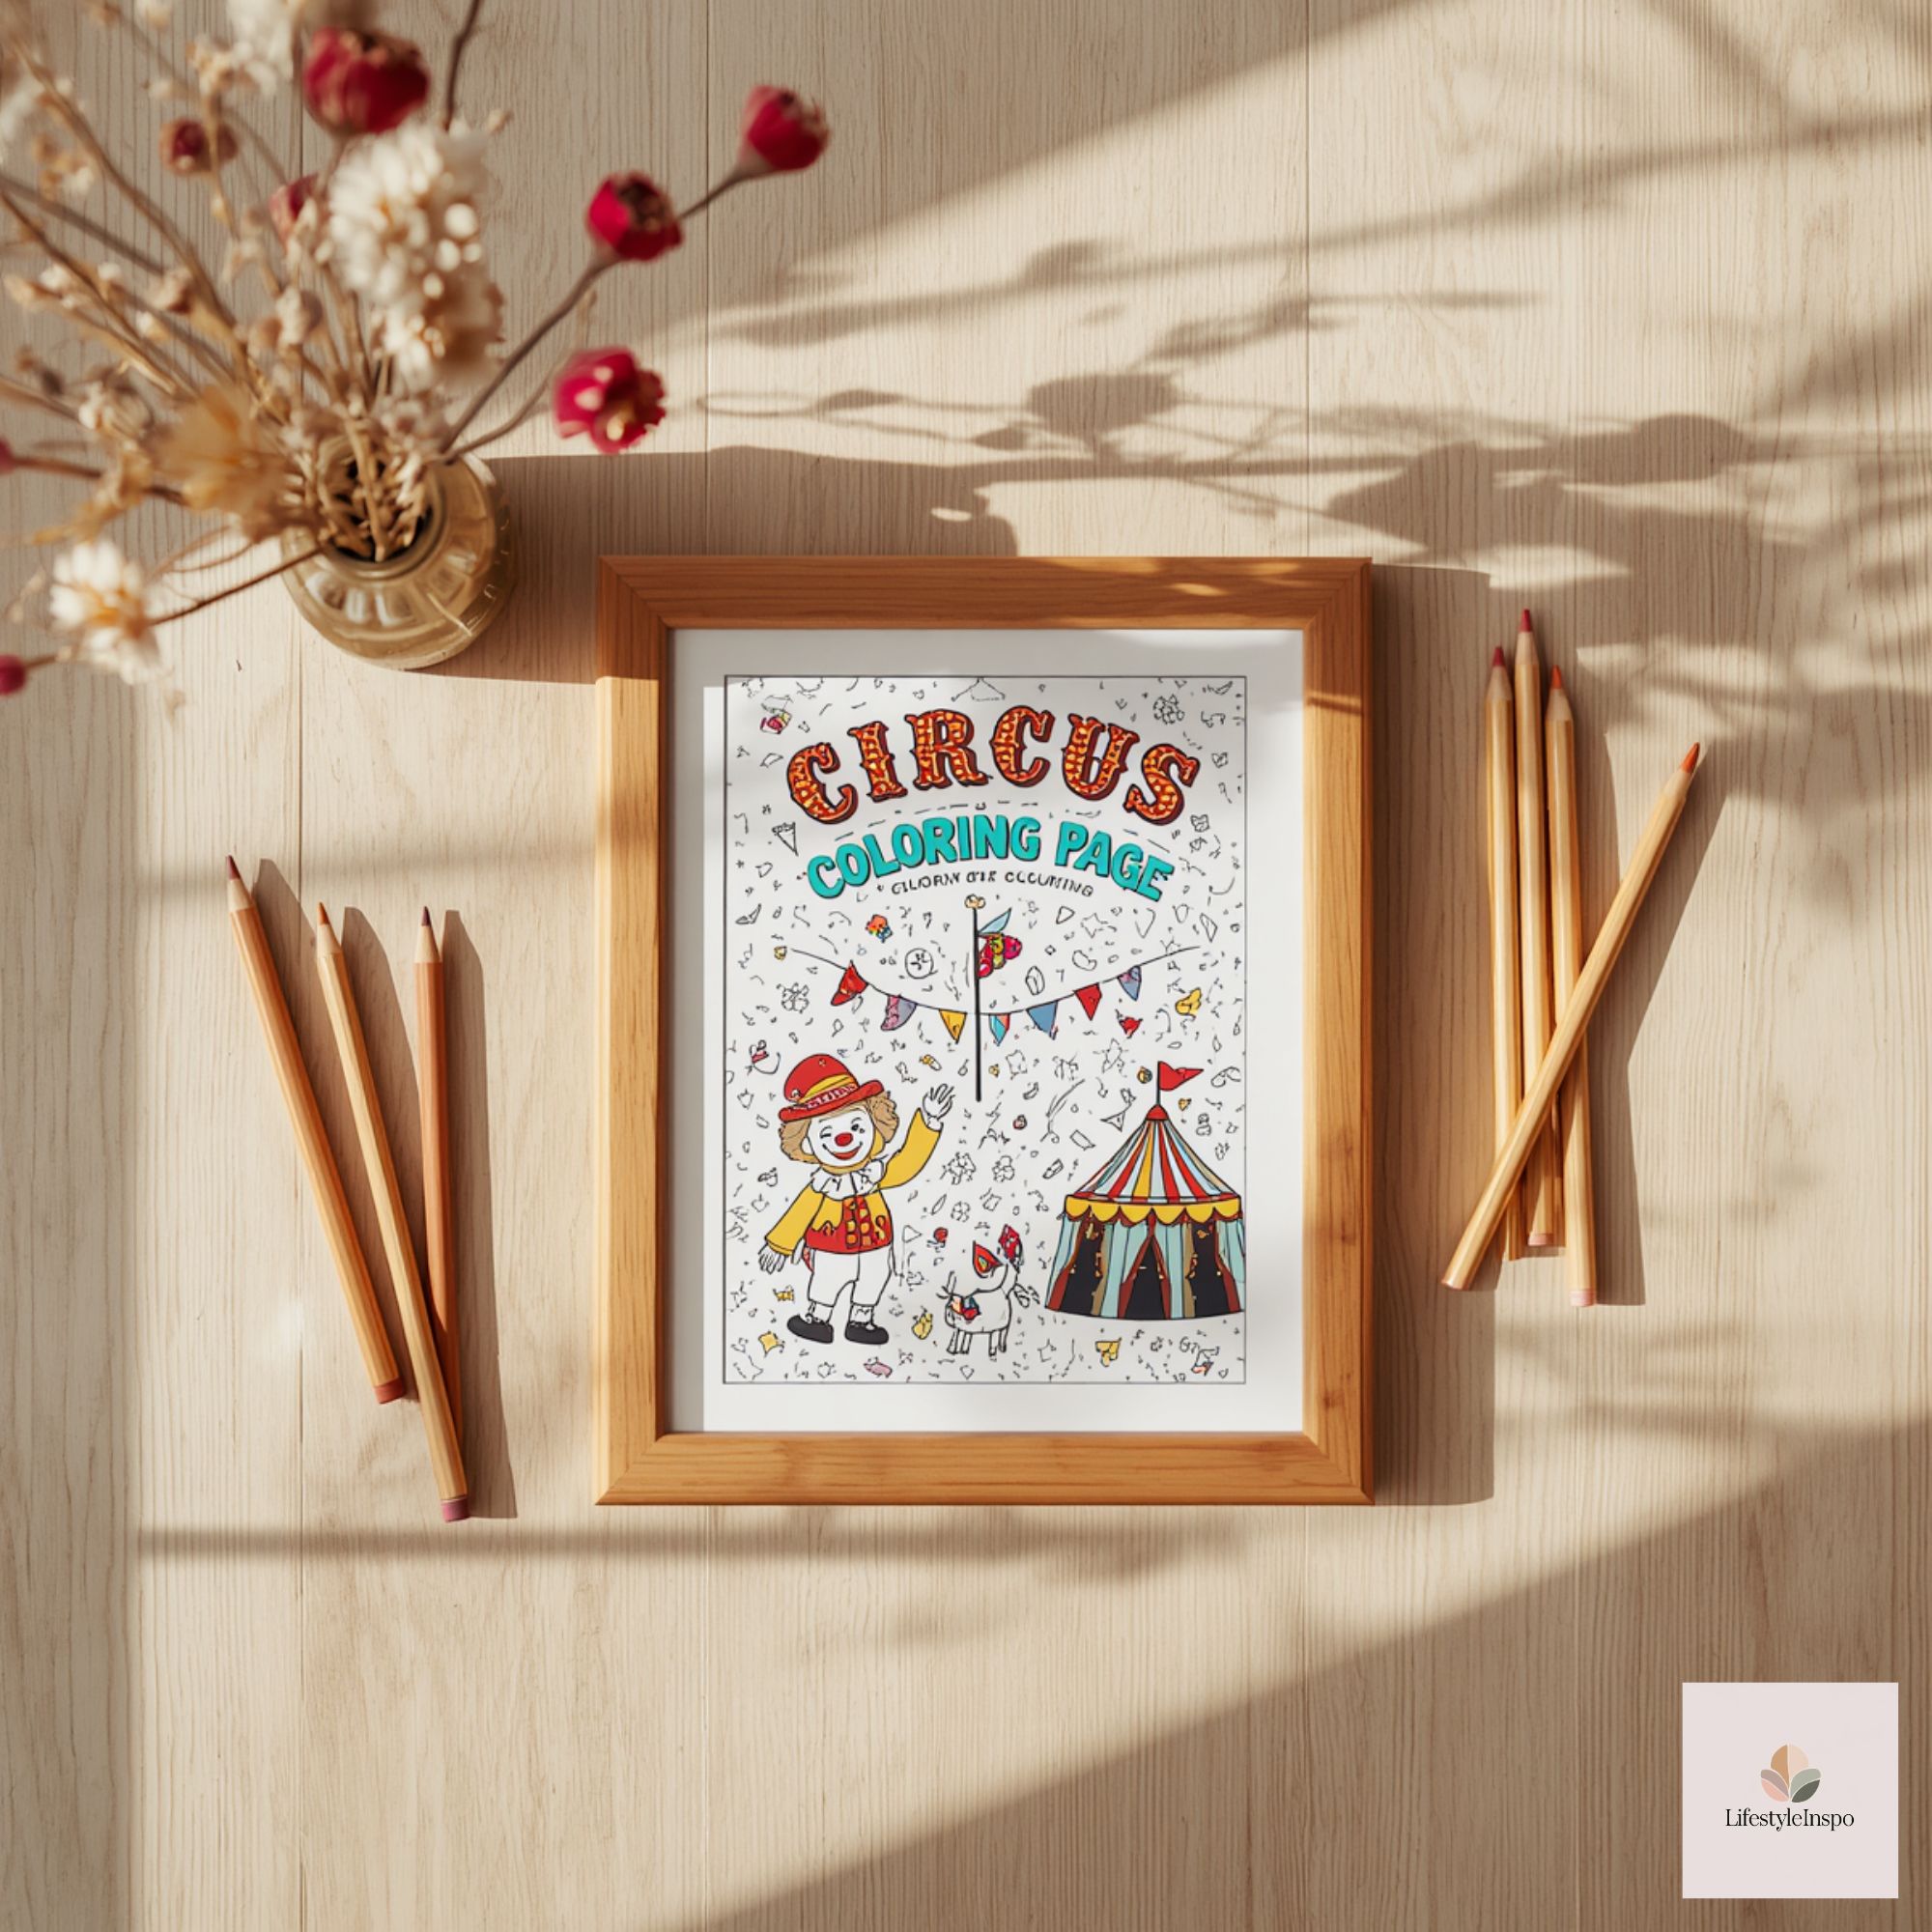
If you’re starting from printable circus illustrations, consider this Circus Coloring Pages set as a creative launching point. Use it as a collaborative canvas that records stages of skill and personality over time: a toddler’s loopy crayons alongside a tween’s carefully blended markers. (Check the seller’s listing for product details.) Here’s how to build a curated, low-fuss keepsake display that feels designed — not overdone.
Why a curated keepsake display beats “themed” chaos
- Keepsakes capture memory, not just motif. A curated selection of colored pages becomes a record of who did what and when.
- It avoids visual overload. A “circus” can quickly read as gimmicky if every surface screams stripes and clowns. Curation lets the artwork sing without turning your playroom into a carnival tent.
- It’s flexible and renter-friendly. No permanent wallpaper or murals; frames, clips, and shelves come down easily and look tidy.
The plan in three parts: create, curate, and rotate
- Create: make the coloring an intentional ritual so the pages feel meaningful from the start.
- Curate: select, mat, and frame with restraint so the display reads as art.
- Rotate: refresh the wall over months and years so it reflects growth and new memories.
Make coloring a participatory, repeatable ritual
The energy behind the art matters. Turn coloring into a shared activity that’s calm and celebratory rather than hurried or purely transactional.
Mini-guide: Simple coloring rituals to try
- Weekly “Circus Hour”: Choose an evening each week for 20–40 minutes of coloring. Have a small snack, play low-key background music, and invite conversation about color choices and characters’ personalities.
- Start, finish, and note: One person sketches/color-blocks the page during the first session; another returns a week later to add details. Tape a small label to the back with date(s) and contributors’ names.
- Motif prompts: Give each session a mini-theme—“a nighttime circus,” “an underwater circus,” or “favorite animal acts”—to encourage creativity and variation.
- Color swaps: Invite a friend or grandparent to visit and color a detail. Over time, the page becomes a collective artifact.
Materials and tools that make coloring feel special (without breaking the bank)
- Assorted mediums: Crayons and markers are staples; add colored pencils for shading and a metallic gel pen or two for small highlights.
- Protective surface: A craft mat or thick magazine protects the table and keeps edges clean.
- Storage: A simple accordion folder or tabletop caddy keeps pens and pencils visible and easy to grab during ritual time.
- Labeling tools: Acid-free archival tags or a fine archival pen to sign and date work on the back of the page.
Tip: If you’re worried about bleed-through from markers, add a sheet of cardboard under each page while coloring.
Curate with restraint: framing and arrangement strategies
The difference between something that looks like careful decor versus a pile of kids’ drawings often comes down to how you present it. Simple frames, unified mats, and a consistent color palette for framing make disparate pages look intentional.
Mini-guide: Framing options by budget
- Budget-friendly: Basic black or white frames with pre-cut mats (available at many big-box stores). Mats give each page breathing room and create a gallery look.
- Mid-range: Acid-free mats and float mounting for pages where you want to show the edge of the paper. Choose thin wooden frames in natural tones or painted finishes.
- Investment: Custom framing at a local framer for oversized or irregularly trimmed pages; this is worth it if you’re preserving a particularly special collaborative piece.
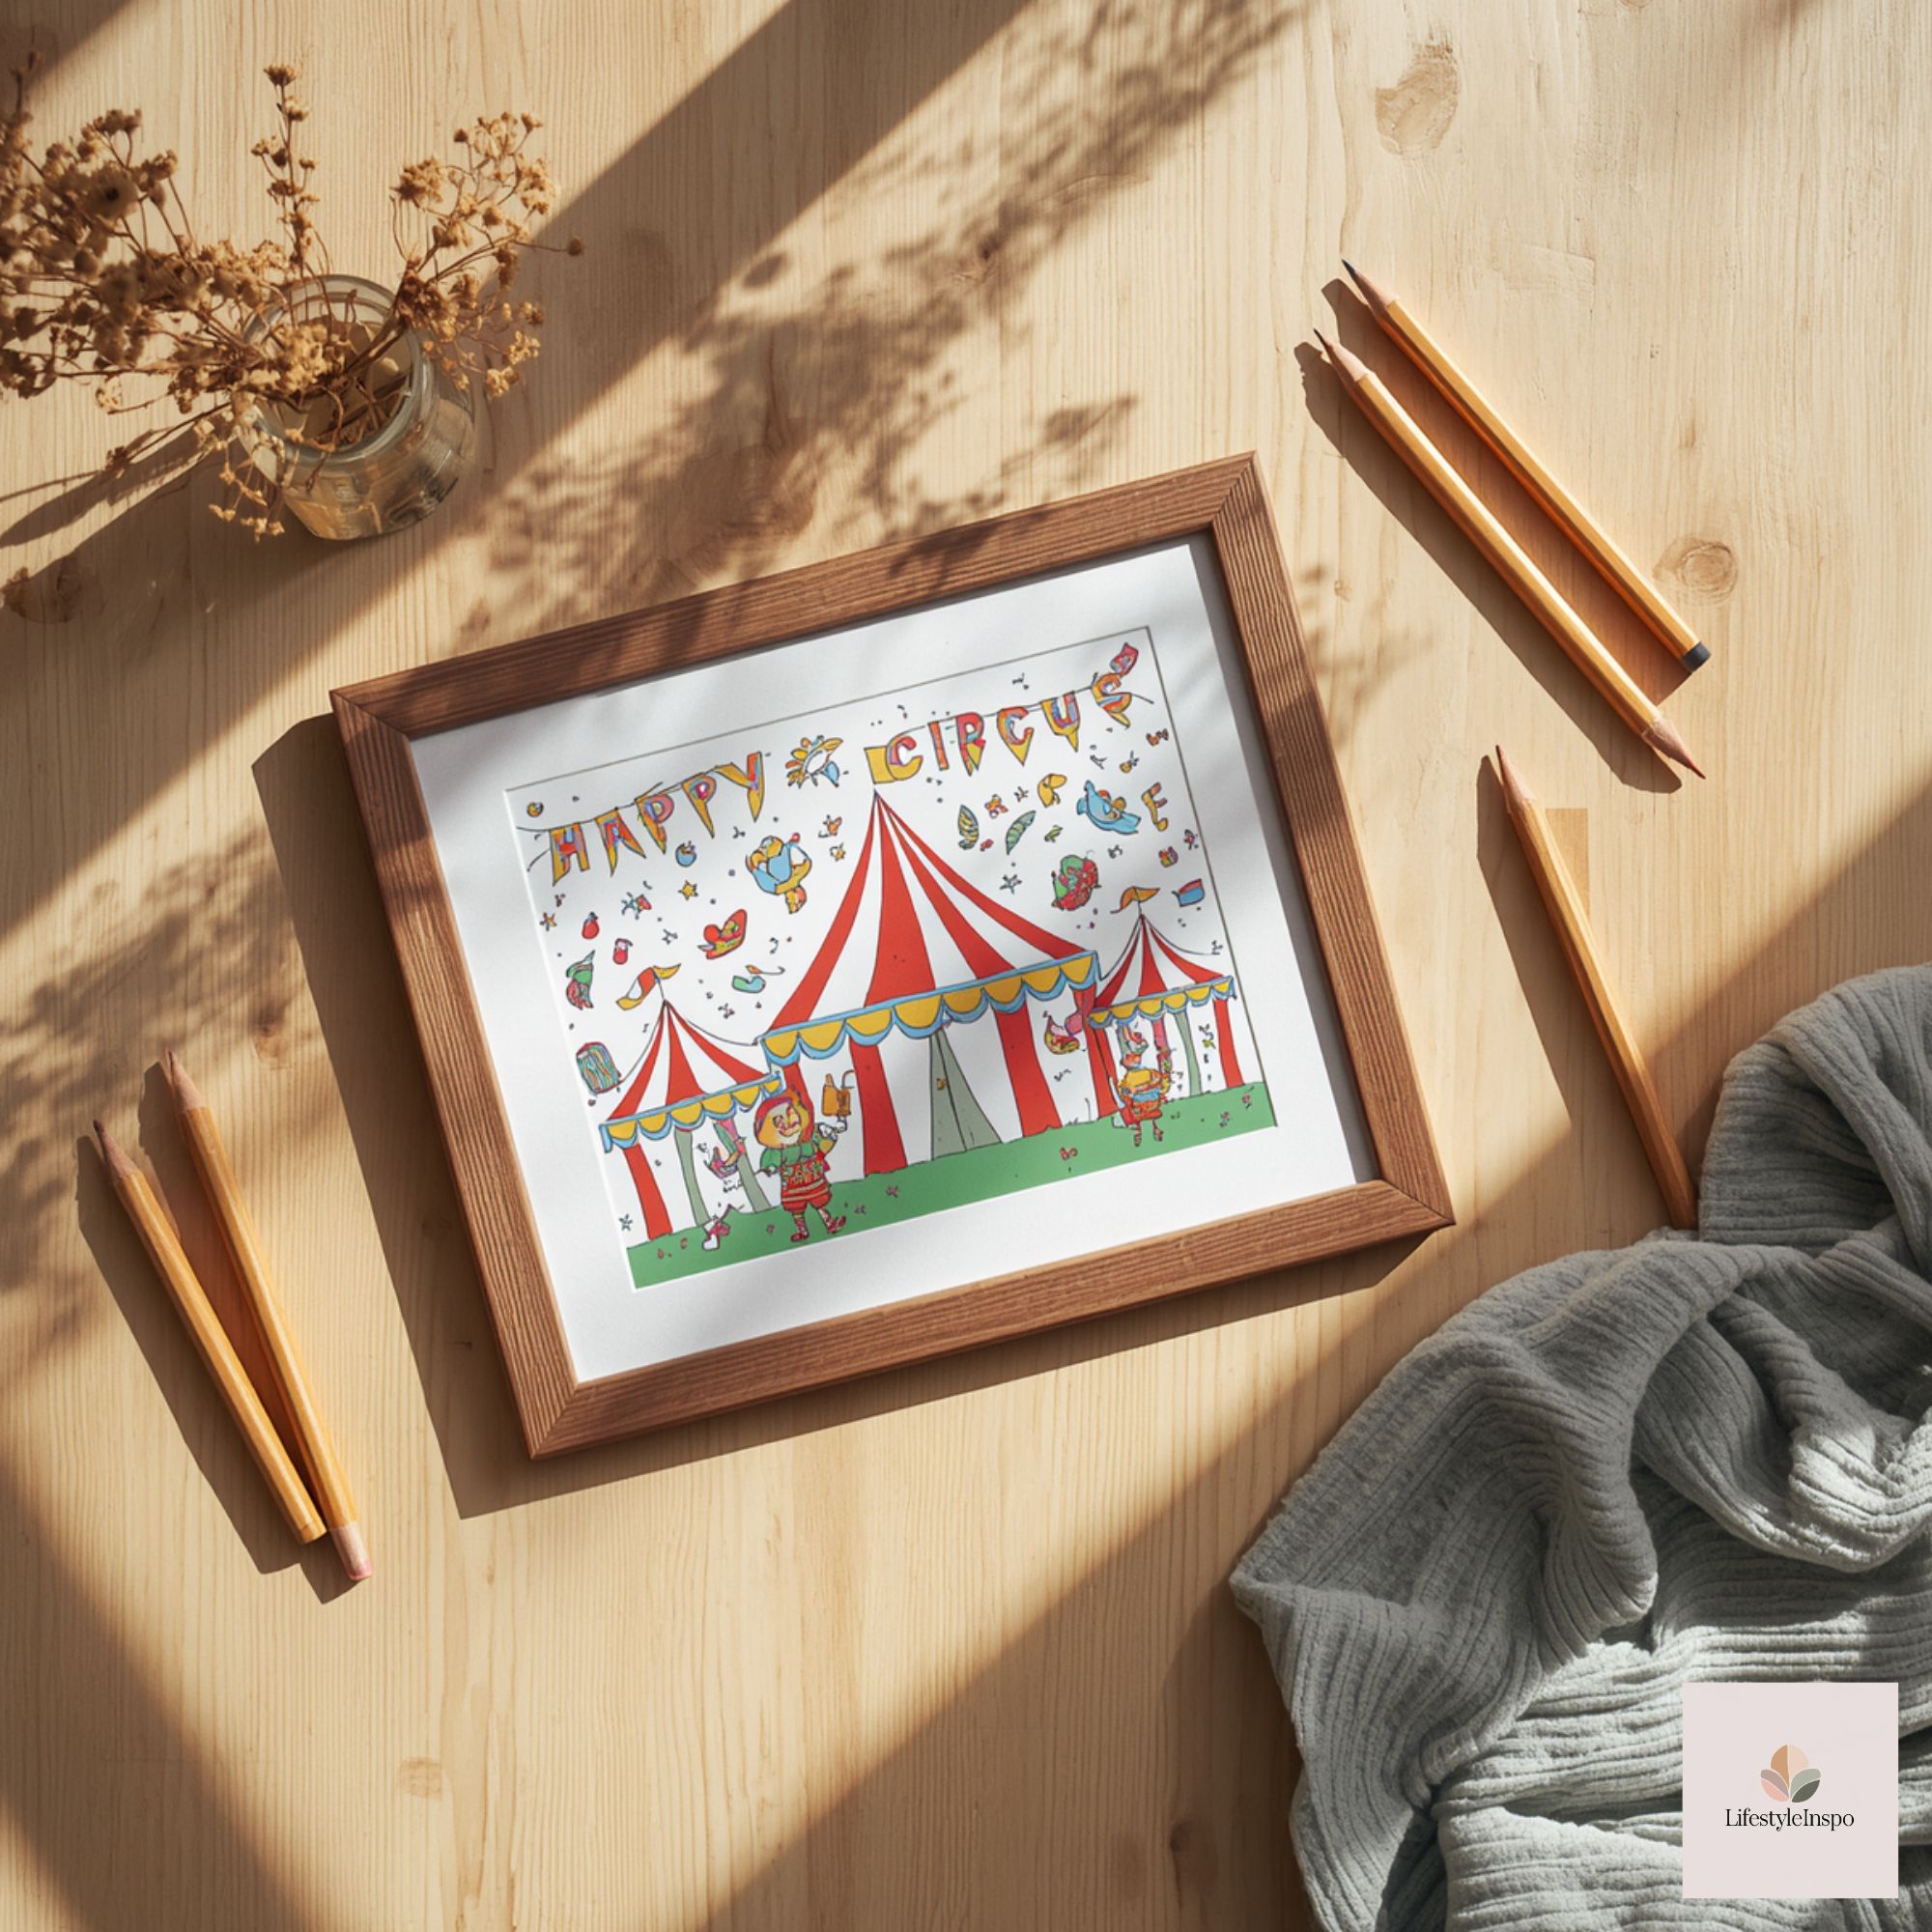
Matting and mounting tips
- Use neutral mats—white, off-white, or pale gray—to let colors pop. Too many patterned or colored mats can compete with the artwork.
- Float mount thin paper on an acid-free backing if the design includes edge details or if the page has been trimmed creatively.
- Secure pages with archival photo corners or hinges rather than tape; they’re reversible and gentler on paper.
Create a cohesive display without being literal
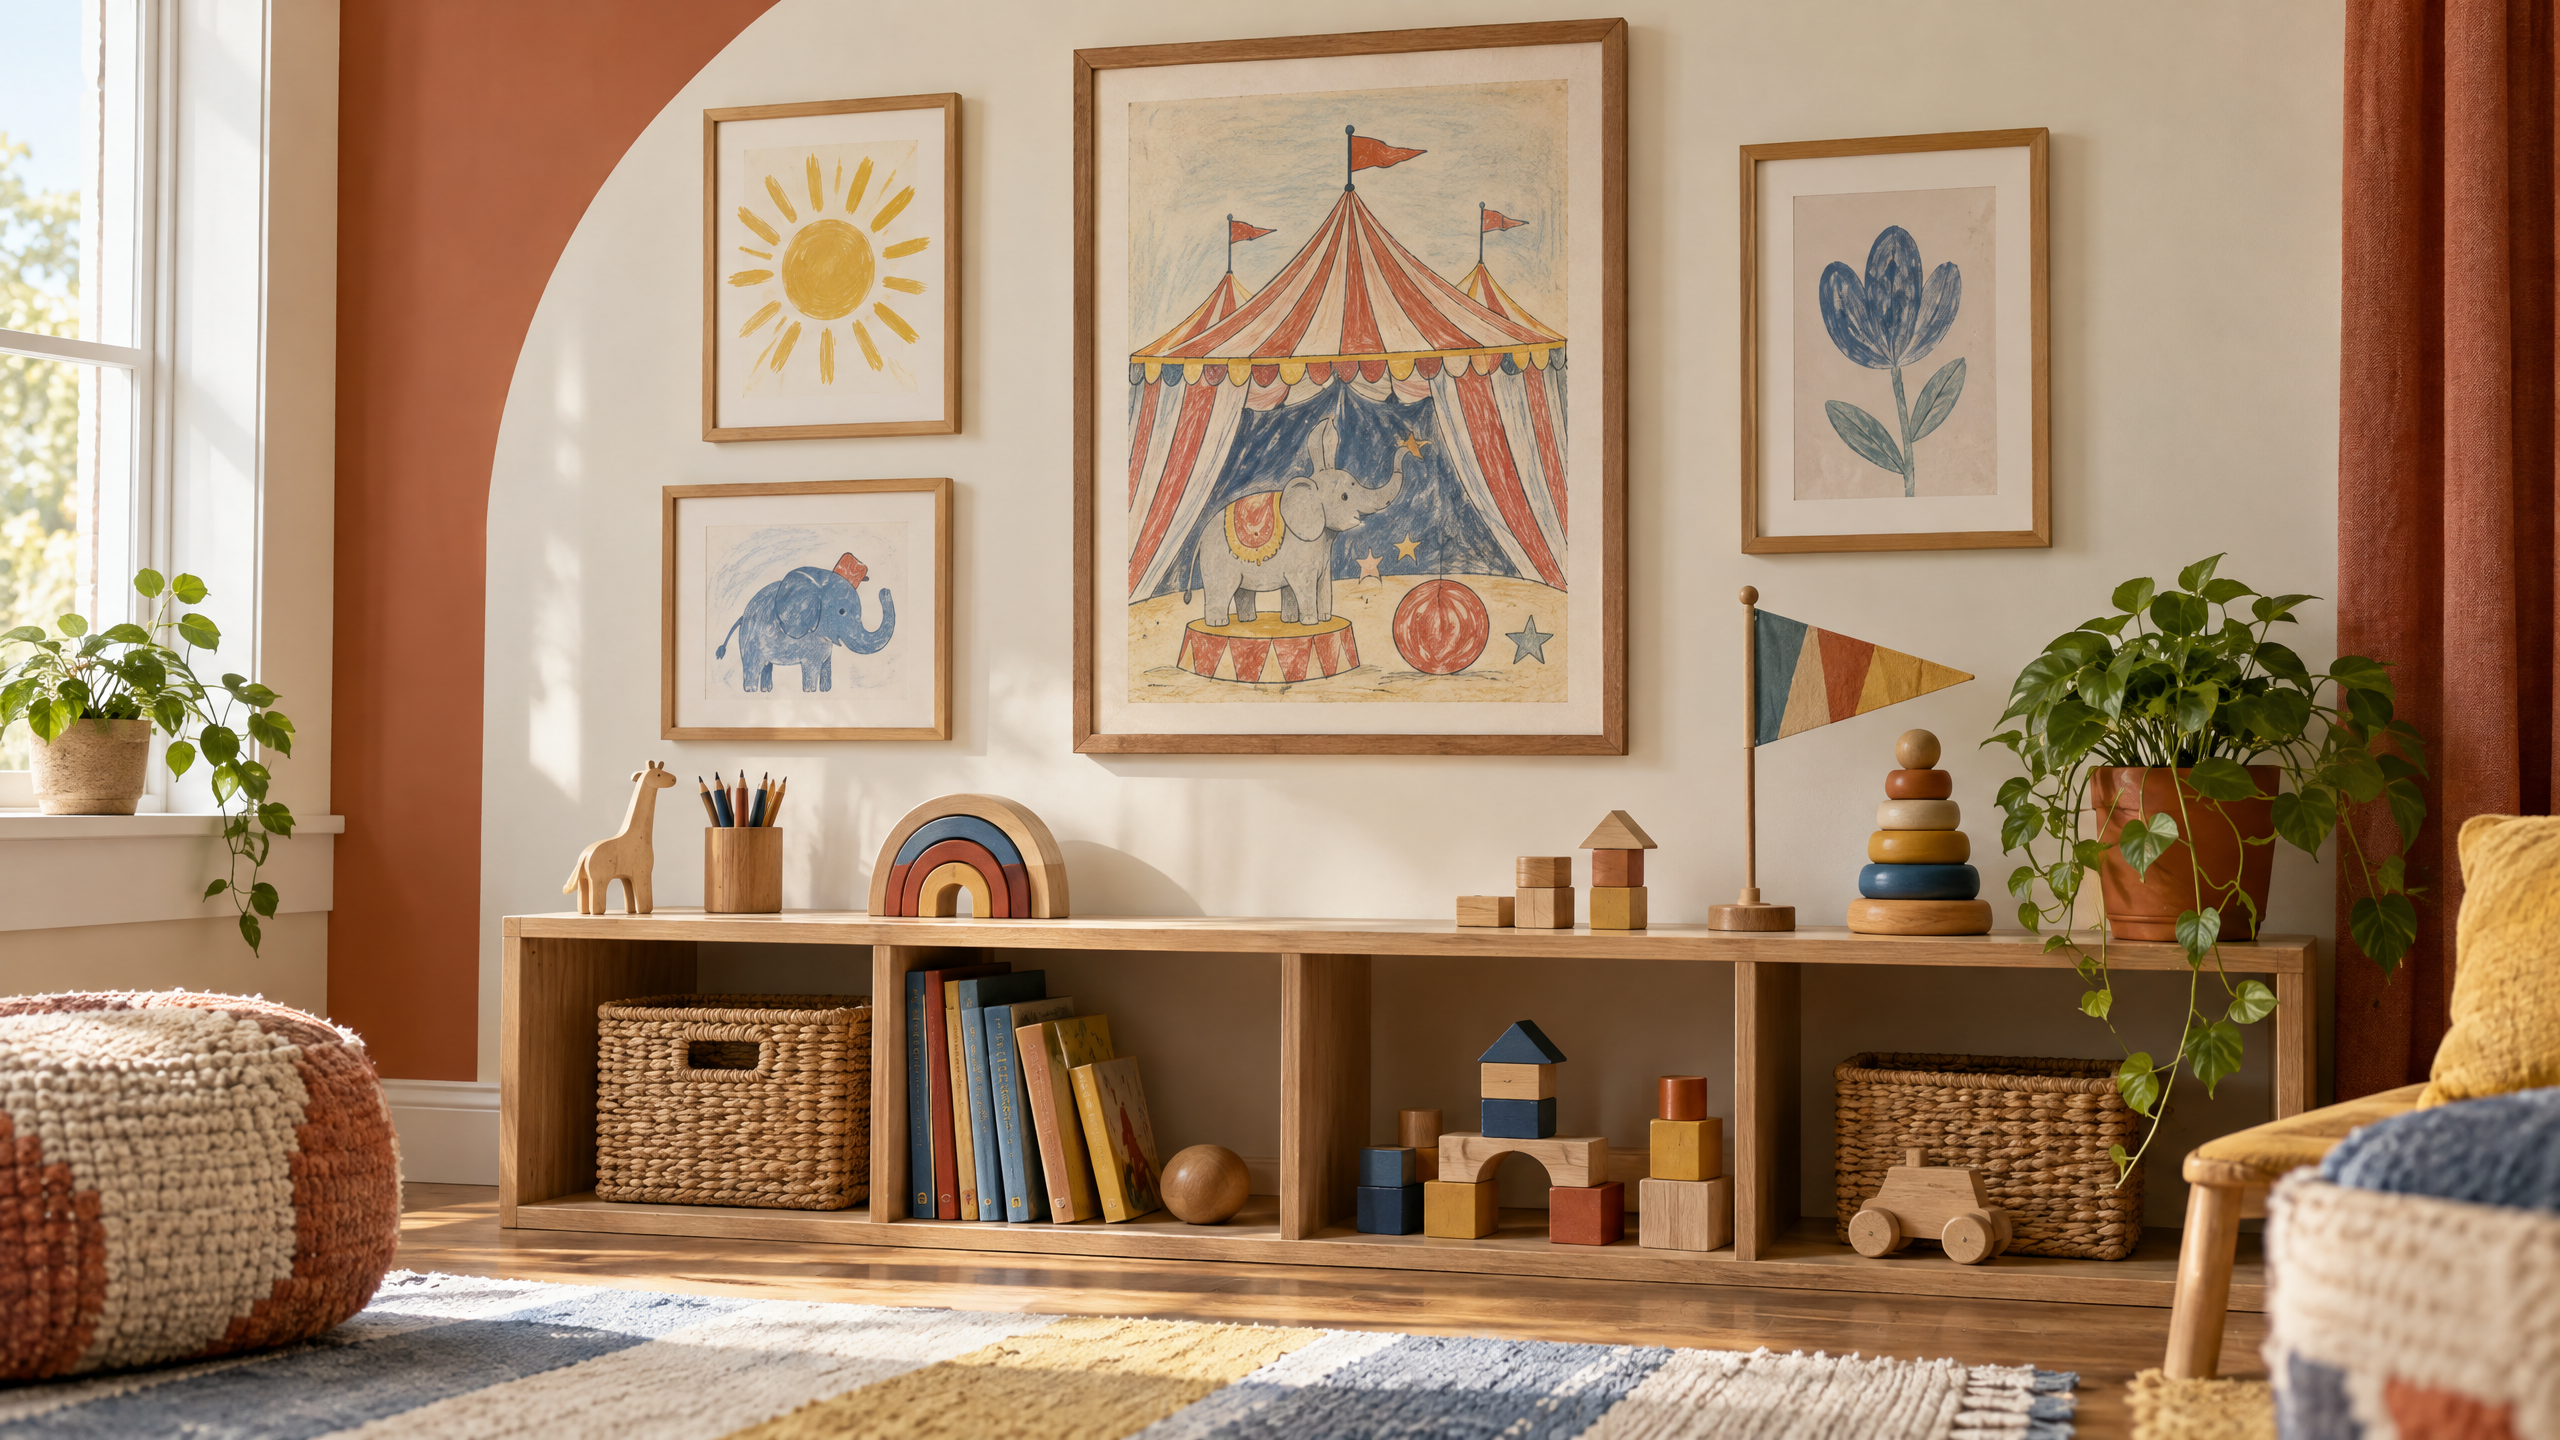
A circus motif invites stripes, stars, and bright hues—but you don’t need to go literal. Think of the artwork as an accent palette rather than a full-room plan.
Arrangement approaches
- Grid gallery: Choose frames the same size and mat color; arrange in a neat grid for a modern, clean look.
- Salon-style cluster: Mix a few portraits of colored pages with small objects—like a vintage circus ticket (or a simple paper reproduction), a family photograph from a circus outing, or a favorite small toy—arranged asymmetrically.
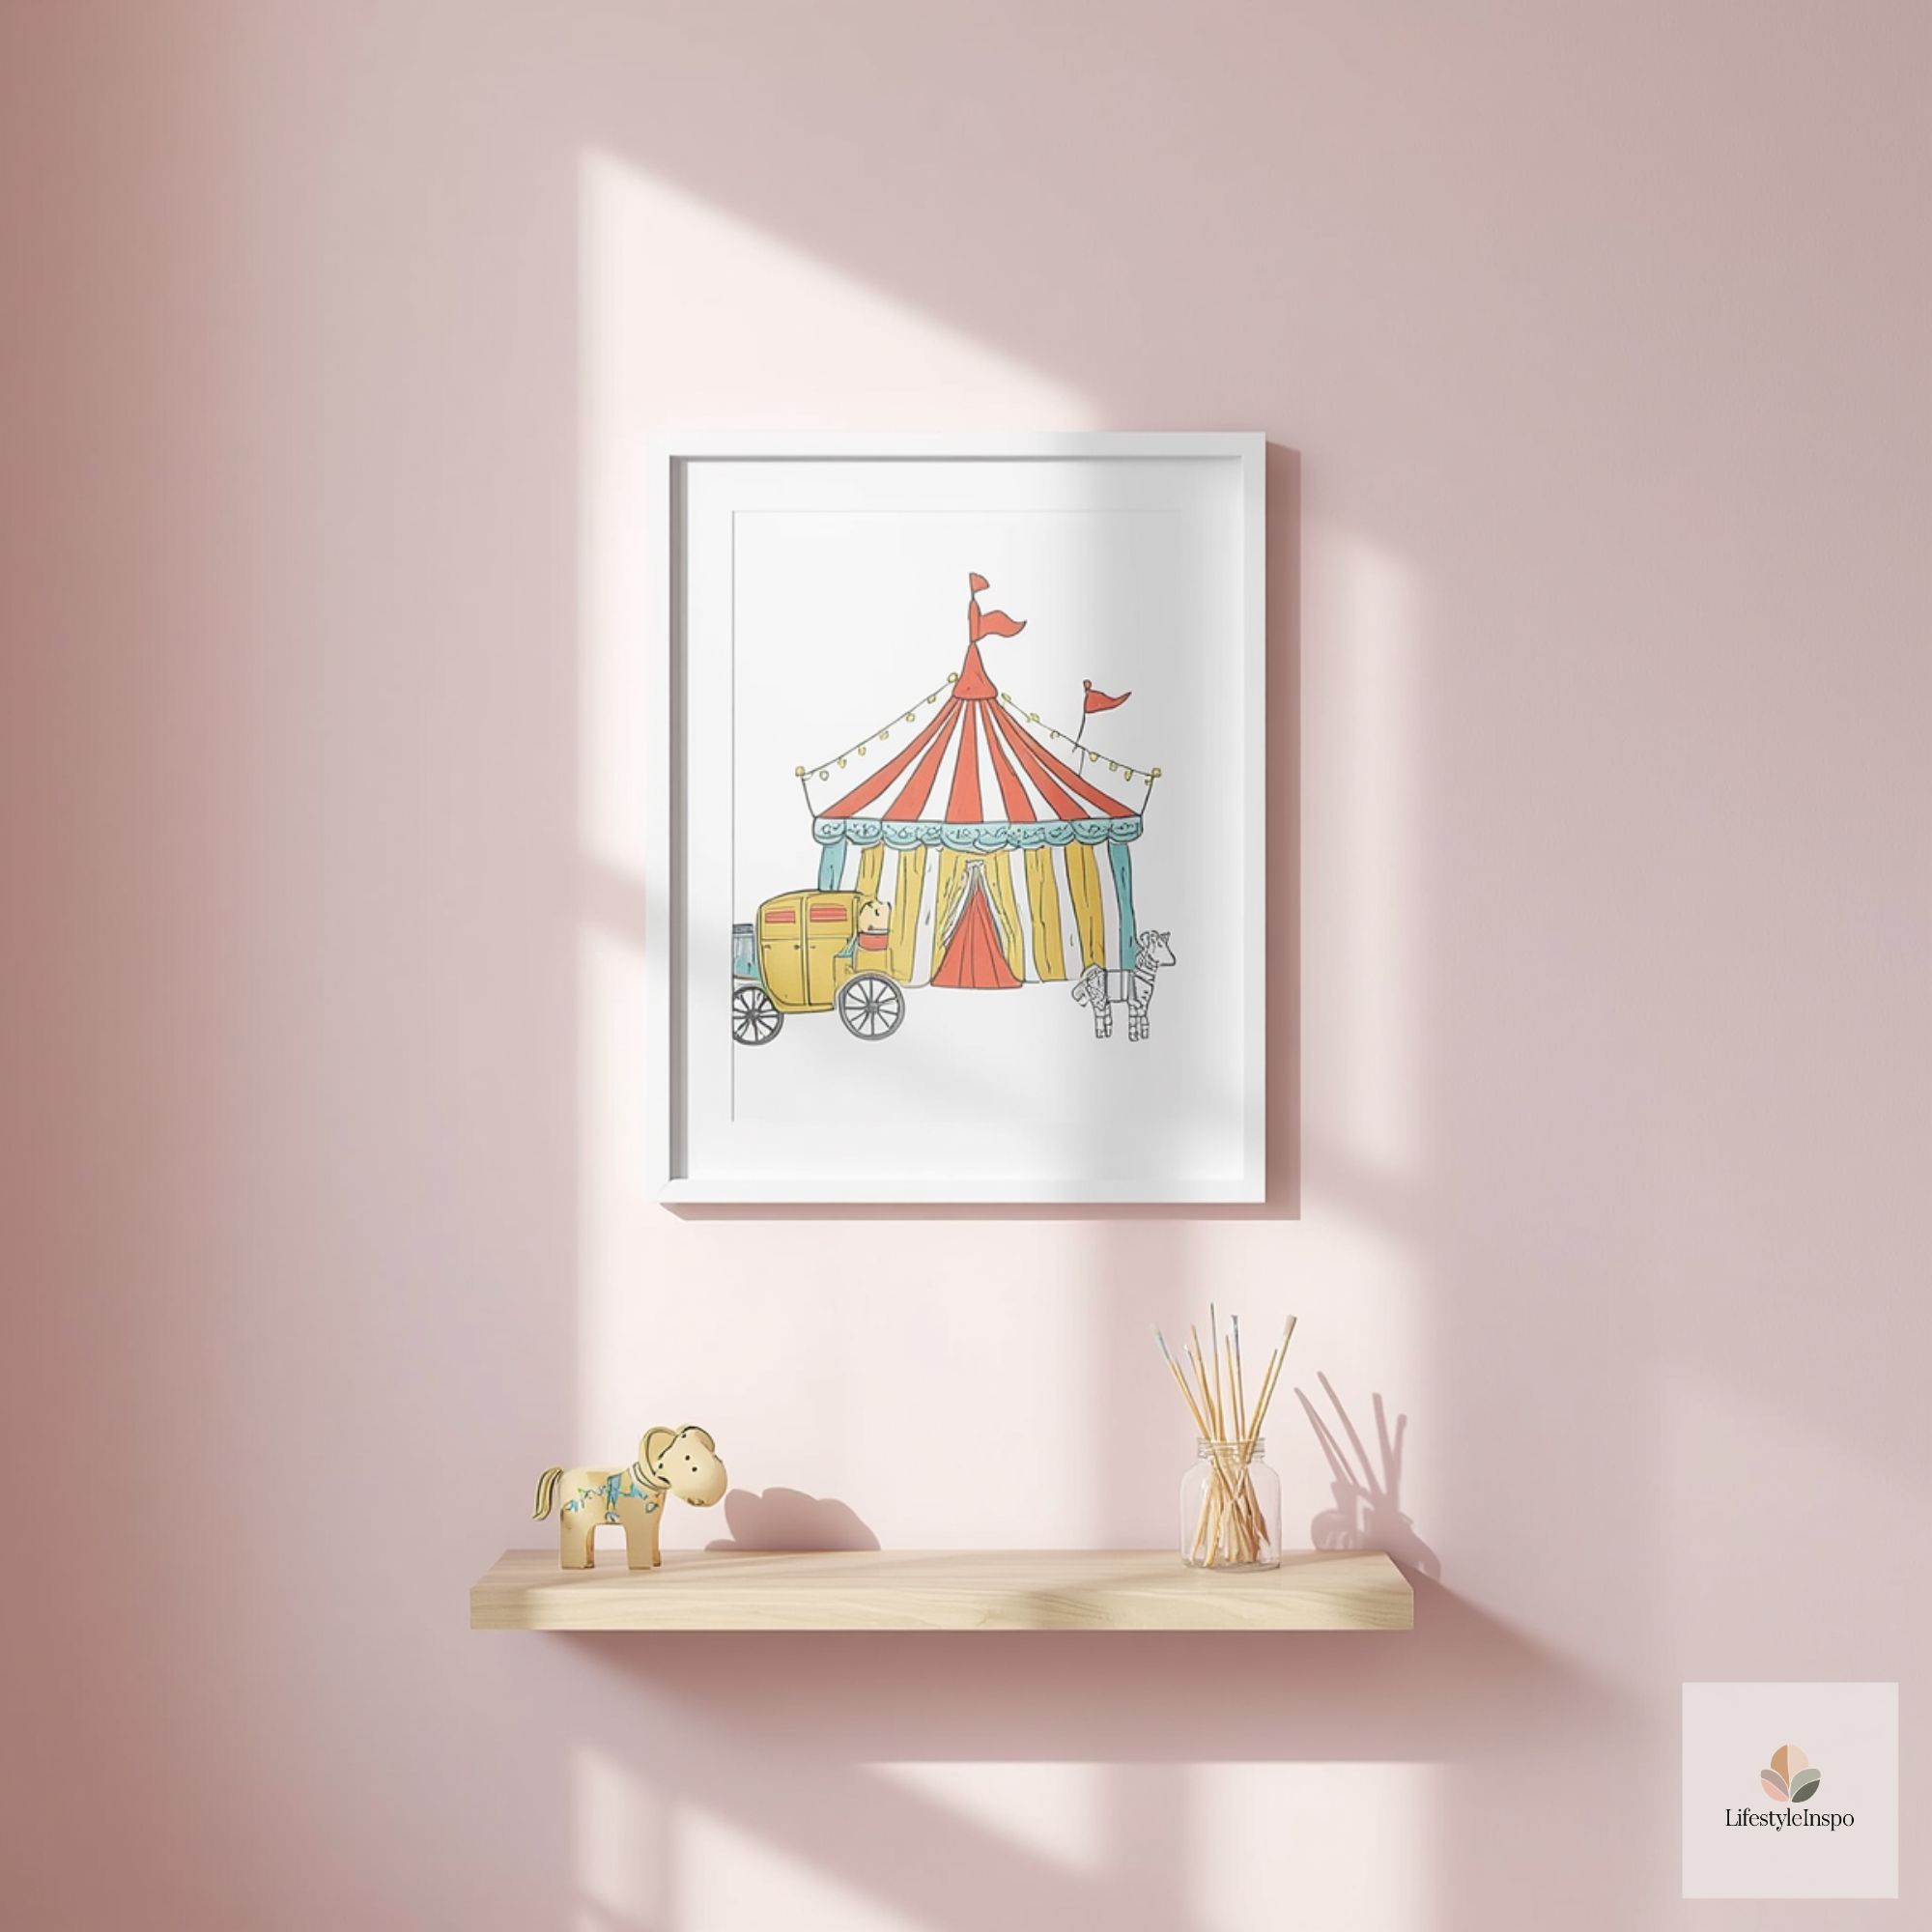
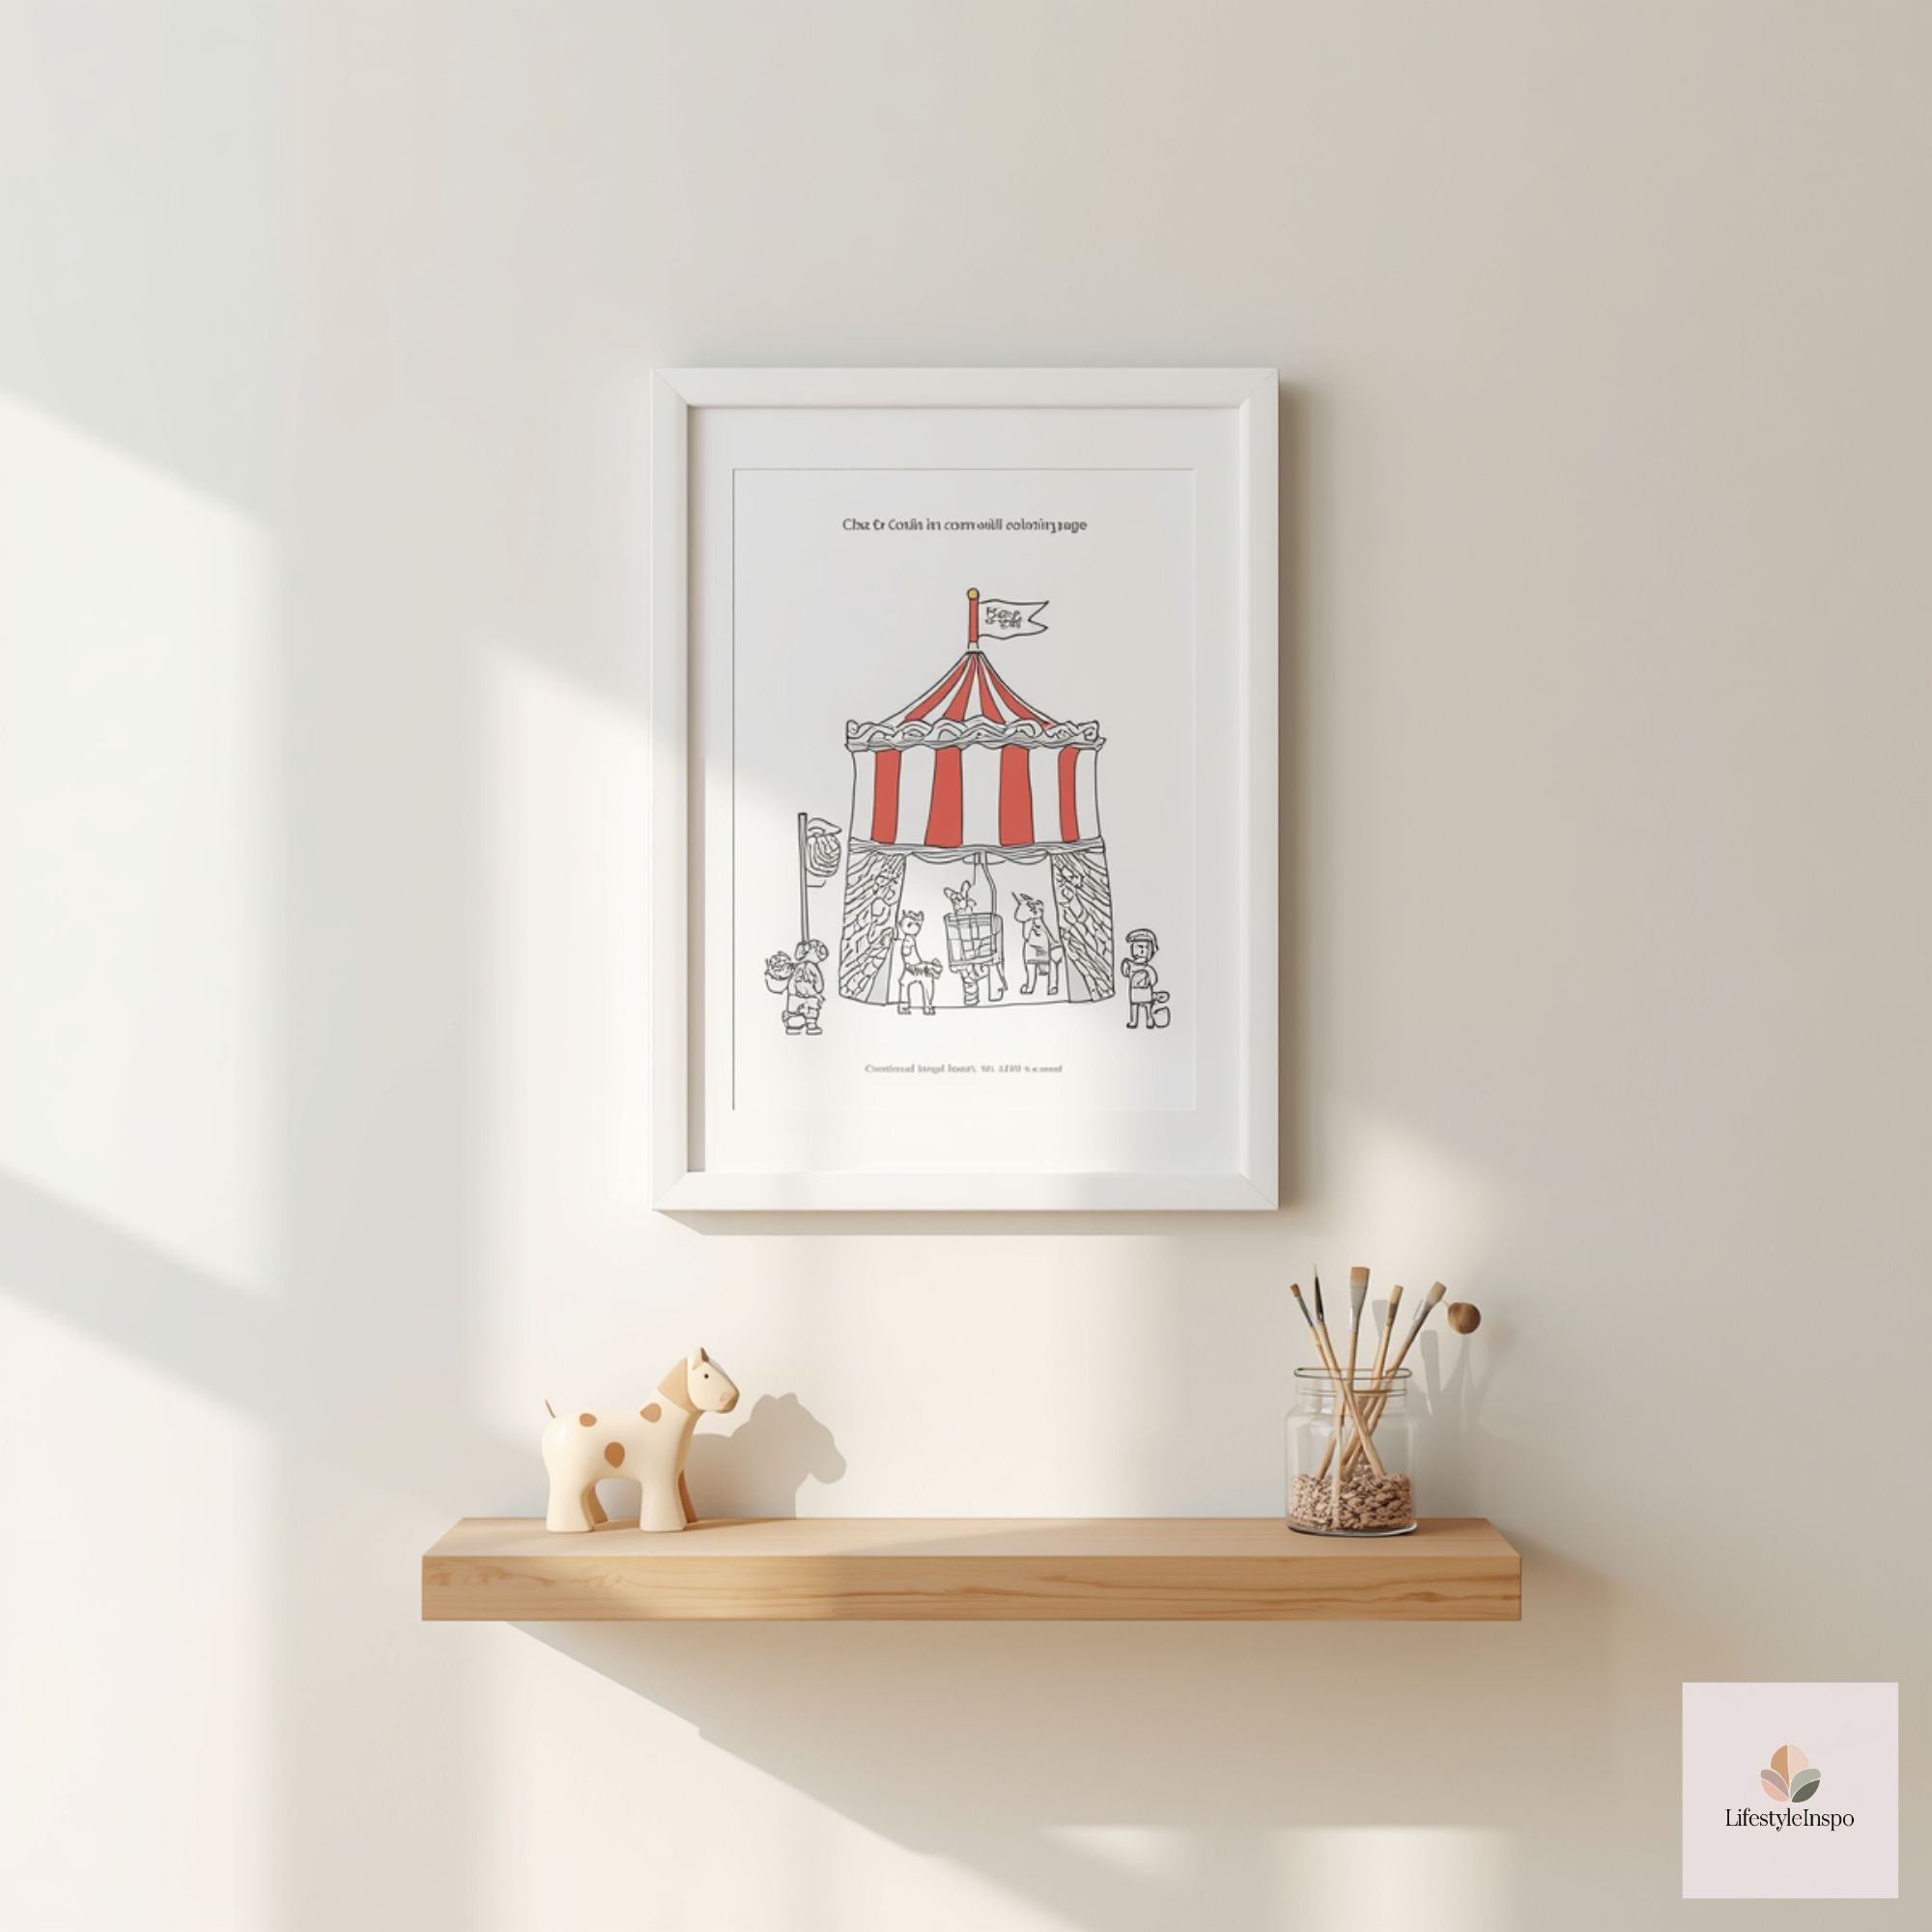
- Linear shelf: Use a picture ledge to layer framed pages with small sculptures and rotating items. This allows easy swapping without rehanging each time.
- Standalone centerpiece: Frame one larger collaborative page as your feature piece above a low console or child-height shelf.
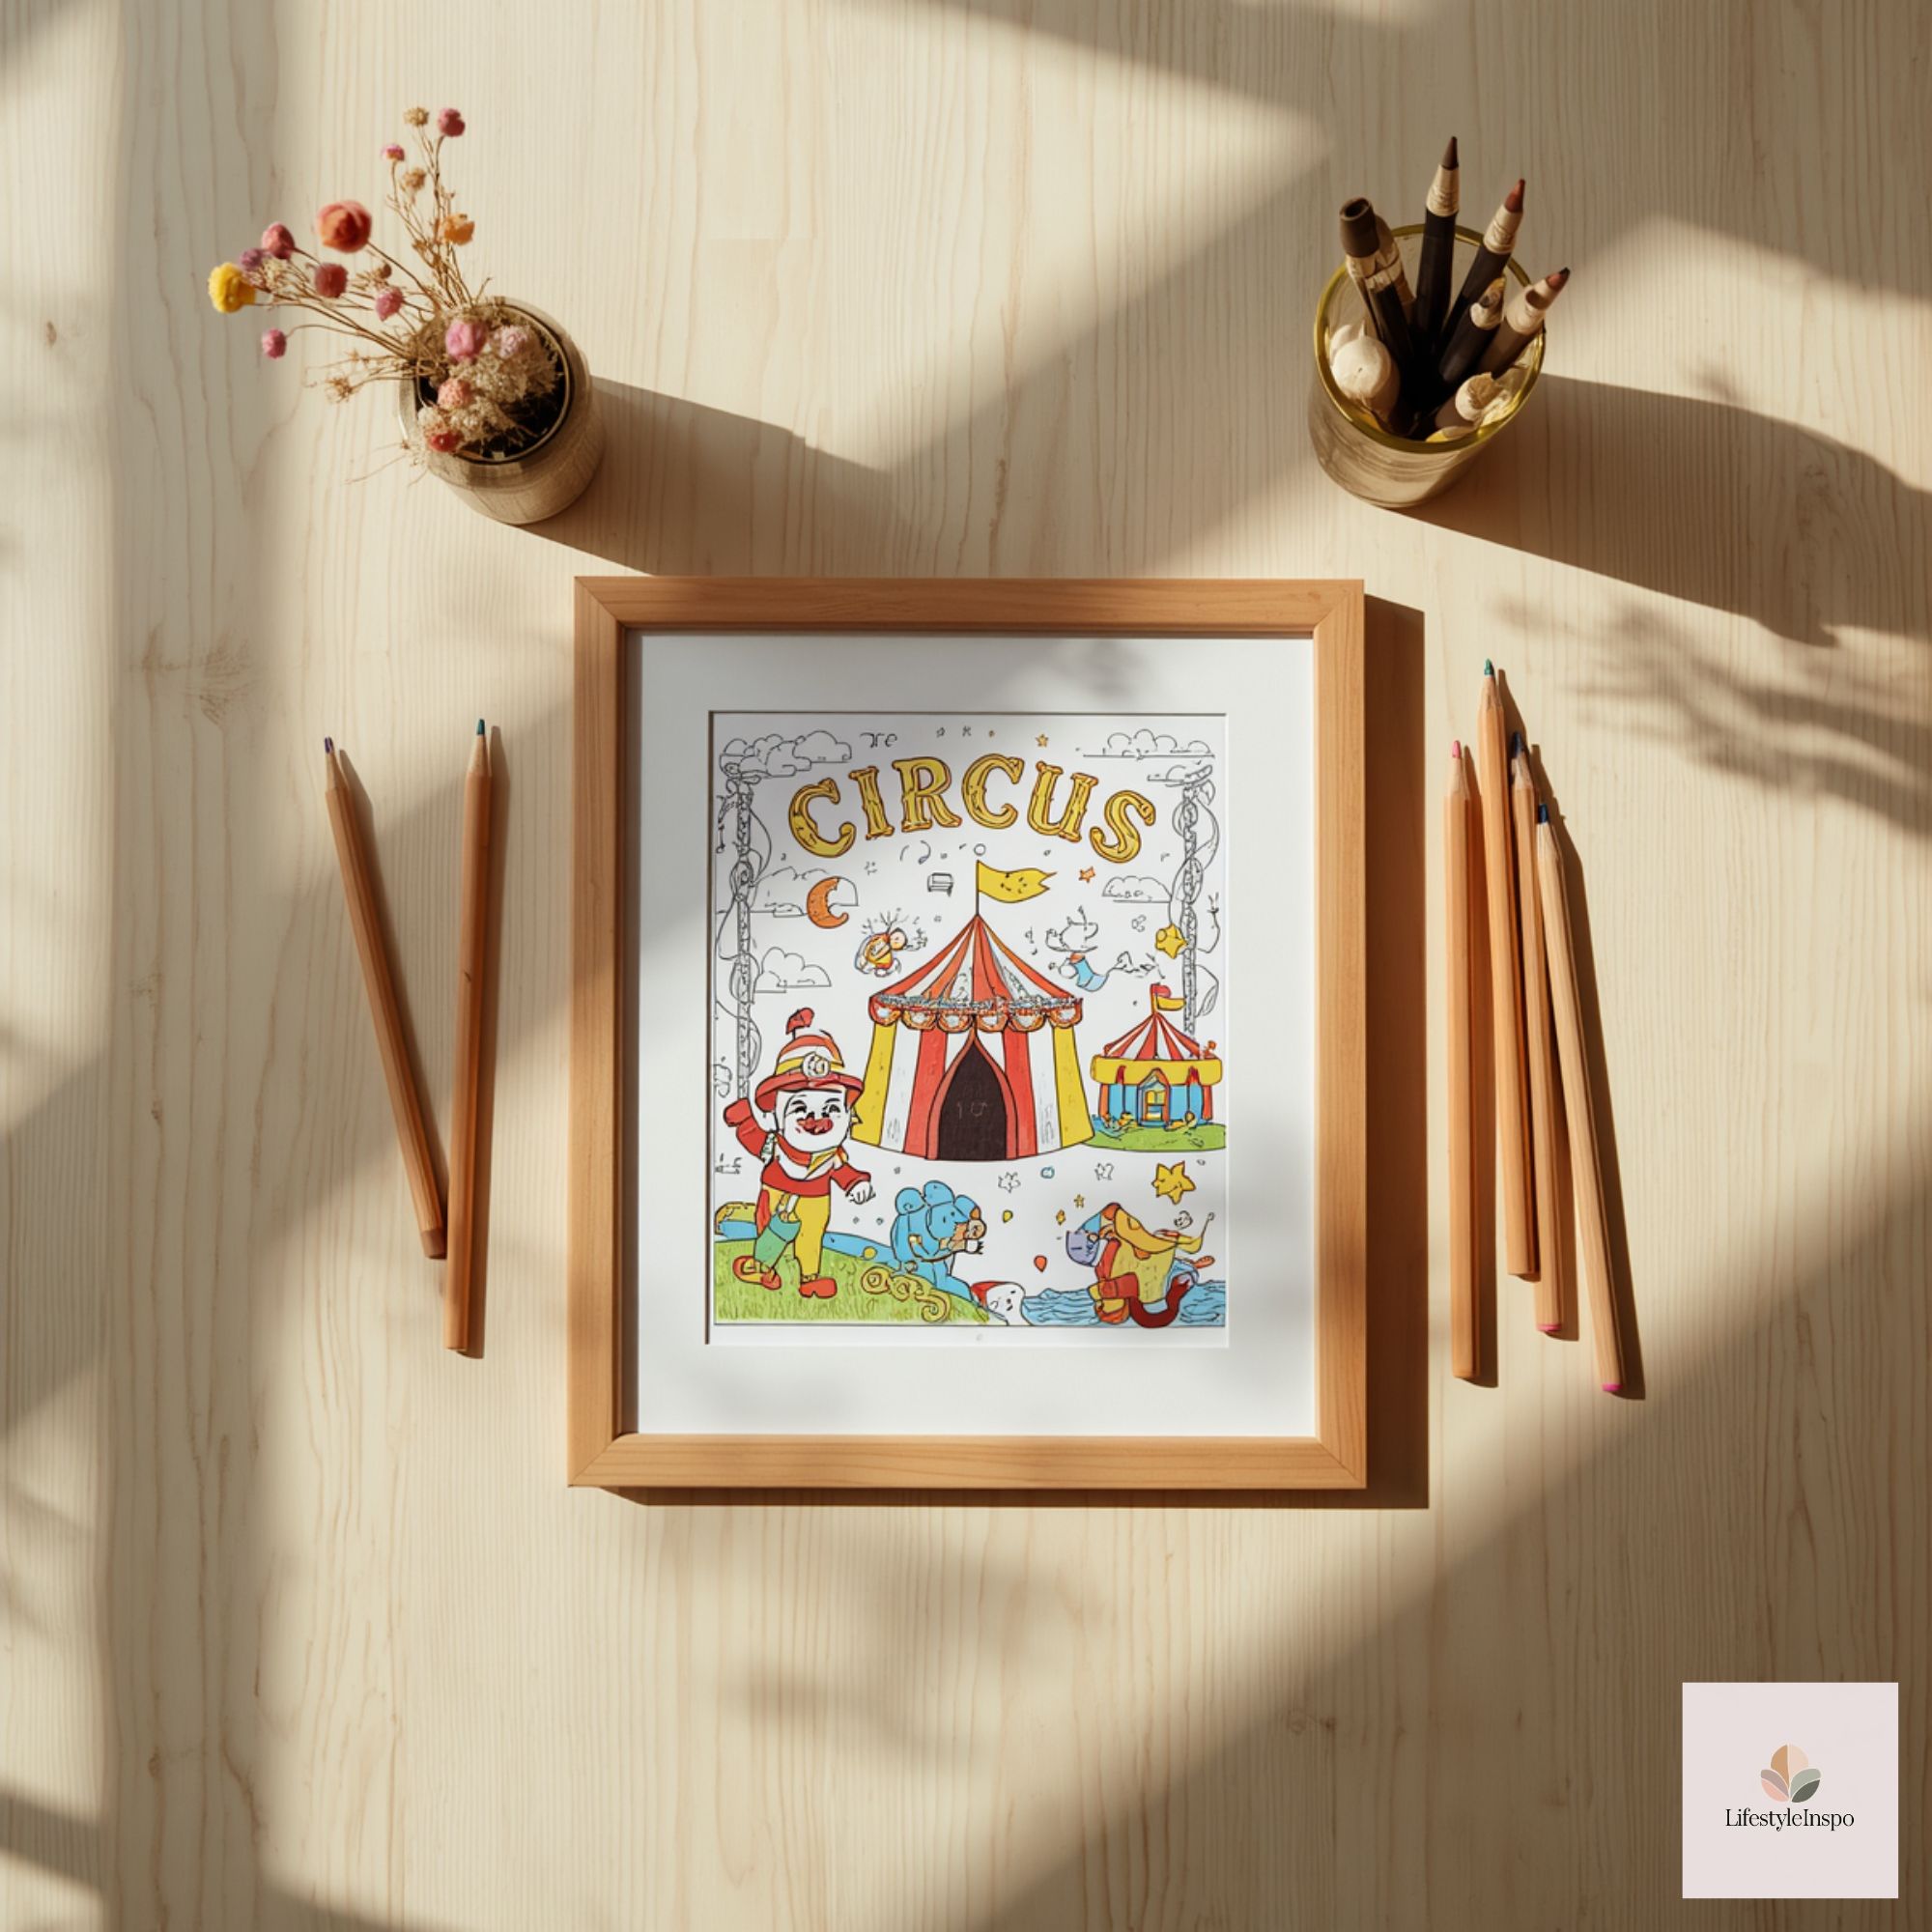
Color coordination ideas
- Match one accent color from the pages (e.g., teal or mustard) to small room elements—an ottoman, a bin, or a throw pillow—to create intentional echoes without full thematic décor.
- Keep the rest of the room palette muted: soft neutrals, warm woods, and one or two accent shades. The colored pages will be the visual star.
Protecting and preserving your keepsakes
Paper can fade, yellow, or warp. A few simple precautions extend the life of your family masterpieces.
Preservation checklist
- Keep frames out of direct sunlight to minimize fading.
- Use UV-protective glass for frequently displayed pieces when you can.
- Store unframed pages flat in archival sleeves inside a portfolio or acid-free box.
- If a page has been colored with wet media (watercolors, some markers), make sure it is fully dry and flat before framing; consider interleaving with tissue to avoid sticking.
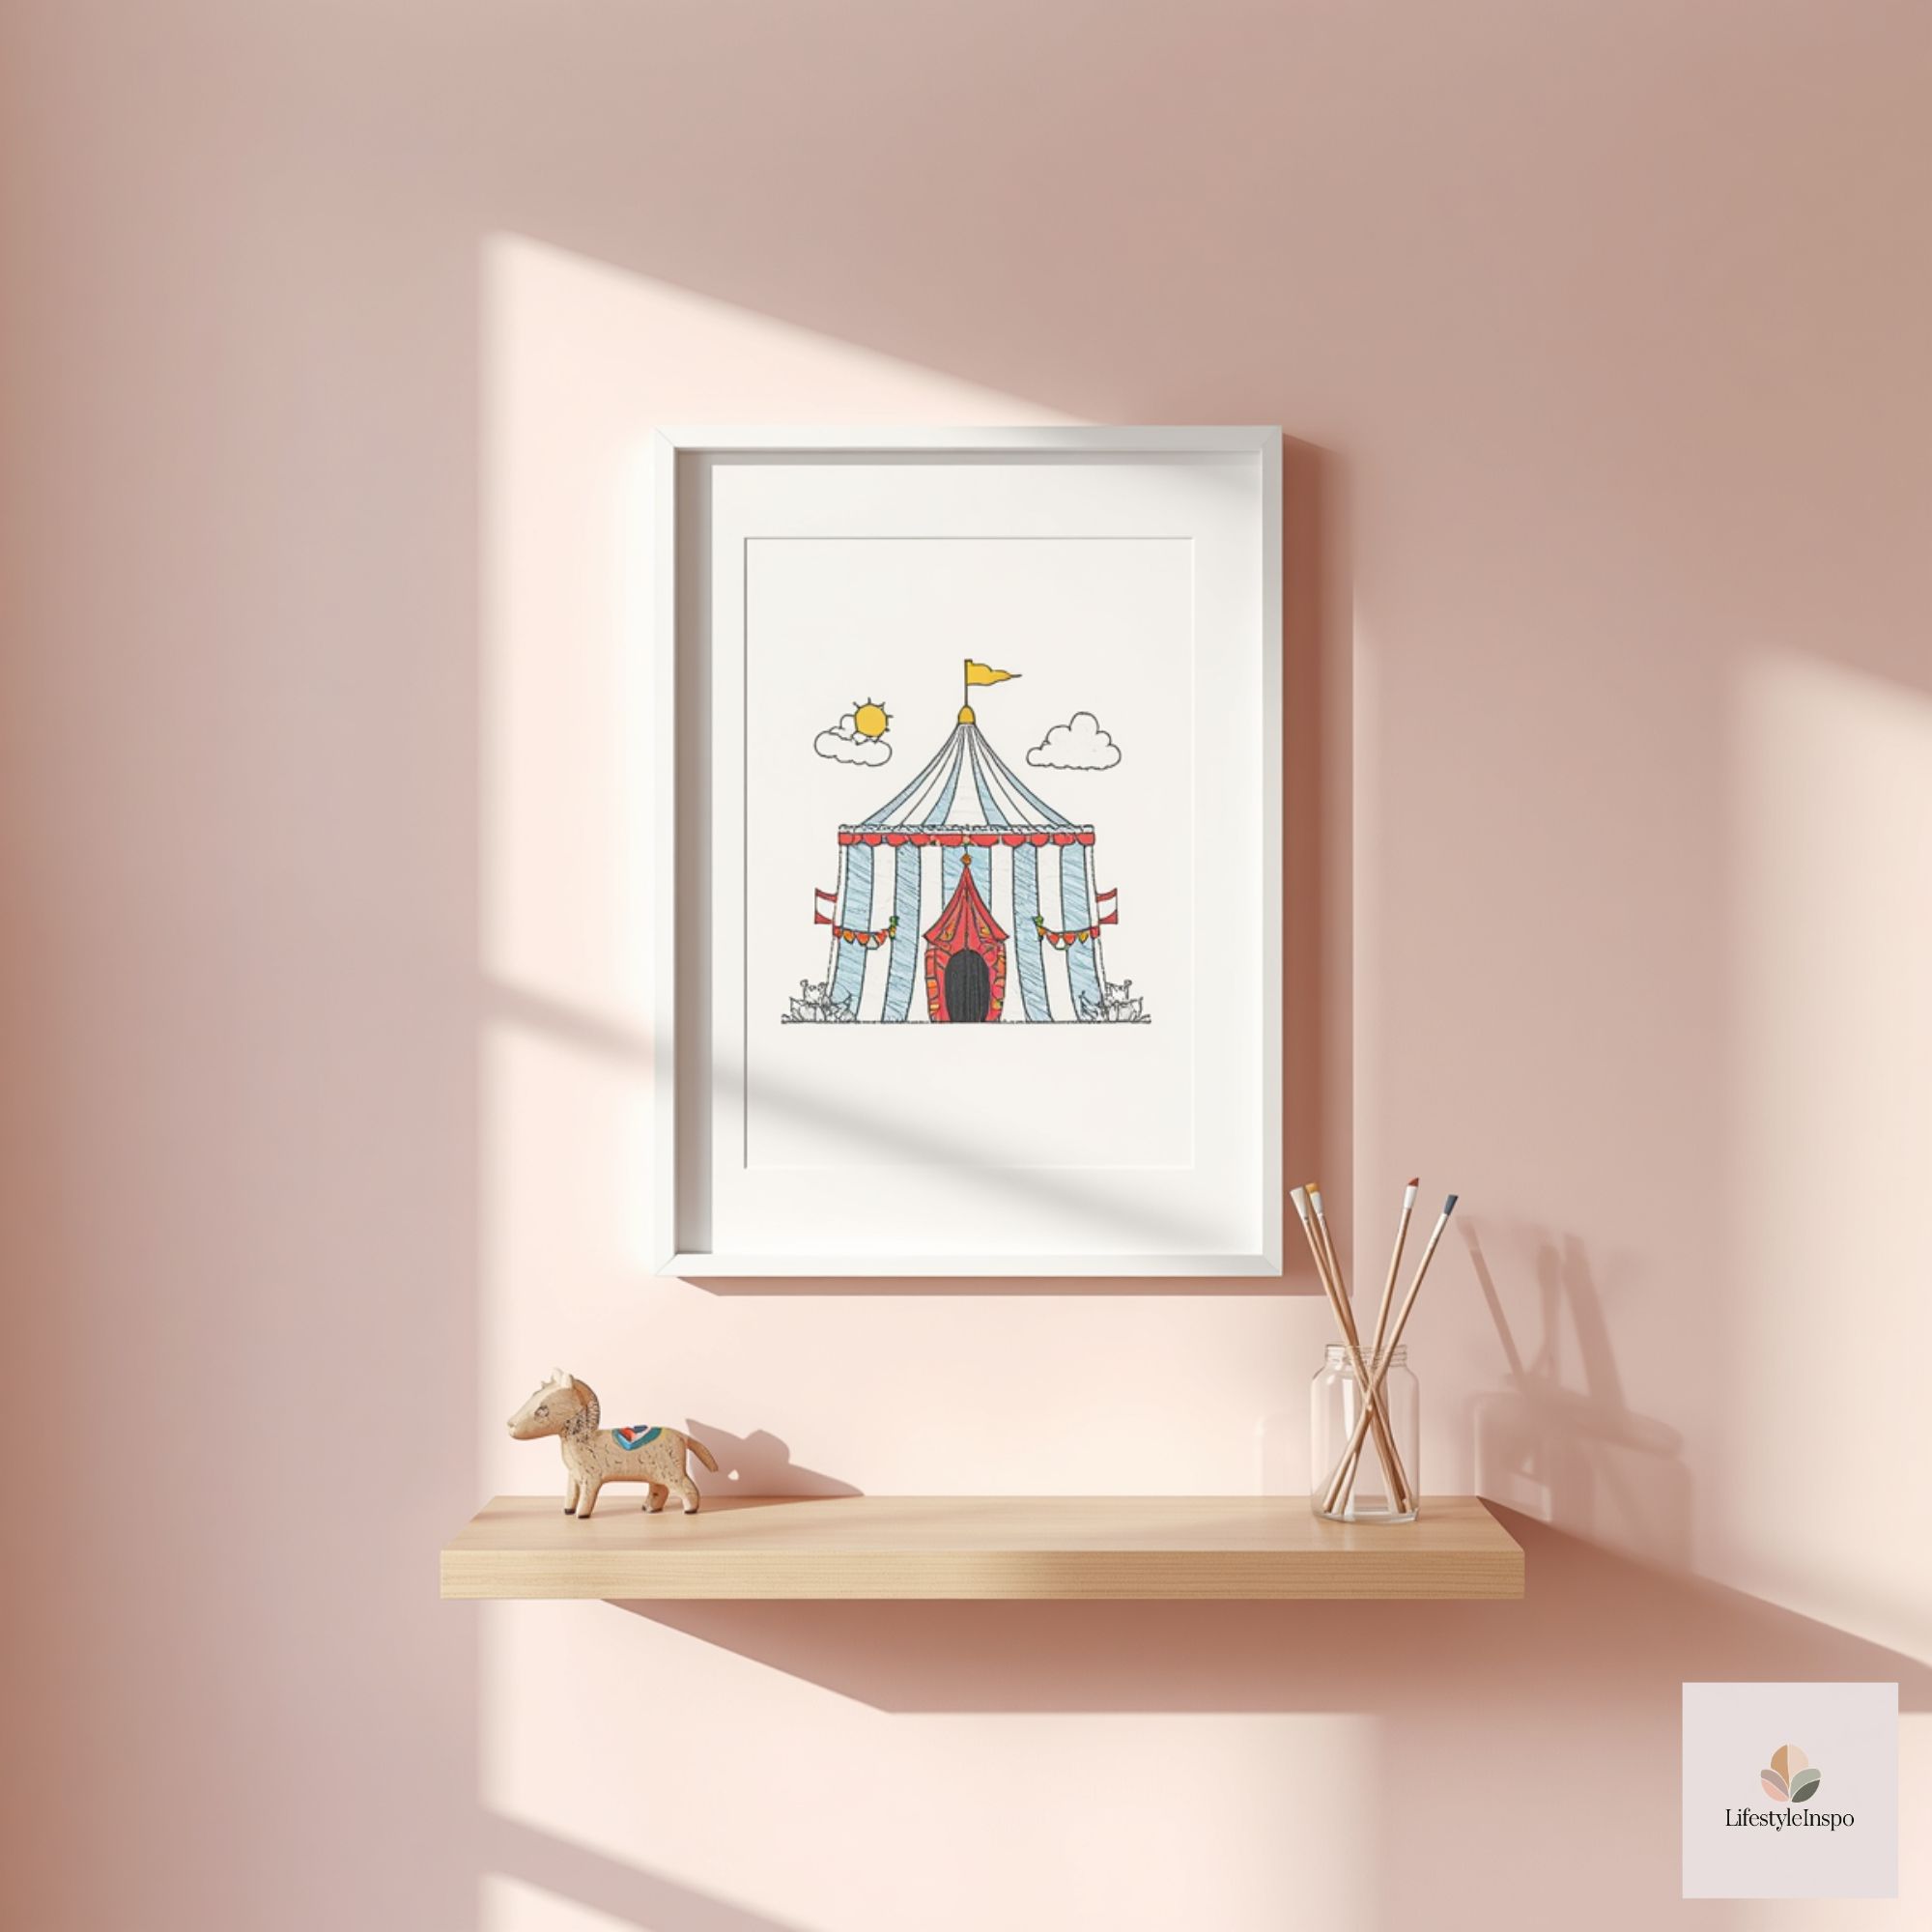
Display ideas for different playroom footprints
Small playroom or corner
- Opt for a vertical gallery of three small frames to use wall space efficiently.
- Use a narrow picture ledge to double as a display and a place for coloring supplies.
Large playroom or multi-use family room
- Create a focal wall that reads like a curated gallery; integrate a few larger-format collaborative pages.
- Anchor the wall near a reading nook or craft table so the ritual and display are spatially connected.
Rental-friendly options
- Command picture-hanging strips and removable picture ledges keep walls intact when you move.
- Lean framed pages against furniture on a low shelf or console if you prefer not to hang anything.
Make the display meaningful: labeling, dates, and storytelling
A keepsake display gains emotional weight when the story behind each piece is easy to read. But you don’t need a museum plaque—just small, elegant touches.
Labeling ideas
- Back labels: Keep a small label on the back with date(s), contributor names, and a short note (e.g., “Eli & Mama, July 2026—first marker blending!”).
- Front discretes: Affix a tiny printed label at the bottom corner of the mat with the year and initials.
- Rotating note card: Place a simple card on a picture ledge with a sentence describing how the page came about (e.g., “Coloring party after Grandma’s visit”).
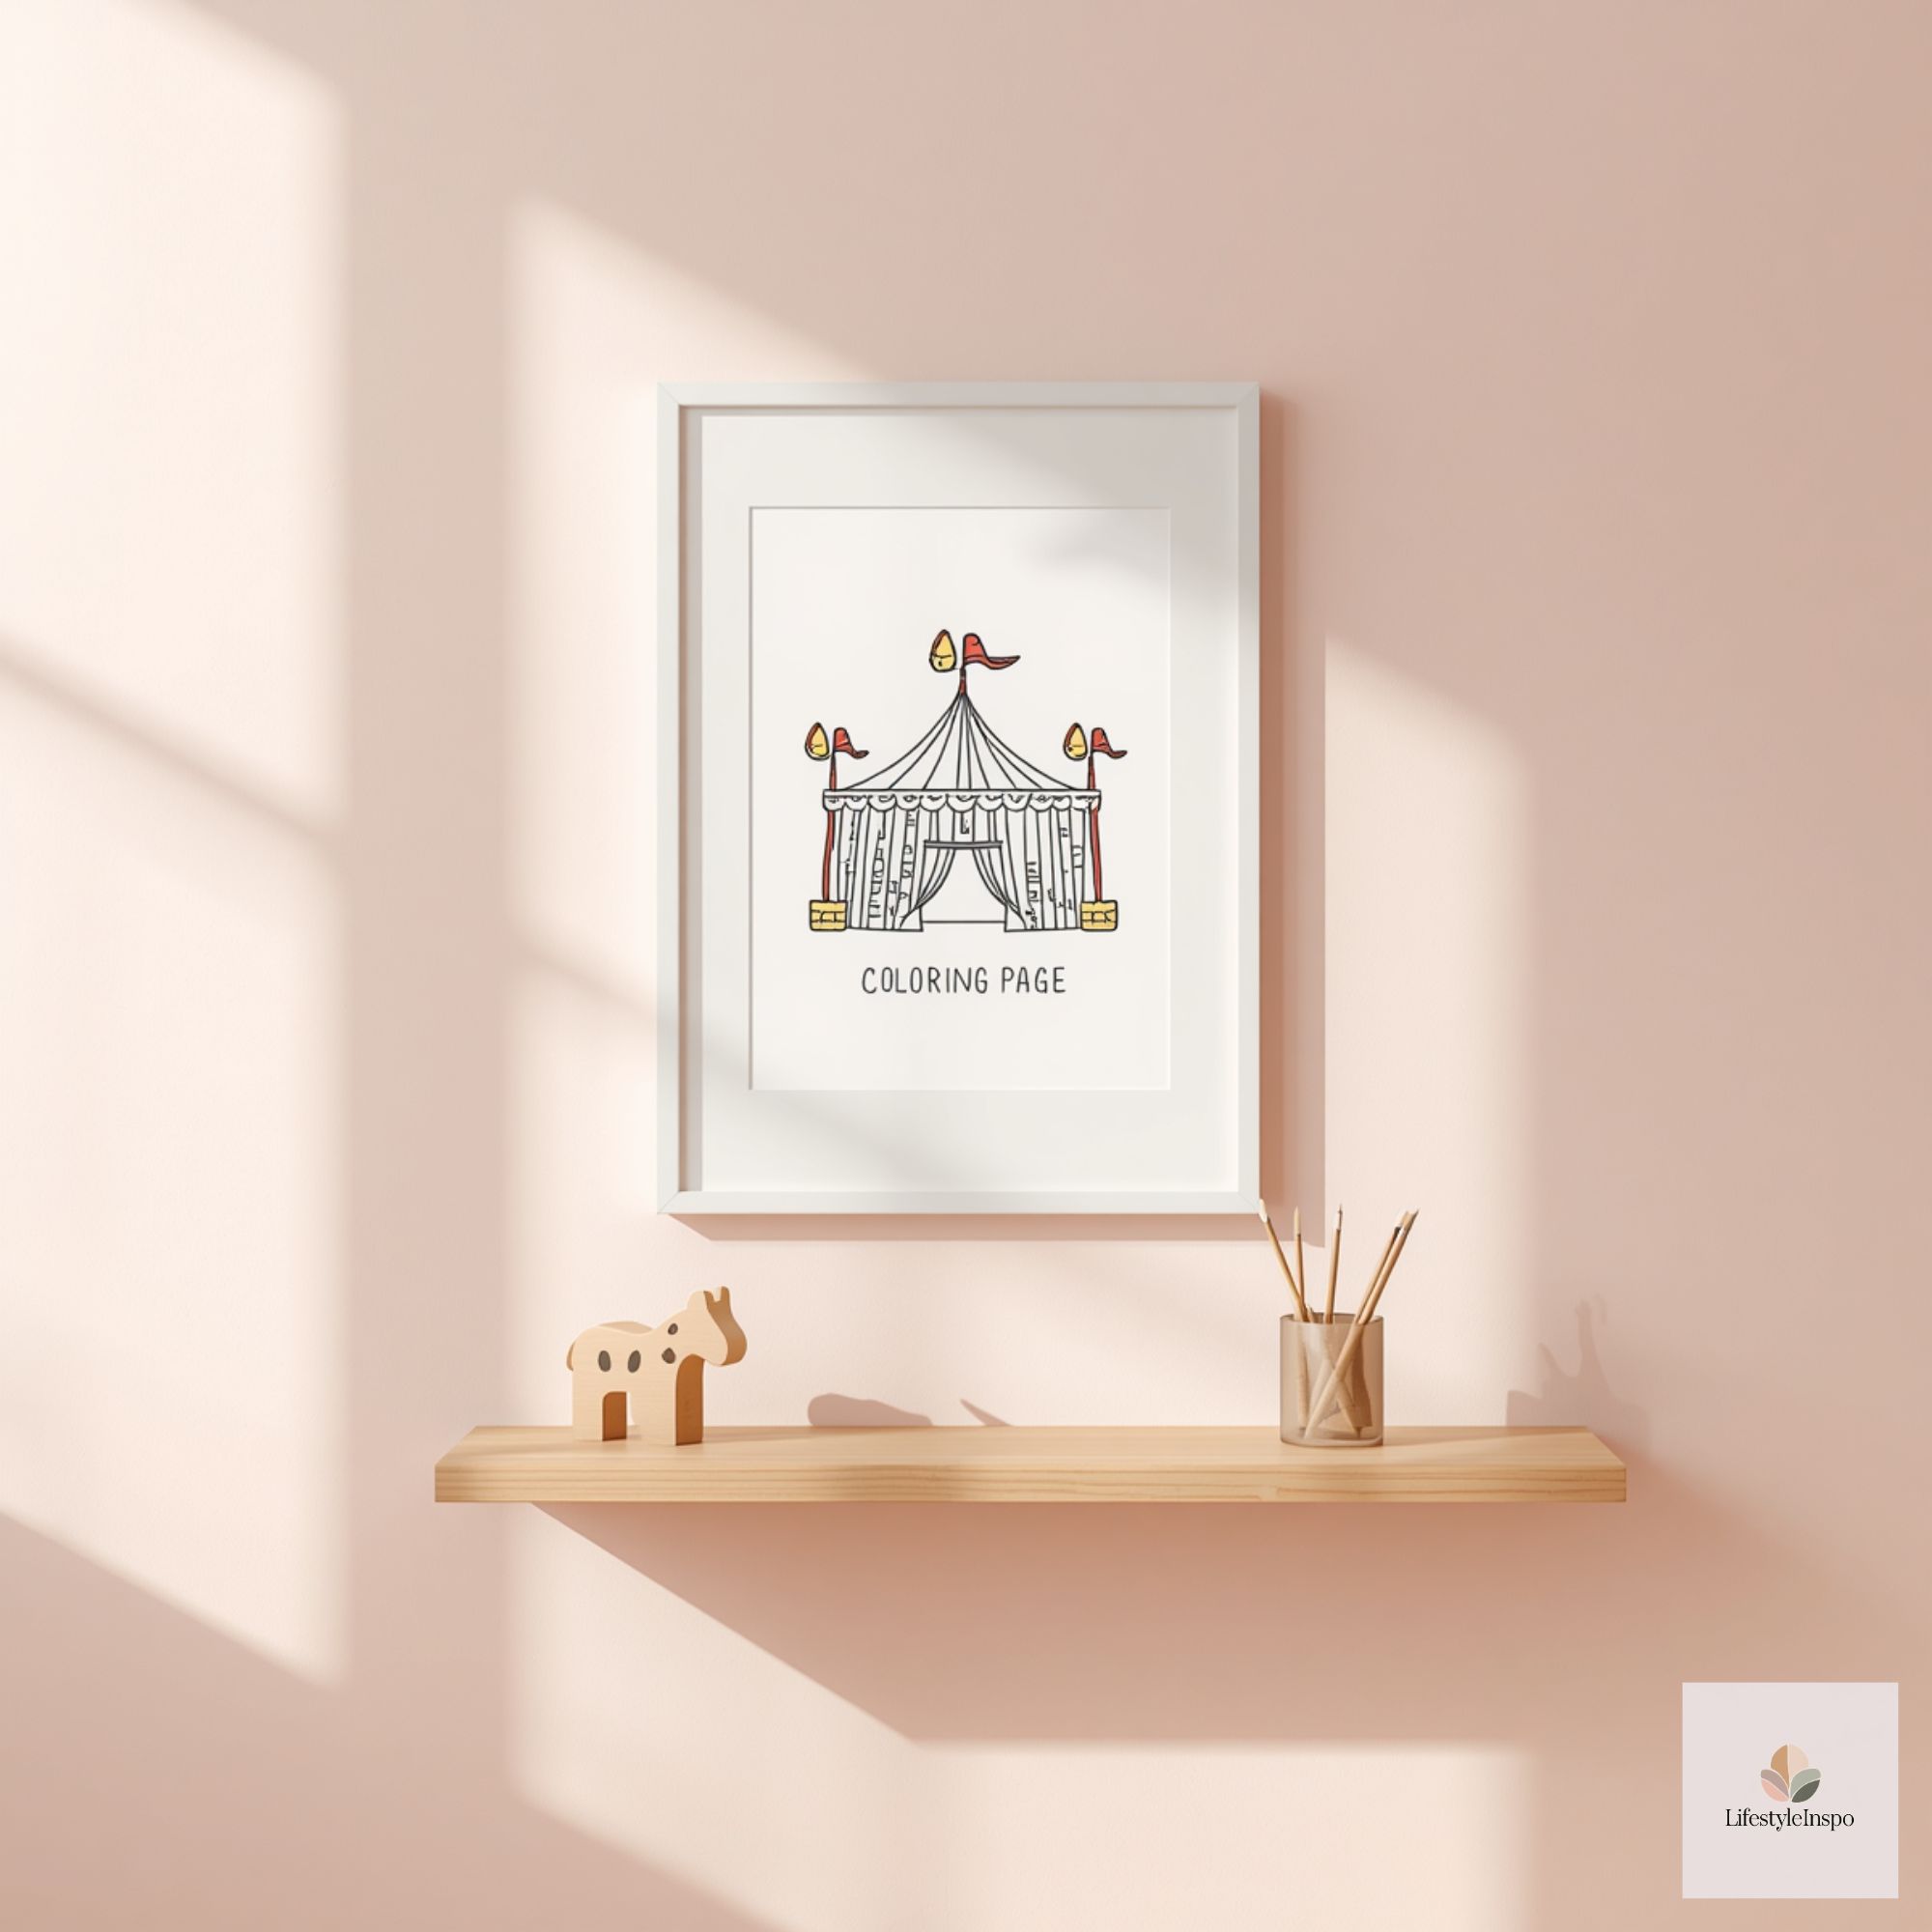
Create a chronology wall
Arrange pages chronologically to show growth and change: early scribbles at the bottom with more detailed later pieces above. This route is especially sweet in a playroom where kids can see their progress.
Use the display to teach and build confidence
Instead of hiding the “messy” pages, use them as teachable moments. Frame a page where someone experimented wildly and celebrate the choice; point out a color decision you loved. Over time, kids connect positive feedback to creative risk-taking.
A rotating ritual: when and how to swap pieces
Keep the wall dynamic so it keeps earning attention.
Rotation rhythm ideas
- Seasonal rotation: Swap pages every three months and store the outgoing batch in a portfolio labeled by date.
- Milestone swaps: Change out a spot on the wall after a child reaches a milestone—like starting school or learning a new art technique.
- Open shelf for “current projects”: Reserve one or two frames for in-progress work that gets updated frequently.
When to archive vs. recycle
- Archive: Pieces with strong emotional ties, collaborative pages, or art showing skill progression.
- Recycle: Pages that feel anonymous, are heavily smudged beyond recognition, or use low-quality paper that’s deteriorating.
Before recycling, consider photographing pages for digital keepsakes.
Digital backup: photo-documentation
- Photograph each colored page flat with even natural light and store images in a dated folder. This is helpful for sharing with long-distance family or preserving pages you can’t keep physically.
- Consider creating an annual photo book of highlights; these books make beautiful gifts and a compact archive.
Easy display projects to get started this weekend
- Framed trio: Pick three favorite colored pages, mount in matching frames with simple white mats, and hang in a vertical line near the craft table.
- Ledge vignette: Install a 24″ picture ledge and lean two framed pages; add a small vintage circus figurine or a neatly labeled art box.
- Collaborative feature: Reserve one oversized page for a collaborative family coloring session. Frame it as a centerpiece above a kid-height reading bench.
Where to begin: a practical starter checklist
- Choose 3–6 favorite pages to frame first.
- Decide on framing style and purchase frames/mats or select a local framer.
- Set a simple coloring ritual and mark it on the family calendar.
- Label the back of each finished page with contributor names and date.
- Plan a rotation strategy (seasonal, milestone-based, or project-driven).
A modest, non-salesy takeaway
A circus-themed coloring page can be more than a quick activity—it can become a small family archive, a creative ritual, and a tidy, stylish presence in your playroom. With intentional creation, careful curation, and a simple rotation habit, you’ll turn colorful sheets into keepsakes that look like they belong in a thoughtfully edited home. If you’re looking for printable artwork to start with, consider Circus Coloring Pages as a creative option; check the seller’s listing for product details.
About the Author