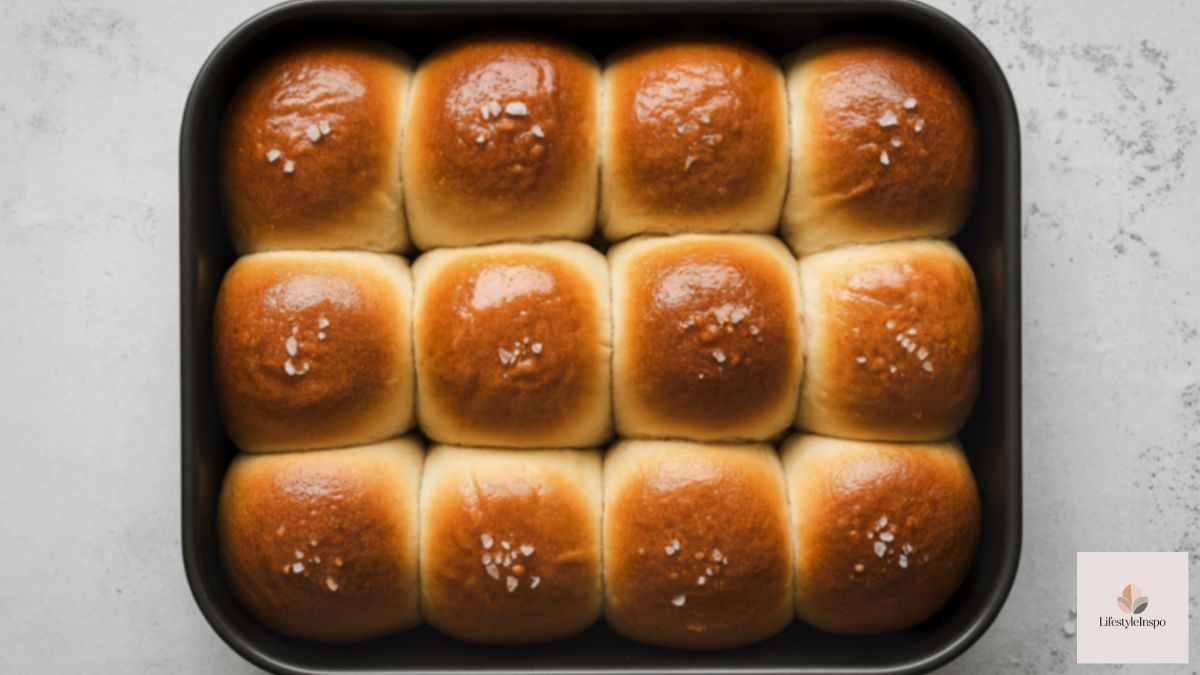
Soft Homemade Dinner Rolls (Stand Mixer and Make-Ahead Friendly)
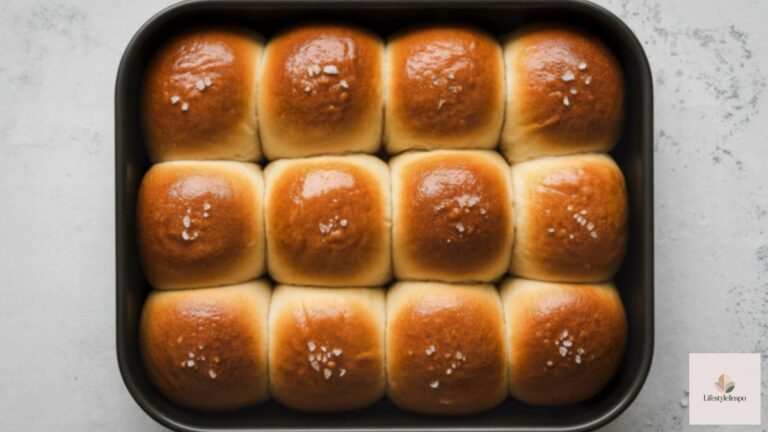
There’s a particular kind of magic in a basket of warm dinner rolls. They’re soft and pillowy inside, golden and buttery outside, and they exist, as far as most guests are concerned, purely to mop up gravy.
If you’ve avoided making yeast rolls because it sounded complicated, this recipe is for you. With a stand mixer doing the hard work, they come together with very little effort. Even better, the dough can rest overnight in the fridge, so you can shape and bake the rolls fresh on Thanksgiving while the turkey rests.
Let’s make the best rolls of your life.
What Makes These Rolls Soft?
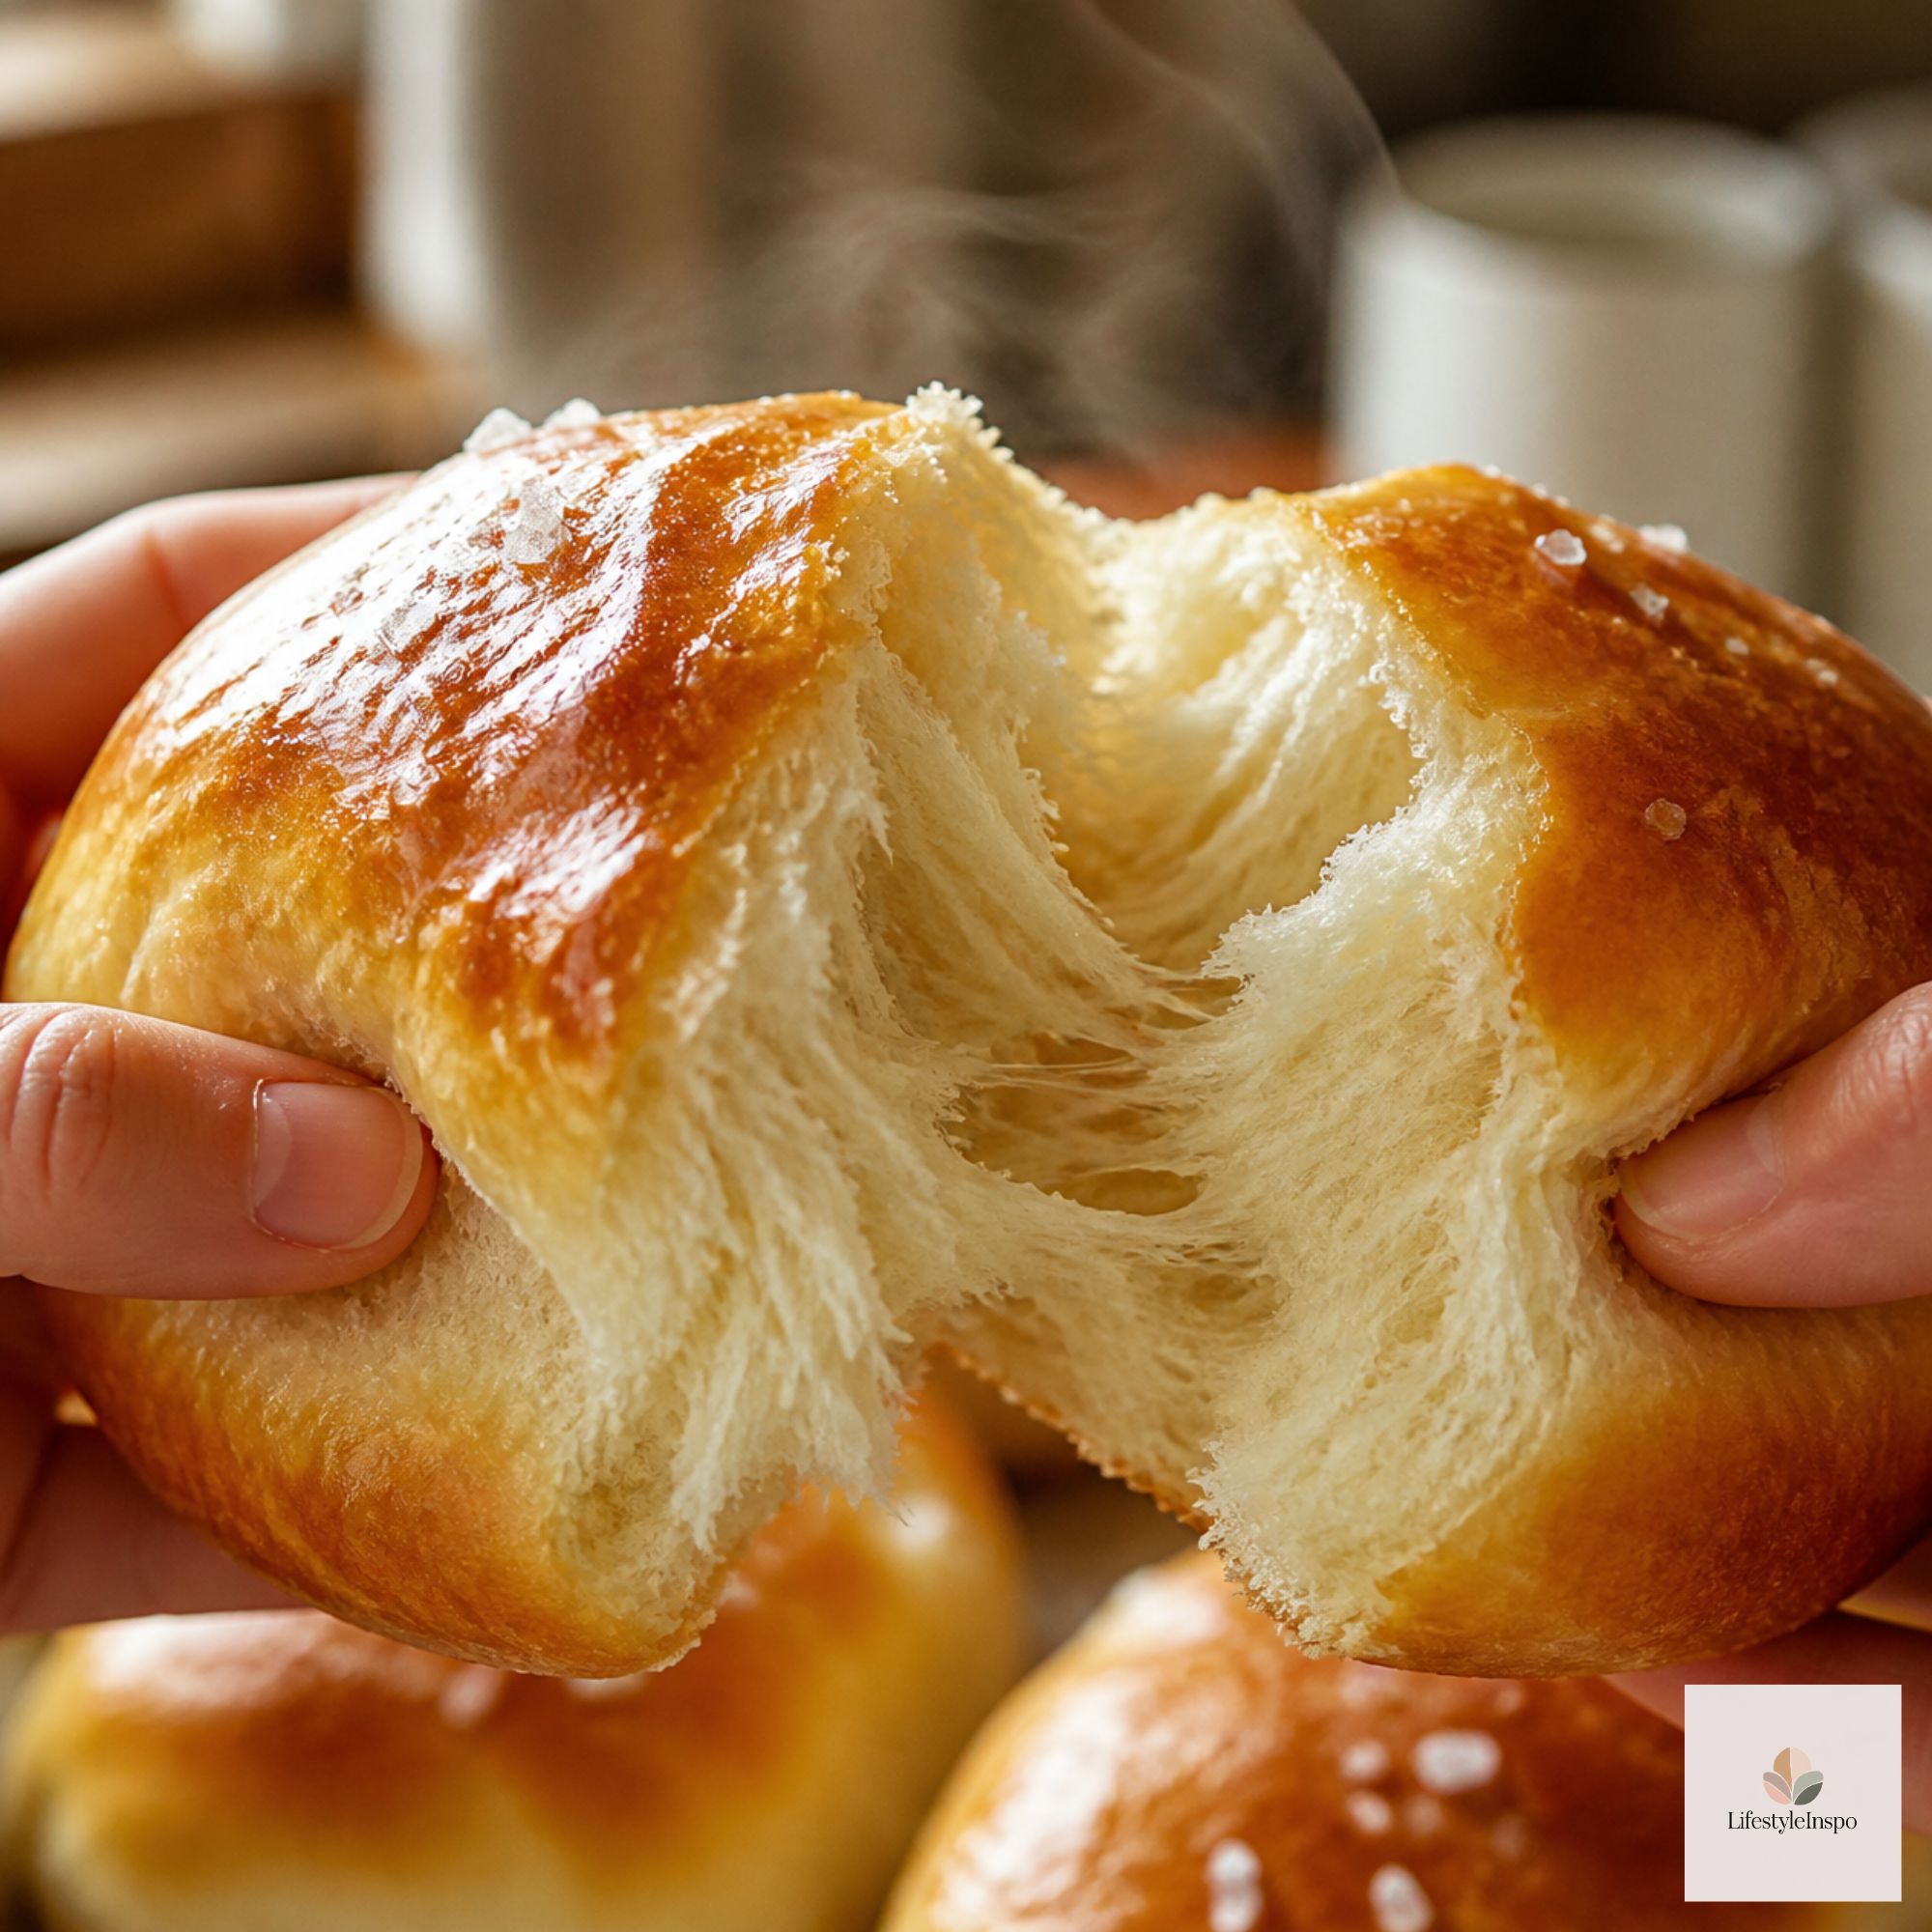
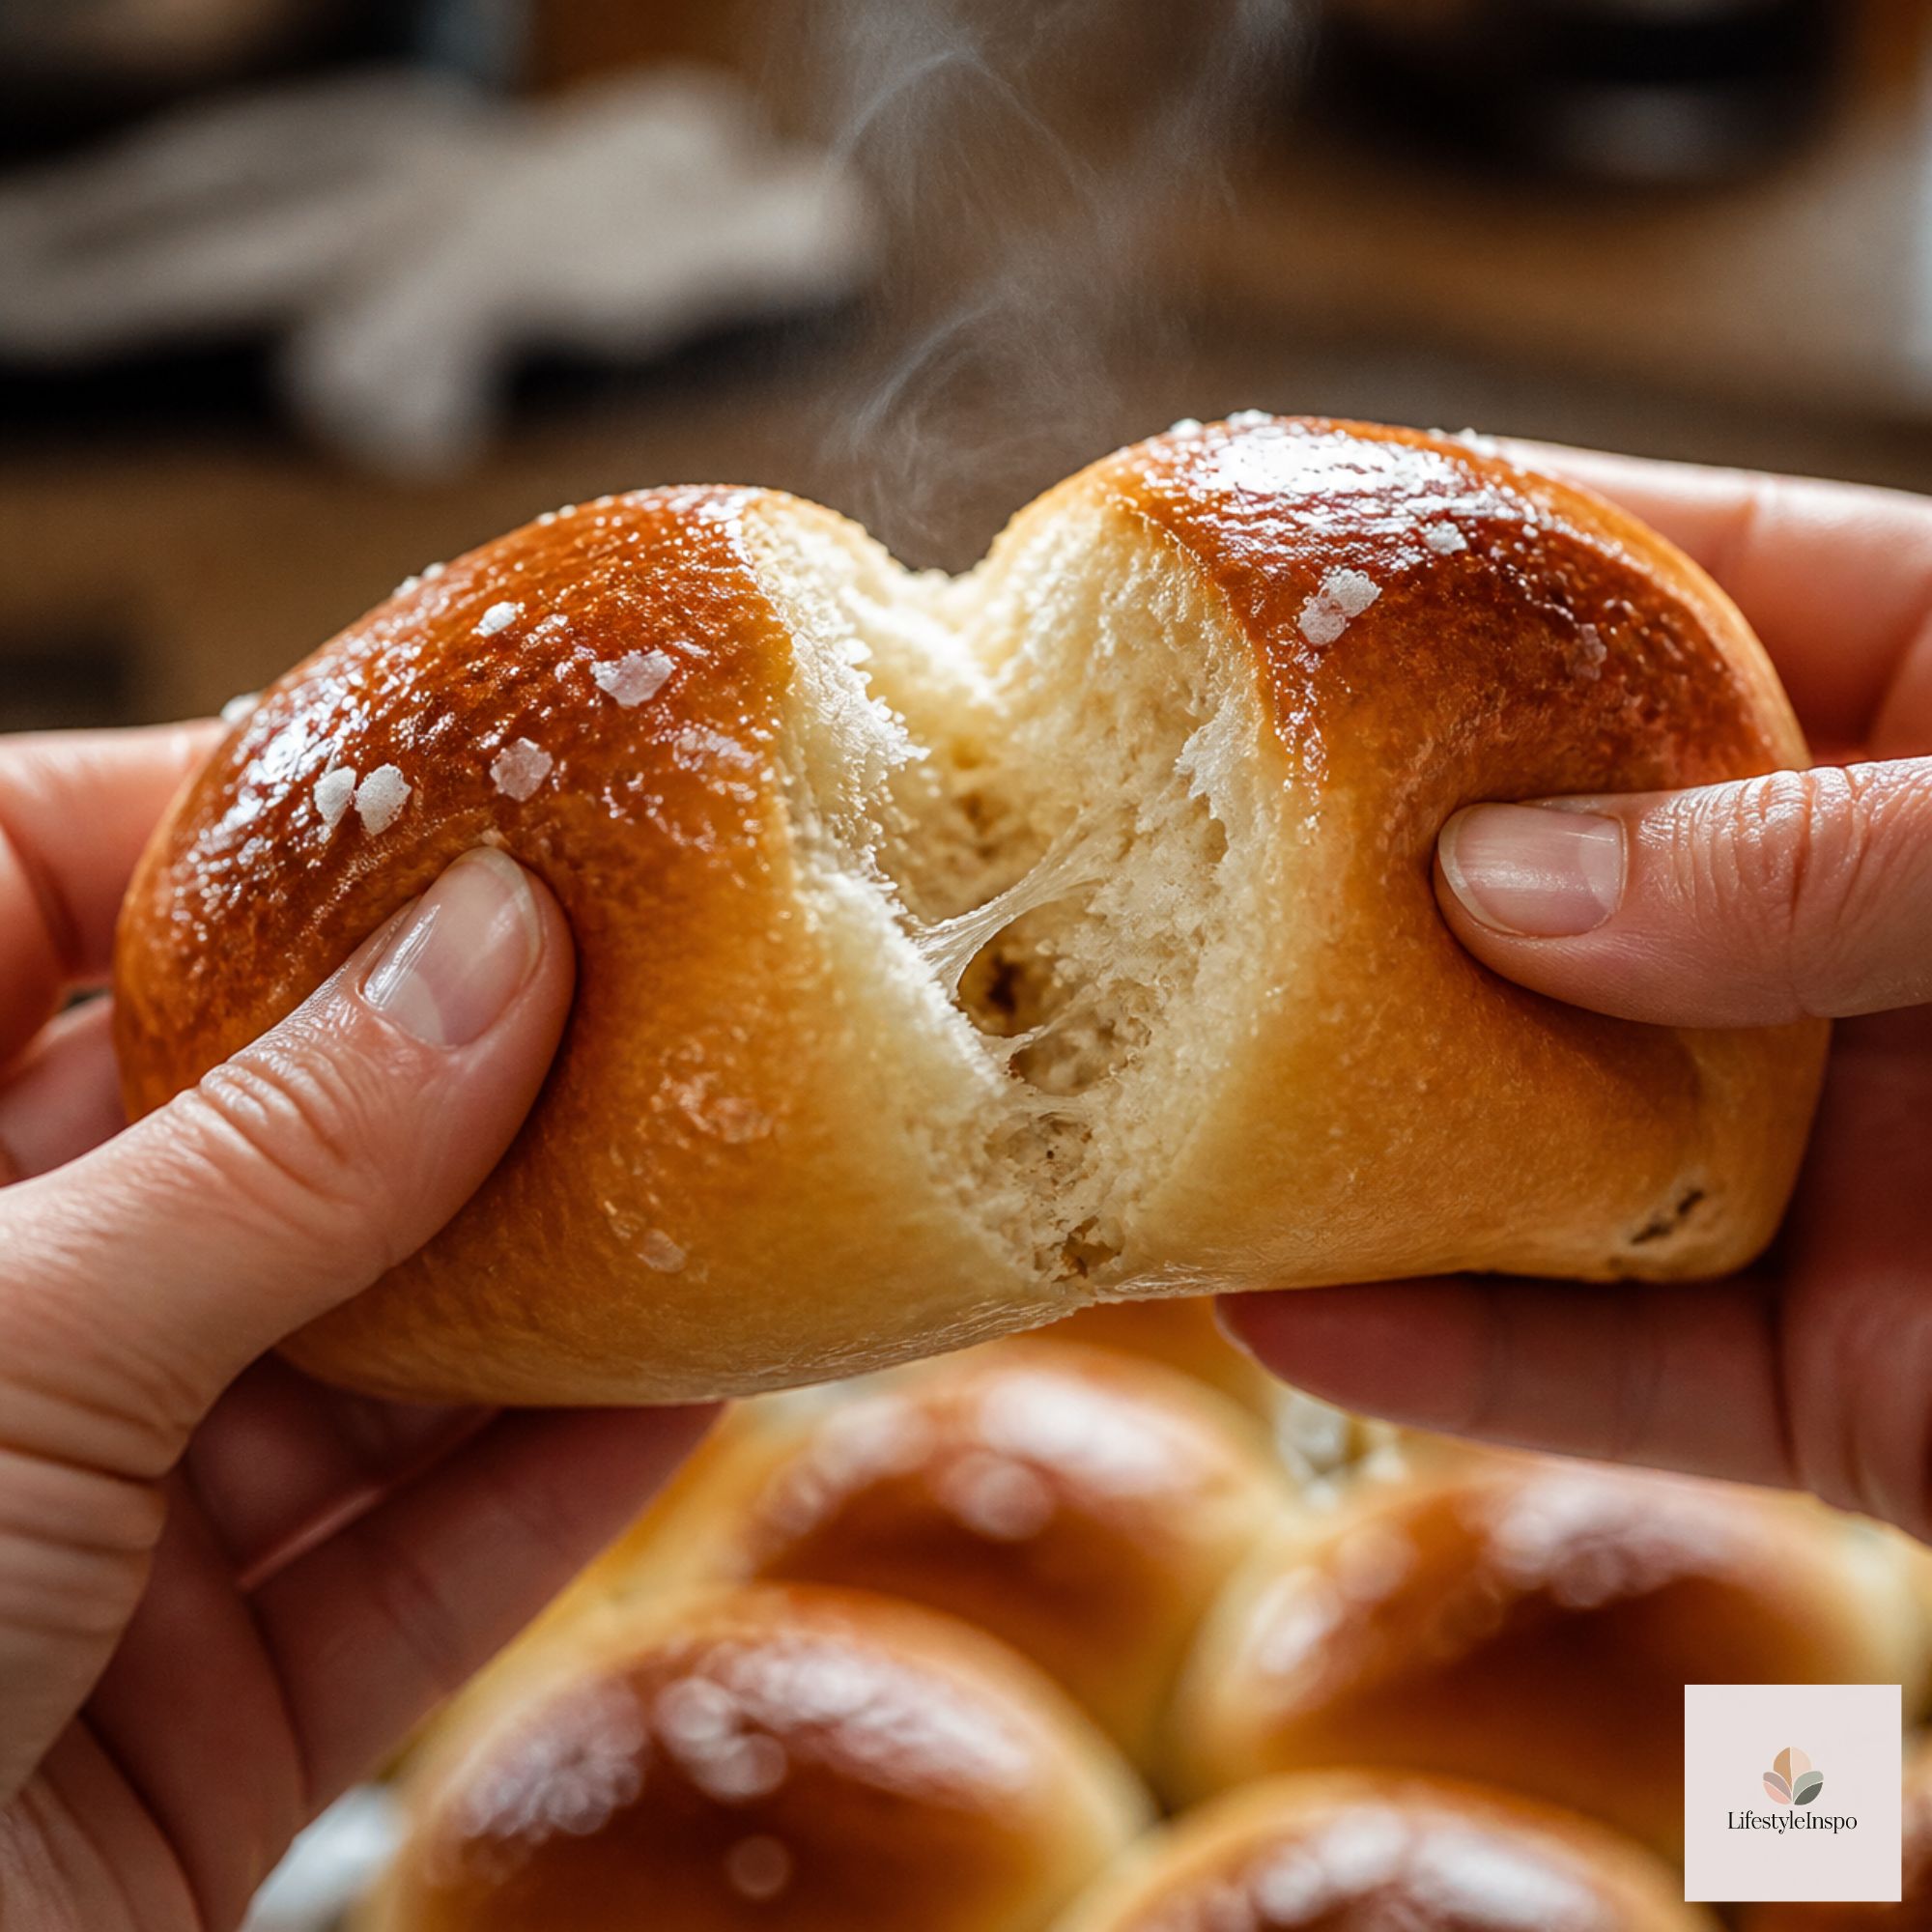
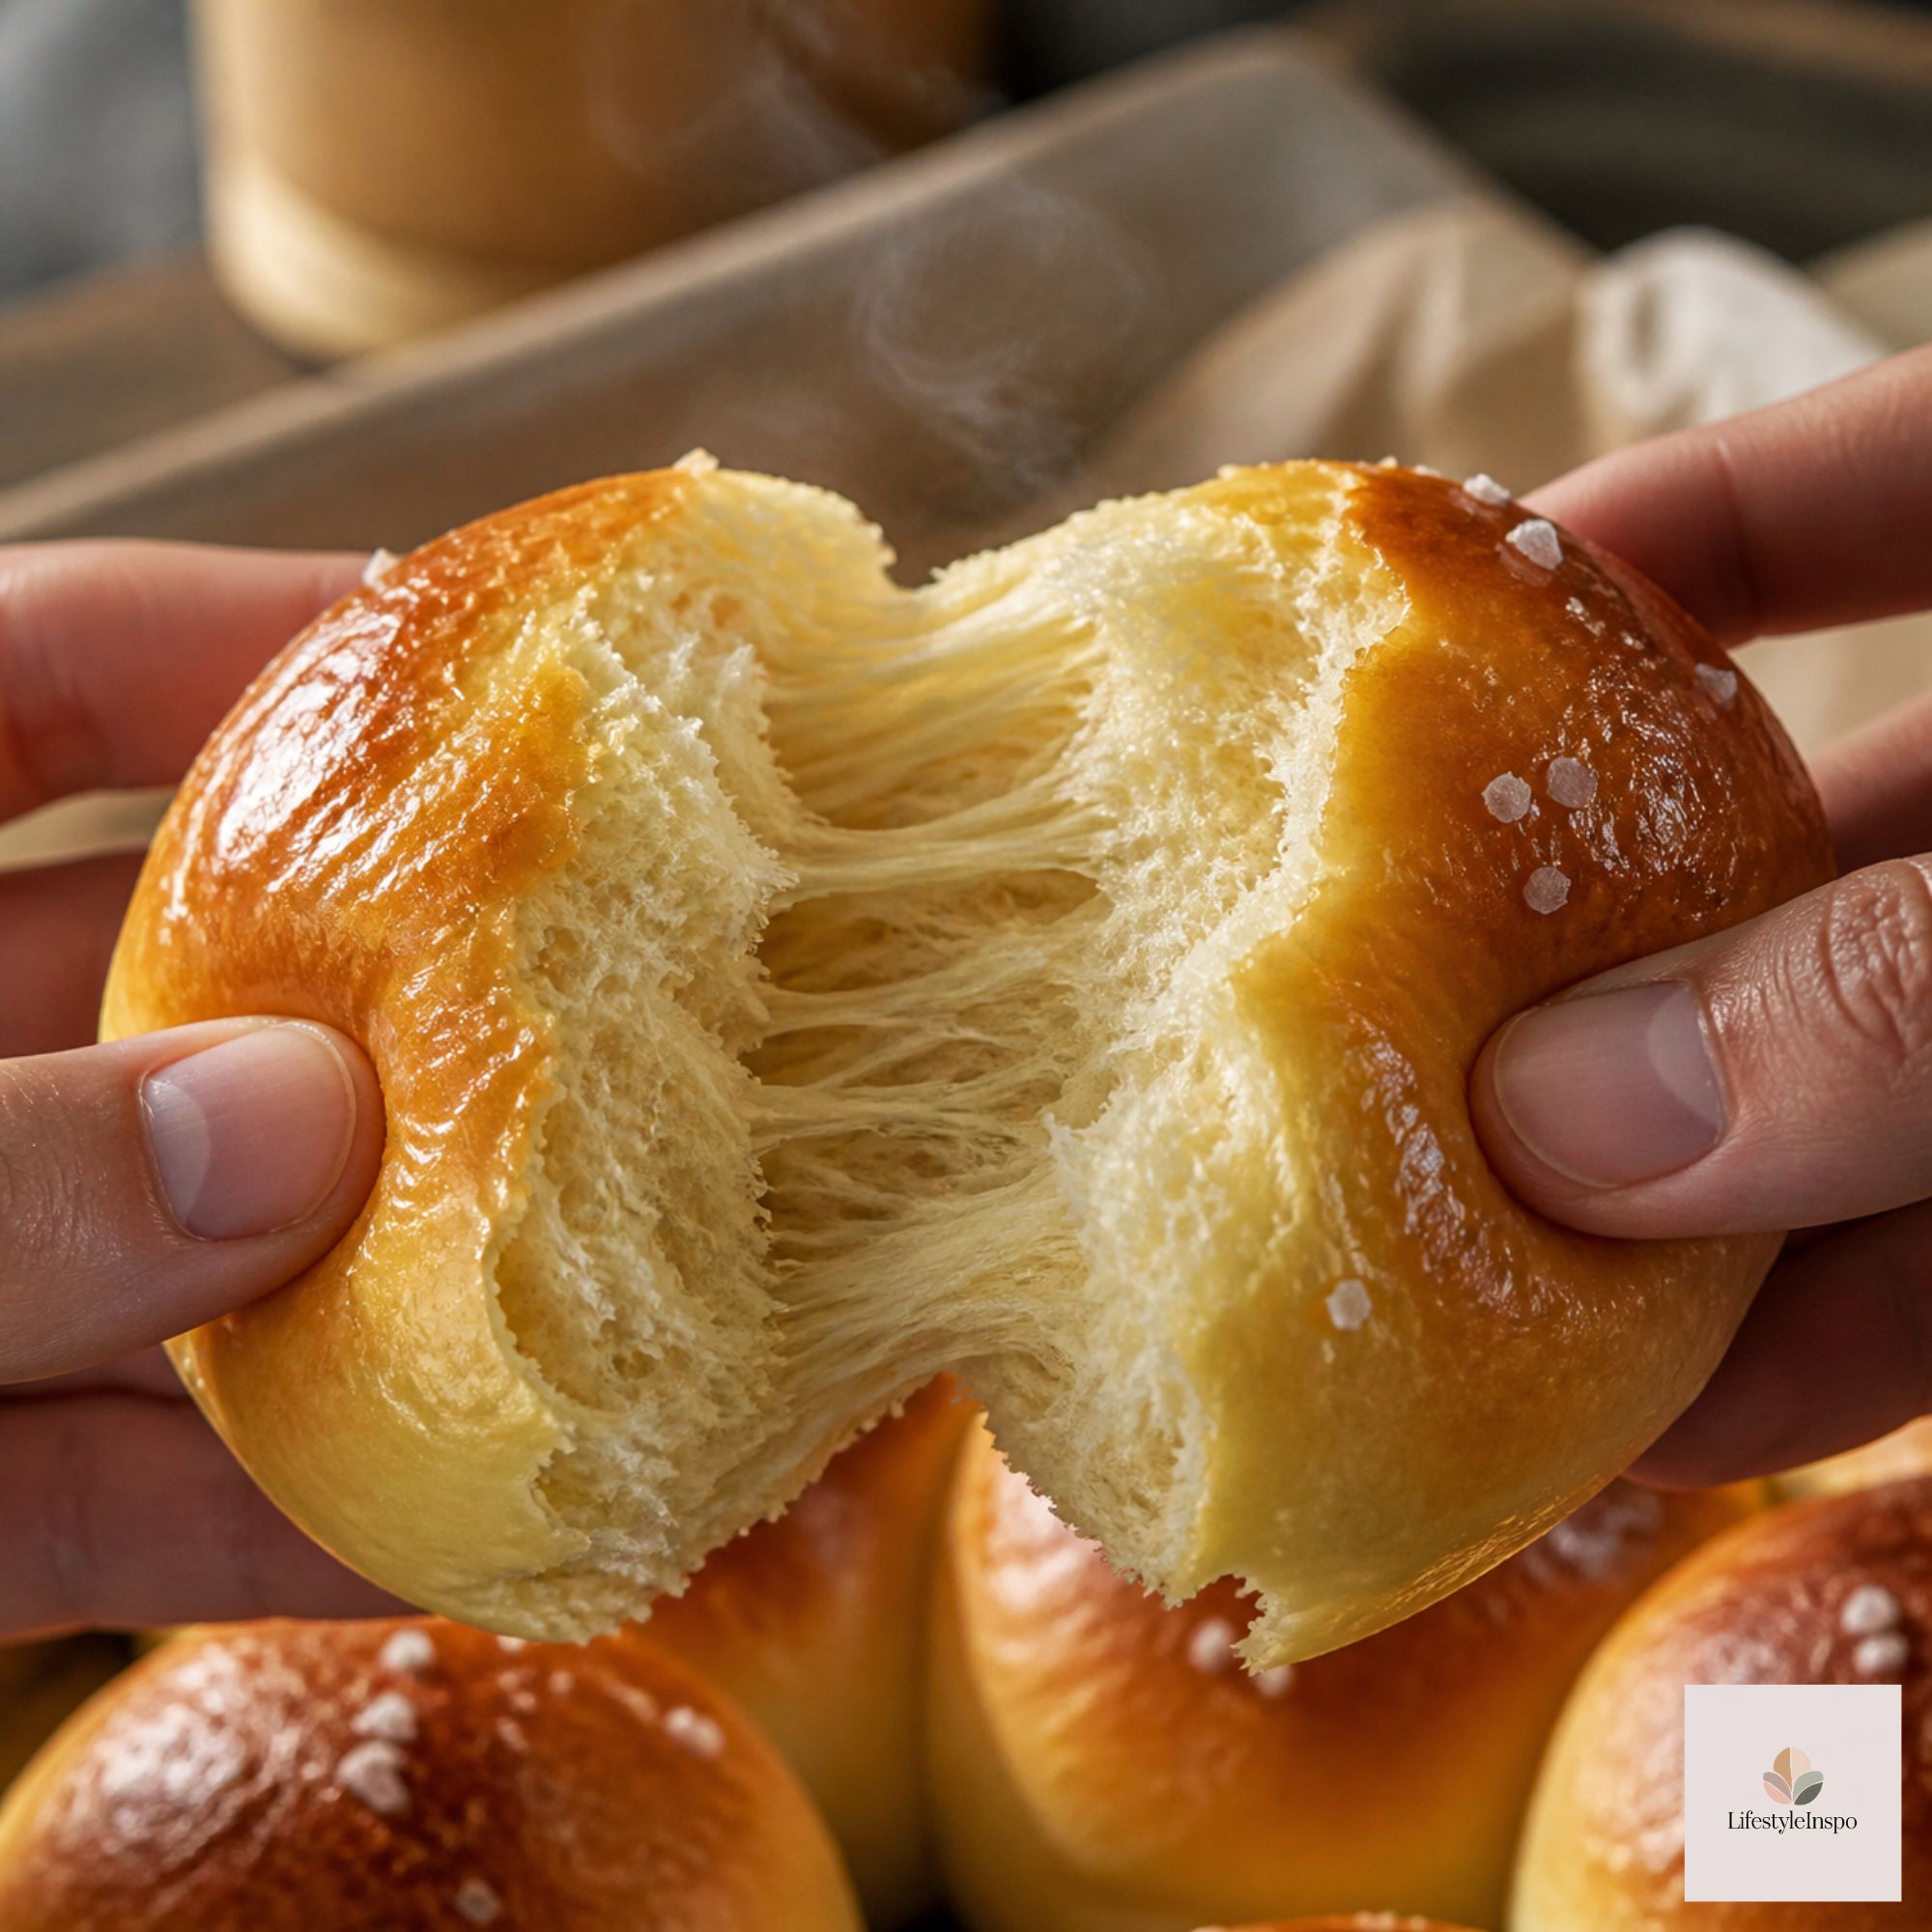
A few ingredients and techniques give these rolls their tender, fluffy crumb:
- Whole milk and butter. Fat tenderizes the dough.
- A little sugar. It feeds the yeast and softens the crumb.
- An egg. It adds richness and structure.
- Proper kneading. This builds gluten for a light, airy rise.
- Brushing with butter after baking, which keeps the crust soft.
Tools You’ll Need
- A stand mixer with a dough hook attachment (or knead by hand for about 10 minutes)
- A large bowl for rising
- A rolling pin (optional, for shaping)
- A baking sheet or a 9×13-inch baking pan
- An instant-read thermometer, which is not just for turkey. It’s the most reliable way to check that bread is fully baked.
- A pastry brush for butter
Ingredients
Makes 16 rolls:
For the dough:
- 1 cup whole milk, warmed to about 110°F
- ¼ cup warm water (also about 110°F)
- 2¼ teaspoons (1 packet) active dry or instant yeast
- ¼ cup granulated sugar
- 4 tablespoons unsalted butter, melted and cooled slightly
- 1 large egg, at room temperature
- 1½ teaspoons kosher salt
- 3½ to 4 cups all-purpose flour (or bread flour for chewier rolls)
For finishing:
- 3 tablespoons melted butter
- Flaky sea salt (optional)
- 1 teaspoon honey (optional, mixed into the butter)
Step-by-Step Instructions
Step 1: Activate the Yeast
In the bowl of your stand mixer, combine the warm milk, warm water, and sugar. Sprinkle the yeast over the top and let it sit for 5 to 10 minutes, until foamy. If it doesn’t foam, the yeast may be old or the liquid was too hot or too cold, so start over.
The liquid should feel warm, like a bath, not hot. Too hot will kill the yeast. An instant-read thermometer takes the guesswork out: aim for about 110°F.
Step 2: Mix the Dough
Add the melted butter, egg, and salt. Attach the dough hook and add 3½ cups of flour. Mix on low until a shaggy dough forms, then increase to medium-low and knead for 6 to 8 minutes.
The dough should be smooth, elastic, and slightly tacky but not sticky. If it’s too sticky, add flour a tablespoon at a time. If it’s dry, add a teaspoon of milk.
The windowpane test: Pinch off a small piece of dough and gently stretch it. If it stretches thin enough to see light through without tearing, the gluten is ready.
Step 3: First Rise
Lightly grease a large bowl, add the dough, and turn to coat. Cover with plastic wrap or a damp towel and let it rise in a warm spot for 1 to 1½ hours, until doubled in size.
Warm spot ideas: inside the oven with the light on (oven off), or near a warm (not hot) appliance.
Step 4: Shape the Rolls
Turn the dough onto a lightly floured surface and gently press out the air. Divide it into 16 equal pieces. For accuracy, weigh the dough on a kitchen scale and divide it by 16, or use a bench scraper to cut it in half, then halves into quarters, and so on.
To shape each roll:
- Flatten a piece slightly.
- Pull the edges into the center and pinch to seal.
- Flip it seam-side down and cup your hand over it.
- Roll in small circles against the counter until you have a smooth, tight ball.
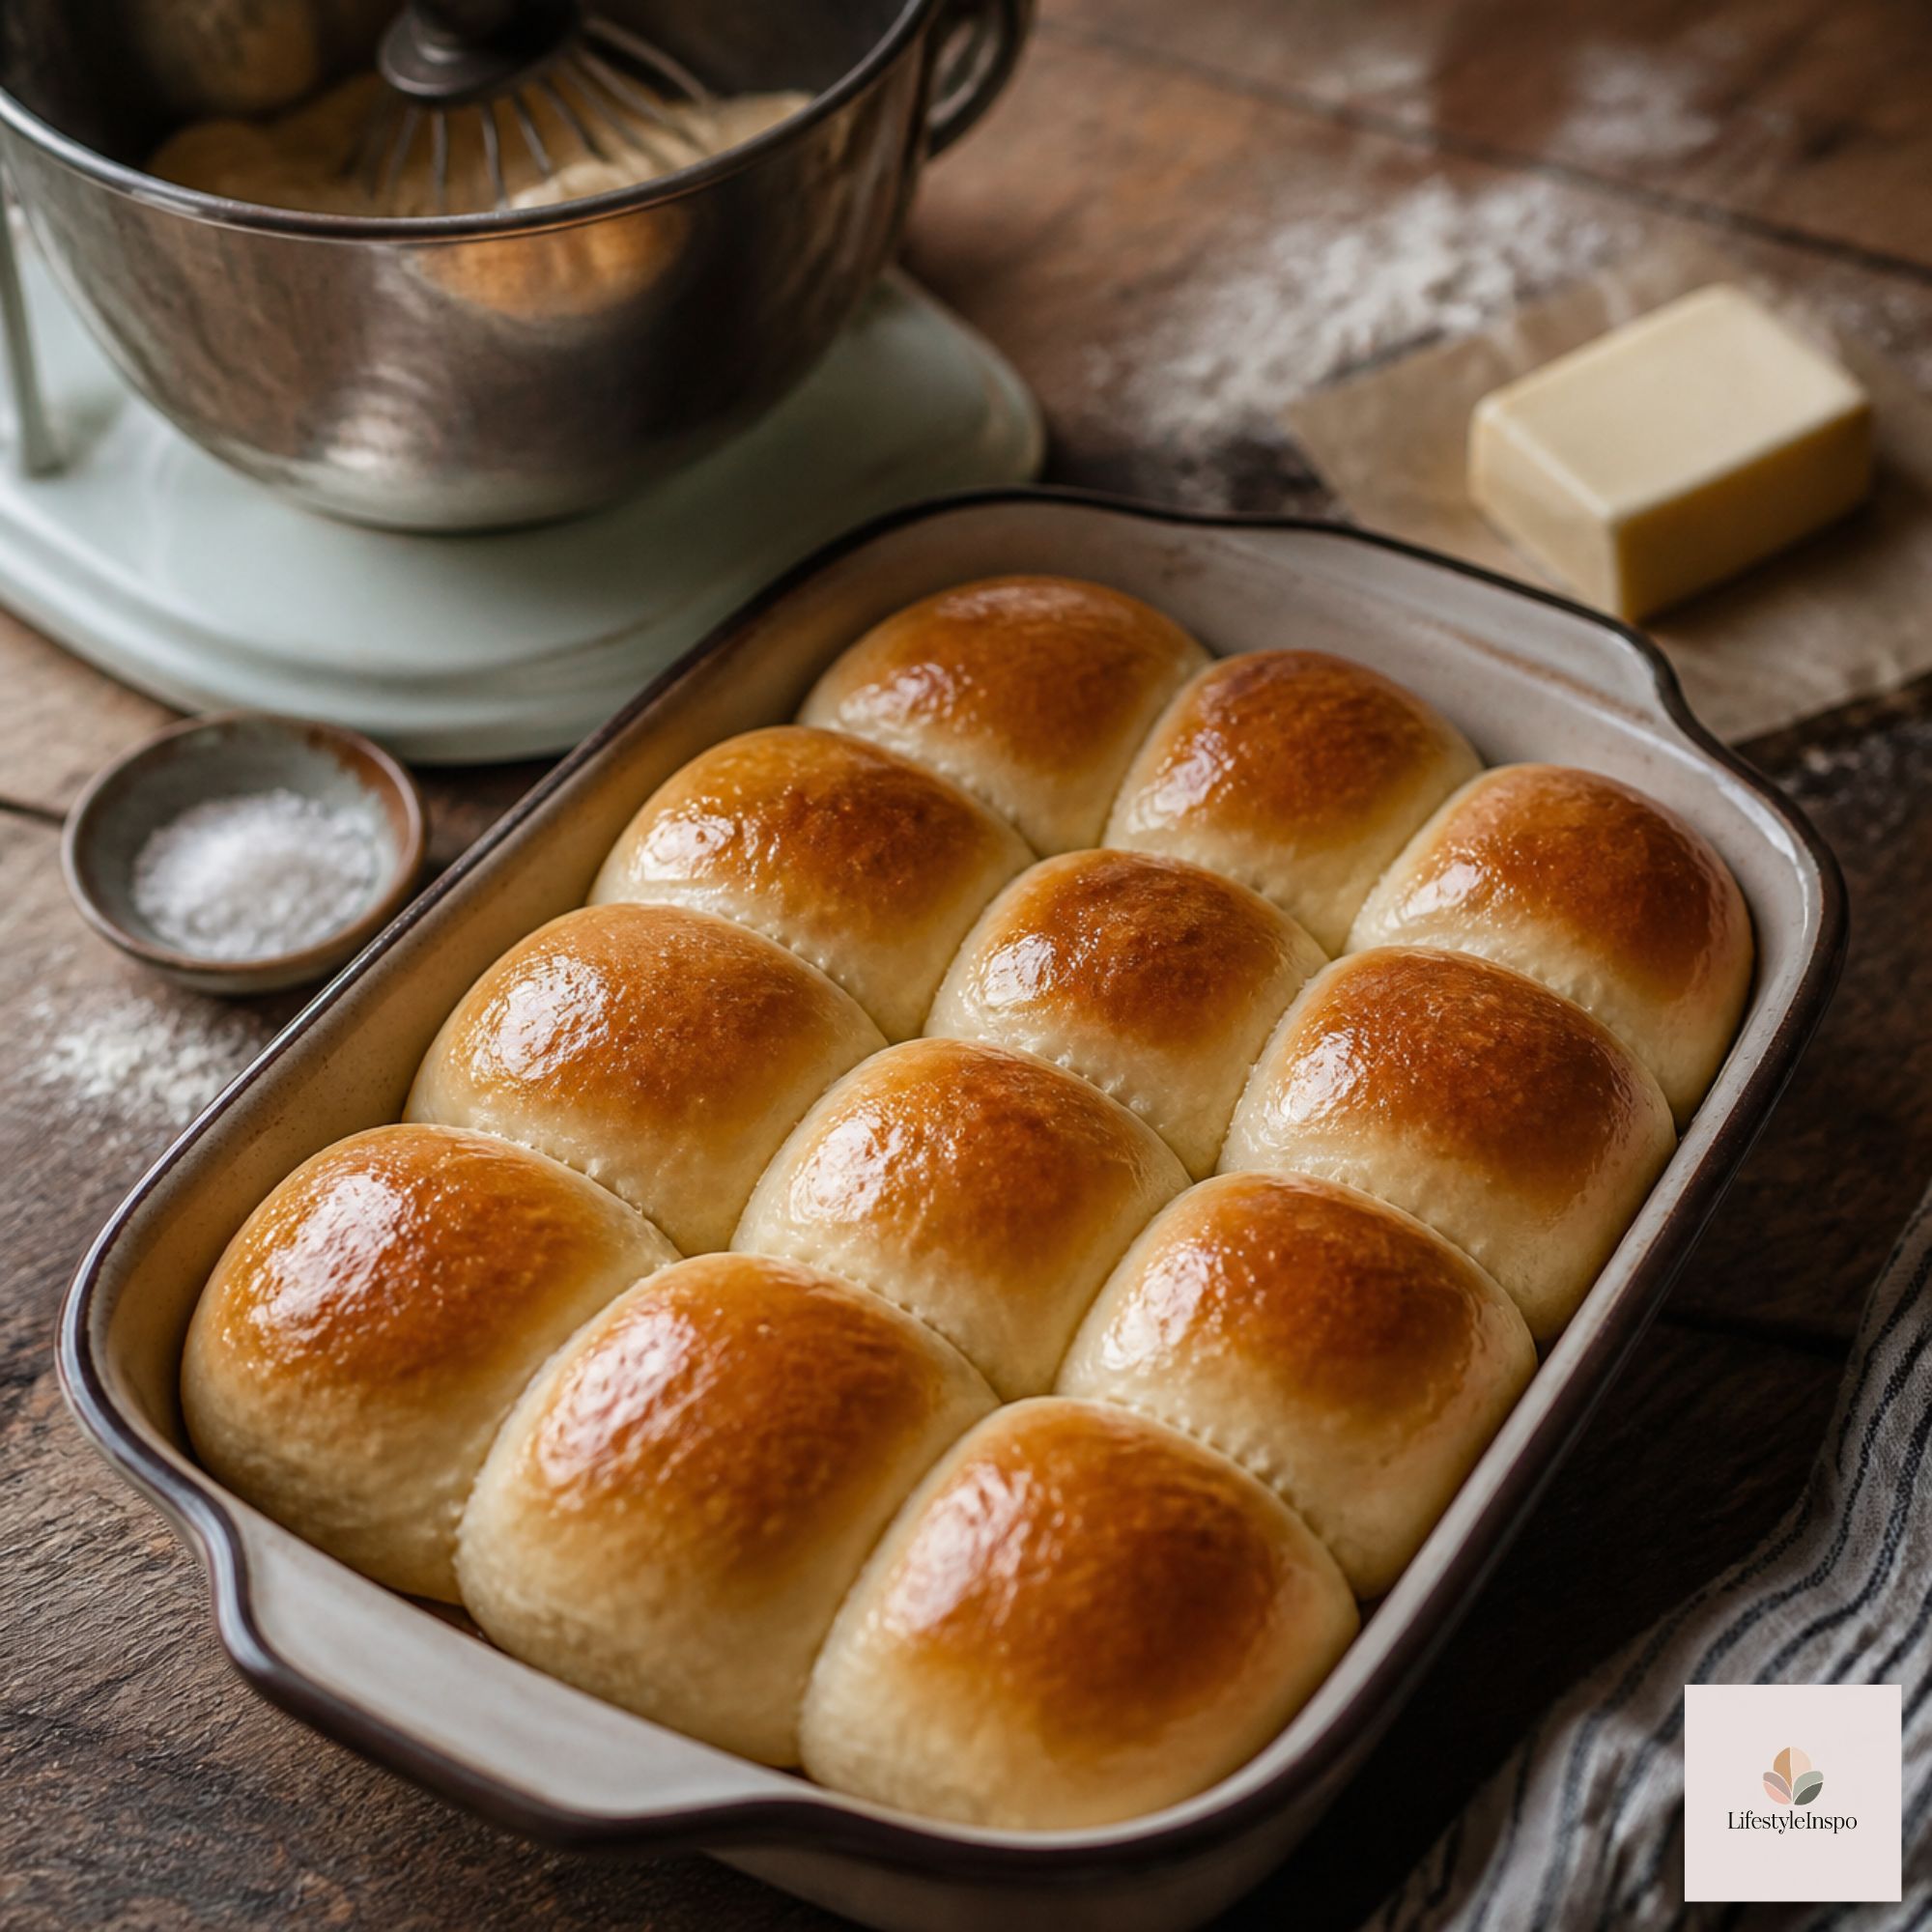
Arrange the rolls in a buttered 9×13-inch pan, or space them on a parchment-lined baking sheet. Placing them close together (touching) gives you soft, pull-apart rolls. Spacing them apart gives you crustier sides.
Step 5: Second Rise
Cover and let the shaped rolls rise for 30 to 45 minutes, until puffy and almost doubled. Meanwhile, preheat the oven to 350°F.
Step 6: Bake
Bake for 18 to 22 minutes, until deep golden brown. Rolls are done when an instant-read thermometer inserted into the center reads 190°F to 200°F. If the tops brown too fast, tent loosely with foil.
Step 7: Butter and Serve
Right out of the oven, brush the tops generously with melted butter (mixed with a little honey, if you like). Sprinkle with flaky salt. Serve warm.
Make-Ahead Options
Rolls are among the easiest items to make in advance, and there are several ways to do it.
Option 1: Overnight Fridge Rise (Our Favorite)
- Prepare the dough and shape the rolls as directed.
- Place them in the pan, cover tightly, and refrigerate for 8 to 18 hours.
- In the morning, let them sit at room temperature for 45 to 60 minutes until puffy.
- Bake as directed.
This slow, cold rise even improves the flavor, giving the rolls a deeper, slightly tangy taste.
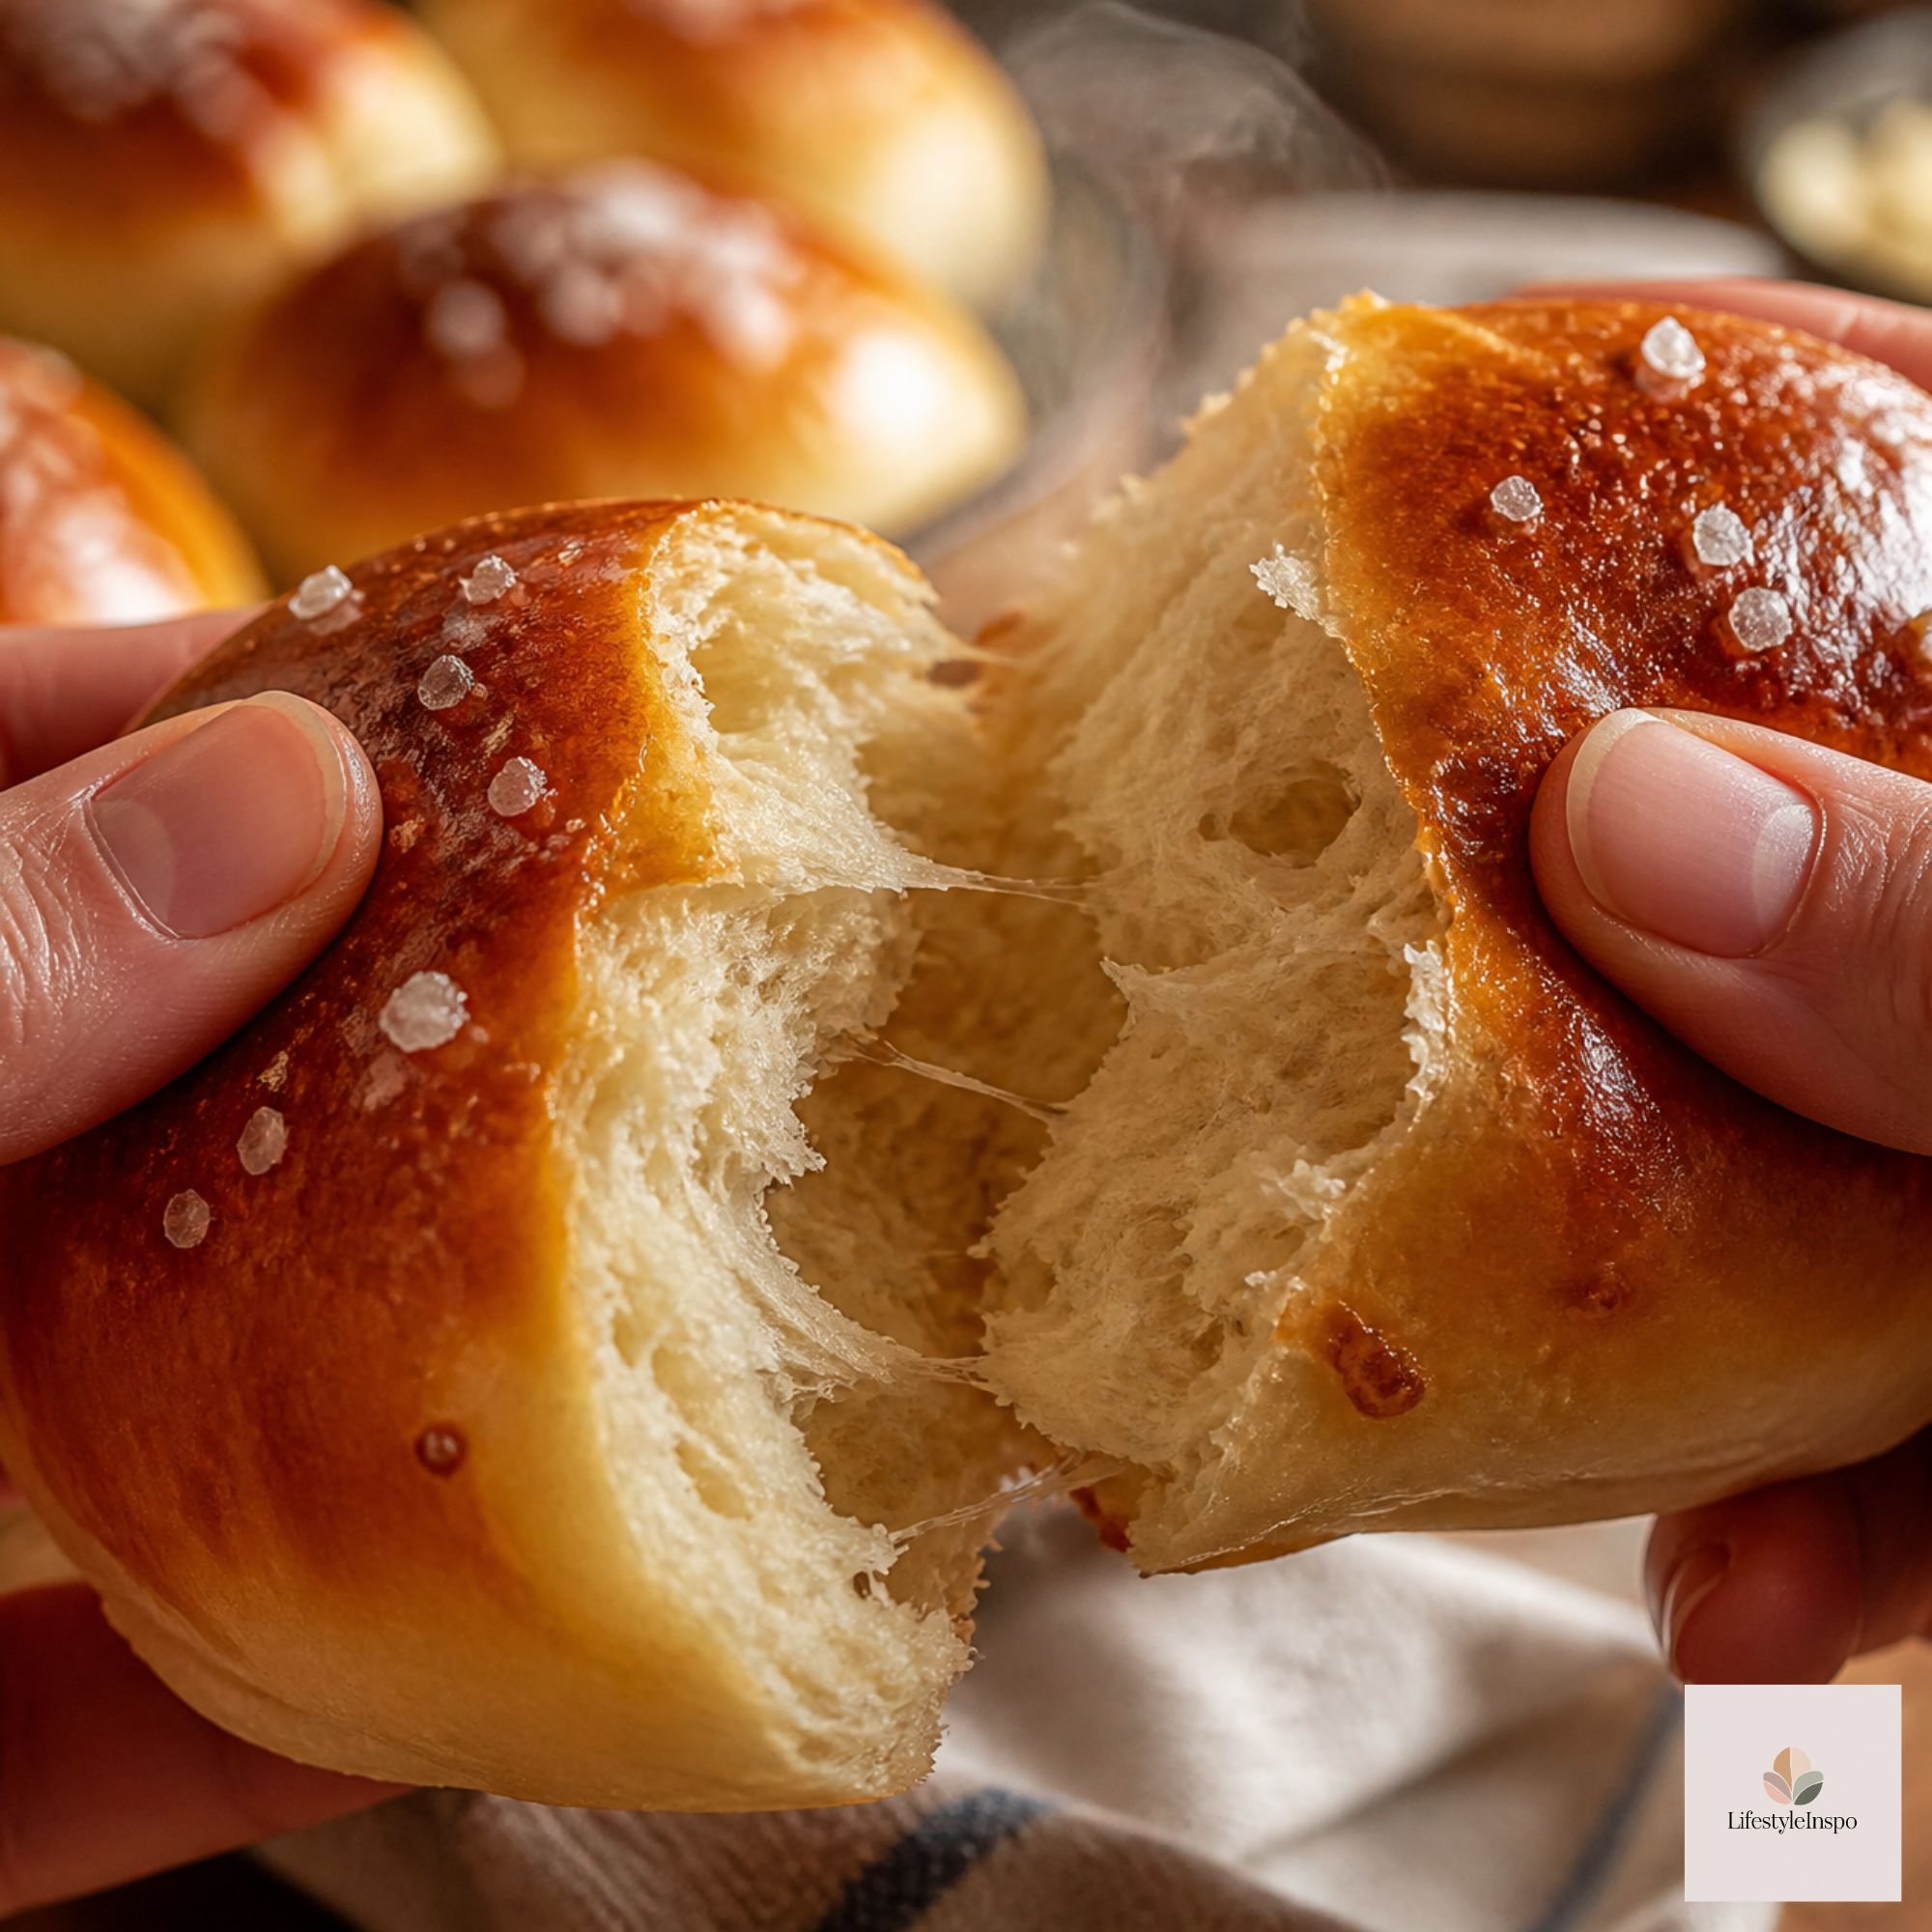
Option 2: Fully Bake Ahead
- Bake the rolls, but pull them out about 2 minutes early (just before golden).
- Cool, wrap tightly, and store at room temperature for 1 day, or freeze.
- To serve, warm at 350°F for 8 to 10 minutes. Brush with butter.
Option 3: Freeze the Dough
- After shaping, freeze the rolls on a tray until solid.
- Transfer them to a freezer bag for up to 2 months.
- Thaw overnight in the fridge, then let them rise at room temperature before baking.
Store leftover rolls in an airtight container or glass food storage container, and they’ll stay soft for 2 to 3 days.
Flavor Variations
- Garlic-herb rolls. Brush with garlic butter and chopped parsley or rosemary.
- Honey butter rolls. Mix 3 tablespoons butter with 1 tablespoon honey and brush on after baking.
- Cheddar-chive. Knead in ½ cup shredded sharp cheddar and 2 tablespoons chives.
- Everything-bagel rolls. Brush with egg wash and sprinkle with everything bagel seasoning.
- Cinnamon-sugar pull-aparts. Roll each ball in melted butter and cinnamon sugar.
- Parmesan-black pepper. Add grated Parmesan and cracked pepper to the topping.
- Whole wheat. Replace up to half the flour with whole wheat flour, and add a splash more milk.
- Cloverleaf rolls. Divide each piece into 3 small balls and bake them together in a muffin tin.
- Parker House style. Roll the dough out with a rolling pin, cut into circles, brush with butter, and fold in half.
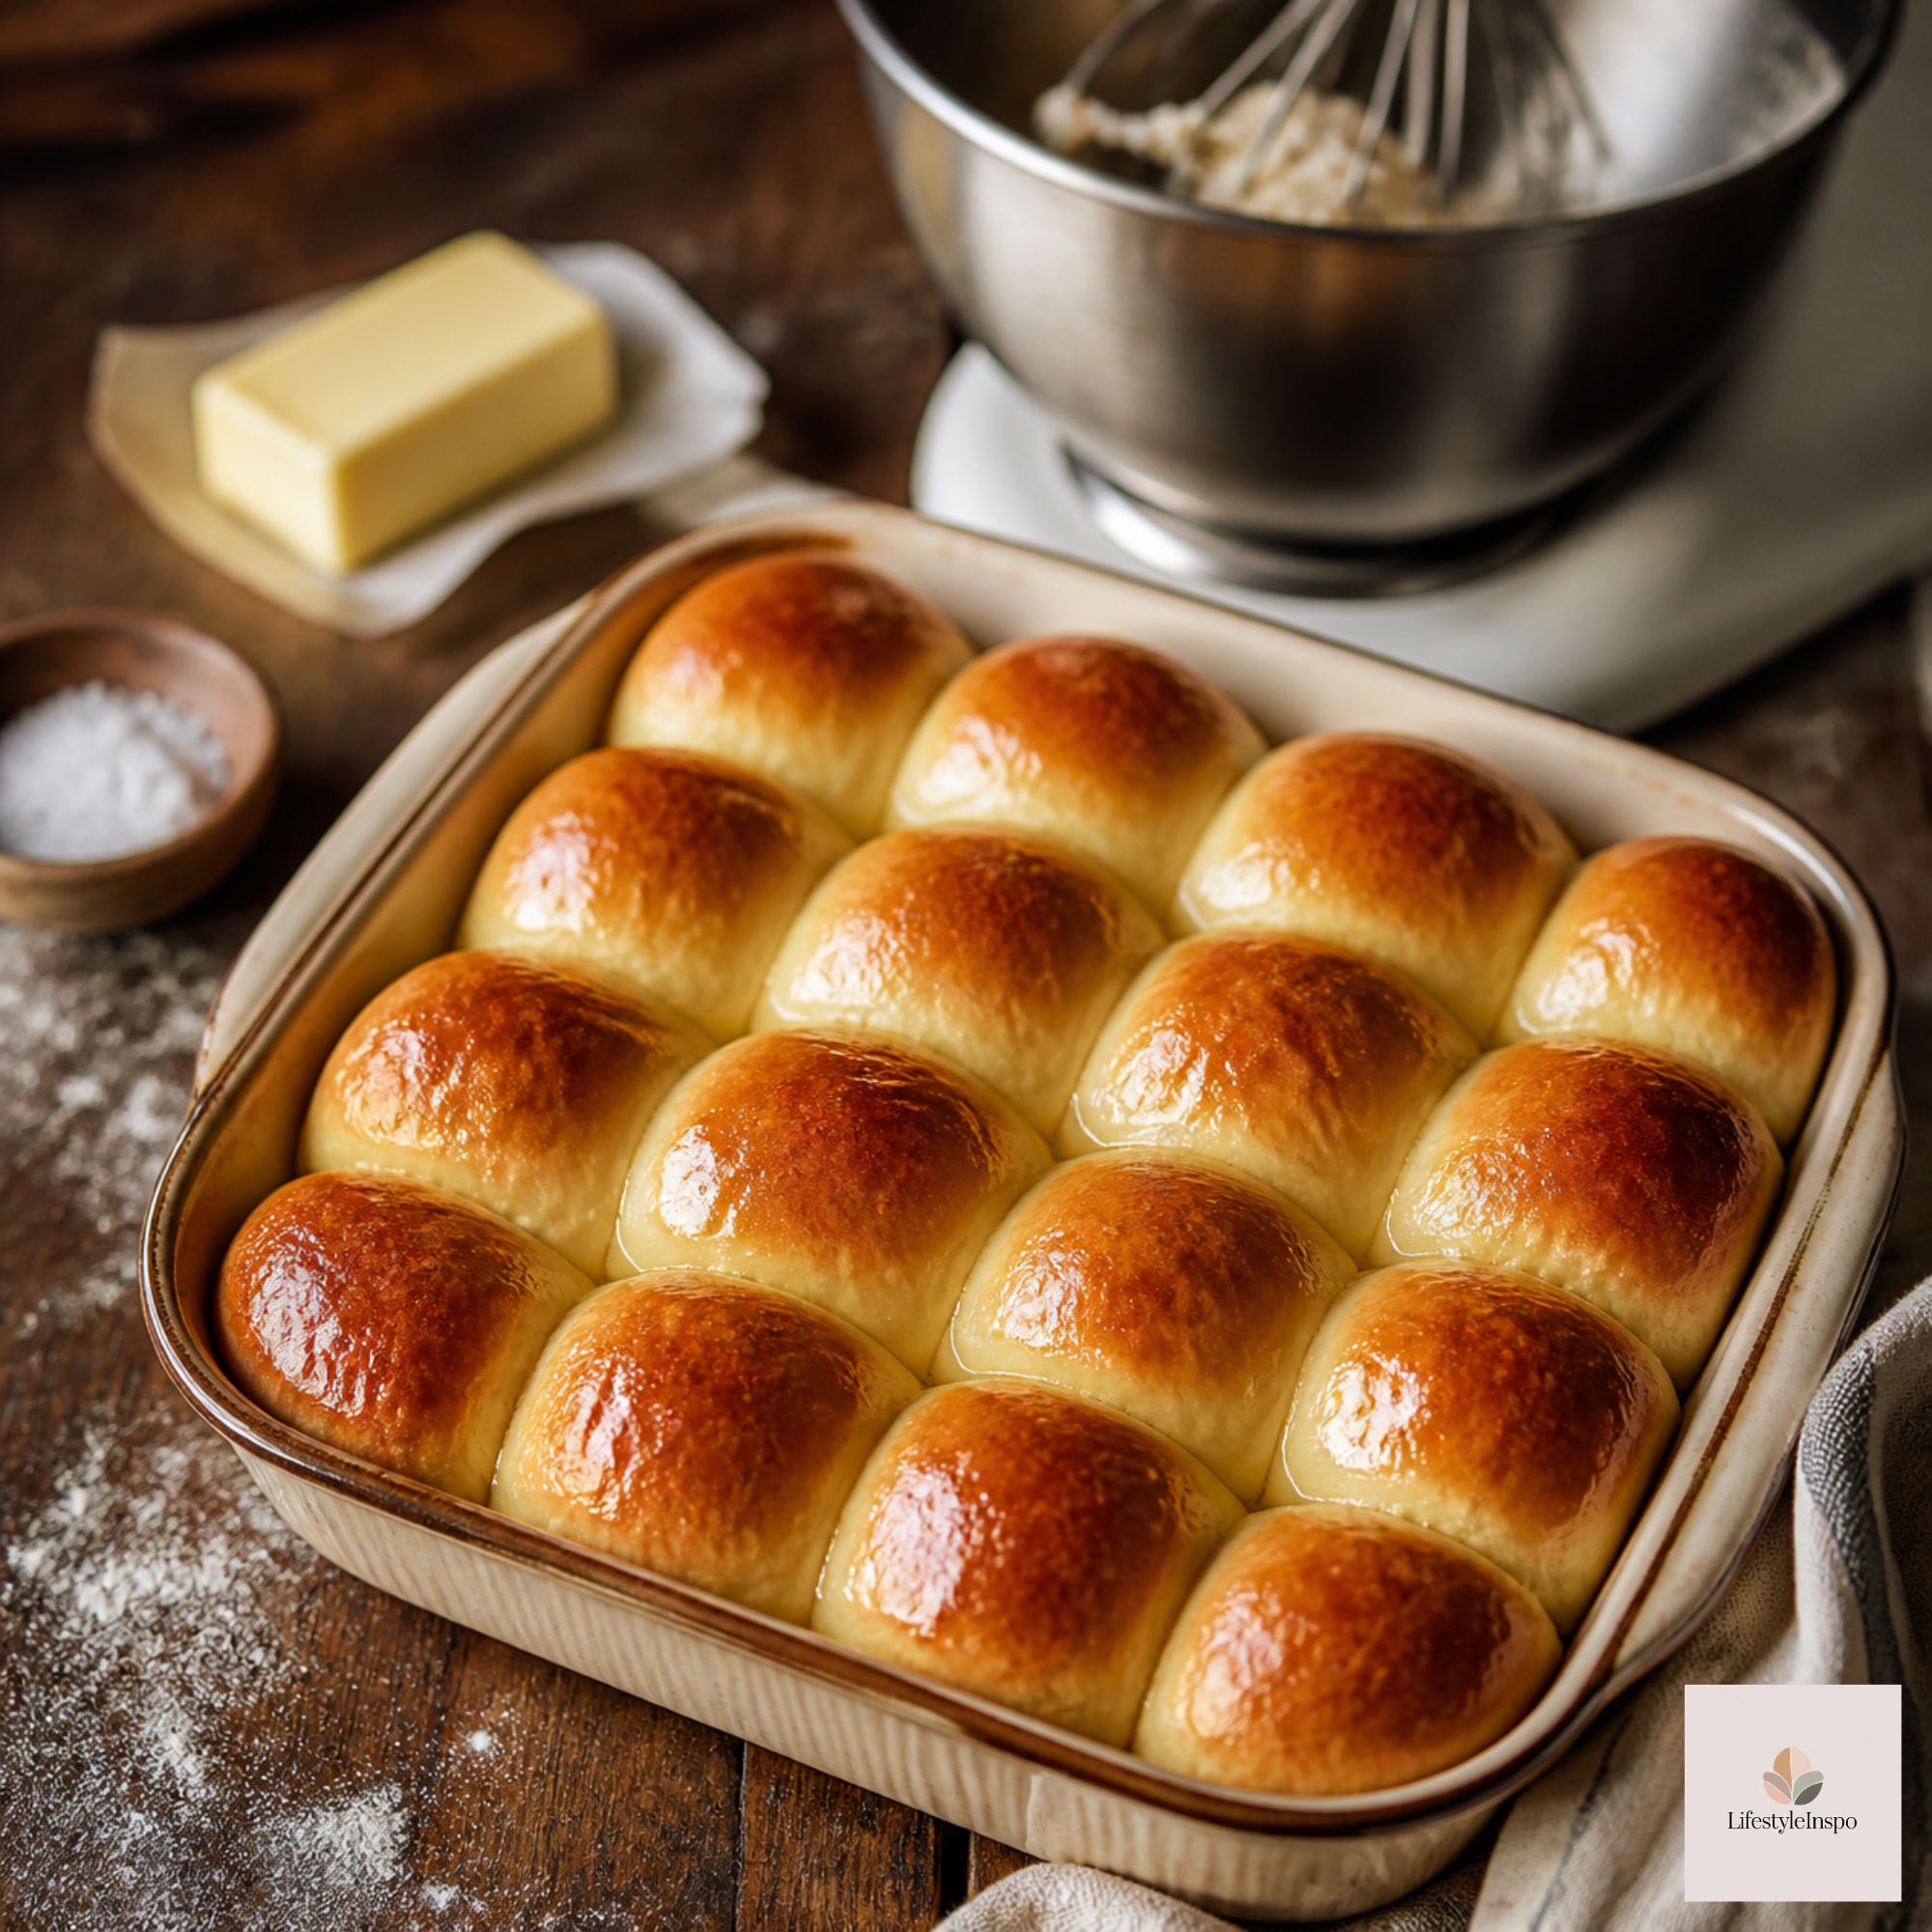
How to Get Perfect Texture
- Don’t add too much flour. Extra flour makes rolls dense and dry. A slightly tacky dough is best.
- Be patient with the rise. Time and warmth make rolls light.
- Use fresh yeast. Check the expiration date.
- Don’t over-proof. If the dough collapses when you touch it, it rose too long.
- Measure flour correctly. Spoon it into the cup and level it, or better, weigh it (about 120 grams per cup).
- Brush with butter right away to keep crusts soft.
Troubleshooting
My rolls are dense. The dough may not have risen enough, the yeast was old, or too much flour was added. Give it more time, and check the yeast.
They’re dry. Overbaking or too much flour. Check the temperature, and don’t overbake.
They didn’t rise. The liquid may have been too hot or cold, or the room was chilly. Move the dough to a warmer place.
They’re pale on top. Brush with an egg wash before baking, or bake a few minutes longer.
They collapsed. They over-proofed. Shorten the second rise next time.
They stuck to the pan. Grease the pan well or line it with parchment.
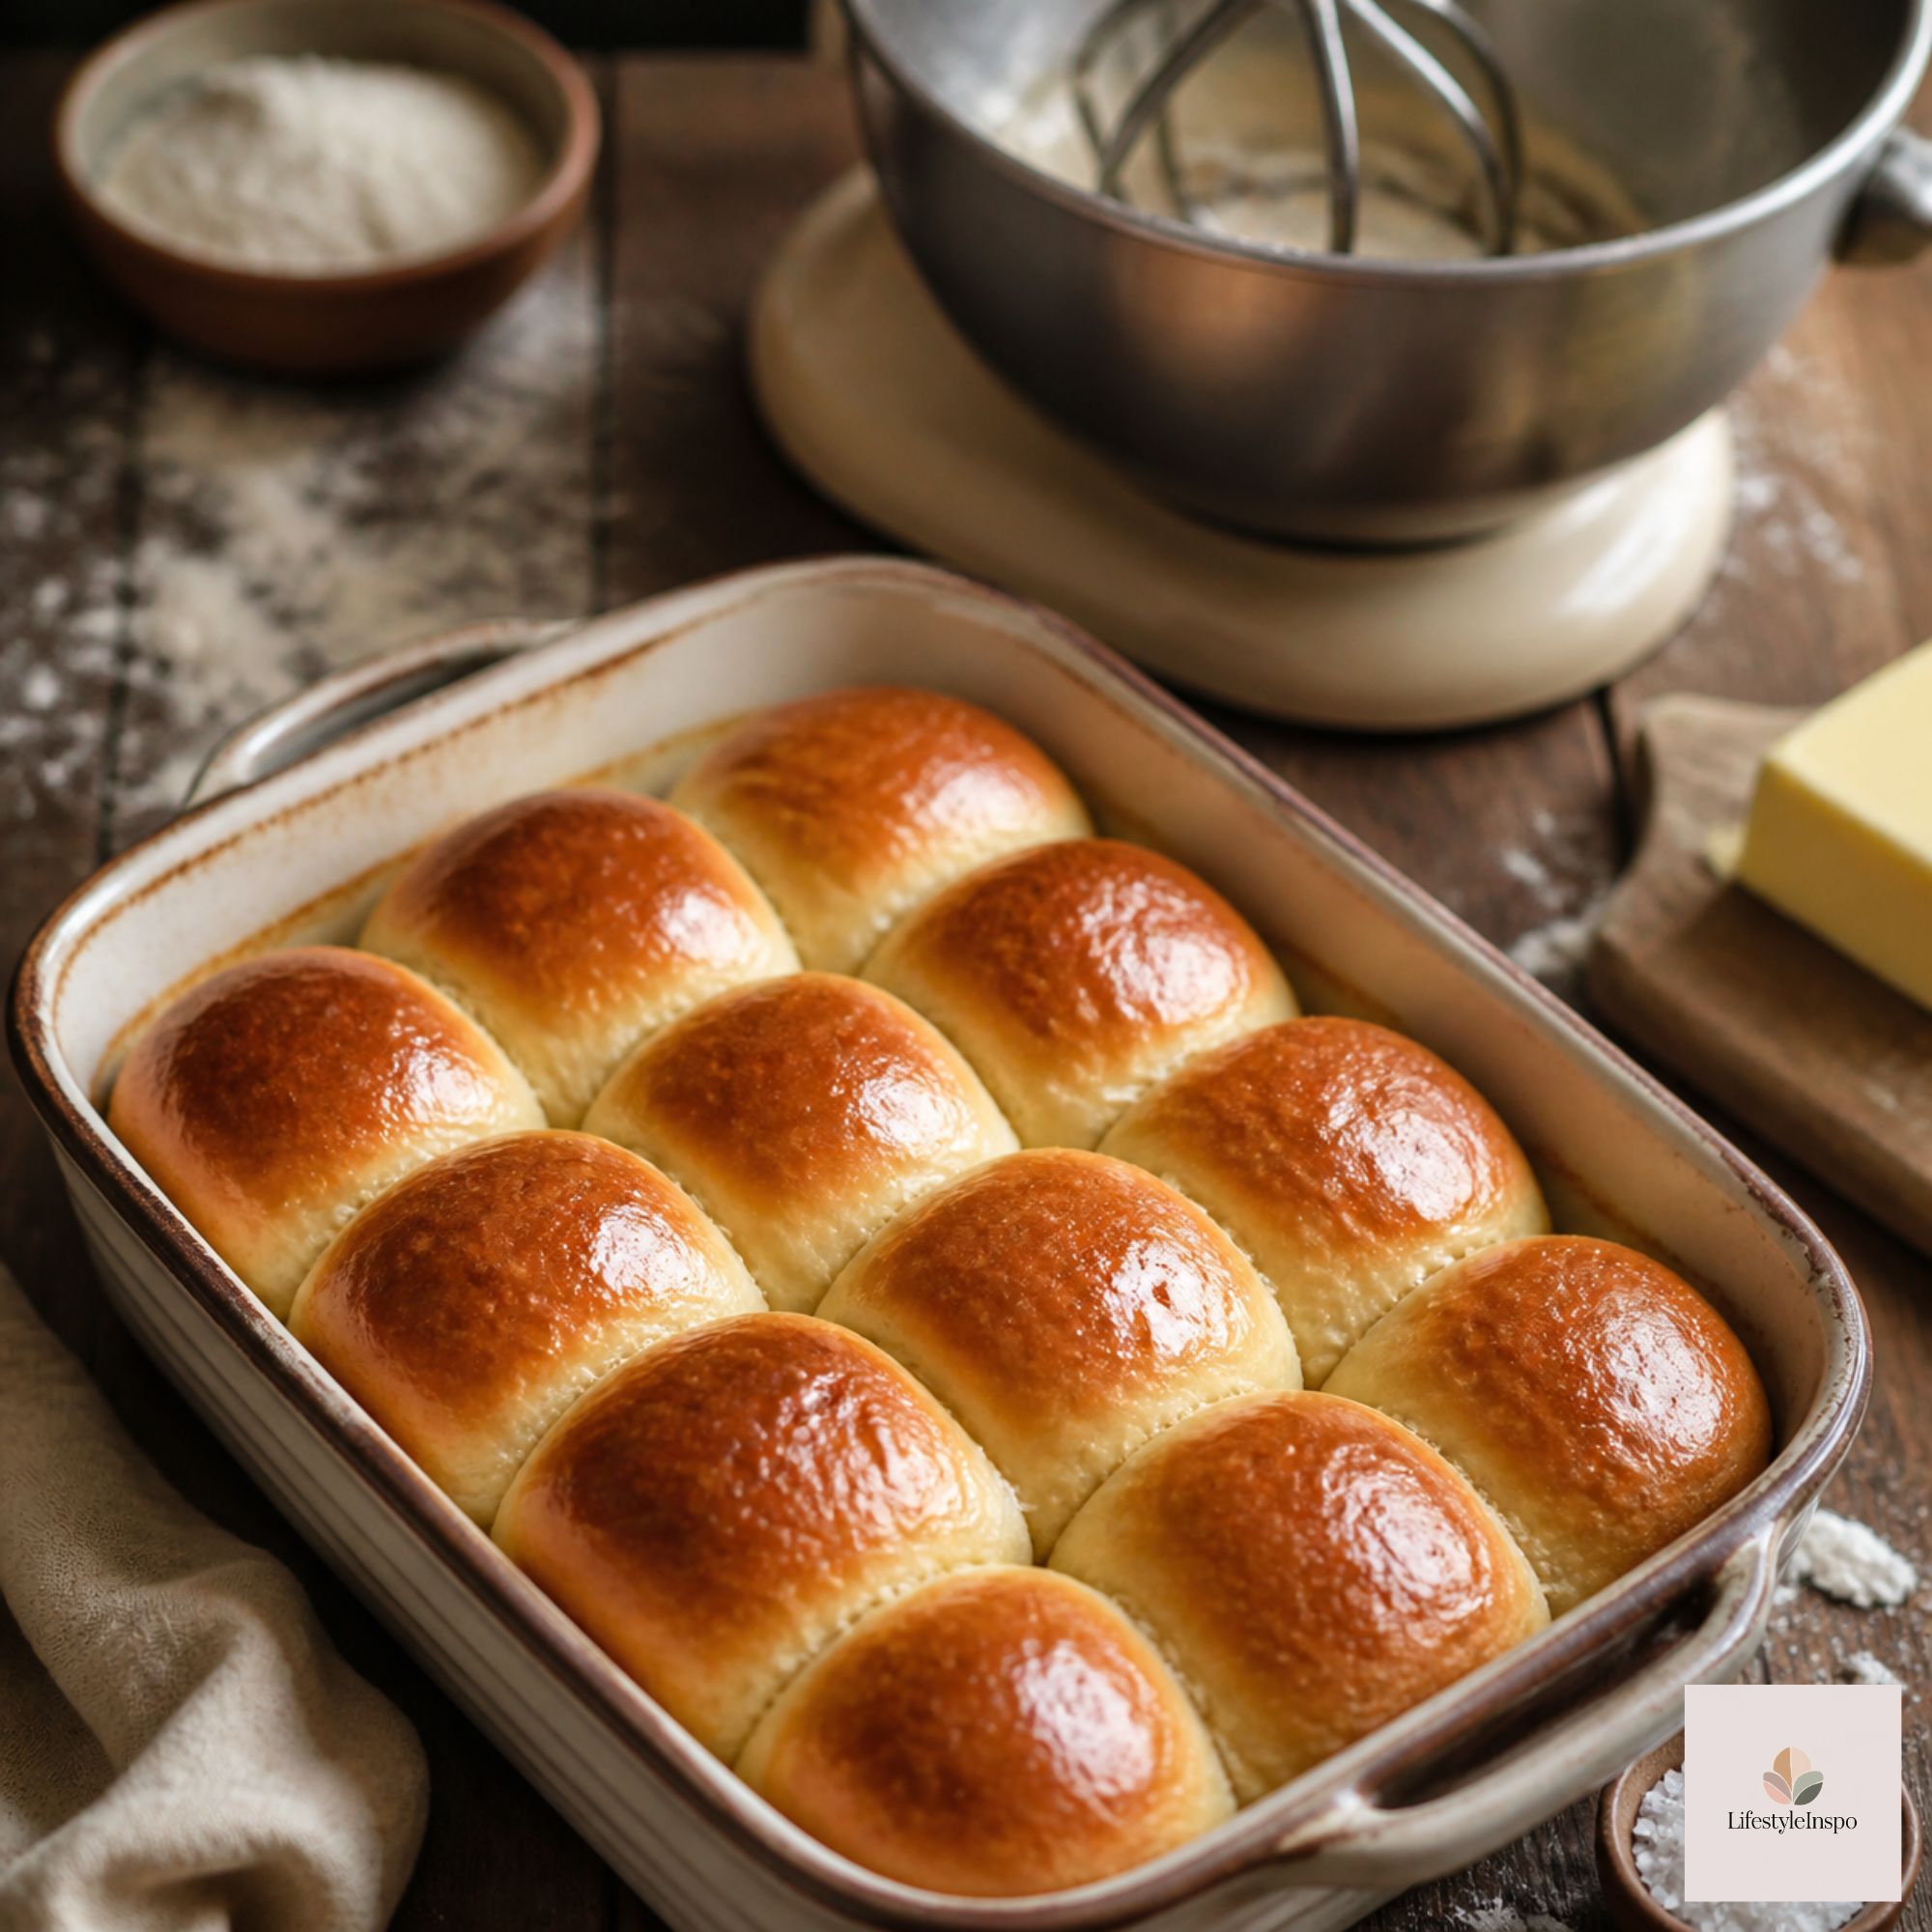
How to Serve Rolls Beautifully
Line a basket with a cloth napkin, tuck in the warm rolls, and fold the cloth over the top to keep them warm. Serve with whipped honey butter, herb butter, or a small dish of flaky salt. Rolls also look lovely on a wide serving platter or in a rustic bread basket.
Rolls are also the perfect vehicle for leftovers. Use them for turkey sliders, tuck a spoonful of cranberry sauce inside, or dunk them in gravy.
Plan Your Thanksgiving Baking
If bread-baking becomes a new passion, a fall baking cookbook is full of ideas for rolls, biscuits, and seasonal breads. And a cookbook stand keeps your pages clear of flour while you work.
Thanksgiving Day Timeline for Rolls
- The day before: Make the dough, shape, and refrigerate overnight.
- Thanksgiving morning: Take the pan out of the fridge, 1 hour before baking.
- When the turkey comes out to rest: Slide the rolls into the oven (increase the oven temp to 350°F if needed).
- Right before serving: Brush with butter and bring to the table warm.
Frequently Asked Questions
Can I make the dough without a stand mixer? Yes. Knead by hand on a lightly floured surface for 10 to 12 minutes until smooth and elastic.
Can I use instant yeast instead of active dry? Yes. Use the same amount, and you can mix it right into the flour without proofing.
What if I don’t have whole milk? Use 2% milk, or a mix of water and a little melted butter. Whole milk gives the best flavor.
Can I make these dairy-free? Swap the milk with an unsweetened plant-based milk and the butter with vegan butter.
How do I know when the rolls are done? Golden on top, and an instant-read thermometer reads 190°F to 200°F in the center.
How long do homemade rolls stay fresh? Up to 3 days at room temperature in an airtight container, or up to 3 months in the freezer.
Final Thoughts
Homemade dinner rolls are one of those small touches that make a whole meal feel special. With a stand mixer, a bit of patience, and an overnight fridge rise, they’re surprisingly easy, and they’ll fill your kitchen with the warmest, most comforting smell. Make a double batch. They go fast.
About the Author