How to Carve a Turkey Step by Step (Even If You've Never Done It)
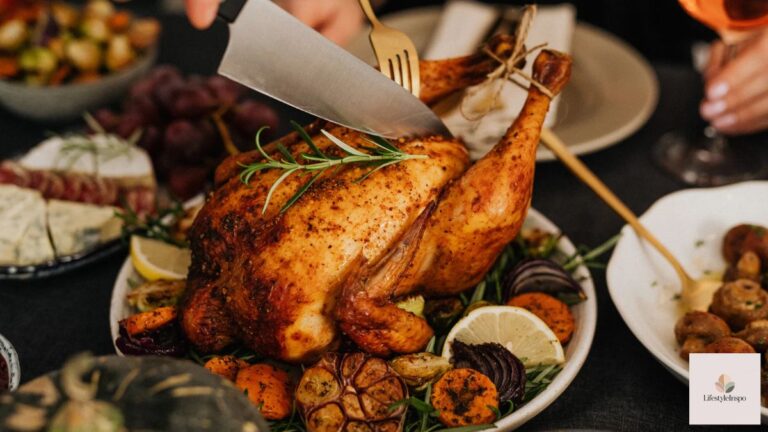
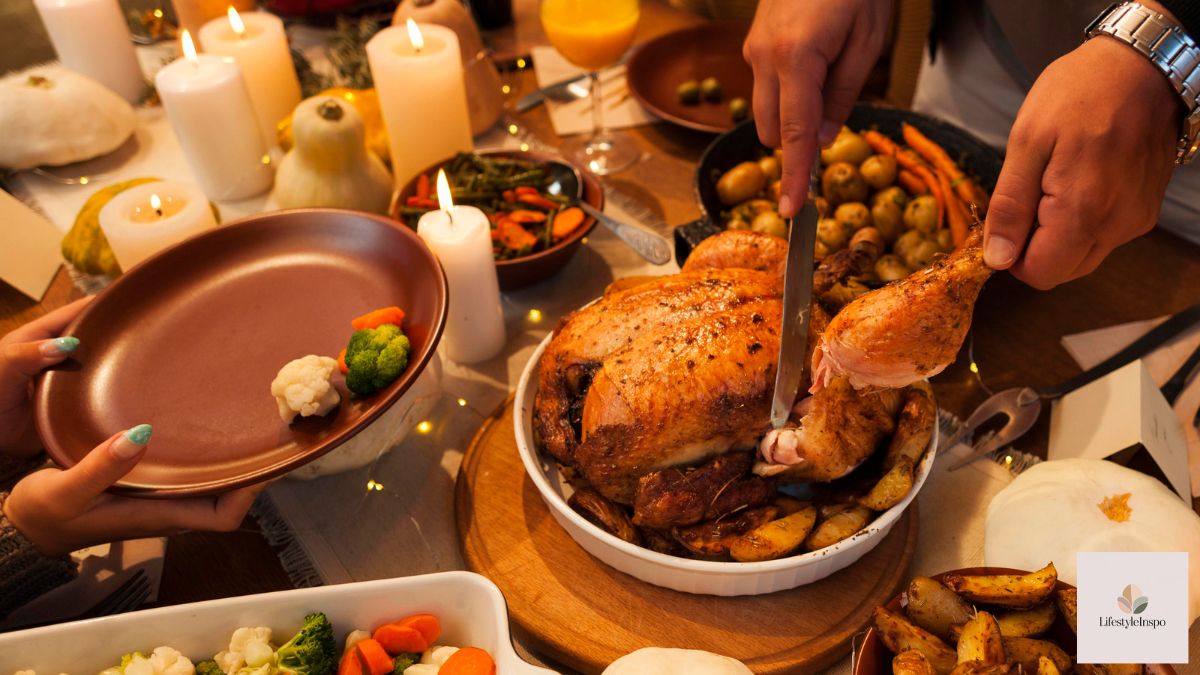
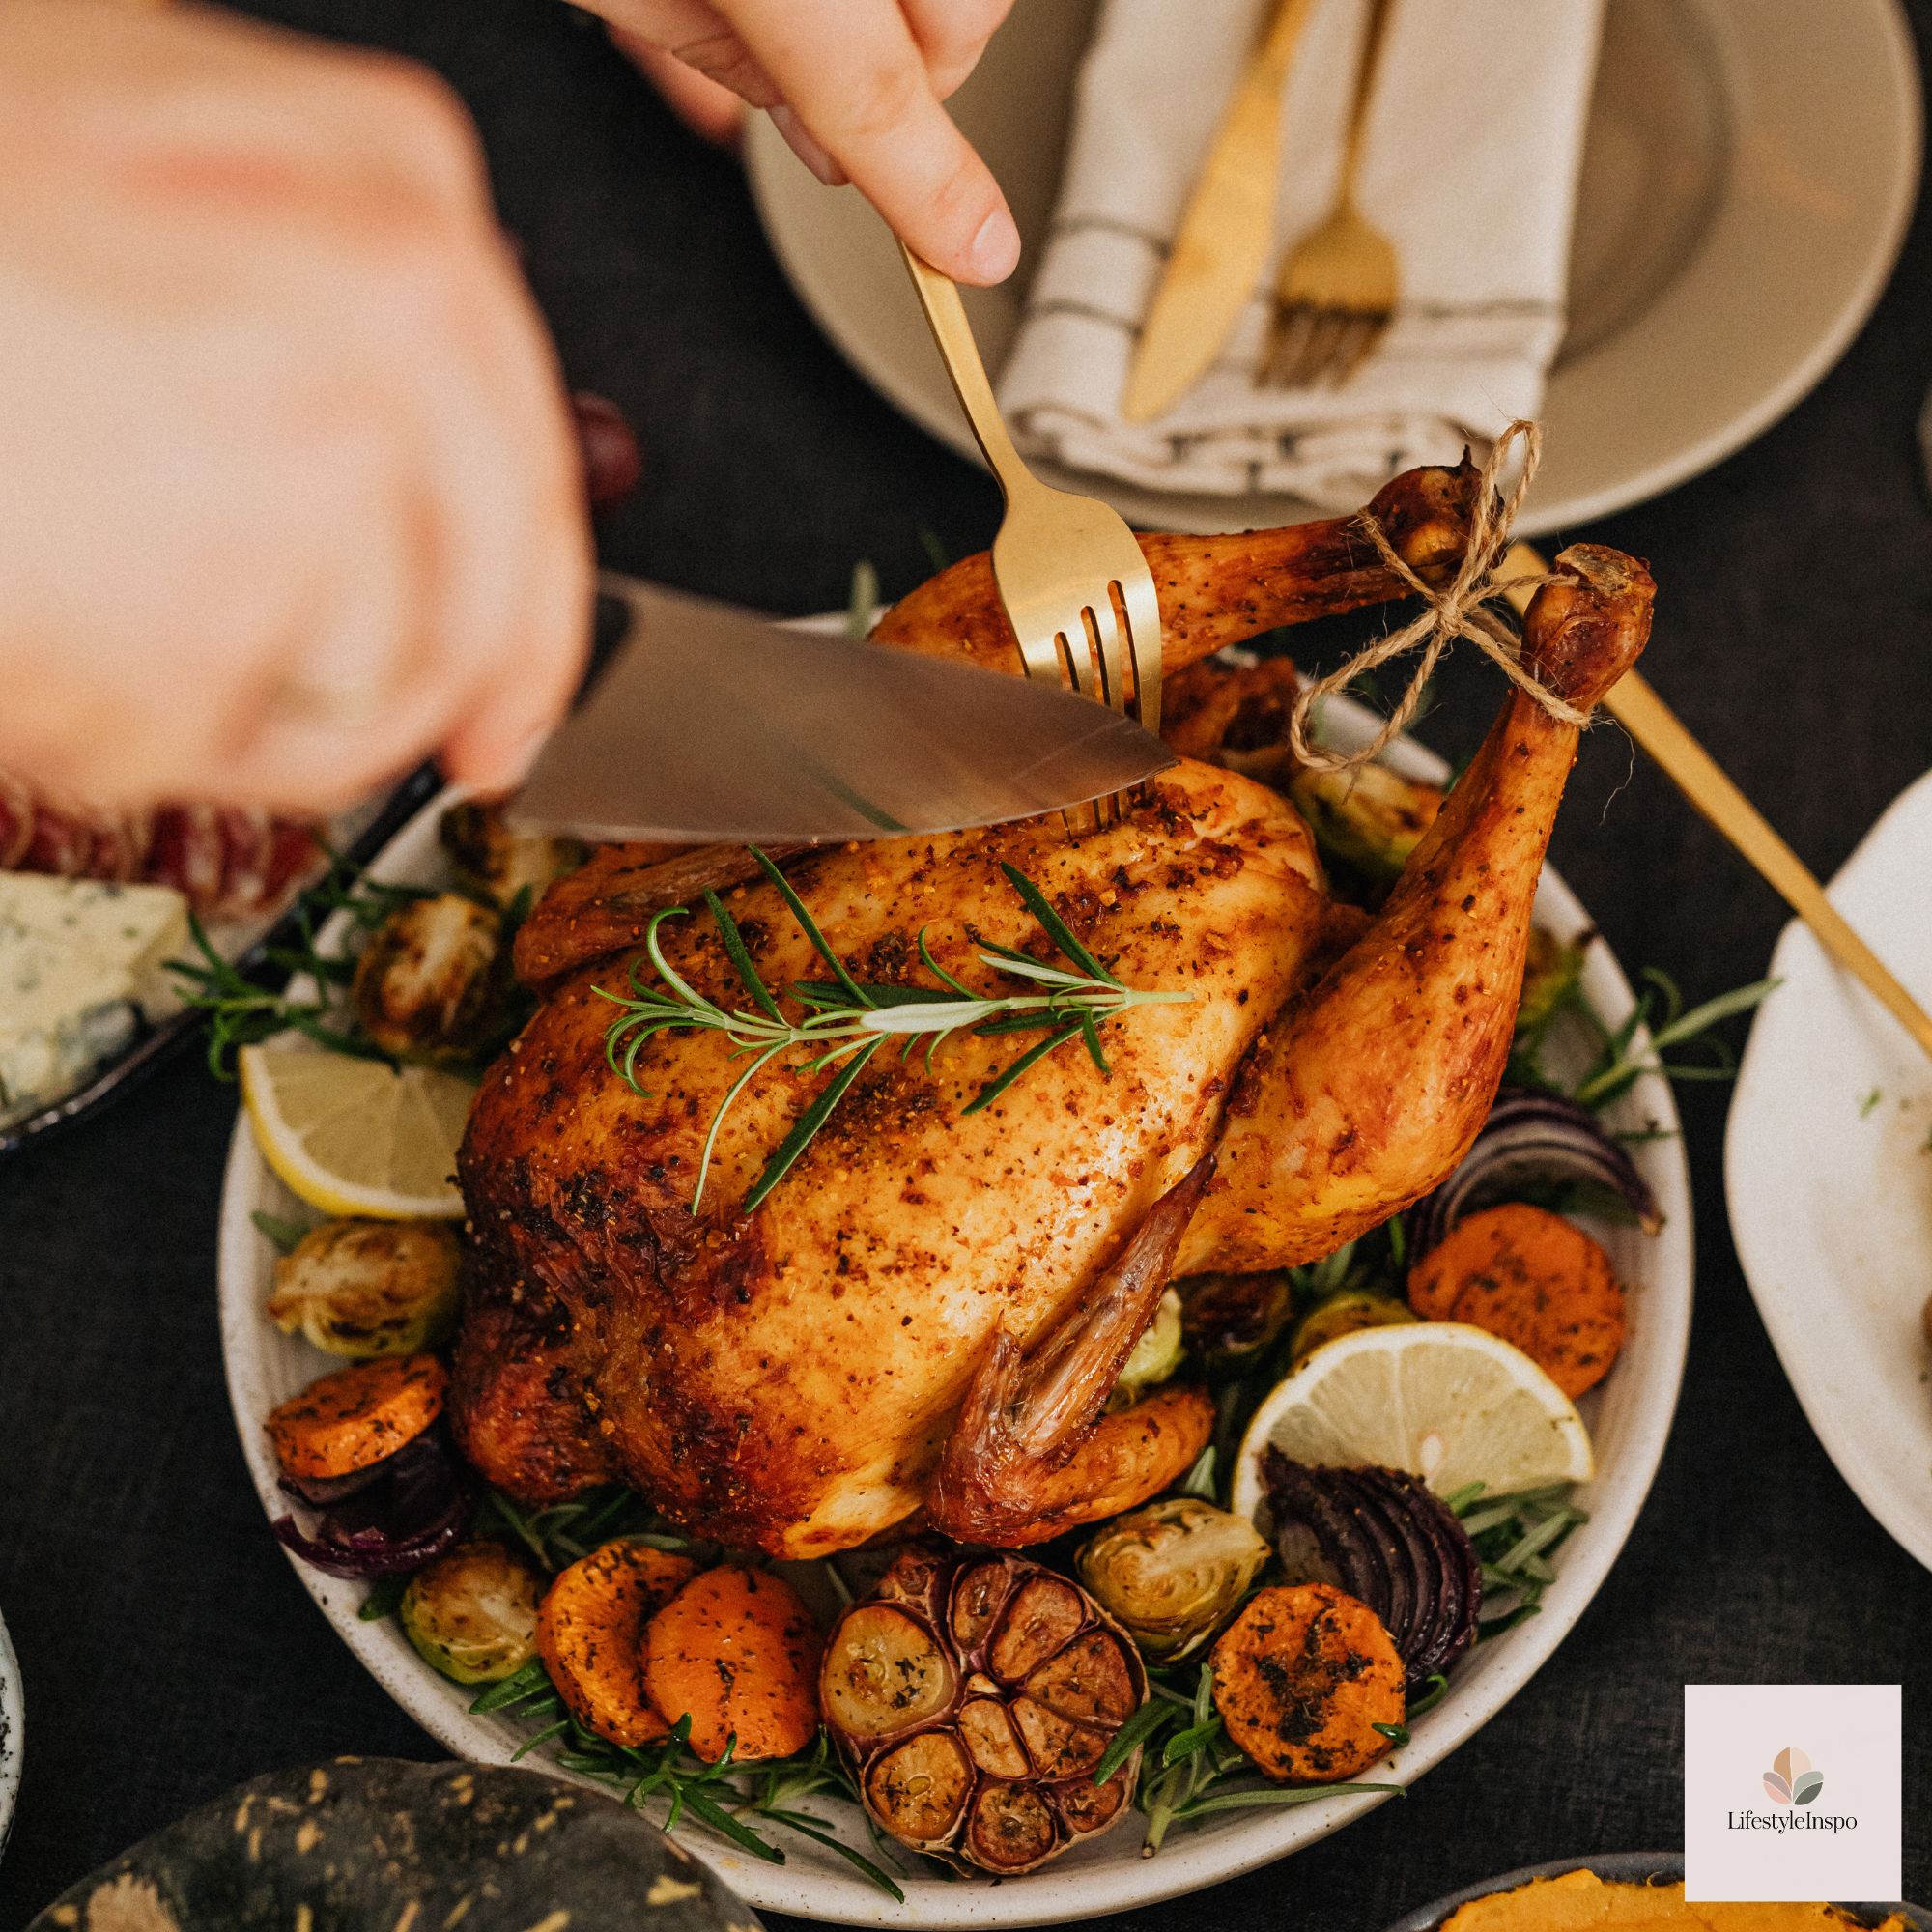
You did it. The turkey is golden, the kitchen smells incredible, and everyone is hovering, waiting for the big moment. Then you realize: you have to carve this thing.
Take a breath. Carving a turkey looks intimidating, but it’s really just a series of simple cuts. Once you understand how the bird is built, it gets easy. In this guide, we’ll walk through each step, from setting up your station to arranging a beautiful platter, so you can carve with confidence and without shredding the meat into sad little pieces.
Before You Start: Let the Turkey Rest
This is non-negotiable. After roasting, rest the turkey for 30 to 45 minutes on a cutting board, loosely tented with foil. While the bird rests, the juices that were pushed to the center settle back through the meat. Carve too soon and those juices run all over the board instead of staying in your turkey.
Resting also makes the meat firmer and easier to slice cleanly. Use this time to finish the gravy, reheat your sides, and set the table.
The Tools You Need
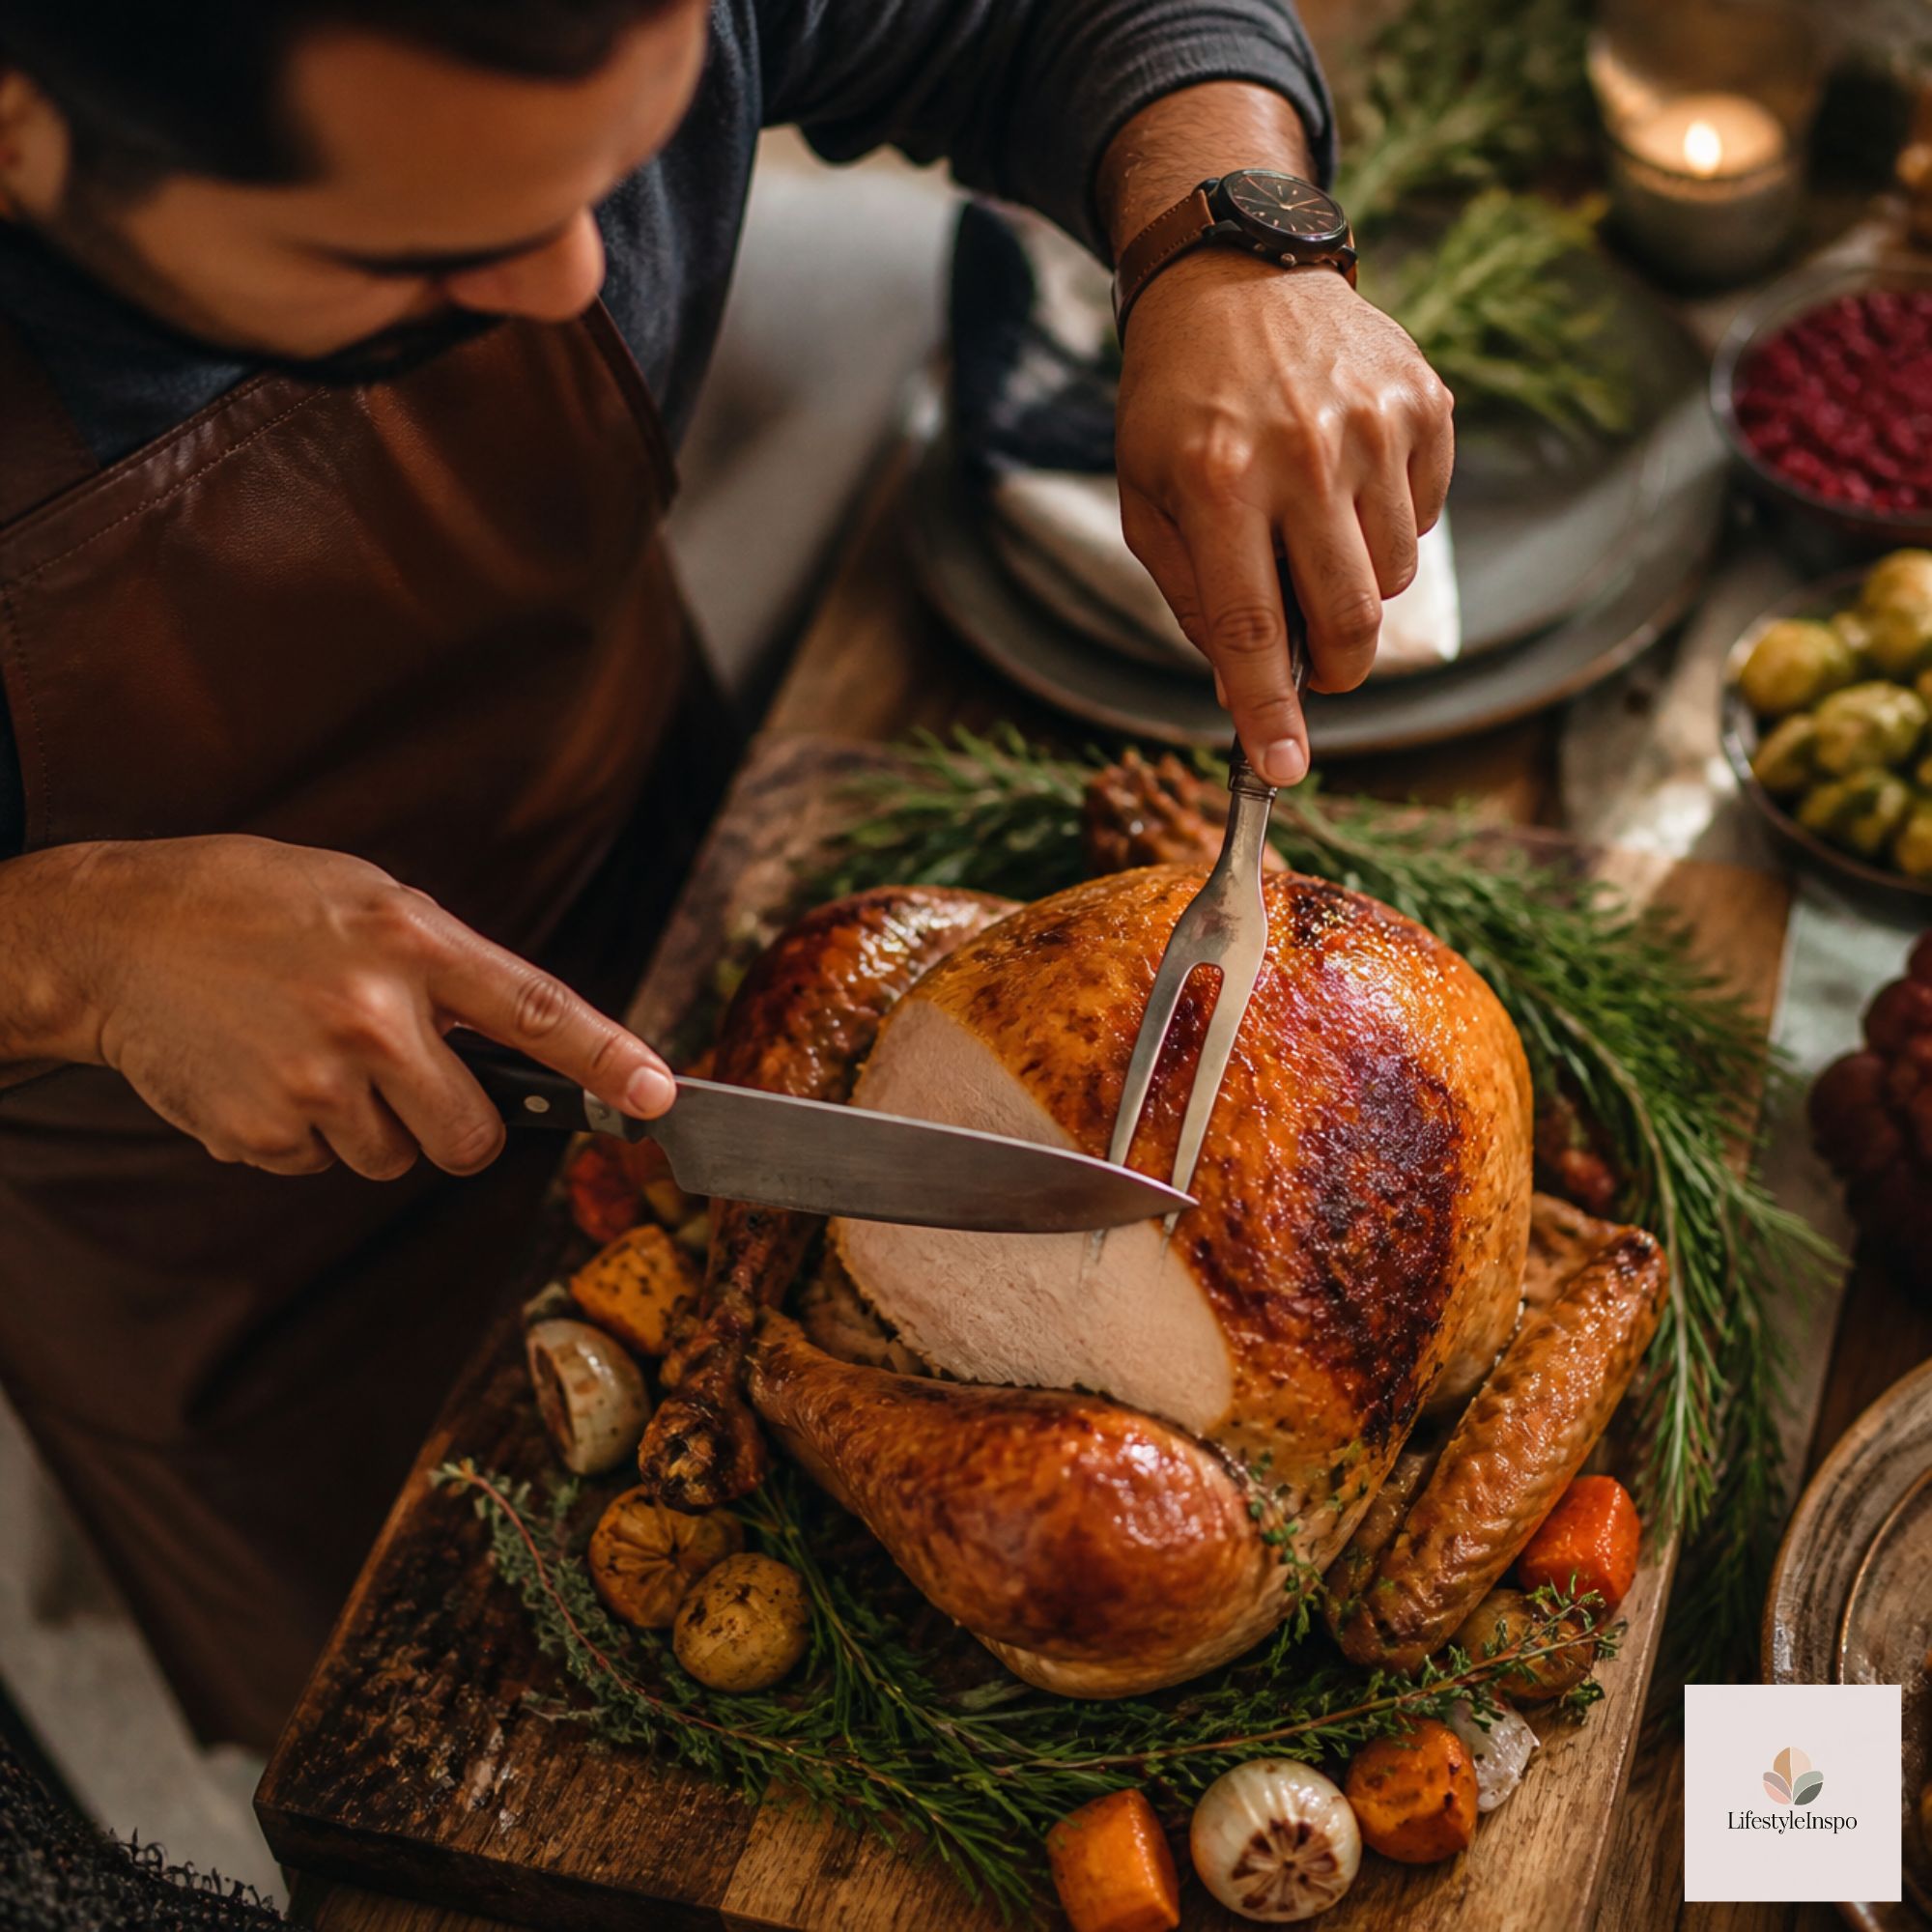
You don’t need a drawer full of gadgets, just a few good ones.
- A sharp carving knife set. Look for a long, thin blade (8 to 12 inches) that glides through meat, plus a sturdy carving fork to hold the bird steady. A dull knife tears the meat, so sharpen it before the big day.
- Poultry shears. Great for snipping through joints, trimming the backbone, and cutting small bones. They’re a lifesaver if you’re breaking down the turkey into serving pieces.
- A big cutting board with a groove. The groove catches juices. If yours has no groove, set it on a rimmed baking sheet or towel so it doesn’t slide.
- A warm serving platter for the finished slices.
- A paper towel or kitchen cloth to keep your hands and the board clean.
If you roasted the turkey on a roasting pan with a rack, you can use the rack’s handles to lift the bird onto the cutting board with less mess.
Understand the Bird First
A turkey has four main parts you’ll separate:
- Two leg quarters: the drumstick plus thigh
- Two wings
- Two breast halves
- The carcass: the leftover frame (save it for stock!)
The big idea is that it’s easiest to remove the parts in pieces, then slice them, instead of slicing the breast while it’s still attached.
Step-by-Step: How to Carve a Turkey
Step 1: Set Up Your Station
Place the turkey on a stable cutting board with the legs facing you. Make sure you’ve got your platter nearby, a spot for scraps, and enough room to move. Take off any twine, trussing, or foil.
Step 2: Remove the Legs
- Pull one leg gently away from the body and slice through the skin between the leg and the breast.
- Bend the leg outward until the hip joint pops. You’ll feel it release.
- Cut through the joint with your knife, following the curve of the carcass, to remove the whole leg quarter. Use the tip of your knife to get the “oyster,” a small, tender piece of dark meat on the back near the thigh. It’s the best bite on the bird.
- Repeat on the other side.
Step 3: Separate the Drumstick and Thigh
Place a leg quarter skin-side down. Find the joint where the drumstick meets the thigh. You’ll see a line of fat marking the spot. Cut straight through it.
- Drumsticks: Serve whole, or slice the meat off the bone.
- Thighs: Cut along the bone to remove it, then slice the meat into ½-inch pieces across the grain.
Step 4: Remove the Wings
Pull a wing away from the body, locate the joint where it attaches, and cut straight through. Repeat on the other side. The wings are great for kids or as snacks. Plenty of people fight over them.
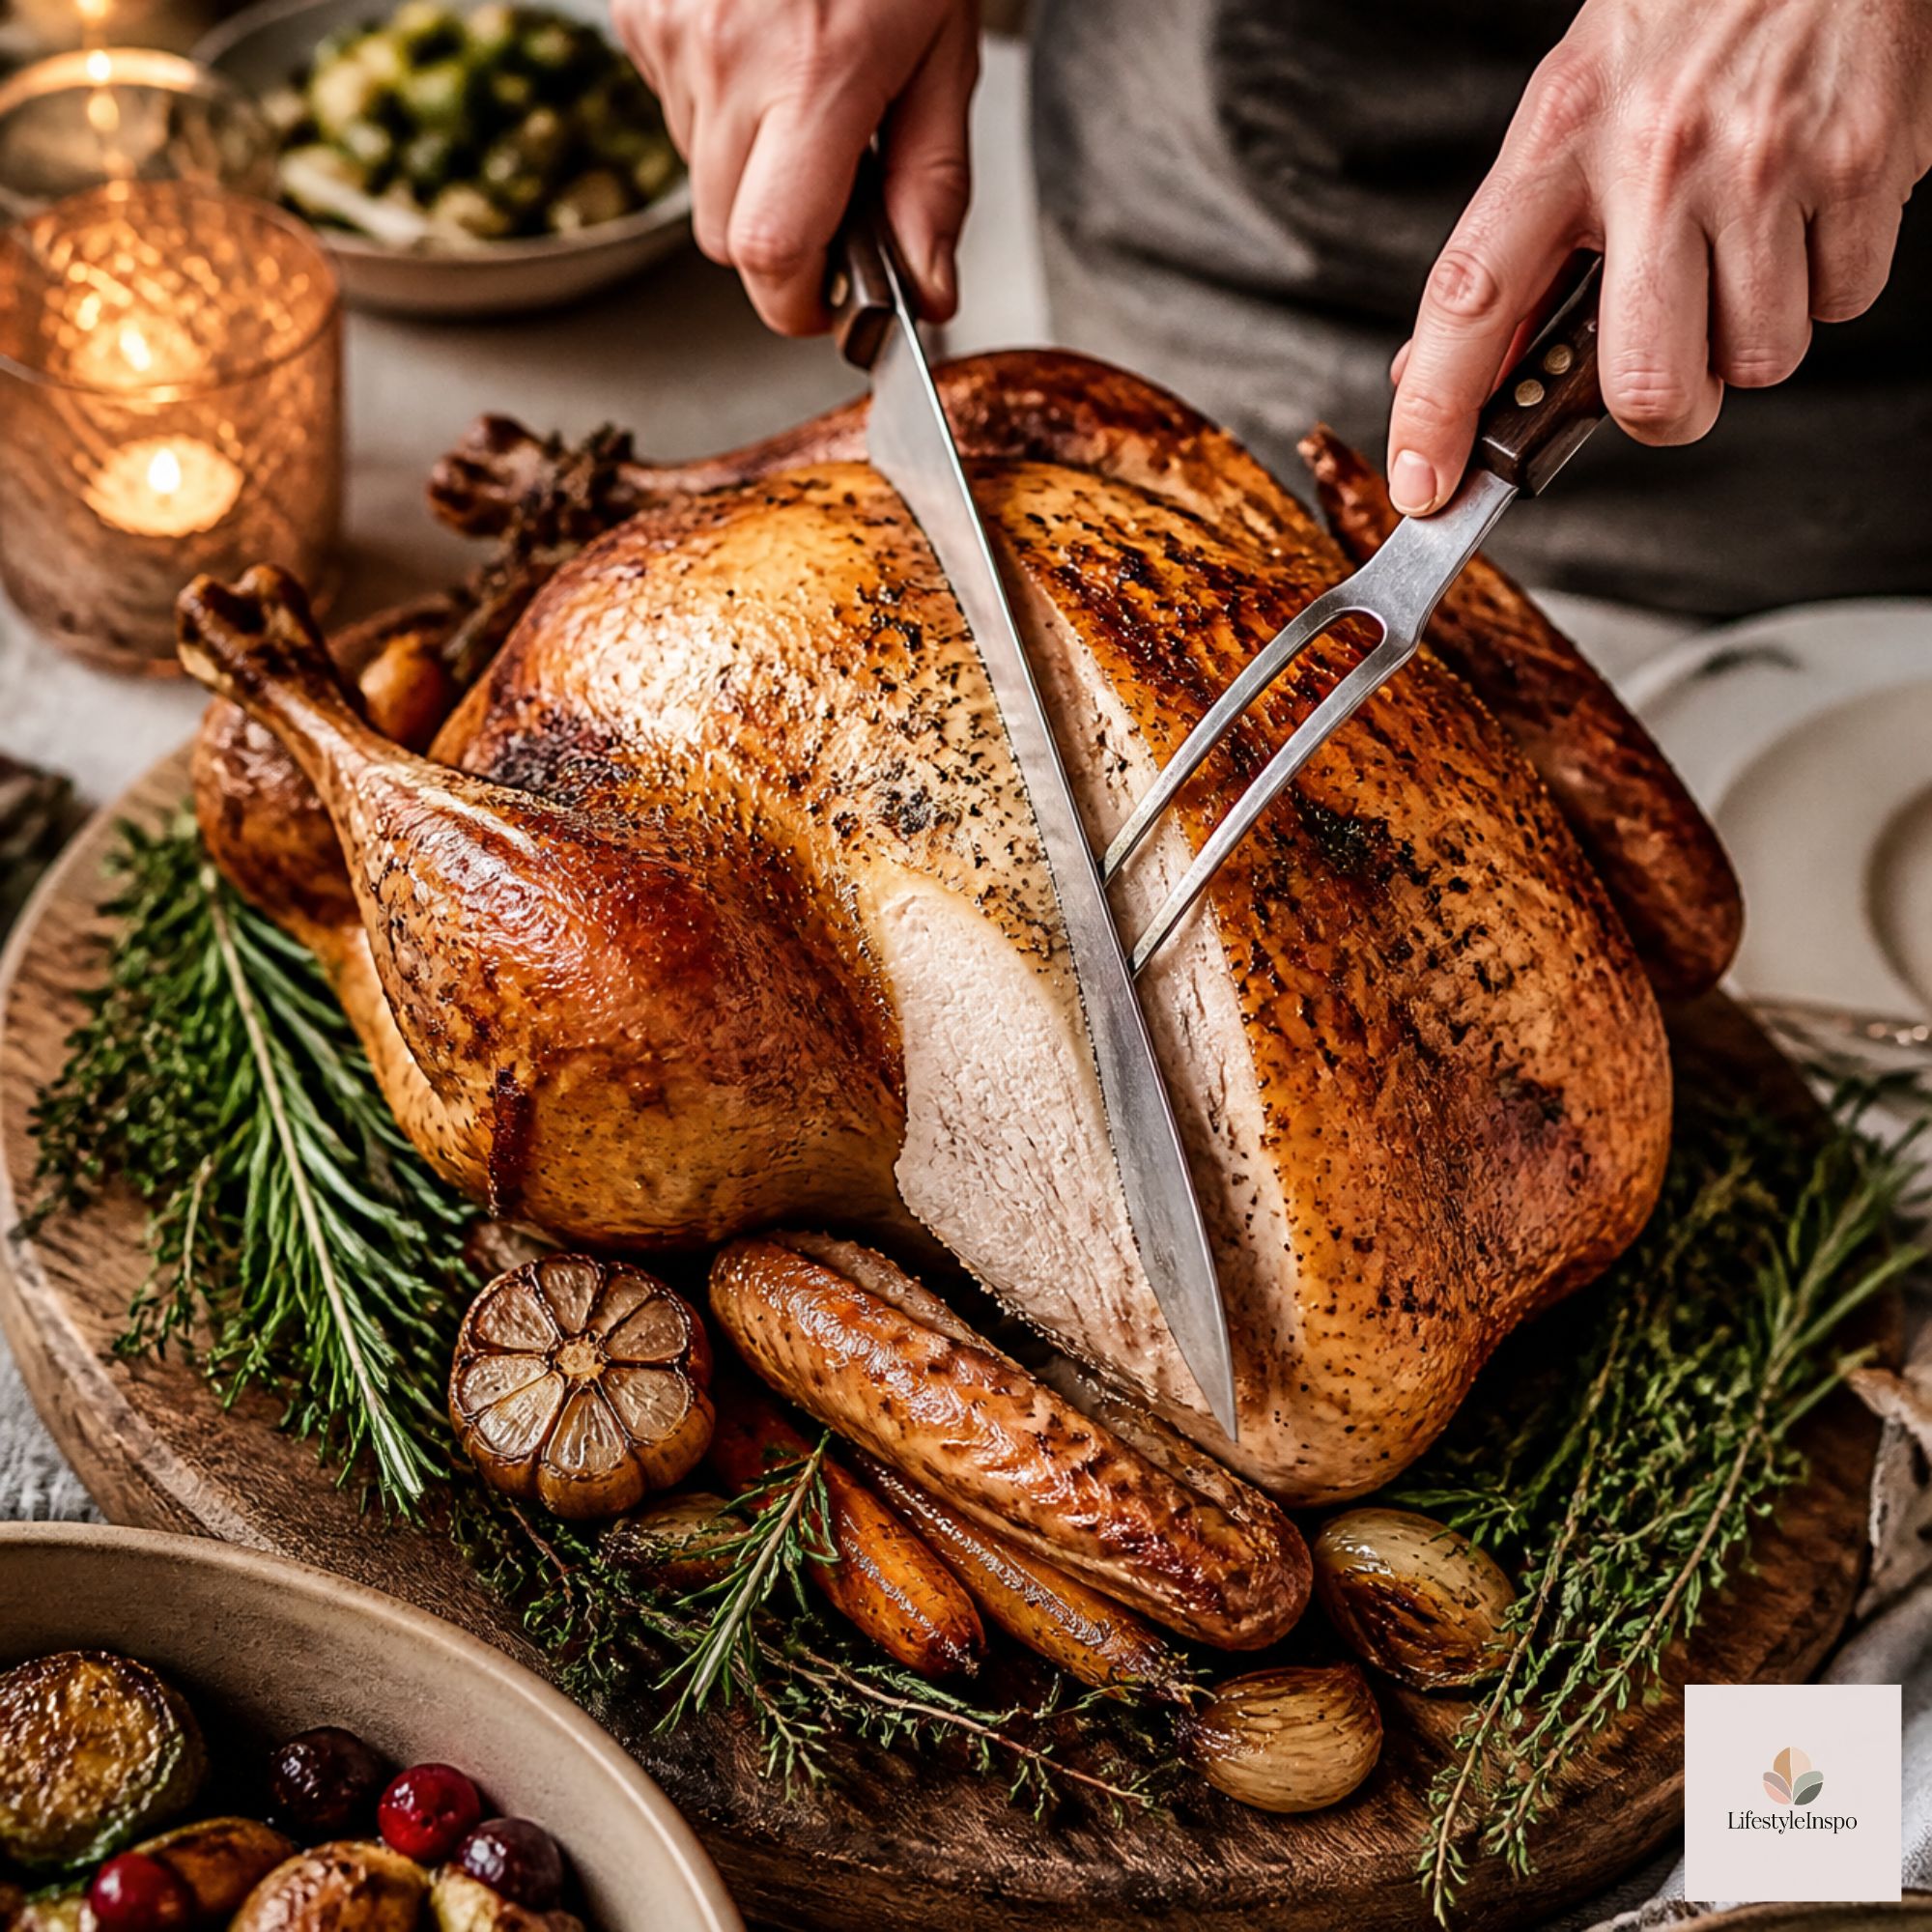
Step 5: Remove the Breast Halves
This is the step that feels scariest but is actually easiest:
- Find the breastbone, the ridge running down the center of the turkey.
- Make a long cut along one side of the breastbone, from the neck end to the back.
- Using the tip of your knife, cut downward and outward, following the rib cage, and keep the blade close to the bone. Gently pull the meat away as you go.
- Lift the whole breast half off in one piece.
- Repeat on the other side.
If the breast doesn’t come off cleanly in one go, don’t worry. You can slice it in sections, as long as you keep the knife against the bone.
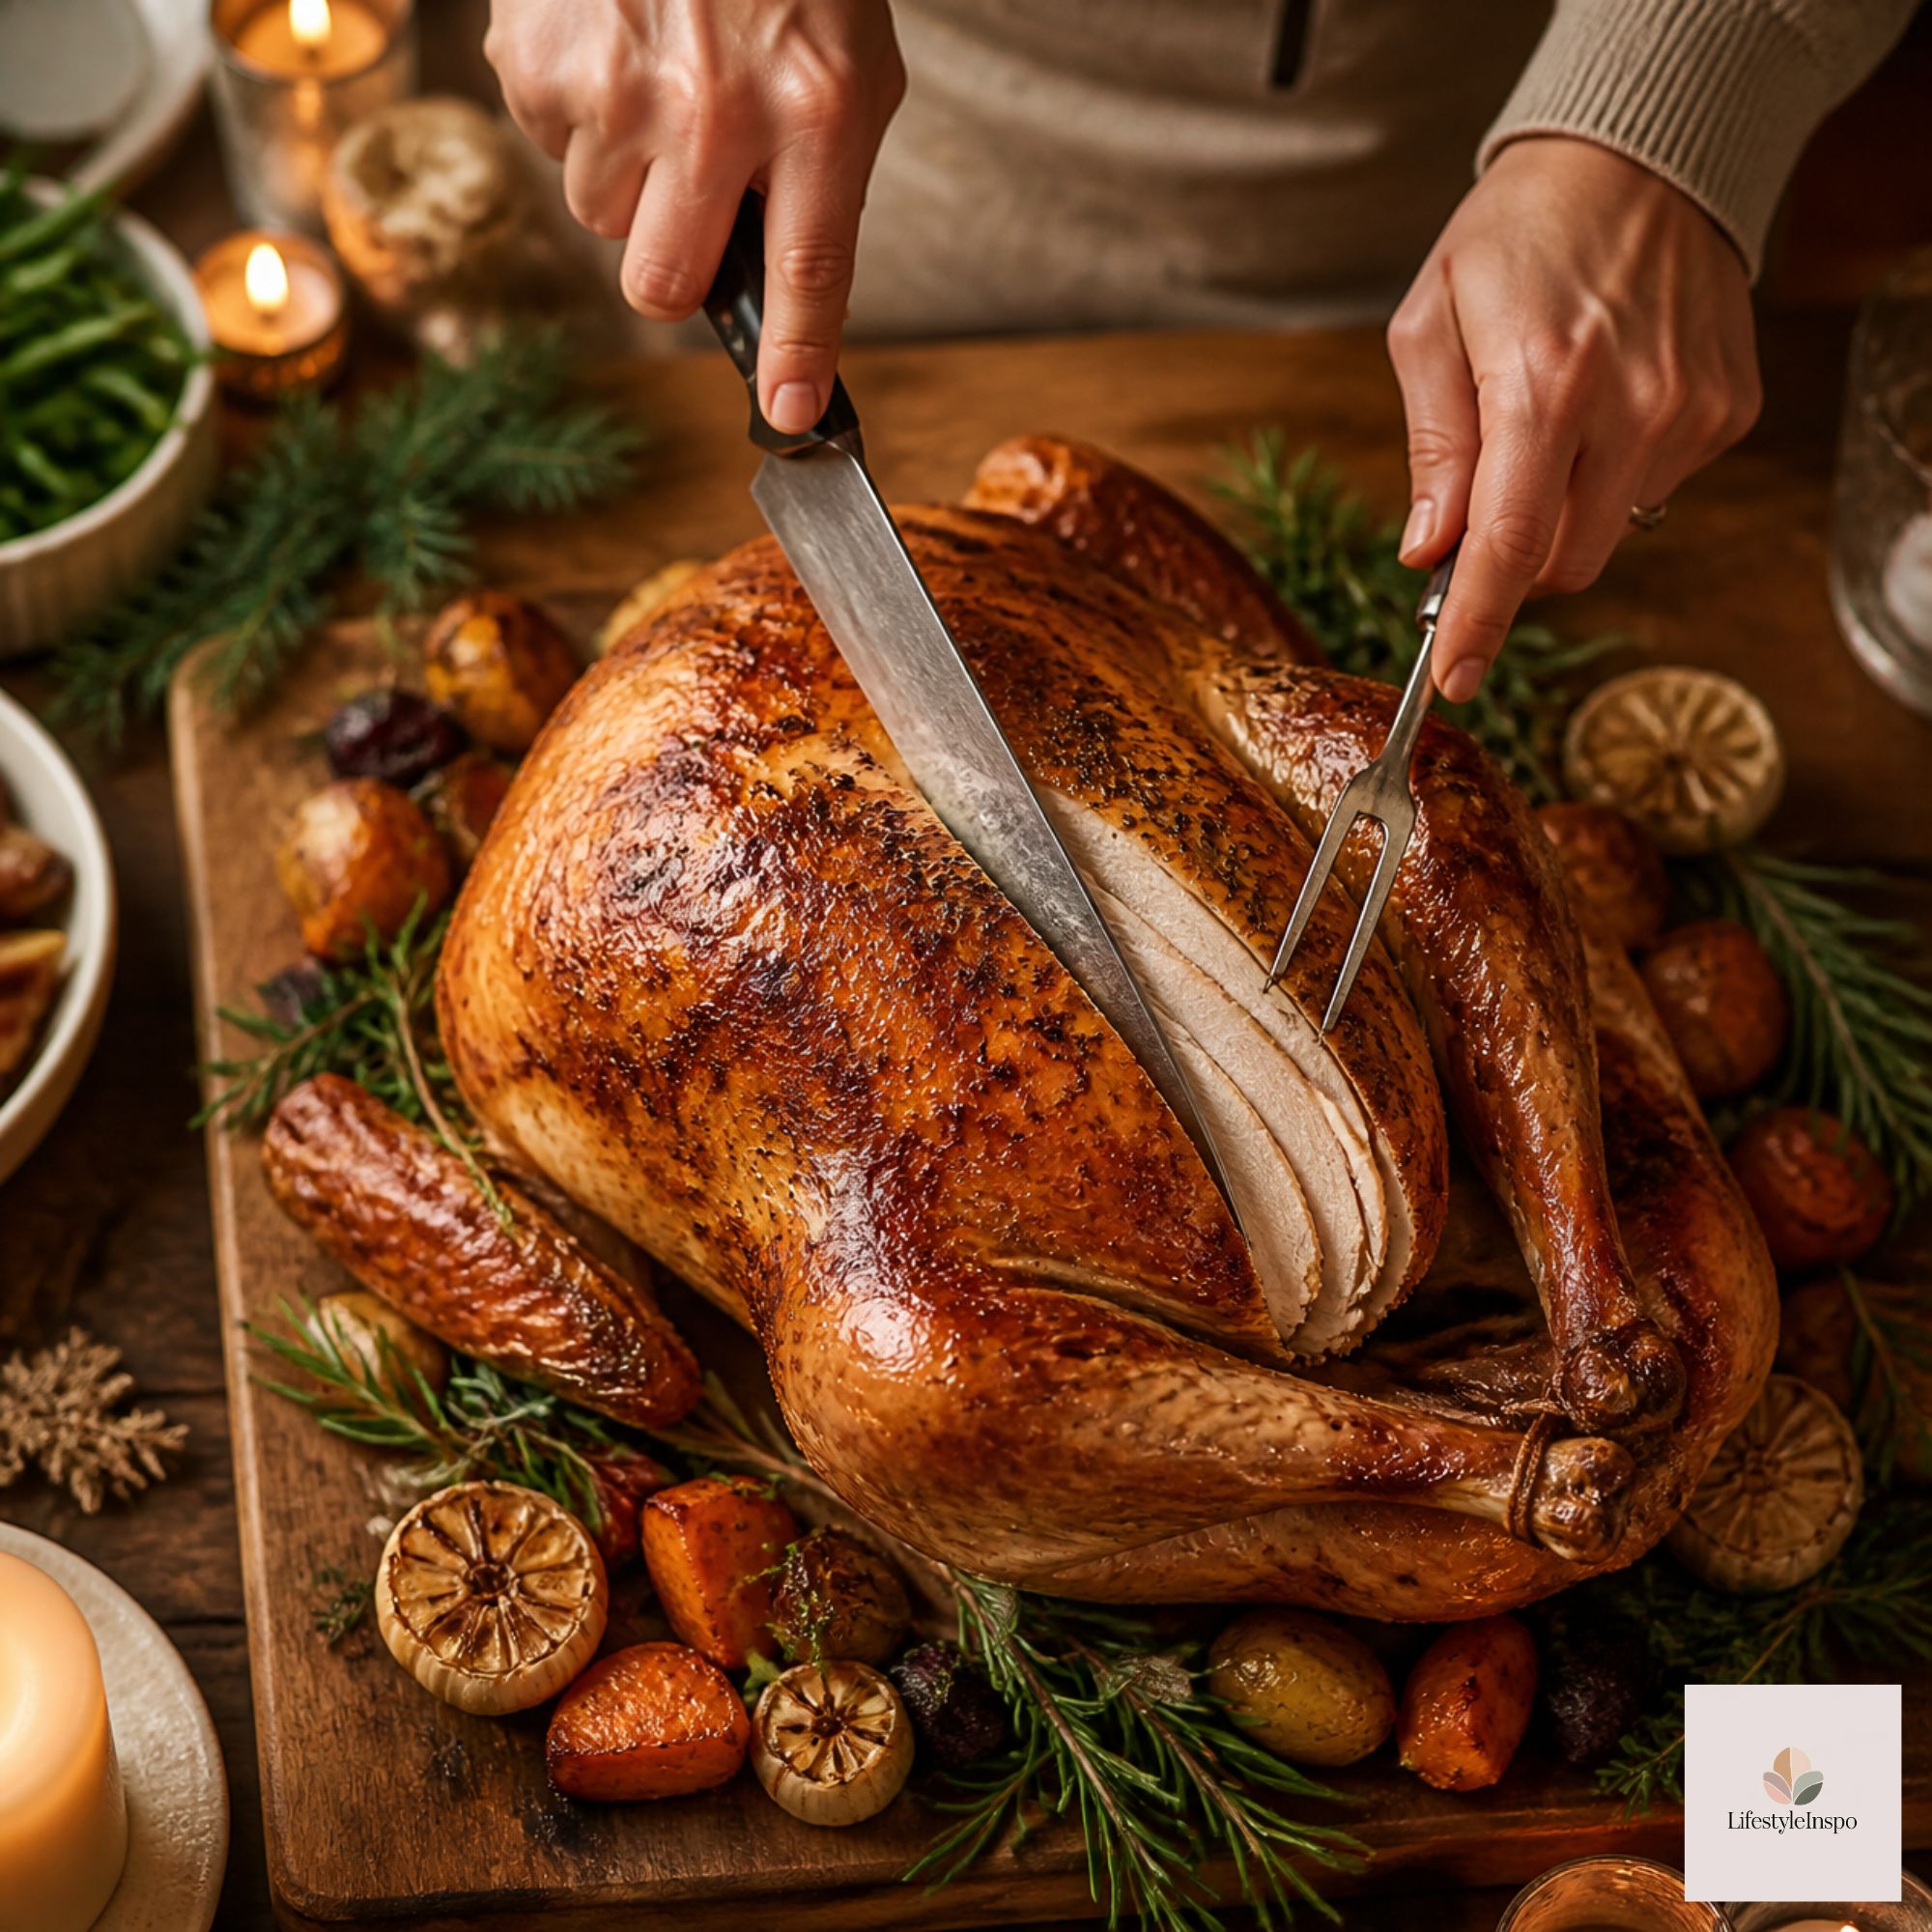
Step 6: Slice the Breast Against the Grain
Place the breast half skin-side up on the board. Slice it crosswise, against the grain, into ½-inch slices. Slicing against the grain shortens the muscle fibers, which makes each bite more tender. Use long, smooth strokes instead of sawing back and forth.
Keep the skin on each slice if you like. It’s the crispiest part, and many people love it.
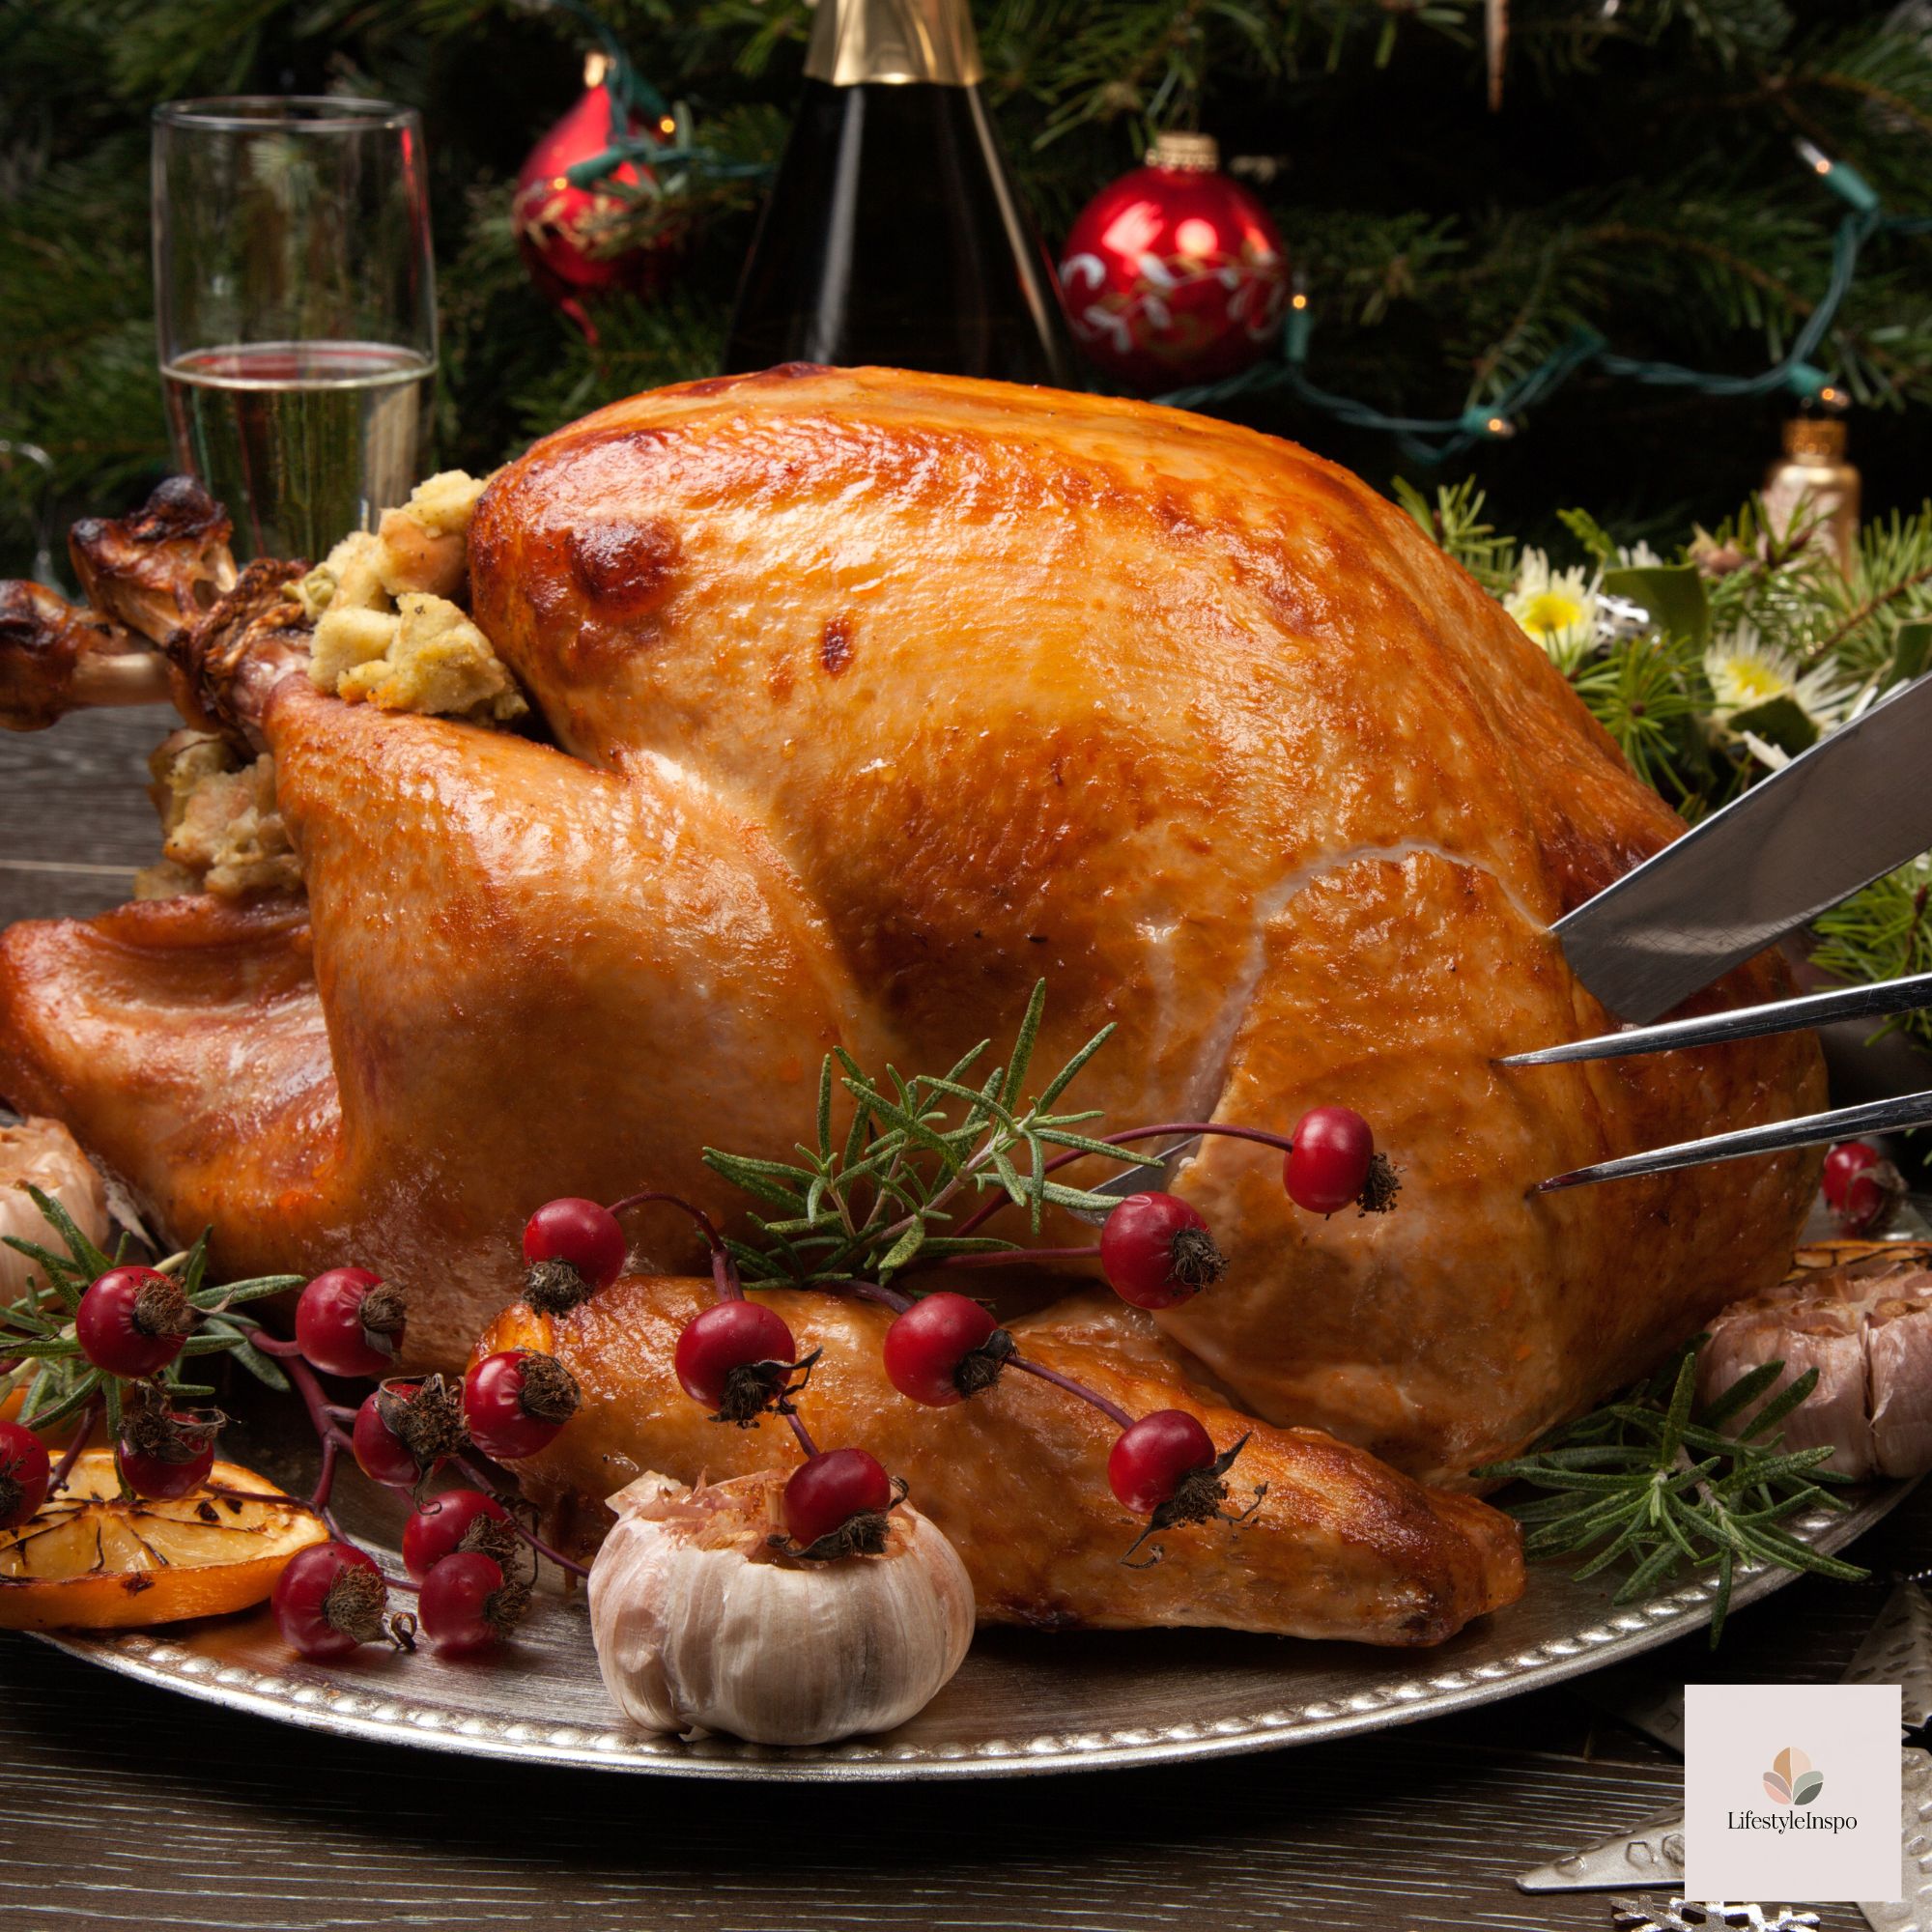
Step 7: Plate It Beautifully
Arrange the slices on your warm platter:
- Fan the breast slices in overlapping rows
- Pile the thigh meat on one side
- Place the drumsticks and wings at the edges
- Spoon a little warm turkey broth or pan juices over the top to keep it moist
- Garnish with fresh sage, rosemary, thyme, and orange slices or cranberries
Cover loosely with foil if you’re not serving right away, and the turkey will stay warm for 20 to 30 minutes.
Carving a Spatchcocked Turkey
If you spatchcocked your turkey, carving is even simpler:
- Cut the legs and thighs off at the joints.
- Slice the breast meat off the bone, one side at a time.
- Slice each breast half crosswise.
- Remove the wings.
There’s no cavity to work around, so you can go quickly.
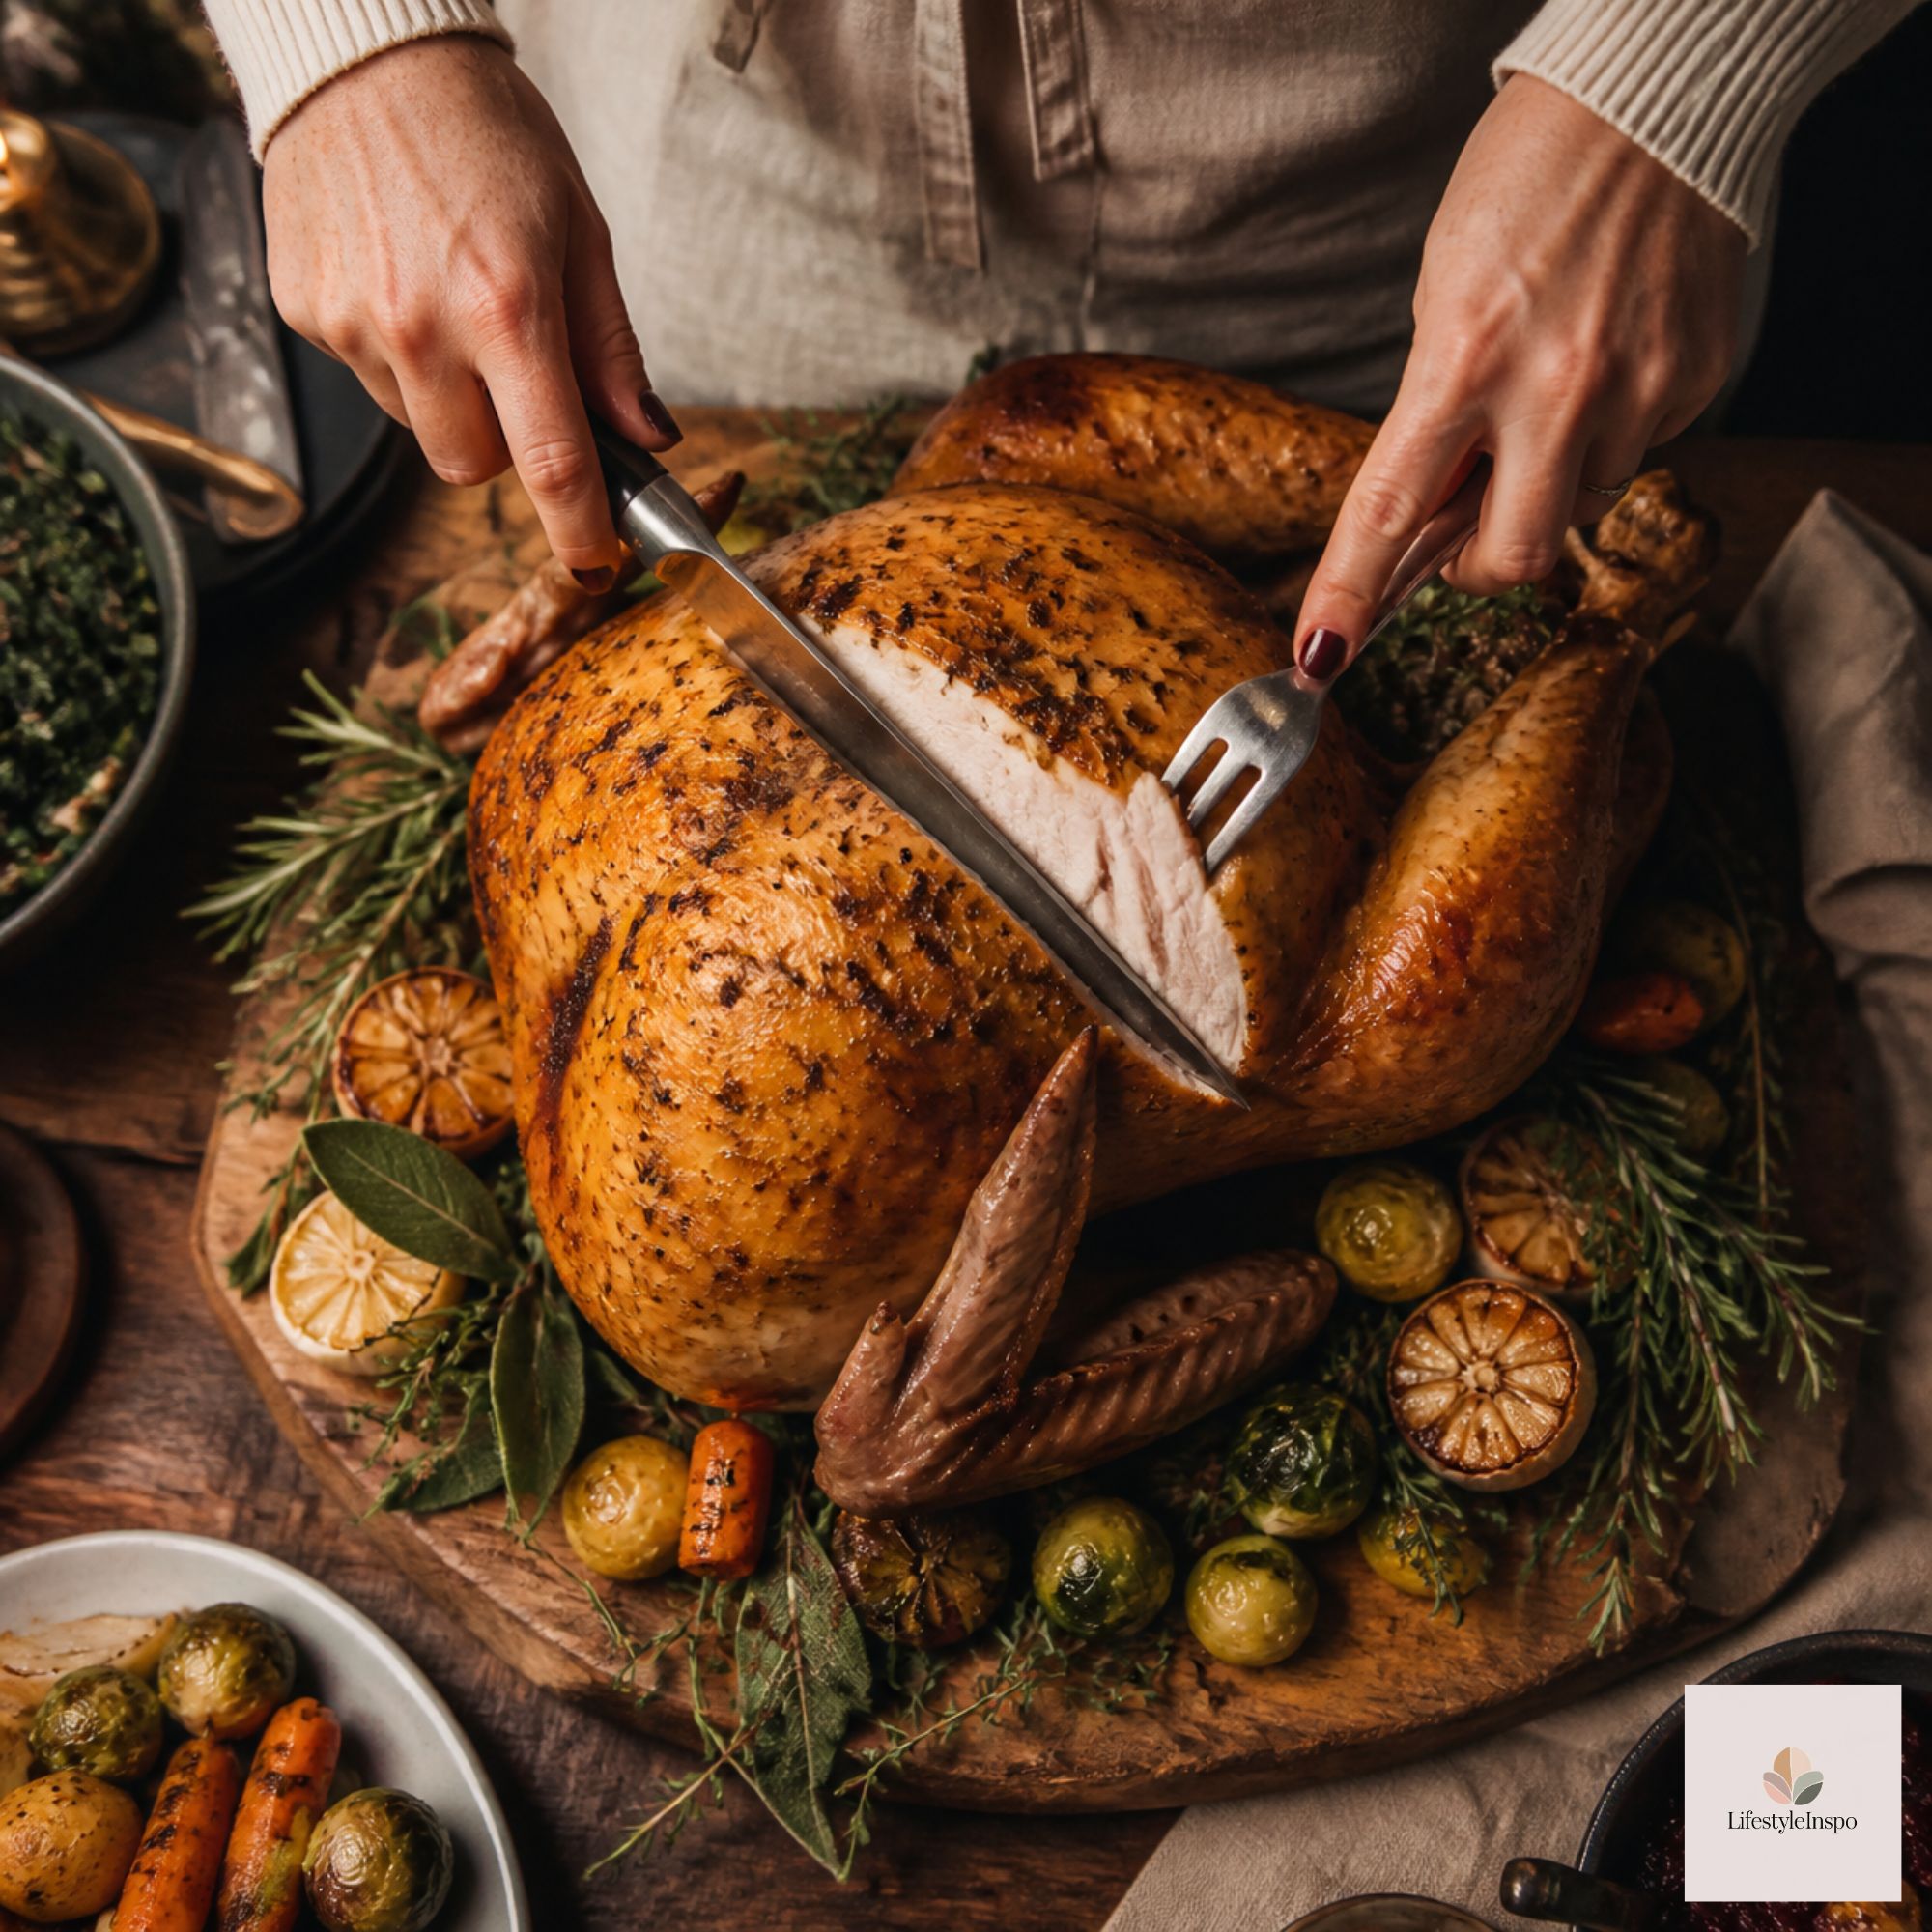
The Showy Way: Carving at the Table
If you want the classic Norman Rockwell moment, you can carve at the table, but only if you’re comfortable. Remove the legs and wings in the kitchen, then bring the rest of the turkey to the table and slice the breast in front of everyone. It’s a nice show, but most hosts find kitchen carving much easier and less stressful, and the turkey stays warmer on a platter.
Common Carving Mistakes (and How to Avoid Them)
- Carving too early. The turkey needs that full resting time.
- Using a dull knife. Sharpen before you start.
- Cutting with the grain. This leads to stringy, chewy meat.
- Sawing back and forth. Use long, smooth strokes instead.
- Slicing too thin. Thin slices go cold fast and dry out. Aim for ½ inch.
- Throwing away the carcass. That’s flavor gold. Use it for soup.
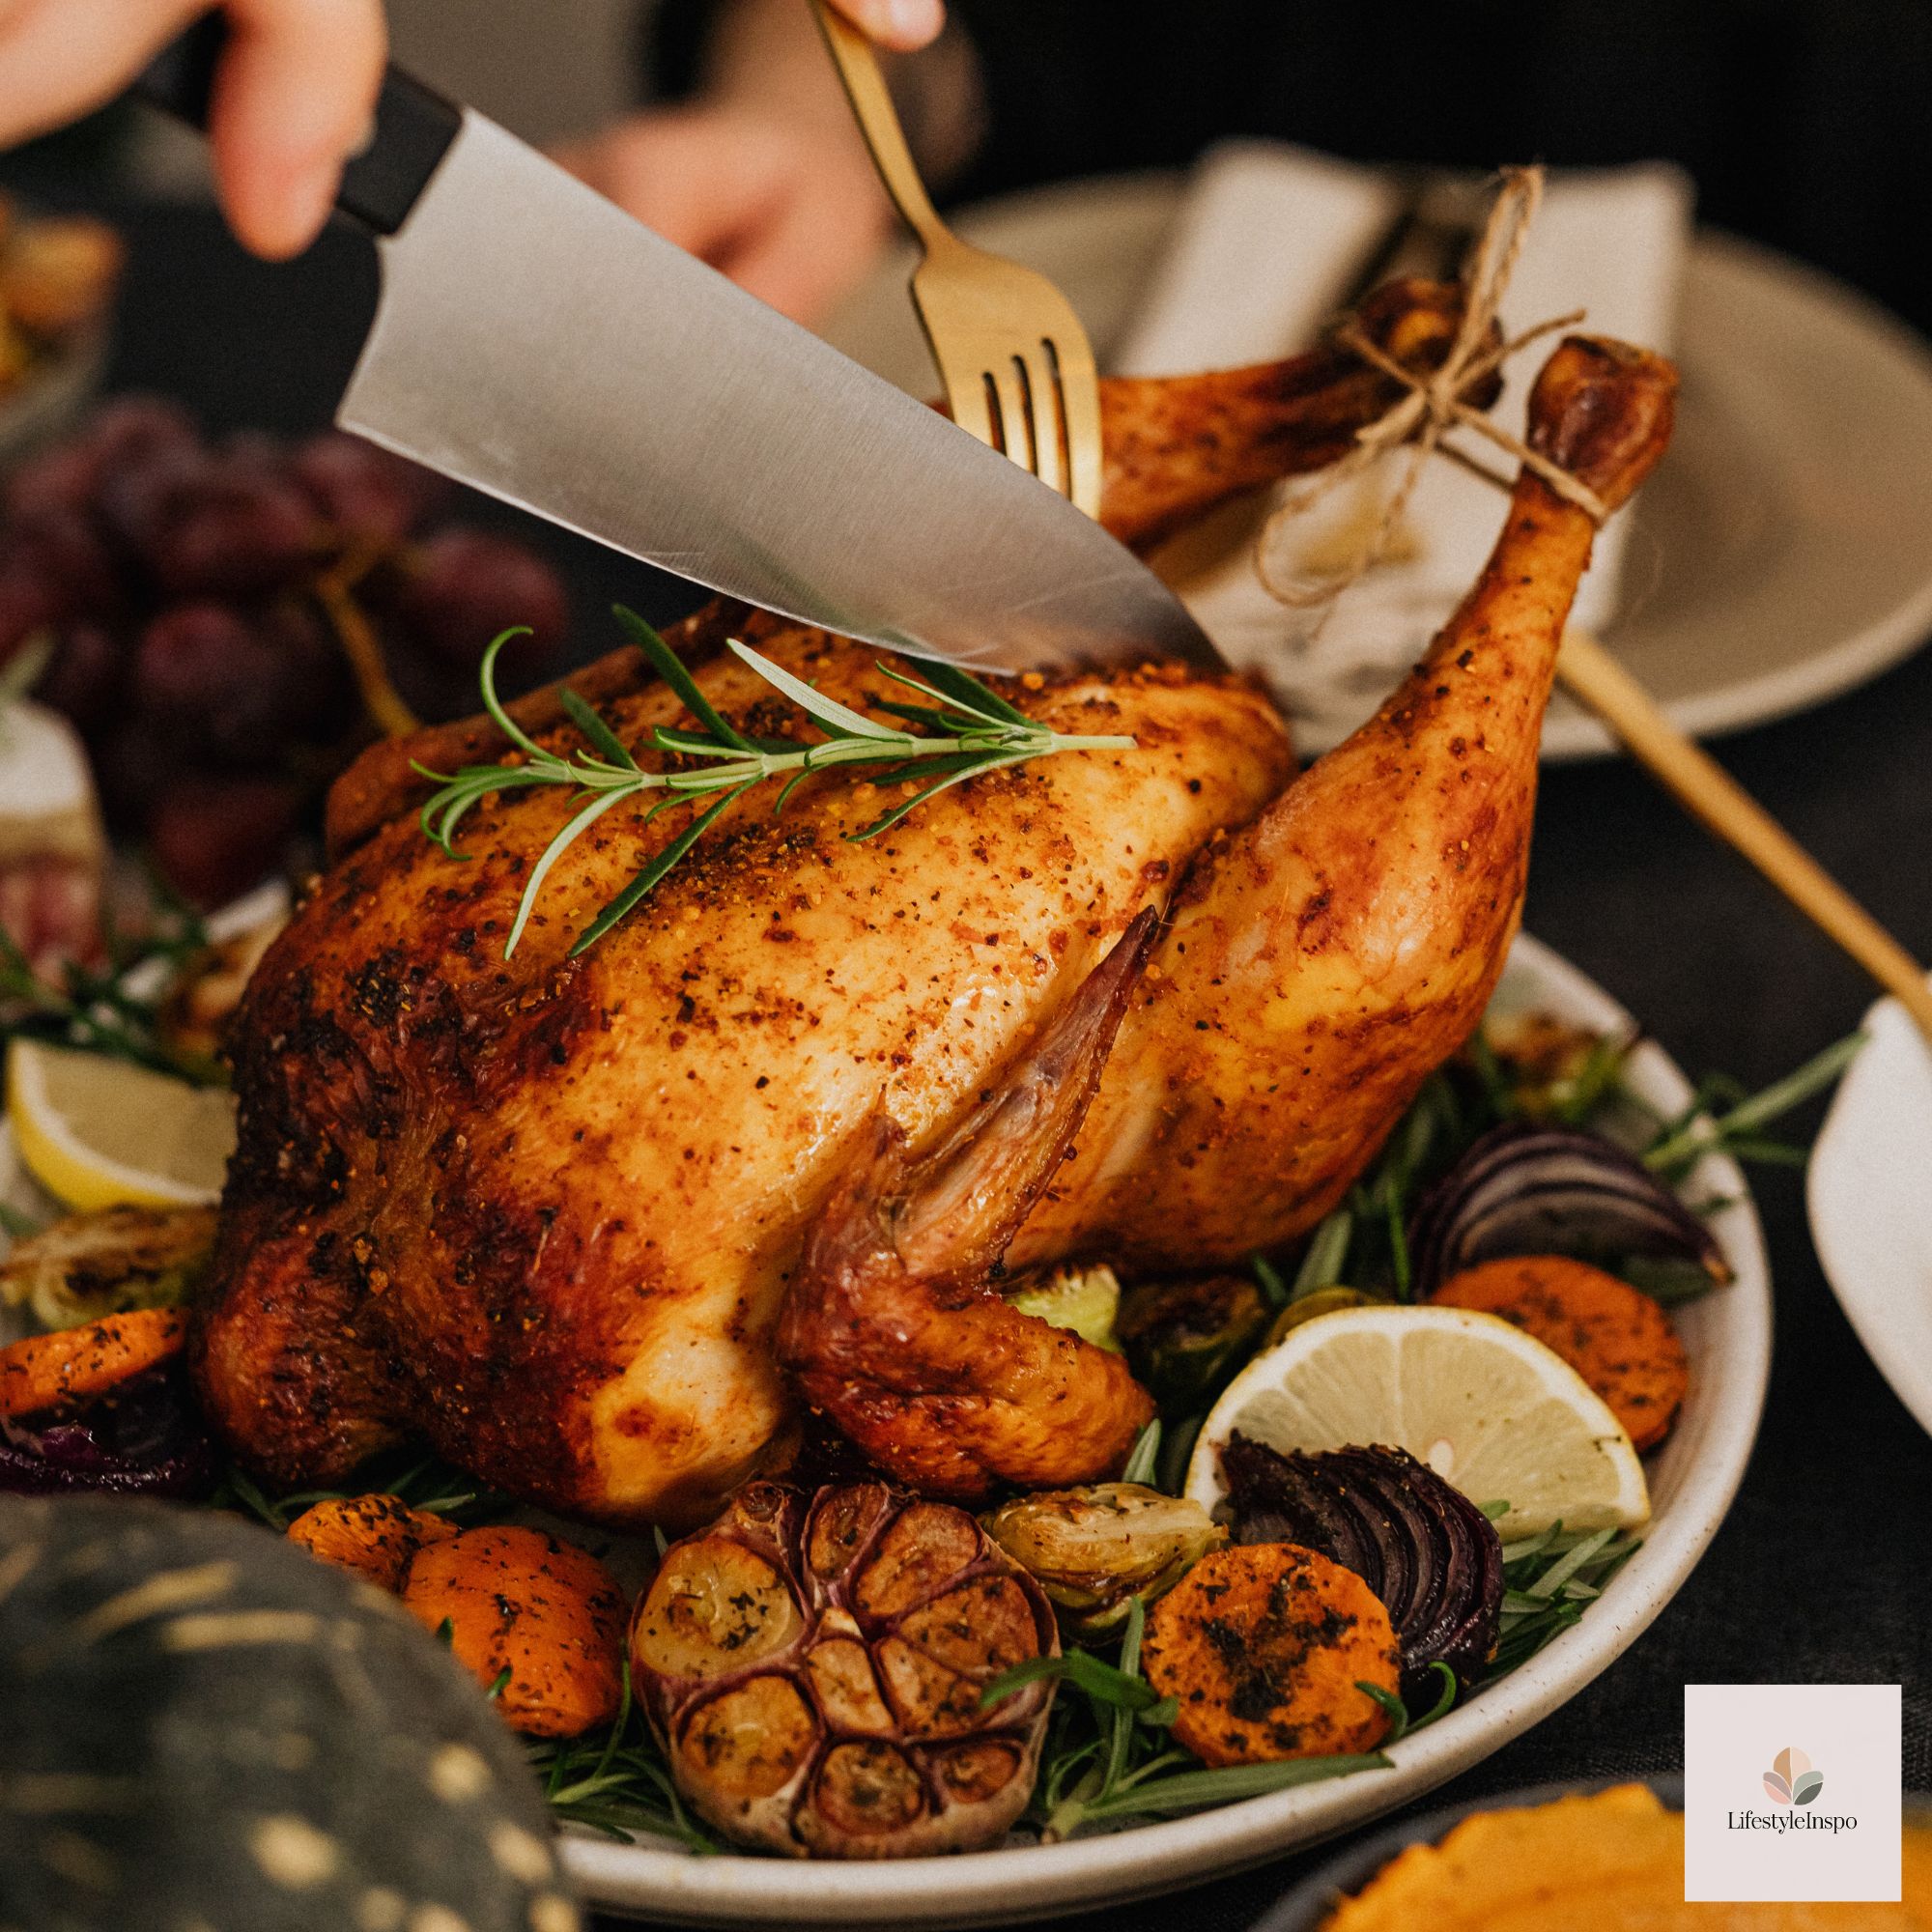
What to Do With the Leftovers
Once everyone has eaten, let the extra turkey cool for a bit. Store it within 2 hours in glass food storage containers with a spoonful of broth to prevent drying out. Cooked turkey keeps for 3 to 4 days in the fridge, or you can freeze it for up to 3 months.
The carcass makes a rich stock. Toss it in a pot with onion, carrot, celery, a bay leaf, and cold water. Simmer for 2 to 3 hours, then strain. You’ll have the base for the best turkey soup of your life.
Quick Reference: Carving Checklist
Turkey rested 30 to 45 minutes
Knife sharpened
Cutting board stable
Platter warmed
Legs removed and separated
Wings removed
Breast halves removed
Breast sliced against the grain
Platter garnished and moistened with broth
Frequently Asked Questions
How long should I let the turkey rest before carving? Between 30 and 45 minutes for a large bird, tented with foil. It will stay warm.
What kind of knife is best for carving turkey? A long, thin, sharp carving knife. A slicing knife with a flexible blade works well, too.
Should I carve before or after serving? Carve in the kitchen if you can, then serve the slices on a platter. It’s easier and keeps the turkey warmer.
How many slices per person? Plan about ½ to ¾ pound of cooked turkey per guest, depending on how many sides you’re serving.
What if my turkey is falling apart? That’s okay! It usually means the turkey is very tender. Pull the meat into chunks, drizzle with broth, and serve it family-style.
Can I carve the turkey ahead of time? Yes. Slice it, arrange it in a baking dish with a little broth, cover with foil, and refrigerate. Reheat at 300°F until warm.
Final Thoughts
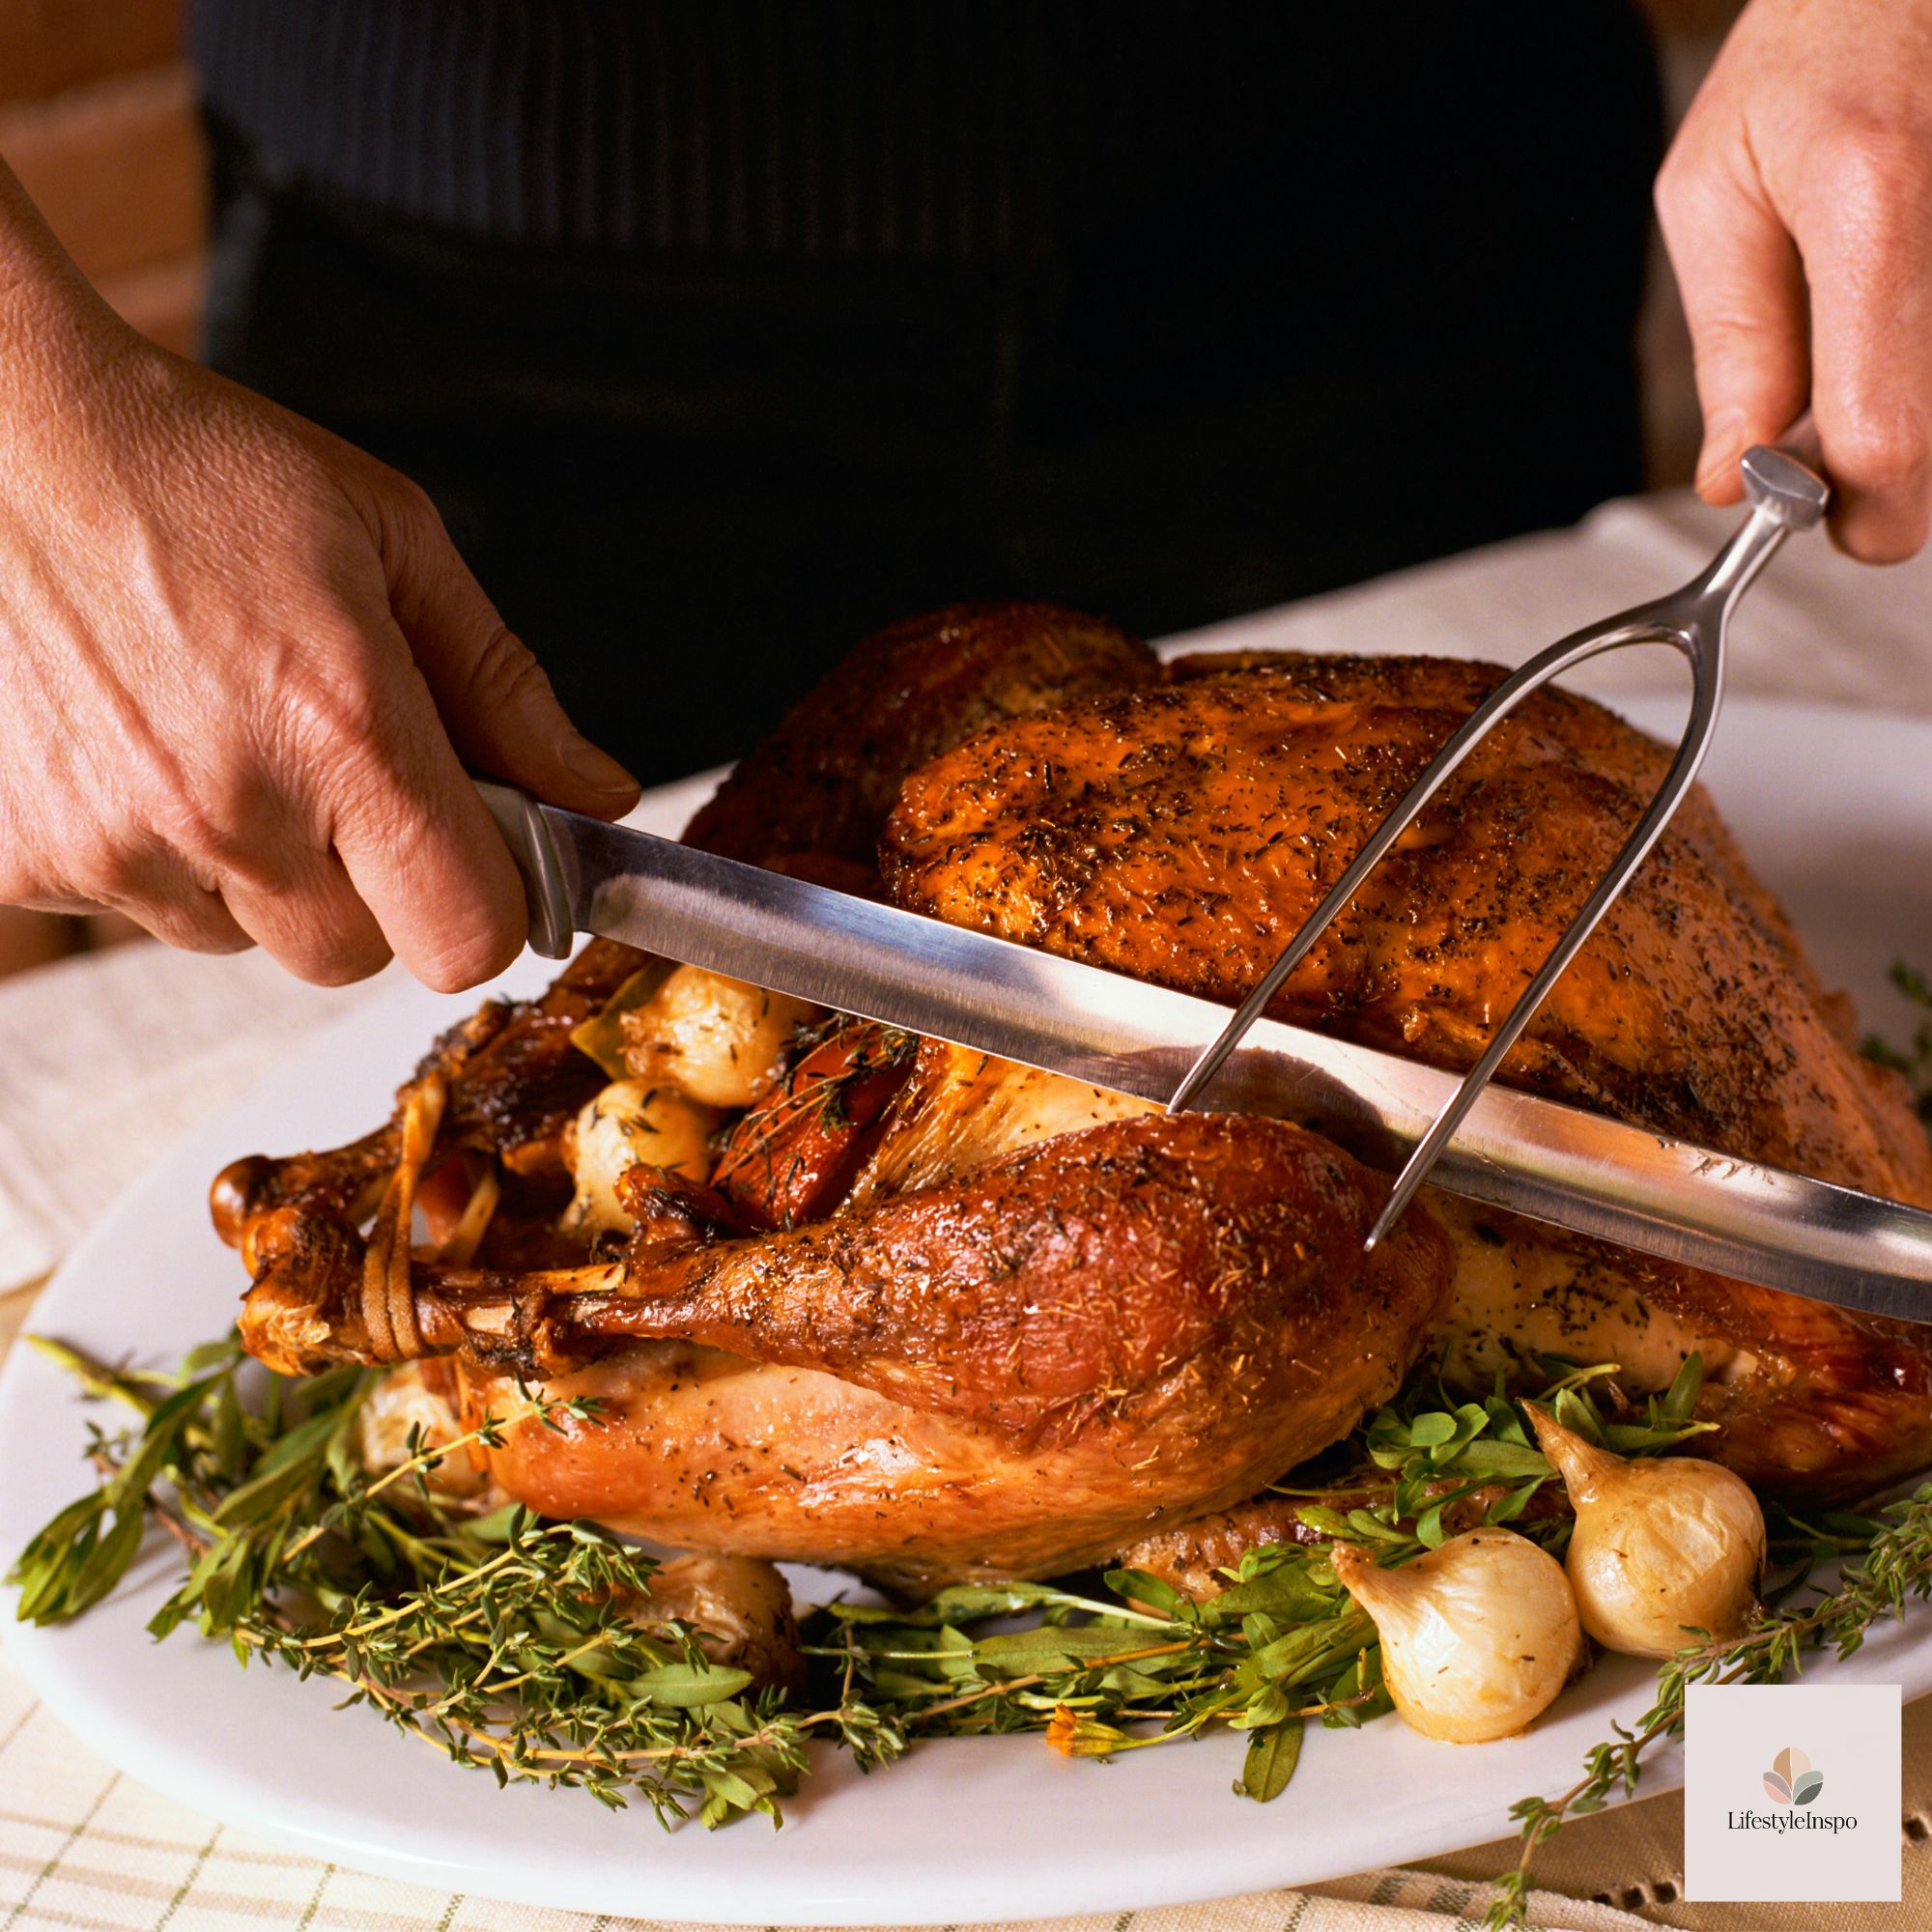
Carving a turkey is a skill, but it’s a simple one, and it gets easier every time. Let the bird rest, use a sharp knife, and slice against the grain. Don’t aim for perfect. Aim for warm, juicy, and delicious.
About the Author