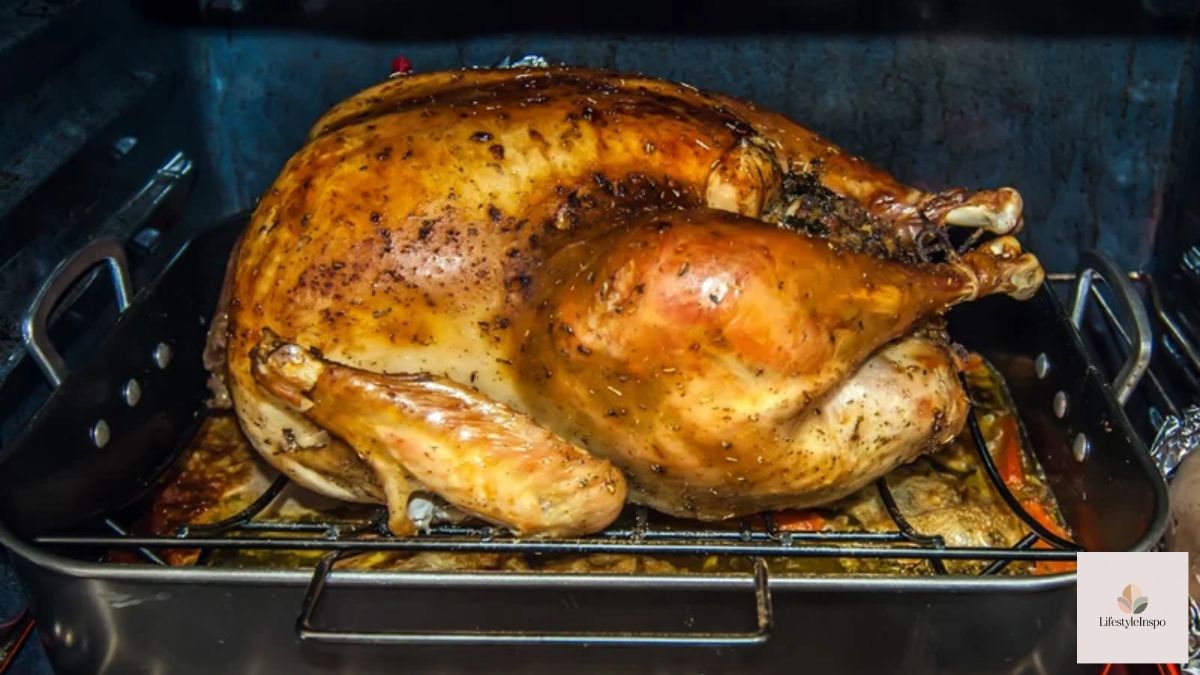
Dry Brine vs Wet Brine Turkey: Which Method Is Better?
Every November, the same debate heats up: should you dry brine your turkey or wet brine it? Both camps are passionate, and both have a point. But if you’re staring at a 15-pound bird wondering what to do with it, you don’t need a debate. You need a clear answer.
So here it is. We’ll walk through how each method works, what it does to flavor and texture, how much space and effort it takes, and which one we’d choose for different kitchens. By the end, you’ll know exactly how to season your turkey with confidence.
What Is Brining, and Why Bother?
Turkey is a lean bird. The breast, especially, has very little fat, which makes it easy to dry out in the oven. Brining is simply salting the meat ahead of time so it holds onto moisture as it cooks and tastes seasoned all the way through, not just on the surface.
Here’s the quick science: salt changes the structure of muscle proteins so they trap more water. That means less moisture loss during roasting. It also seasons the meat deep inside, which is something you can’t do by sprinkling salt right before cooking.
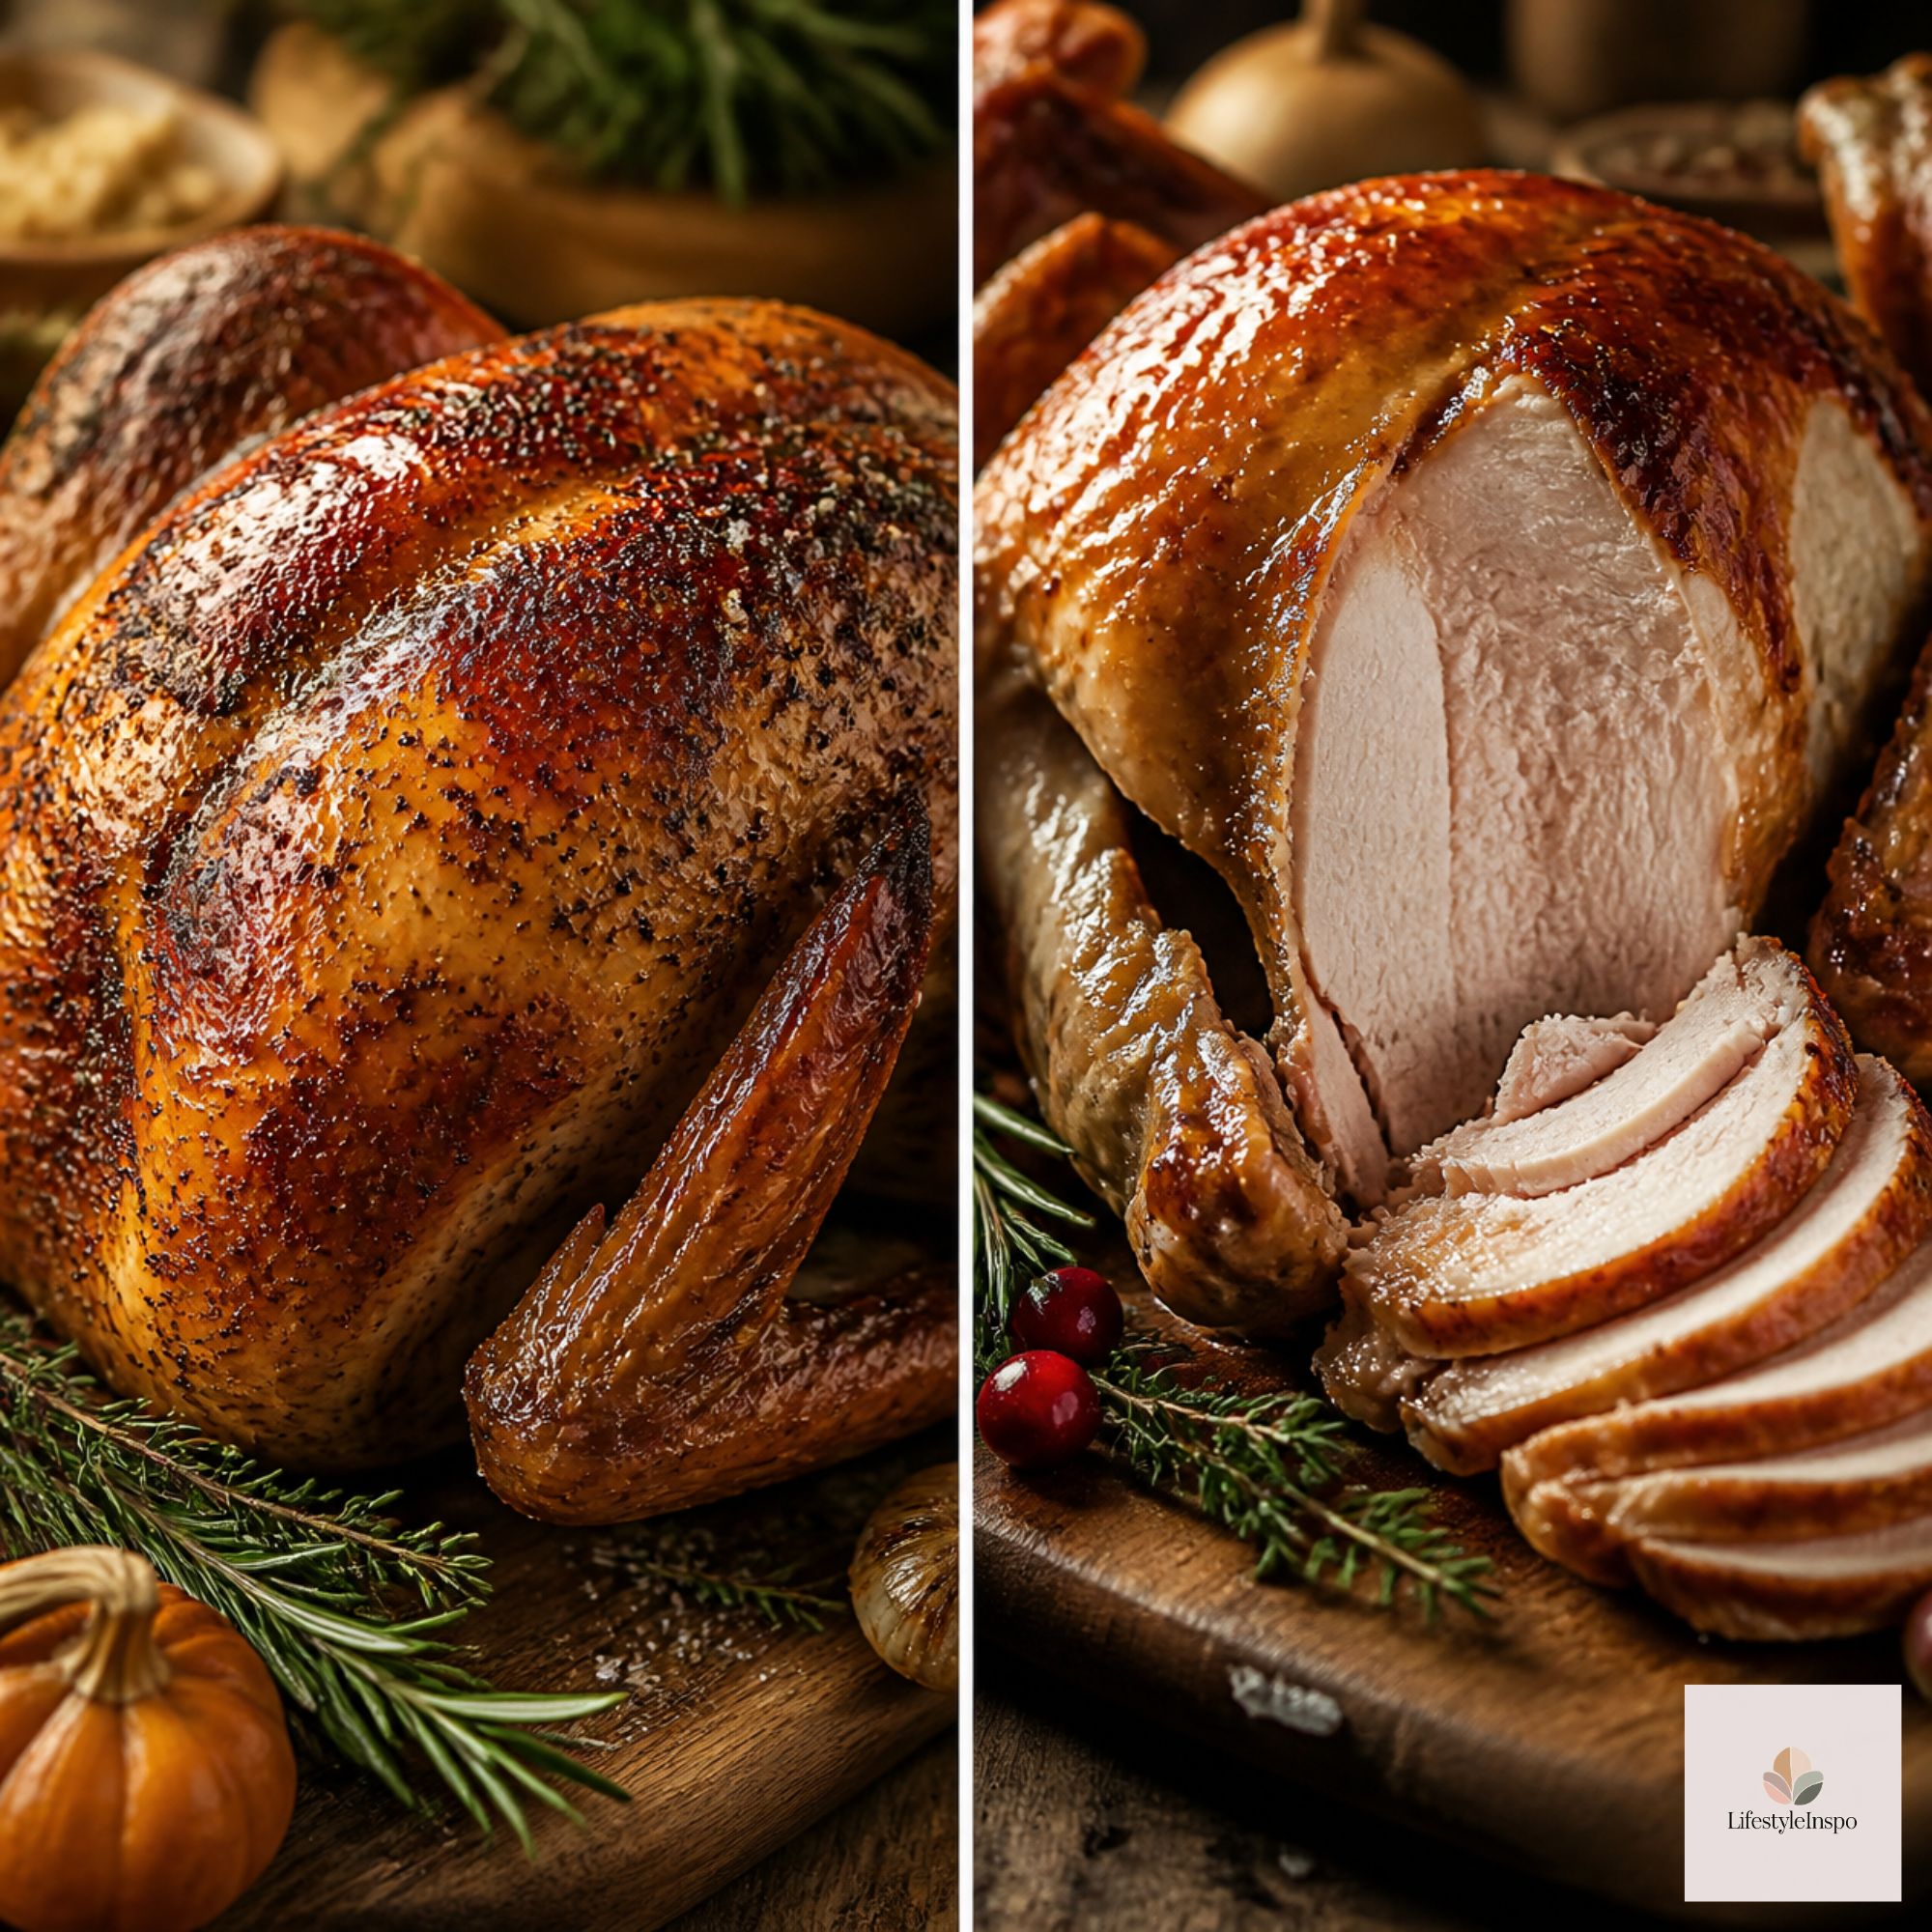
What Is a Wet Brine?
A wet brine means submerging the turkey in a solution of salt and water (often with sugar, herbs, aromatics, and spices) for 12 to 24 hours.
Pros:
- Produces very juicy meat, even if you overcook slightly
- Easy to flavor with aromatics like citrus, bay leaf, and peppercorns
- Forgiving for beginners
Cons:
- Needs a lot of space for a big bucket or bag of liquid
- Heavy and messy to move around
- Can make the meat slightly spongy or hammy if left too long
- Waterlogged skin is harder to crisp
- Dilutes the turkey’s natural flavor and pan drippings (gravy can taste salty)
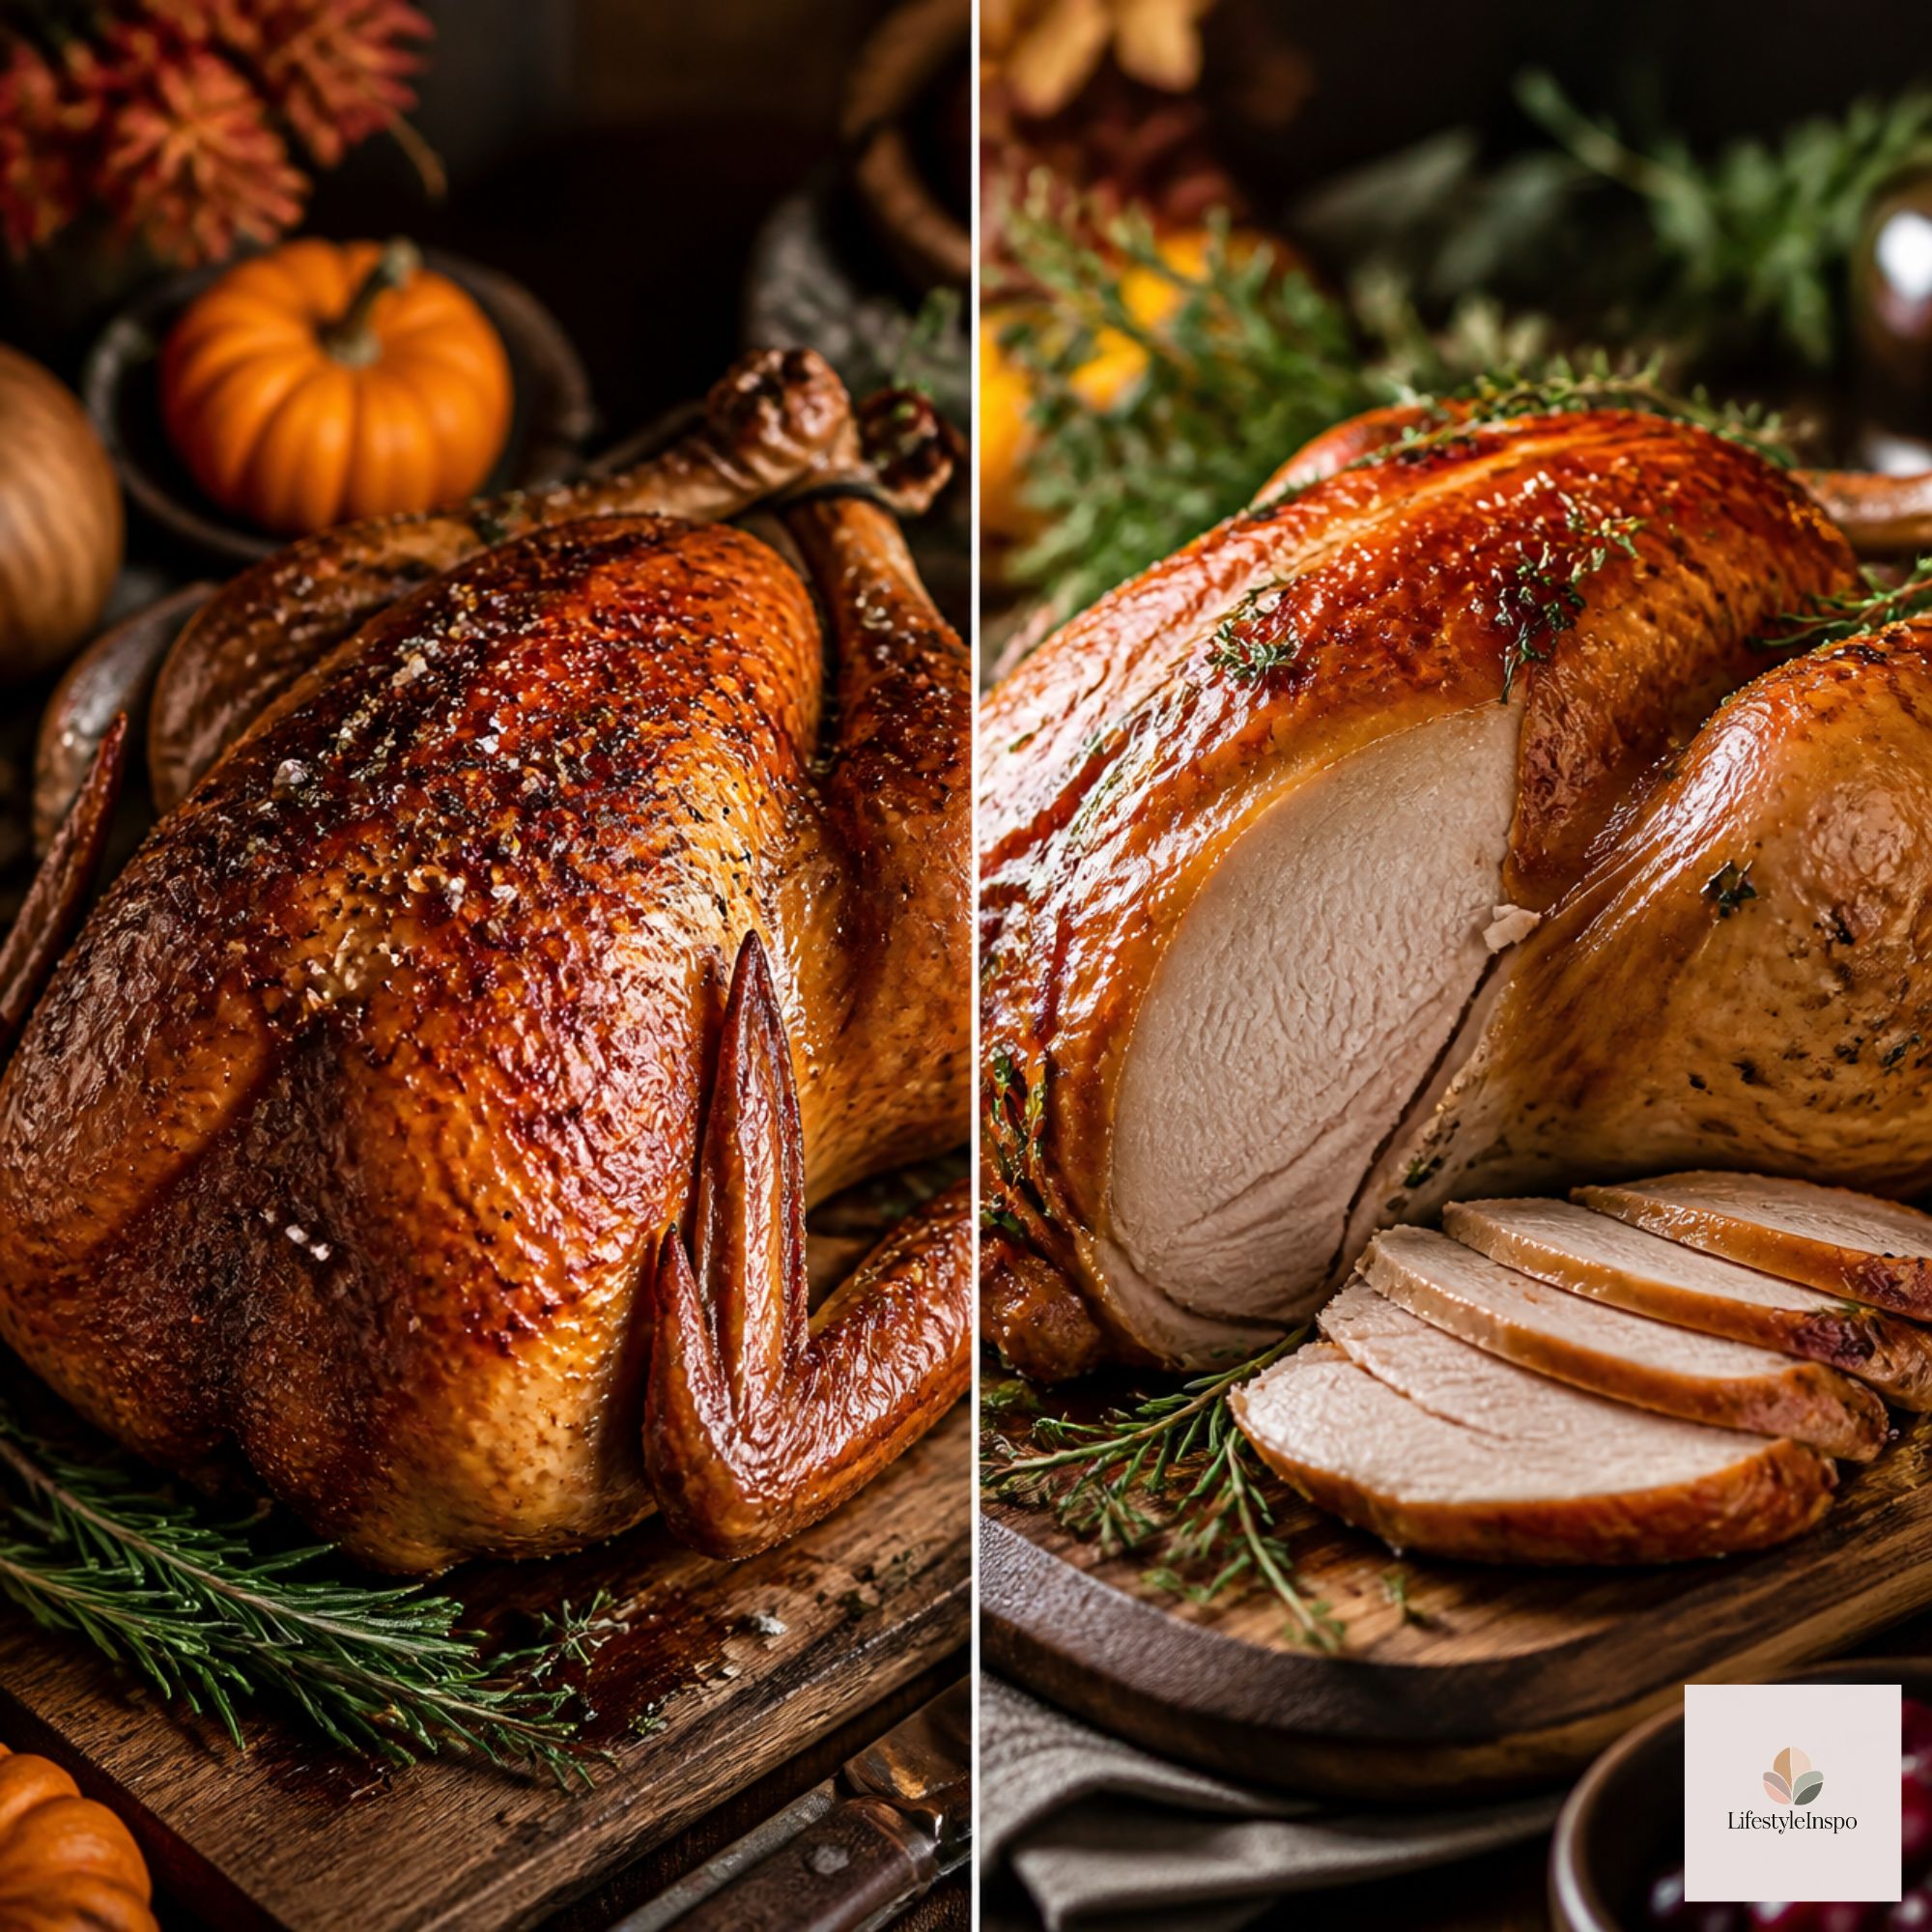
What Is a Dry Brine?
A dry brine, also called salting, uses salt and seasonings rubbed directly onto the turkey. Over 24 to 48 hours, the salt draws out some moisture, dissolves into it, and gets reabsorbed into the meat.
Pros:
- Concentrated turkey flavor, not watered down
- Crispier, more golden skin, especially when left uncovered in the fridge
- No bucket and no gallons of liquid. It fits on a tray.
- Better pan drippings for gravy
Cons:
- Needs a bit more time
- Requires fridge space for uncovered resting
- Slightly less “insurance” against overcooking than a wet brine
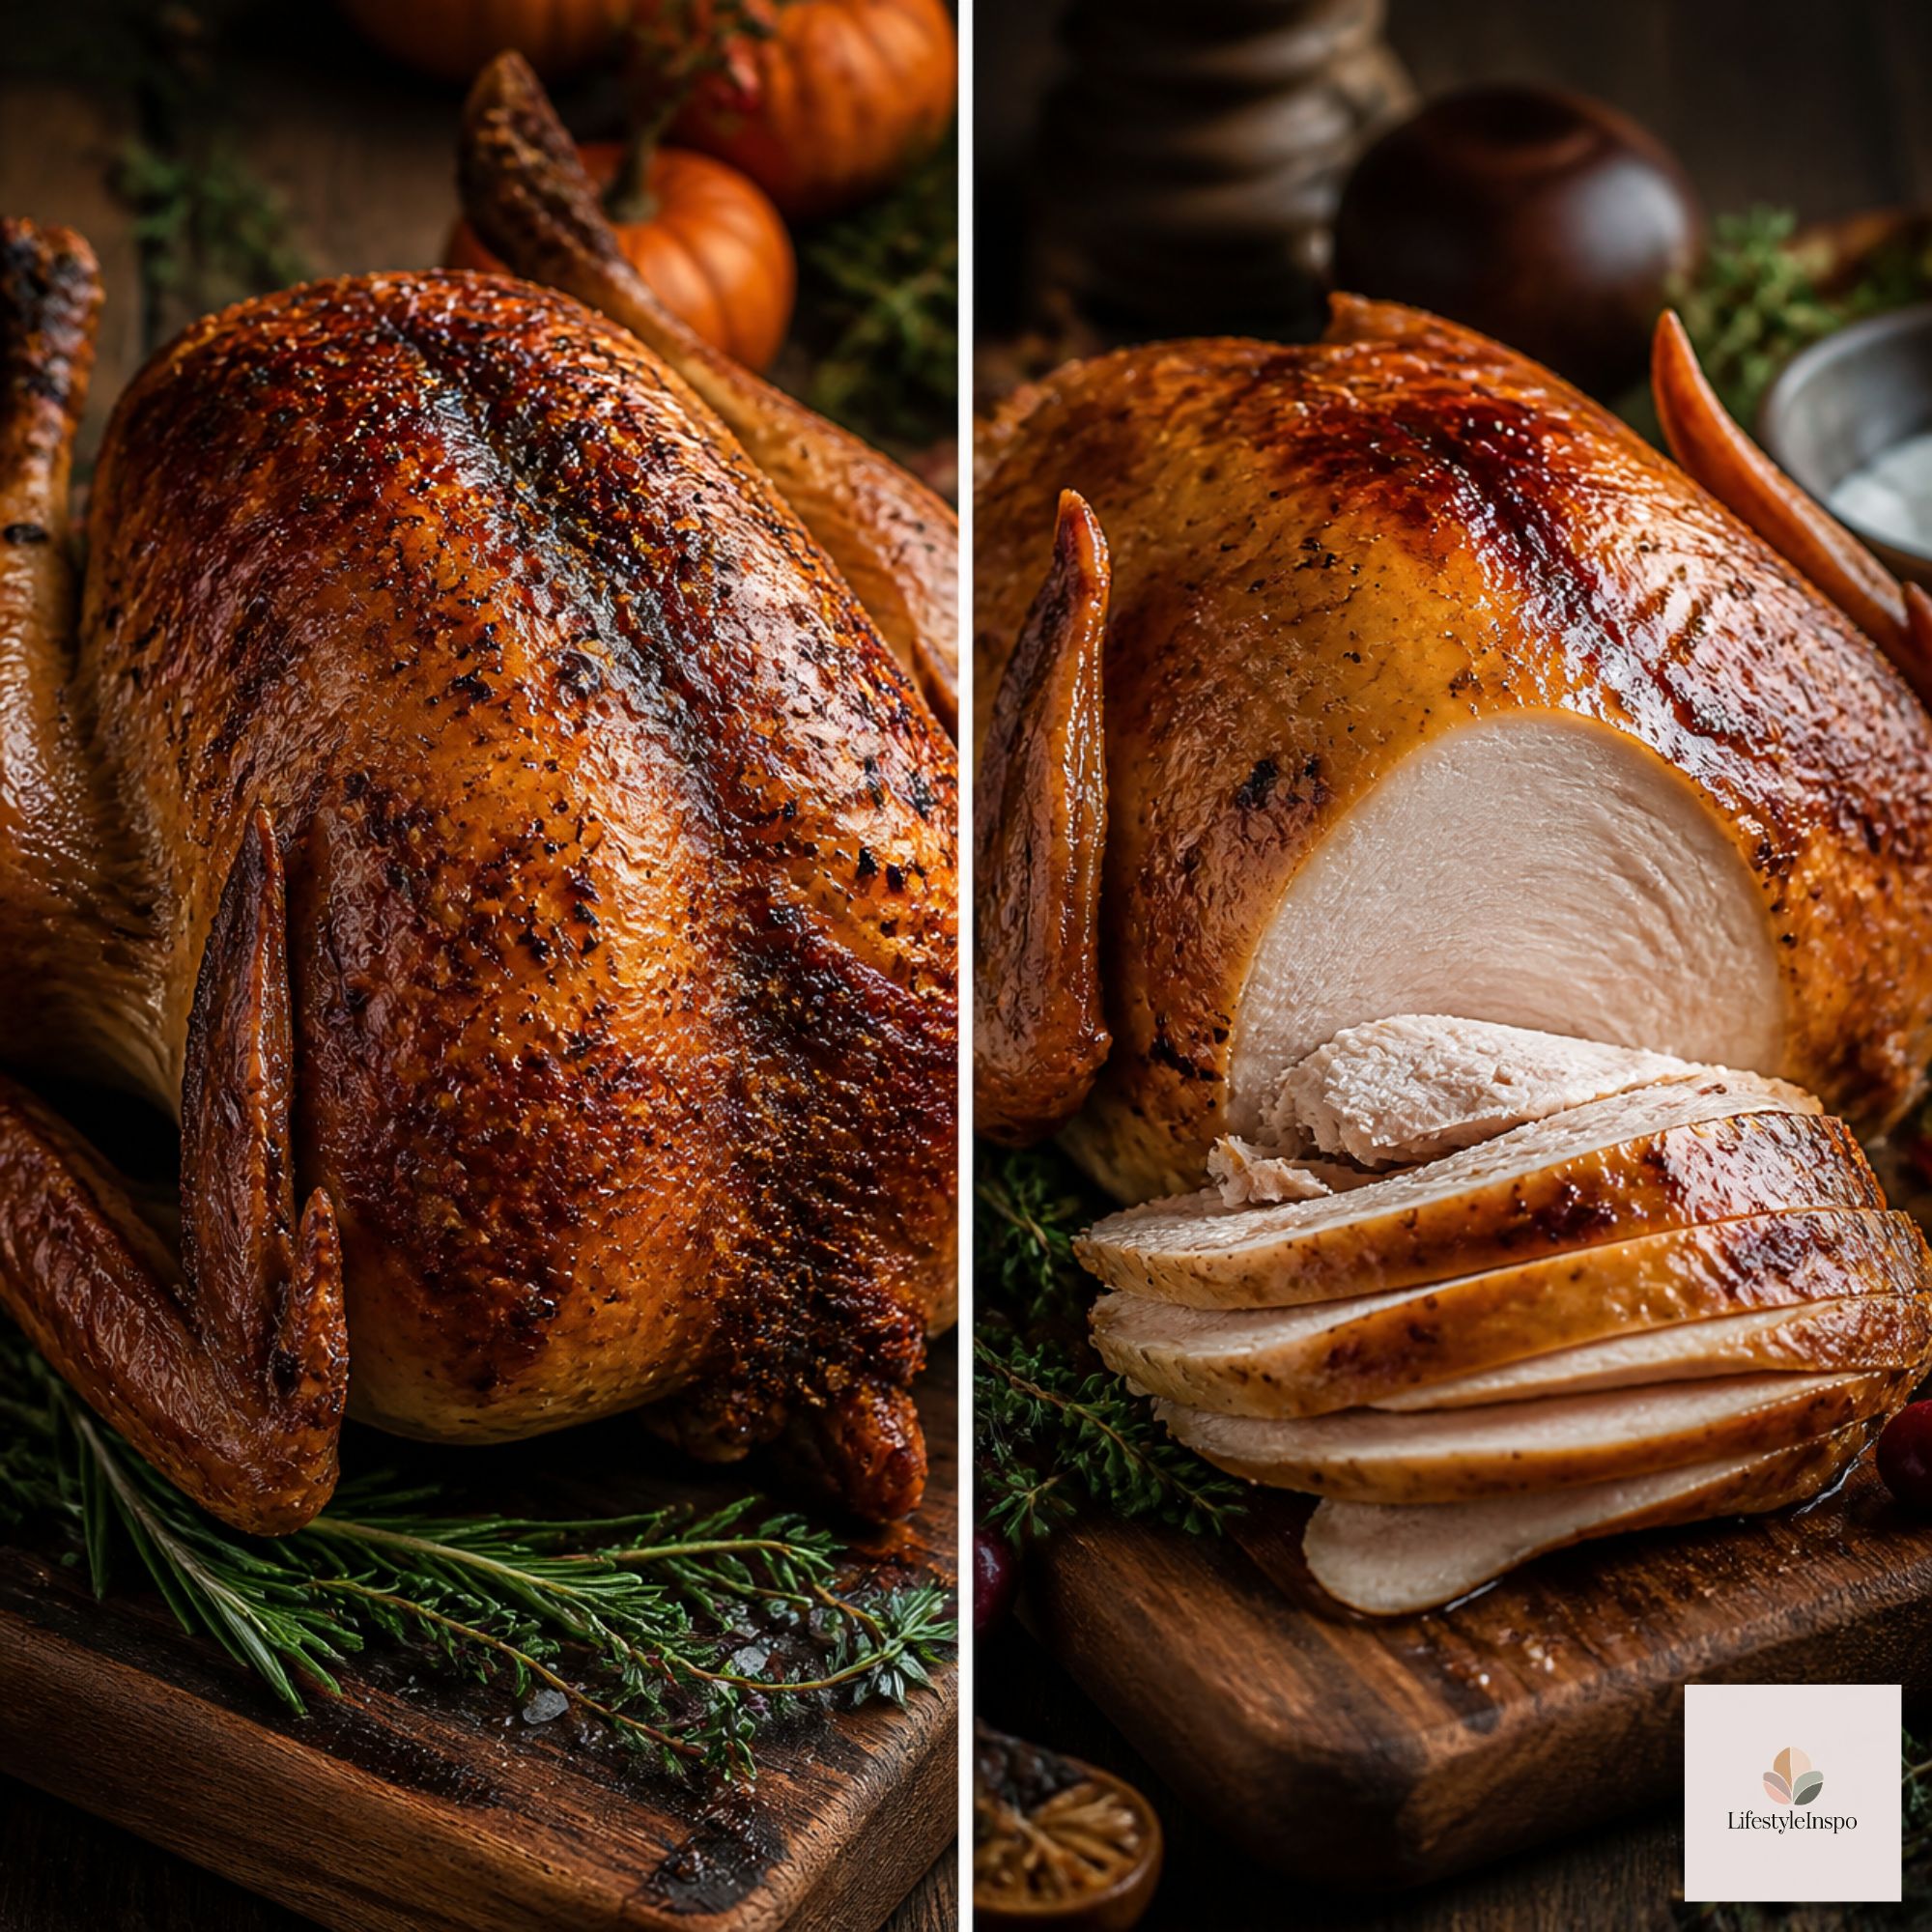
Side-by-Side Comparison
- Juiciness: Both are great. Wet brine is a tad more forgiving.
- Flavor: Dry brine wins for concentrated turkey taste.
- Skin: Dry brine wins by a mile.
- Effort and space: Dry brine is easier for most kitchens.
- Gravy: Dry brine produces more balanced drippings.
- Speed: Wet brine can work in 12 hours, while dry brine does best with 24 to 48 hours.
Our verdict: For most home cooks, we recommend a dry brine. It’s easier, takes less space, and gives better skin and flavor. If you want a more flavored, ultra-juicy result and have room for it, a wet brine is a good option.
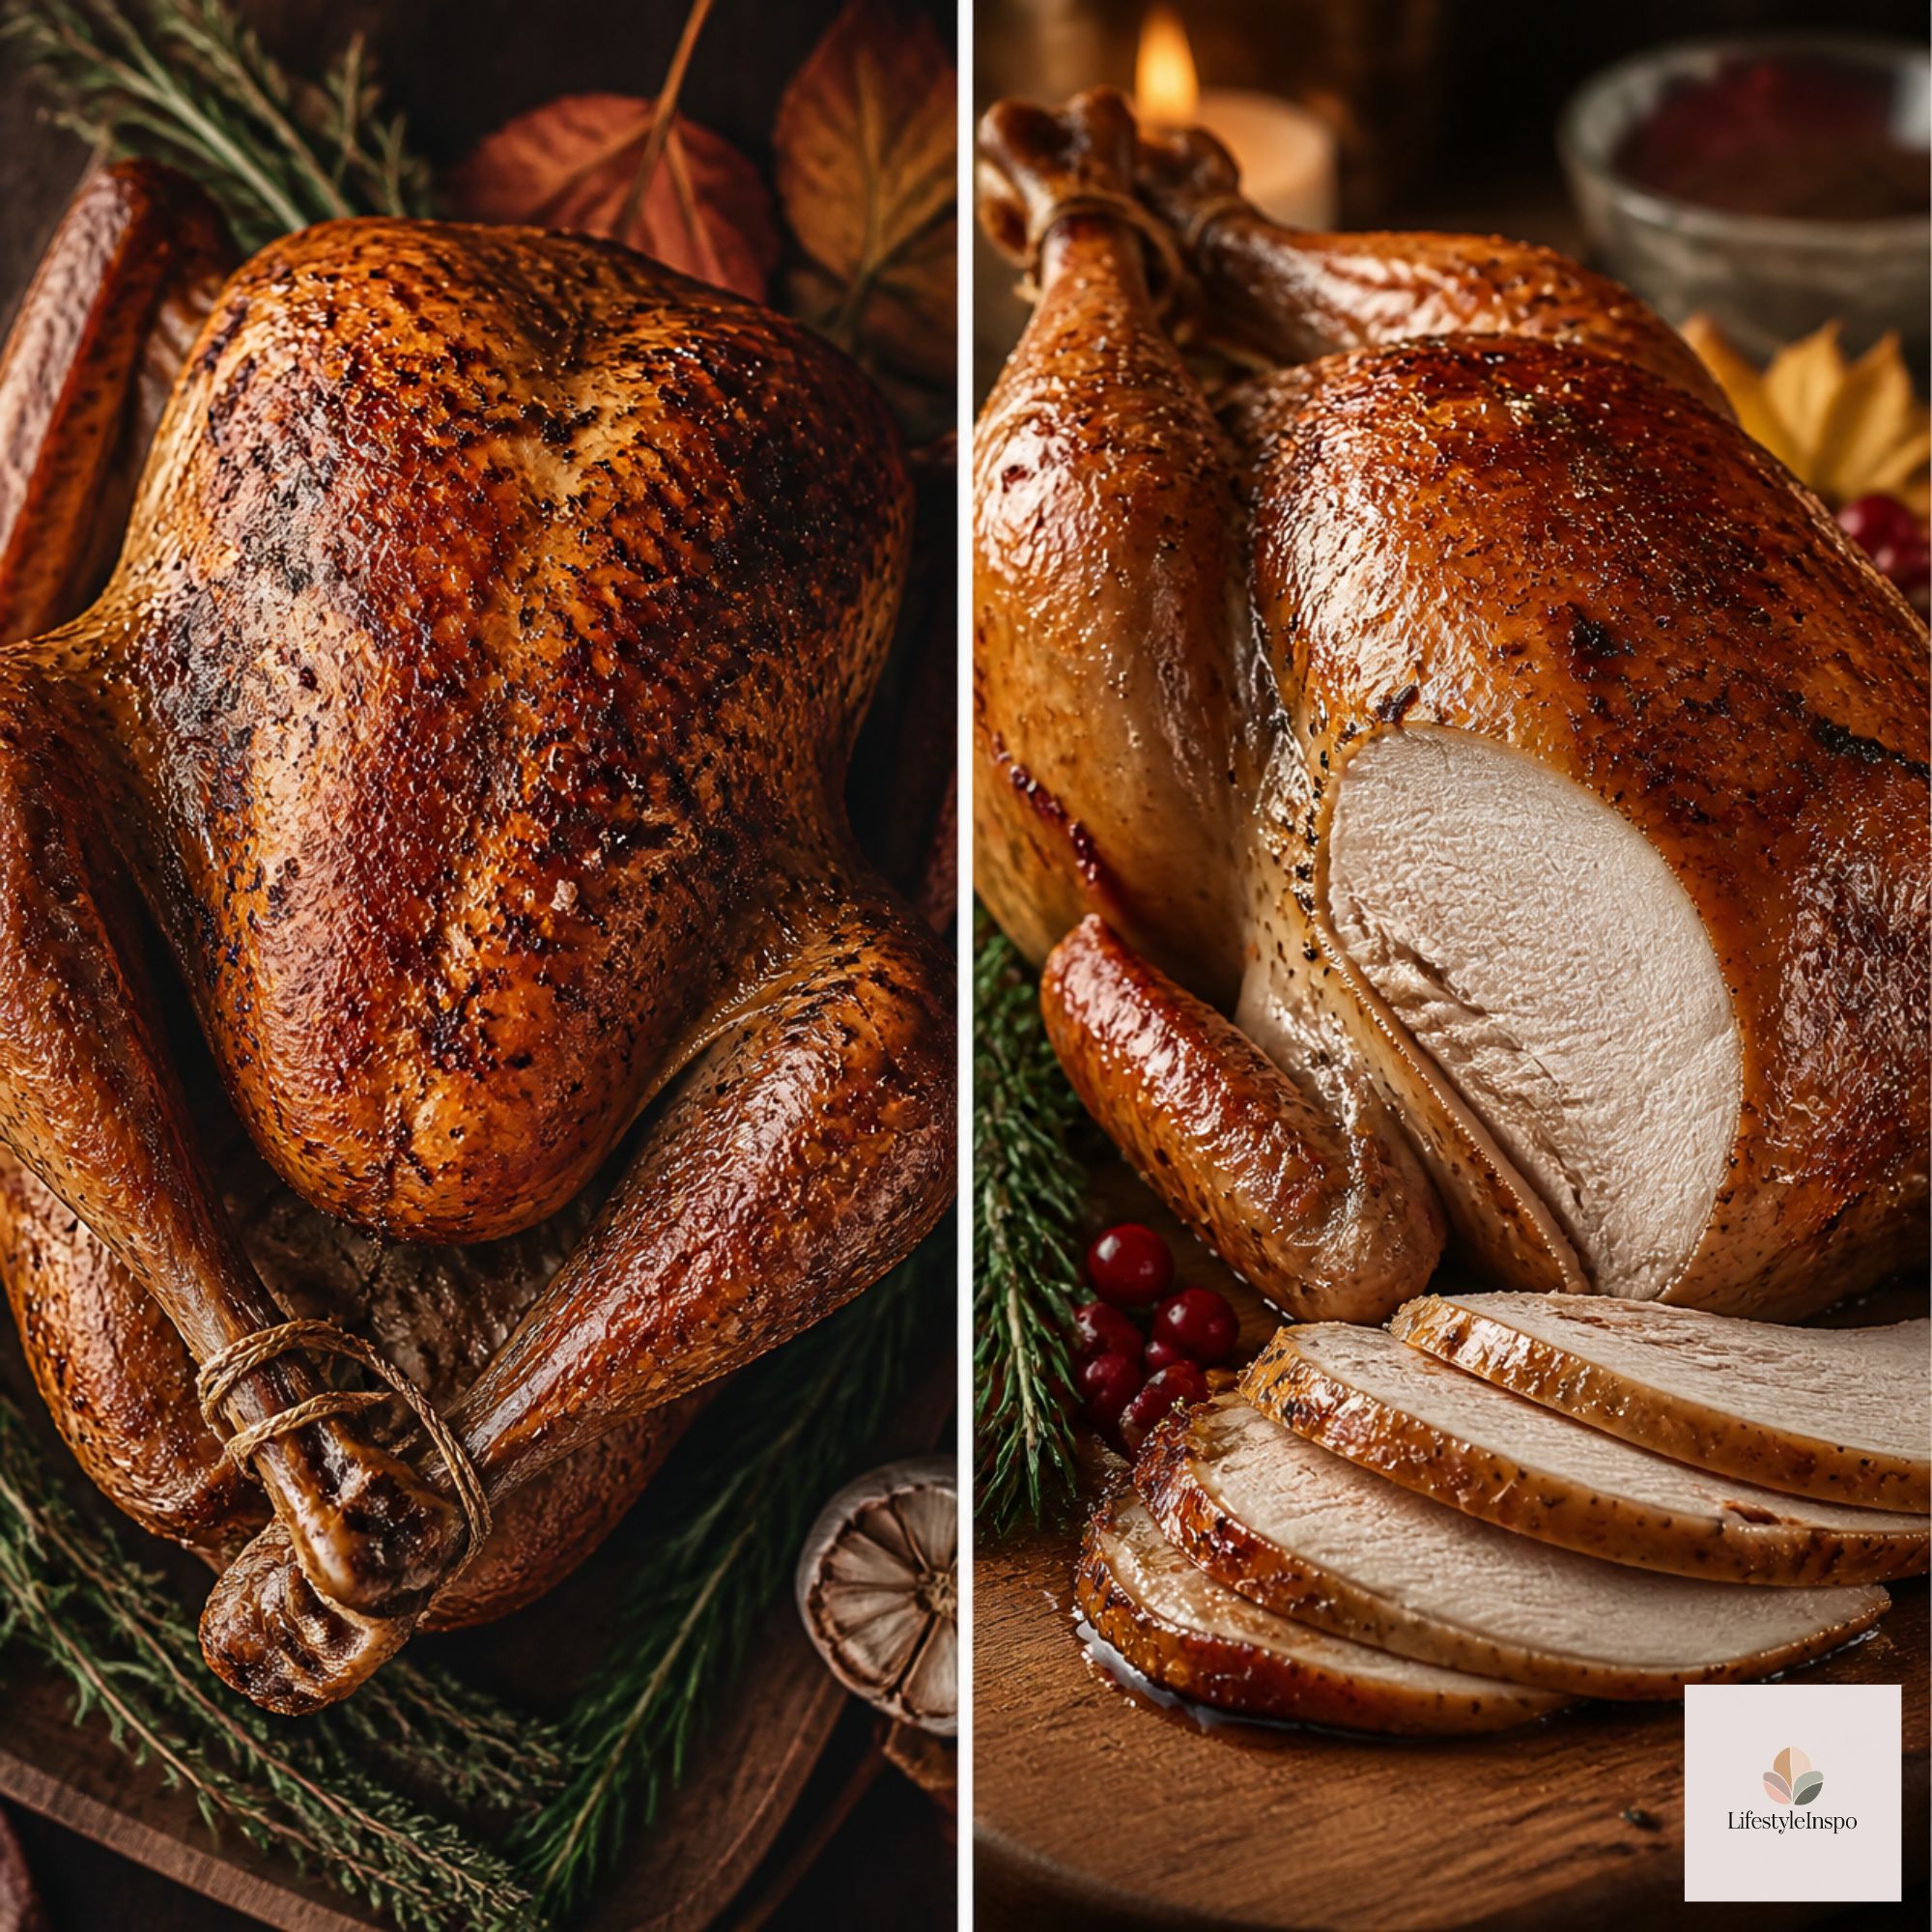
How to Dry Brine a Turkey
The Formula
Use about 1 tablespoon of kosher salt per 4 to 5 pounds of turkey. (That’s for Diamond Crystal. If you use Morton kosher salt, which is denser, use about 25% less. Never swap in table salt at the same volume, since it’s much saltier by volume.)
Recipe
For a 14- to 16-pound turkey:
- 3½ tablespoons kosher salt (Diamond Crystal)
- 1 tablespoon black pepper
- 1 tablespoon brown sugar (optional, helps browning)
- 1 tablespoon fresh thyme leaves
- 1 tablespoon chopped fresh sage
- Zest of 1 orange
Steps
- Thaw completely. A frozen bird won’t absorb the salt properly.
- Pat dry. Use paper towels on every surface.
- Mix the rub. Combine the salt, pepper, sugar, herbs, and zest.
- Season everywhere. Gently loosen the skin over the breast and thighs and rub some of the mixture directly on the meat. Rub the rest over the skin and in the cavity.
- Rest in the fridge. Place on a rack set over a rimmed tray, uncovered, for 24 to 48 hours.
- Don’t rinse. Just pat off any excess moisture and roast.
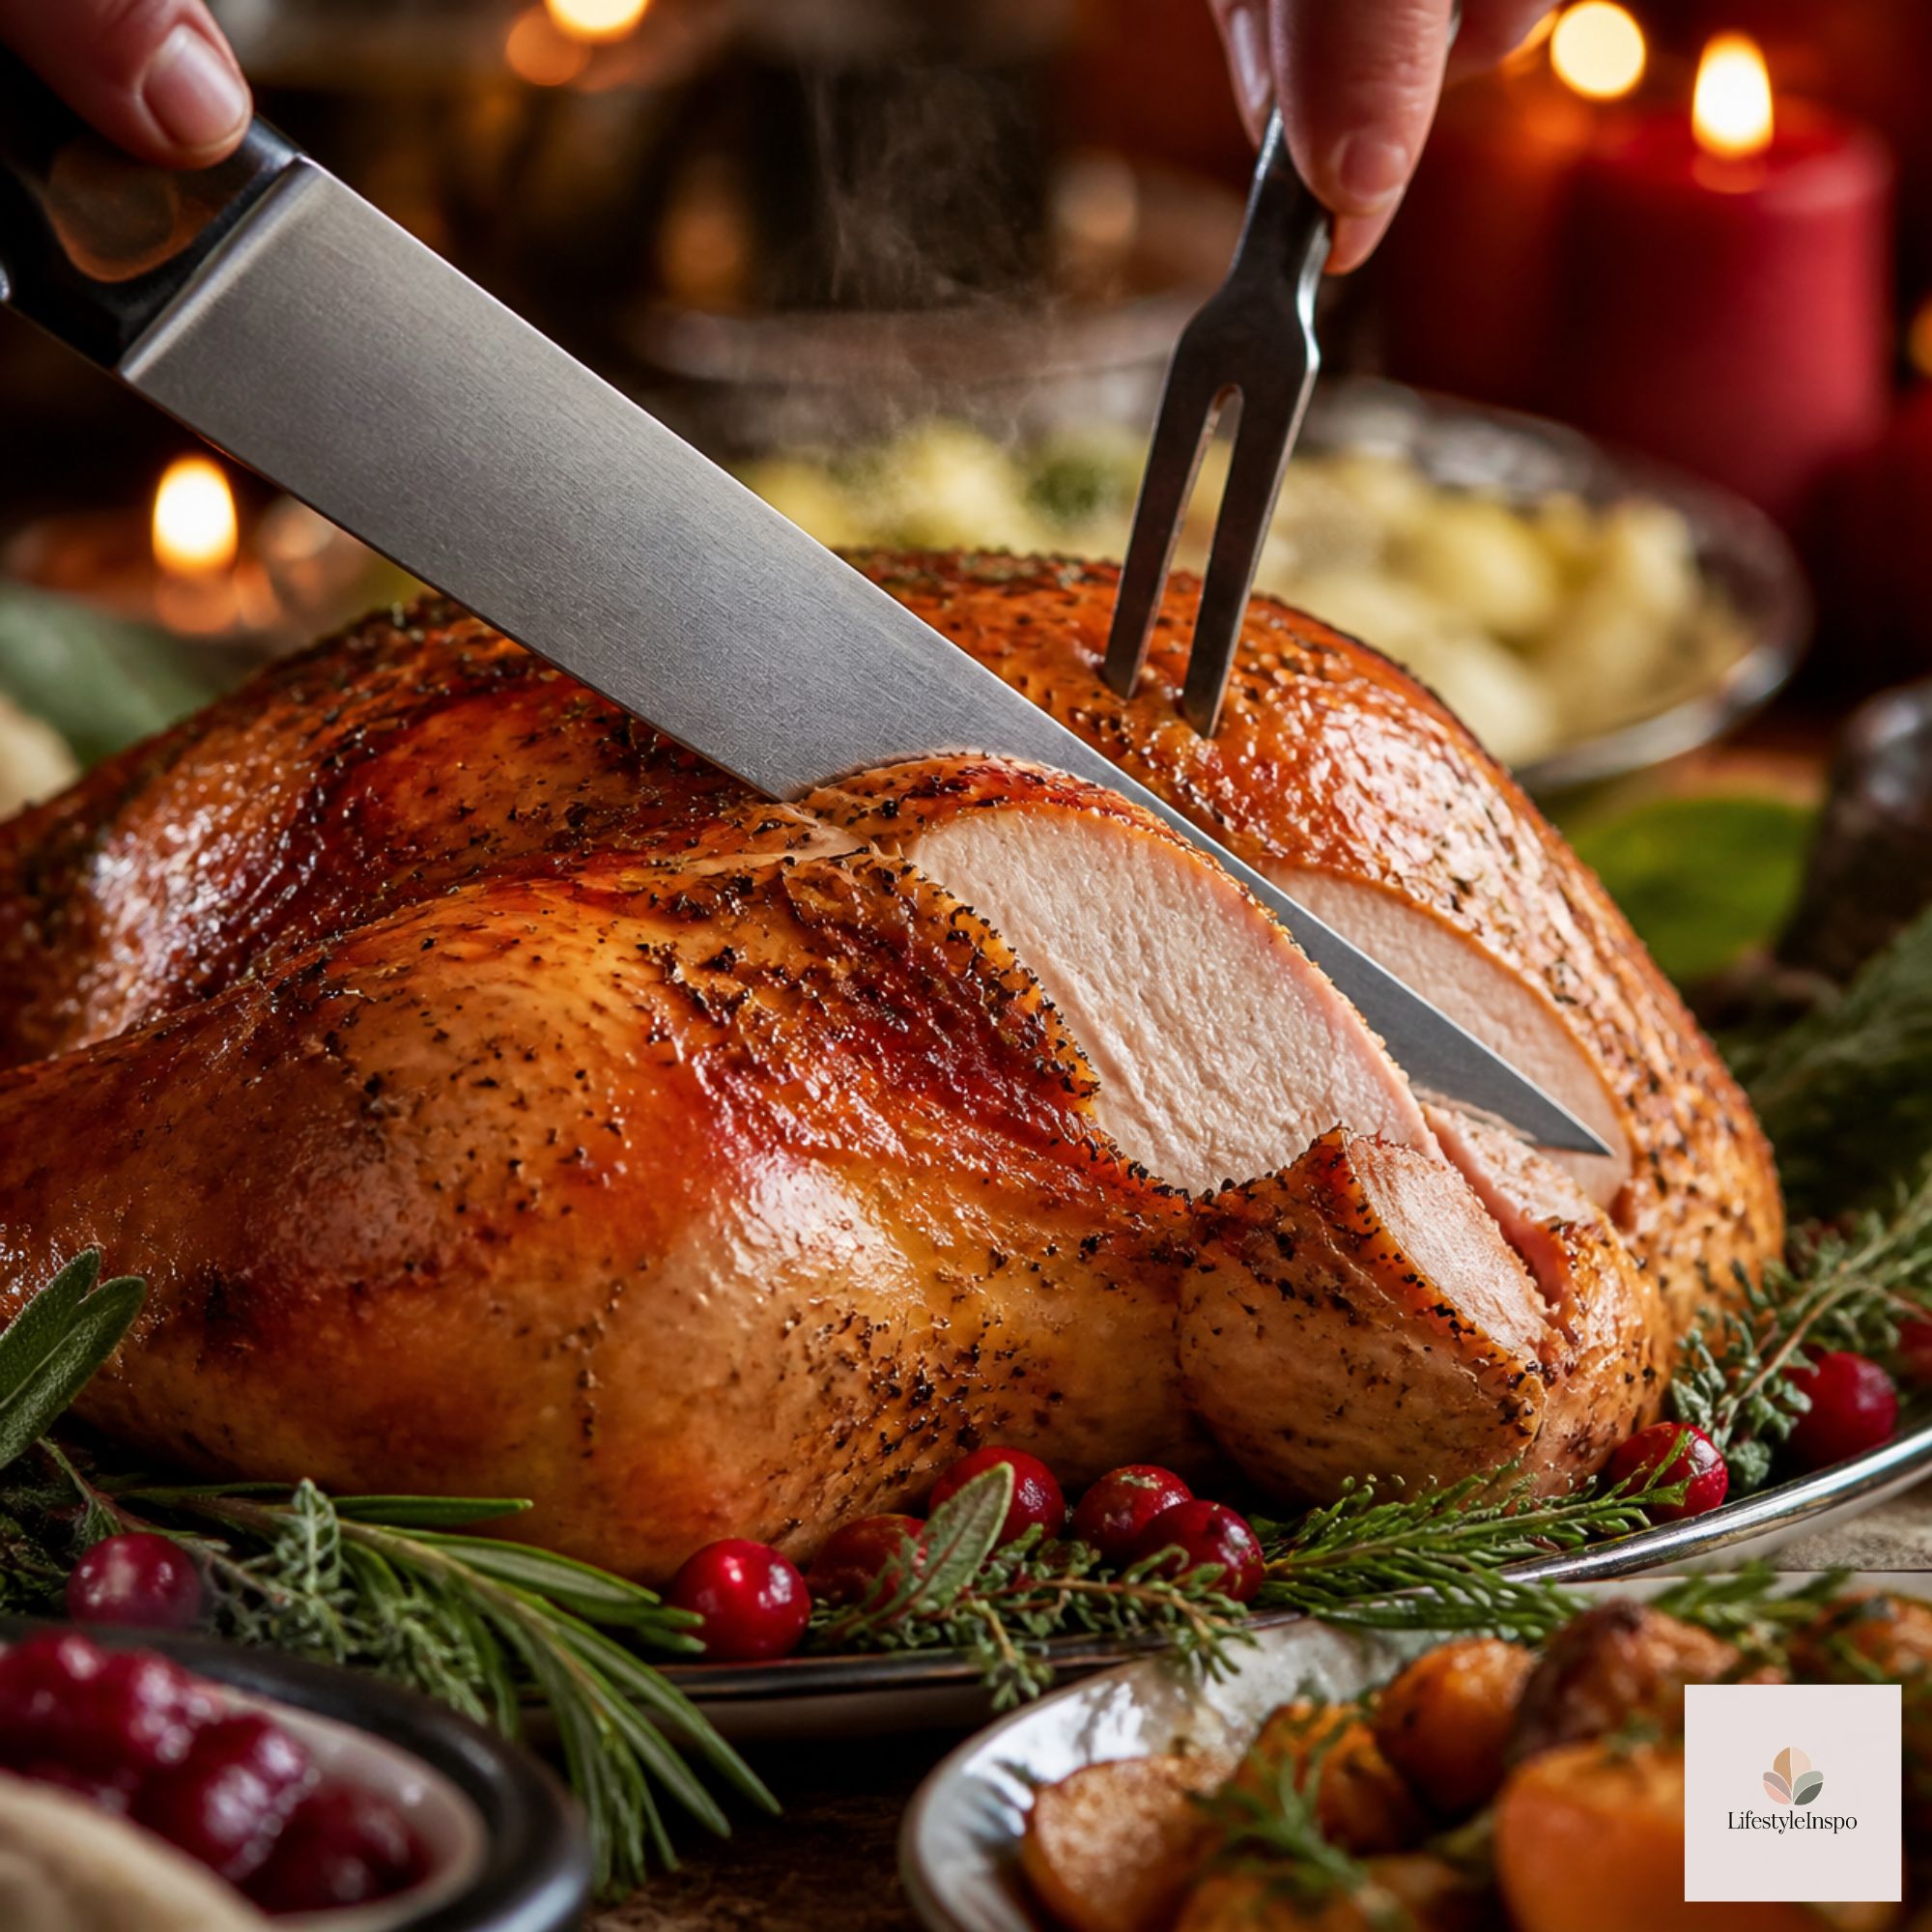
How to Wet Brine a Turkey
The Formula
Use about 1 cup of Diamond Crystal kosher salt (or ¾ cup Morton) per gallon of water. A 14- to 16-pound turkey usually needs 2 gallons or so to be fully submerged.
Recipe
For a 14- to 16-pound turkey:
- 2 gallons cold water (divided)
- 2 cups Diamond Crystal kosher salt (or 1½ cups Morton)
- 1 cup brown sugar
- 6 bay leaves
- 2 tablespoons whole peppercorns
- 1 head garlic, halved
- 3 oranges, quartered
- A handful of fresh thyme and sage
- 2 cinnamon sticks (optional)
Steps
- Make the brine concentrate. In a large pot, heat 1 gallon of the water with the salt, sugar, and aromatics until the salt and sugar dissolve. Let it cool, then add the remaining cold water. The brine must be completely cold before the turkey goes in.
- Bag it. Place your turkey inside a turkey brining bag set inside a large pot, bucket, or cooler. A sturdy bag is easier than juggling a giant stockpot, and it saves precious fridge space. Pour in the cooled brine and push out the air before sealing.
- Keep it cold. Refrigerate (or keep in a cooler with ice, checking that it stays below 40°F) for 12 to 18 hours. Don’t brine longer than 24 hours, or the meat can turn mushy.
- Rinse and dry. Remove the turkey, rinse briefly under cold water, and pat very dry. For crispy skin, rest it uncovered in the fridge for a few hours.

Bonus: Add Flavor With Injection
Whichever brine you pick, you can layer in more flavor and moisture with a flavor injector. Inject a mixture of melted butter, warm broth, garlic, and herbs into the thickest parts of the breast and thighs right before roasting. Because it adds fat as well as moisture, it works especially well with a dry brine.
If you inject a wet-brined turkey, use a low-salt mixture, since the meat is already seasoned.
Roasting Your Brined Turkey
A brined turkey cooks the same way as any other, but keep these tips in mind:
- Roast at 325°F until the thickest part of the breast and thigh reach 165°F on an instant-read thermometer. Don’t count on cooking time alone.
- Use a rack. A roasting pan with a rack keeps the turkey out of its juices and lets air circulate.
- Don’t add extra salt to the pan drippings or gravy until you taste them. Brined birds make saltier drippings.
- Rest 30 minutes before carving.
If you want to monitor without opening the oven, a wireless meat thermometer is incredibly handy. It alerts your phone when the turkey hits the target temperature.

Common Brining Mistakes
- Using table salt. Too salty. Use kosher salt and measure carefully.
- Brining a pre-salted turkey. Many store-bought turkeys (labeled “self-basting,” “kosher,” or “enhanced with a solution”) are already salted. Check the label. If it is, skip the brine or use very little salt.
- Brining too long. More is not better. Stick to the times above.
- Not drying the skin. Wet skin steams instead of crisping.
- Skipping the fridge. Always keep the turkey below 40°F.
Which Method for Which Kitchen?
- Small fridge: Dry brine. It takes less space.
- First-timer: Dry brine, because it’s simple and hard to mess up.
- Love super-juicy, classic Thanksgiving turkey: Wet brine, with a brining bag and a cooler.
- Obsessed with crispy skin: Dry brine, left uncovered.
- Making gravy from the drippings: Dry brine.
Frequently Asked Questions
Can I brine a frozen turkey? Thaw it first. Brining only works on fully thawed meat.
Should I rinse a dry-brined turkey? No. Pat off any extra moisture and roast.
Can I brine a turkey breast? Yes. Use the same ratios, but cut the time to 12 to 24 hours for a dry brine or 6 to 8 hours for a wet brine.
Can I brine and then spatchcock? Absolutely. Dry brining is especially great on a spatchcocked bird, since the flat shape exposes more skin.
What if I forgot to brine? Salt the turkey generously (about 1 tablespoon per 5 pounds) as far ahead as you can, even a few hours helps. Then rely on a thermometer so you don’t overcook it.
Final Thoughts
You can make a delicious Thanksgiving turkey either way. If you want the easiest path to flavor and crispy skin, go with a dry brine. If you love the old-school juiciness of a soak, a wet brine with a good brining bag will treat you well. Whichever you choose, the big takeaways are the same: use the right amount of salt, give it time, and check the temperature.
About the Author