Homemade Pumpkin Pie From Scratch (Flaky Crust, Silky Filling)
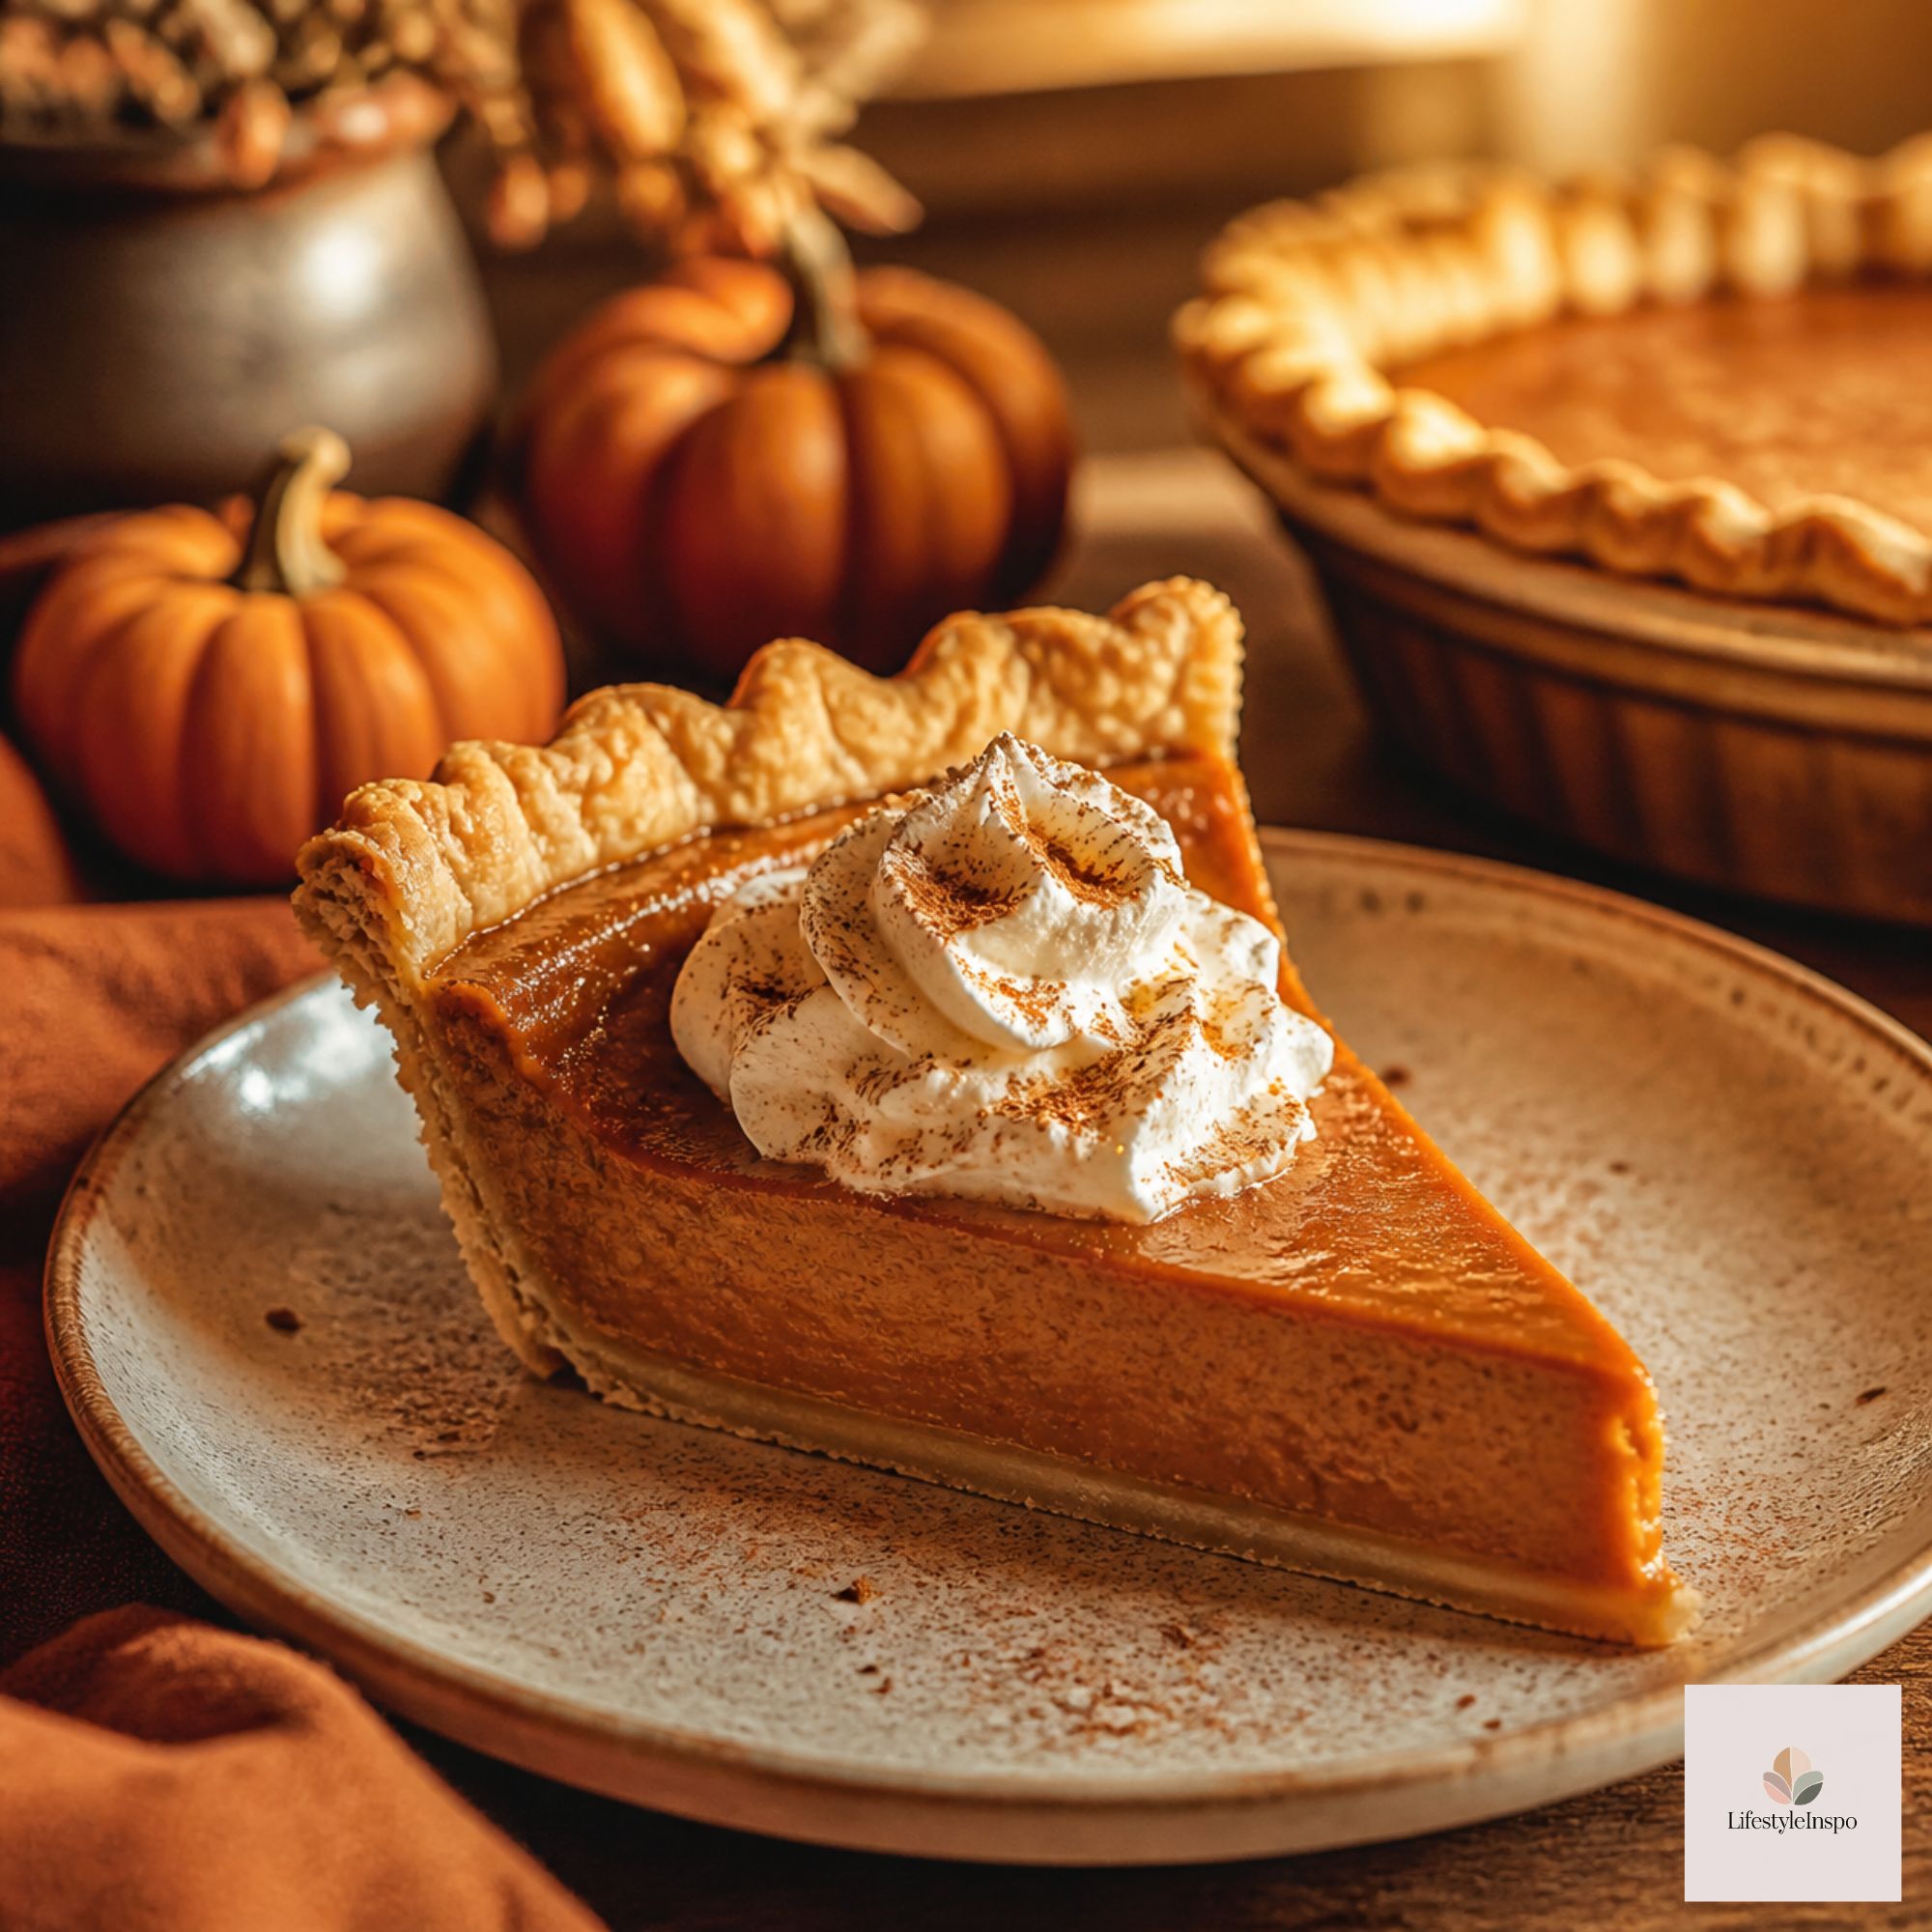
If Thanksgiving had an official dessert, it would be pumpkin pie. Warm spices, a velvety custard, and a flaky, buttery crust: it’s the kind of thing that makes everyone go quiet for the first bite.
And here’s the secret nobody tells you: homemade pumpkin pie is actually easy. It’s not about fancy technique. It’s about a few simple steps done right, like chilling the dough, blind-baking the crust, and not overbaking the filling. Follow this guide and you’ll have a pie that slices cleanly, tastes incredible, and looks like it came from a bakery.
What You’ll Need
Tools
- A ceramic pie dish: ceramic and glass hold heat evenly, which helps the bottom crust bake through. Ceramic is also gorgeous enough to carry straight to the table.
- A rolling pin for rolling out the dough evenly
- A stand mixer (or a hand mixer or large bowl and whisk)
- A baking sheet to place under the pie, which catches drips and helps the bottom brown
- A fine-mesh sieve (optional, for ultra-smooth filling)
For the Crust
- 1¼ cups all-purpose flour
- ½ teaspoon salt
- 1 tablespoon sugar
- ½ cup (1 stick) very cold unsalted butter, cubed
- 3 to 5 tablespoons ice water
For the Filling
- 1 can (15 ounces) pumpkin puree (not pumpkin pie filling)
- ¾ cup brown sugar, packed
- 2 large eggs plus 1 egg yolk
- 1 cup heavy cream
- ½ cup whole milk
- 1½ teaspoons ground cinnamon
- ½ teaspoon ground ginger
- ¼ teaspoon ground nutmeg
- ⅛ teaspoon ground cloves
- ½ teaspoon salt
- 2 teaspoons vanilla extract
Part One: The Flaky Pie Crust
A great crust comes down to one rule: keep everything cold. Cold butter creates little pockets of steam in the oven, and those pockets become flaky layers.
Making the Dough
- Mix the dry ingredients. In a large bowl or the bowl of your stand mixer, combine the flour, salt, and sugar.
- Cut in the butter. Add the cold, cubed butter and mix on low (or work it in with your fingertips) until the mixture looks like coarse crumbs with some pea-sized pieces of butter remaining. Those visible butter bits are what make the crust flaky, so don’t overdo it.
- Add the water. Drizzle in 3 tablespoons of ice water and mix just until the dough begins to come together. Add more a teaspoon at a time if it’s too dry. It should hold together when squeezed but not feel sticky.
- Chill. Shape the dough into a flat disc, wrap it tightly, and refrigerate for at least 1 hour (or up to 2 days). This relaxes the gluten so the crust doesn’t shrink while baking.

Rolling It Out
Lightly flour your counter and your rolling pin. Roll the dough from the center outward, rotating a quarter turn after each pass, until you have a circle about 12 inches across and ⅛ inch thick. Fold it gently in half, lift it into the pie dish, and unfold.
Press the dough into the corners without stretching it (stretched dough shrinks back in the oven). Trim the overhang to about 1 inch, fold the edge under itself, and crimp with your fingers or the tines of a fork. Pop the shaped crust in the freezer for 15 minutes while the oven preheats.
Blind Baking: The Step That Prevents a Soggy Bottom
Pumpkin pie has a wet filling, so the crust needs a head start.
- Preheat the oven to 400°F with a baking sheet on the middle rack.
- Line the chilled crust with parchment paper and fill it with pie weights, dried beans, or uncooked rice.
- Bake for 15 minutes, then carefully remove the parchment and weights.
- Bake another 5 minutes until the bottom looks dry and lightly golden.
- Reduce the oven temperature to 350°F while you make the filling.
Part Two: The Silky Pumpkin Filling
Mixing It Up
- In a large bowl or your stand mixer, whisk together the pumpkin puree and brown sugar until smooth.
- Add the eggs and egg yolk one at a time, mixing on low just until combined. The extra yolk adds richness and a custardy texture.
- Stir in the cream, milk, vanilla, spices, and salt.
- For a bakery-smooth finish, pour the filling through a fine-mesh sieve to catch any lumps.
Tip: Keep the mixer speed low. Beating in too much air creates bubbles that can lead to cracks and a puffy, uneven surface.

Baking
- Place the warm crust (still on the baking sheet) on the oven rack.
- Pour in the filling. If you pour it with the pie already in the oven, there’s no risk of sloshing on the way in.
- Bake at 350°F for 40 to 50 minutes.
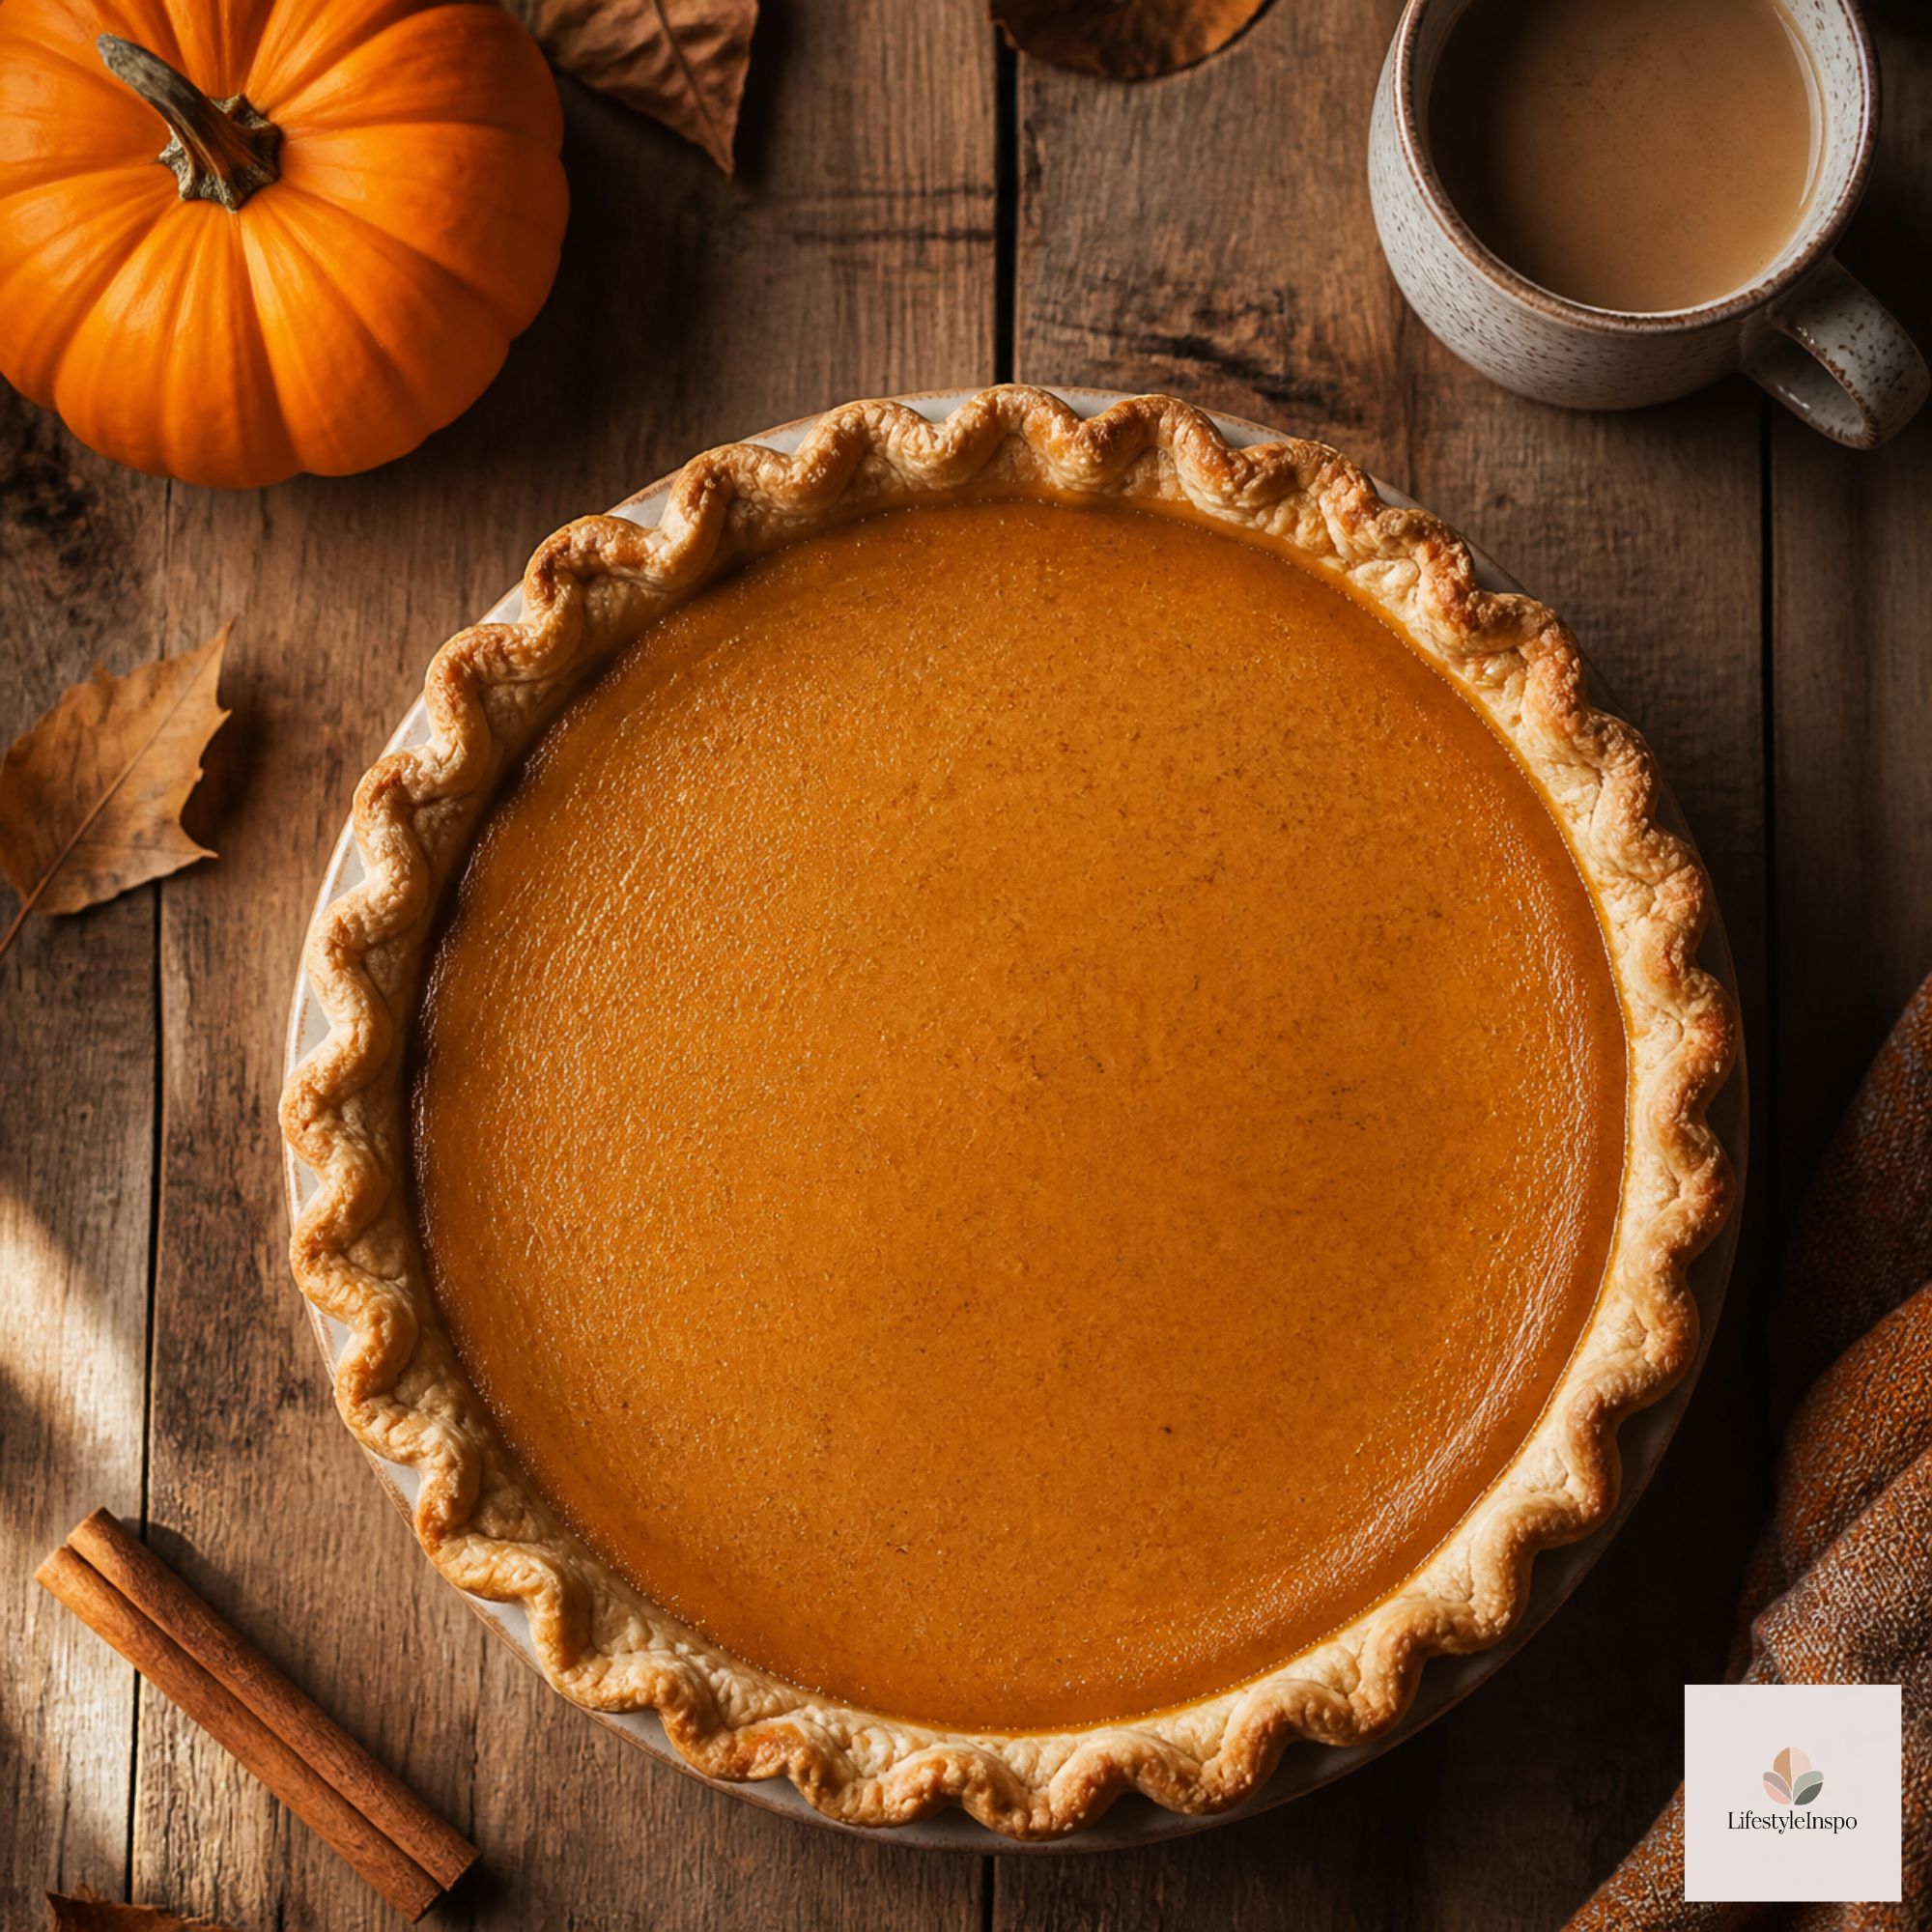
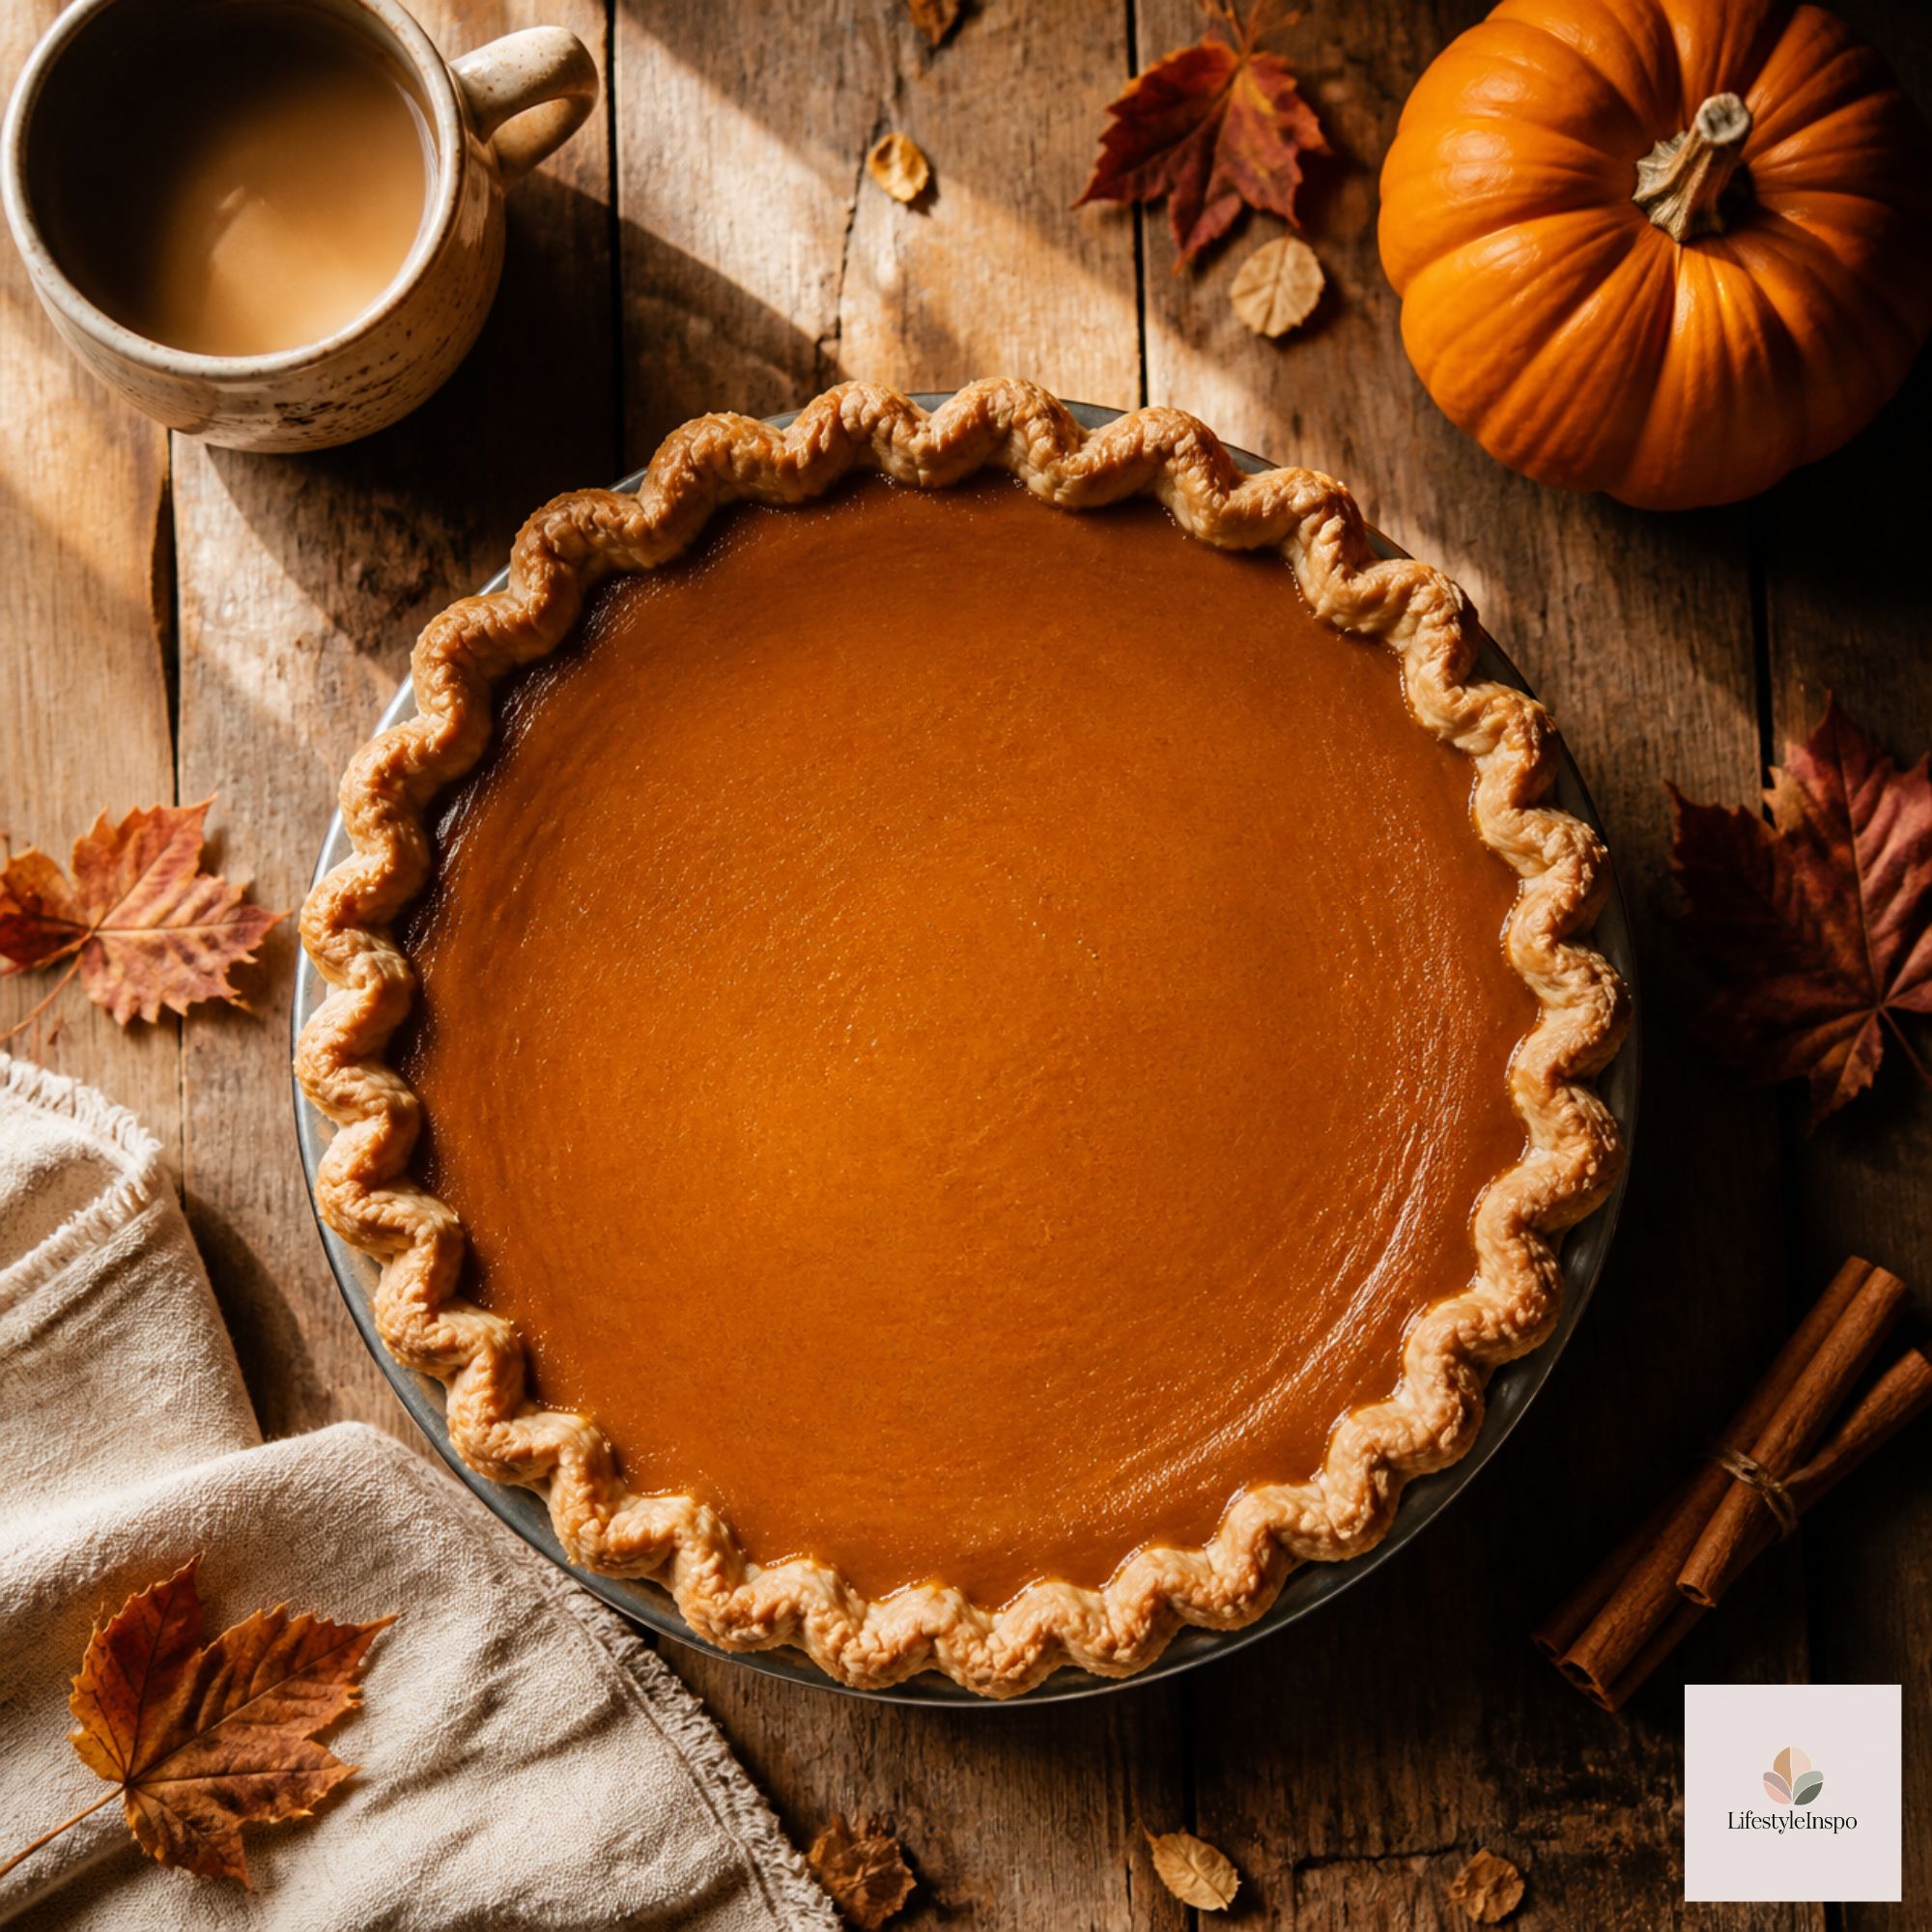
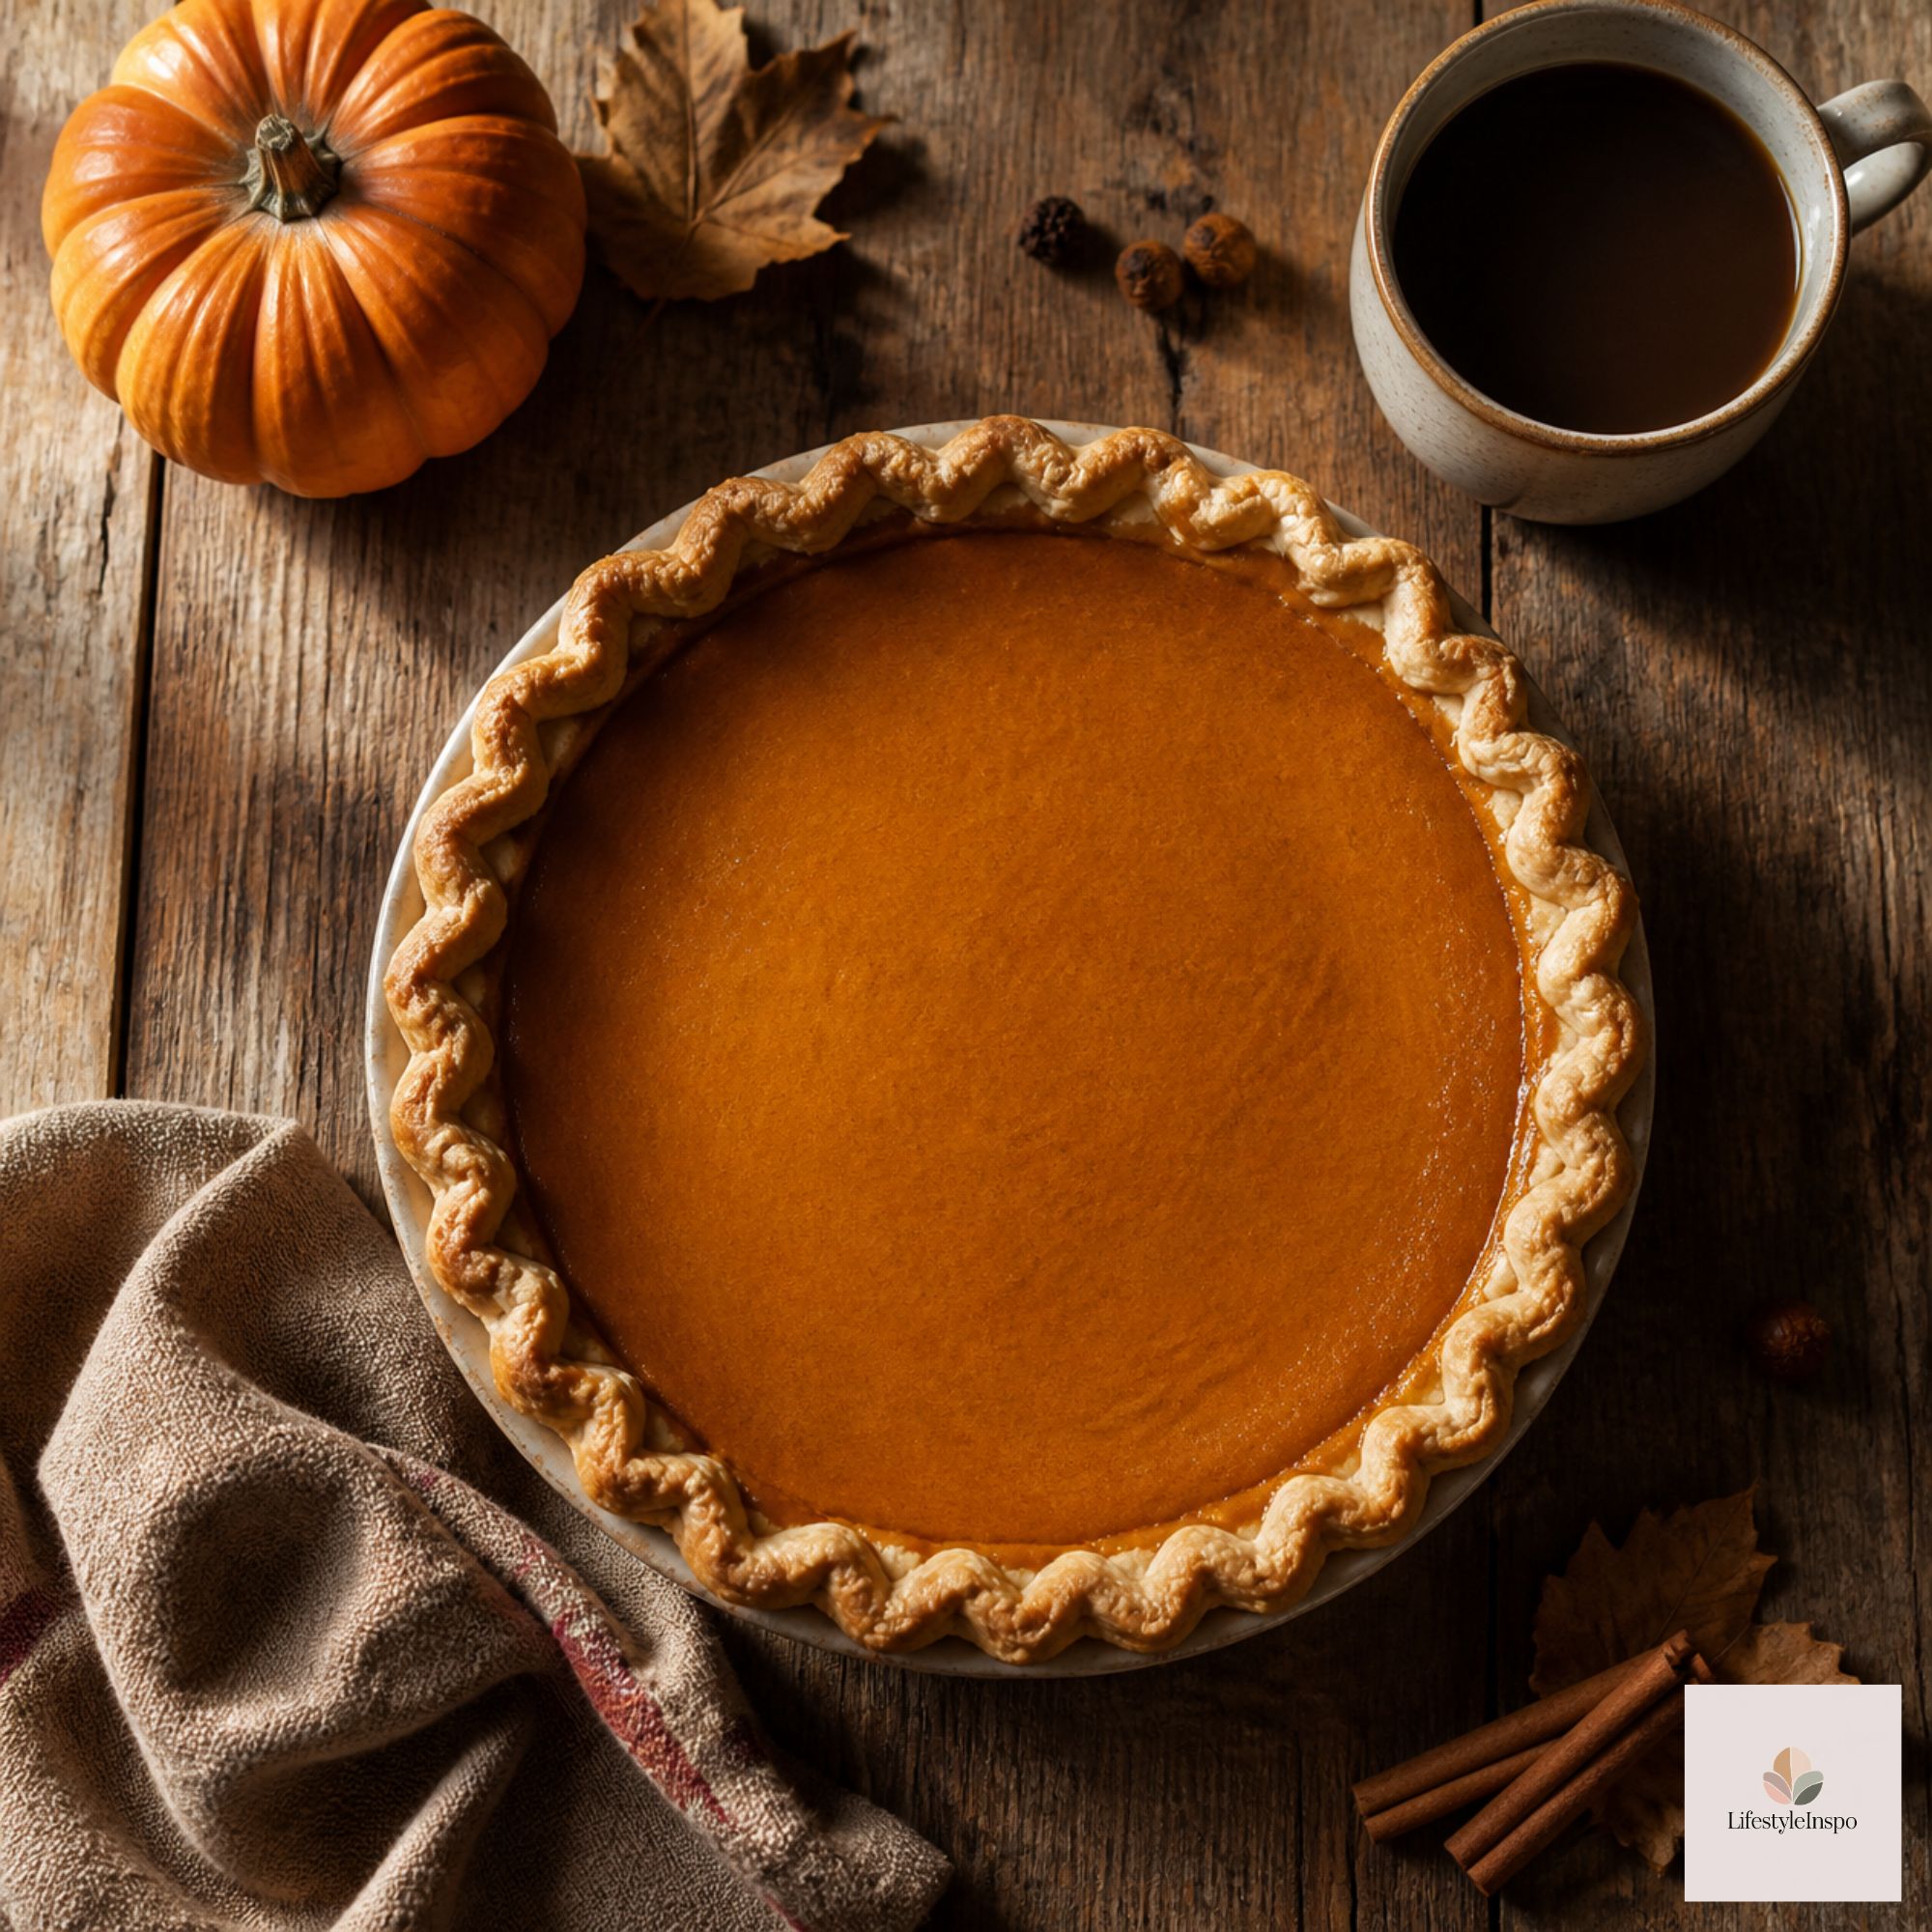
You’ll know it’s done when the edges are set and the center still has a slight jiggle, like gelatin, about 2 to 3 inches wide. It will finish setting as it cools. A thermometer inserted in the center should read about 175°F.
If the crust edges brown too quickly, cover them loosely with foil or a pie shield.
Cooling (Don’t Rush This)
Let the pie cool at room temperature for at least 2 hours, then refrigerate for another 2 hours or overnight. Cooling slowly is the best way to avoid cracks, and it gives the custard time to set so you get clean slices.
How to Prevent Pumpkin Pie From Cracking
Cracks don’t affect the taste, but if you want a flawless top, remember:
- Don’t overbake. Pull the pie when the center still jiggles slightly.
- Mix gently. Too much air leads to puffing and then collapsing.
- Cool gradually. Avoid moving a hot pie straight to a cold fridge.
- Bake in a moderate oven. Higher temperatures set the edges too fast.
And if a crack does show up? Cover it with whipped cream. Nobody will ever know.

Topping Ideas
- Classic whipped cream. Whip 1 cup of cold heavy cream with 2 tablespoons powdered sugar and a splash of vanilla.
- Maple whipped cream. Swap the sugar for maple syrup.
- Candied pecans. Toast pecans with butter and brown sugar for a crunchy contrast.
- Cinnamon sugar pie crust cutouts. Use leftover dough to cut leaf shapes, brush with egg wash, sprinkle with cinnamon sugar, and bake until golden. Arrange them around the edge for a stunning look.
- Salted caramel drizzle. Rich, sweet, and a little salty.
Make-Ahead and Storage Tips
Pie is one of the best desserts to make early.
- Dough: Refrigerate for up to 2 days or freeze for up to 3 months.
- Baked pie: Make it up to 2 days ahead. Cover loosely and keep it in the fridge.
- Freezing: Freeze the fully cooled pie, wrapped tightly, for up to a month. Thaw overnight in the fridge.
- Leftovers: Store covered in the refrigerator for up to 4 days. Pumpkin pie is a custard, so it should not sit out for more than 2 hours.
Level Up Your Baking Knowledge
If this recipe sparks your baking bug, a good cookbook is a wonderful investment. A fall baking cookbook is packed with ideas for apple pies, spiced cakes, cinnamon rolls, and more, and you’ll find yourself reaching for it long after Thanksgiving. If you’re short on counter space, a cookbook stand props your book (or your tablet) at eye level and keeps it clean while your hands are covered in flour.
Looking for even more menu inspiration? A Thanksgiving cookbook can help you plan a full holiday spread from appetizers to dessert.
Troubleshooting Guide
My crust shrank! The dough was likely stretched when fitting it into the dish, or it didn’t chill long enough. Be gentle, and always rest the dough.
The bottom is soggy. Don’t skip blind baking, and bake on a preheated baking sheet.
The filling is runny. It needs more time. Bake until the edges are set and the center barely jiggles, then cool fully.
The edges are too dark. Shield them with foil partway through baking.
Can I use canned pumpkin? Absolutely. Pure pumpkin puree gives consistent, smooth results. Just avoid “pumpkin pie filling,” which is already sweetened and spiced.
Frequently Asked Questions
Can I use a store-bought crust? Yes. If you do, follow the same blind-baking steps for the best texture.
Do I have to use heavy cream? For the richest texture, yes. You can substitute evaporated milk for a more classic, slightly lighter pie.
How do I know when pumpkin pie is done? The edges should look set, the center should jiggle slightly, and a knife inserted near the center should come out mostly clean.
Can I make this dairy-free? Try full-fat coconut milk in place of cream and milk, and use a plant-based butter or shortening for the crust.
Final Thoughts
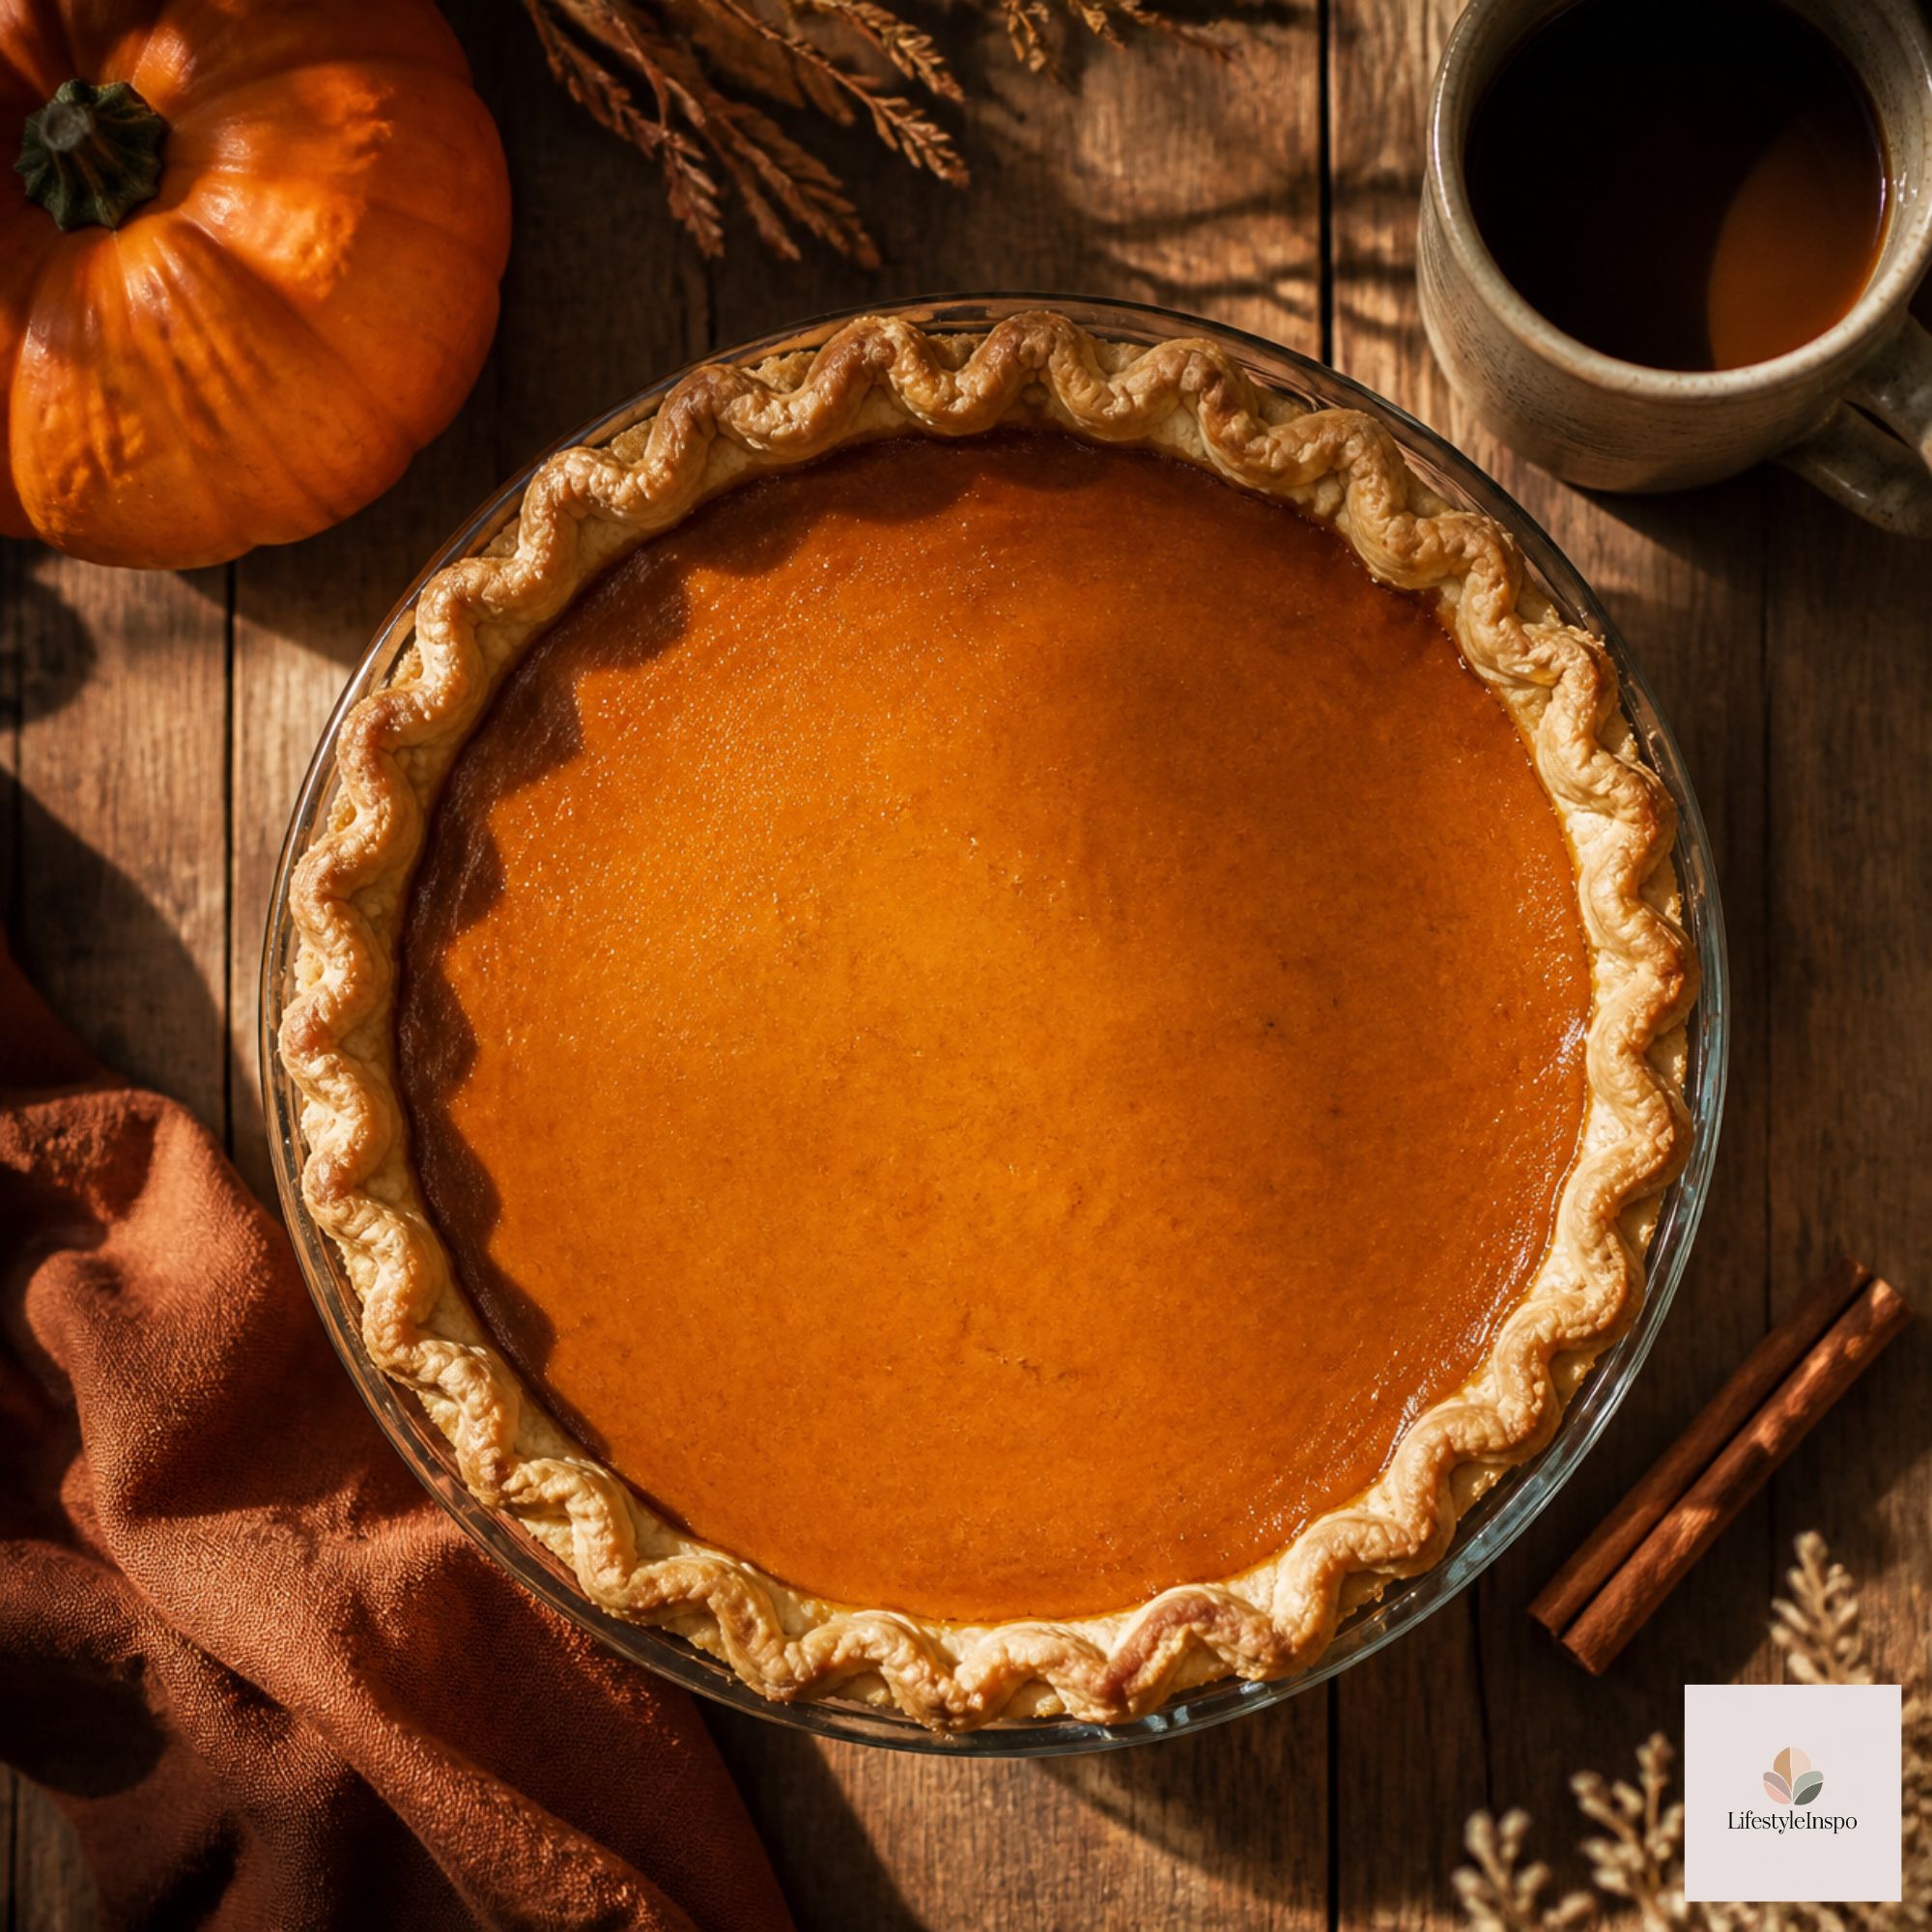
A homemade pumpkin pie is one of those small kitchen wins that feels bigger than it is. A flaky crust, a silky filling, and a big dollop of whipped cream. That’s it. Make it a day or two ahead, and dessert is officially taken care of.
About the Author